This guide reviews default VPC setups and pre-configured settings provided by AWS for new accounts, ideal for developers and cloud enthusiasts.
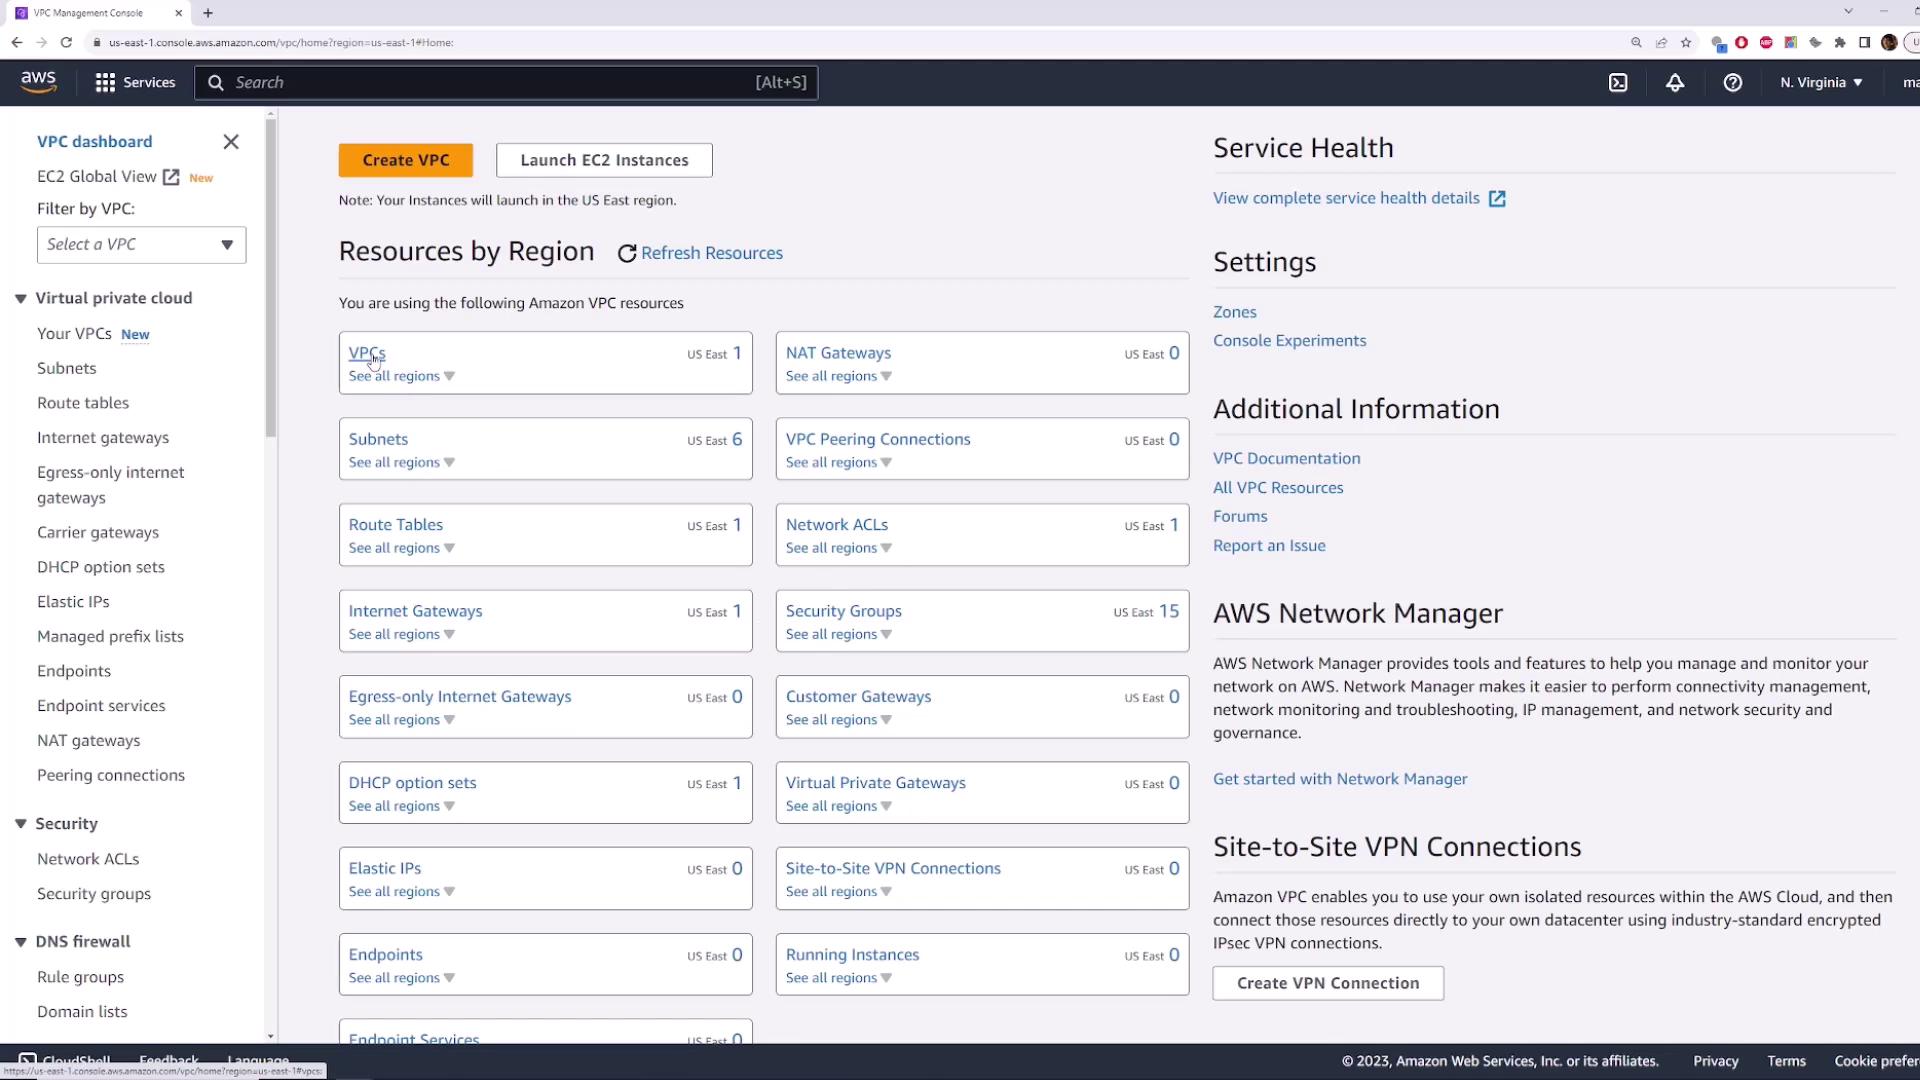
In this lesson, we review the default VPC setups and examine the pre-configured settings that AWS automatically provides when you create a new account. This guide is ideal for developers and cloud enthusiasts looking to understand how AWS simplifies network access and deployment.First, navigate to the VPC section in the AWS Management Console. You can locate it by selecting it from your recently visited services or by searching for “VPC” in the console search bar. Although you might be working in the Northern Virginia region, note that the default configuration is consistent across all regions.For a brand new AWS account, you will see one default VPC along with a few extra security groups that could be present.
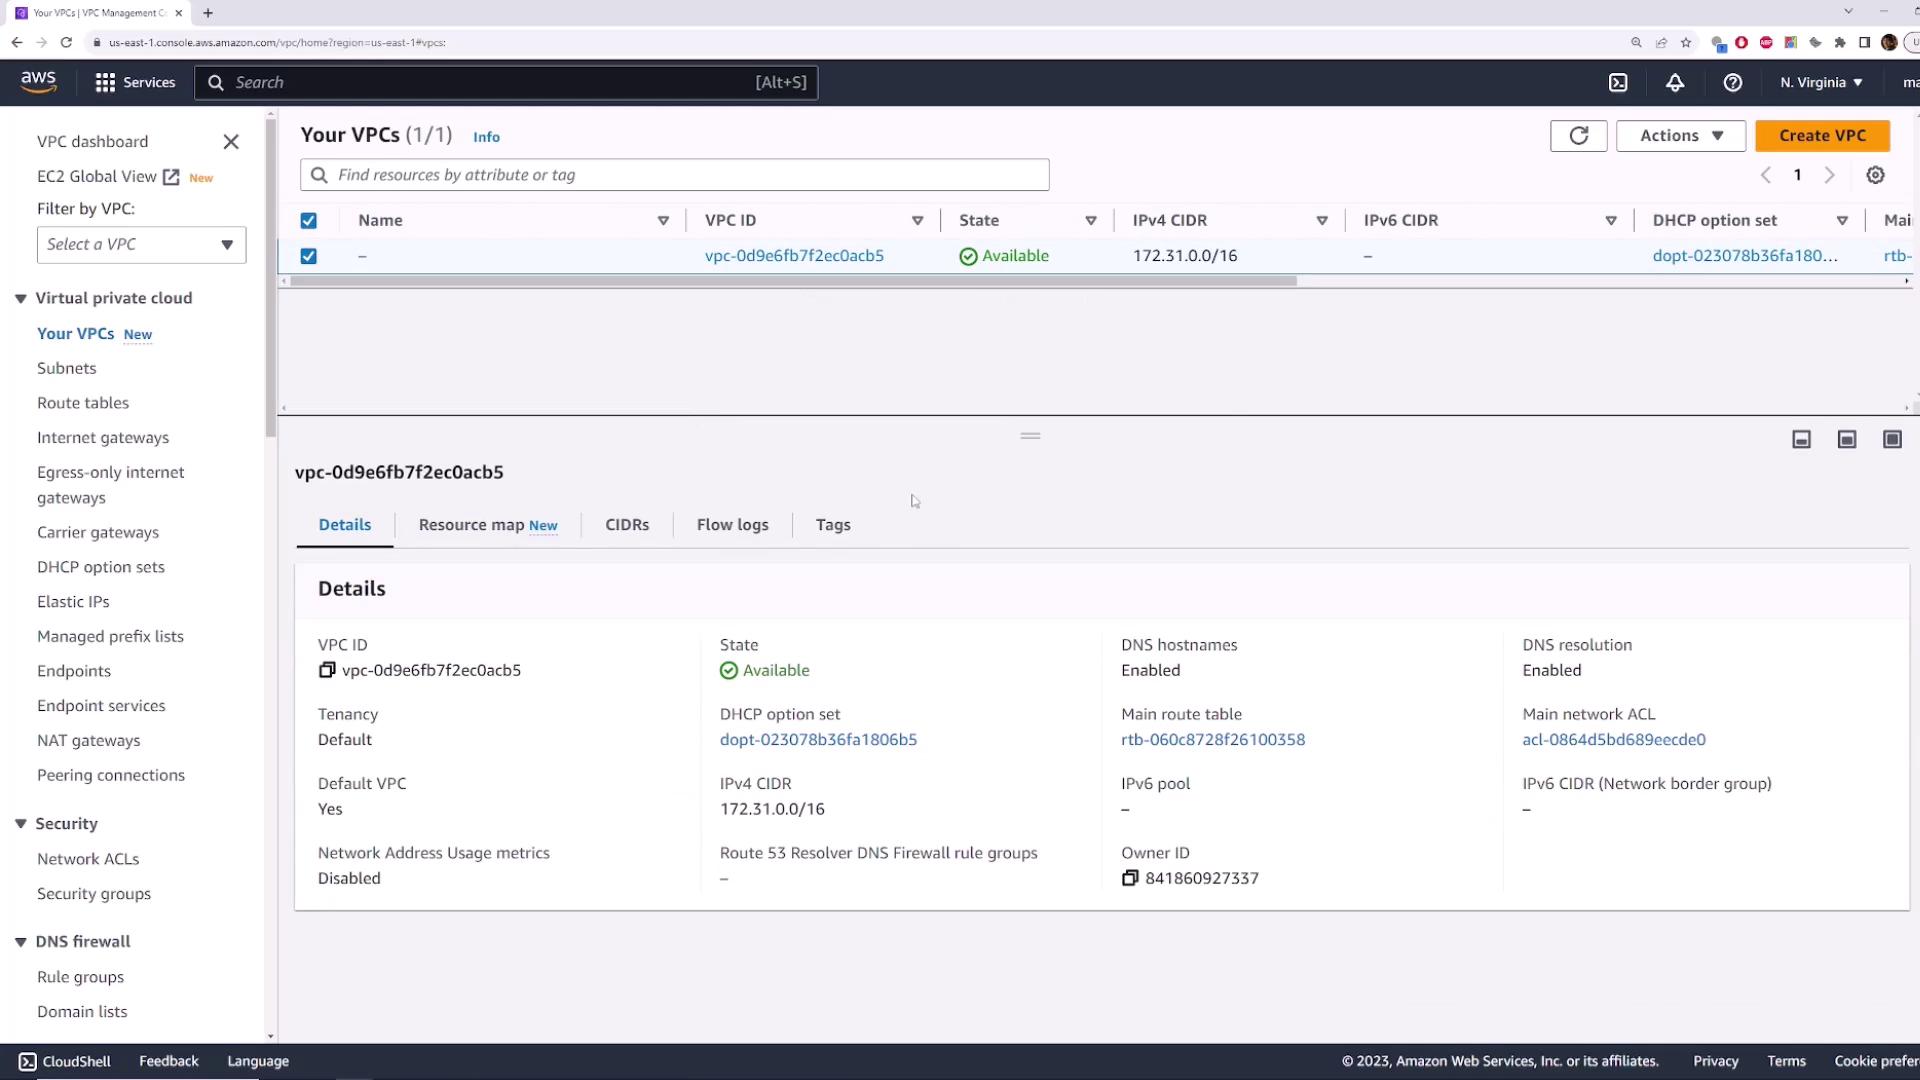
Take a closer look at this default VPC. It is in an “available” state with the CIDR block set as 172.31.0.0/16. Additionally, the “default VPC” flag is enabled. Clicking on the VPC confirms the CIDR block and the default status.
Next, switch to another region (for example, Ohio) and navigate to the VPC section. You will observe that there is exactly one VPC with the same CIDR block (172.31.0.0/16) marked as default. This confirms that AWS creates a default VPC with an identical configuration in every region.
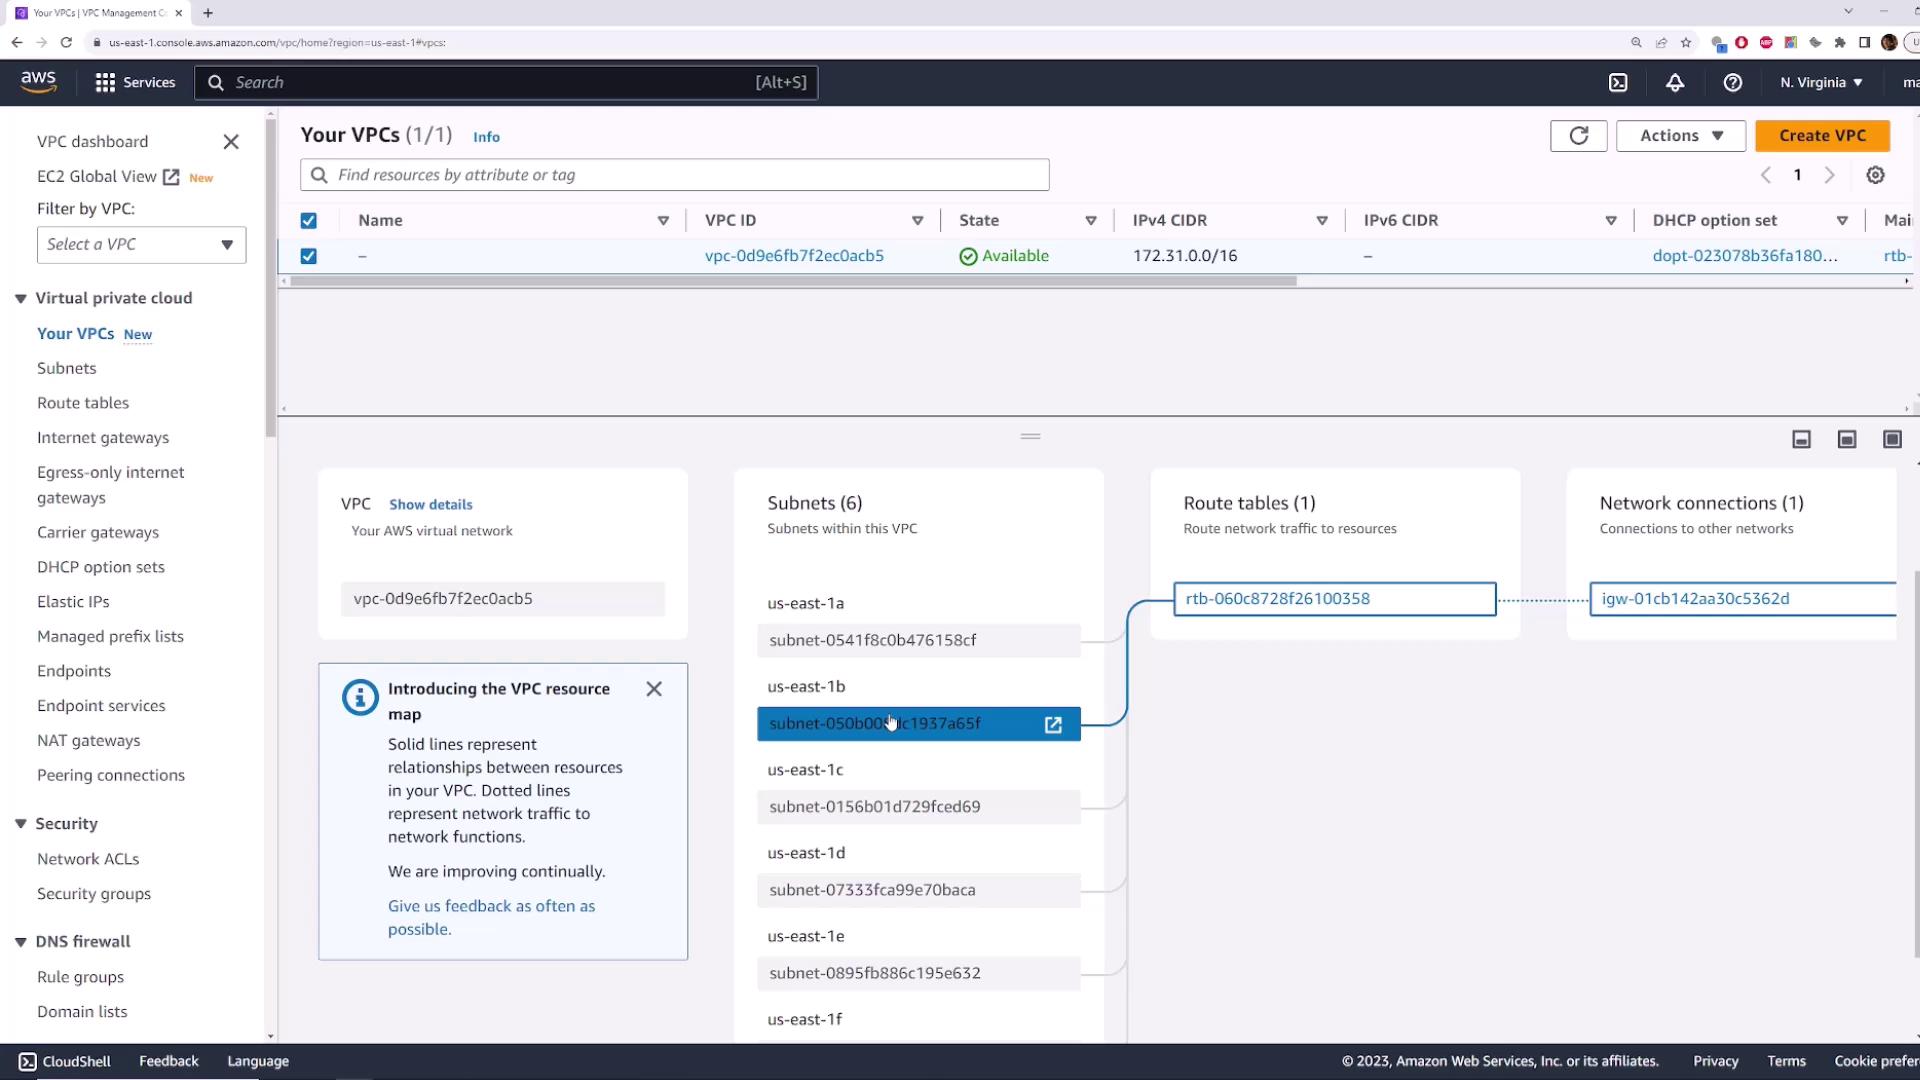
Return to the Northern Virginia region and inspect the default VPC contents by checking its subnets. Identify the VPC ID (ending in ACB5) and then visit the Subnets section to find six subnets.
These six subnets exist because AWS provisions one default subnet per availability zone (for example, 1A, 1B, 1C, 1D, 1E, and 1F) within the region. To visualize the layout, reference the resource map in the VPC page, which clearly displays the six subnets aligned with their respective availability zones.
The default VPC also features a route table that manages traffic flow and an Internet Gateway configured for internet access.
Explore one of the subnets by navigating to its details page. You will notice that the subnet is configured to auto-assign public IPv4 addresses. This configuration ensures that any EC2 instance launched within the subnet will automatically receive a public IP address for internet connectivity.
Once you create an AWS account, you can immediately deploy servers with internet access by utilizing the default VPC and its associated subnets.
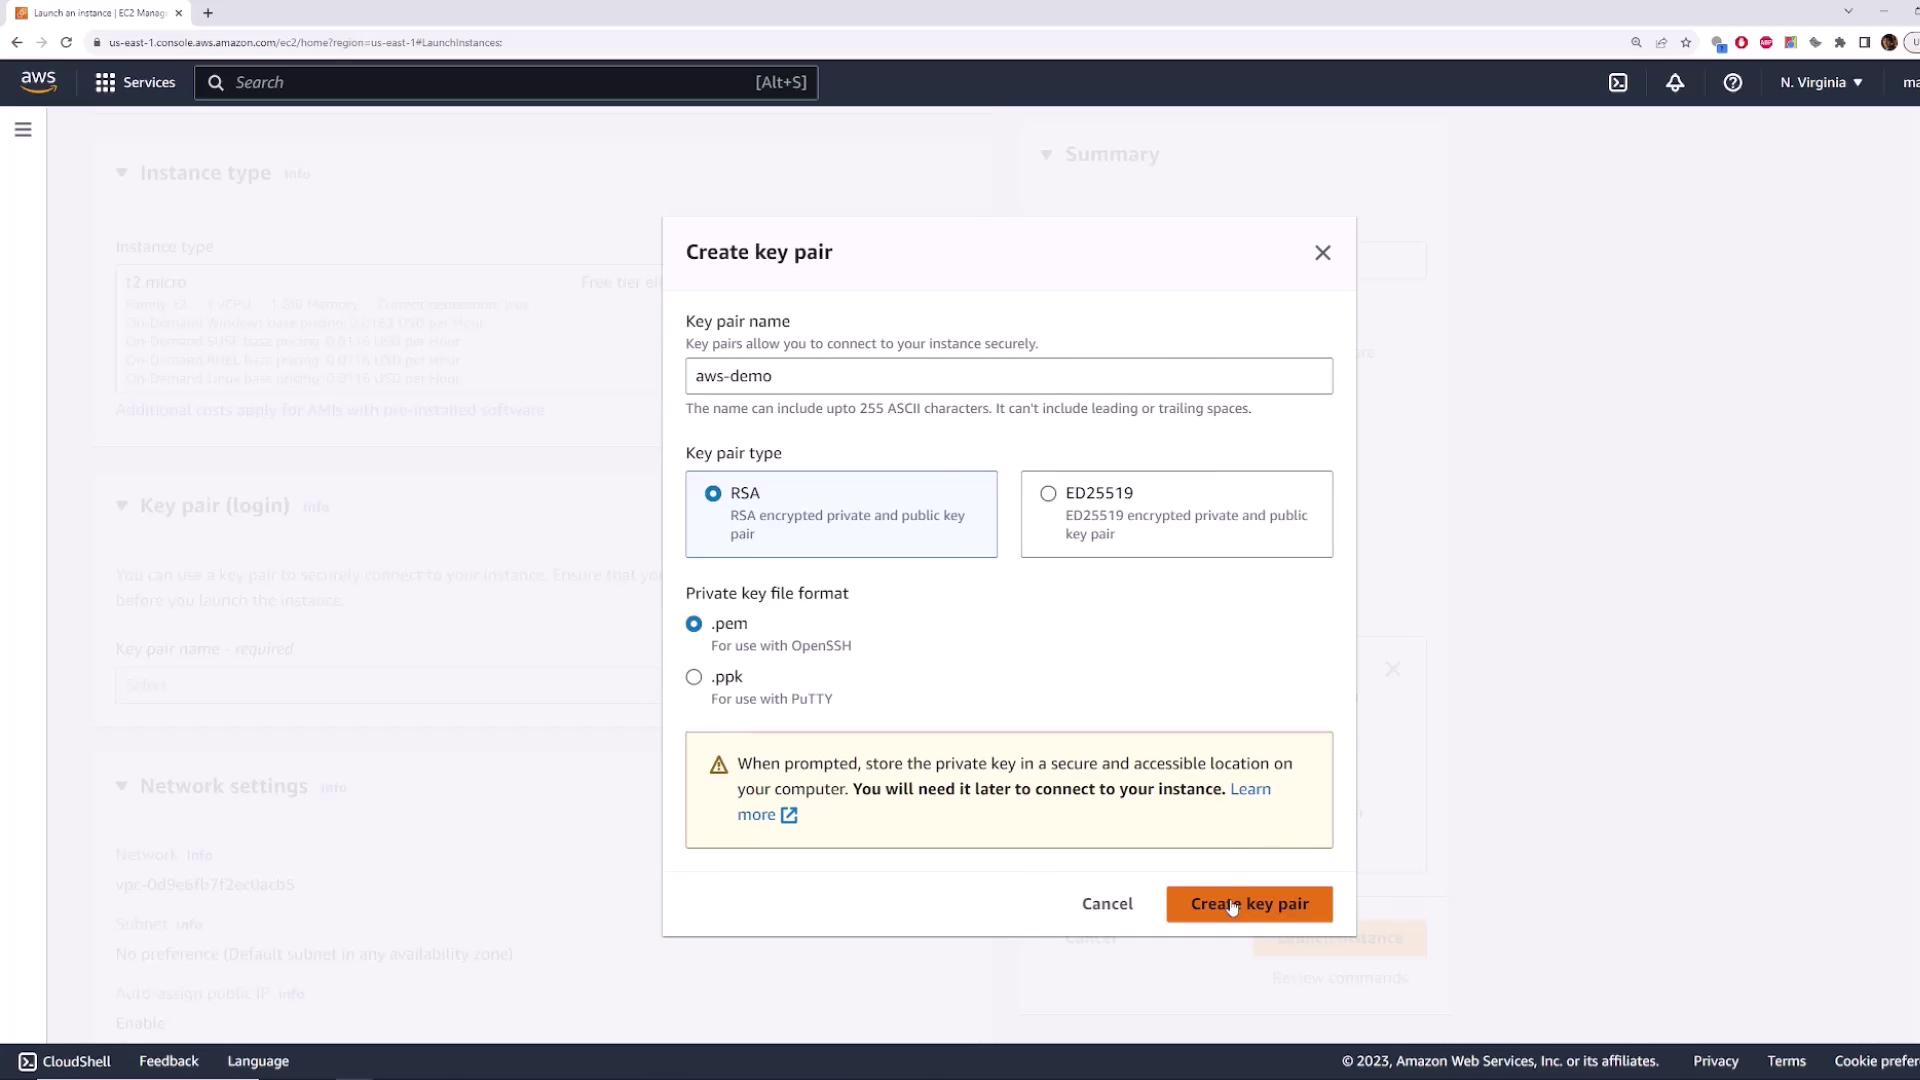
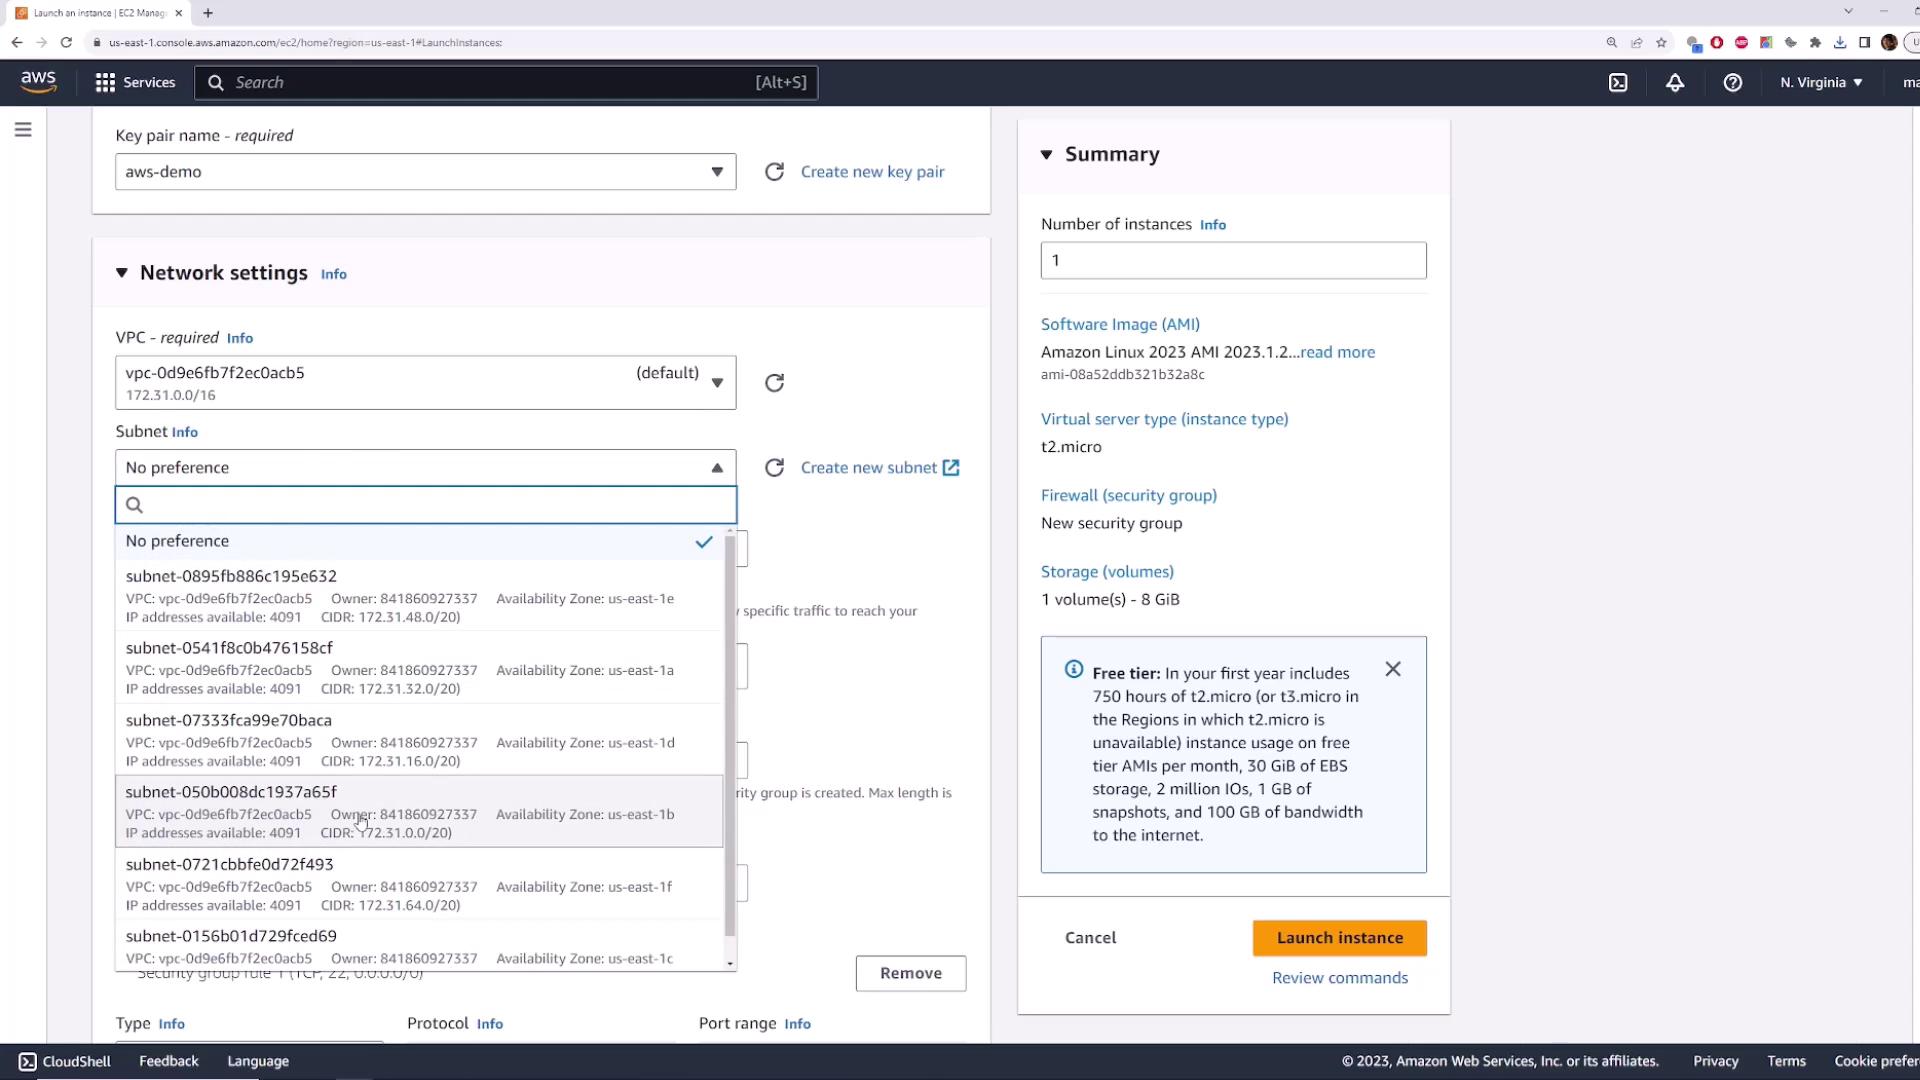
To demonstrate this, navigate to the EC2 page and launch a new instance with the default configurations. For this demo, use the Amazon Linux image and select a T2 micro instance type. During the process, create a new key pair (for example, “aws-demo”) and download the PEM file.
When launching the instance, ensure the following:
The instance is assigned to the default VPC (usually the only option).
A specific subnet is selected if required.
The auto-assign public IPv4 address option is enabled to ensure the instance obtains internet connectivity.
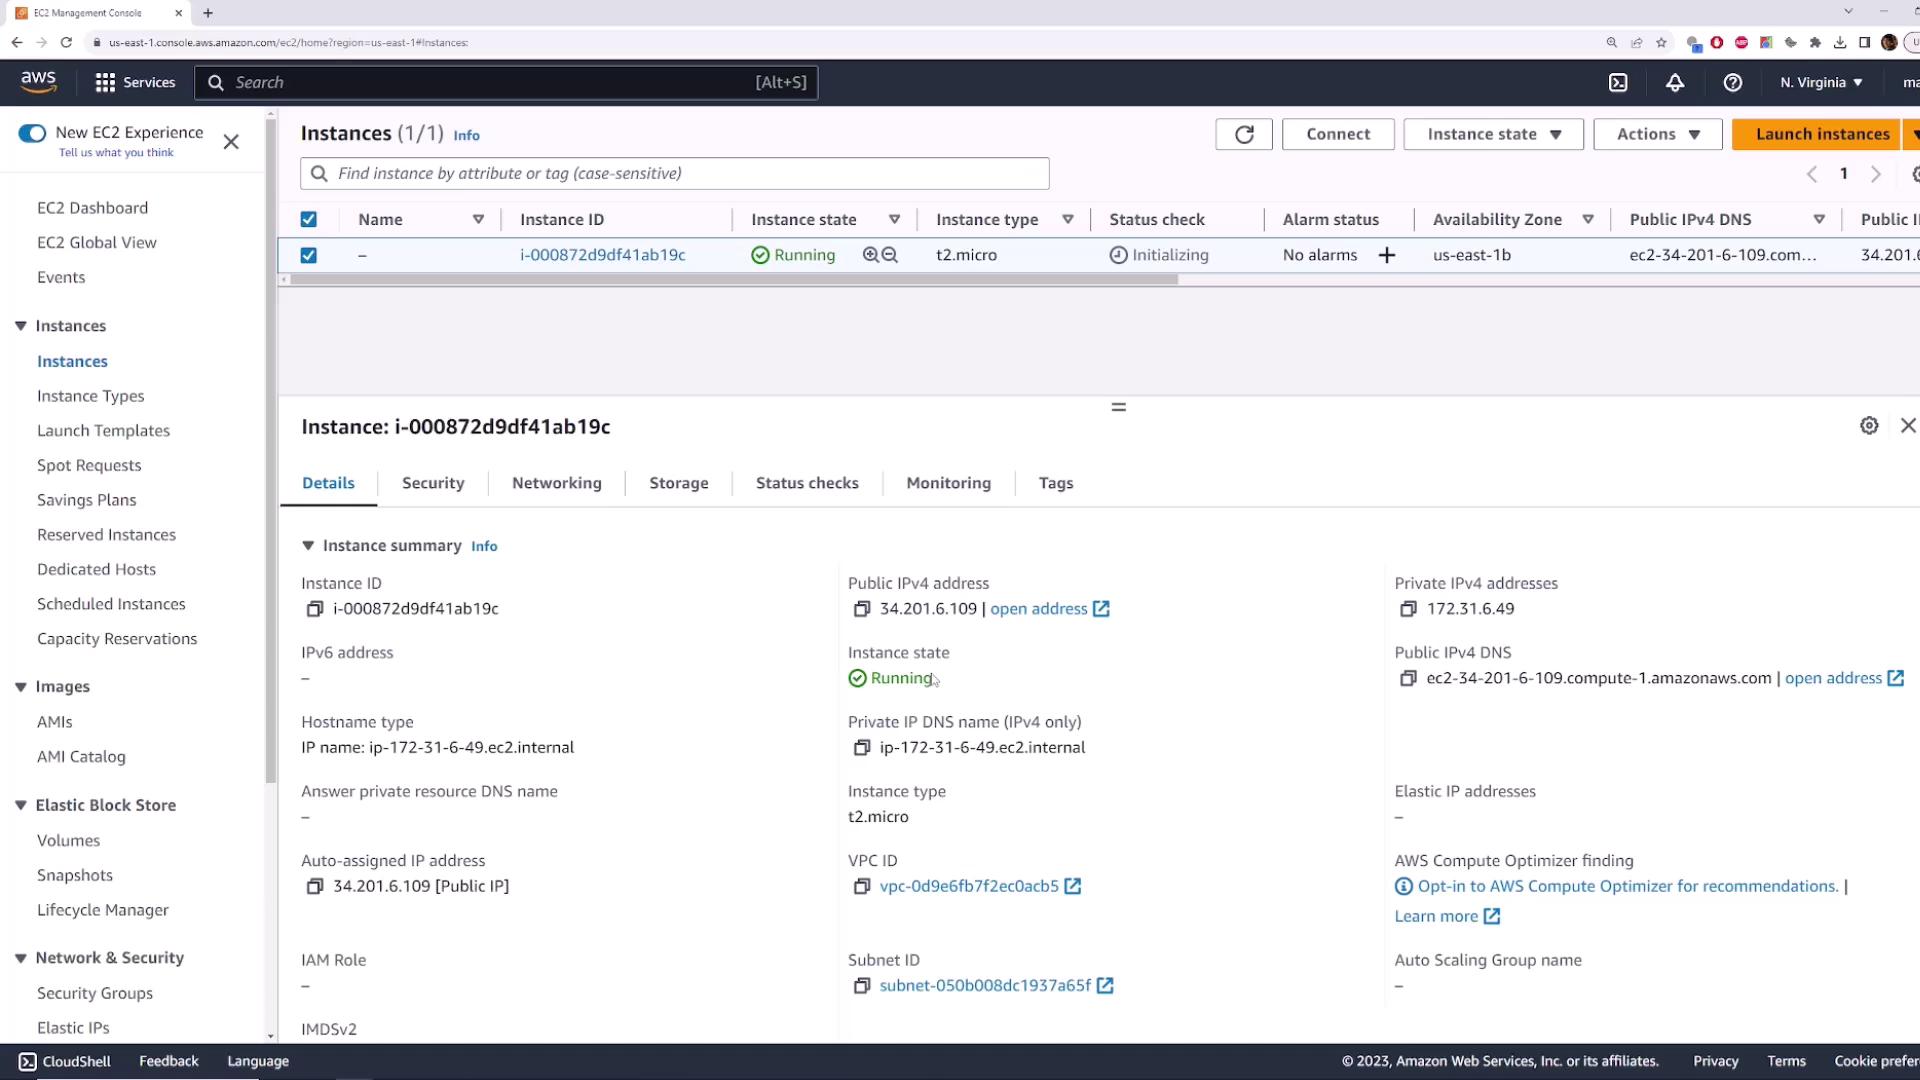
After launching, move to the Instances section to confirm that your instance is running. You will see both a private IP address (from the default CIDR block) and a public IP address.
Always safeguard your key pair file and avoid sharing it publicly. It is essential for secure SSH access to your instances.
To connect to your instance via SSH, use the downloaded key pair. On your local machine, run the following command (replacing <PUBLIC_IP_ADDRESS> with the actual public IP):
ssh -i aws-demo.pem ec2-user@<PUBLIC_IP_ADDRESS>
Below is an example of the terminal output after a successful connection (note that the IP address and the key fingerprint will differ):
Microsoft Windows [Version 10.0.19045.3324](c) Microsoft Corporation. All rights reserved.C:\Users\sanje\Documents\scratch\aws-demo>ssh -i aws-demo.pem ec2-user@34.201.6.109The authenticity of host '34.201.6.109 (34.201.6.109)' can't be established.ECDSA key fingerprint is SHA256:faOCPuuMP2Fvn9aHeAeW56Eei94znaTnFefIDRd1mE.Are you sure you want to continue connecting (yes/no)? yesWarning: Permanently added '34.201.6.109' (ECDSA) to the list of known hosts.Amazon Linux 2023https://aws.amazon.com/linux/amazon-linux-2023
Once connected, you can verify internet connectivity by pinging an external DNS server (such as Google’s). This proves that resources launched in the default VPC have the necessary internet access.
This demonstration highlights the advantages of using AWS’s default VPC:
Automatic deployment of a default VPC across every region.
Provisioning of default subnets for multiple Availability Zones.
Pre-configured Internet Gateway and route table for immediate internet access.
Simplified server deployments with minimal networking configuration.
Understanding these default settings is crucial when comparing custom VPCs with AWS’s automated default configurations, particularly for quick-start deployments.For further reading on AWS network architecture, consider exploring the AWS VPC Documentation and other related resources.