This lesson demonstrates how to register and manage EC2 instances with AWS Systems Manager (SSM). We’ll:
  • Ensure the SSM Agent is available on the instances
  • Use Quick Setup to provision instance profiles and roles
  • Verify IAM roles and network connectivity
  • Connect to instances using Session Manager
  • Run a Run Command document to create a user across multiple instances
Key concepts: SSM Agent, Quick Setup, Session Manager, Run Command, Fleet Manager, IAM roles, VPC connectivity.

SSM Agent — install and verify

For Systems Manager to manage an EC2 instance, the SSM Agent must be installed and running. AWS provides OS-specific guidance in the “Working with SSM Agent” documentation.
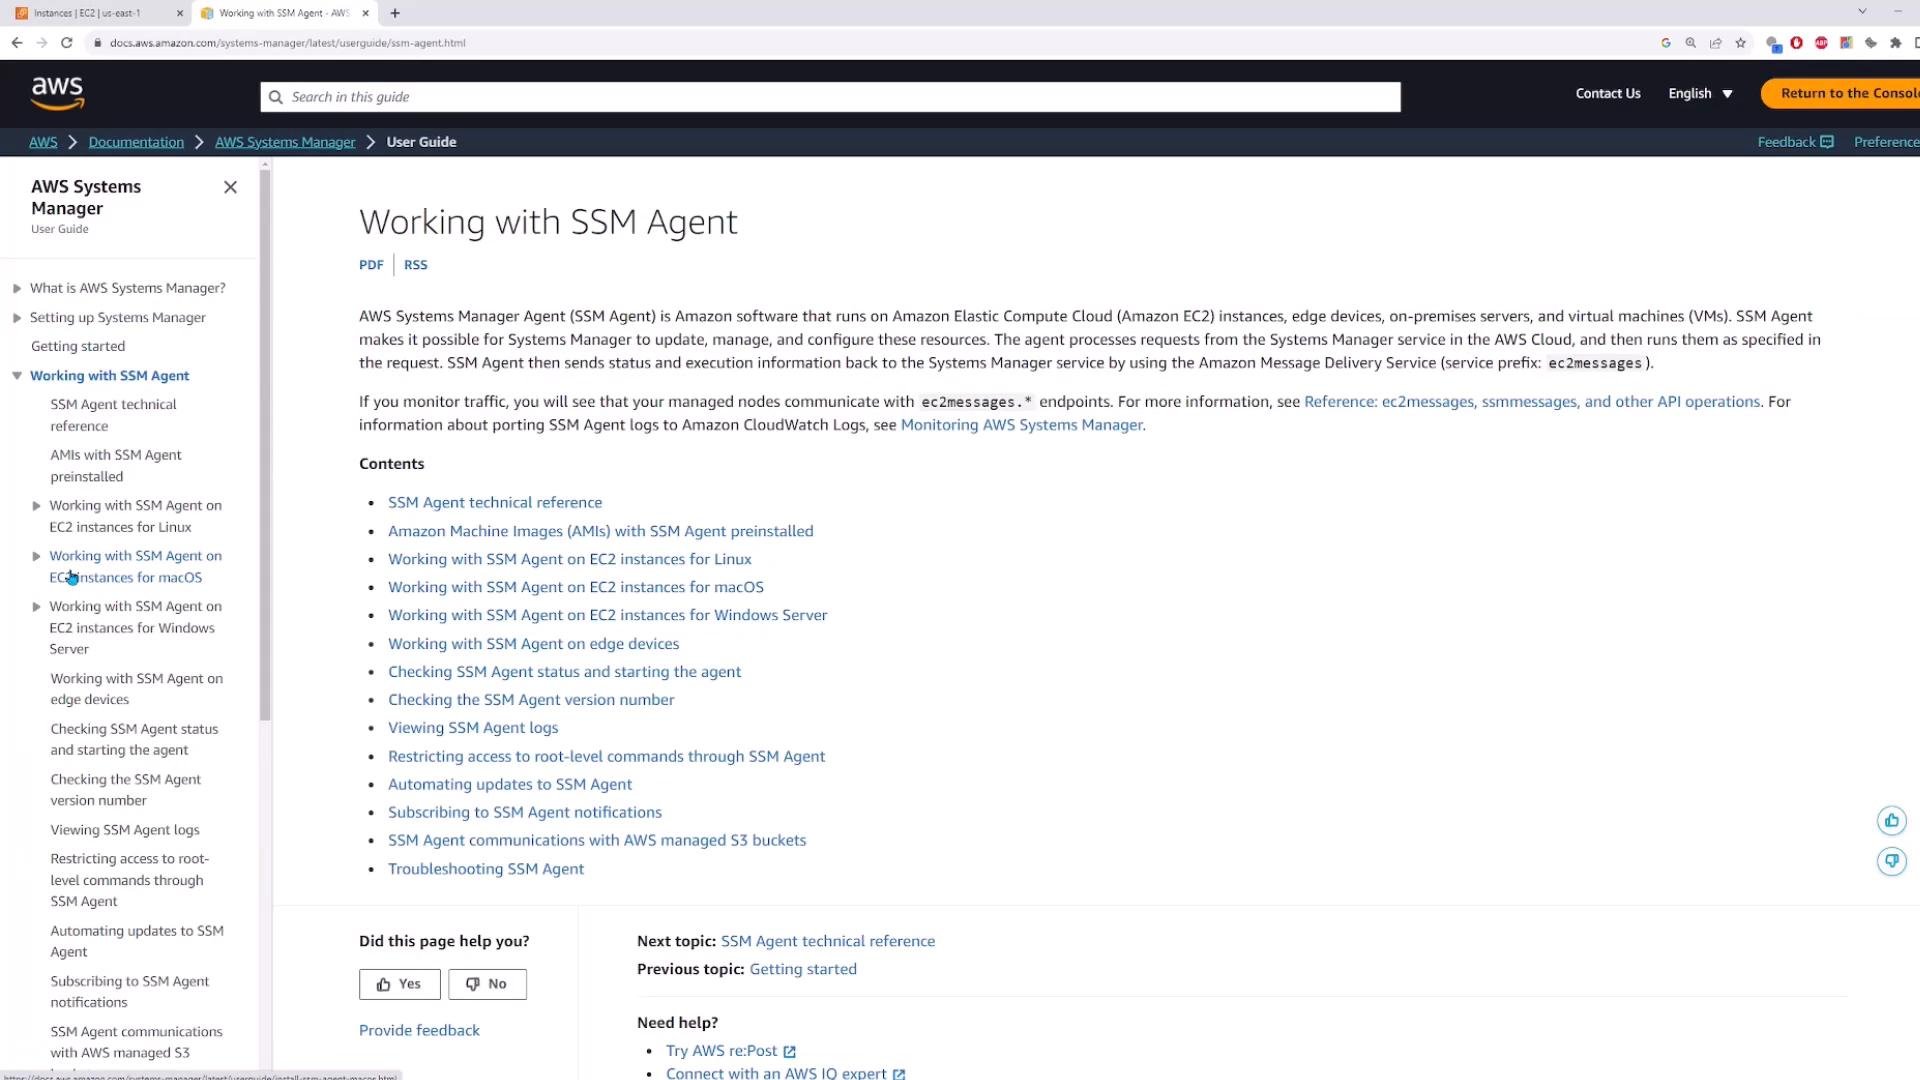
A screenshot of the AWS Systems Manager User Guide page titled "Working with SSM Agent," showing the article text, a bulleted contents list, and a left navigation pane with related topics. The browser window and address bar/tabs are also visible at the top.
Amazon Linux 2 and Amazon Linux 2023 AMIs typically include the SSM Agent by default. For other distributions, follow the AWS guide to install and configure the agent: https://docs.aws.amazon.com/systems-manager/latest/userguide/ssm-agent.html
Because my servers run Amazon Linux, the agent is already present and I can skip manual installation.

Quick Setup — automate host management

Quick Setup simplifies onboarding instances into Systems Manager by creating the necessary IAM roles, instance profiles, and associations. From the Systems Manager console, choose Quick Setup and pick the “Default Host Management Configuration”. The default configuration includes typical maintenance tasks:
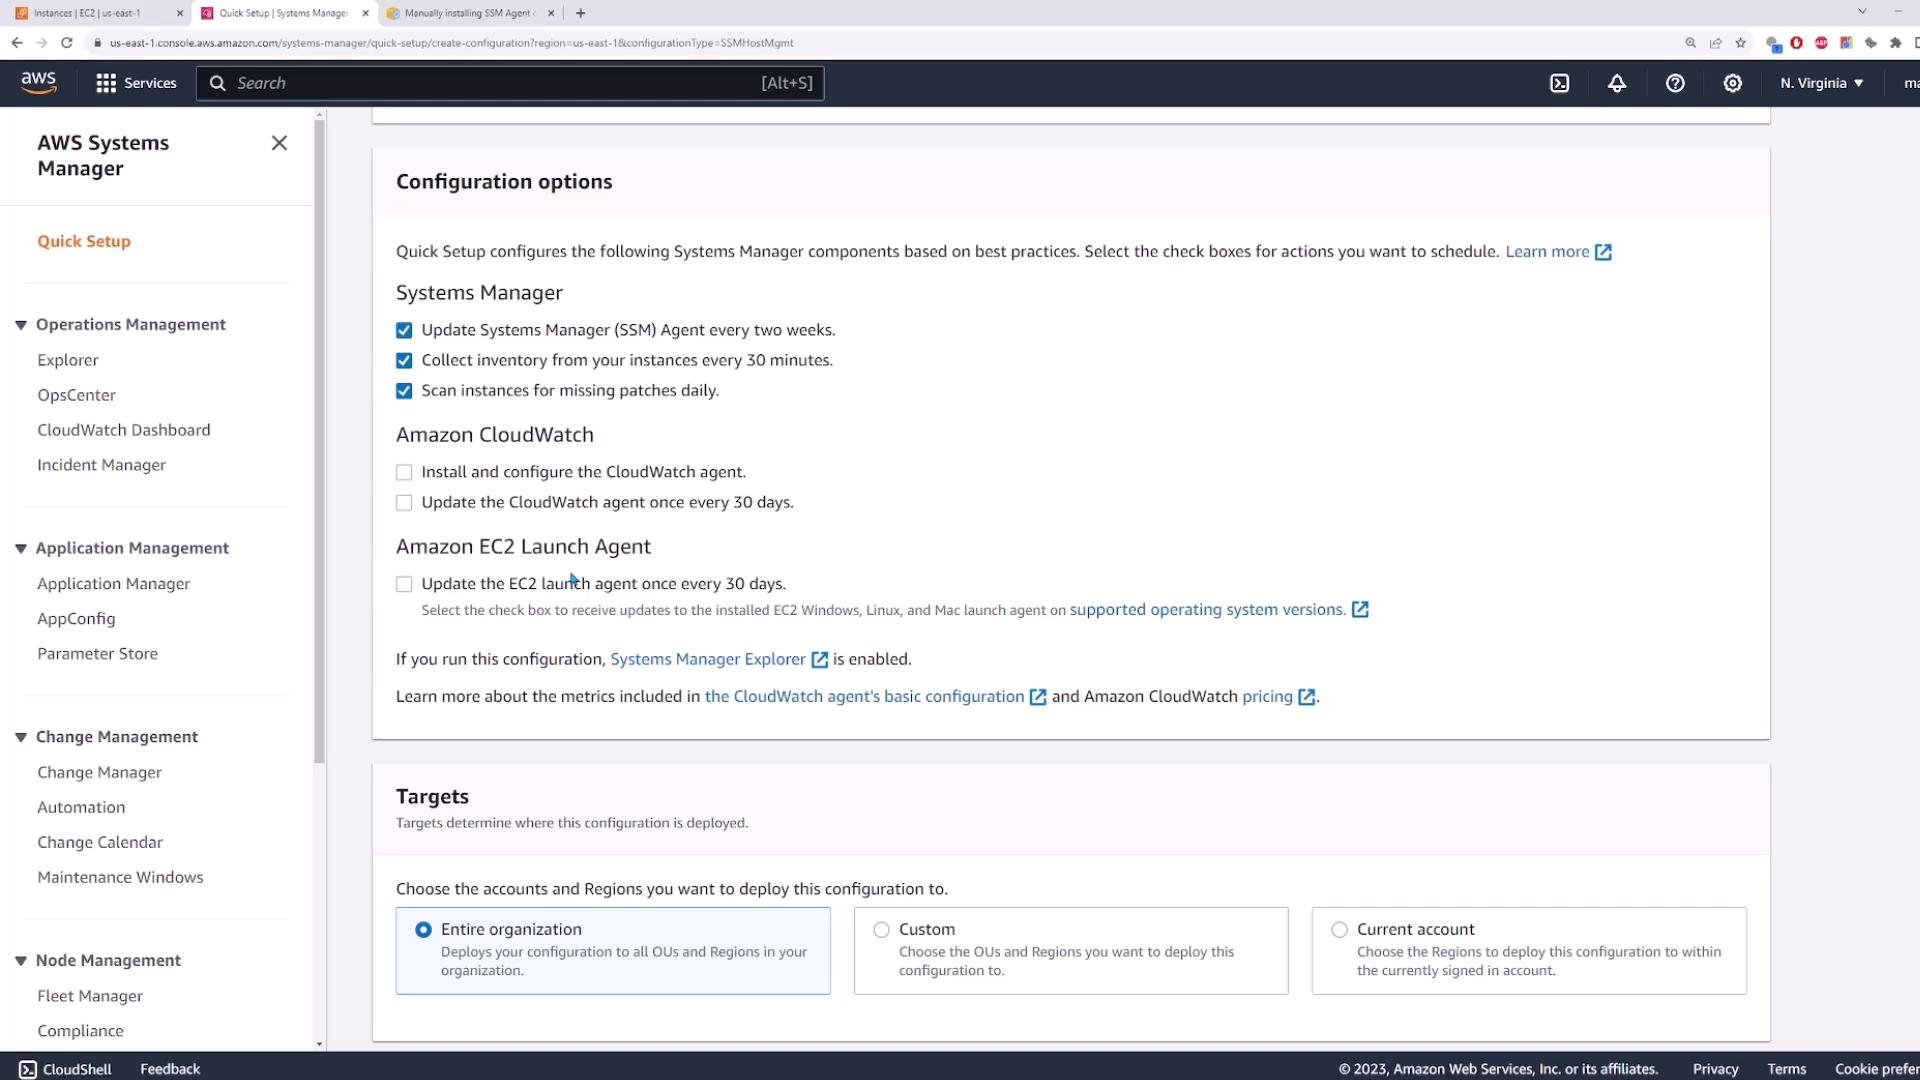
A screenshot of the AWS Systems Manager Quick Setup page showing configuration options with checkboxes for updating the SSM Agent, collecting inventory, CloudWatch and EC2 launch agent settings. The lower part shows target deployment choices like Entire organization, Custom, and Current account.
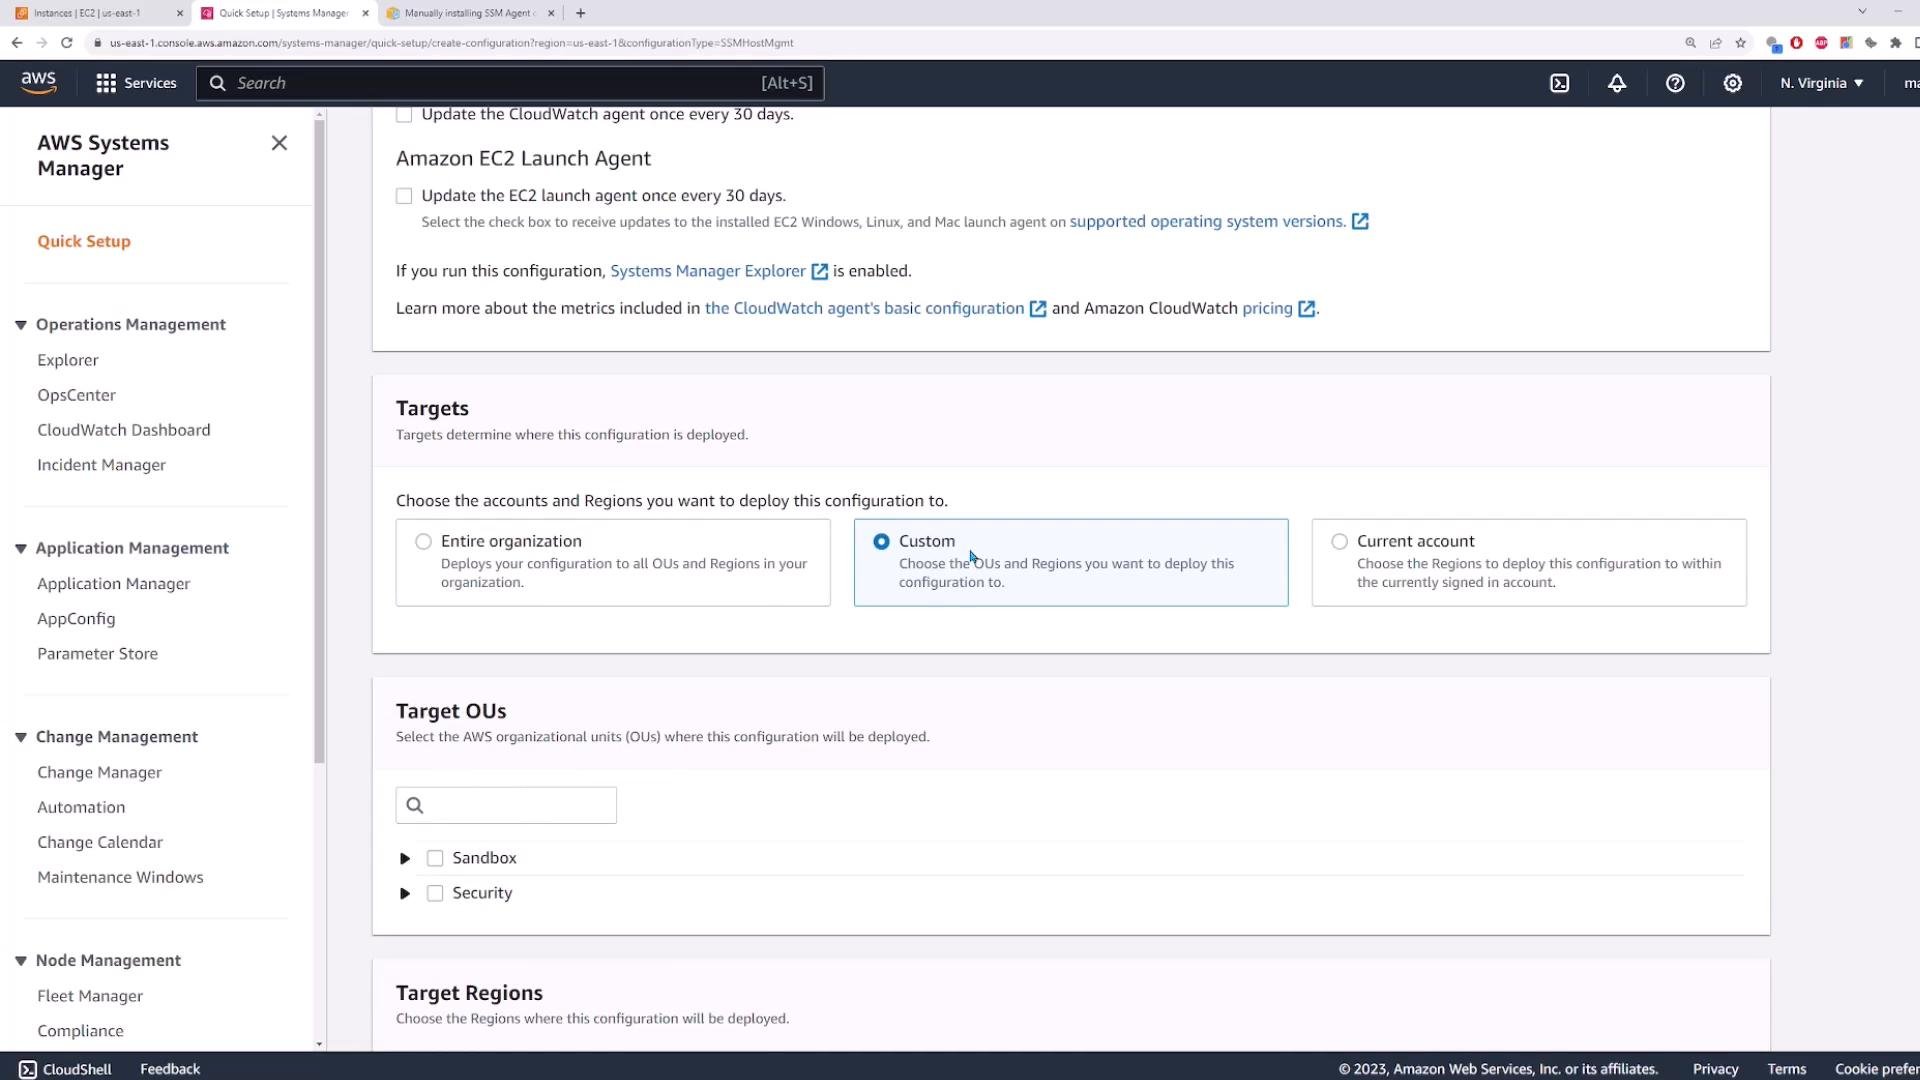
Choose your targets (Entire organization, Current account, or Custom). For this demo I selected the current account and region (us-east-1).
A screenshot of the AWS Management Console showing the Systems Manager Quick Setup page, with the "Targets" section and radio options for Entire organization, Custom (selected), and Current account. The left sidebar displays Systems Manager navigation items like Explorer, OpsCenter, and Application Manager.
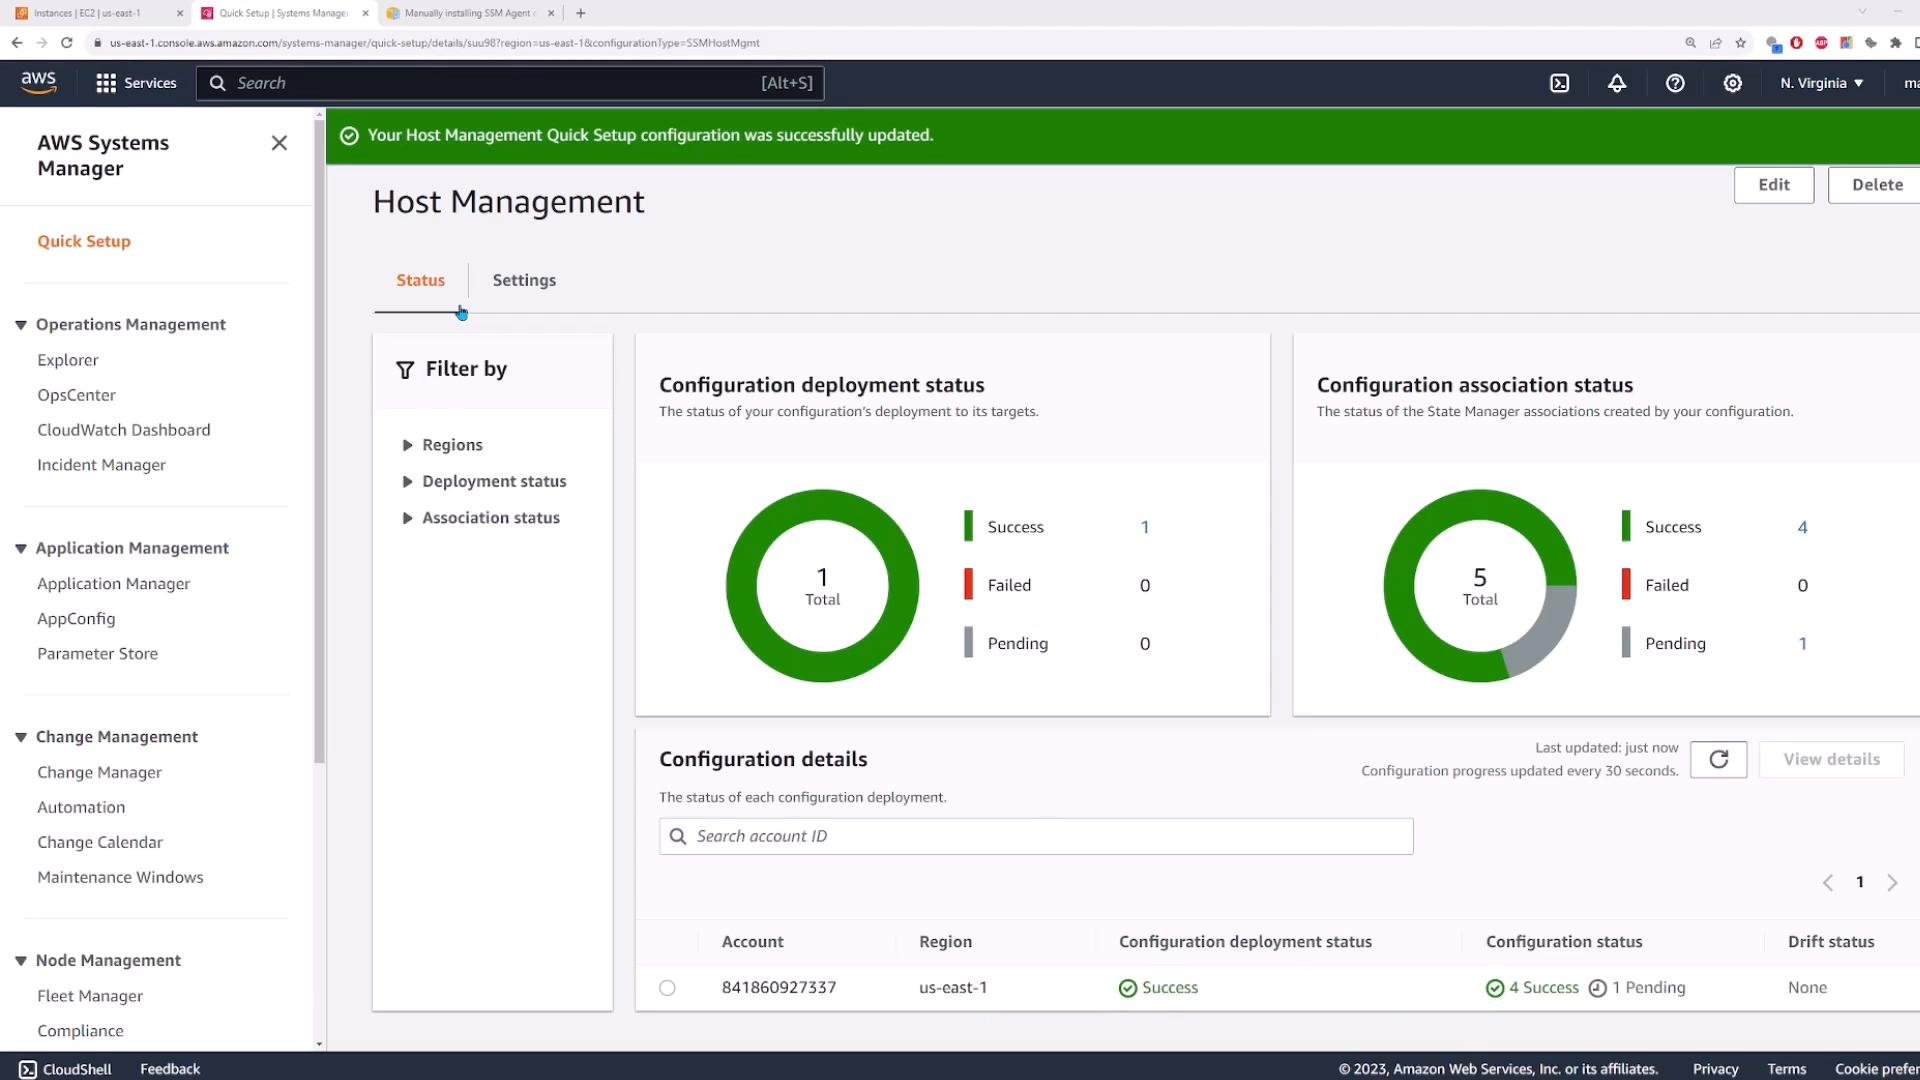
Next, select which instances to manage: all instances, by tag/resource group, or manually. I selected instances manually (server1 and server2) and clicked Create. Quick Setup then created the IAM role and applied the instance profile to the selected EC2 instances. When deployment finishes you should see a success status for the Quick Setup association.
A screenshot of the AWS Systems Manager "Host Management" console showing configuration deployment and association status panels with green success pie charts. The left sidebar shows navigation items like Quick Setup, Operations Management, and Application Management.

Verify IAM role and policies

Quick Setup creates and attaches an IAM role to the instance. You can verify the instance’s role from the EC2 console: Actions → Security → Modify IAM role.
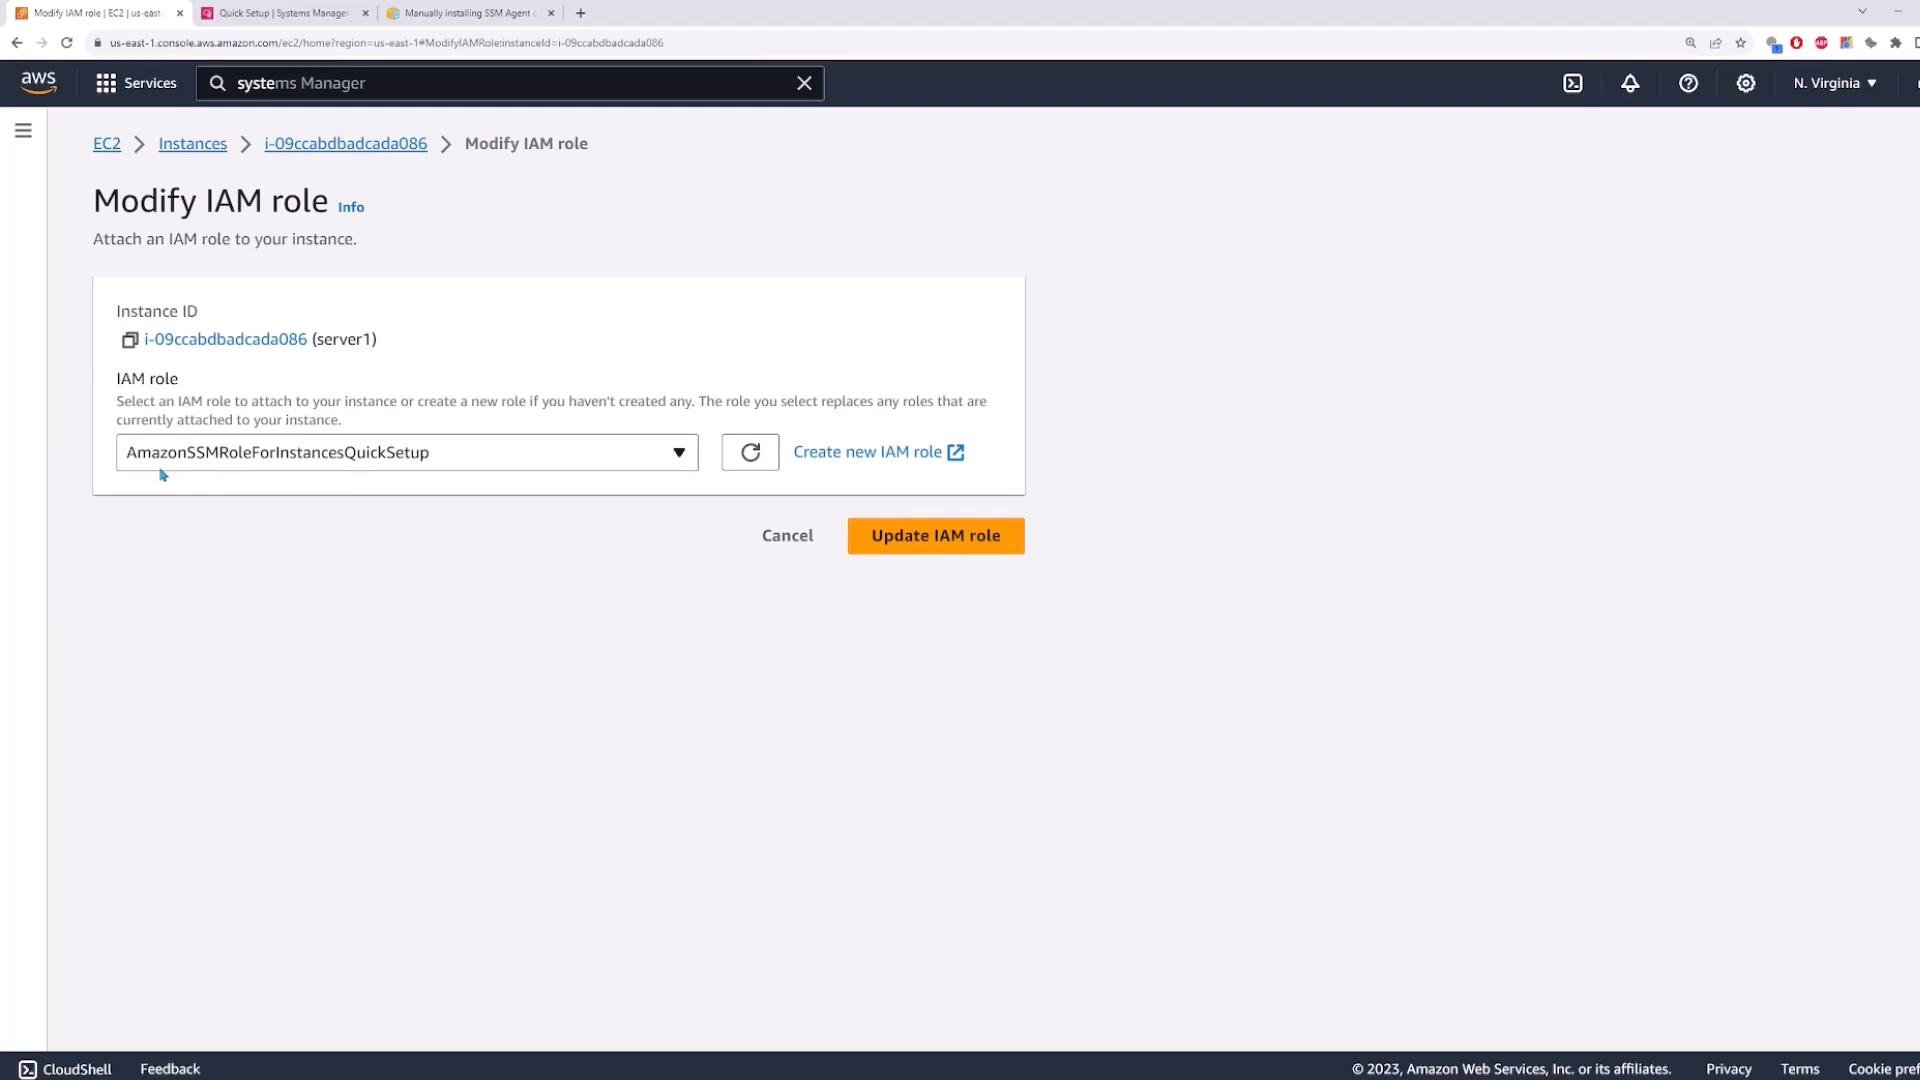
A screenshot of the AWS EC2 console on the "Modify IAM role" page for an instance (i-09ccabdbadcada086). The IAM role dropdown shows "AmazonSSMRoleForInstancesQuickSetup" with an orange "Update IAM role" button visible.
Open IAM → Roles and inspect the role to confirm the expected managed policies are attached, for example AmazonSSMManagedInstanceCore and AmazonSSMPatchAssociation.
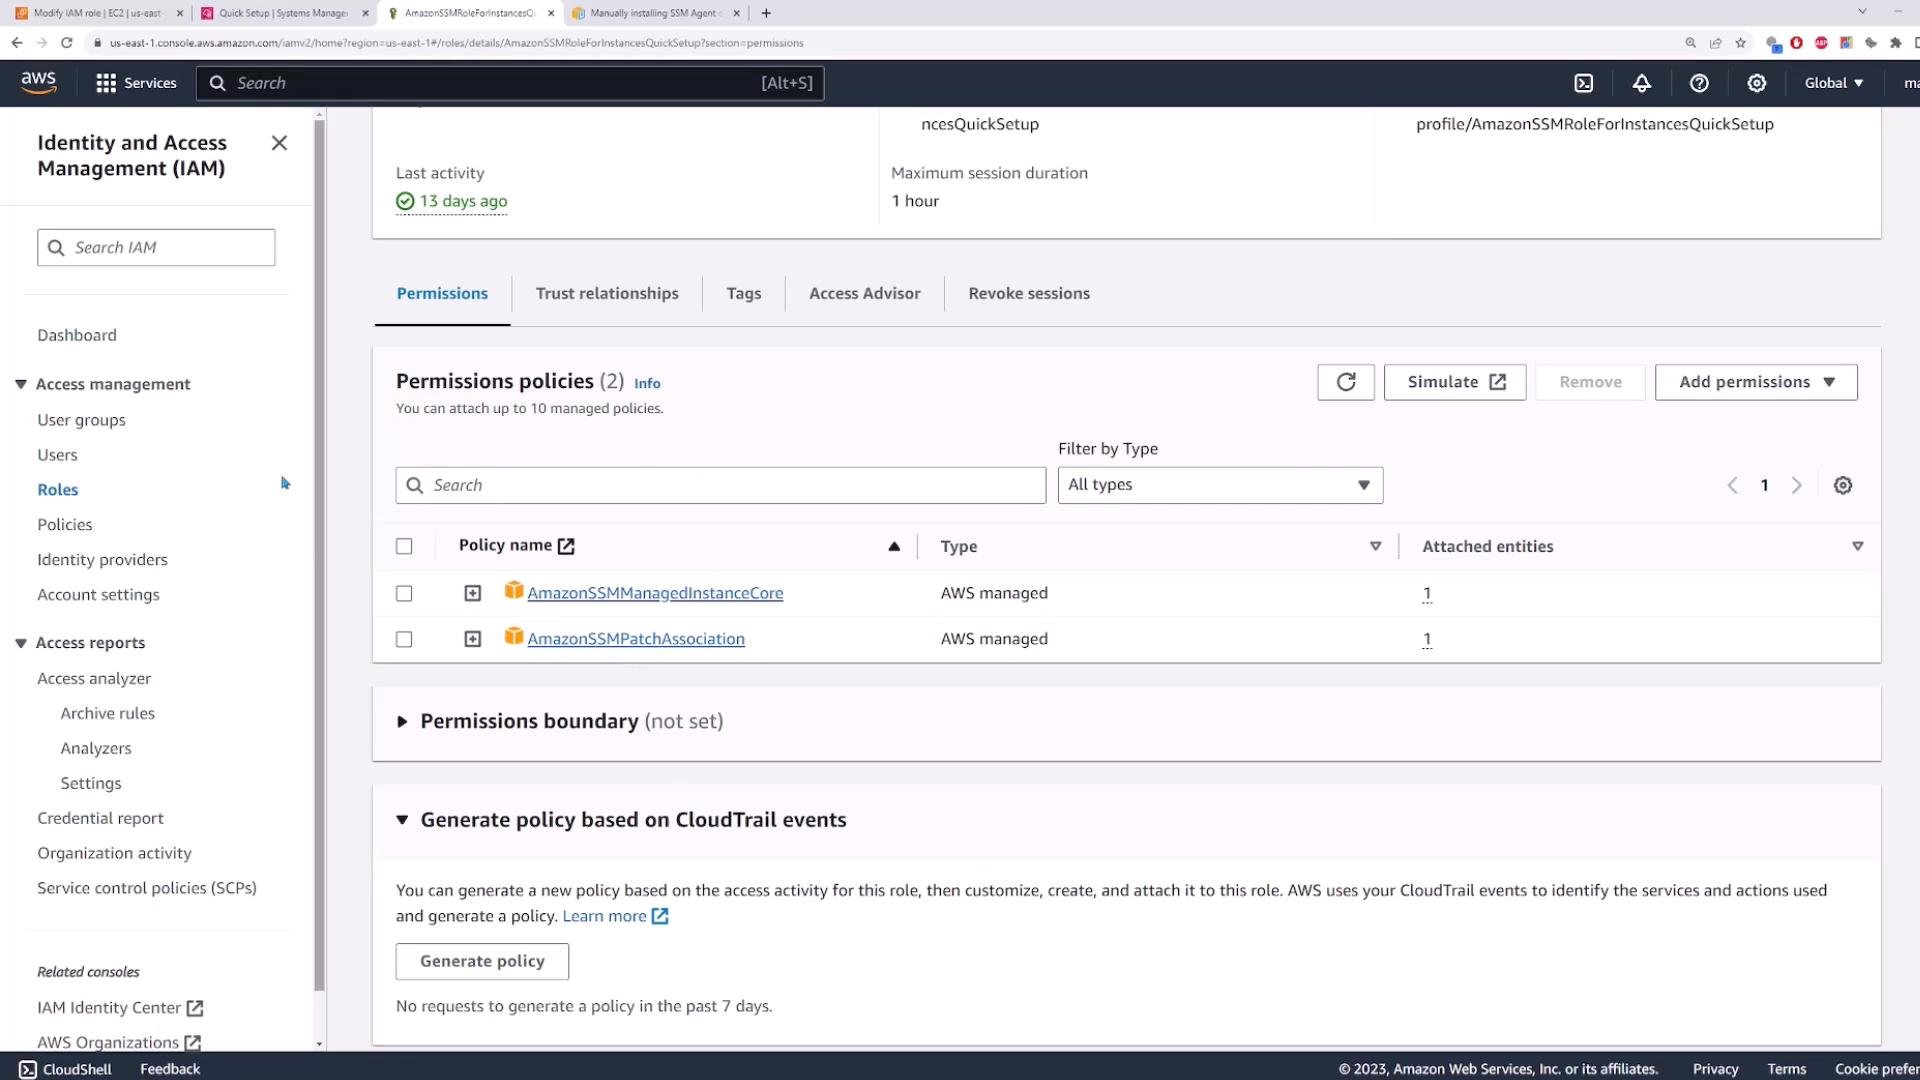
Screenshot of the AWS Identity and Access Management (IAM) console open to a role's Permissions tab. It shows two attached AWS-managed policies (AmazonSSMManagedInstanceCore and AmazonSSMPatchAssociation) with buttons to simulate, remove, or add permissions.

Network requirements

Systems Manager communicates using HTTPS (port 443). Ensure instances have outbound access to SSM endpoints for your region:
  • ssm.region.amazonaws.com
  • ssmmessages.region.amazonaws.com
  • ec2messages.region.amazonaws.com
You can provide outbound access via a NAT gateway, public subnets with an Internet Gateway (for instances with public IPs), or VPC Interface Endpoints for Systems Manager.
If instances are in private subnets without outbound connectivity to the SSM endpoints, the SSM Agent cannot reach AWS Systems Manager and management features (Session Manager, Run Command, Inventory, etc.) will not work.
In this demo my instances are in a private subnet with a route to a NAT gateway, which satisfies the outbound connectivity requirement.

Verify registration — Fleet Manager and EC2

After SSM registration, confirm managed instances are online in Systems Manager → Node Management → Fleet Manager. You can also view managed instances from the EC2 console and connect using Session Manager. Session Manager provides an interactive shell without requiring SSH or a public IP.
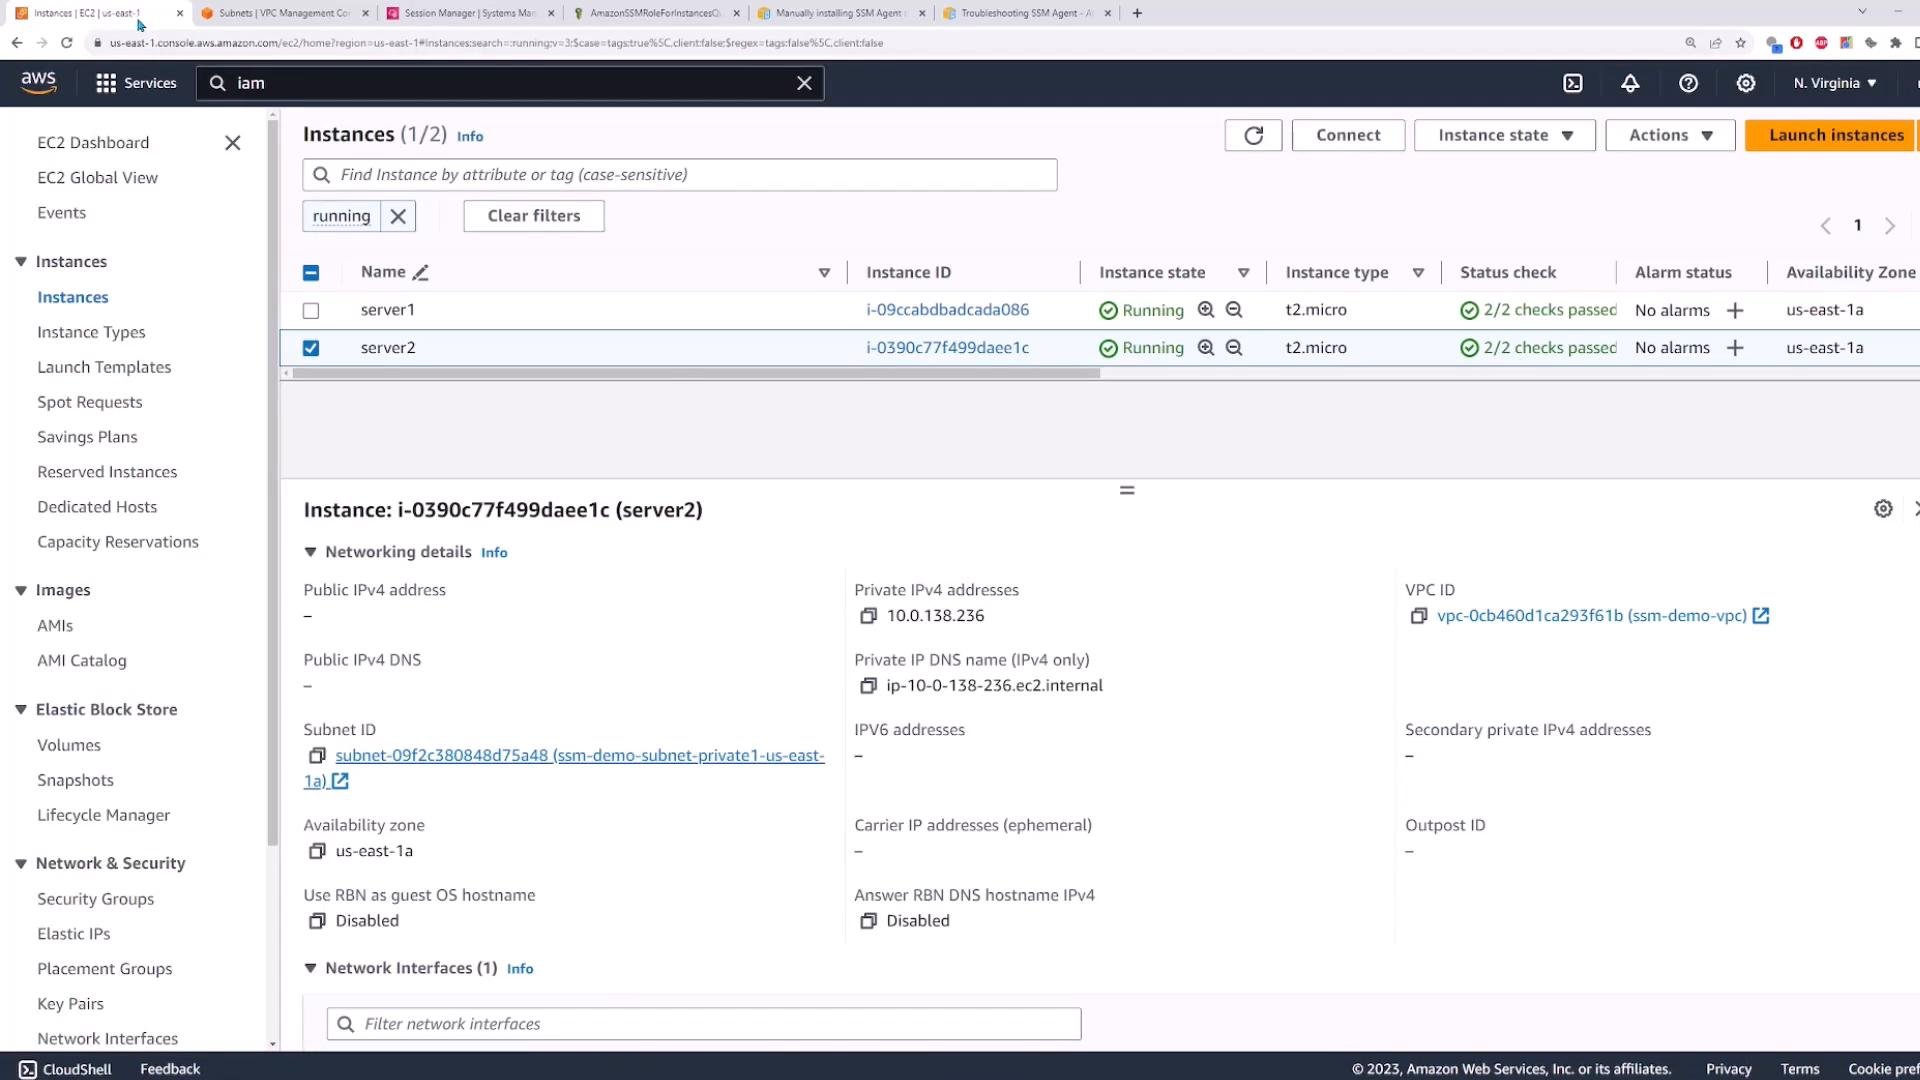
A screenshot of the AWS EC2 console showing two running t2.micro instances named "server1" and "server2." The "server2" instance is selected and its details pane displays networking info (private IPv4 10.0.138.236, subnet, VPC and availability zone us-east-1a).
Using Session Manager gives you an in-browser shell prompt on the instance, for example:
Session Manager eliminates the need for bastion/jump hosts when you only need an interactive shell to manage private instances.

Managing configuration at scale — Run Command

For repetitive or broad-scope tasks (installing packages, creating users, running scripts), use Systems Manager Run Command. Run Command lets you execute documents across many managed instances simultaneously. The console includes a library of AWS-provided and custom SSM Documents. Open Systems Manager → Node Management → Run Command to browse available documents.
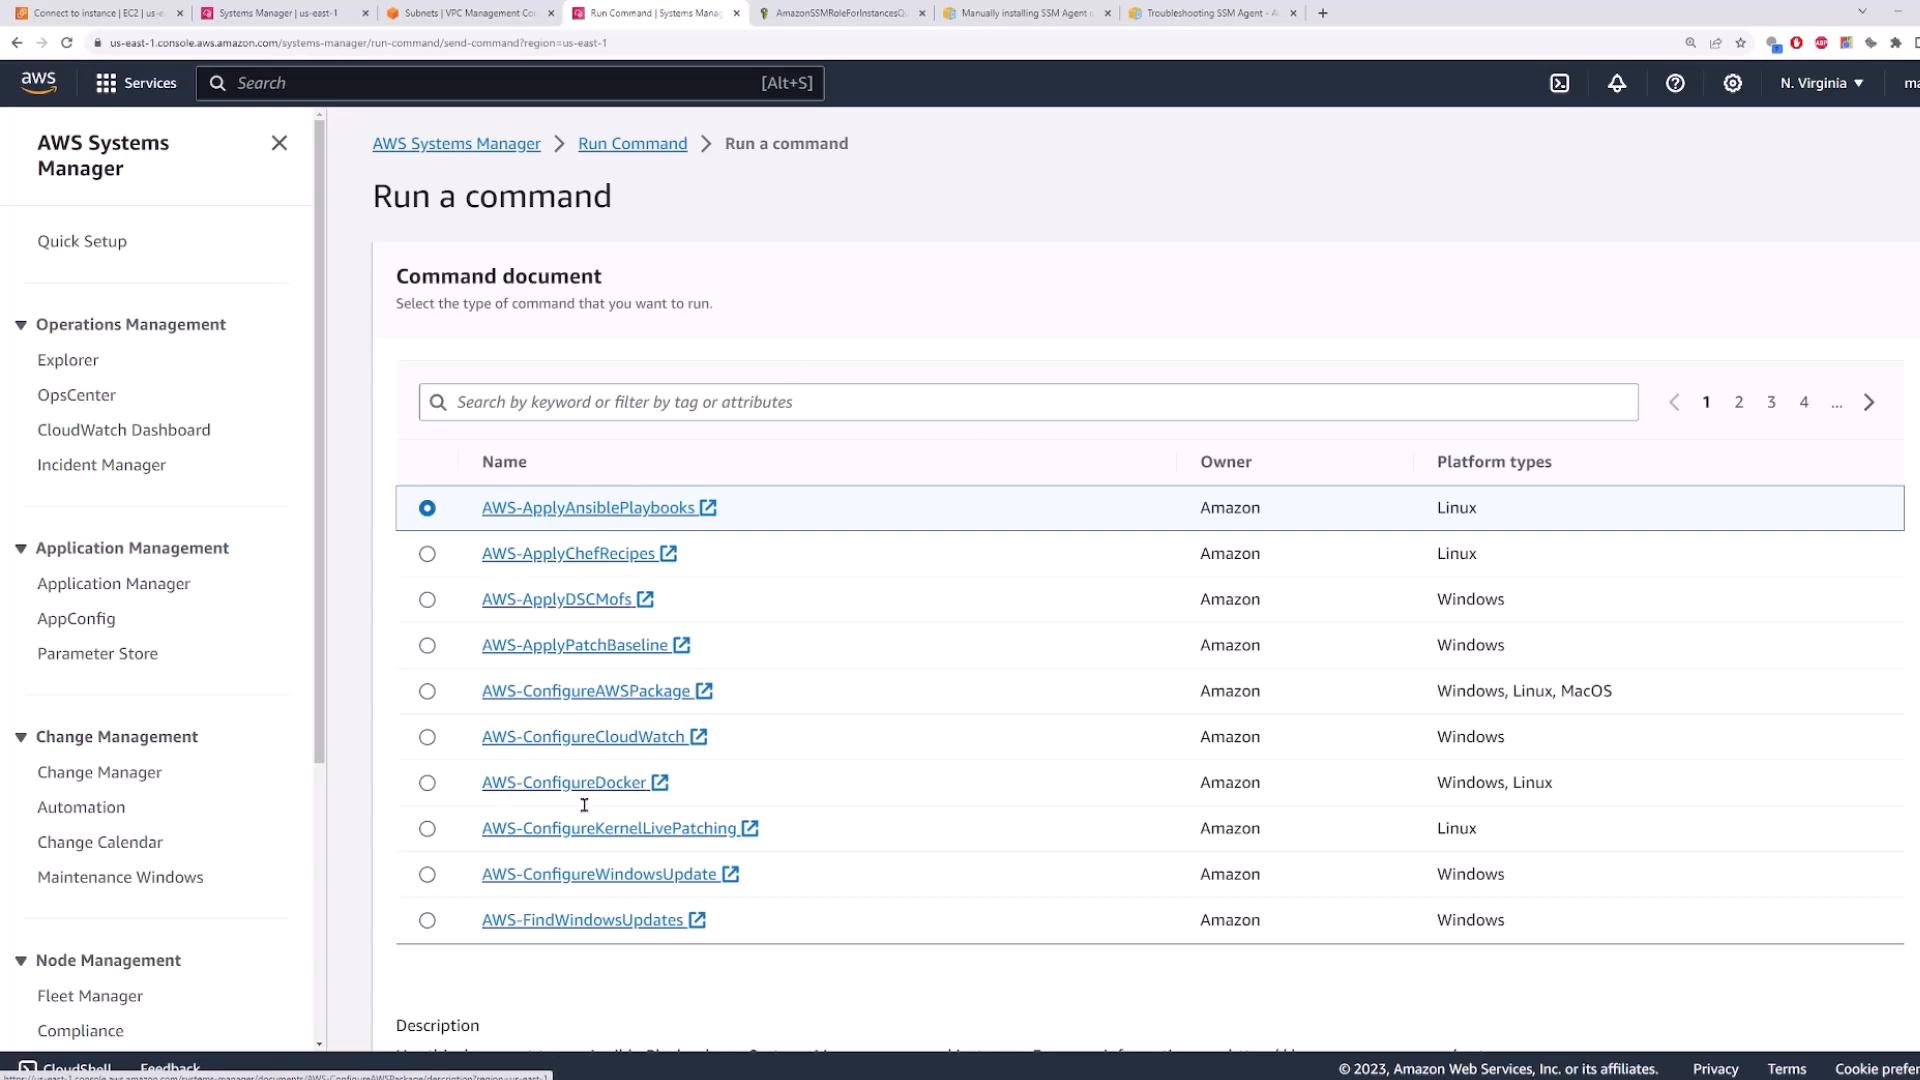
A screenshot of the AWS Systems Manager "Run a command" console showing a list of command documents (e.g., AWS-ApplyAnsiblePlaybooks, AWS-ApplyChefRecipes) with their owners and supported platform types. The left sidebar displays Systems Manager navigation sections like Operations Management and Application Management.
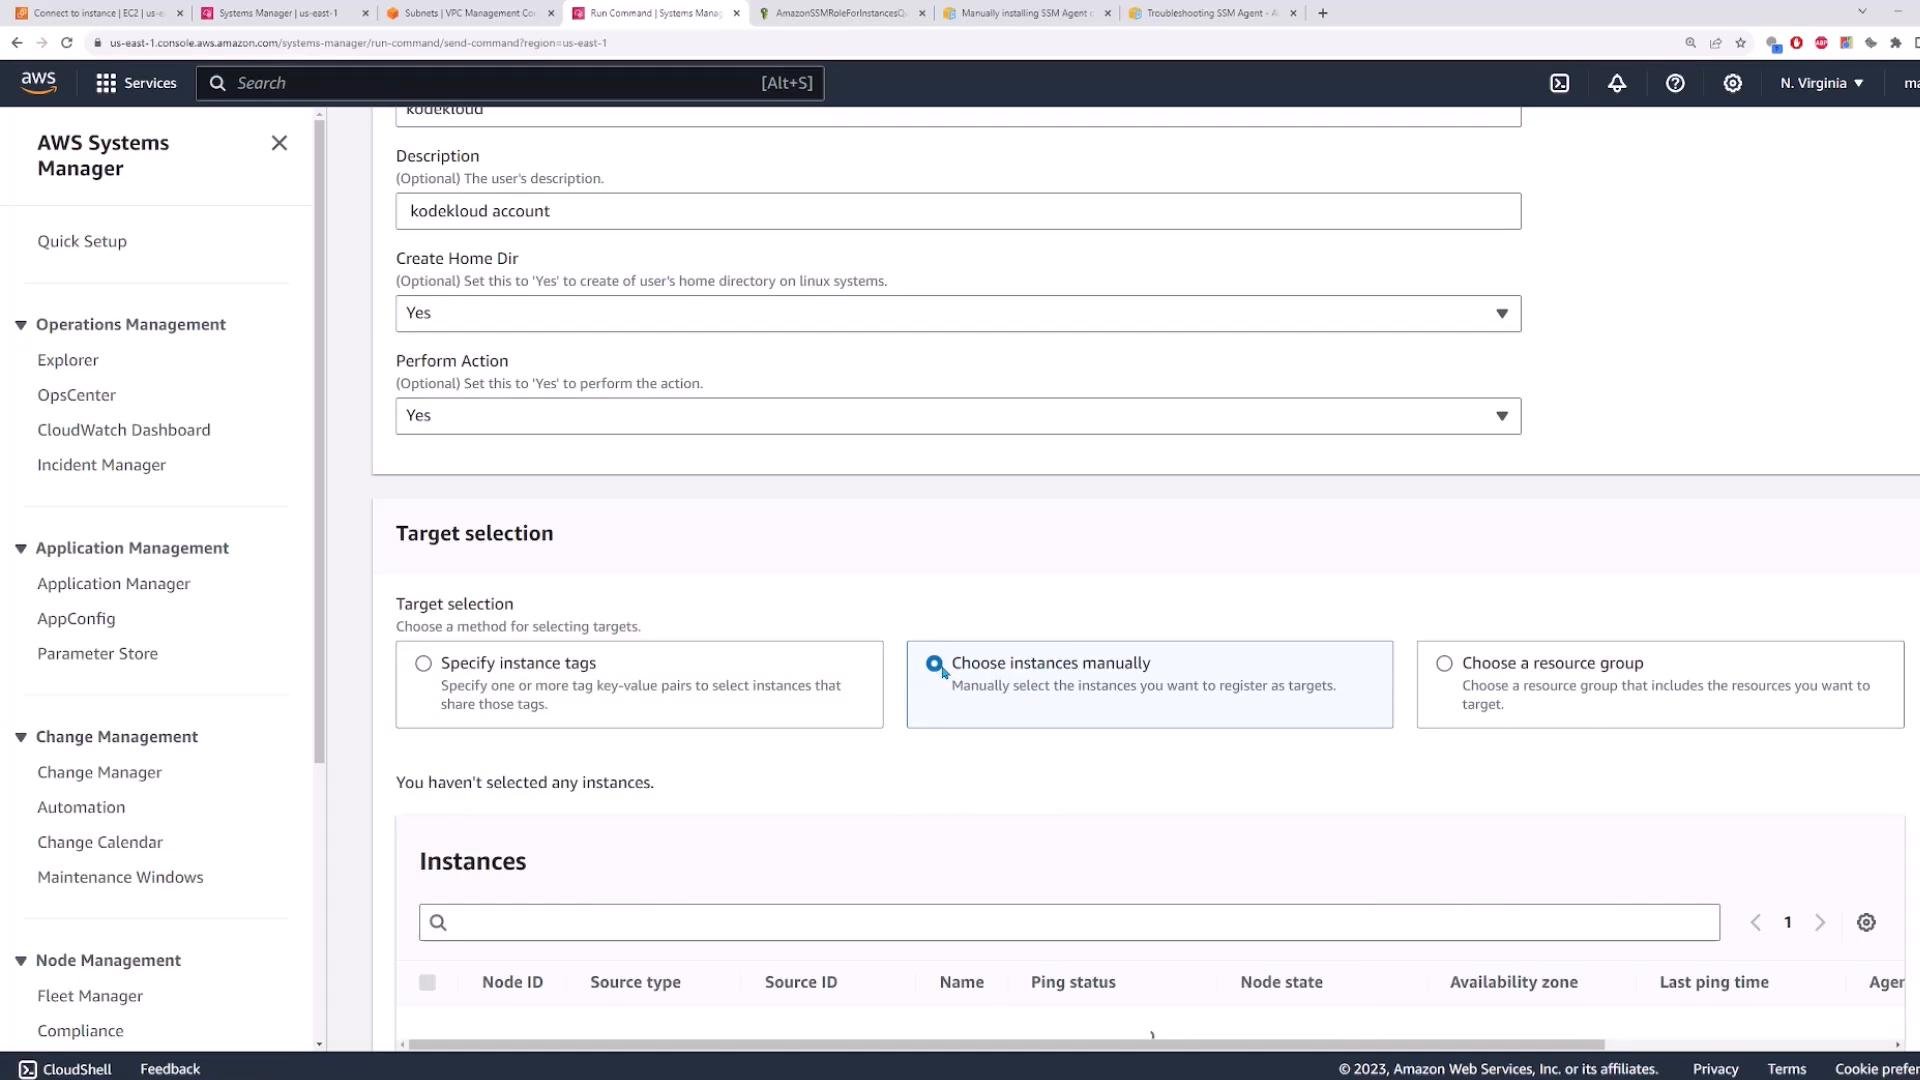
Select a document that performs the desired action (for Linux, search for a “create user” document). Provide the document parameters (username, description, create home directory, and whether to perform the action), then specify targets by tag, resource group, or individual instances.
A screenshot of the AWS Systems Manager web console showing the Run Command/target selection page, with options to specify instance tags, choose instances manually, or choose a resource group. The left navigation pane lists sections like Operations Management and Application Management.
For this demo I used these parameters:
  • Username: KodeKloud
  • Description: KodeKloud account
  • Create home directory: Yes
  • Perform action: Yes
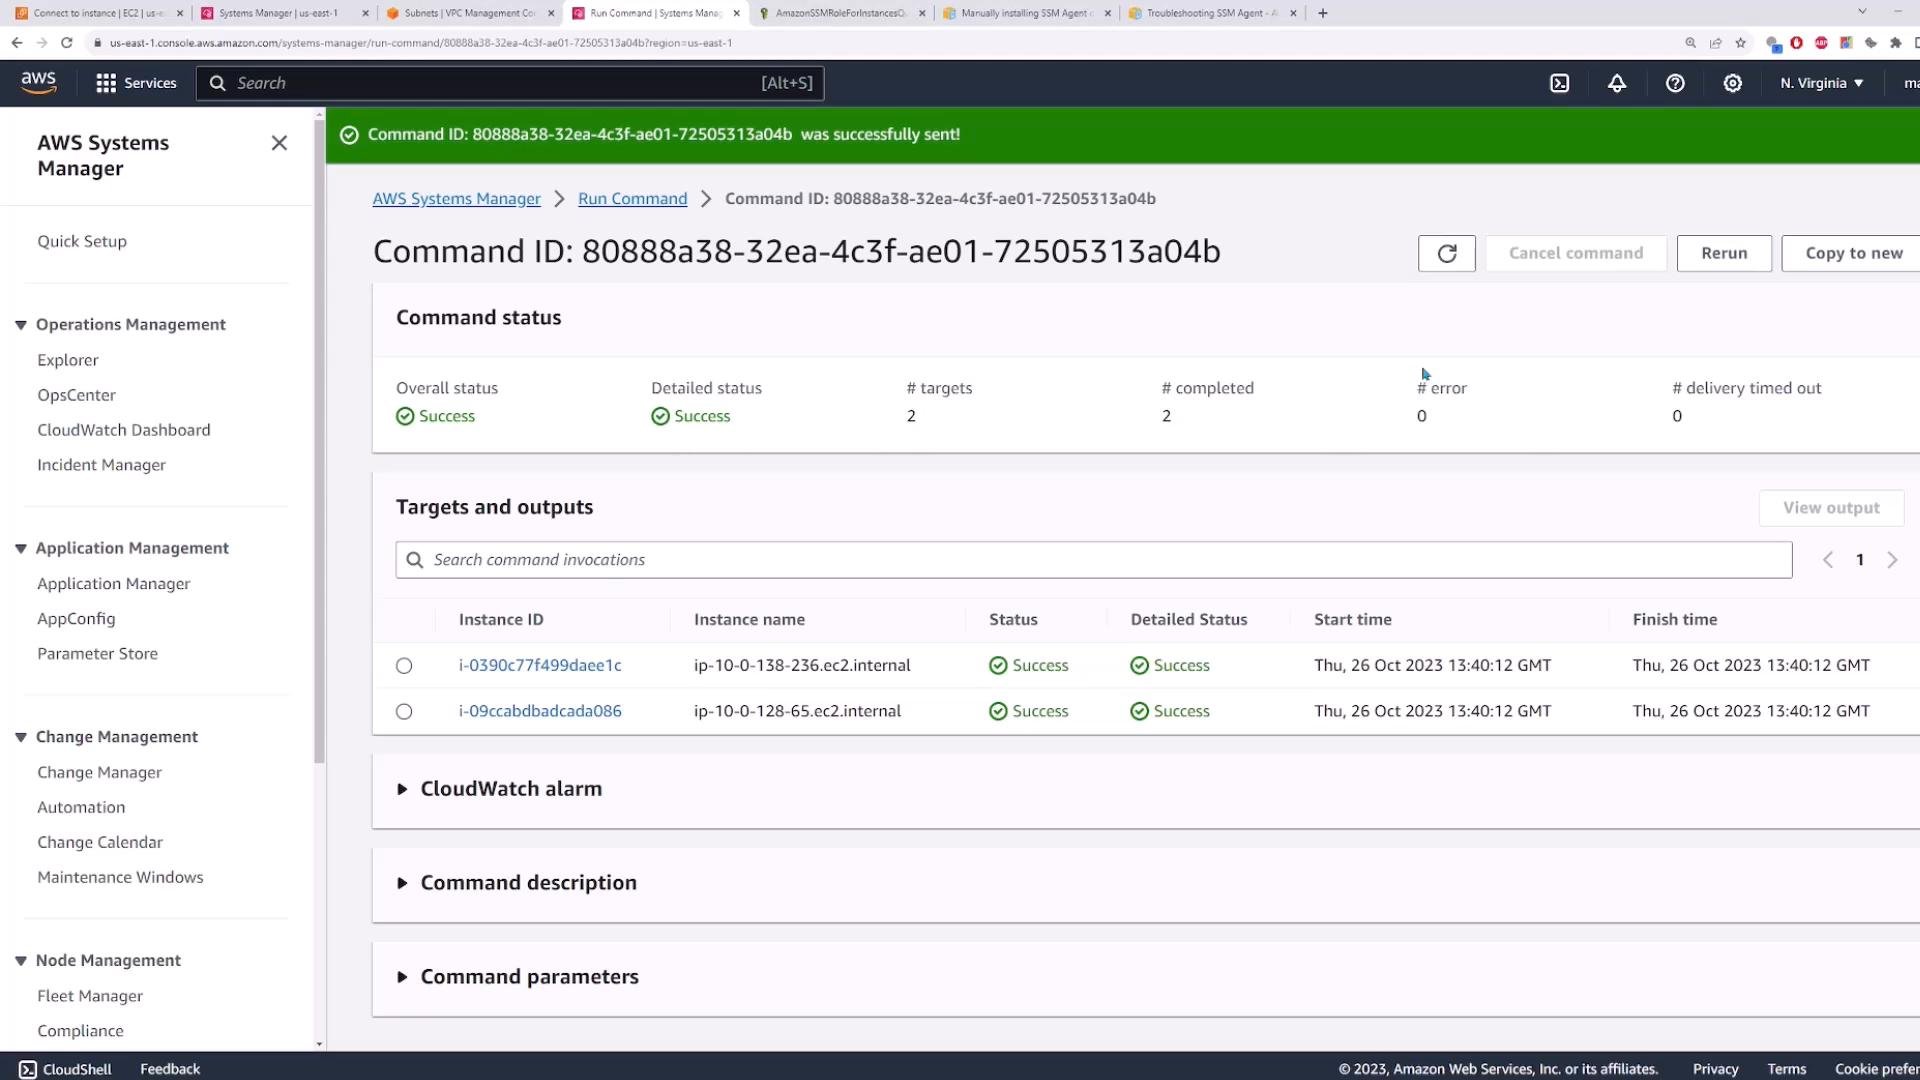
I targeted server1 and server2 and executed the document. When the Run Command completes, the console shows an overall status and per-instance execution results.
A screenshot of the AWS Systems Manager "Run Command" console showing a Command ID with an overall "Success" status. It lists two EC2 instance targets, both completed successfully.
Verify the change by connecting to an instance and checking /etc/passwd:
The kodekloud entry confirms the document created the user on both managed instances.

Quick reference

Further reading and docs

Summary

Using Systems Manager you can rapidly onboard EC2 instances, confirm IAM roles and network access, open secure shell access to private instances with Session Manager, and run automated commands across many instances using Run Command. Systems Manager also supports inventory, patching, automation, and application management — explore the console and AWS documentation to expand your automation workflows. That wraps up this lesson.

Watch Video