In this lesson, you’ll learn how to work with EC2 instance store volumes while understanding their key limitation: data stored on an instance store is lost if the EC2 instance moves from one physical host to another. This makes instance store volumes ideal only for temporary or scratch data. Remember, a stop/start event (in contrast to a reboot) triggers a host-change, wiping out any stored data.

Launching an Instance with an Instance Store

Begin by navigating to the EC2 console and launching a new instance. For this demonstration, we use the Amazon Linux 64-bit AMI and name the instance “instance store demo.” Note that not all EC2 instance types support instance stores; for example, free-tier instances such as t2.micro do not include this feature. When selecting an instance type, ensure it provides an instance store, and be aware that charges may apply for prolonged running sessions. When reviewing the instance configuration, you will see details such as:
  • An 8 GiB root volume.
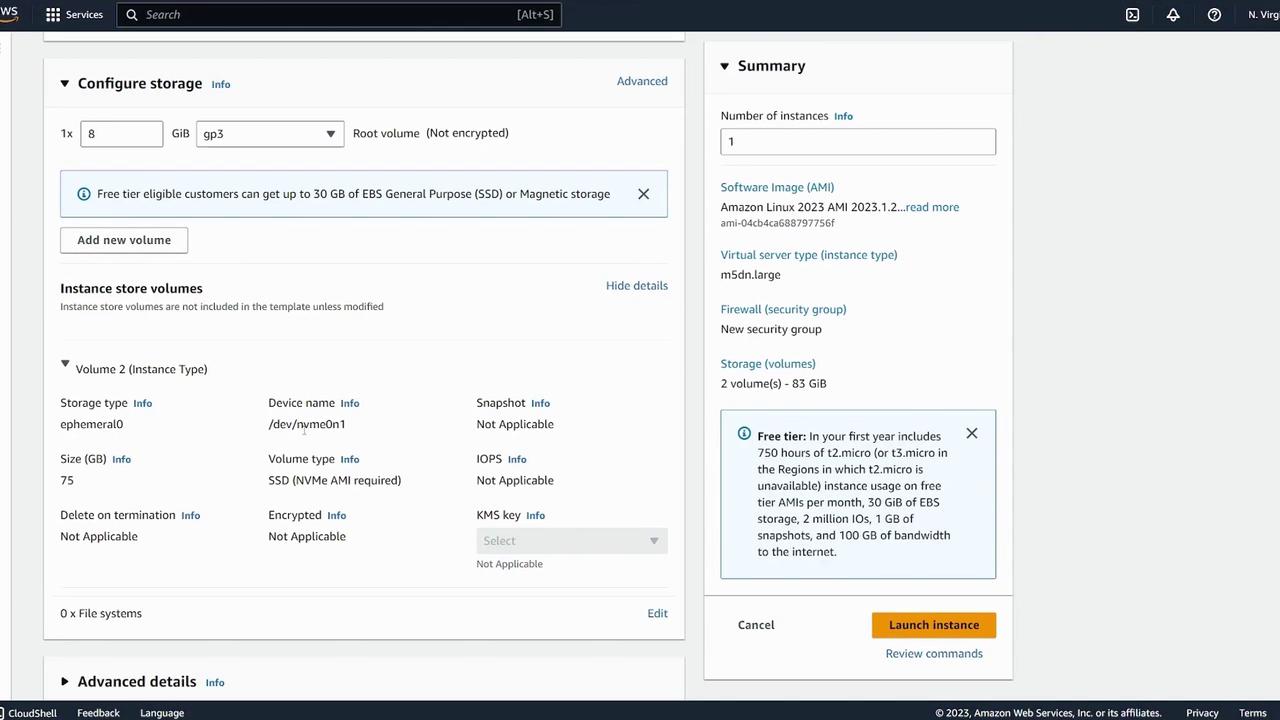
  • An additional instance store volume (e.g., 75 GiB) attached with a device name like /dev/nvme0n1.
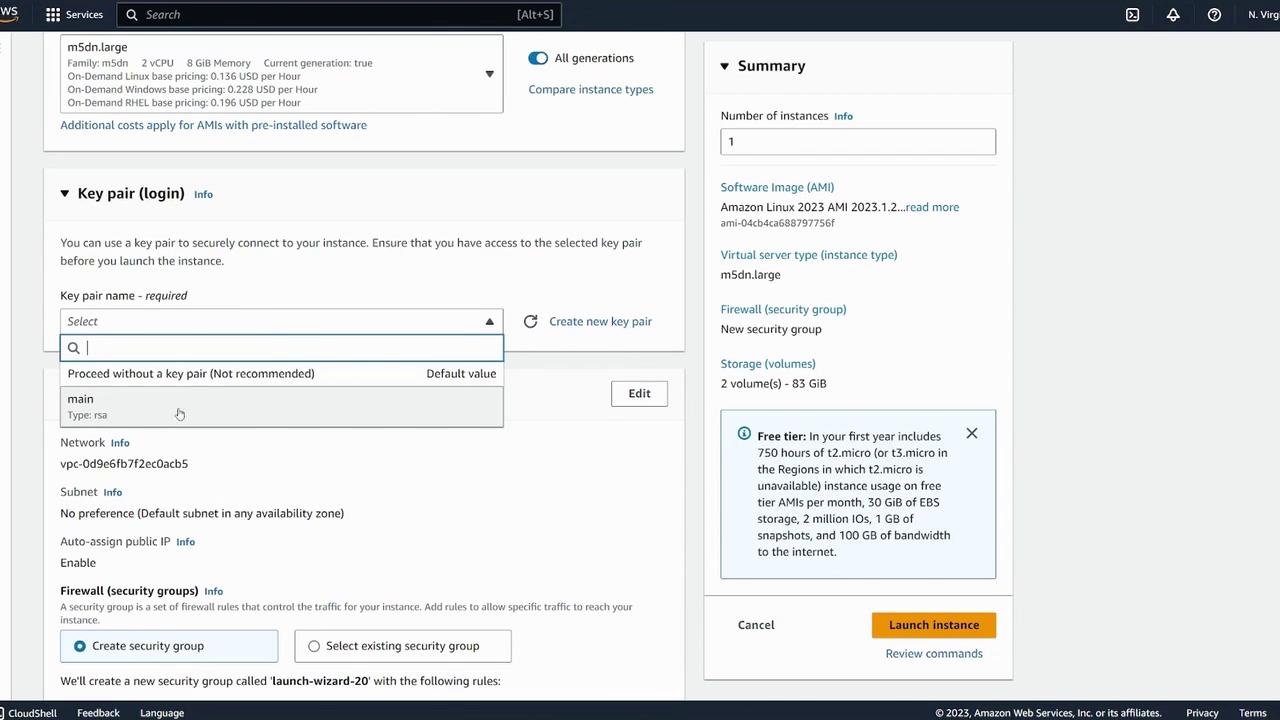
The image shows an AWS EC2 instance launch configuration screen, where a user is selecting a key pair for secure access and reviewing instance details like type, security group, and storage.
Proceed with the launch. In the storage configuration details, both the root volume and the instance store volume will be clearly indicated.
The image shows an AWS EC2 instance configuration screen, detailing storage options and a summary of the instance settings, including software image, server type, and storage volumes.
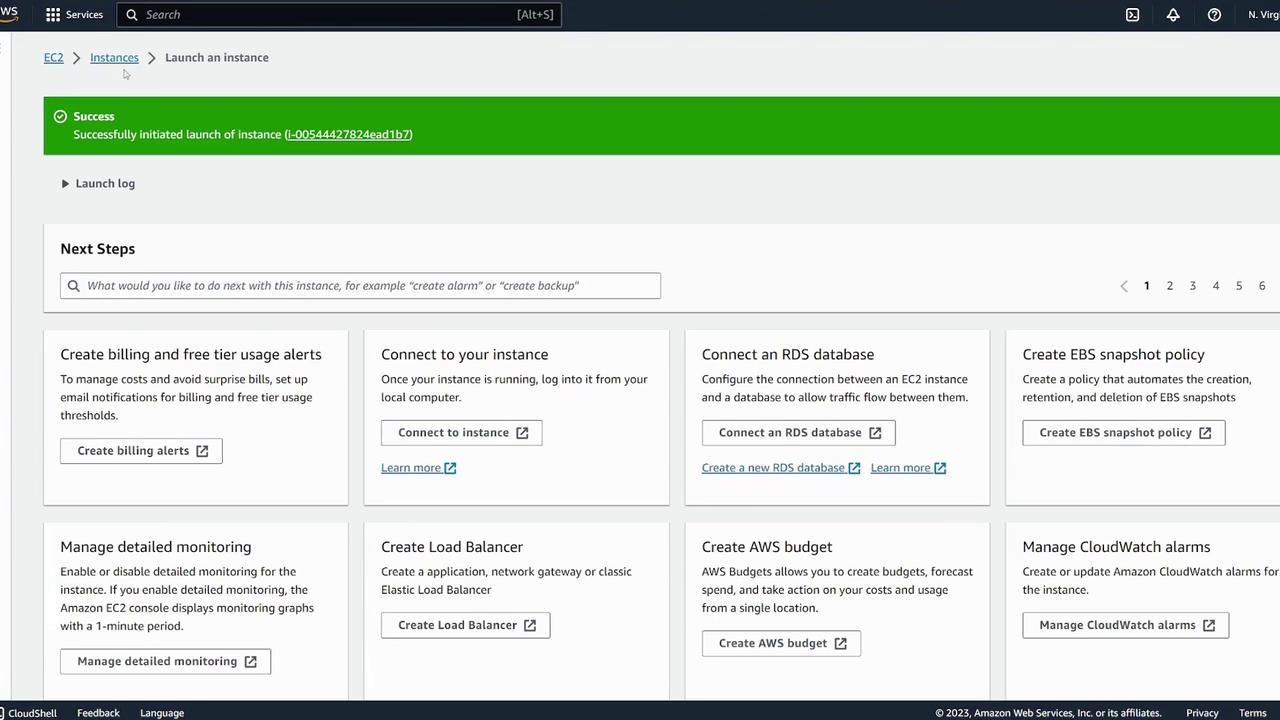
Ensure that the auto-assign public IP option is enabled to allow future connectivity. After launching, navigate to the Instances tab.
The image shows an AWS EC2 dashboard indicating a successful instance launch, with options for next steps like connecting to the instance, creating billing alerts, and managing monitoring.

Setting Up the Instance Store Volume

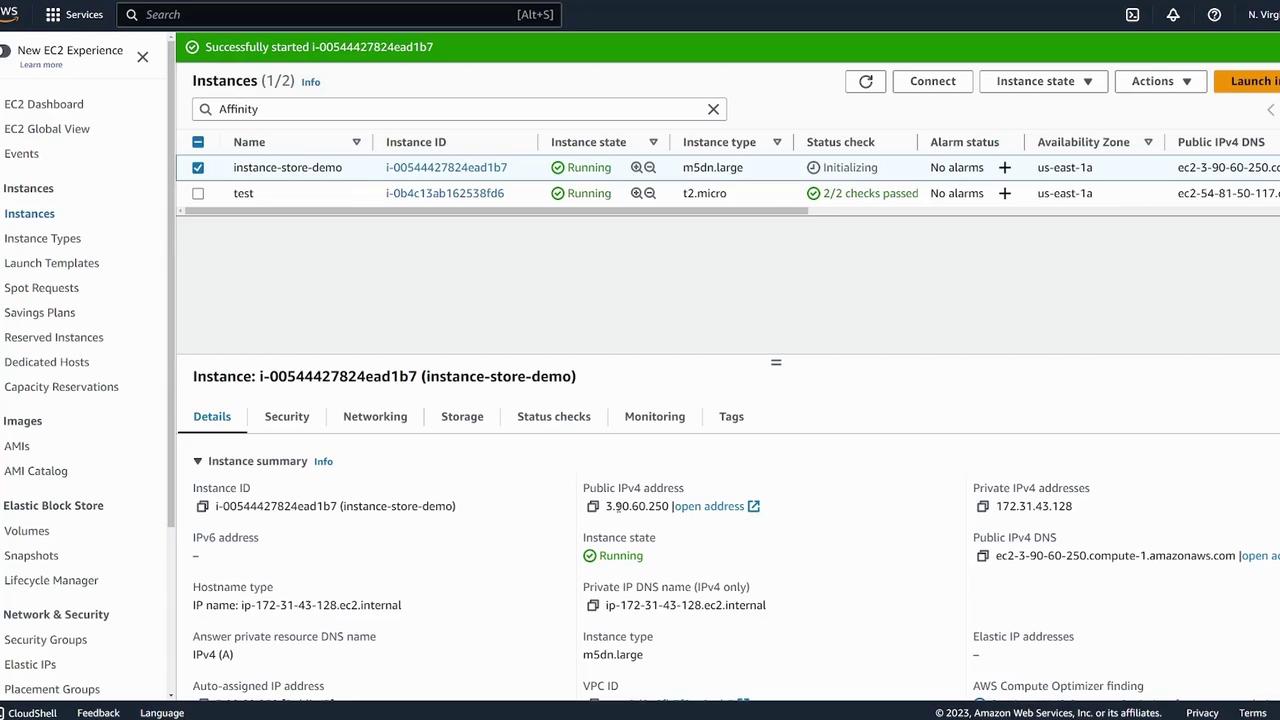
Once your instance is up and running, retrieve its public IP address and SSH into it. Begin by listing the available block devices:
In this output:
  • /dev/nvme0n1 represents the root volume.
  • /dev/nvme1n1 is the instance store volume (approximately 75 GB).
Before using the instance store volume, verify whether it already contains a filesystem:
Since the output is “data,” no filesystem is present. Next, create an XFS filesystem on the instance store volume:
Confirm that the filesystem is now present:
Create a mount point (e.g., /instance-demo) and mount the instance store volume:
Validate the mount with the df -k command:
Change into the mount directory and create a simple file to verify the volume is writable:
The presence of the test file confirms that your instance store is mounted and operational.

Persistence and Instance Movements

Remember that a reboot keeps the EC2 instance on the same physical host, preserving the instance store. However, a stop/start operation changes the host, causing the loss of any data on the instance store.
To demonstrate that a simple reboot does not affect the instance store:
  1. Reboot the instance from the EC2 console.
  2. Confirm that the public IP remains the same.
  3. SSH back into the instance.
  4. Use lsblk and df -k to verify that the instance store volume is still present and mounted.
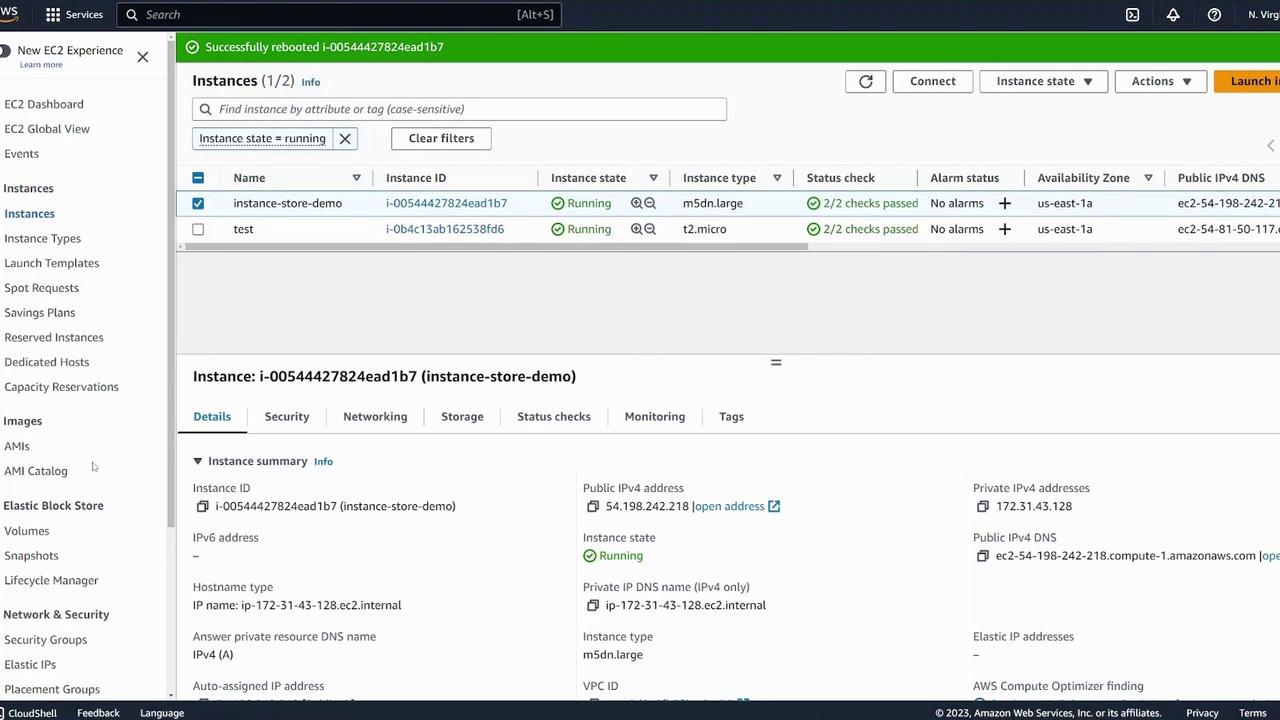
The image shows an AWS EC2 management console with two running instances, displaying details such as instance IDs, types, and status checks.
In contrast, stopping and then starting the instance moves it to a different physical host. In this demonstration, after performing a stop/start, notice that:
  • The public IP has changed.
  • The instance store volume is freshly attached with no pre-existing data.
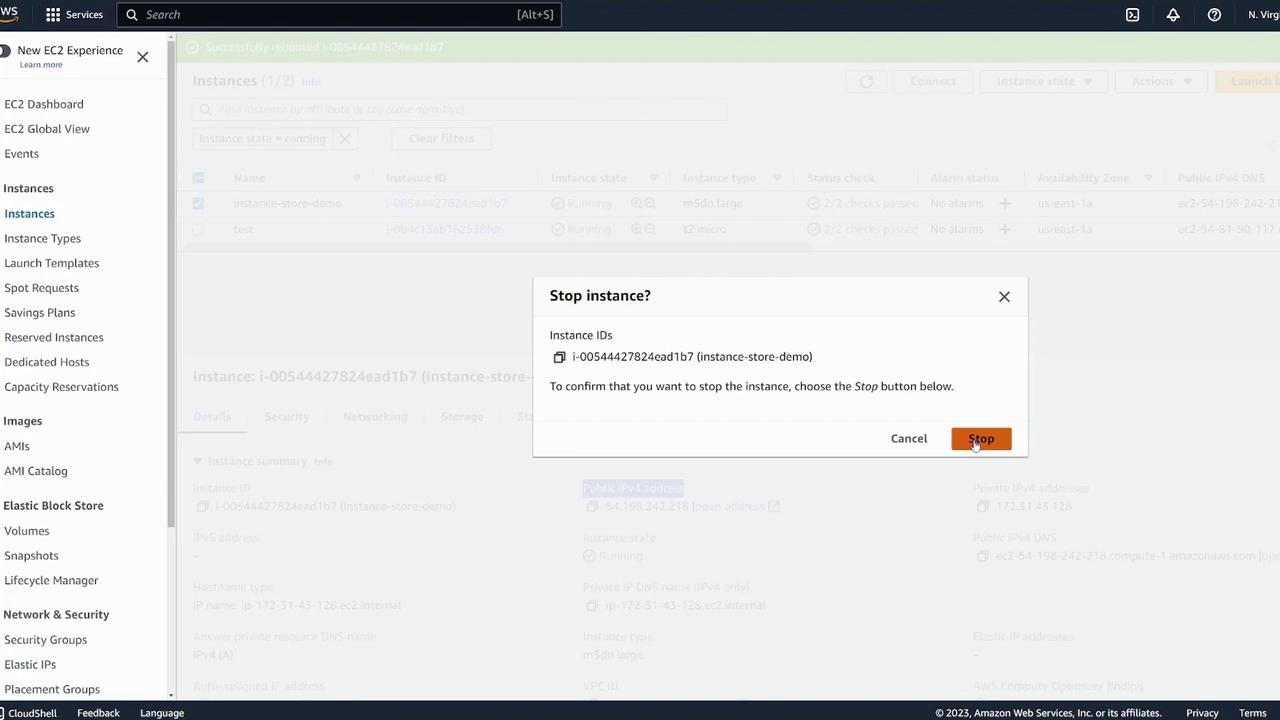
The image shows an AWS EC2 management console with a pop-up window asking for confirmation to stop an instance. The user is prompted to click "Stop" to proceed.
Upon restarting the instance, confirm the new details in the management console:
The image shows an AWS EC2 management console with details of two running instances, including their instance IDs, types, and status checks.
SSH into the instance using the new IP address and check the block devices:
If you check the file system on /dev/nvme1n1:
The output will display “data,” confirming that there is no pre-existing filesystem or data from the previous session. To use the instance store volume again, remount it:
Note that the file test may be missing if the volume was remounted after a stop/start (i.e., when the instance moved). This confirms that instance store data does not persist across host changes.

Key Takeaways

This concludes our lesson on using EC2 instance store volumes. Always remember the nuances between temporary and persistent storage when planning your deployments. Happy learning!

Watch Video