- Automatic transcription with timestamps and speaker diarization.
- Topic detection, sentiment analysis, and conversation-level signals (questions, decisions).
- Face detection and optional identification (when you provide reference images).
- OCR for on-screen text, object and scene detection, and keyframes.
- Content moderation to flag sensitive or inappropriate content.
| Feature | What it extracts | Typical use case |
|---|---|---|
| Transcription & speaker diarization | Time-aligned text and who spoke when | Search meetings by keyword or speaker |
| Topic detection | High-level themes and clusters | Group videos by subject or summarize content |
| Sentiment analysis | Positive/negative/neutral per segment | Track audience or speaker sentiment over time |
| Face & celebrity recognition | Faces and optional known identities | Tag speakers or highlight mentions of people |
| OCR | Text appearing on-screen | Extract slide content, captions, or overlays |
| Scene detection & keyframes | Scene boundaries and representative frames | Generate thumbnails or chapter markers |
| Content moderation | Flags for sensitive content | Enforce compliance and safety rules |
- In the Azure Portal search box, type “Video Indexer” and select Azure AI Video Indexer.
- Create a new Video Indexer resource. During creation you will:
- Choose a subscription and resource group.
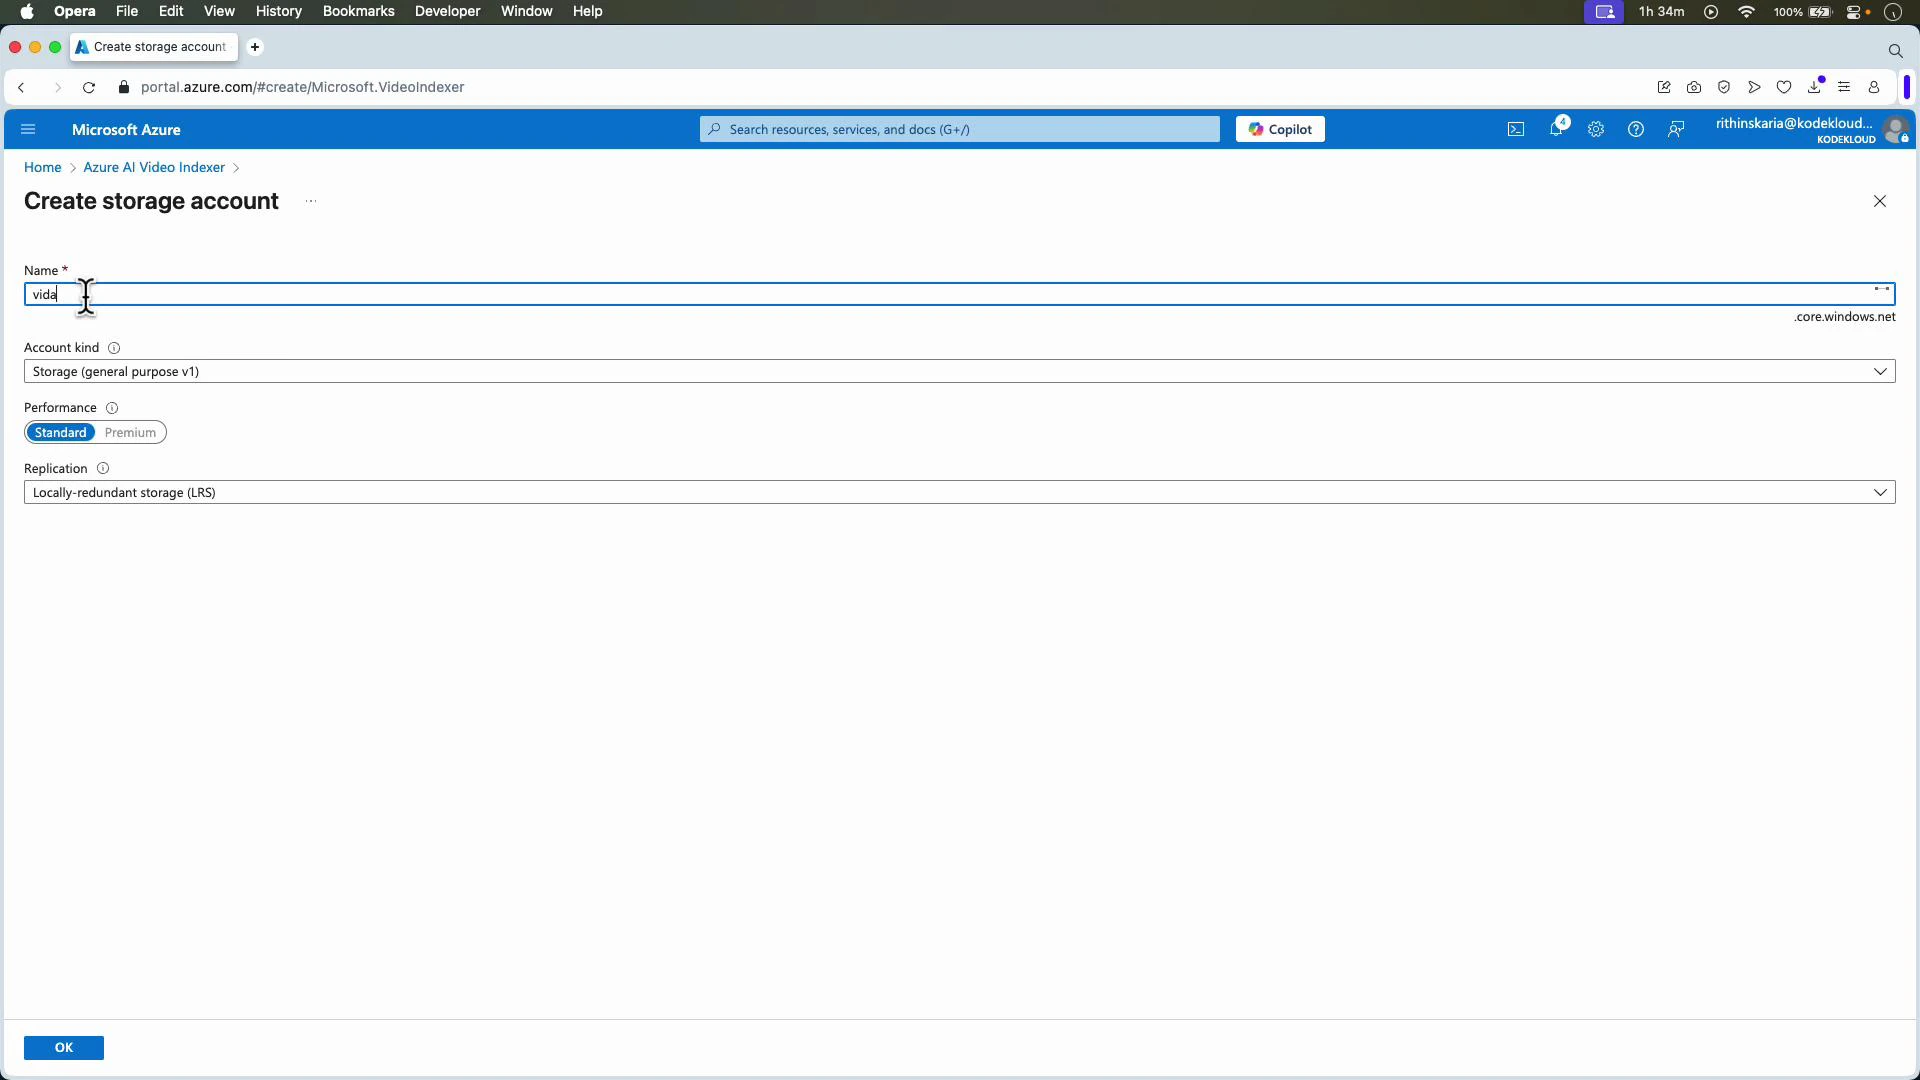
- Choose or create a storage account (Video Indexer stores uploaded media and derived artifacts there).
- Optionally connect other AI resources later for extended capabilities (not required to index videos).
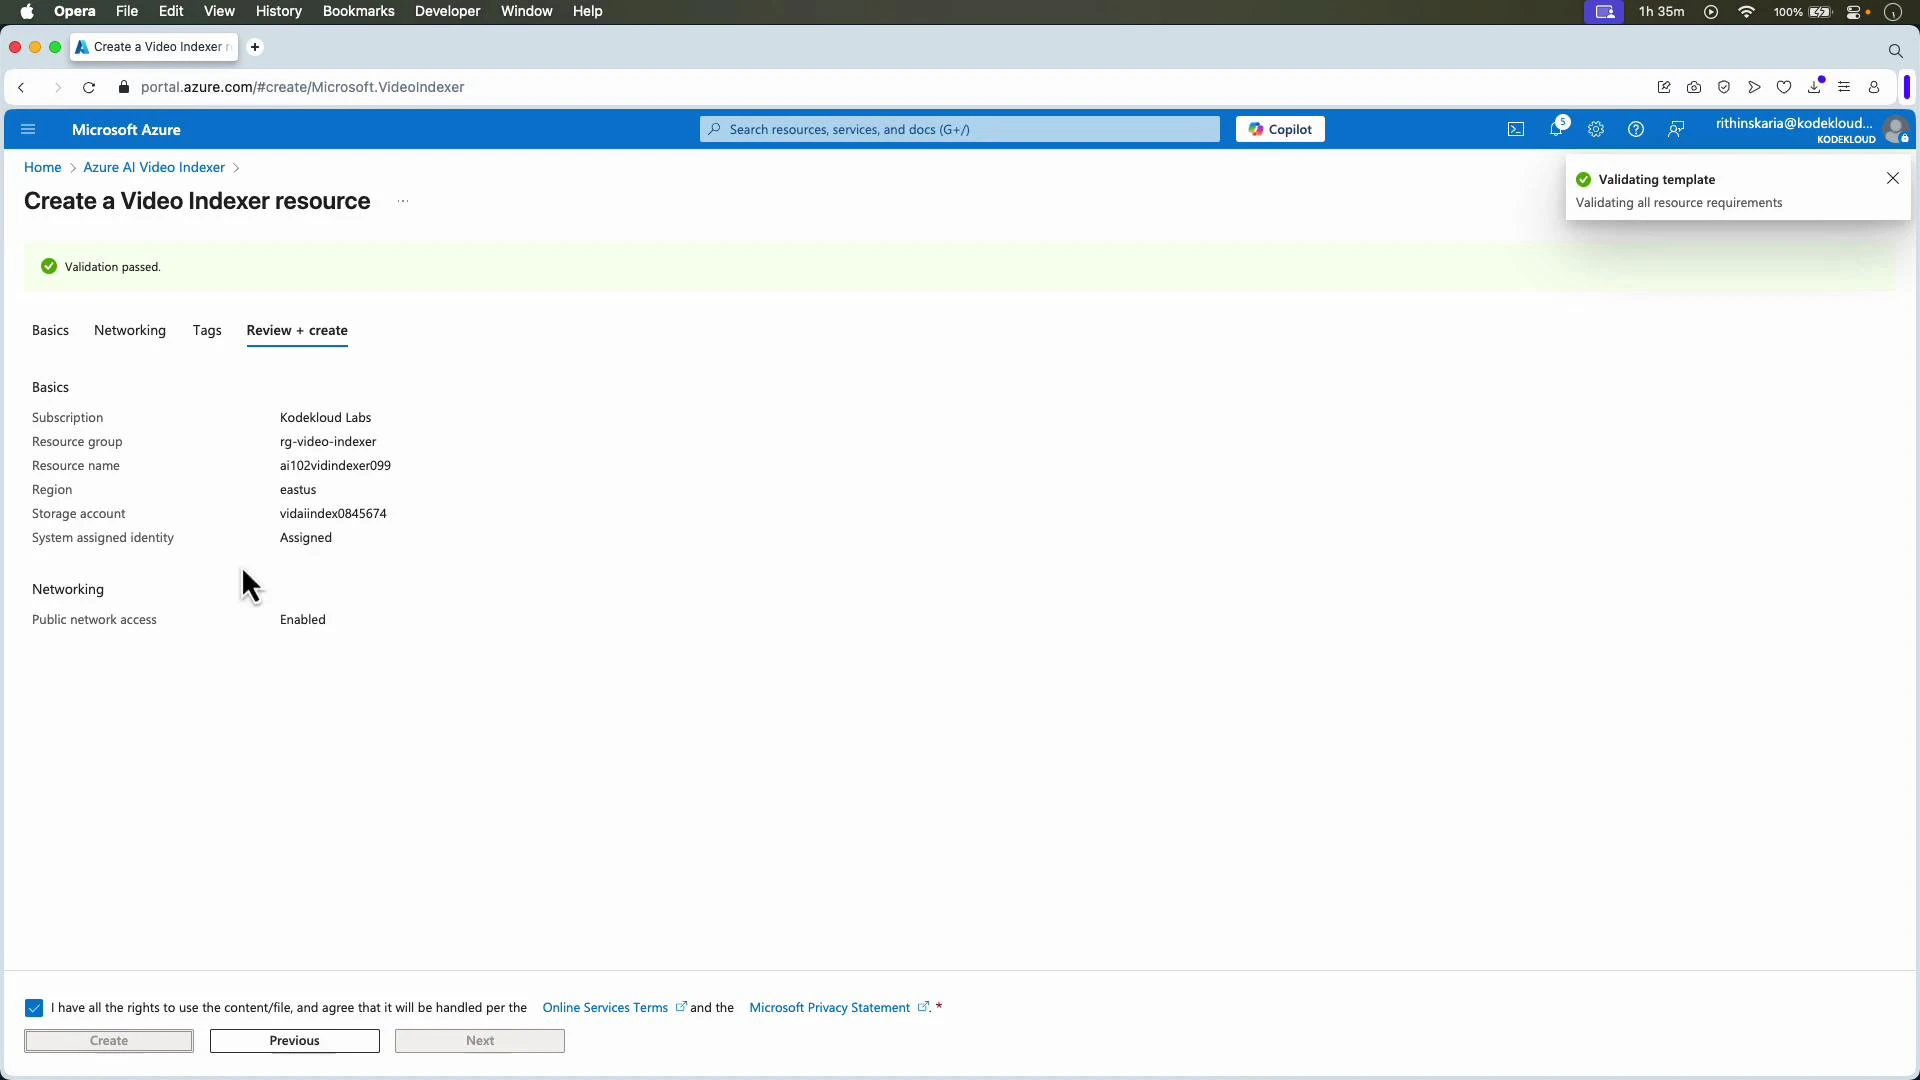
- Review and create the resource. After deployment, the resource appears in your portal and can be associated with the Video Indexer web app.
- Open the Video Indexer portal at https://videoindexer.ai and sign in with the same account used to create the Azure resource.
- When you first sign in you may use a trial account; after you provision the Azure resource you can associate that resource and its storage account with your Video Indexer account.
- Once associated, you can upload videos from your local machine, from the linked storage account, or via a public URL.
- Click Upload and choose a file from your device, select from the connected storage account, or paste a file URL.
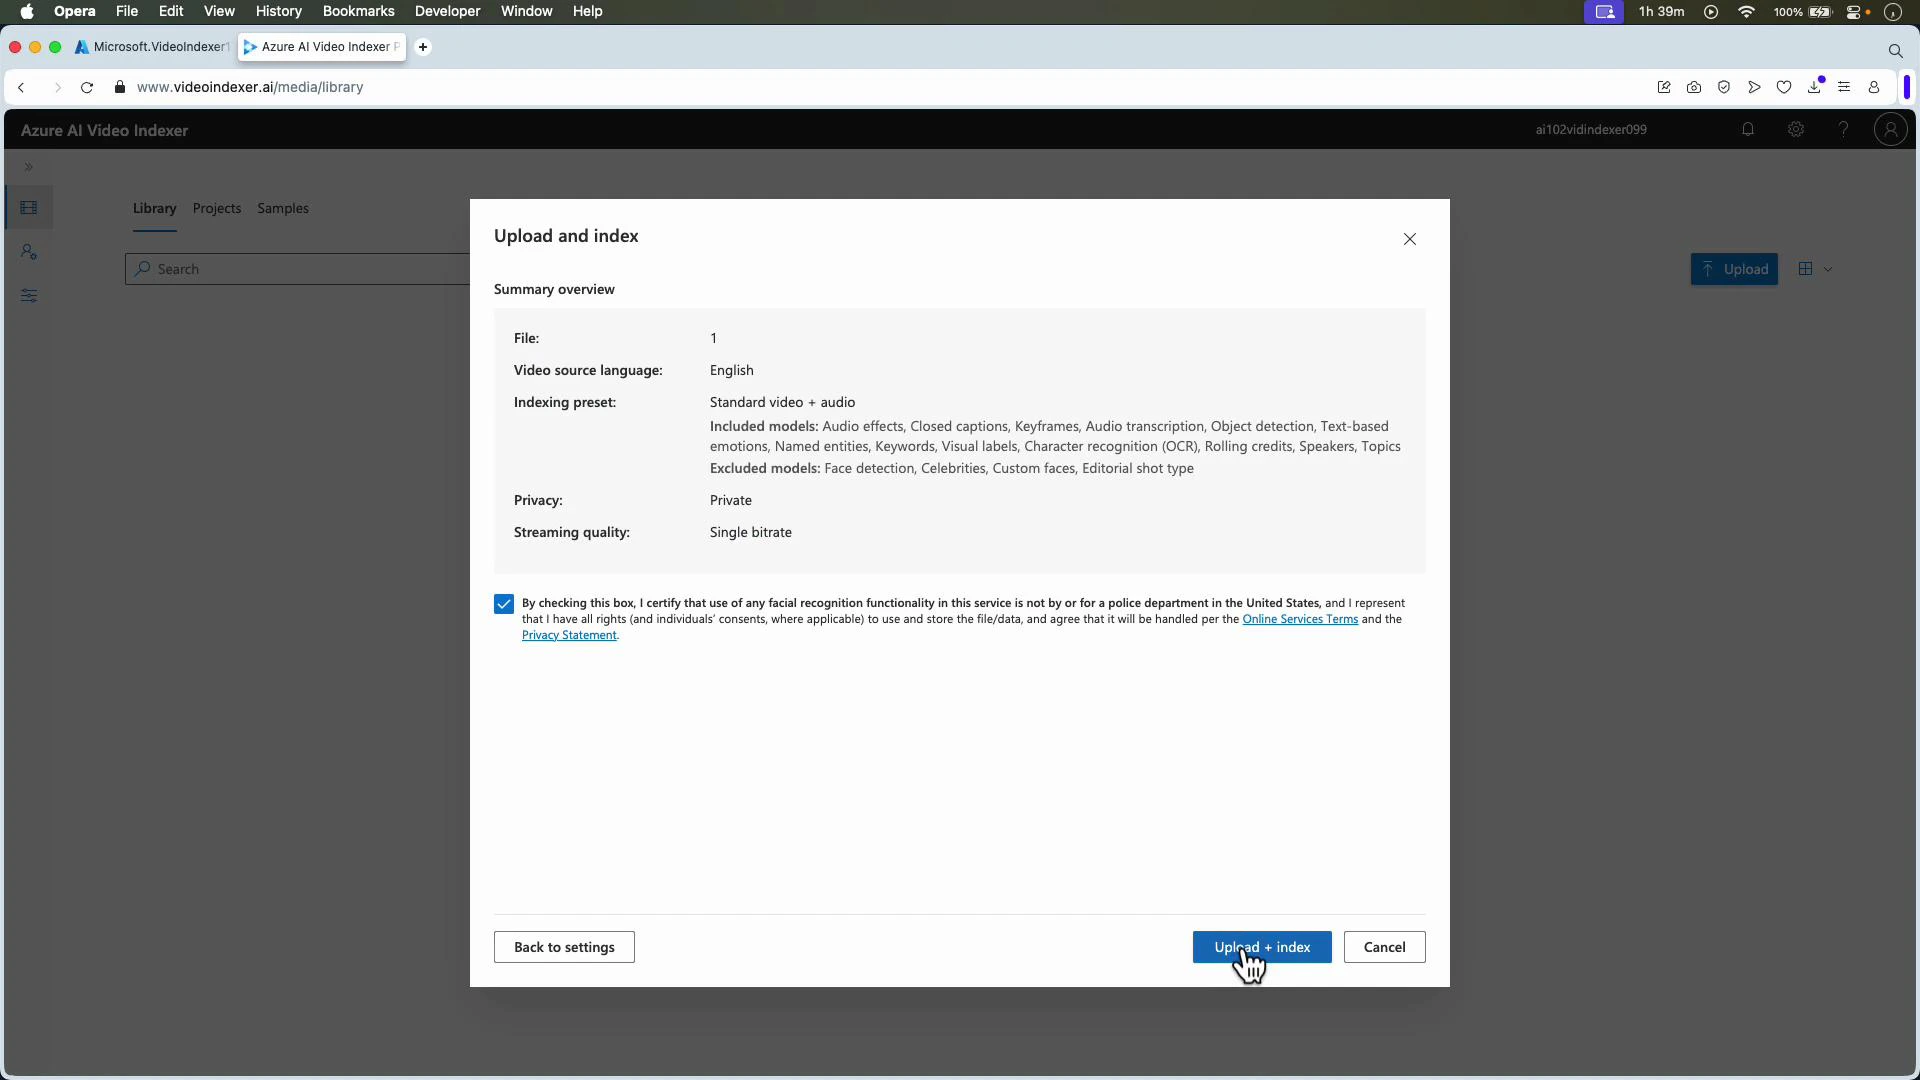
- Choose language, privacy settings, and the indexing preset that fits your needs.
- Confirm any required consent and click Upload + Index. The service begins ingesting and processing the video.
When uploading, be aware that certain advanced insights (for example, custom face recognition or celebrity recognition) may require additional configuration or permissions. Always confirm you have the required rights to process personal data in your region.
- Audio pre-processing (noise reduction, channel separation)
- Automatic speech recognition and closed captions
- Speaker diarization and speaker labeling
- Object, scene, and keyframe detection
- OCR for on-screen text
- Topic and sentiment detection
- Face detection and optional identification
- Content moderation checks
- After indexing completes open the video in the Video Indexer UI to see a timeline, interactive transcript, detected topics, object/scene tags, faces, and sentiment trends.
- Use timeline search to jump to keywords, speaker segments, or flagged moments (questions, decisions).
- Export or download metadata and subtitles, or copy insights into your content workflows.

- Acquire an access token for your account.
- Upload the media or point Video Indexer to a storage URL.
- Monitor indexing status until complete.
- Retrieve insights (transcript, faces, OCR, topics, sentiment, keyframes).
- If indexing appears stuck, check the job status in the UI or via the API and review the video length/format.
- Ensure the storage account is correctly linked and that the Video Indexer service has permission to read/write blobs.
- For custom face recognition, pre-register reference images and ensure you comply with privacy and data protection regulations.
- Azure AI Video Indexer portal
- Video Indexer documentation (Azure)
- Kubernetes Documentation (example link)
- Azure Storage documentation