Guide to adding a custom Web API skill to Azure Cognitive Search skillsets, implementing an Azure Function extractor and mapping outputs into an indexer for enrichment.
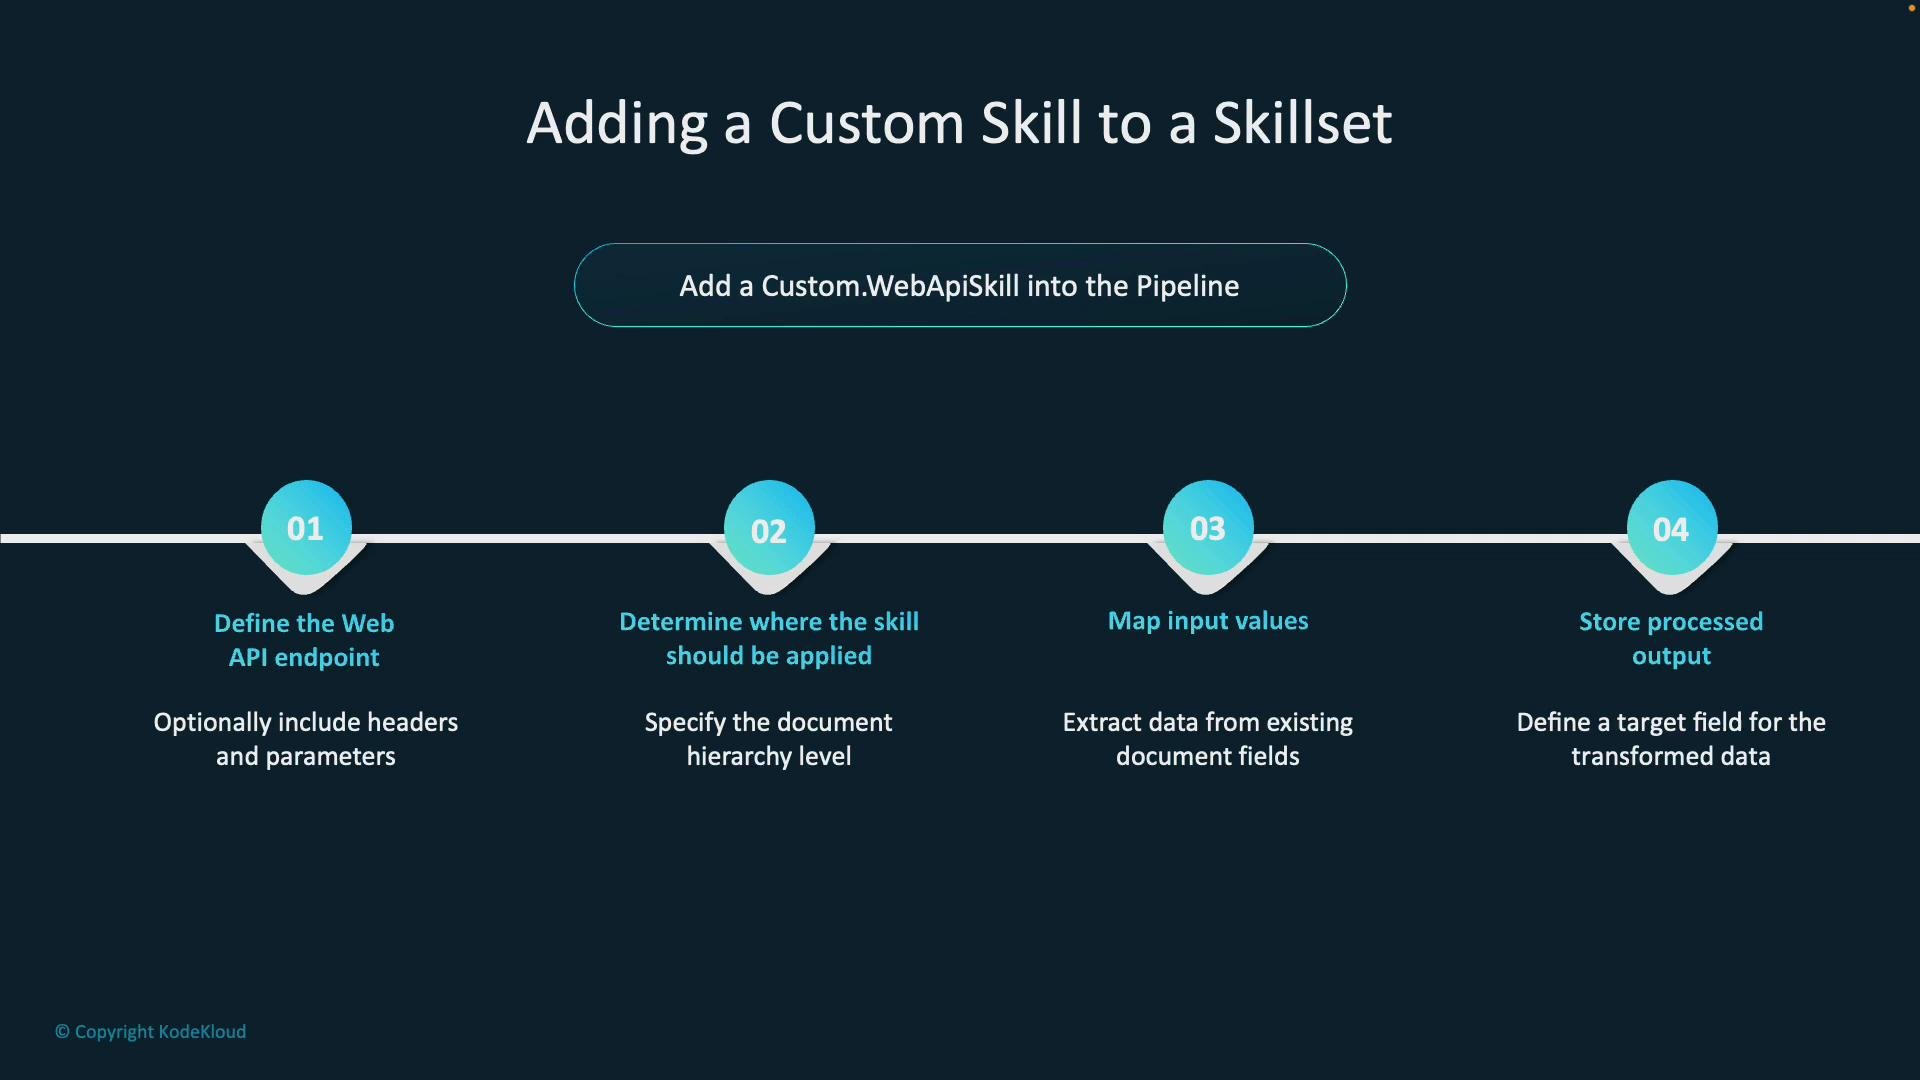
In this lesson you’ll learn how to integrate a custom skill into an Azure AI Search enrichment pipeline. This final step wires your custom logic (commonly an Azure Function) into a skillset so the indexer can call it during document enrichment.Overview — the four steps to add a custom skill into the pipeline:
Define the API endpoint — point to the API that hosts your custom skill (commonly an Azure Function). Optionally include any required HTTP headers and parameters.
Determine where the skill should be applied — specify the document context (whole document, section, or field).
Map input values — map document fields to the skill’s expected inputs (for example, mapping the document’s content field).
Store the processed output — specify the output field(s) that will be added to the document and indexed.
Before you begin, ensure you have an Azure Storage container with input documents, an Azure Cognitive Search service, and a hosted Web API (such as an Azure Function) accessible via HTTPS. You will also need permission to create data sources, skillsets, indexes, and indexers in the Search service.
Custom skill JSON (typical structure)Below is a minimal, focused JSON fragment showing the important properties for a custom Web API skill. Key attributes:
@odata.type — declares the custom Web API skill type.
uri — the HTTP endpoint that implements the skill (include a function key if required).
httpHeaders — optional headers for auth or other metadata.
context — where the skill is applied (for example, /document).
inputs — maps document fields to skill inputs.
outputs — names the fields the skill will add to the document.
How the Web API must receive and return dataYour Web API must accept and return the Azure Cognitive Search custom skill contract format: a POST body with a values array. Each item must include recordId and data (the input fields). The response must return a values array with each recordId and data containing the output fields (for example, employeeIds).
The custom Web API must accept and return the Azure Cognitive Search document array format (a values array with recordId and data for each item). The response must include recordId and data with the output field(s) (for example, employeeIds).
Sample document filesThese sample text files (stored in a blob container) include employee IDs in the EMP-xxxxx format. The custom skill will extract and normalize these identifiers.
QUARTERLY PERFORMANCE REPORTDepartment: EngineeringDate: March 15, 2025Employee ID: EMP-23791Performance Rating: Exceeds ExpectationsKey Achievements:- Successfully delivered the cloud migration project two weeks ahead of schedule- Mentored two junior developers (EMP-45023, EMP-67281)- Reduced API response time by 35%Employee ID: EMP-45023Performance Rating: Meets ExpectationsKey Achievements:- Completed all assigned tasks within deadline- Participated in cross-functional team collaboration- Implemented 3 new feature requests
Implementing the Web API (Azure Function)A common approach is to implement the custom skill as an Azure Function using Node.js. The function receives a POST with req.body.values (an array of records). For each record, extract EMP identifiers from the content input and return them in data.employeeIds inside the response values array.The example below is resilient: it normalizes matches to EMP-xxxxx, deduplicates results, and handles errors per record.
// Azure Function: index.jsmodule.exports = async function (context, req) { context.log('Employee ID Extractor function processed a request.'); if (!req.body || !req.body.values || !Array.isArray(req.body.values)) { context.res = { status: 400, headers: { "Content-Type": "application/json" }, body: { values: [] } }; return; } const response = { values: [] }; for (const record of req.body.values) { const recordId = record.recordId || null; const data = record.data || {}; const content = typeof data.content === 'string' ? data.content : ''; try { context.log(`Processing record ${recordId}`); // Regex to find EMP identifiers like EMP-12345 or EMP 12345 or EMP12345 const matches = content.match(/EMP[- ]?\d{3,}/gi) || []; // Normalize matches to format EMP-xxxxx with a single hyphen const normalized = Array.from(new Set(matches.map(m => m.toUpperCase().replace(/EMP[- ]?/, 'EMP-')))); response.values.push({ recordId, data: { employeeIds: normalized } }); } catch (err) { context.log.error(`Error processing record ${recordId}:`, err); response.values.push({ recordId, data: { employeeIds: [] } }); } } context.res = { status: 200, headers: { "Content-Type": "application/json" }, body: response };};
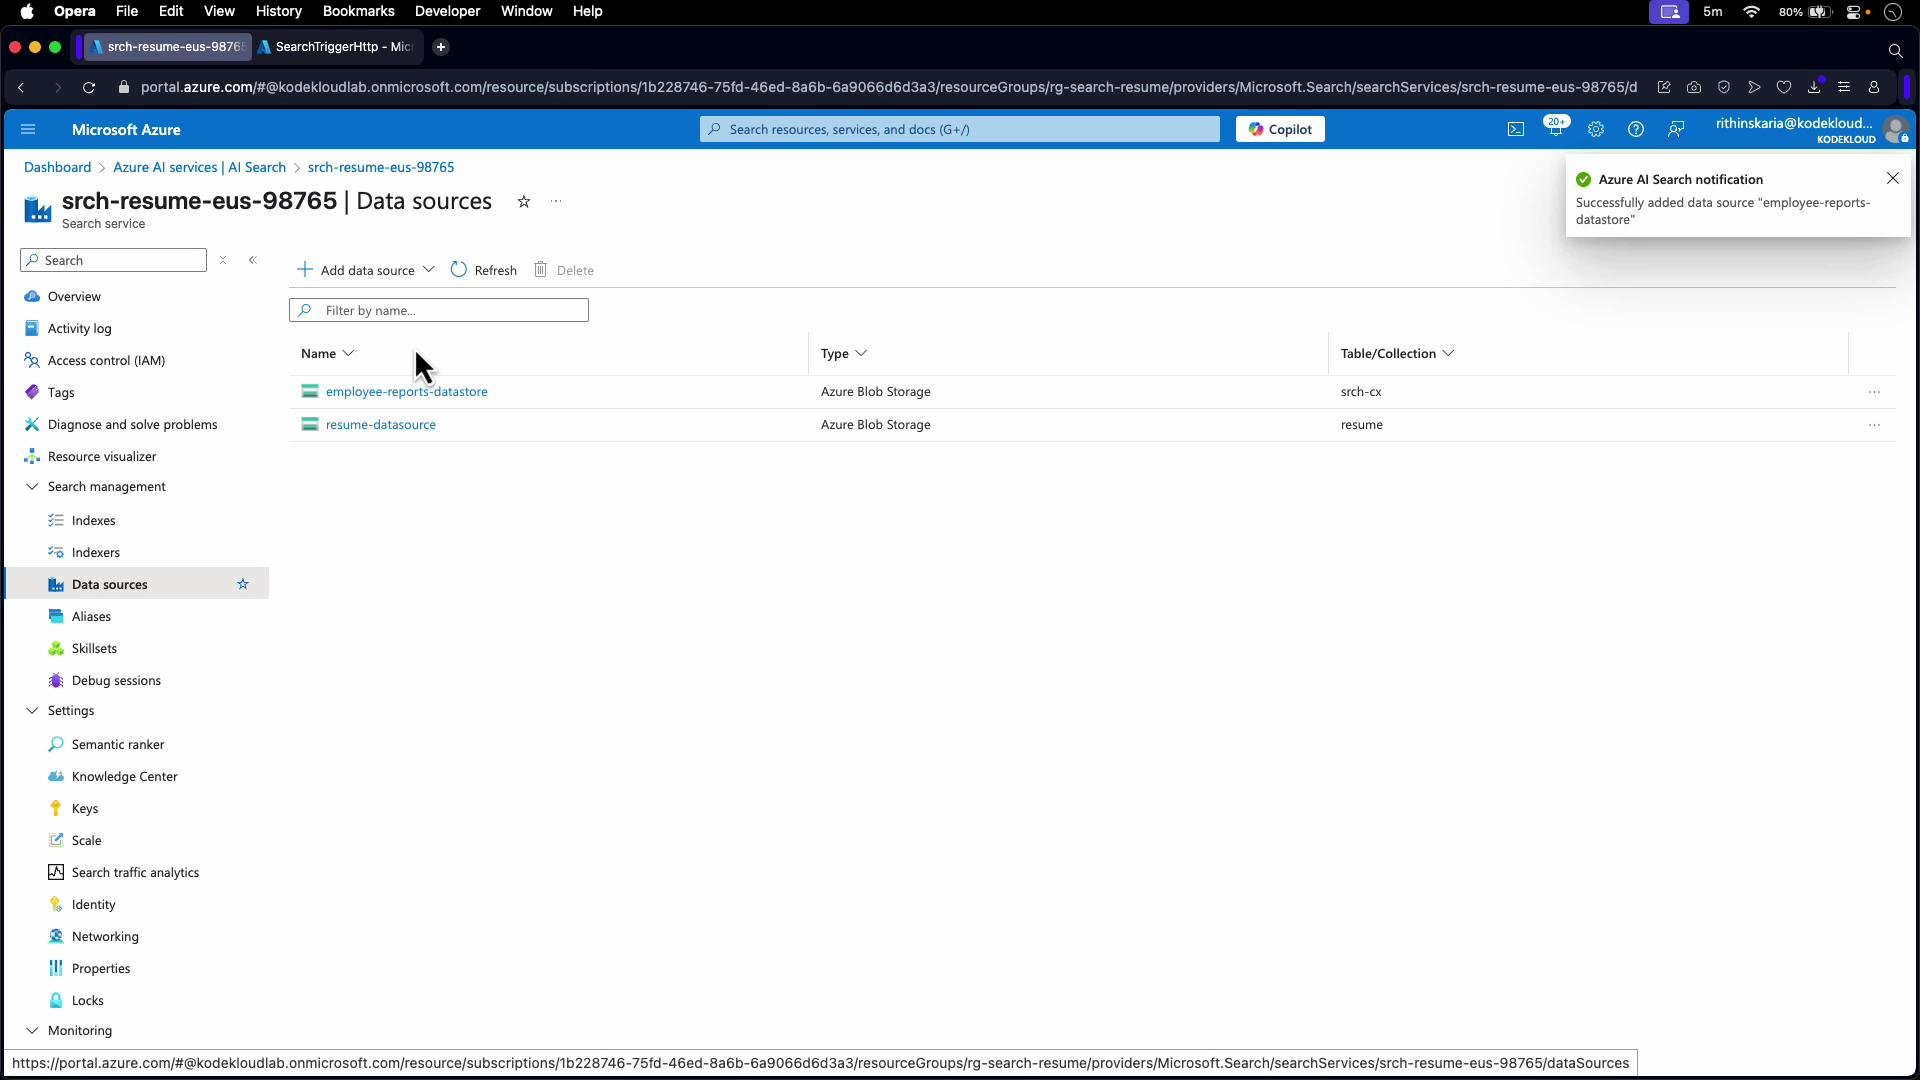
Creating the data source in Azure AI SearchCreate a data source that points to your storage account and the container holding the text files. This data source is later used by the indexer to pull raw documents for enrichment.
Creating the skillset and adding the custom Web API skillWhen you create the skillset (via the portal or REST), choose “Custom Web API skill” and configure these key settings:
Name: customemployeeskill (for example)
Context: /document — applies the skill to the entire document
Inputs: map content to /document/content
Outputs: map employeeIds to target employeeIds
URI: Azure Function URL (include function key if required)
HTTP Method: POST
Adjust timeout, batchSize, and httpHeaders as needed
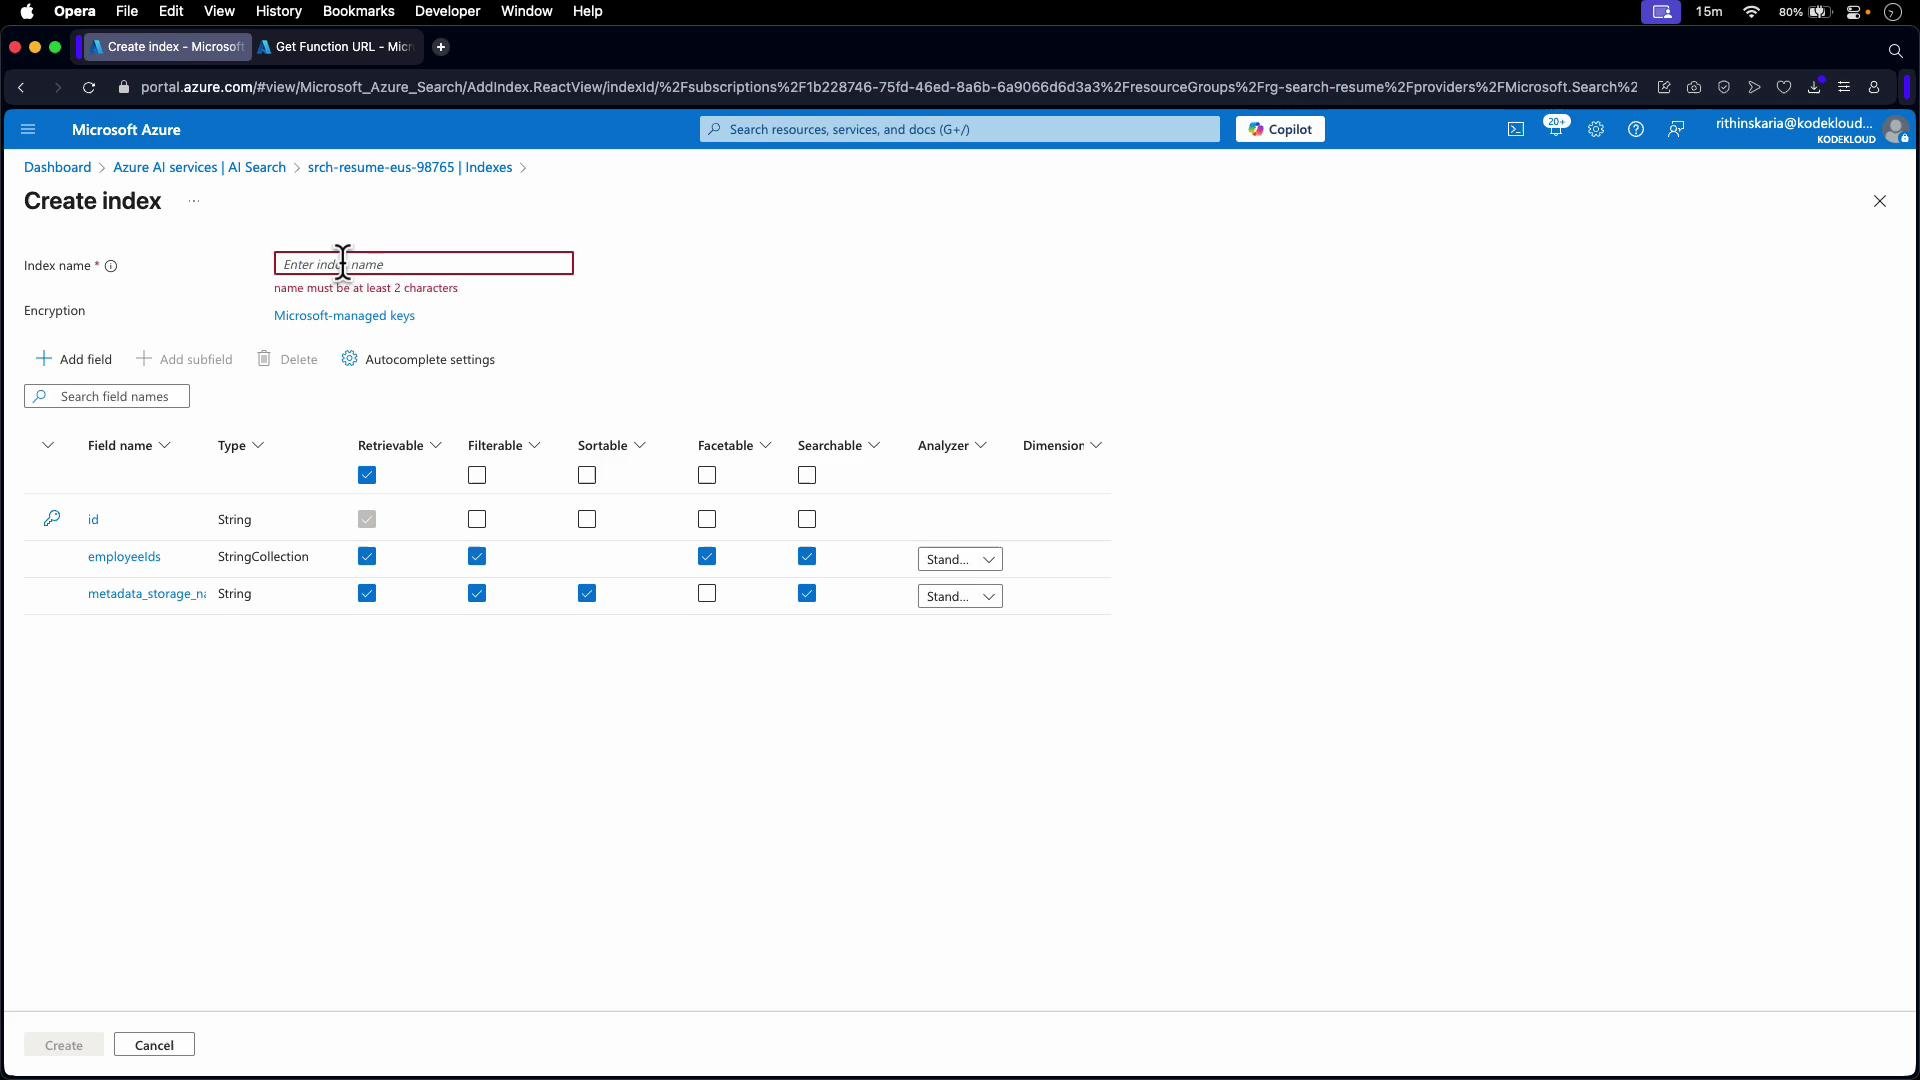
Create the indexDefine an index that contains a field to hold the extracted employee IDs. The recommended field configuration:
Field name
Type
Retrievable
Searchable
Filterable
Notes
employeeIds
Collection(Edm.String)
Yes
Yes (optional)
Yes (if you will filter)
Use Collection(Edm.String) to allow multiple IDs per document
Configure other index fields (for example id, content, metadata_storage_name) as appropriate.
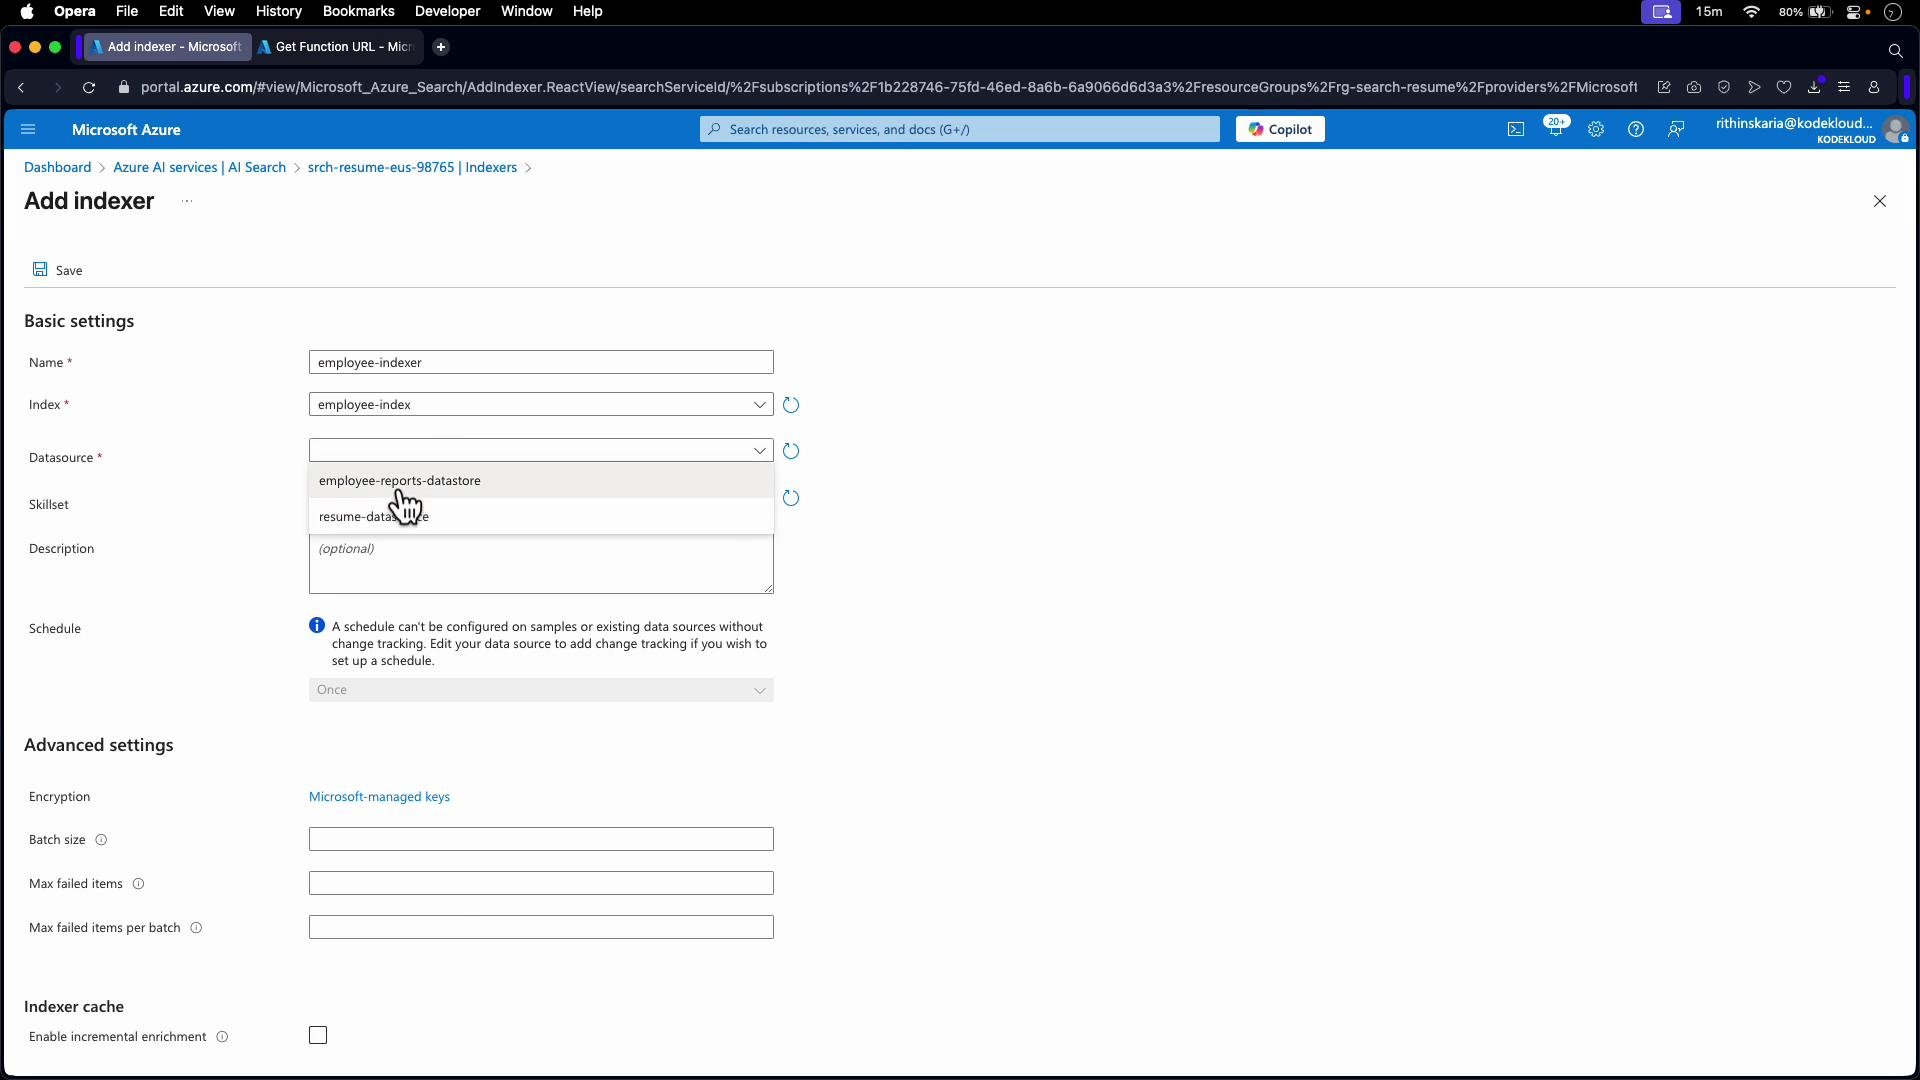
Create the indexer and map outputsCreate (or update) an indexer that ties together the data source, the skillset, and the target index. The crucial configuration is outputFieldMappings, which maps skill outputs into index fields. In the portal this is often a UI mapping; with REST you configure outputFieldMappings directly.
Run/reindex and verify resultsAfter you save the indexer, run it (or reset it and run for a full re-index). Initially you may see empty employeeIds arrays until the custom skill runs and the output mapping is applied.Example response before enrichment (employeeIds empty):
Once indexed, employeeIds behaves like any other index field: you can search, filter, facet, and sort depending on the field attributes you chose.Summary
Implement a Web API (typically an Azure Function) that accepts the values contract and returns values with data containing your output fields.
Create a custom Web API skill that points to your function, and configure context, inputs (e.g., /document/content), and outputs (e.g., employeeIds).
Create an index field of type Collection(Edm.String) to hold the extracted IDs and set retrievable/searchable/filterable options as required.
Configure the indexer with outputFieldMappings to map the skill output (/document/employeeIds) to the index field (employeeIds).
Run (or reset and run) the indexer to apply enrichment, then verify that the indexed documents contain the expected results.