Overview: prebuilt vs. customizable features
| Feature Type | When to use | Typical outputs |
|---|---|---|
| Prebuilt features | Quick integration when default behaviors suffice (no training) | Named entities, PII detection, key phrases, sentiment, detected language |
| Customizable features | Domain-specific scenarios where you need intents, custom entities, or a knowledge base | Custom intents, learned entities, document-based QA (knowledge base) |
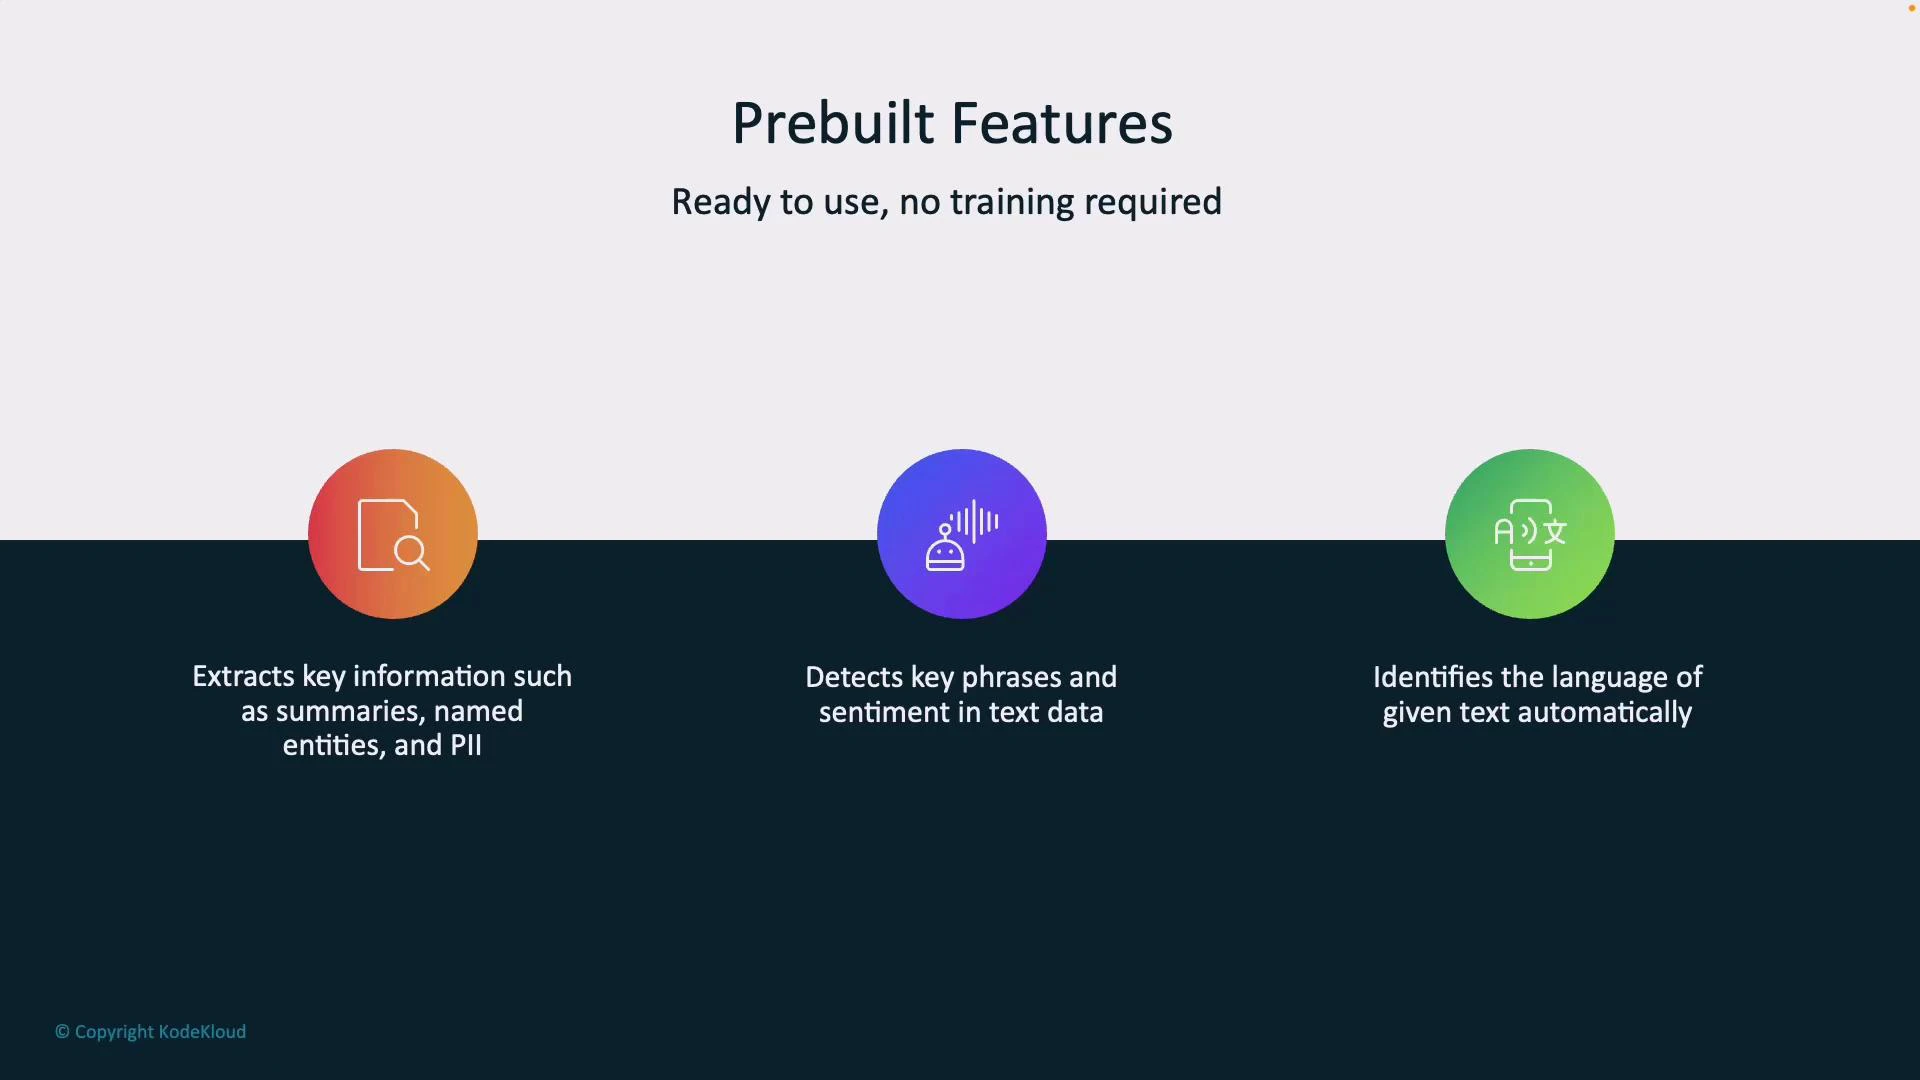
Prebuilt features (no training required)
- Information Extraction: summaries, named entities (people, places, organizations), and PII detection.
- Key Phrase & Sentiment Detection: highlights important phrases and classifies sentiment (positive/negative/neutral).
- Language Detection: auto-detects input language and routes processing accordingly.
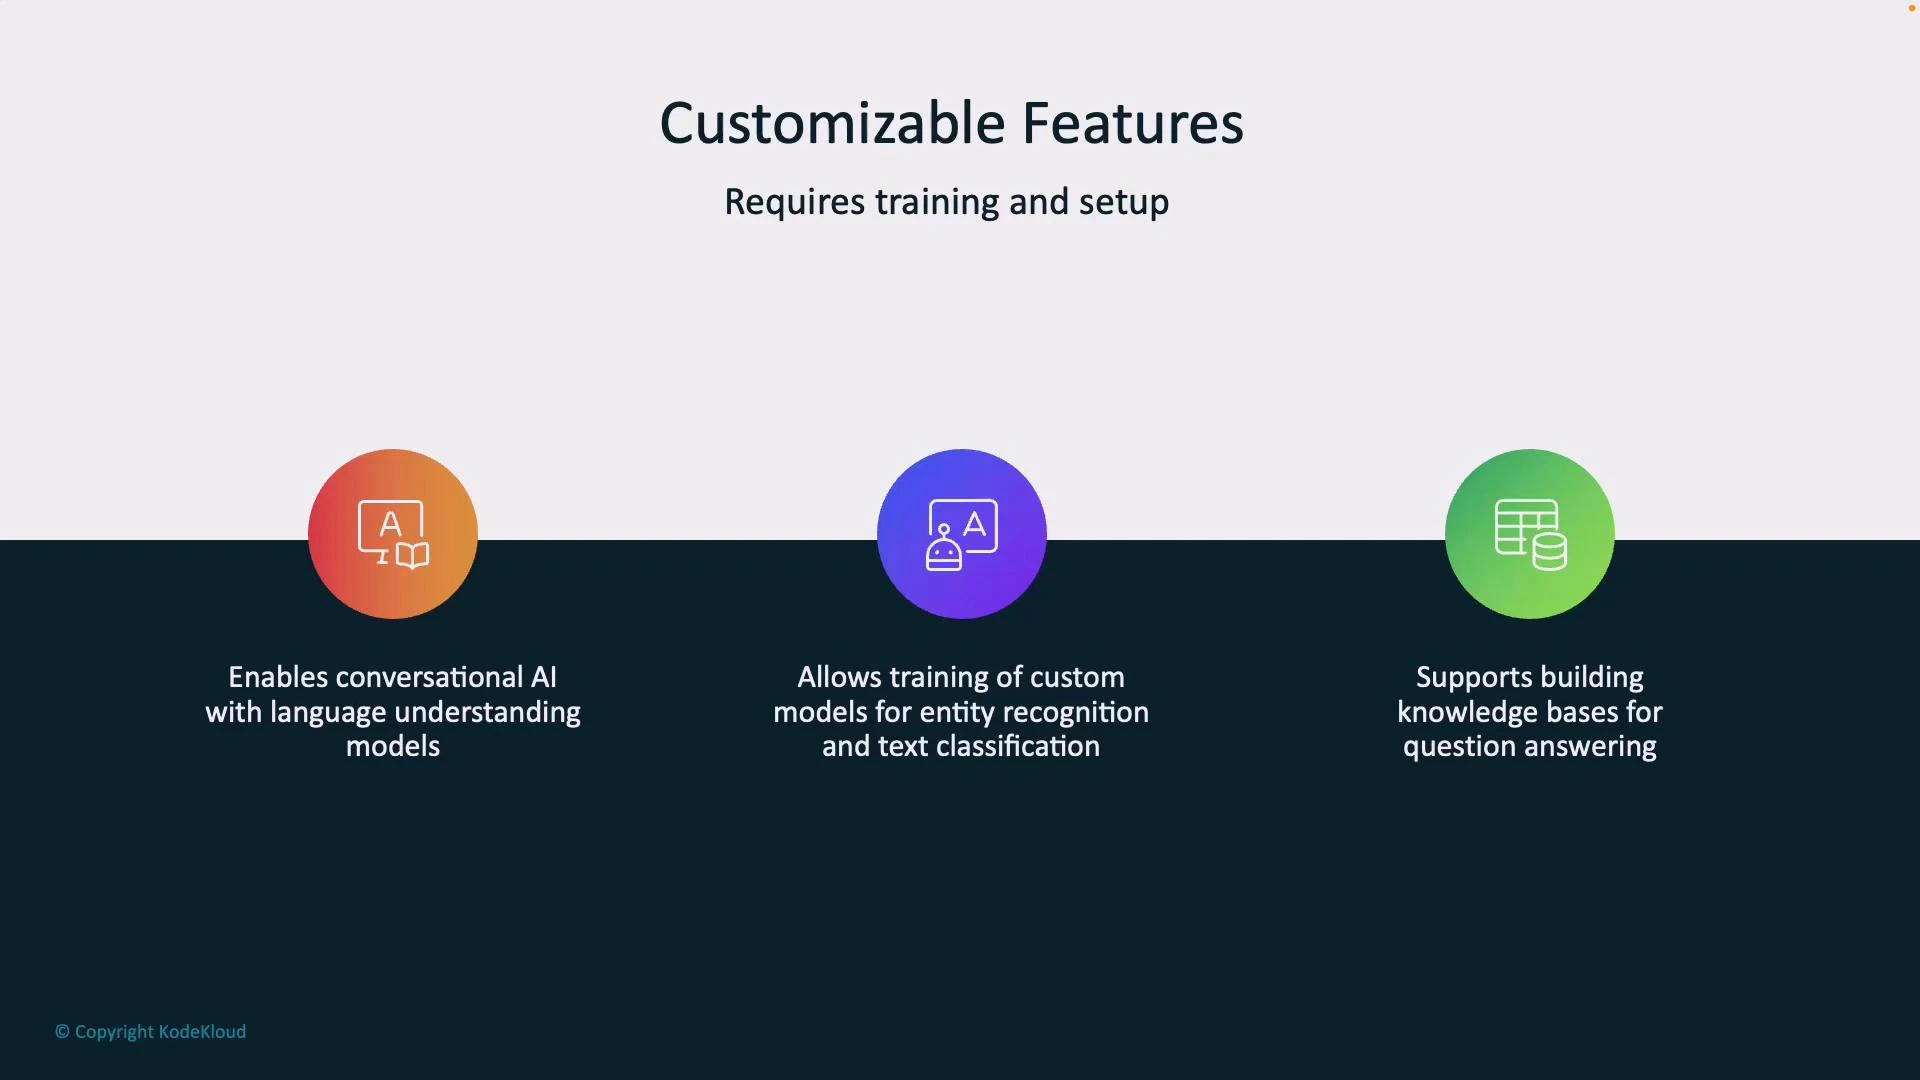
Customizable features (require training)
- Conversational AI / Language Understanding: define intents and utterances to build chatbots or virtual agents.
- Custom entity recognition & text classification: train the model to extract domain-specific terms or classify documents.
- Knowledge bases / Question Answering: ingest documents or FAQs to create searchable, automated Q&A systems.
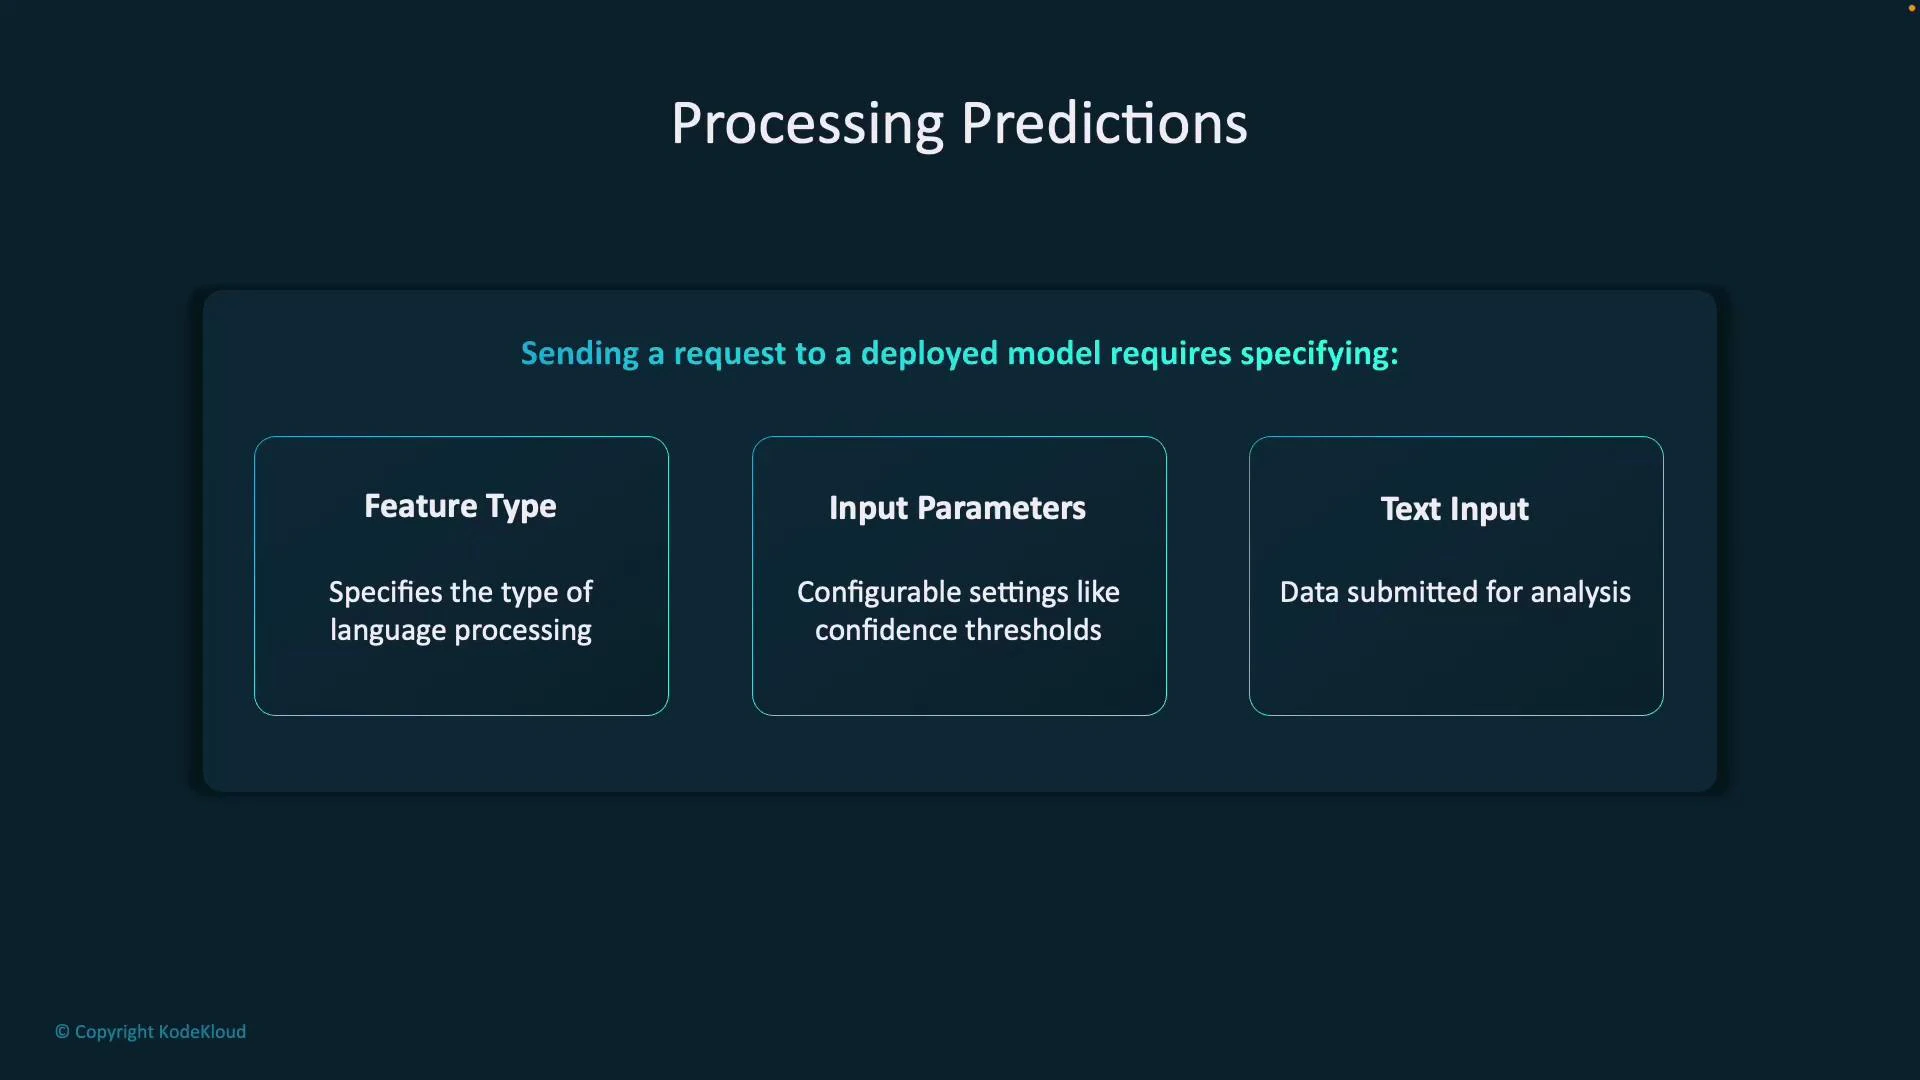
What you send to a deployed model
A prediction request typically includes:- Feature Type: which analysis to perform (intent detection, entity recognition, sentiment).
- Input Parameters: configuration such as confidence thresholds, verbosity, and project/deployment identifiers.
- Text Input: the user’s query or utterance.
Sample structured response
When a model analyzes input, Azure returns structured JSON containing the original query, the top intent, a ranked list of intents with confidence scores, and any extracted entities (with offsets and lengths). Example response (actual fields may differ by API version/SDK):Language Studio walkthrough — conversational language understanding
This walkthrough shows the typical end-to-end flow in Language Studio: create a project, define intents and entities, label training data, train, deploy, and then call the model.1. Create a project
Open Language Studio and create a new conversational language understanding project. For this lesson we use the project name “PizzaOrderProject” with English (US) as the primary language.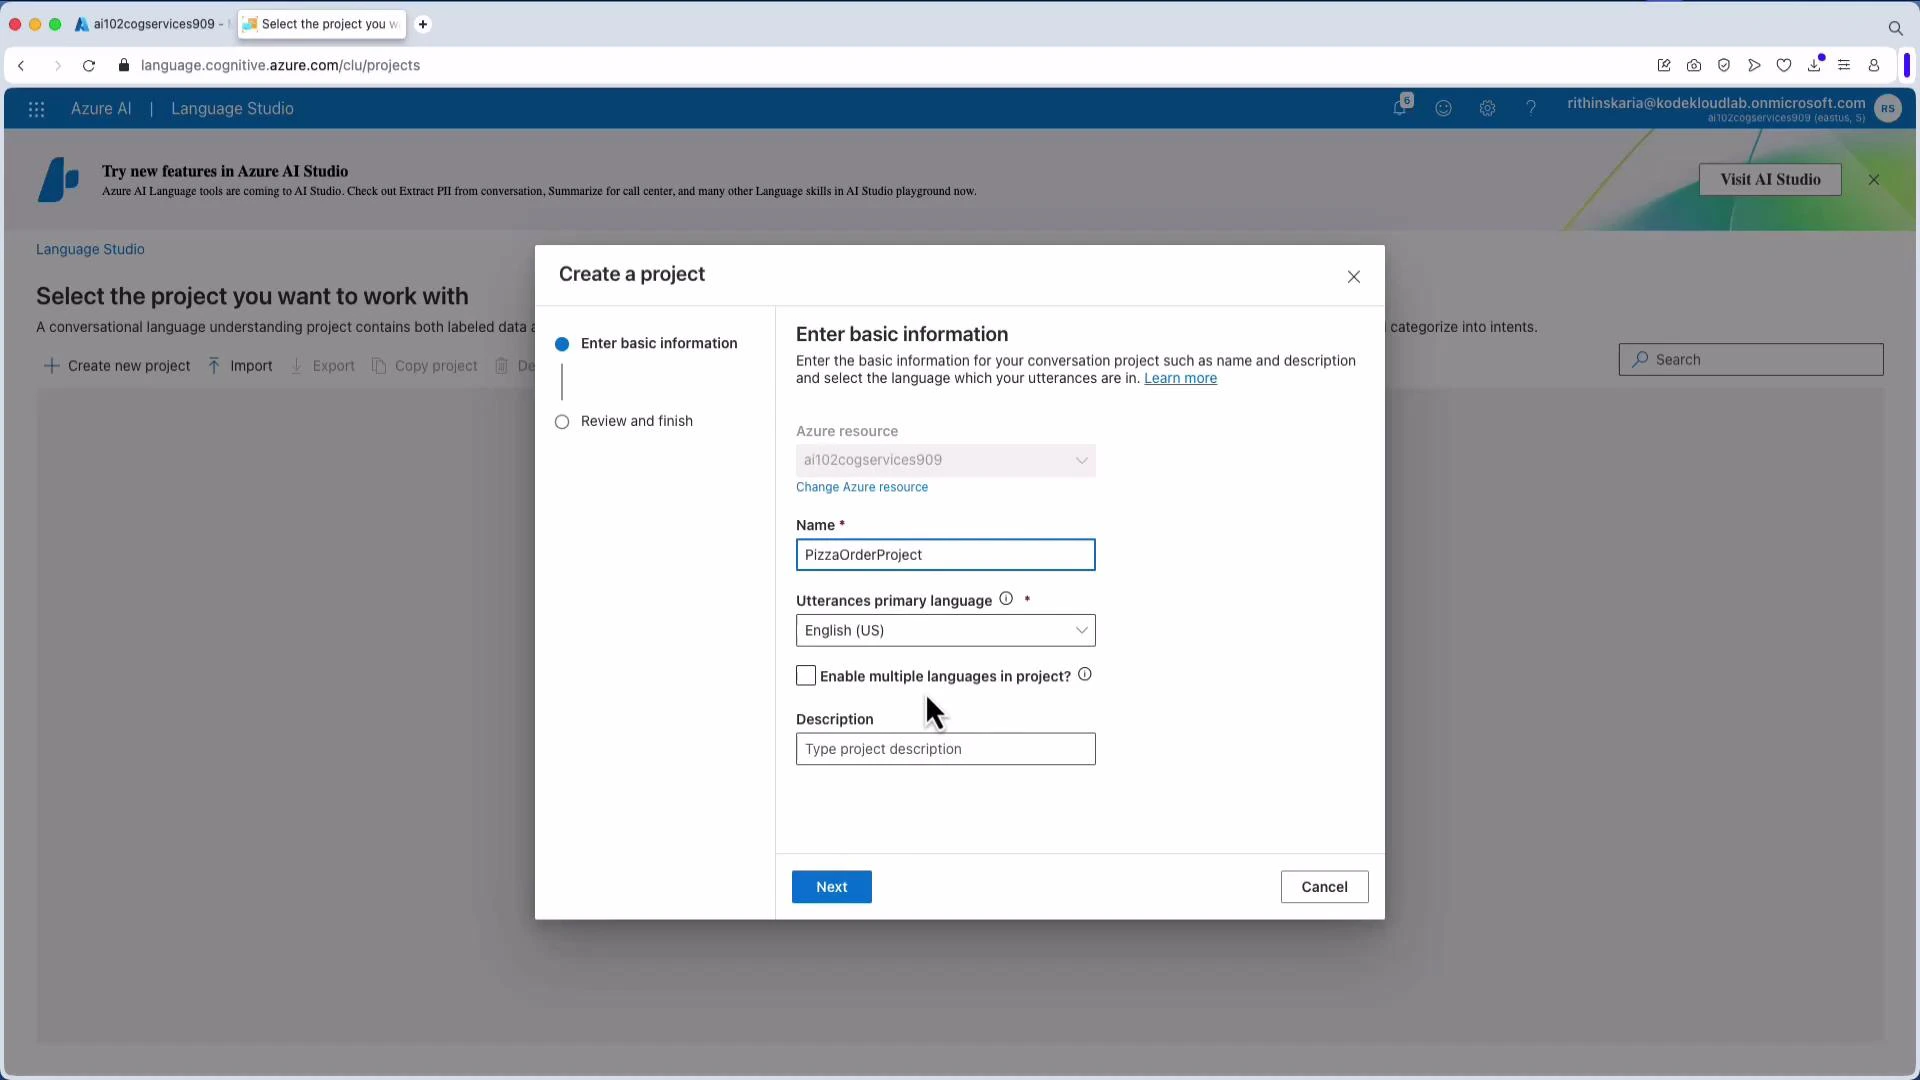
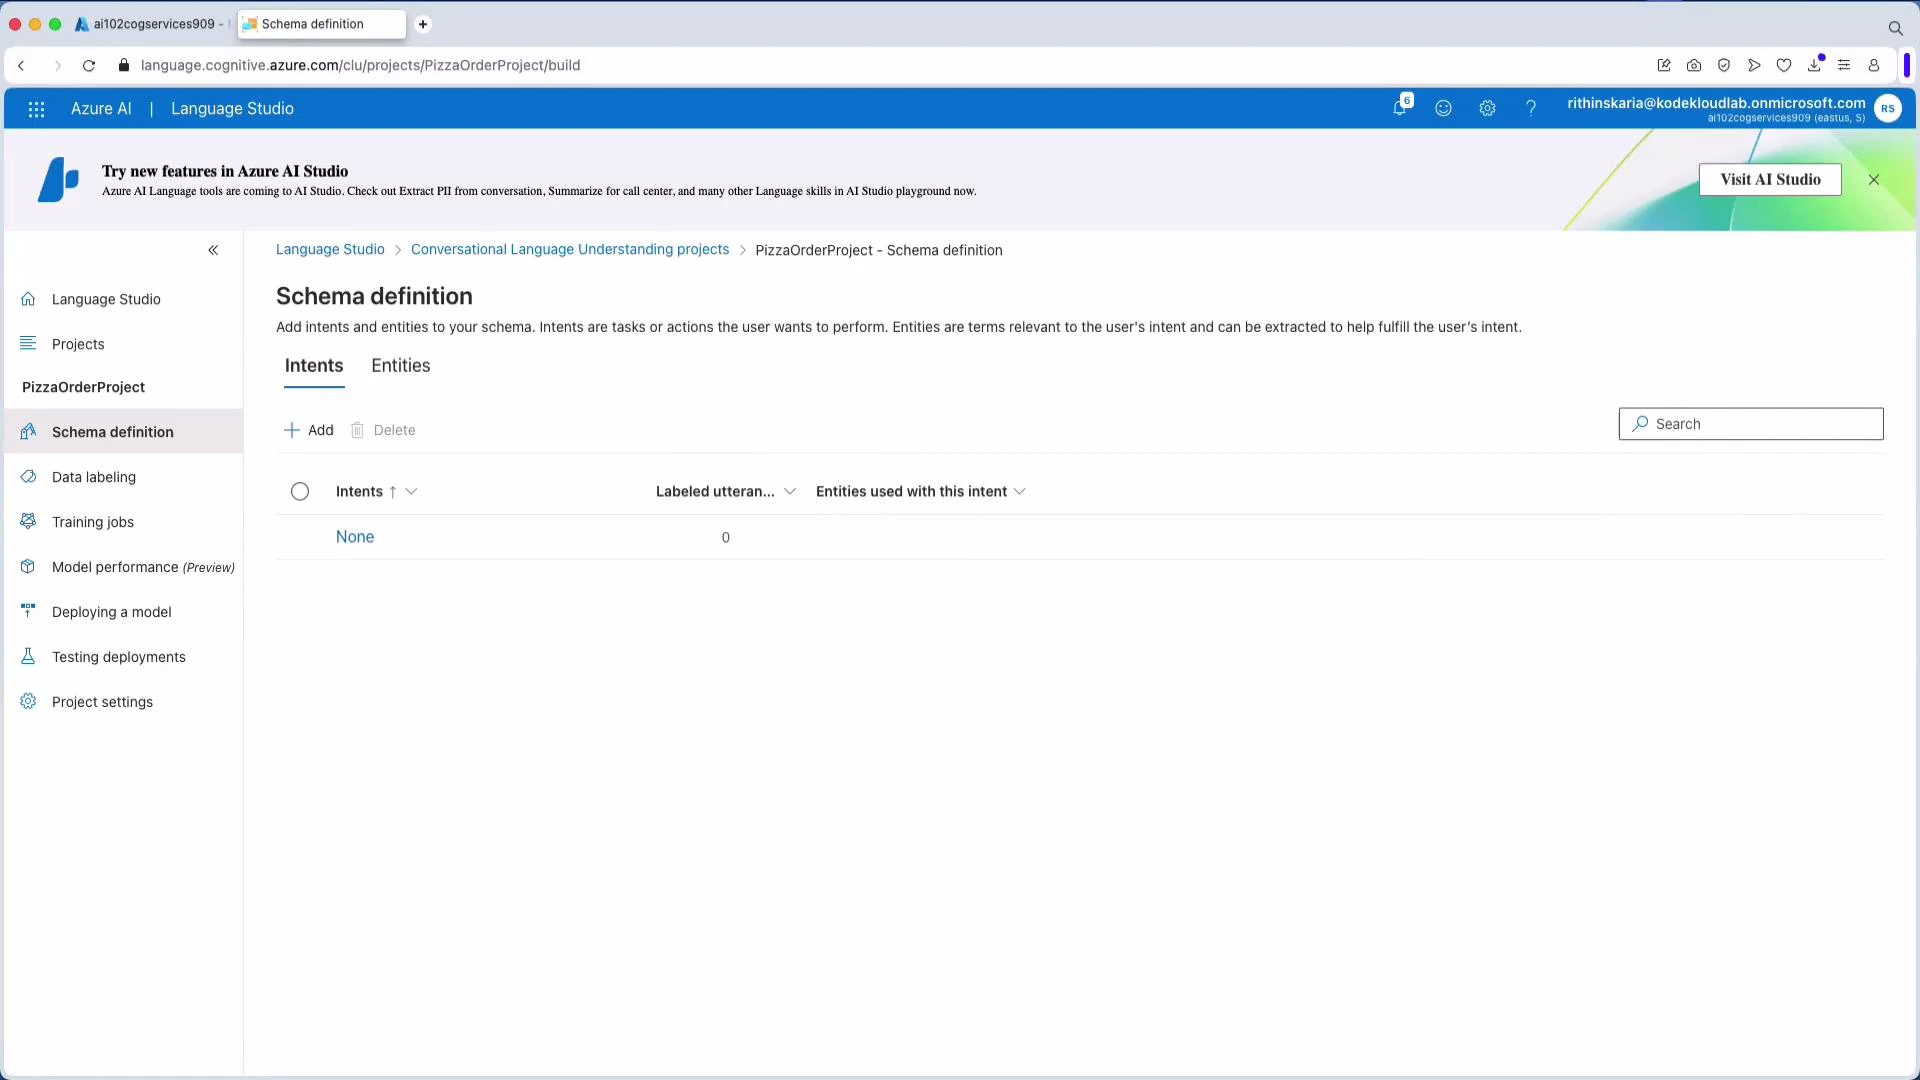
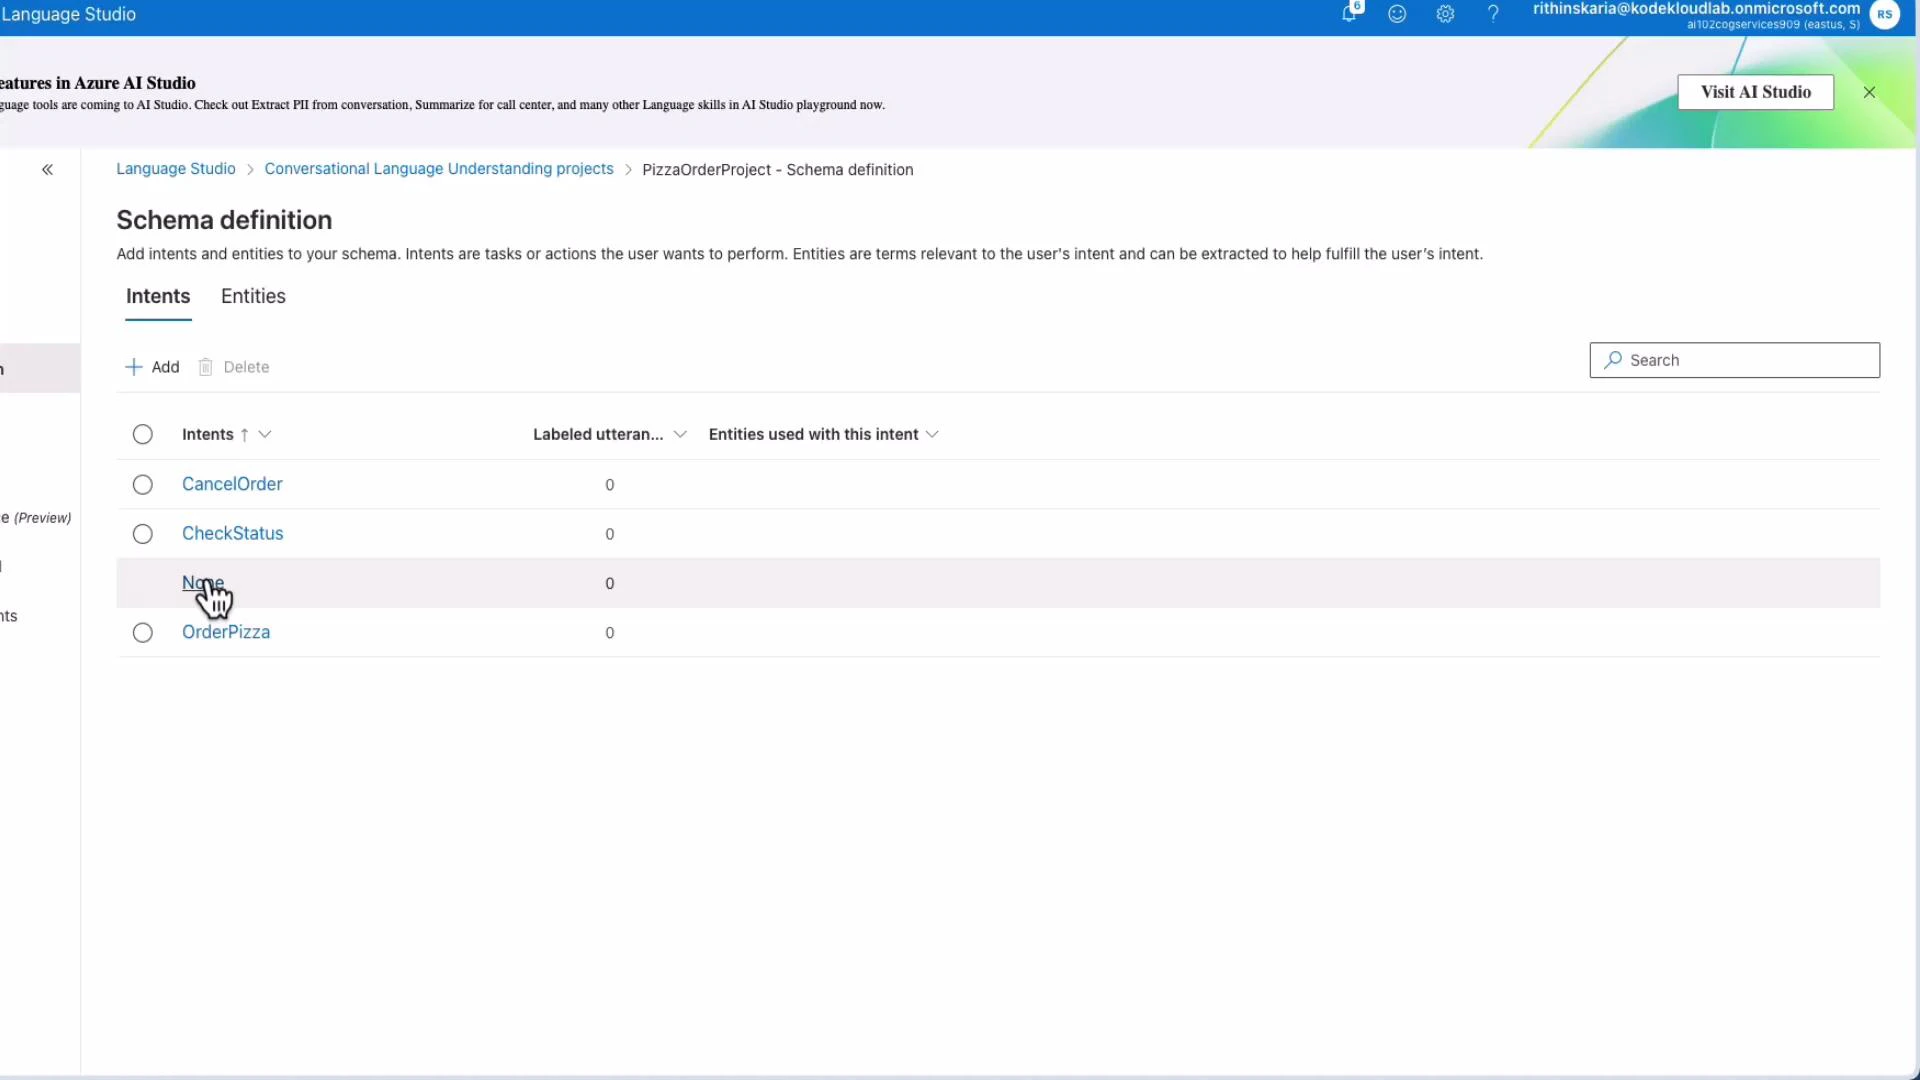
2. Define intents
Add intents that represent user goals. For pizza ordering, typical intents include:- OrderPizza
- CancelOrder
- CheckStatus (or CheckOrderStatus)
- None (out-of-scope)
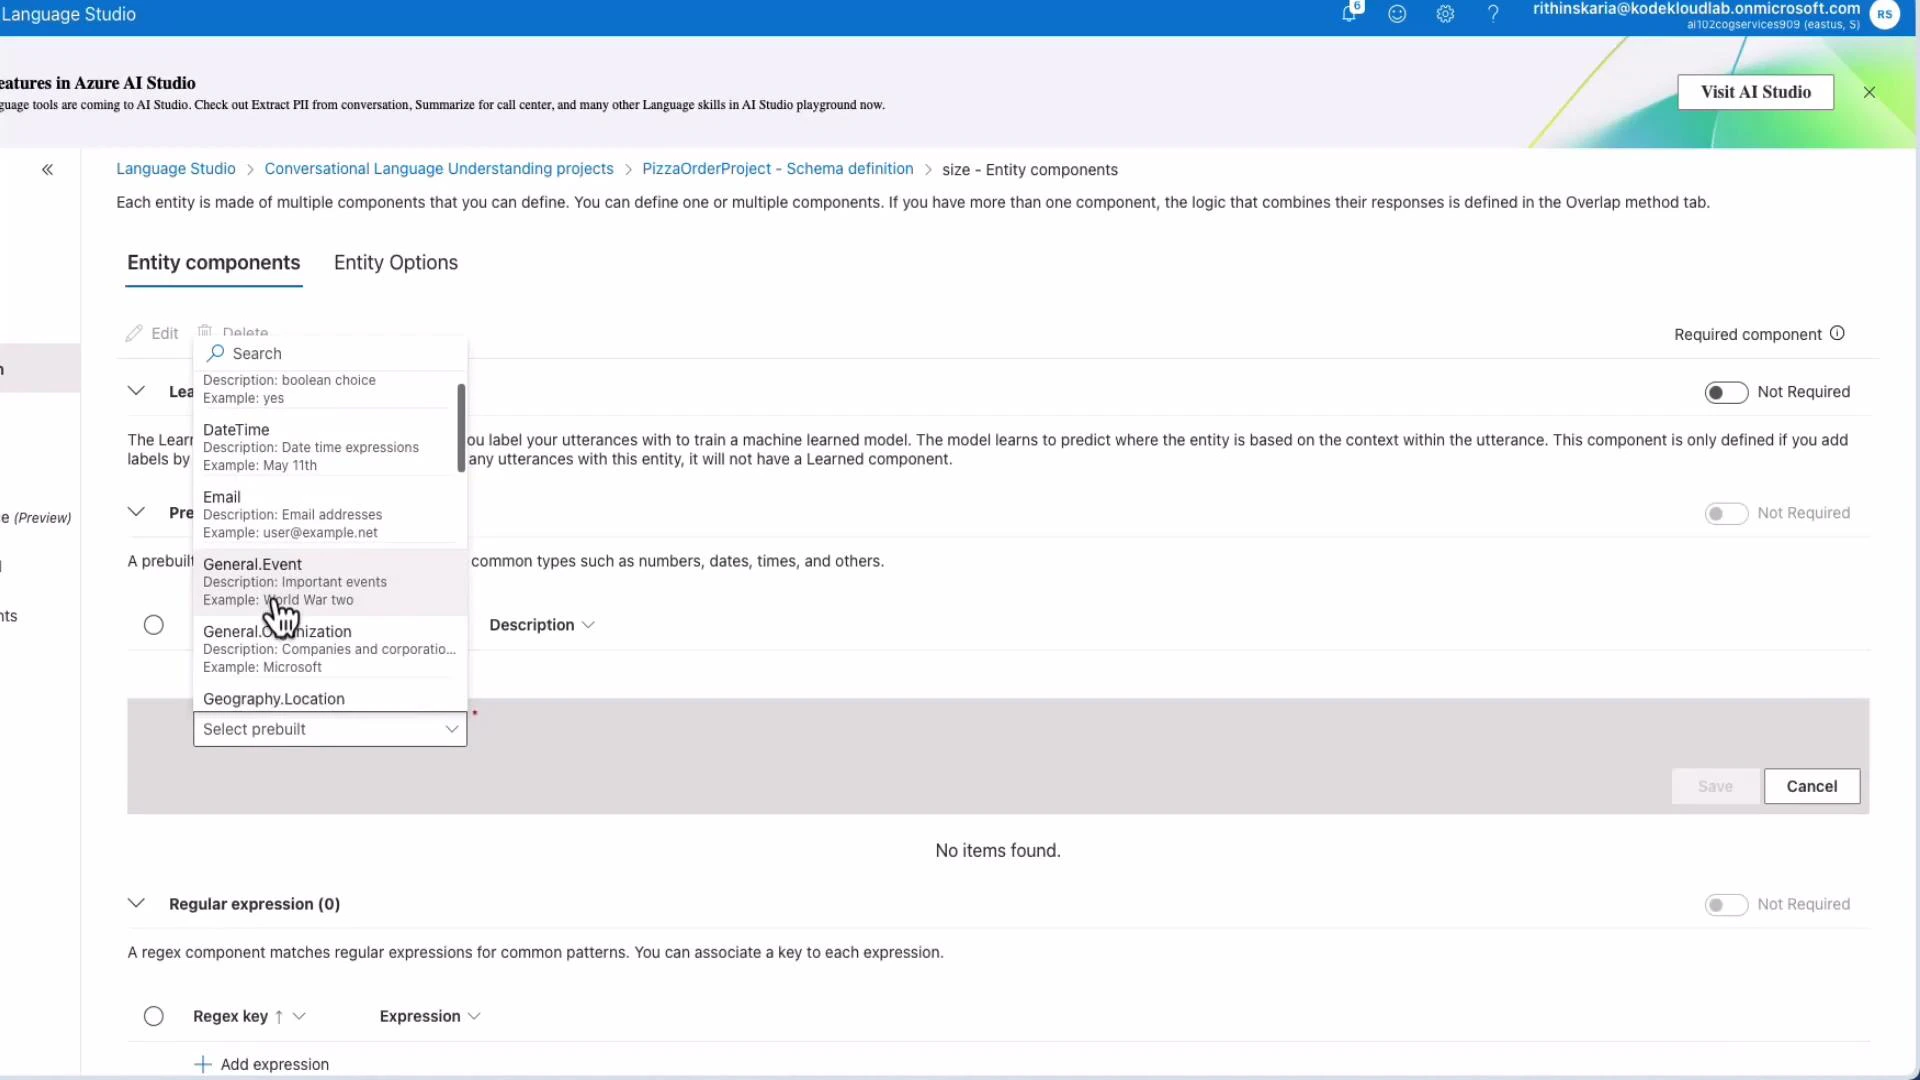
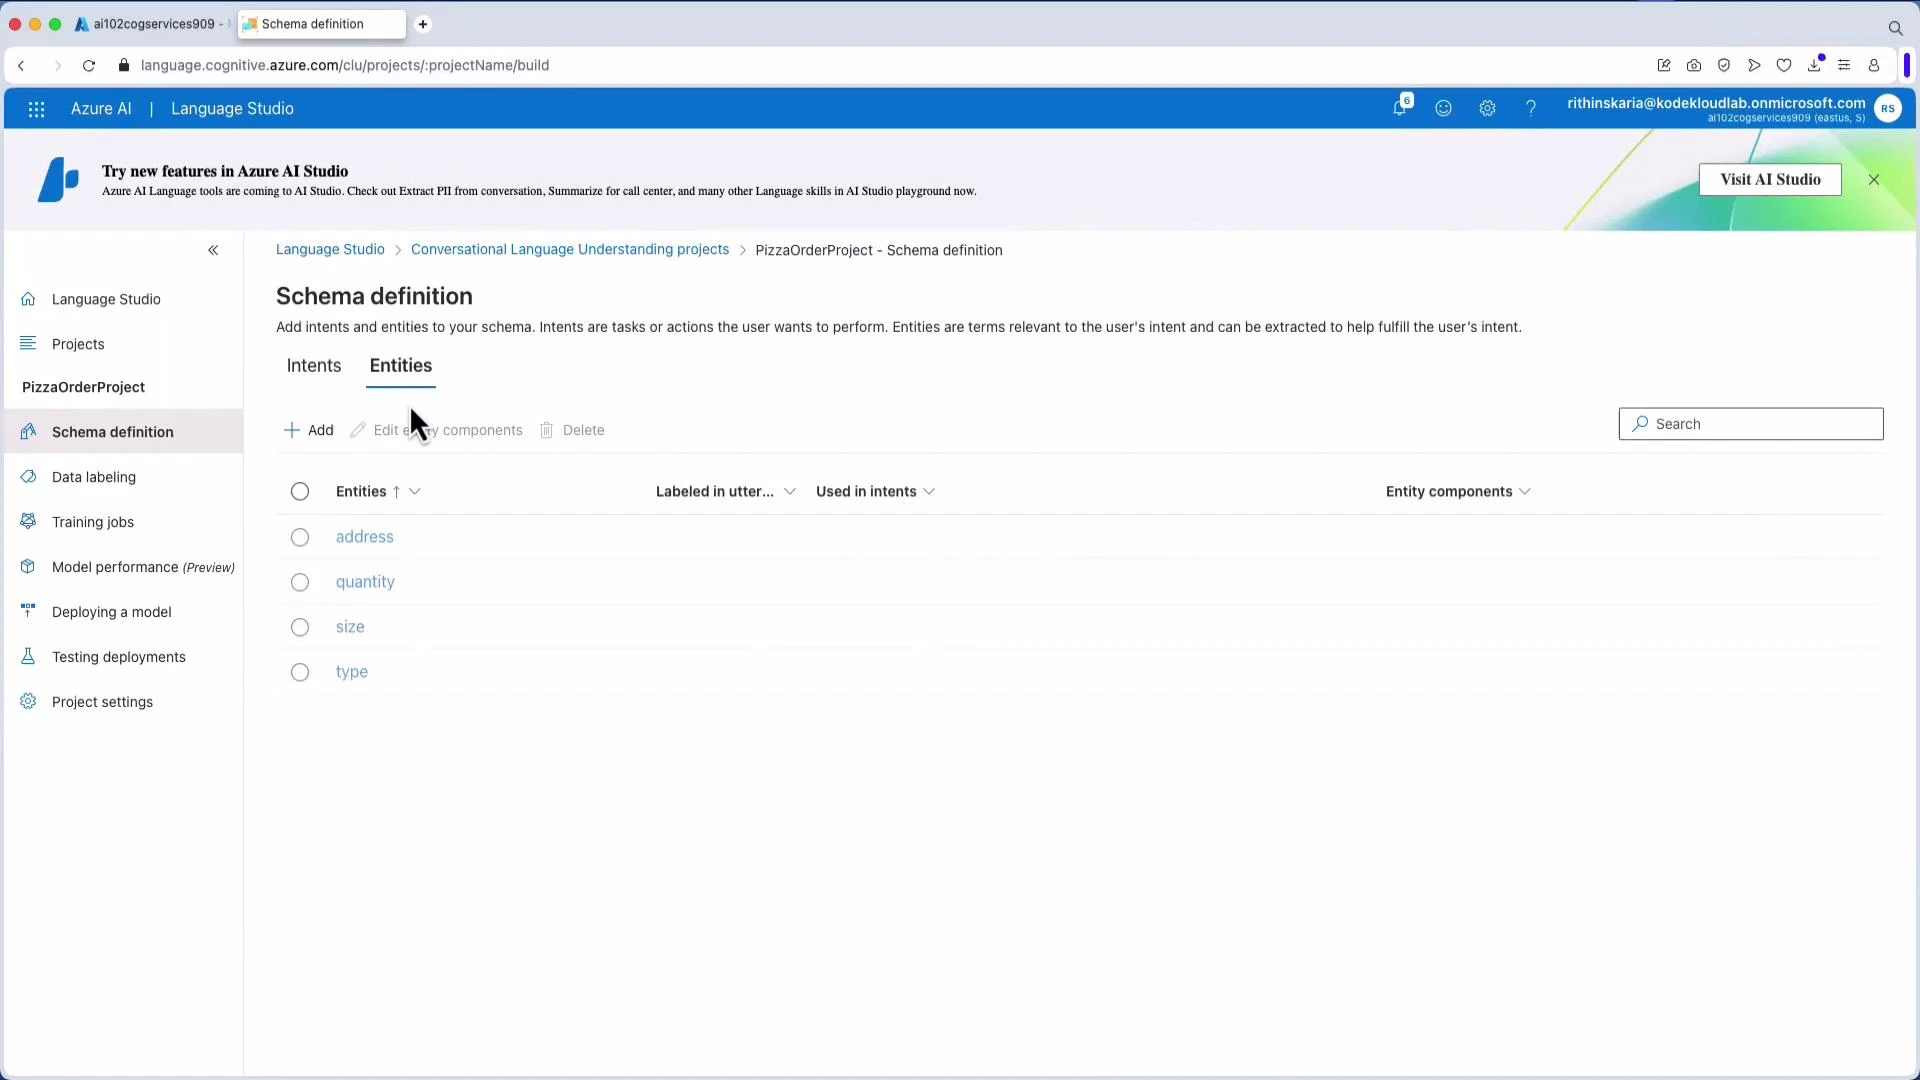
3. Define entities
Entities provide contextual detail for intents (size, type, address, quantity). You can use:- Learned components (model learns from labeled examples).
- Prebuilt components (Boolean, DateTime, Email, Geography.Location).
- Regex or list-based components.
4. Data labeling (utterances)
Label utterances by mapping text to intents and marking entity spans. You can upload a JSON file for bulk import, or create and edit examples directly in the UI. Example JSON upload format: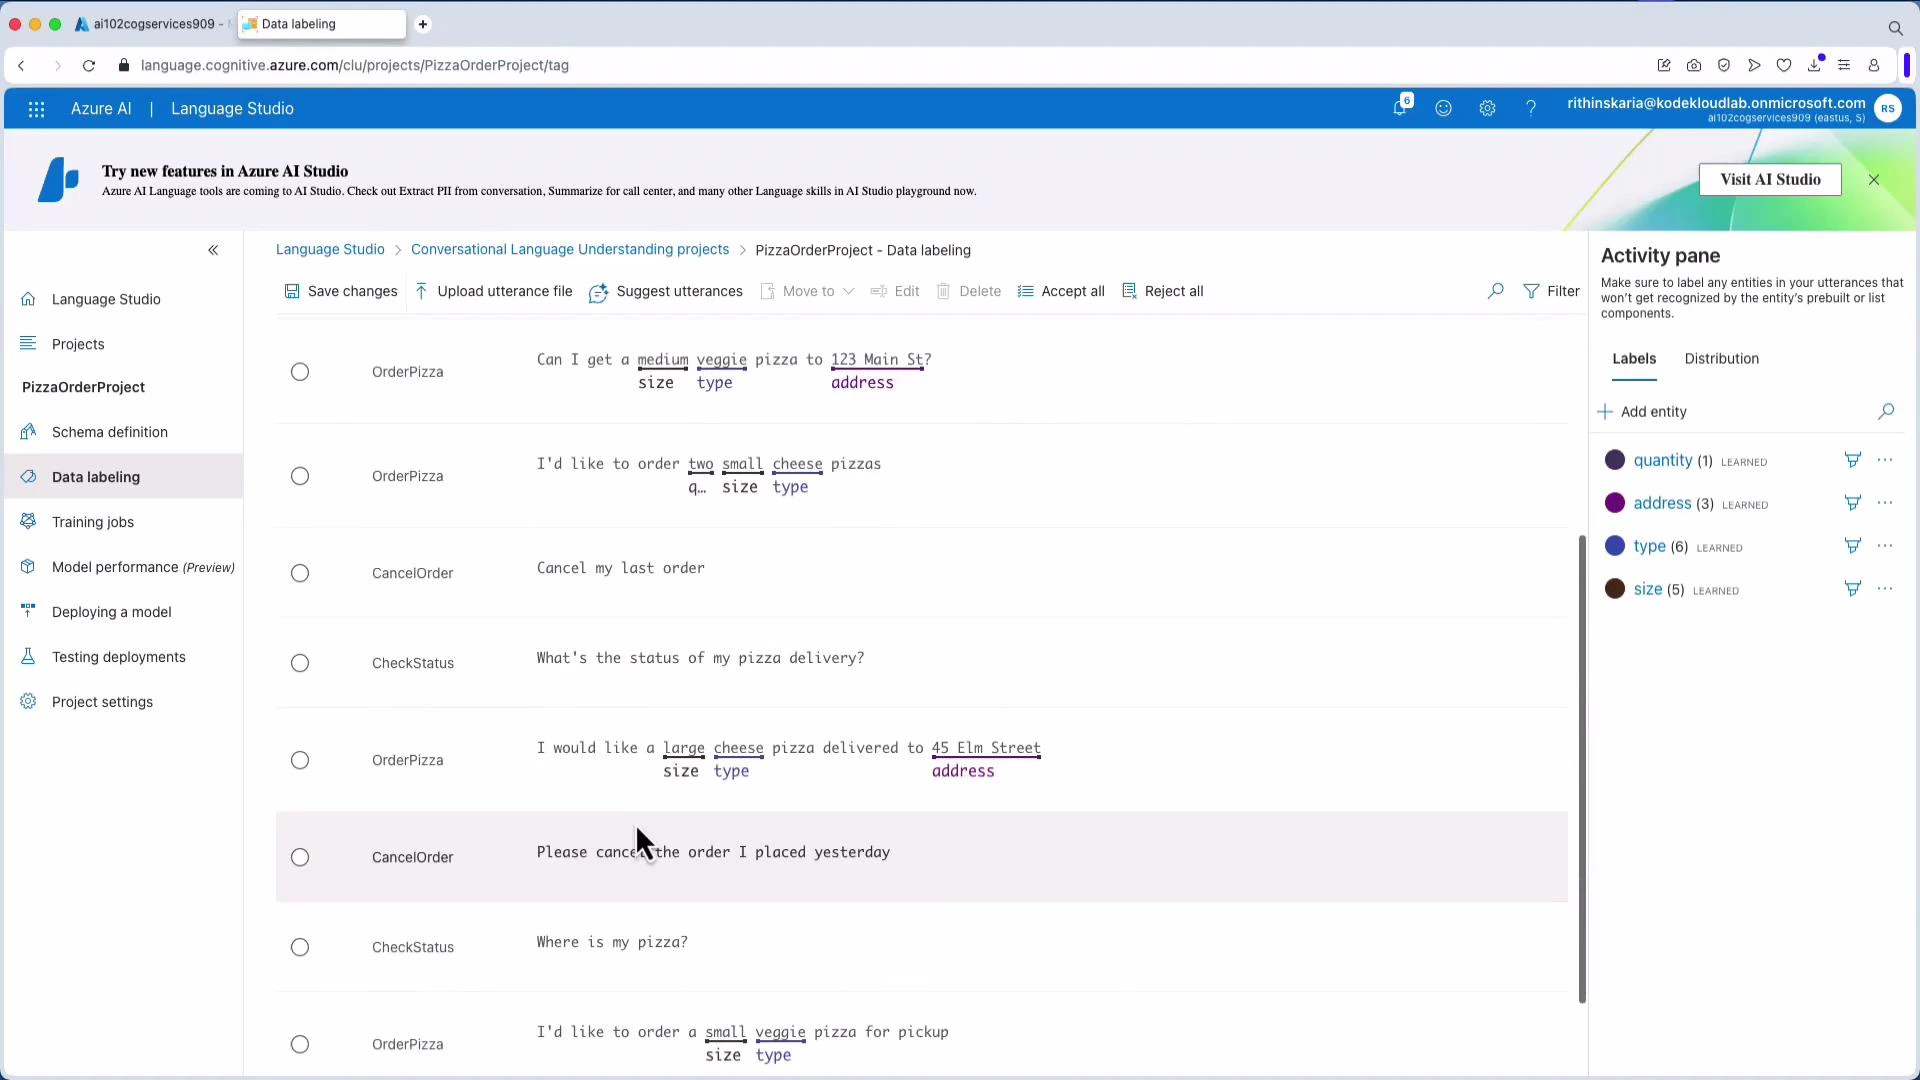
5. Train the model
Start a training job after labeling. Choose a model name, training mode, and data split (commonly 80% train / 20% test). Monitor the job and review evaluation metrics when training finishes.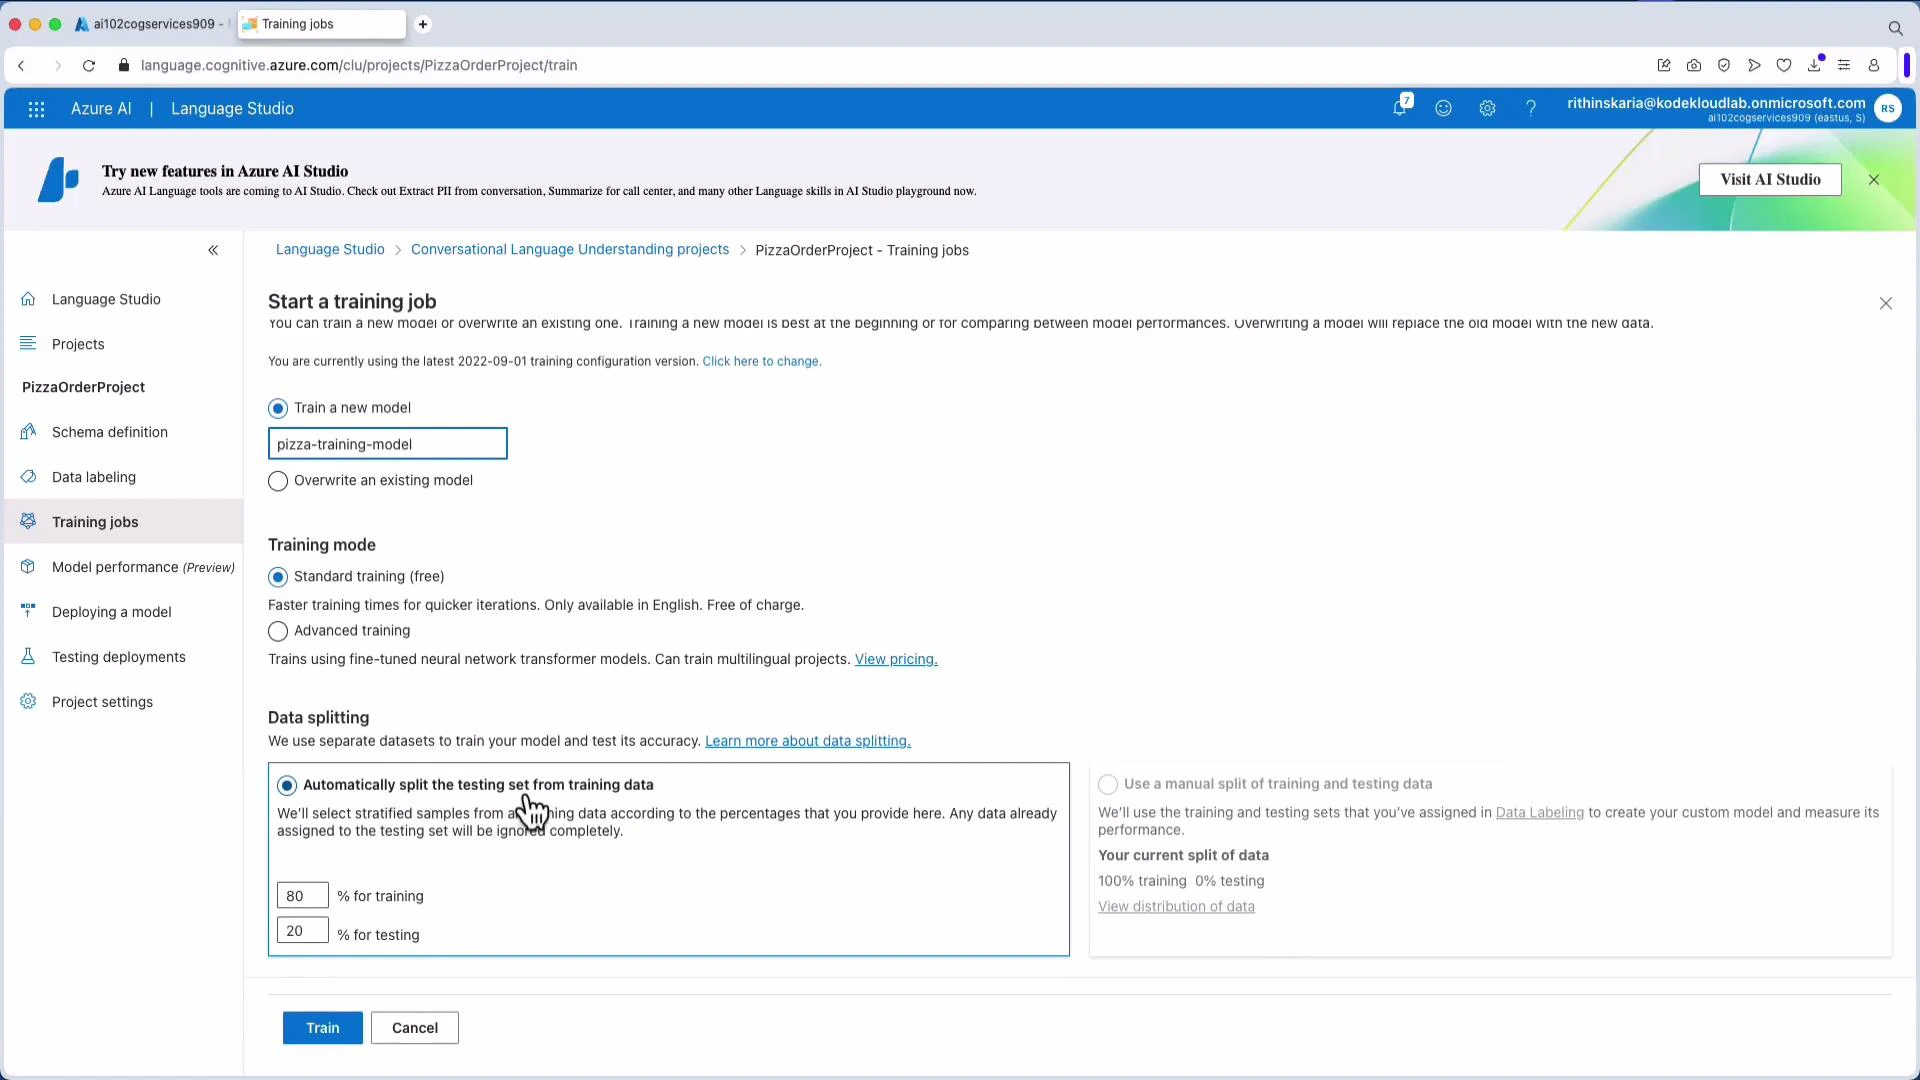
6. Deploy a model
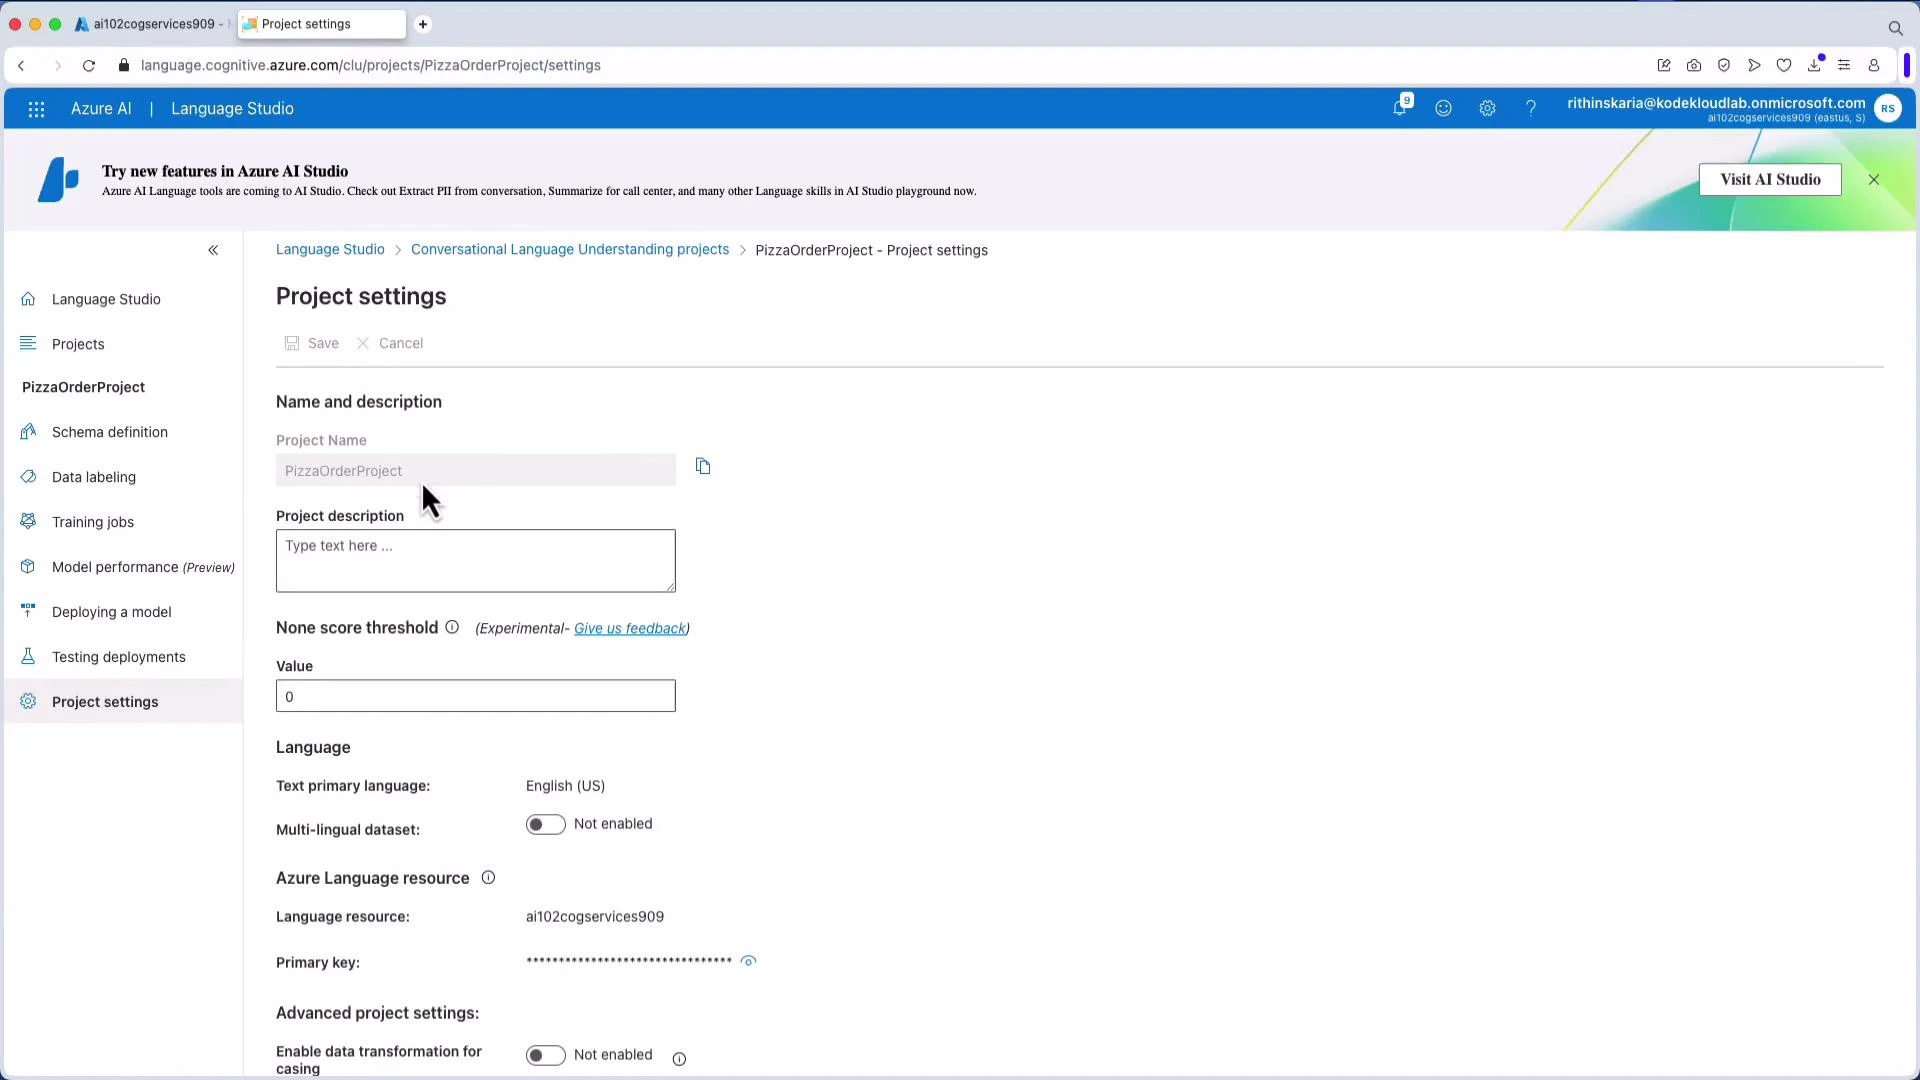
Create a deployment from the trained model. After deployment you receive a prediction URL and sample request snippets. Note the resource endpoint, project name, and deployment name — you’ll need them when calling the model.Tip: Record your resource endpoint, project name, and deployment name from Project Settings — these values are required by SDK/REST calls and sample snippets in Language Studio.
LUIS (Language Understanding Intelligent Service) is deprecated. Microsoft recommends migrating to Conversational Language Understanding (CLU) to keep solutions up-to-date.
Consume the model using the Python SDK
Install the SDK and supporting packages:- “Cancel my pizza order” → Top intent: CancelOrder (likely no entities)
- “Where is my order?” → Top intent: CheckStatus
Integrating language understanding into real systems
Extracted intents and entities drive automation and workflows:| Integration | Example use |
|---|---|
| Customer routing | Determine which team or SLA should handle the request |
| Order management | Extract order details and call backend APIs to place/update/cancel orders |
| Virtual assistants | Connect with voice/chat layers, and use generative models for context-aware replies |
| Automation | Trigger Logic Apps, Power Automate flows, Azure Functions, or microservices |
Next steps
- Expand training data with more utterances and edge cases.
- Add prebuilt entity components (address, phone, DateTime) to reduce labeling effort.
- Evaluate model performance on a test set and iterate to improve accuracy.
- Deploy and monitor models in production, and automate retraining as needed.
Links and references
- Azure AI Language Service overview
- Language Studio overview
- Conversational Language Understanding (CLU)
- Azure OpenAI service overview