Guide for provisioning and configuring Azure AI Services, selecting resource types, managing endpoints and keys, planning deployments, and connecting applications via REST APIs or language SDKs
This guide shows how to provision and configure Azure AI Services, choose the appropriate resource type, and connect from applications using REST APIs or language SDKs. It covers portal setup, deployment considerations, authentication, and sample requests so you can get a tested endpoint, keys, and region for development or production.
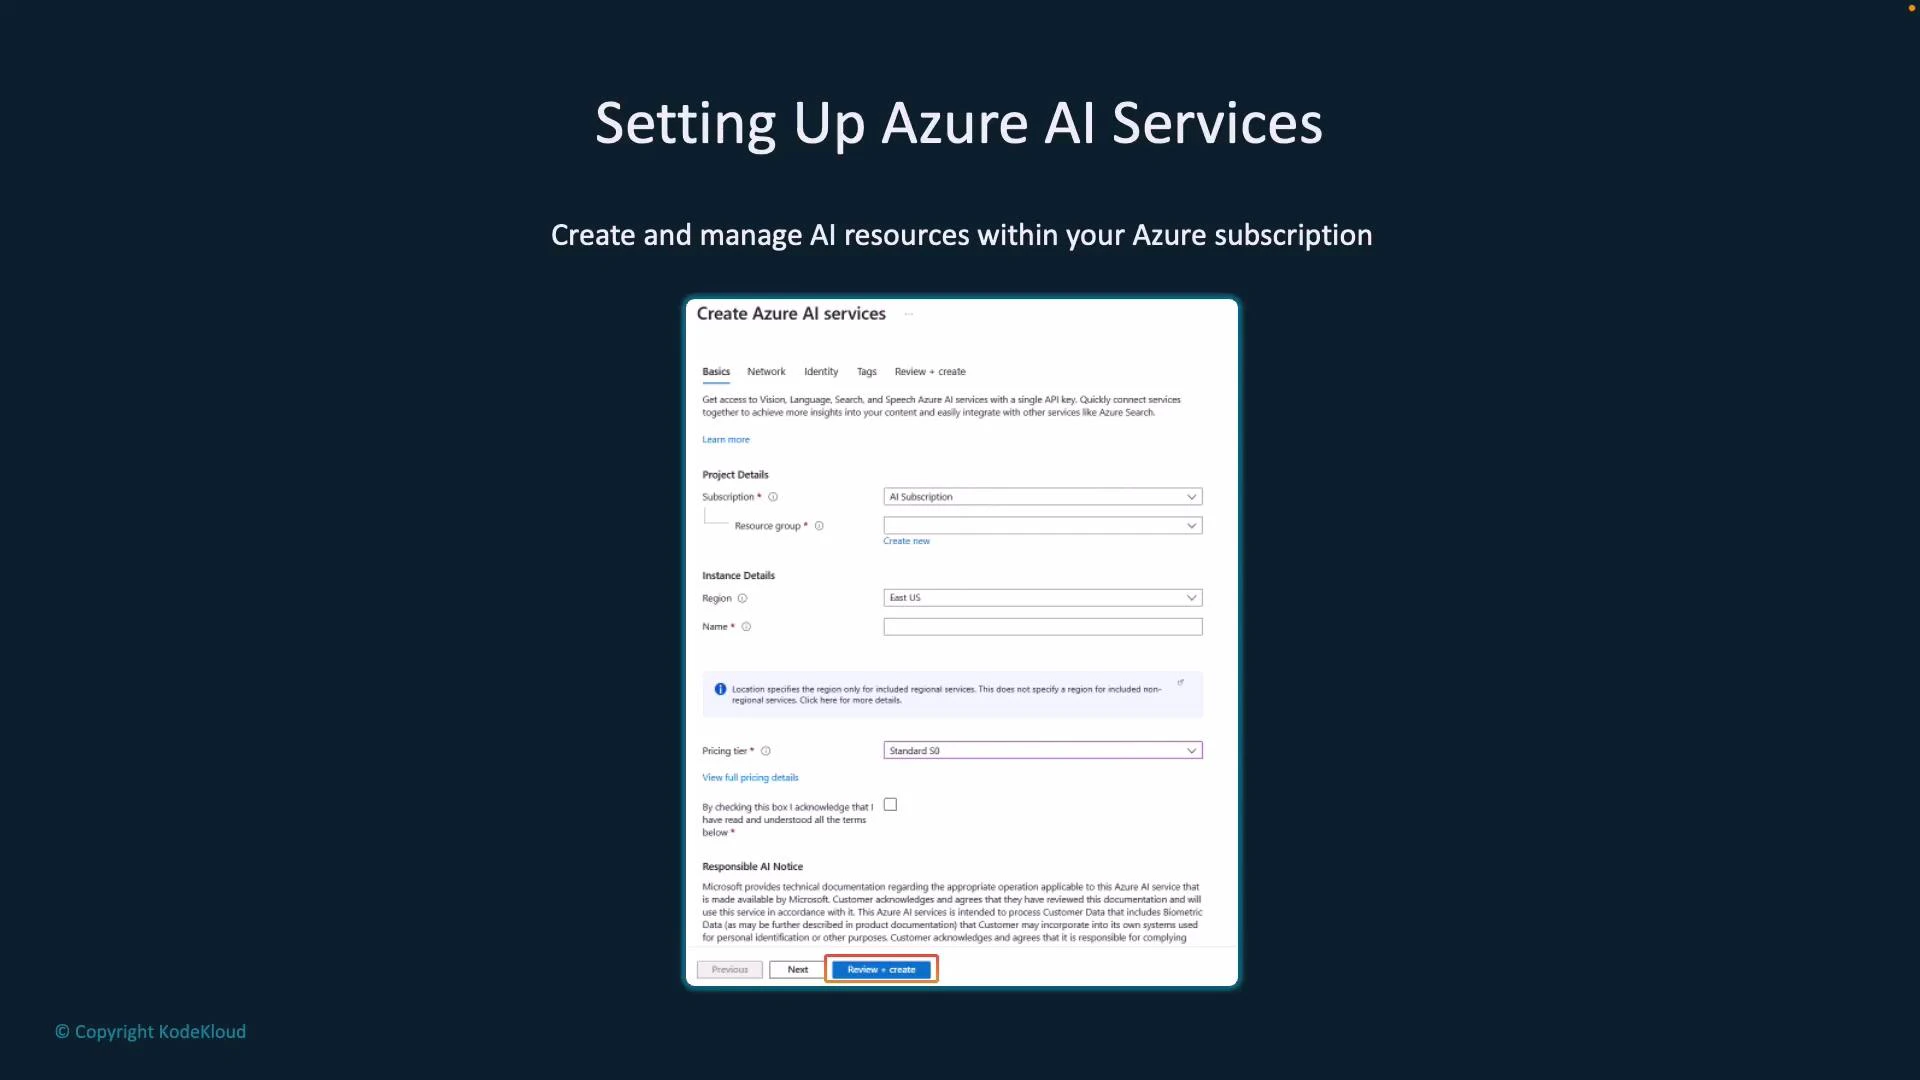
To get started, create an Azure AI resource in the Azure portal. Required information includes:
Subscription and resource group
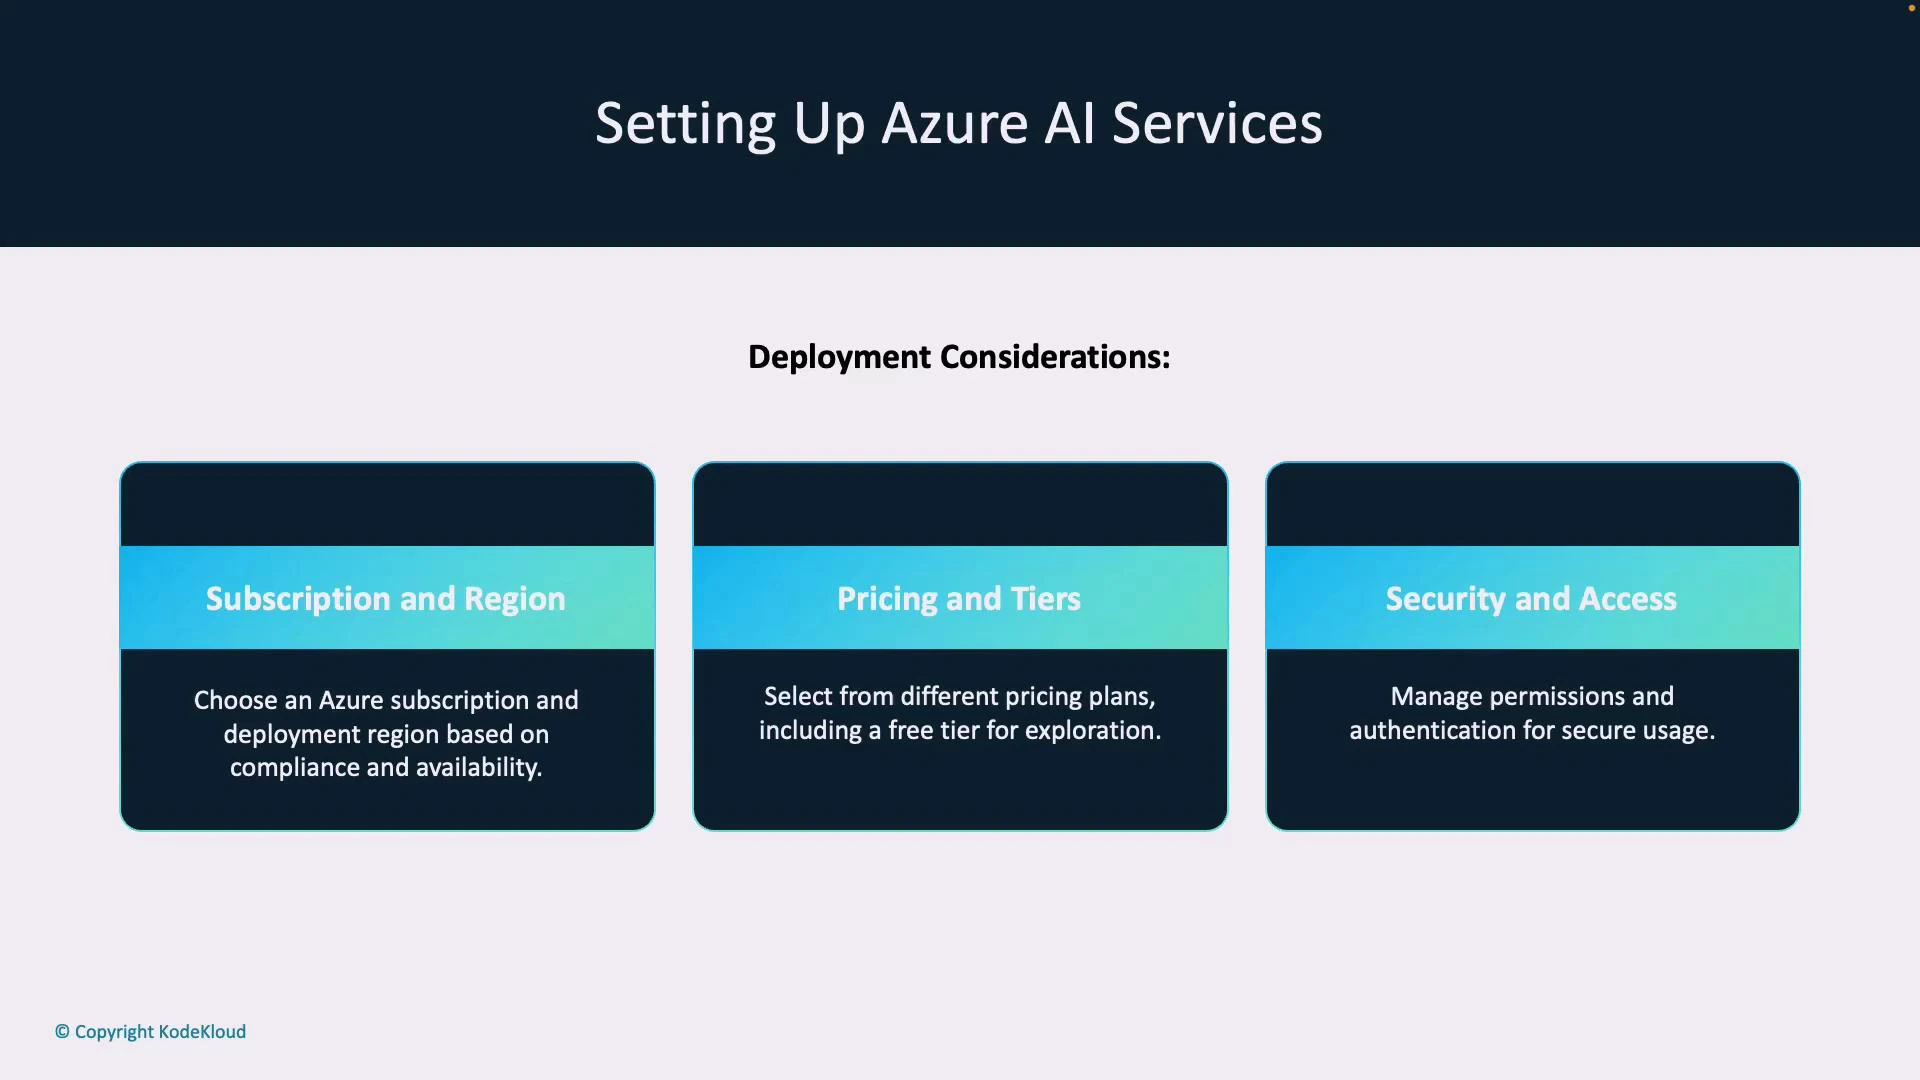
Deployment region — pick a region close to your users to reduce latency and meet data residency requirements
Instance name
Pricing tier — some capabilities may offer a free tier for experimentation; otherwise select a plan matching your expected usage
After entering the required fields, click Review + Create to provision the resource.
Tip: Use a descriptive name and consistent tagging for resources to simplify billing, monitoring, and automation. Free tiers are ideal for testing but verify quotas and limits before using in production.
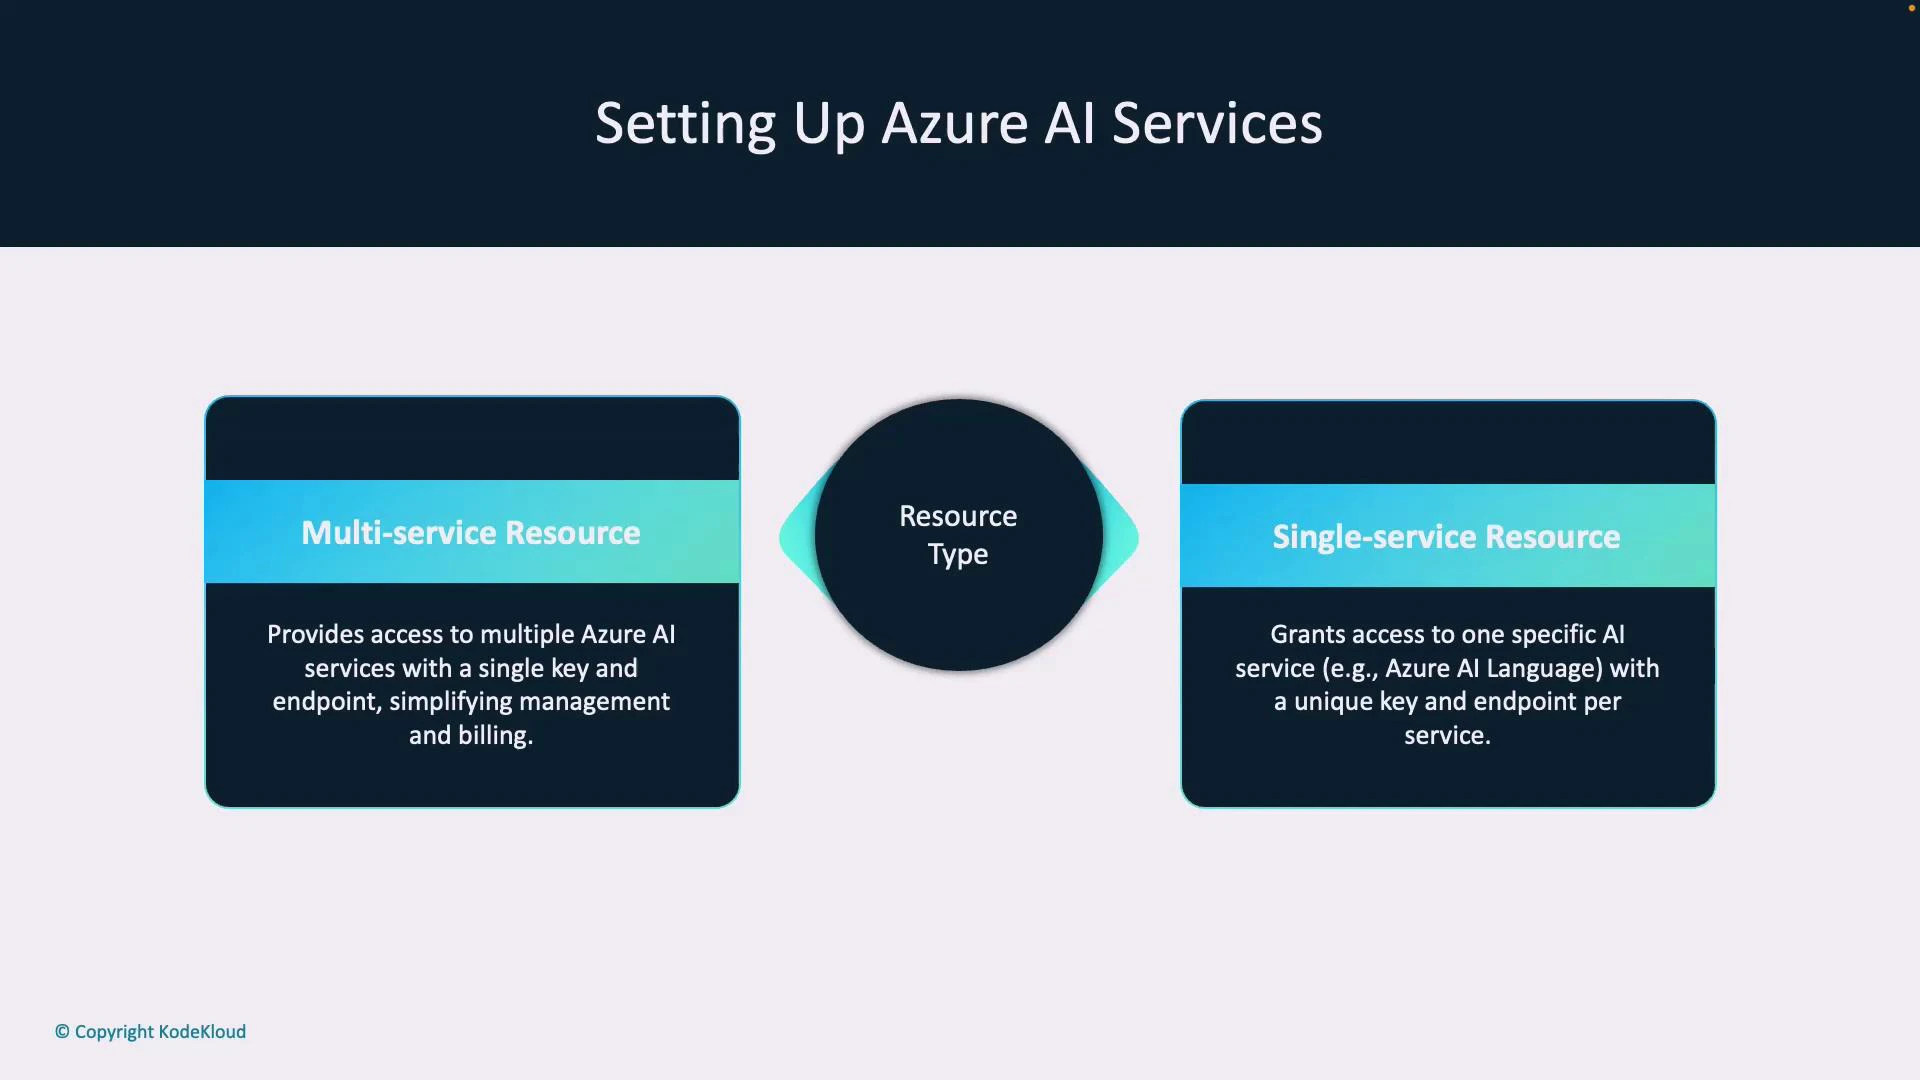
Multi-service resource: exposes multiple AI capabilities (Language, Vision, Speech, etc.) through a single endpoint and shared keys — simplifies management and billing.
Single-service resource: scoped to one capability (for example, a Language-only or Vision-only resource) with its own endpoint and keys — useful for isolation, fine-grained permissions, or separate team ownership.
Use the table below to decide which fits your scenario.
Resource Type
When to use
Benefits
Multi-service
Small teams or consolidated billing; want a single endpoint for multiple AI capabilities
Fewer endpoints/keys, simplified management
Single-service
Separate teams, strict access control, or different regions/tiers per capability
Choose single-service resources when you need strict separation (for example, the Vision team should not access Speech). Choose multi-service to simplify management and reduce the number of endpoints and keys.
Azure region of the resource; used for some requests or routing
Best practice: rotate keys regularly and prefer Microsoft Entra ID (OAuth bearer tokens) where supported for stronger identity-based authentication. See Microsoft Entra ID docs: https://learn.microsoft.com/en-us/azure/active-directory/
Official SDKs reduce boilerplate and provide language-native interfaces, automatic retries, and credential handling. SDKs are available for .NET, Python, Node.js, and Java.Benefits of SDKs:
Simplified authentication and request construction
Native response objects and error types
Built-in retry logic and telemetry integration
Example Python (Text Analytics) using the azure-ai-textanalytics SDK:
from azure.ai.textanalytics import TextAnalyticsClientfrom azure.core.credentials import AzureKeyCredentialendpoint = "https://<your-endpoint>/"key = "<your-api-key>"client = TextAnalyticsClient(endpoint=endpoint, credential=AzureKeyCredential(key))documents = ["I had a wonderful day!"]response = client.analyze_sentiment(documents)for doc in response: print(f"Document sentiment: {doc.sentiment}") print(f"Confidence scores: {doc.confidence_scores}")
SDKs are wrappers around REST APIs and are recommended for most development scenarios unless you need direct control of raw HTTP requests.
Choose between multi-service and single-service resources
Plan deployment with region, pricing, and security in mind
Retrieve endpoint, keys, and location values
Call services via REST or use language SDKs for faster integration
Next step: Provision an AI resource in your Azure subscription, record the endpoint, keys, and region, and run the curl or SDK examples above from a development environment.