This article explains how an application sends a natural language question to a question-answering service (Azure Language Services’ Custom Question Answering) and receives a structured answer. You’ll see request and response examples, how to create and populate a Custom Question Answering project in Language Studio, and how to call the prediction endpoint programmatically.

How the application asks a question

An application typically sends a JSON payload containing the user’s natural language question and options that control the response ranking, filtering, and the number of answers returned. Example request payload:
{
  "question": "What do I need to do to know my bill amount?",
  "top": 2,
  "scoreThreshold": 20,
  "strictFilters": [
    {
      "name": "category",
      "value": "api"
    }
  ]
}
Request fields
FieldTypeDescription
questionstringThe user’s natural language query.
topintegerReturn the top N most relevant answers (example: 2).
scoreThresholdnumberMinimum score required for an answer to be considered (example: 20).
strictFiltersarrayMetadata-based filters to narrow results (example: category == “api”).
Parameter names and request formats have changed over time. Older QnA Maker exports may use fields like scoreThreshold and strictFilters. Newer Custom Question Answering REST APIs may use confidenceScoreThreshold, filters.metadataFilter, and floating-point confidence scores. Always check the API version in the documentation for the exact schema.

Example structured response

The service returns a JSON response containing an array of answers. Here is a representative response for the sample request above:
{
  "answers": [
    {
      "score": 27.74823341616769,
      "id": 20,
      "answer": "Your bill amount is $112.90.",
      "questions": [
        "How much is my bill?"
      ],
      "metadata": [
        {
          "name": "category",
          "value": "api"
        }
      ]
    }
  ]
}
Response fields
FieldTypeDescription
answersarrayArray of answer objects returned by the knowledge base.
answers[].scorenumberNumerical confidence score for the answer (example: ~27.7).
answers[].idintegerIdentifier of the QnA pair in the knowledge base.
answers[].answerstringThe textual answer returned.
answers[].questionsarrayAlternate phrasings linked to this answer (useful for matching).
answers[].metadataarrayMetadata attached to the QnA pair (categories, tags).
This exchange demonstrates how plain-language queries map to structured knowledge-base entries and how metadata and confidence scores affect results.

Create, populate, and deploy a Custom Question Answering project

Below are the steps to create and publish a Custom Question Answering project in Azure Language Studio. Follow the sequence and use the portal UI to create resources and configure indexing.
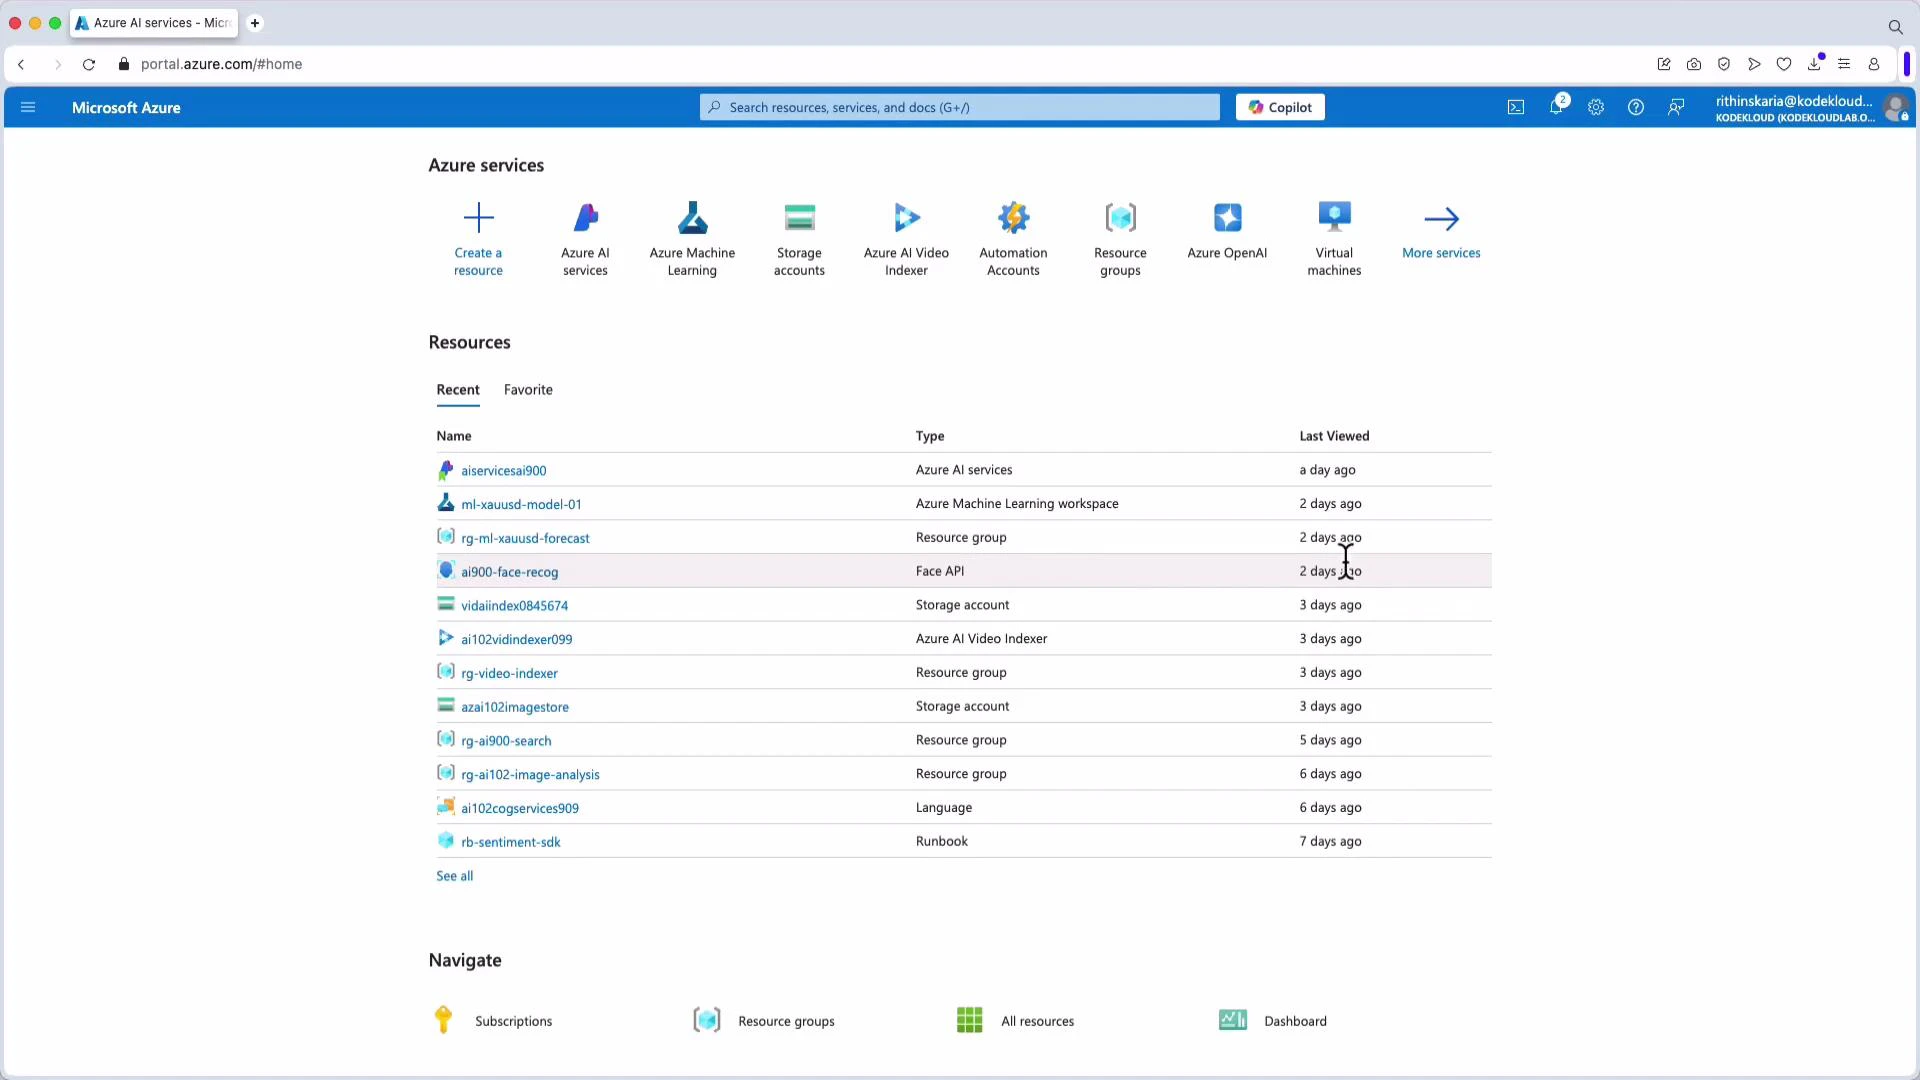
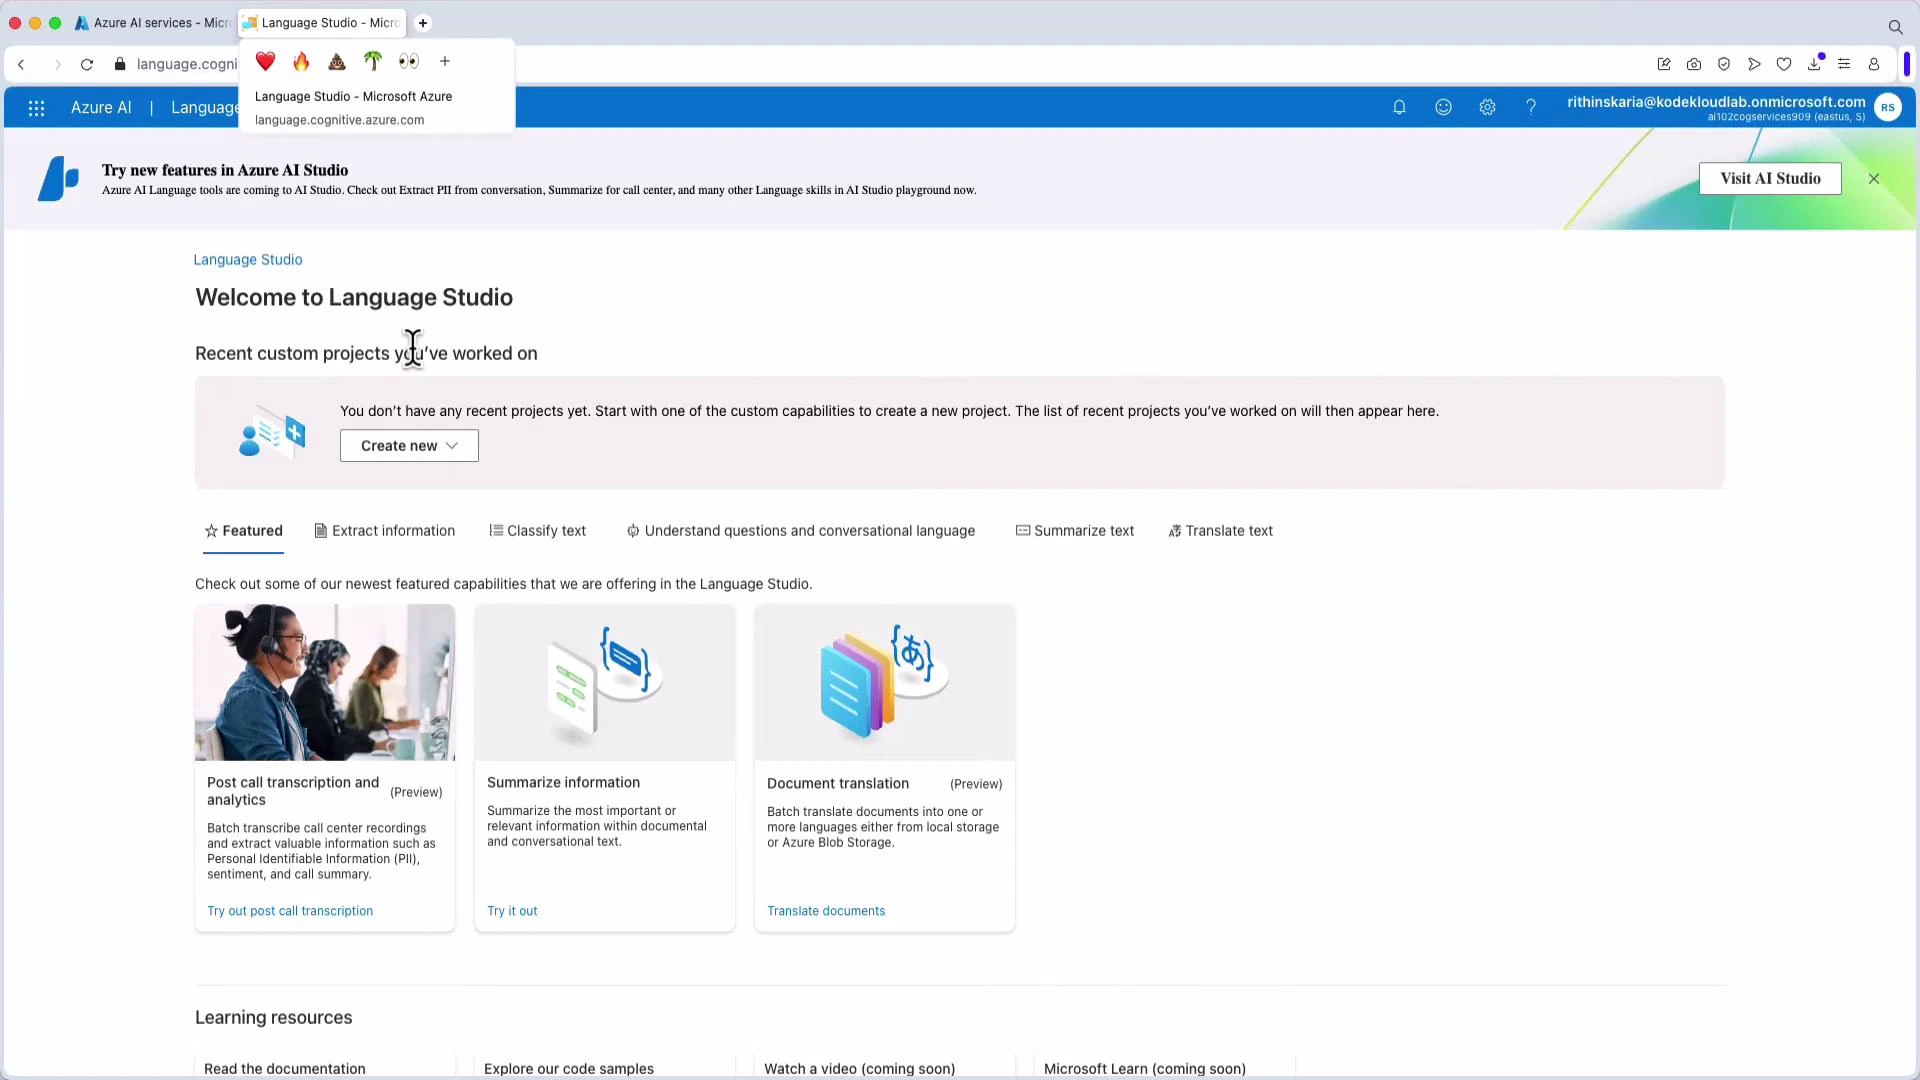
  1. Open the Azure portal and navigate to Language Studio.
    A screenshot of the Microsoft Azure portal showing the "Azure services" icons across the top and a "Resources" list with names, types, and last viewed timestamps. The page also includes navigation links and a search bar at the top.
  2. In Language Studio, choose “Custom Question Answering” to create a new project.
    A screenshot of the Microsoft Azure Language Studio web interface showing a "Welcome to Language Studio" page with options to create new projects and featured tools like post-call transcription, summarize information, and document translation. The top bar shows navigation and account info.
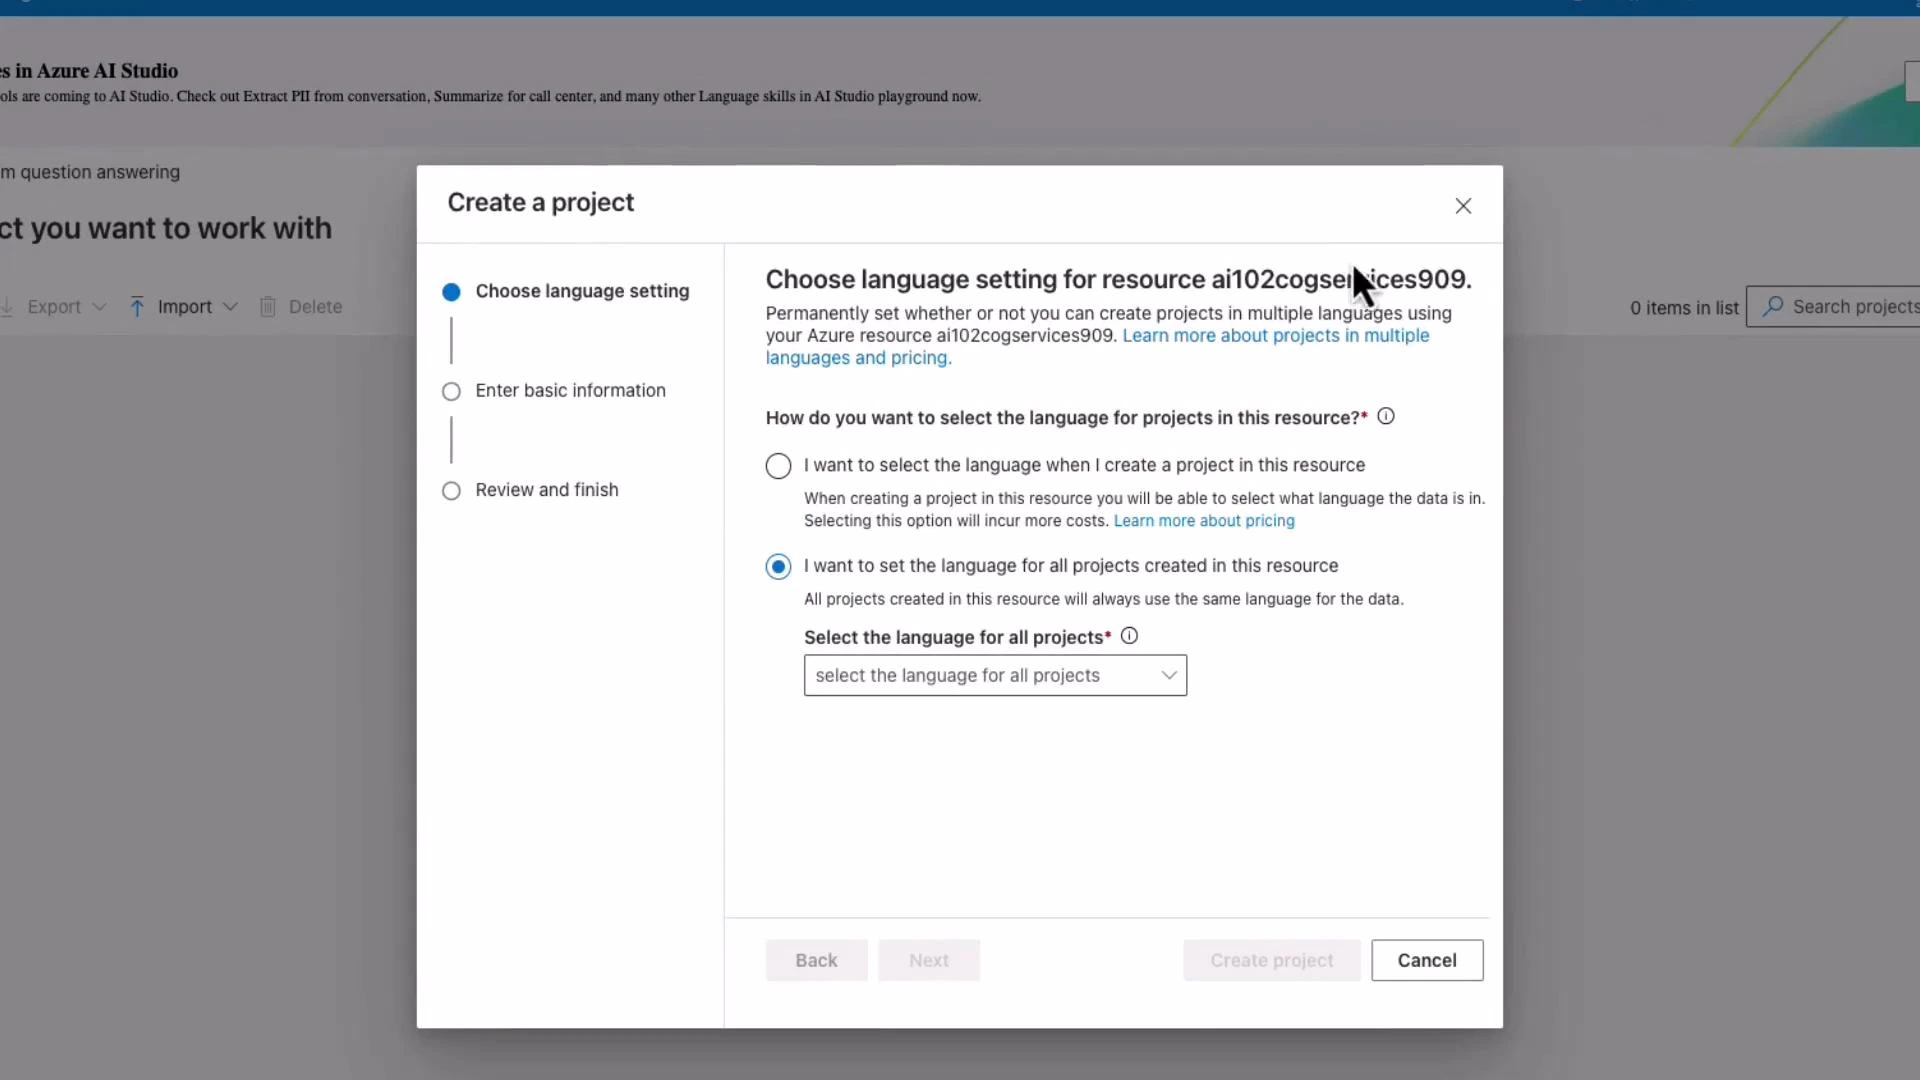
  3. Select the project language and the Azure AI Search (Cognitive Search) resource that will be used for indexing. In some scenarios, an Azure Cognitive Search resource is required to enable AI-powered indexing.
    A screenshot of a "Create a project" dialog in Azure AI Studio prompting the user to choose language settings for a resource. It shows radio-button options to select the language per project or set one language for all projects, with a dropdown and navigation buttons at the bottom.
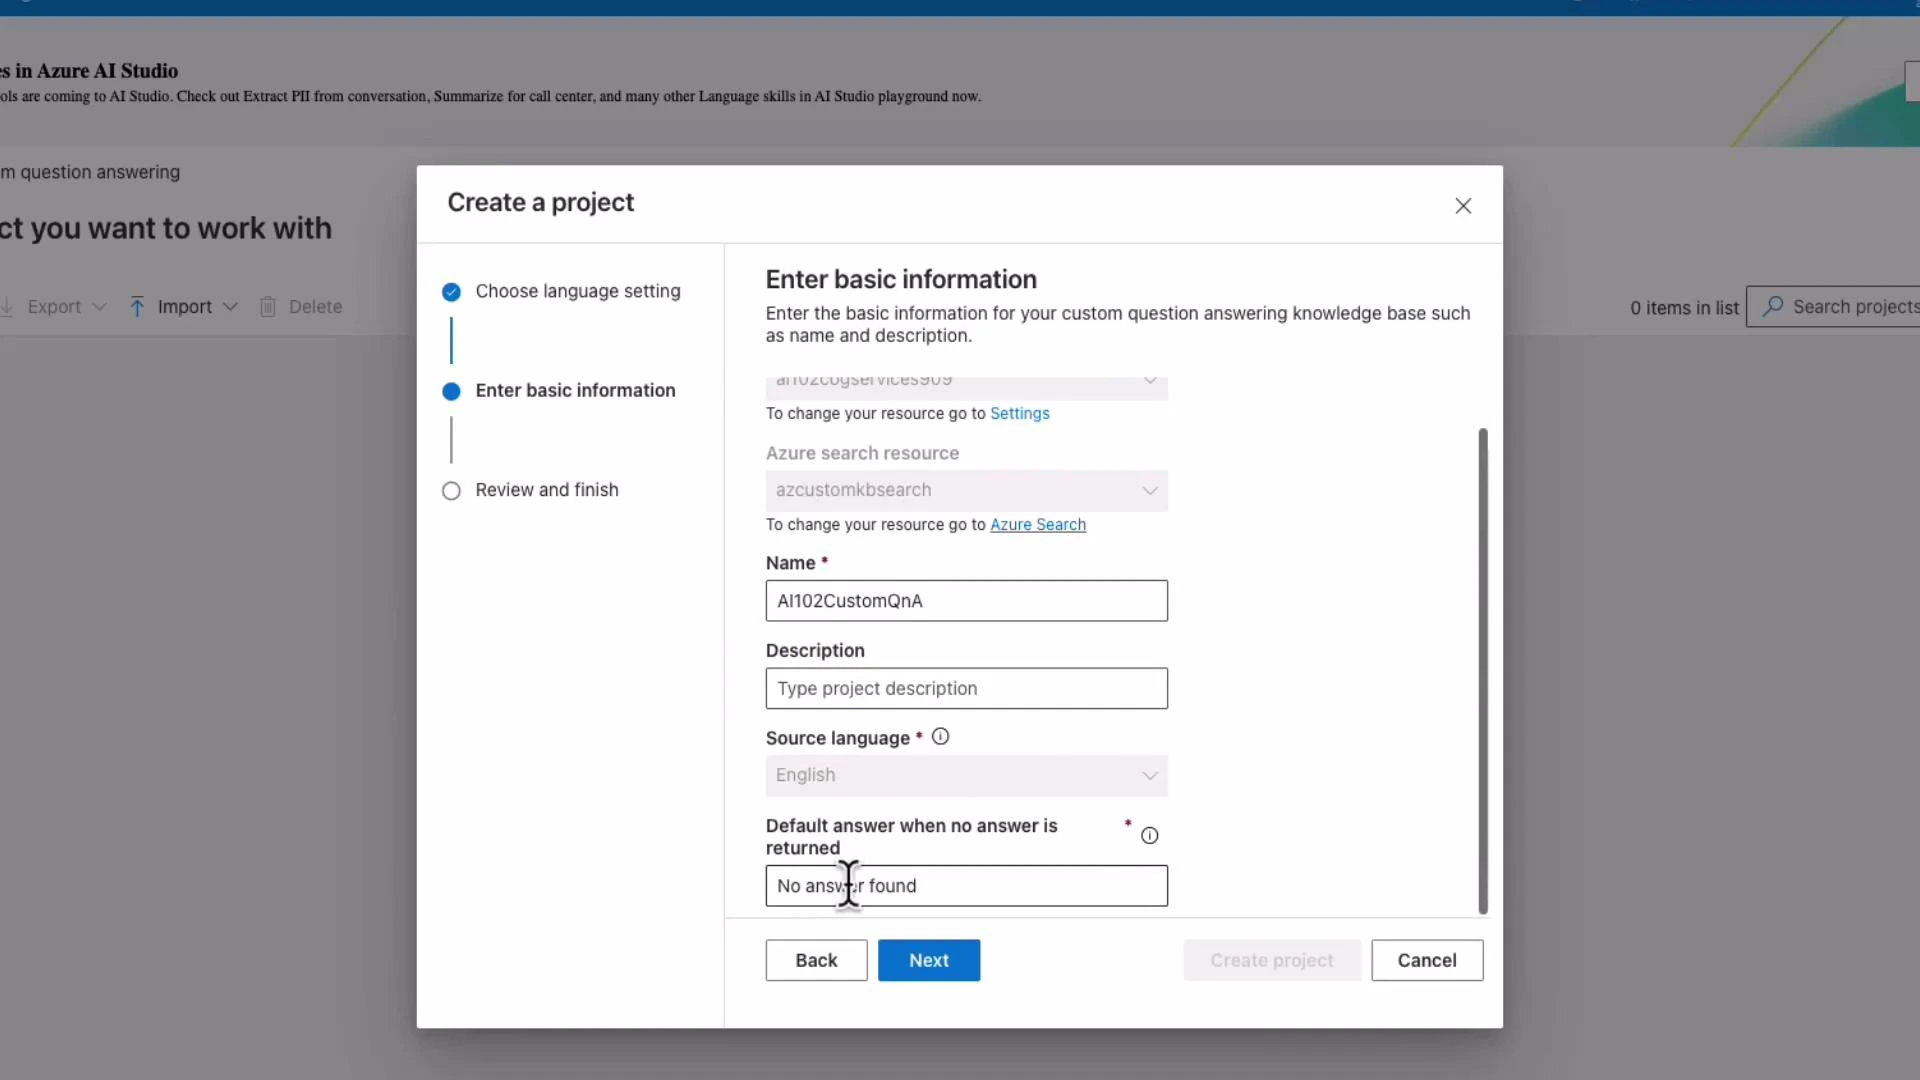
  4. Provide a project name (for example, AI102CustomQnA), set a default fallback answer (for example, “I don’t know” or “No answer found”), and create the project.
    A "Create a project" modal from Azure AI Studio showing the "Enter basic information" step with fields for Name (AI102CustomQnA), Description, Source language, and a default answer set to "No answer found." At the bottom are Back, Next, and Cancel buttons.
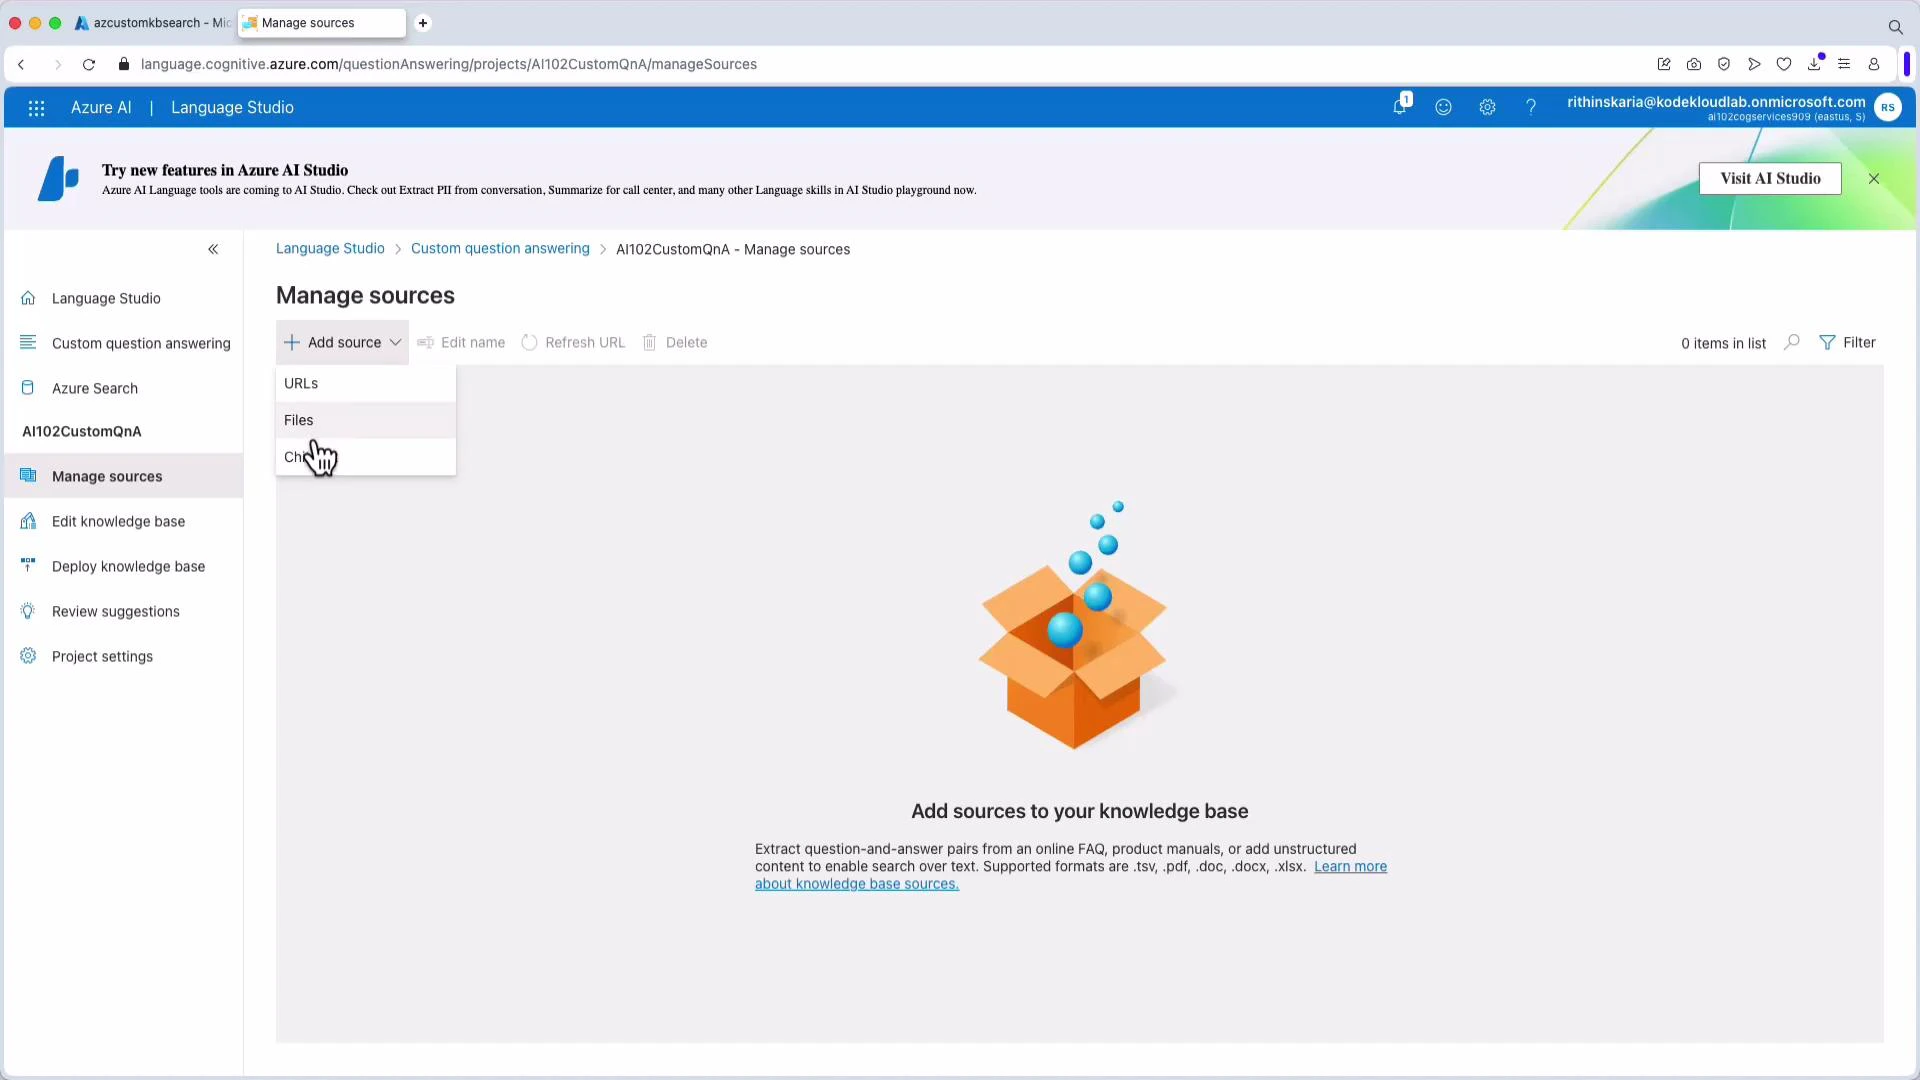
  5. Add data sources to the knowledge base: upload files (TSV/CSV/QnA formats), point to FAQ pages (URLs), or include built-in chit-chat personalities for conversational tone.
    A screenshot of the Azure AI Language Studio "Manage sources" page showing an empty knowledge base area with an "Add source" dropdown (URLs, Files) and a cartoon box illustration. The left sidebar shows navigation options like Custom question answering, Manage sources, Edit knowledge base, and Project settings.
  6. Optionally add a chit-chat personality to control conversational style (professional, friendly, witty, caring, enthusiastic).
    A modal dialog titled "Add chit chat" overlays a "Manage sources" page, showing personality radio options with "Professional" selected. Buttons at the bottom read "Add chit chat" and "Cancel."
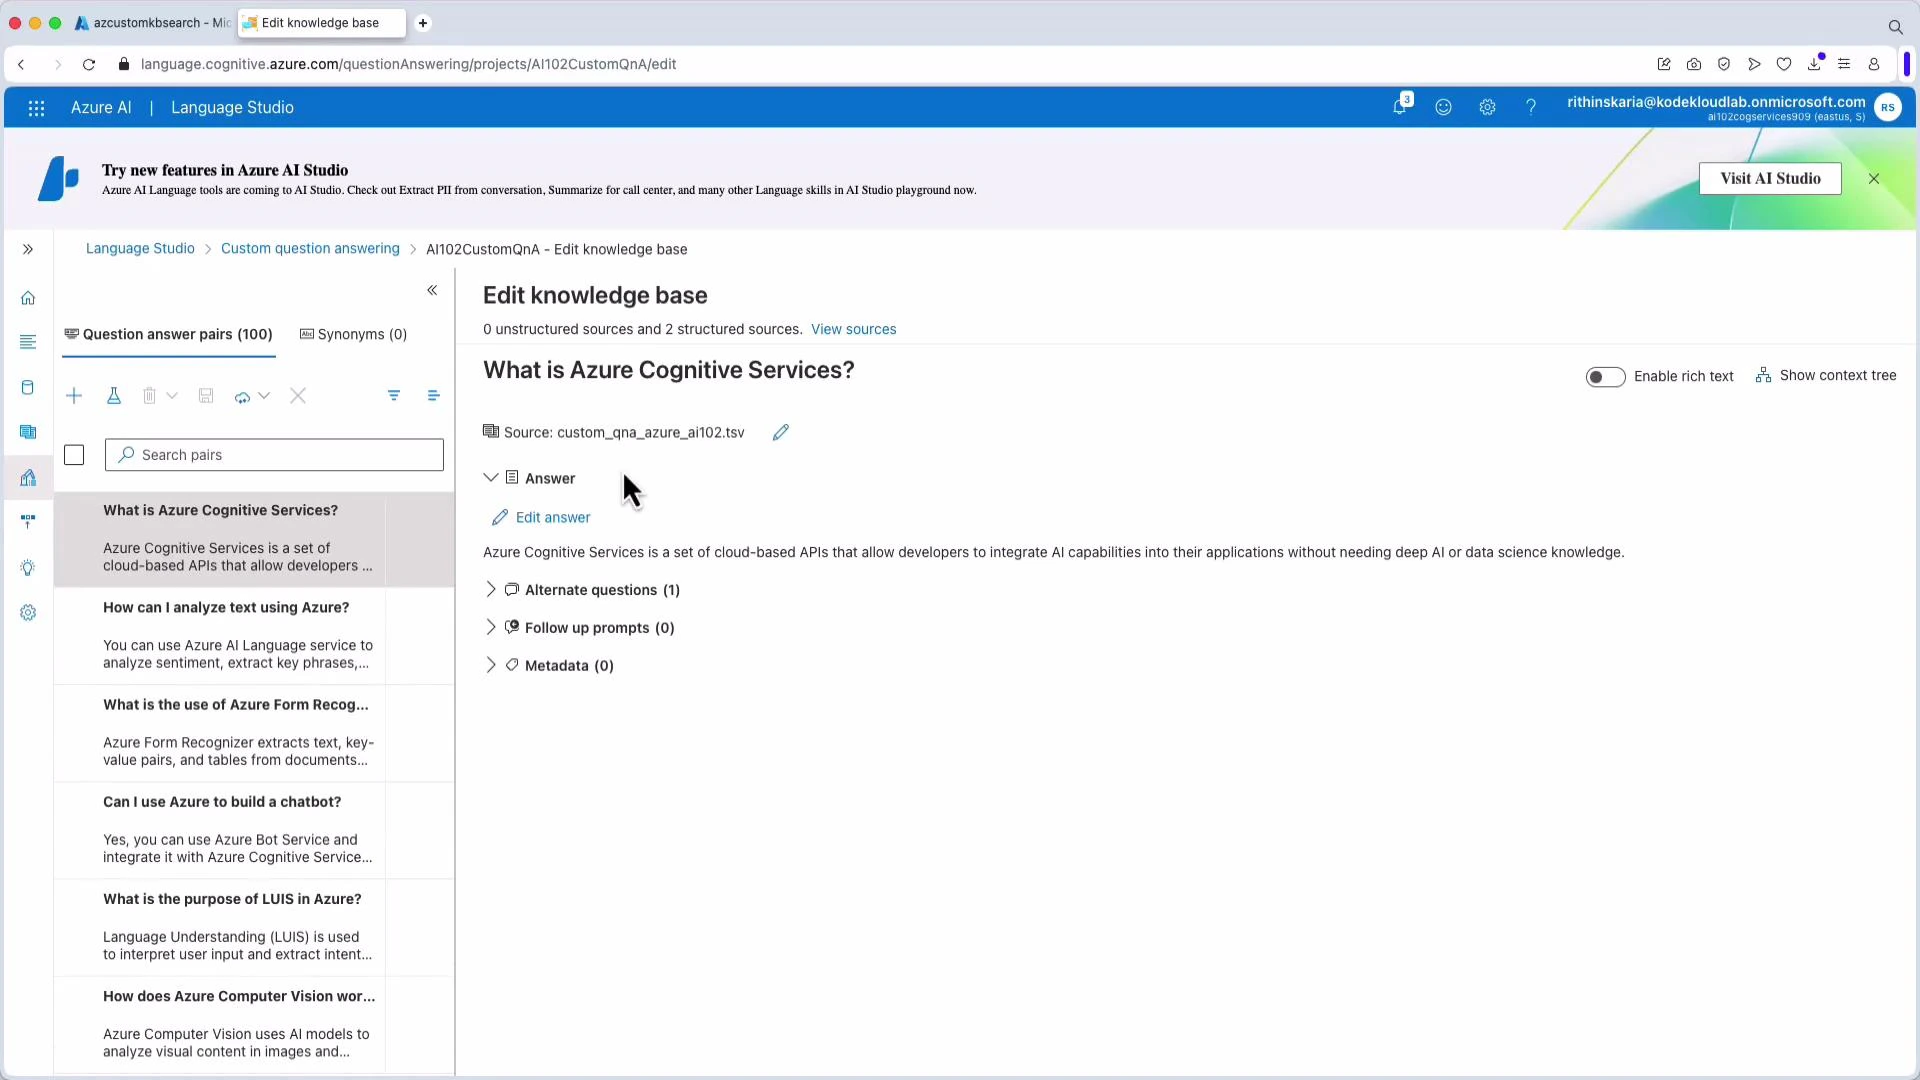
  7. After adding sources (for example, a TSV named “AI 102”), edit QnA pairs and metadata in the knowledge base to fine-tune matches and filtering behavior.
    Screenshot of the Azure Language Studio "Edit knowledge base" interface showing a Q&A entry for "What is Azure Cognitive Services?" with the answer displayed on the right and a list of other question-answer pairs in the left sidebar.
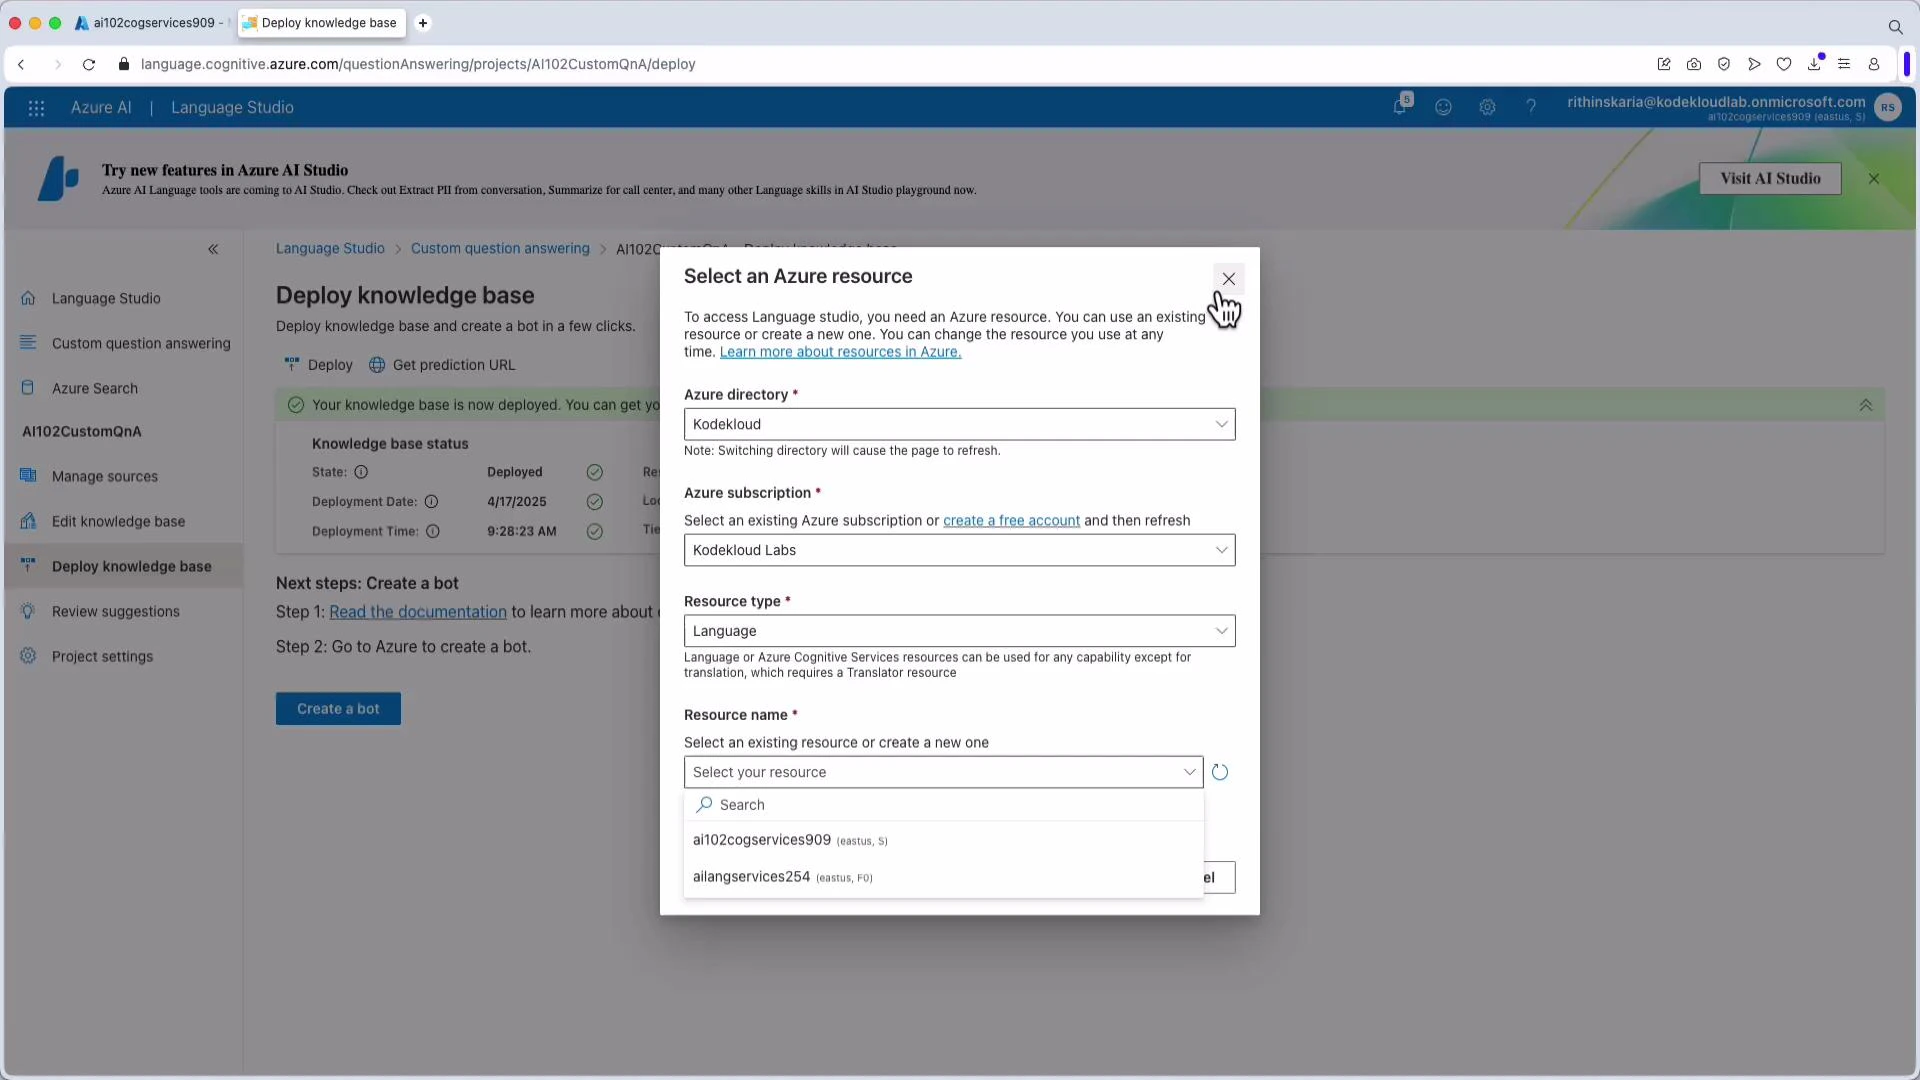
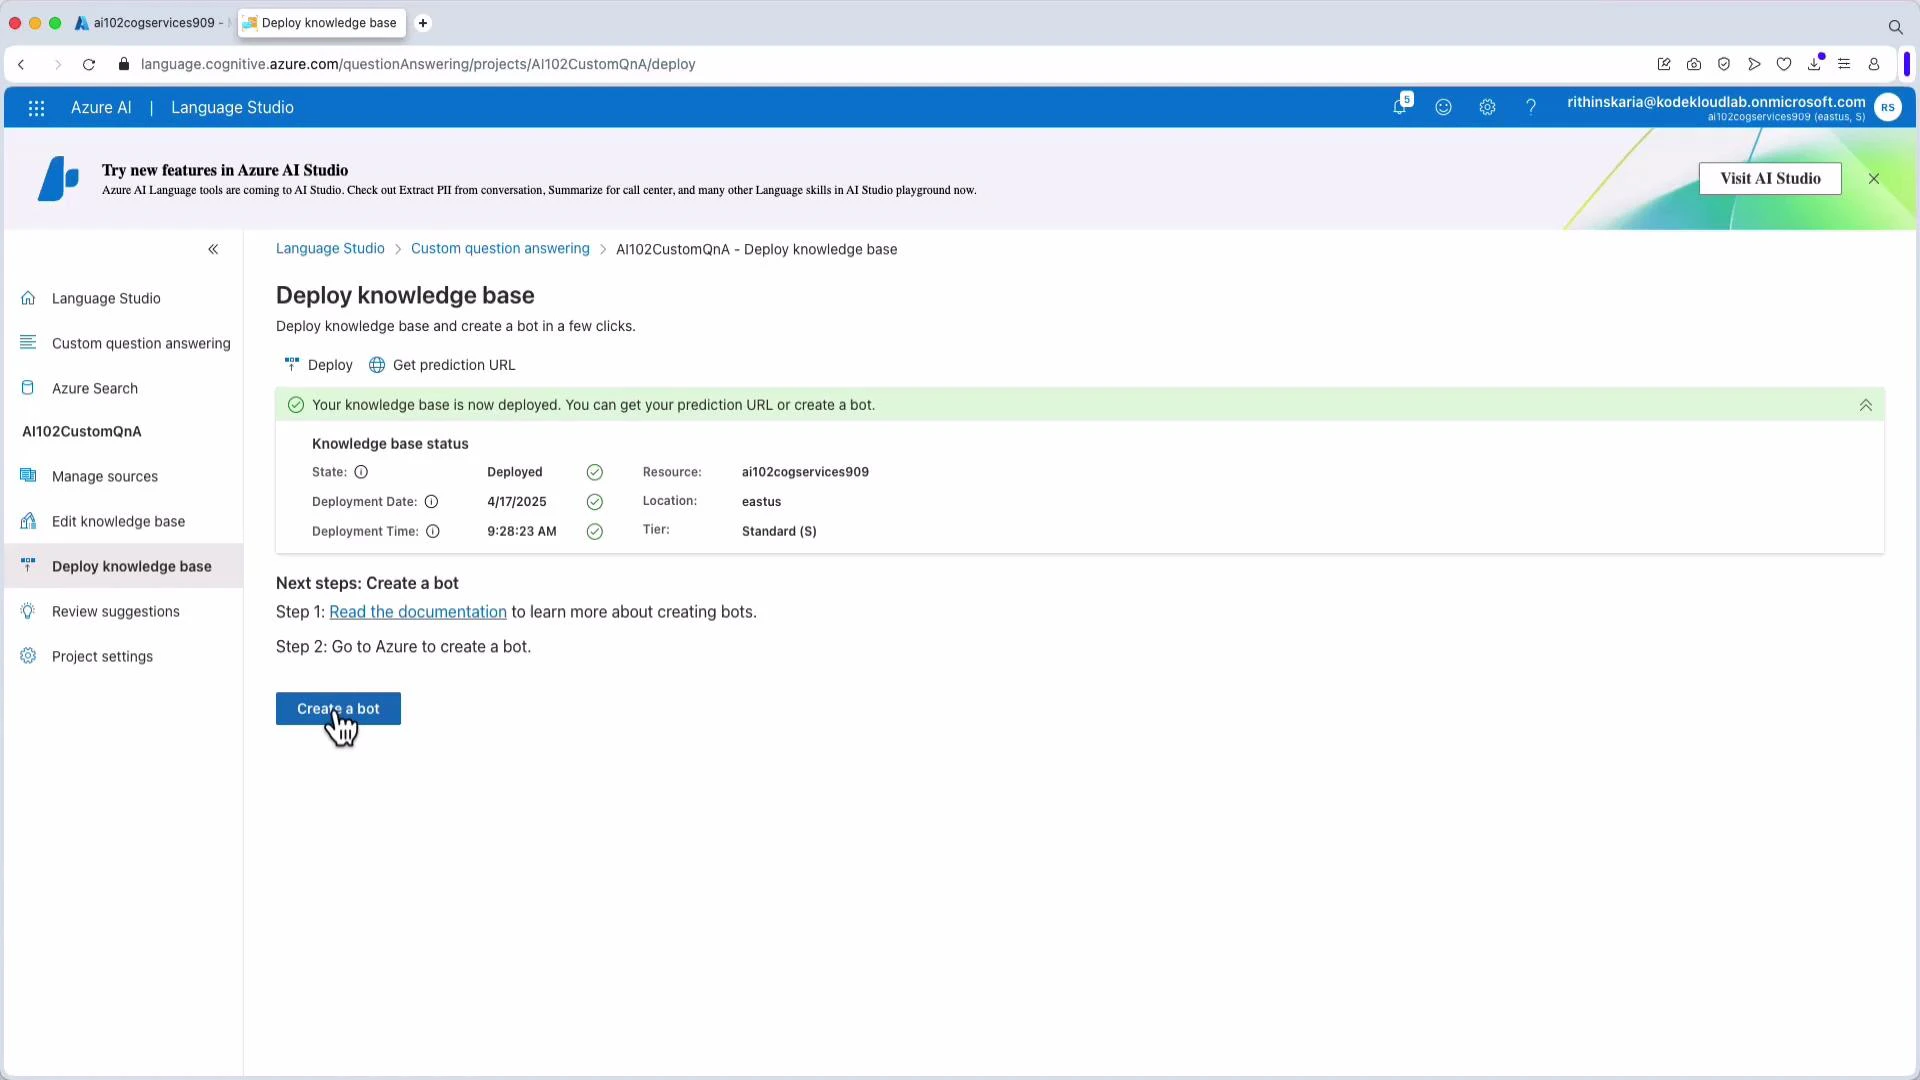
  8. Deploy (publish) the knowledge base. Deployment usually takes a few minutes. After deployment you will receive a prediction endpoint URL and a prediction key (Ocp-Apim-Subscription-Key) to use when querying programmatically.
    A screenshot of Azure Language Studio on a "Deploy knowledge base" page with a modal dialog titled "Select an Azure resource." The dialog shows fields to choose an Azure directory, subscription, resource type, and resource name.
For production scenarios, consider using Azure Active Directory (Azure AD) authentication instead of subscription keys. Check the API version documentation for supported authentication methods and best practices.
  1. Optionally create a bot connected to the deployed knowledge base and integrate it with web apps, App Service, virtual machines, or other channels.
    A screenshot of Azure AI Language Studio's "Deploy knowledge base" page showing a knowledge base successfully deployed. It shows deployment details (resource, location, date/time) and a "Create a bot" button with a hand cursor.

Example: Calling the prediction endpoint

Below are two common examples you can obtain from Language Studio: a curl POST and a Python snippet that calls the REST endpoint directly (no SDK). Replace placeholders with values from your portal (endpoint, project and deployment names, and keys). Curl example:
curl -X POST "https://<YOUR-COGNITIVE-SERVICES-ENDPOINT>/language/:query-knowledgebases?projectName=<PROJECT_NAME>&deploymentName=<DEPLOYMENT_NAME>&api-version=2021-10-01" \
  -H "Ocp-Apim-Subscription-Key: <PREDICTION_KEY>" \
  -H "Content-Type: application/json" \
  -d '{
    "top": 3,
    "question": "YOUR_QUESTION_HERE",
    "includeUnstructuredSources": true,
    "confidenceScoreThreshold": 0.0,
    "answerSpanRequest": {
      "topAnswersWithSpan": 1,
      "confidenceScoreThreshold": 0.0
    },
    "filters": {
      "metadataFilter": {
        "logicalOperation": "AND",
        "metadata": [
          { "key": "YOUR_ADDITIONAL_PROP_KEY_HERE", "value": "YOUR_ADDITIONAL_PROP_VALUE_HERE" }
        ]
      }
    }
  }'
Python example (REST call, no SDK):
import requests

endpoint = "https://ai102cogservices909.cognitiveservices.azure.com"
prediction_key = "G1aq1ewXYO4eorr2AJEXObg4OCKluhVh9ze6rCqNrdowlsPVNiNY8JQQJ99BDACYeBjFXJ3wAAAaACOGPOnn"
project_name = "AI102CustomQnA"
deployment_name = "production"

prediction_url = (
    f"{endpoint}/language/:query-knowledgebases"
    f"?projectName={project_name}&deploymentName={deployment_name}&api-version=2021-10-01"
)

headers = {
    "Ocp-Apim-Subscription-Key": prediction_key,
    "Content-Type": "application/json"
}

def ask_question(question, top=1):
    body = {
        "question": question,
        "top": top,
        "includeUnstructuredSources": True
    }
    resp = requests.post(prediction_url, headers=headers, json=body)
    resp.raise_for_status()
    data = resp.json()
    answers = data.get("answers", [])
    return answers

if __name__ == "__main__":
    q1 = "What is Azure Cognitive Services?"
    answers = ask_question(q1, top=1)
    print(f"Q: {q1}")
    if answers:
        print(f"A: {answers[0].get('answer')}")
    else:
        print("A: No answer found.")

    q2 = "How are you?"
    answers = ask_question(q2, top=1)
    print(f"\nQ: {q2}")
    if answers:
        print(f"A: {answers[0].get('answer')}")
    else:
        print("A: No answer found.")
Example console output (illustrative):
Q: What is Azure Cognitive Services?
A: Azure Cognitive Services is a set of cloud-based APIs that allow developers to integrate AI capabilities into their applications without needing deep AI or data science knowledge.

Q: How are you?
A: Great, thanks.

Summary

  • Build a Custom Question Answering project in Language Studio: create a project, add sources (files, URLs, chit-chat), edit QnA pairs and metadata, then deploy.
  • Use the prediction URL and key (or Azure AD) to query the knowledge base programmatically.
  • Tune responses using top, confidence thresholds, and metadata filters.
Links and references

Watch Video