Custom Vision model. In this lesson we’ll use a practical scenario to explain why you’d choose Azure Custom Vision for image classification or object detection. Imagine you run a car manufacturing plant. The inspection team struggles to detect minor defects in car parts during quality checks—tiny cracks, hairline scratches, or slight misalignments that are hard to see with the naked eye.
A slide titled "Custom Vision Model" with the prompt "Imagine a car manufacturing company." It shows an illustration of a person, a robotic arm and a car, with a caption saying the company "struggles to detect minor defects in car parts during quality checks."
Why generic image models often fall short:
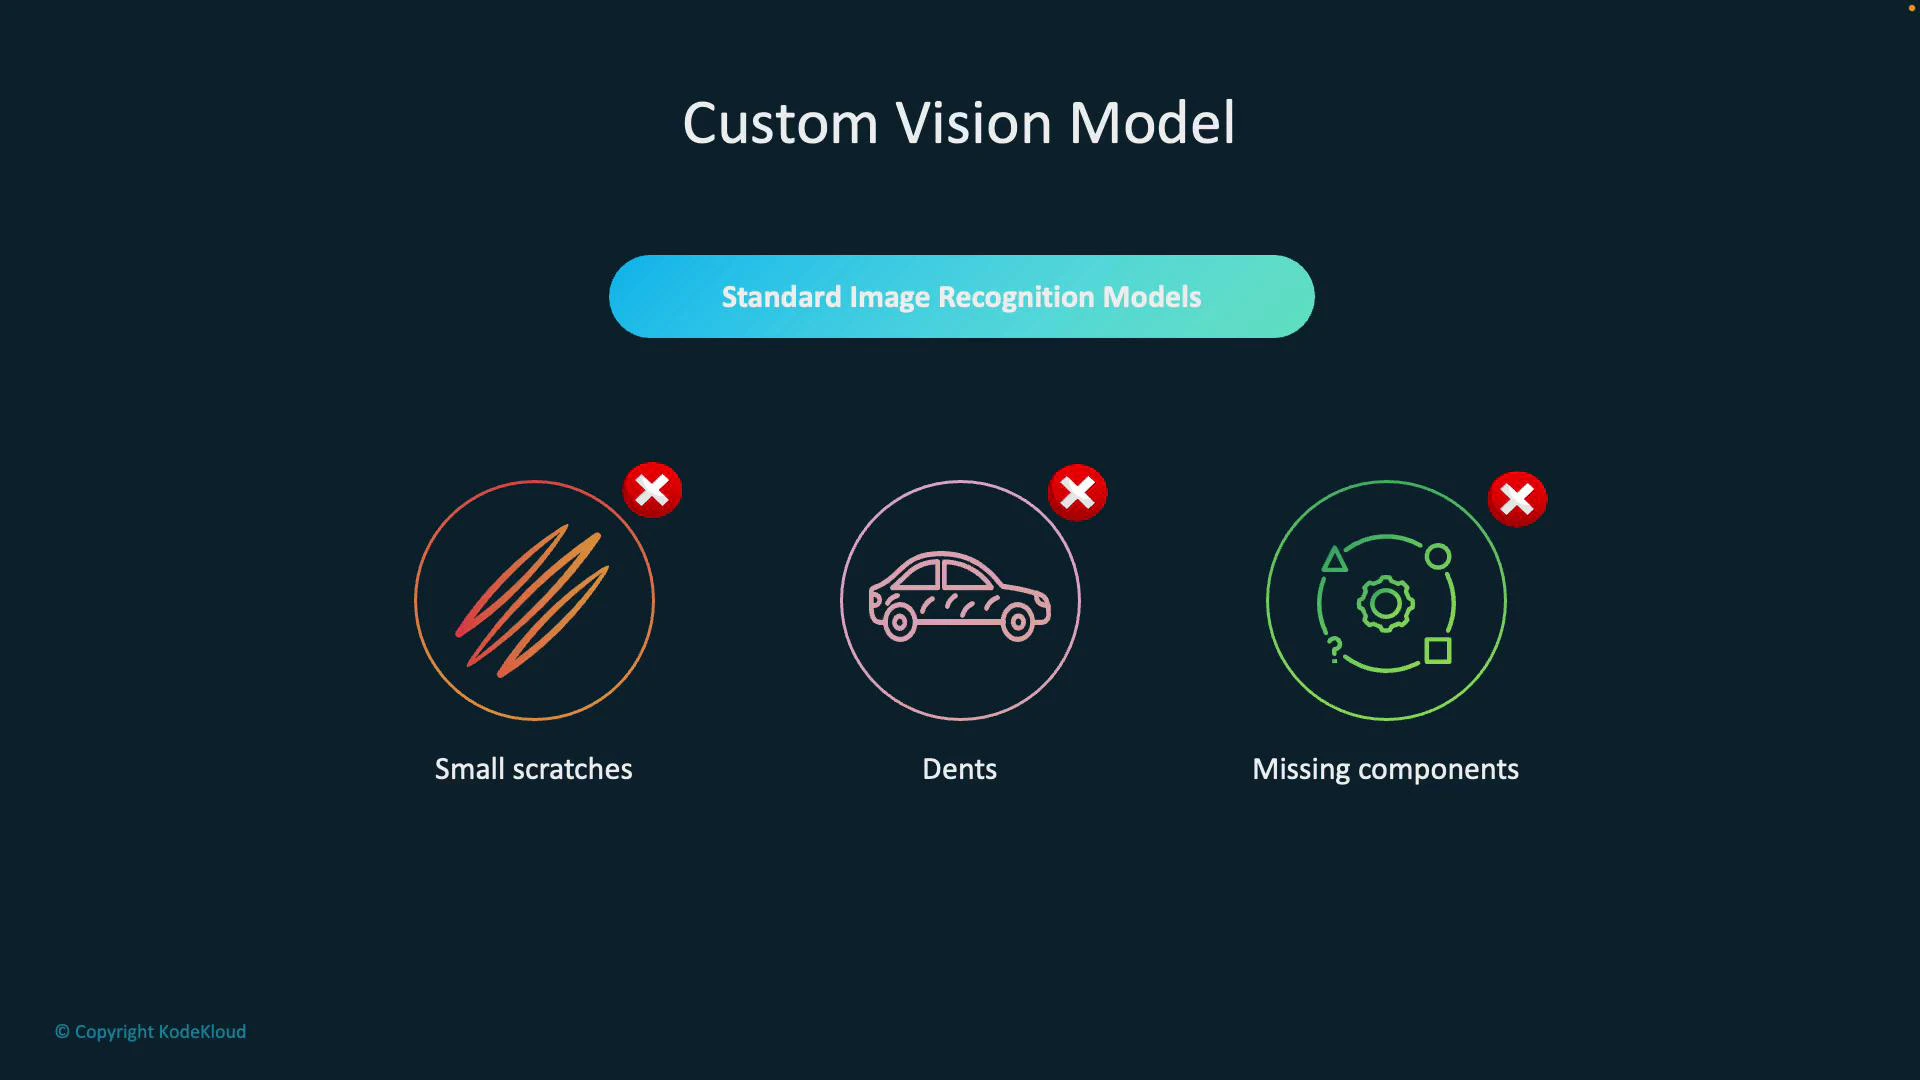
  • Small scratches that affect surface integrity
  • Dents that impact fit or finish
  • Missing or misaligned components that cause assembly failures
These are domain-specific problems that require a tailored model trained on your own data. Azure Custom Vision provides that capability by letting you train classification or object-detection models on images captured in your environment.
A presentation slide titled "Custom Vision Model" showing three icons under a "Standard Image Recognition Models" banner labeled "Small scratches," "Dents," and "Missing components." Each icon has a red X, indicating these problems are not handled by standard image recognition models.
High-level workflow to build a Custom Vision model:
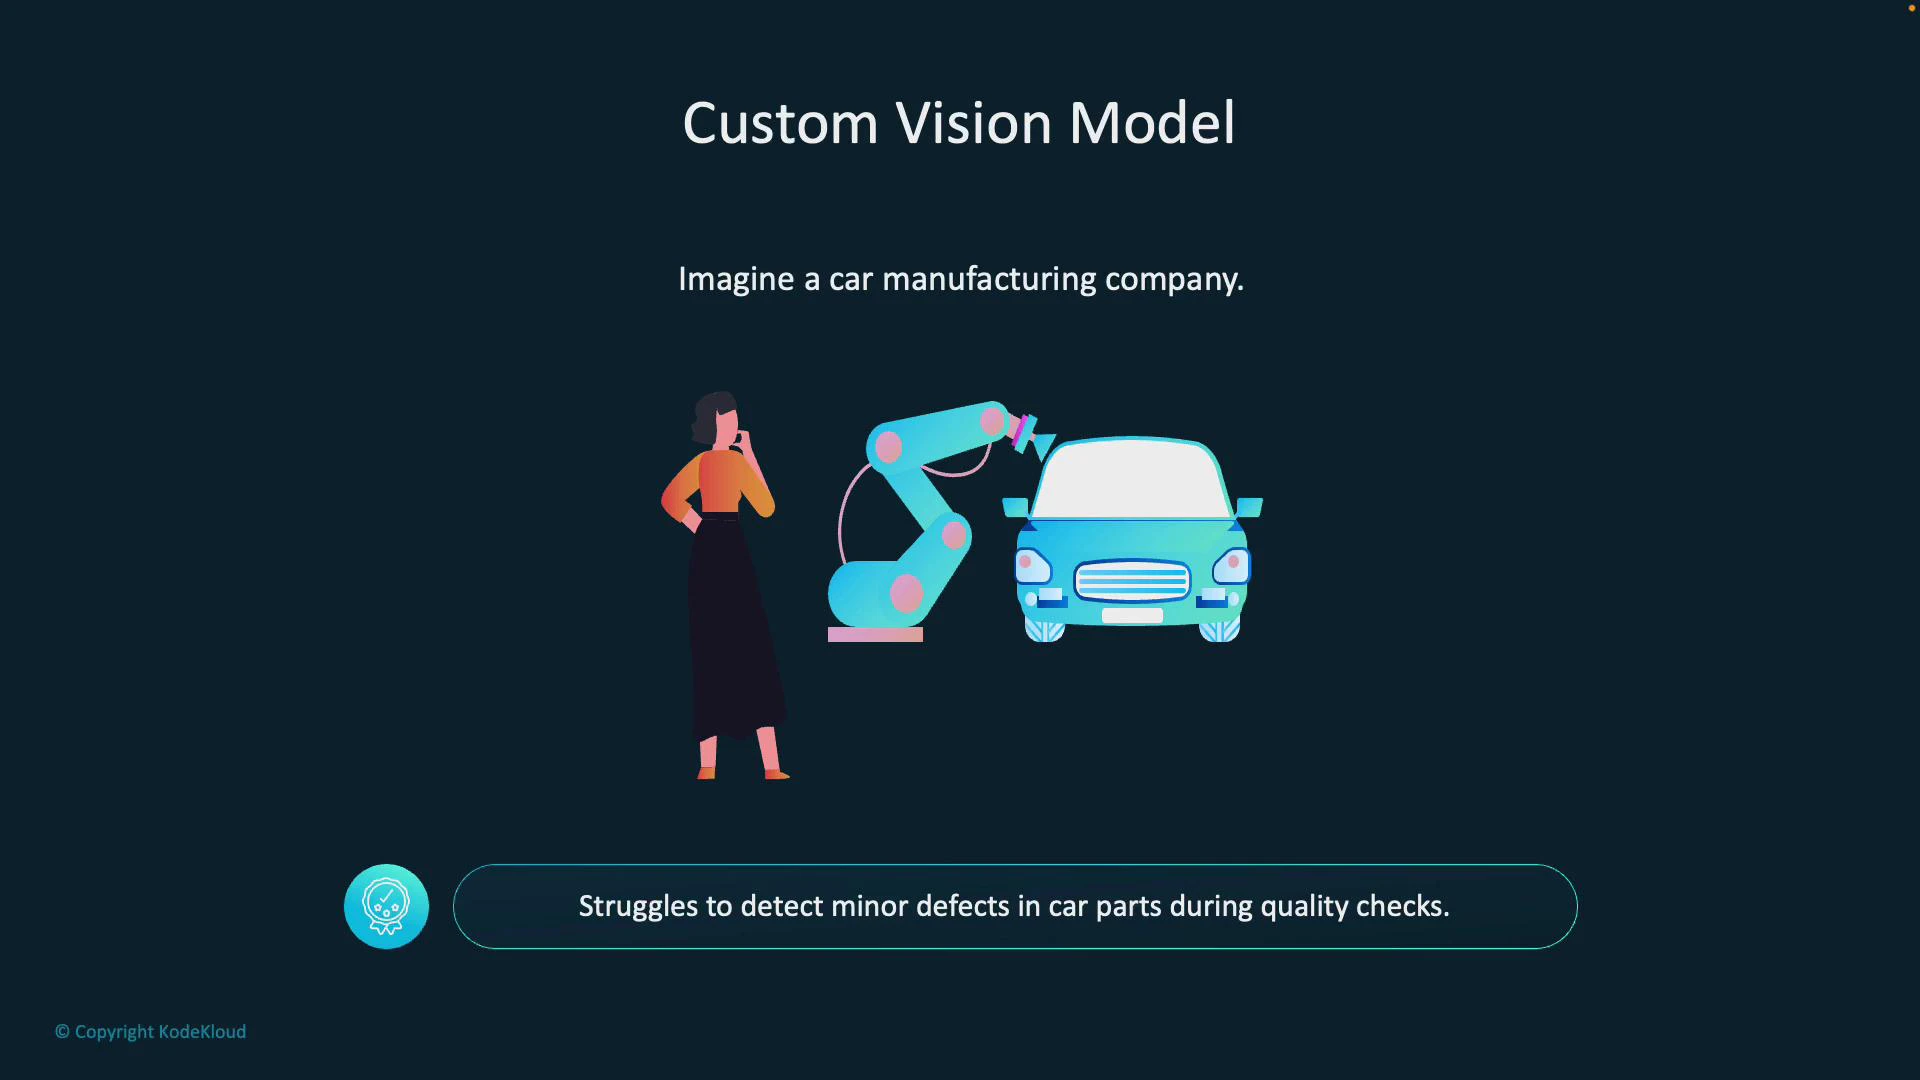
  1. Collect and upload images of both defective and non-defective parts.
  2. Label (tag) defects such as scratches, dents, cracks, or “clean.”
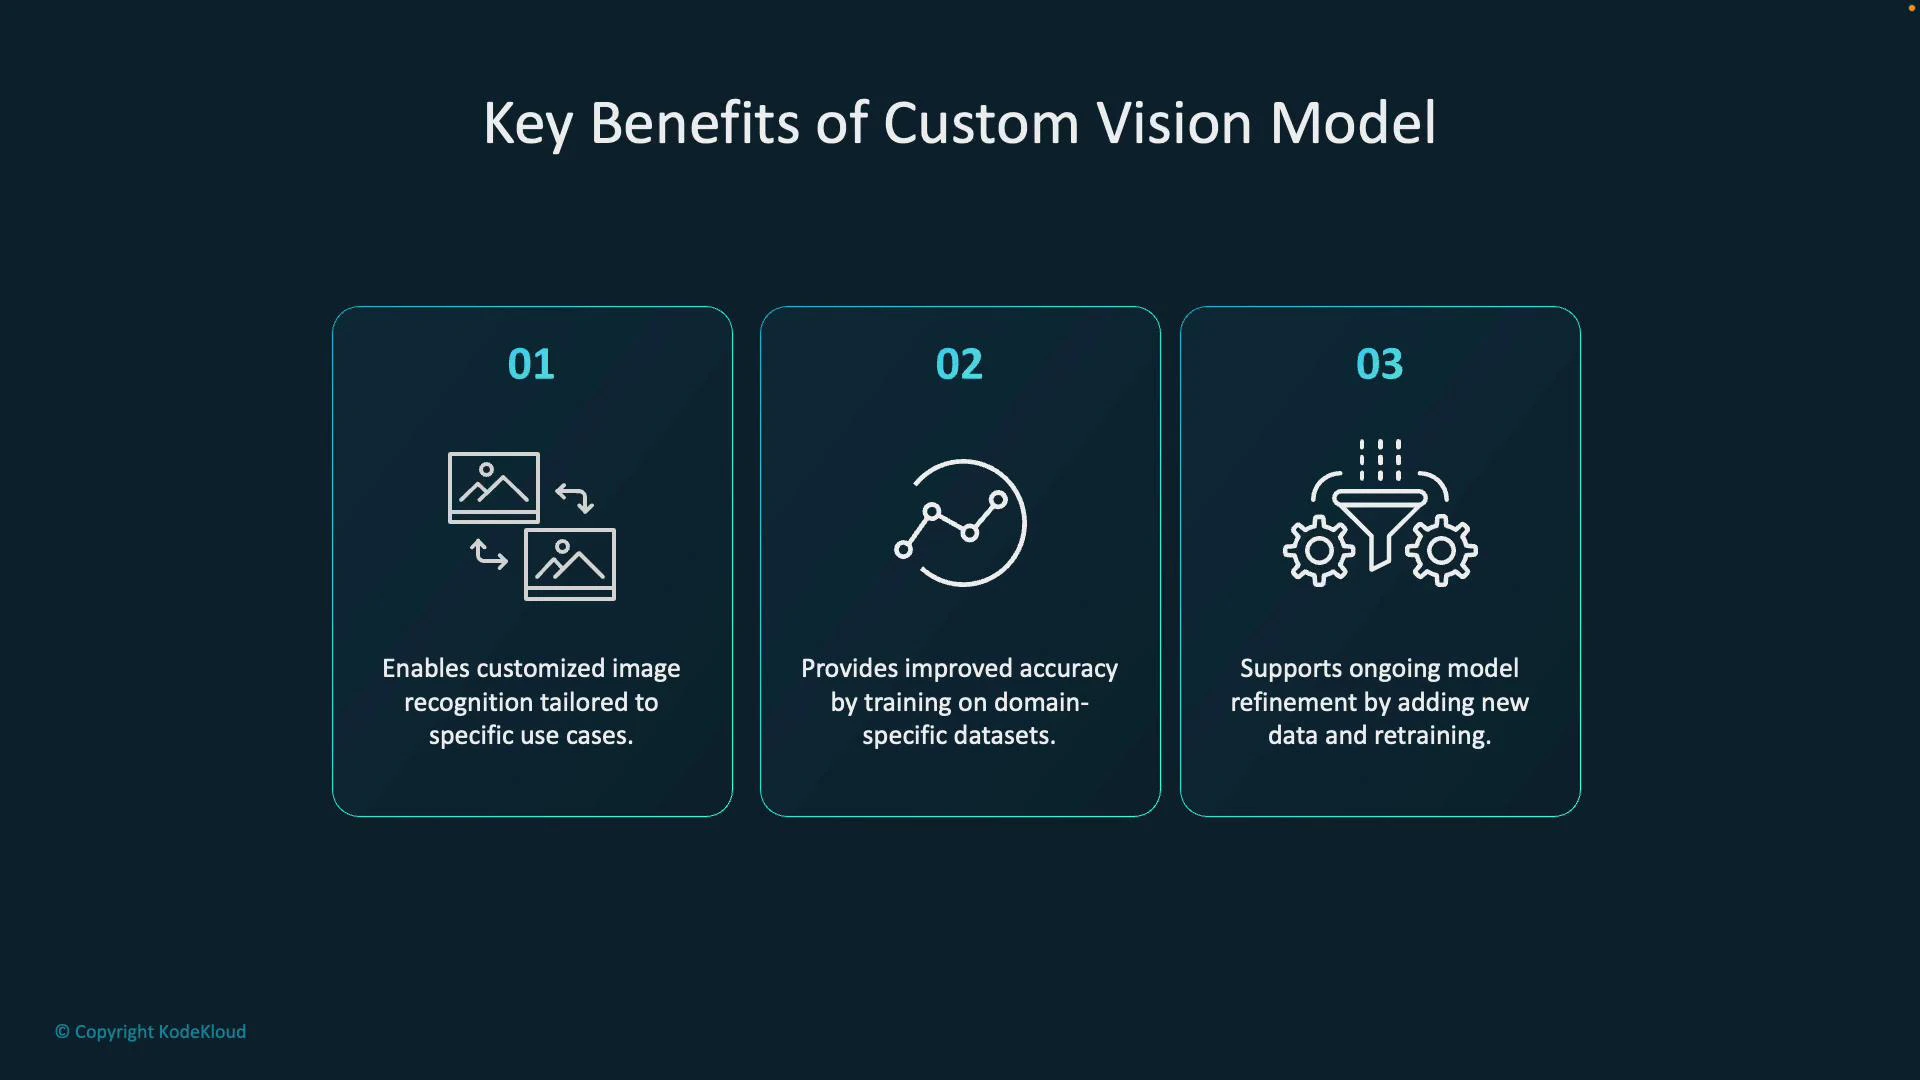
  3. Train the model on this labeled dataset.
  4. Deploy the trained model to an inspection pipeline that scores new images and flags issues.
Because the model is trained on images from your factory (lighting, camera angle, part variations), it learns to operate reliably in your environment rather than relying on generic datasets. A simple illustration: teach a model to recognize apples. Upload ~50 images labeled “apple,” train a classifier, and the model predicts “apple” for similar new images.
A slide titled "Custom Vision Model" showing apple images fed into a cloud-shaped model icon. The model is then used to predict the label "Apple" for new images.
Training process (four main steps):
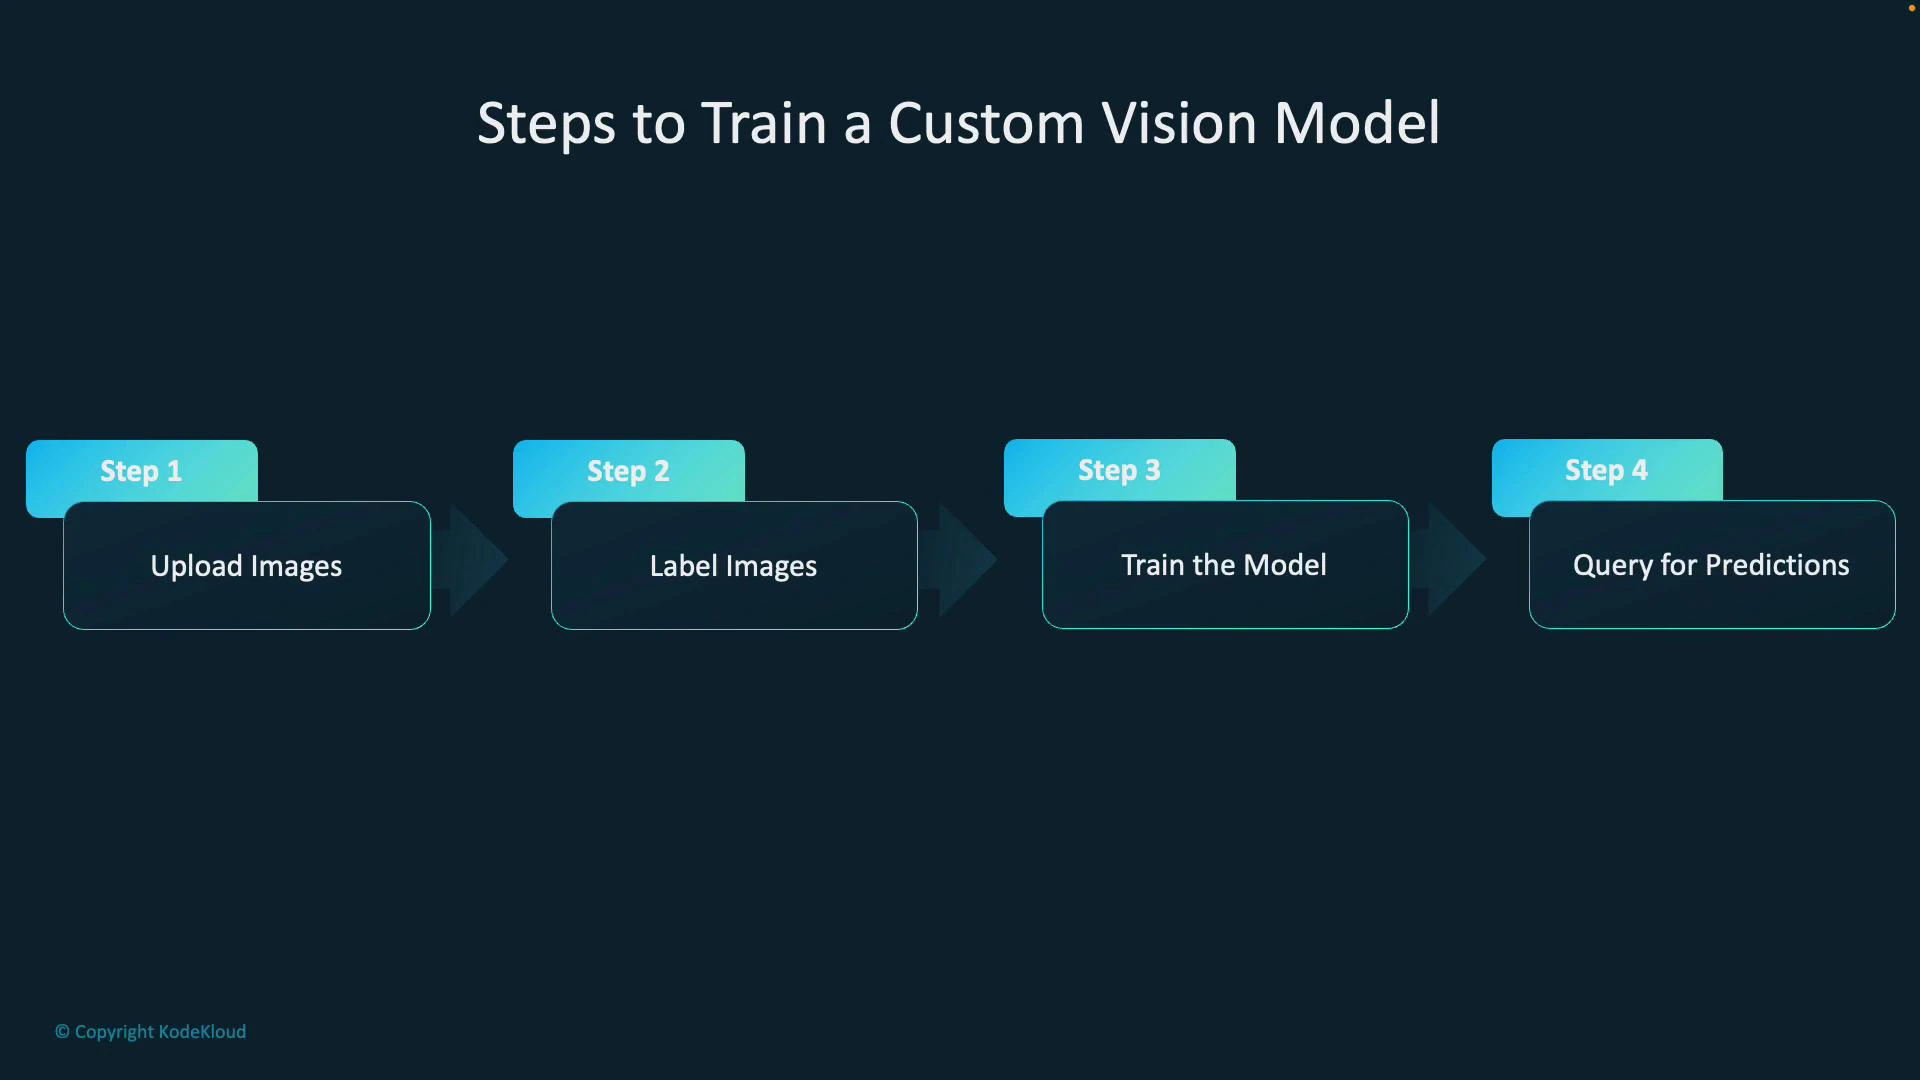
  • Step 1 — Upload images: Include all relevant variations (angles, lighting, part conditions).
  • Step 2 — Label images: Tag regions (for detection) or whole images (for classification) with categories like scratch, dent, missing-component, or ok.
  • Step 3 — Train the model: Choose the right domain (classification vs object detection), then start a training run in Custom Vision.
  • Step 4 — Query for predictions: Send new images to the model via the REST API or SDK to receive labels, bounding boxes (object detection), and confidence scores.
A slide titled "Steps to Train a Custom Vision Model" showing a four-step flow: Step 1 Upload Images, Step 2 Label Images, Step 3 Train the Model, and Step 4 Query for Predictions.
Quick example — Calling the prediction API (HTTP):
  • Endpoint: your Custom Vision prediction endpoint (region-specific)
  • Key: your prediction resource key
  • Project and iteration: the model you trained
Example curl (replace placeholders):
curl -s -X POST "https://<your-endpoint>/customvision/v3.0/Prediction/<project-id>/classify/iterations/<iteration-name>/image" \
  -H "Prediction-Key: <your-prediction-key>" \
  -H "Content-Type: application/octet-stream" \
  --data-binary "@sample.jpg"
The response returns predicted tags and confidence scores (and bounding boxes if the model is object detection). When to use Custom Vision
Use caseWhy Custom VisionExample
Domain-specific detectionGeneric models miss subtle, domain-specific defects—use your factory images to improve accuracyDetect hairline cracks in tempered glass
Production consistencyModel trained on your camera, lighting, and part variants reduces false positivesVerify screw placement on an assembly line
Iterative improvementAdd hard examples and retrain to improve recall/precision over timeReduce misses for rare defect types
Fast prototypingWeb UI + SDKs let you get a proof-of-concept quicklyClassify ripe vs spoiled fruit for sorting
Benefits include tailored recognition for your use case, improved accuracy from domain-specific training data, and the ability to refine performance by collecting new labeled images and retraining.
A presentation slide titled "Key Benefits of Custom Vision Model" with three numbered panels. The panels list: customized image recognition for specific use cases, improved accuracy from domain-specific training, and support for ongoing refinement by adding data and retraining.
Best practices: collect diverse, well-labeled examples that reflect real operating conditions (lighting, camera position, part variants). Start with a balanced dataset across classes and continuously add hard examples where the model fails. Use object detection when localization of defects is required, and monitor performance using precision/recall and confusion matrices.
Next steps and references This article covered image classification with Custom Vision — dataset preparation, choosing a domain, training, and calling the prediction API. For detailed guides and SDKs, see: If you want sample code (Python, C#, or Node.js) for training or predictions, use the SDK examples in the Azure docs and replace placeholders with your project ID, iteration name, endpoint, and prediction key.

Watch Video