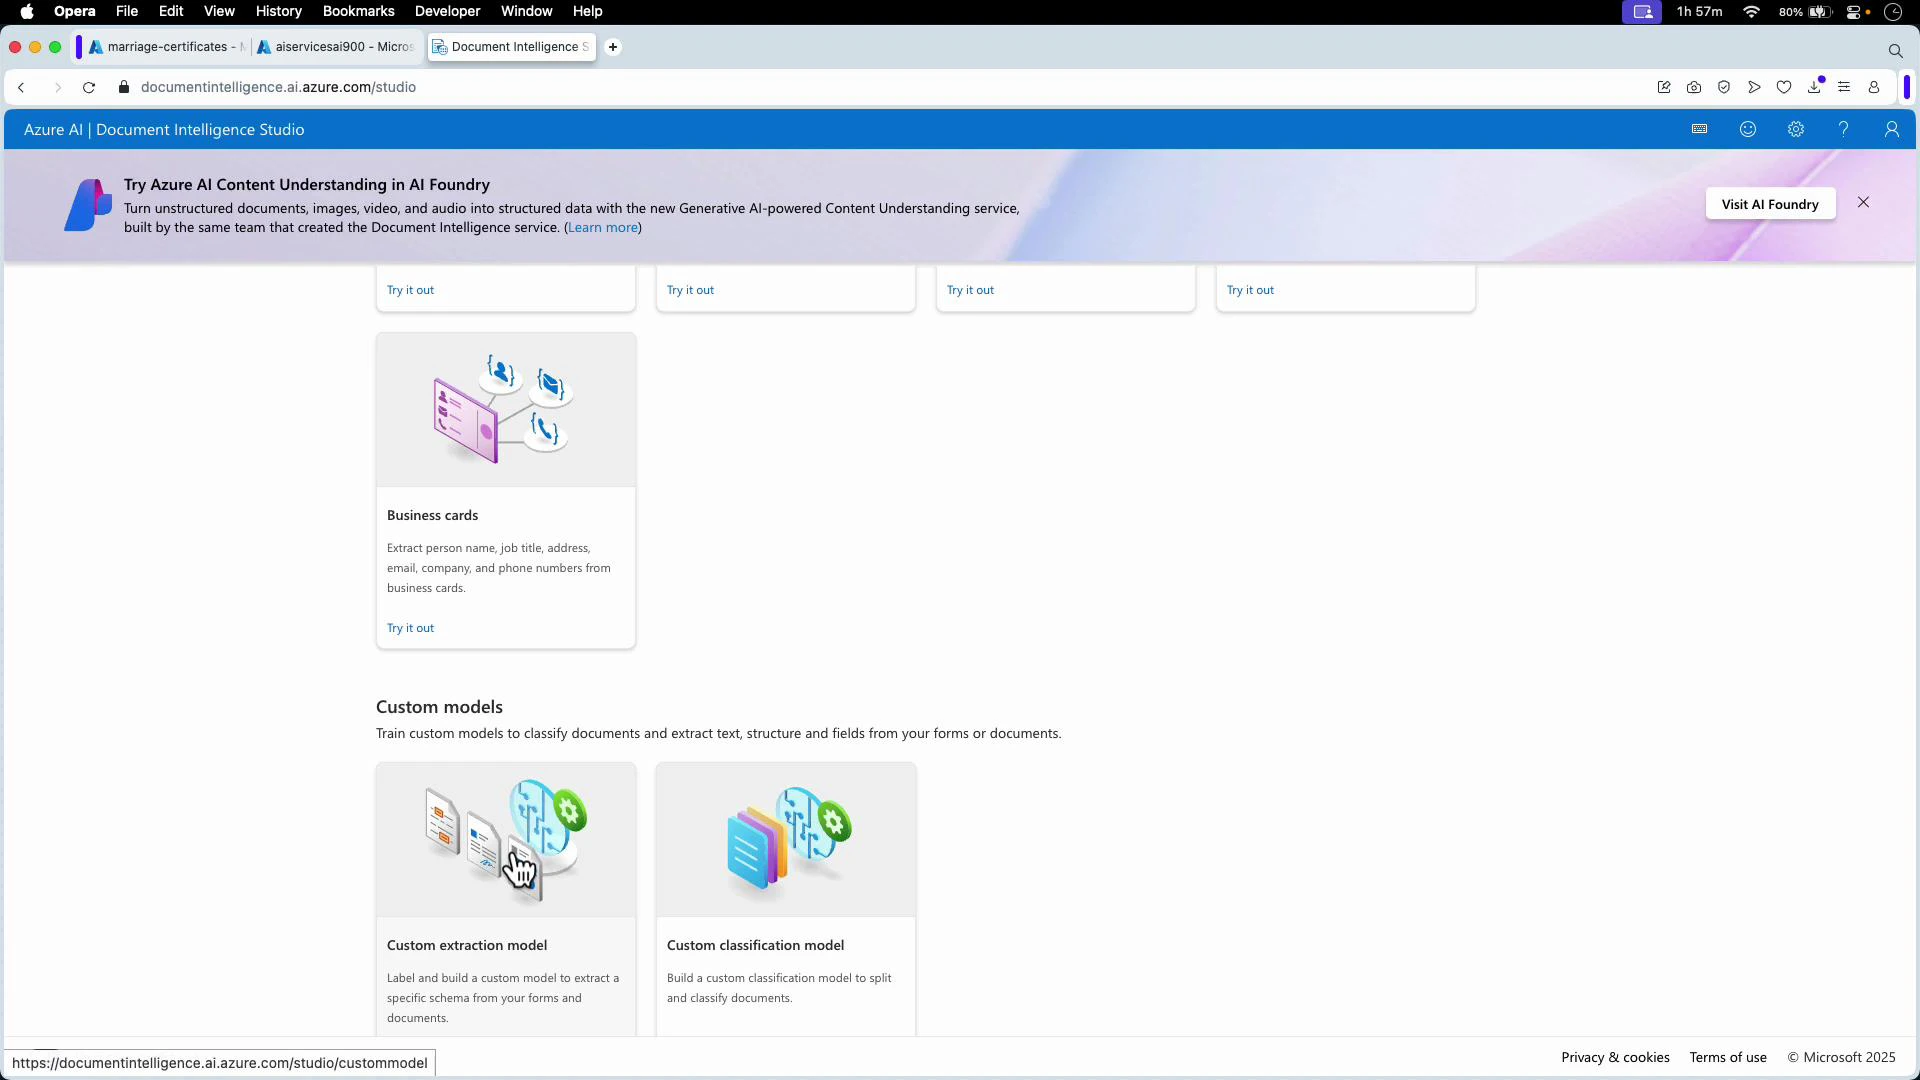
- Azure Document Intelligence supports two primary custom model scenarios:
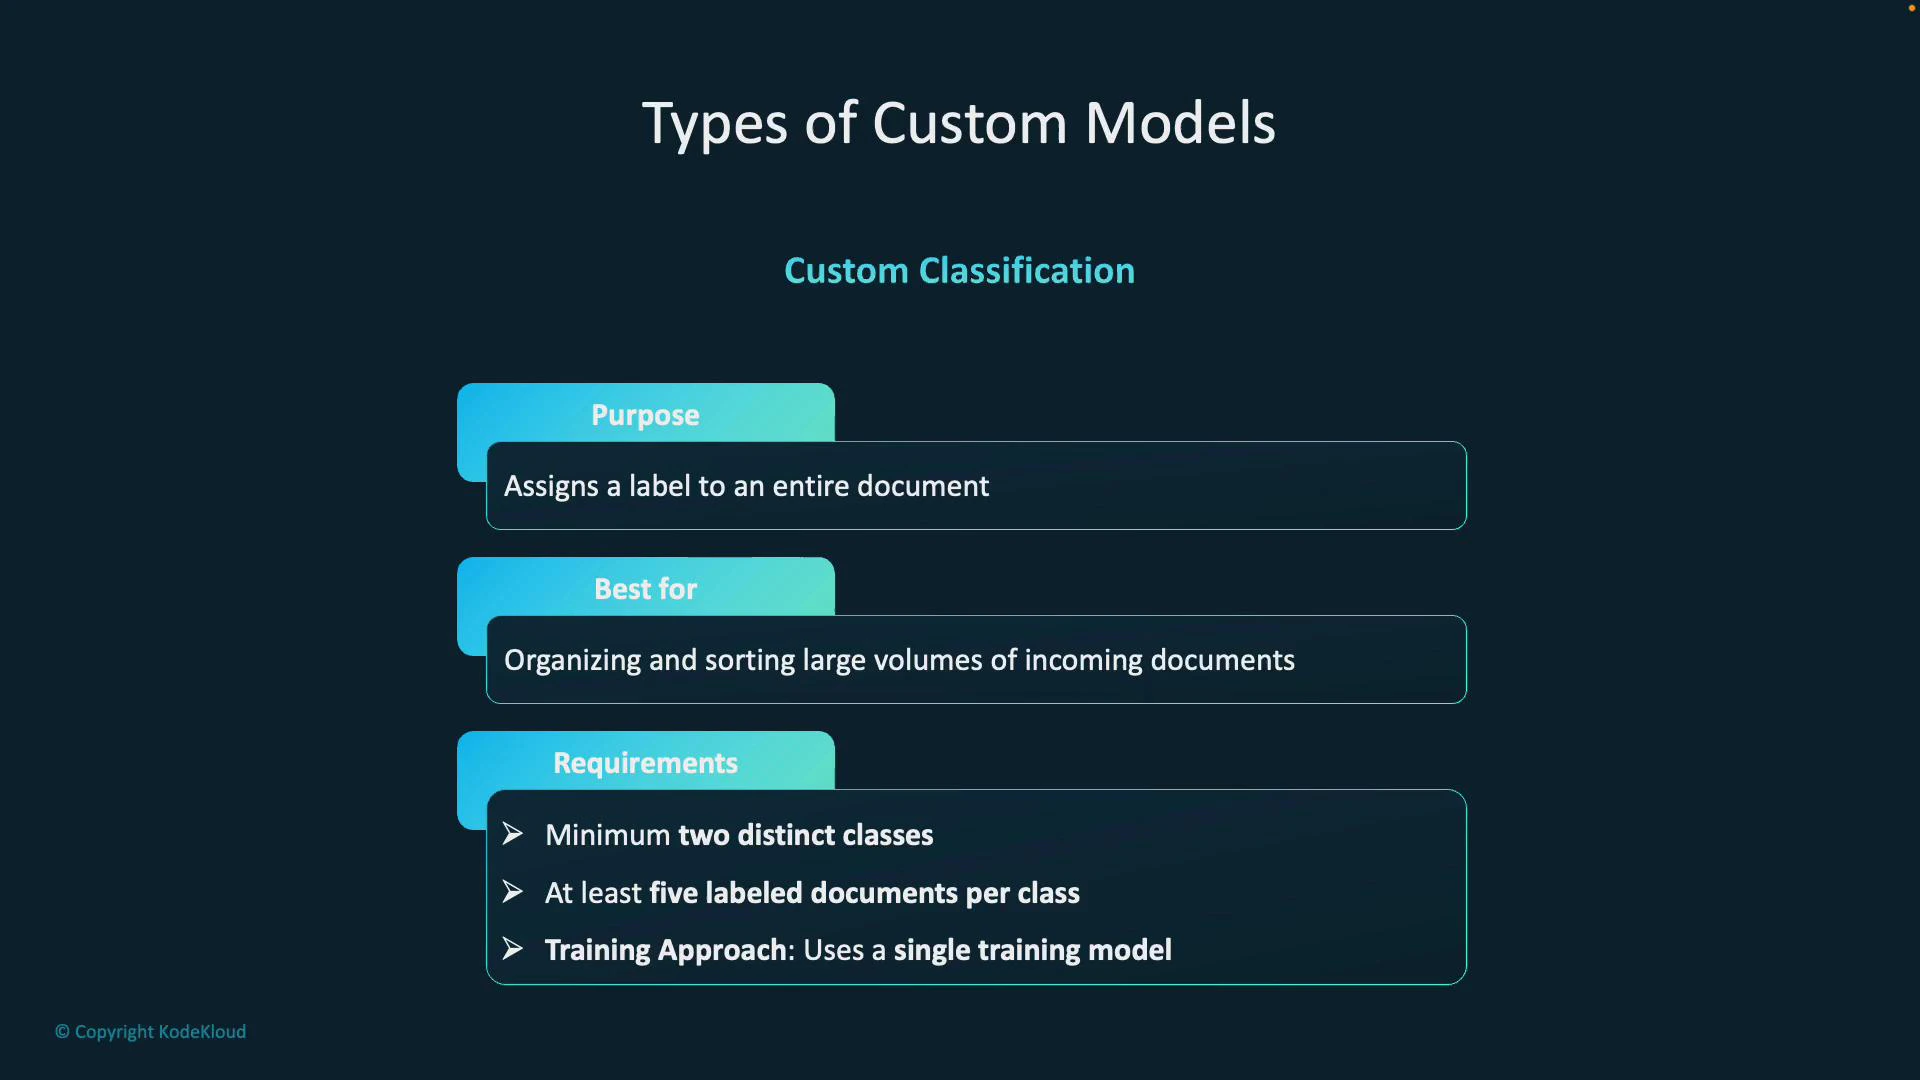
- Custom classification: assigns a single label to an entire document (useful for routing or sorting).
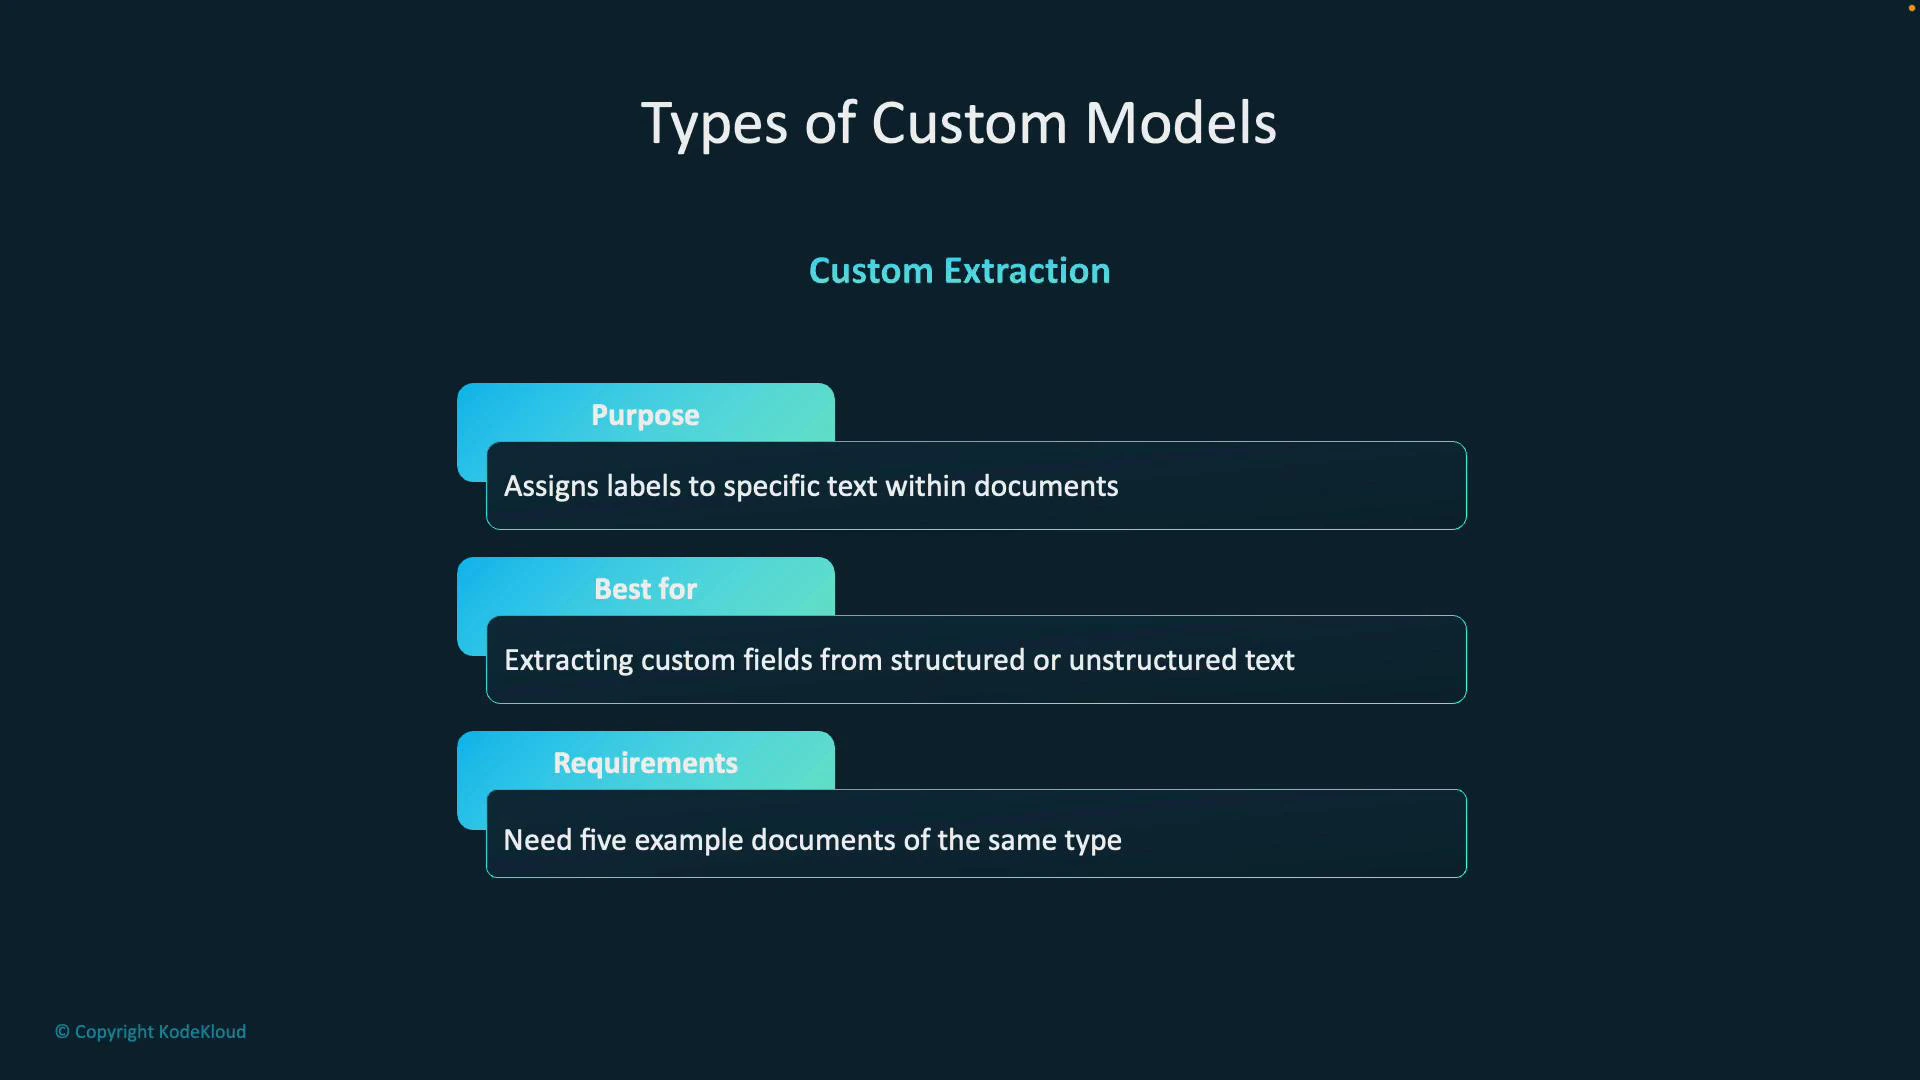
- Custom extraction: extracts specific named fields or regions from documents (useful for invoices, IDs, certificates).
- Use Document Intelligence Studio to annotate, auto-label, train, and obtain a Model ID for API integration.
- You want to assign an overall category or label to an entire document (e.g., “resume”, “contract”, “tax form”).
- Useful for automated sorting and routing of incoming document batches.
- At least two distinct classes (categories).
- Minimum of five labeled documents per class.
- A single model makes classification decisions across entire documents.
- At least two distinct classes (categories).
- A minimum of five labeled documents per class.
- Classification uses a single training model that makes decisions across entire documents.
- You need to extract specific pieces of information from documents (e.g., invoice number, total, names, dates, signatures).
- Works for both structured forms (consistent layouts) and unstructured documents (varying layouts).
- At least five example documents of the same type to train the model to recognize fields.
| Model Type | Best for | Training time | Notes |
|---|---|---|---|
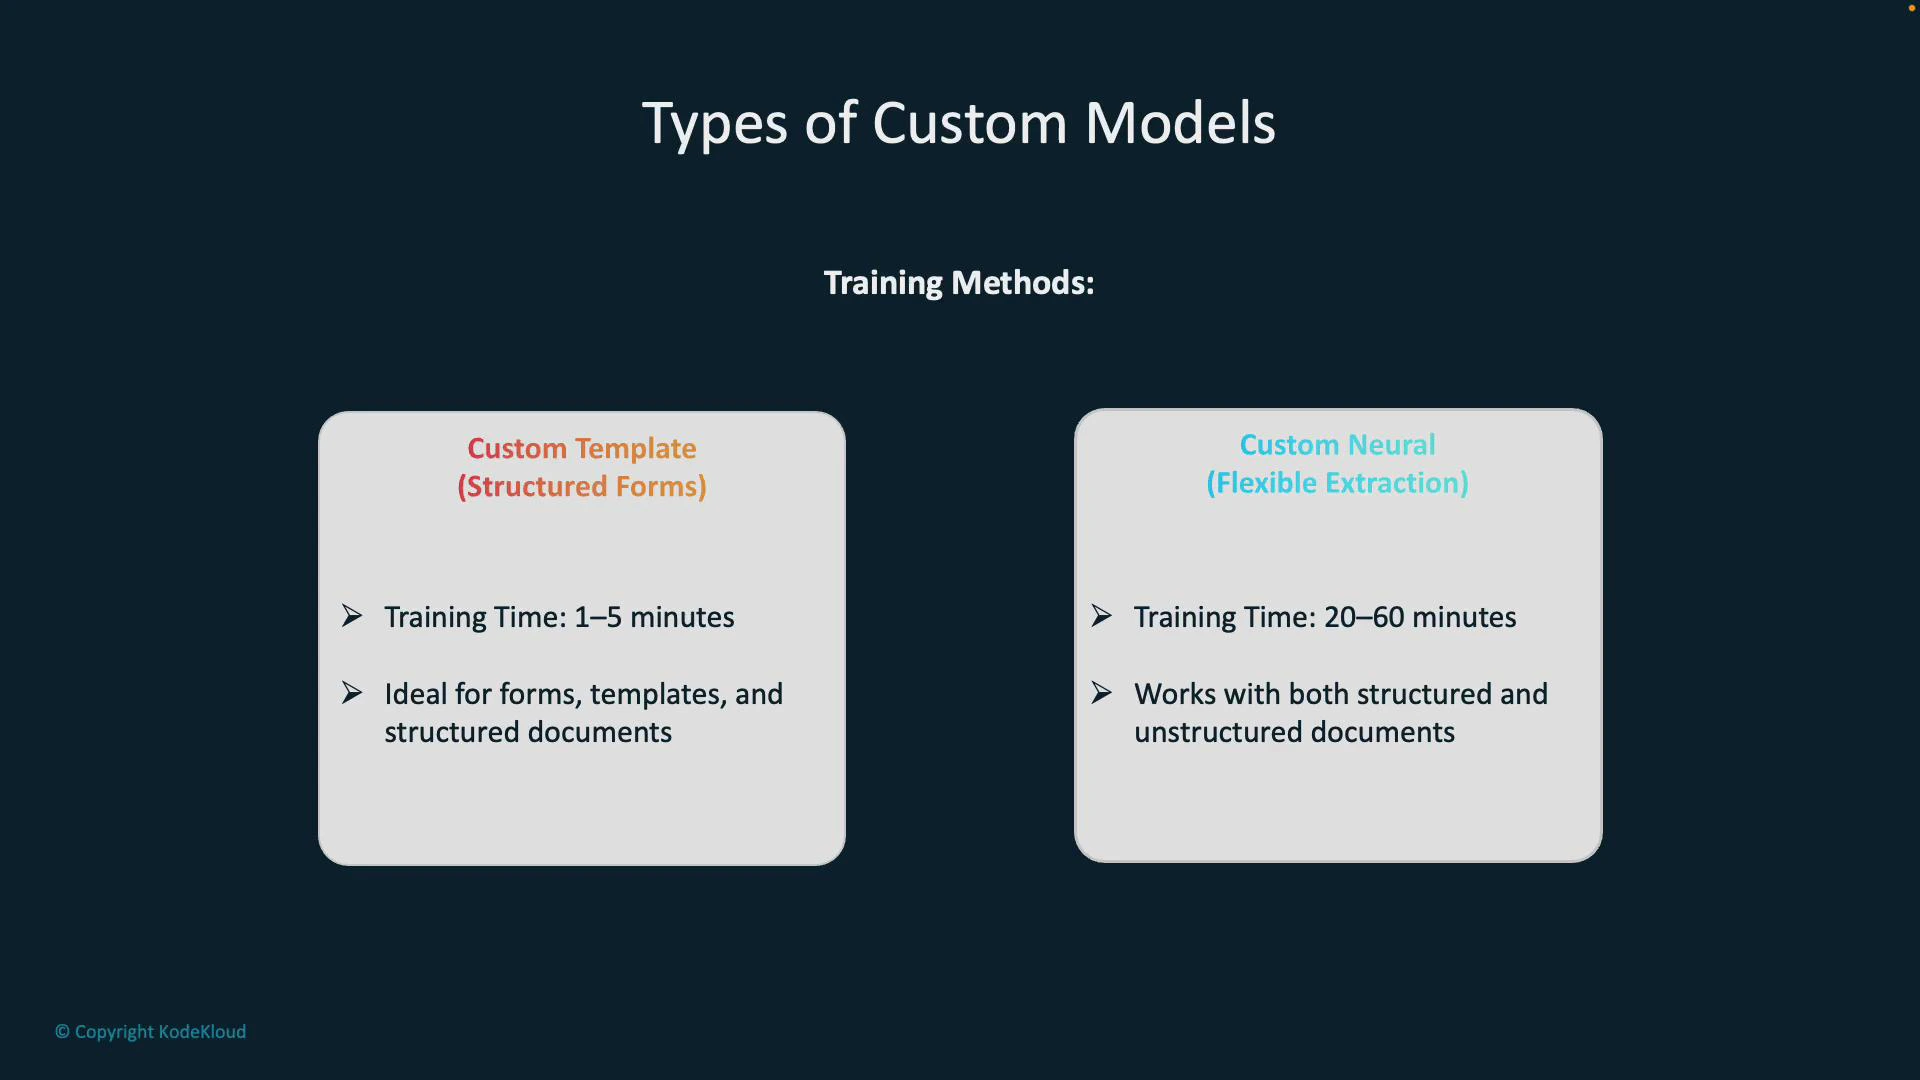
| Custom Template (Structured Forms) | Consistent, repeatable layouts (forms, templates) | Fast (1–5 minutes) | Relies on fixed layout to locate fields accurately |
| Custom Neural (Flexible Extraction) | Varied or mixed document layouts | Longer (20–60 minutes) | Uses neural approaches to generalize across different formats |
- Custom Template: optimized for fixed formats where field positions are predictable.
- Custom Neural: better when forms vary in layout or when extracting from semi-structured/unstructured documents.
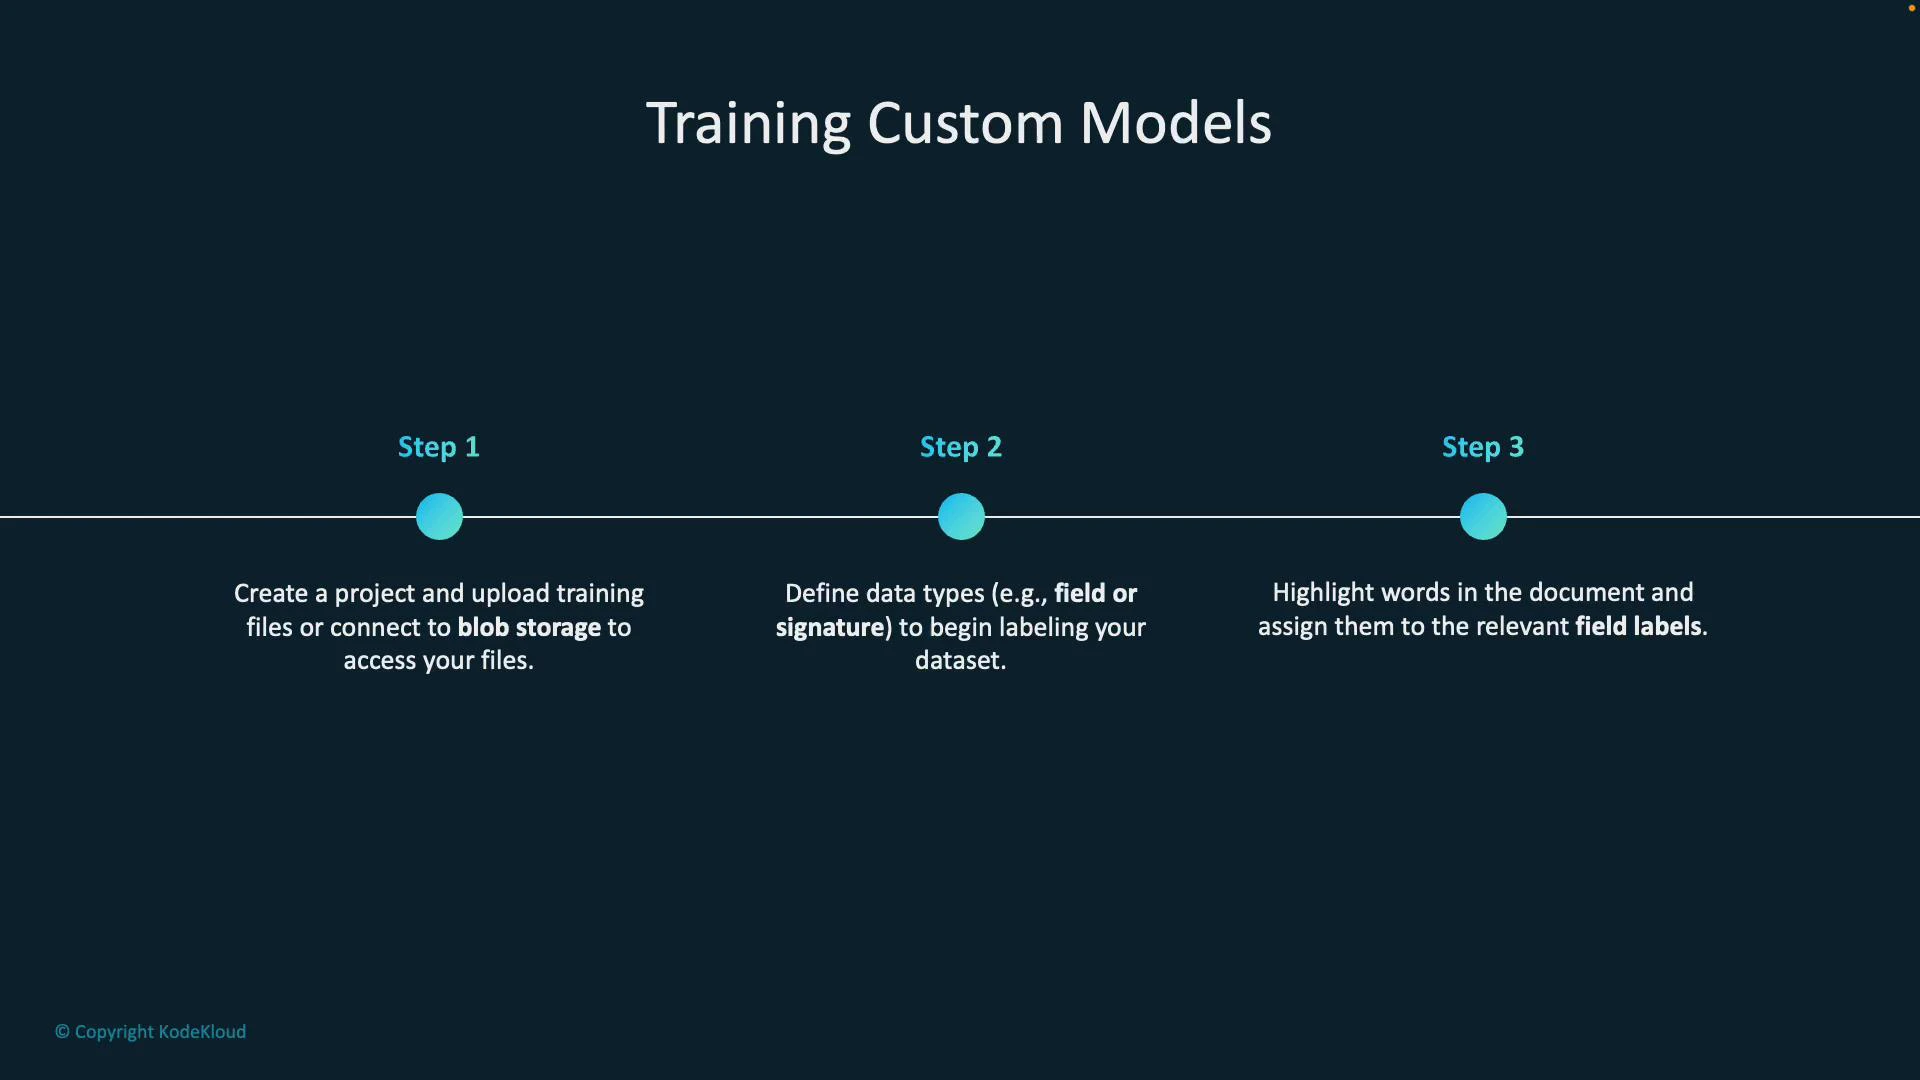
- Create a project in Document Intelligence Studio.
- Upload training files or connect the project to an Azure Blob Storage container so the studio can access your documents.
- Define the fields (data types) you want the model to extract (for example, invoice_number, date_of_birth, signature).
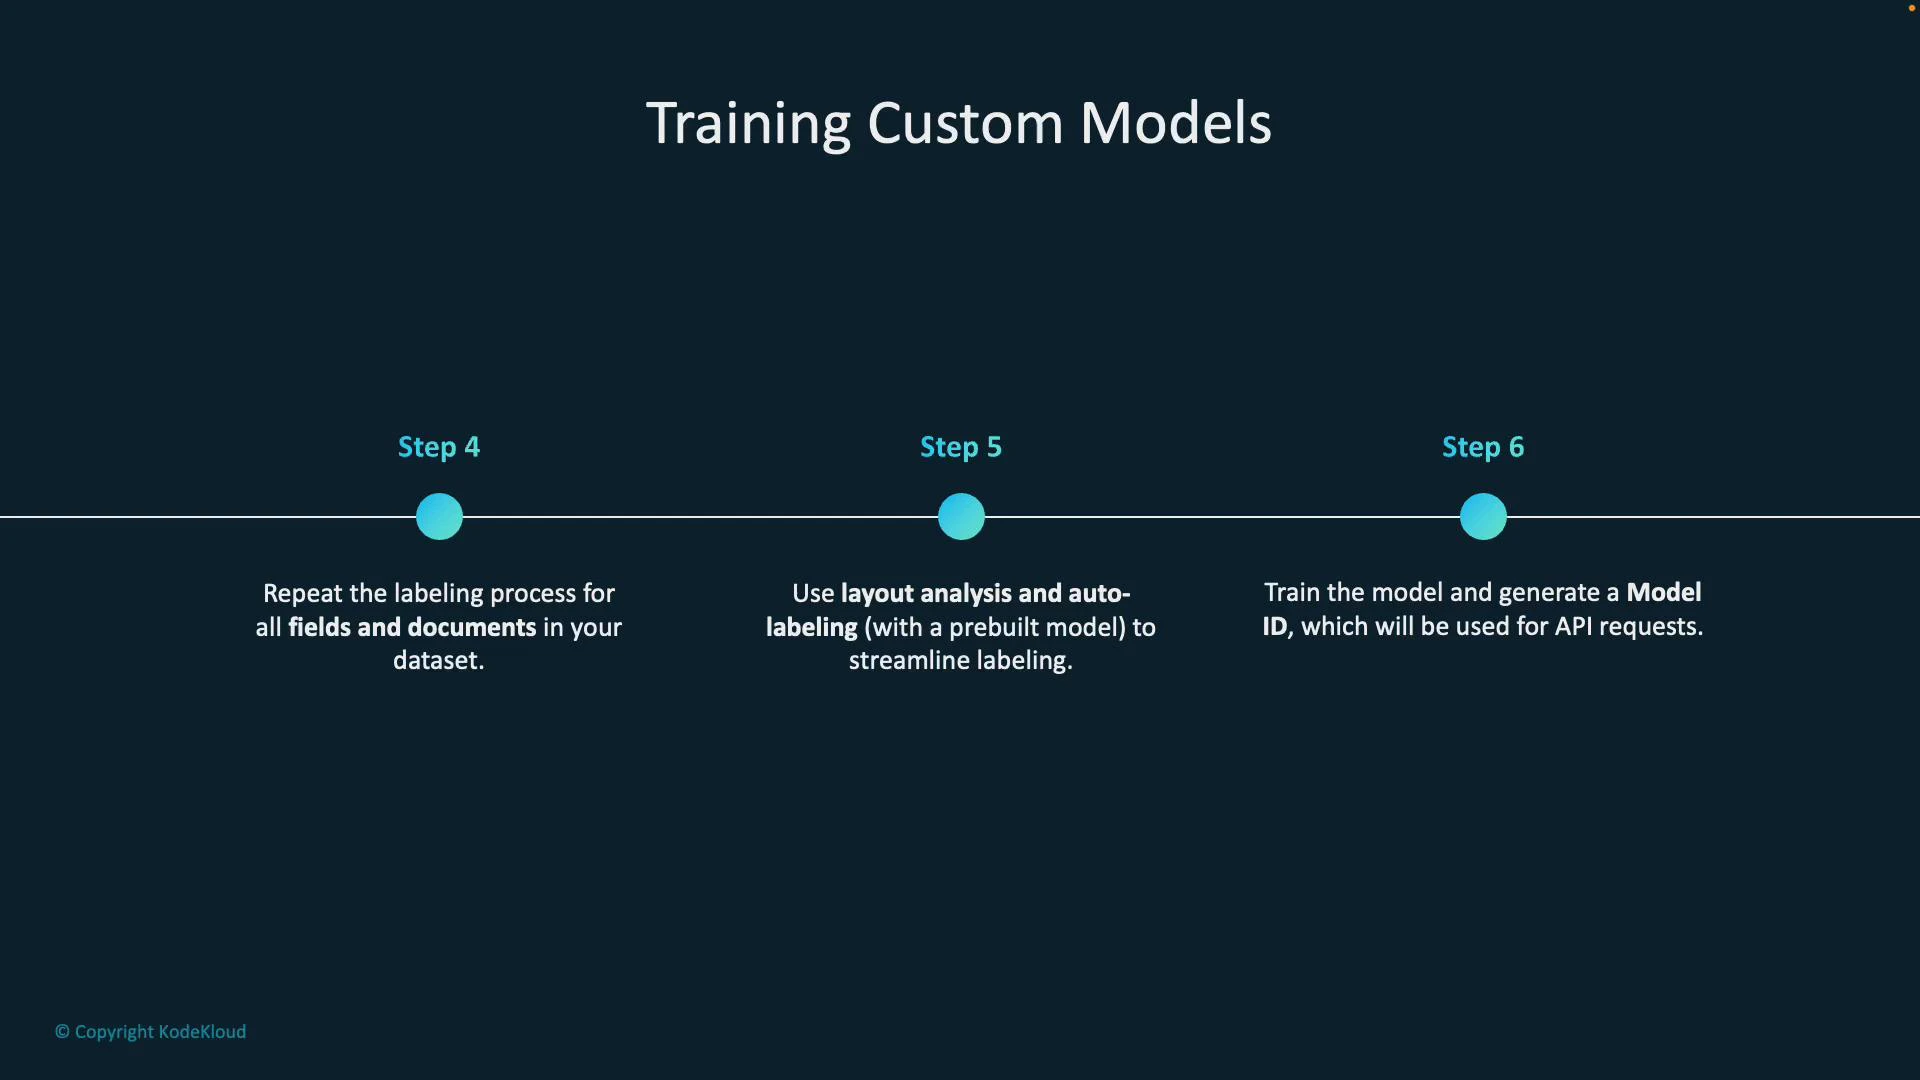
- Annotate (label) documents by selecting text or drawing regions and assigning field labels across multiple training documents.
- Use Layout Analysis and Auto-Labeling (optional) to speed up annotation by leveraging prebuilt models.
- Train the model. After training completes, Document Intelligence provides a trained model and a Model ID to use with the APIs.
- Layout Analysis: detects document regions (text blocks, tables, selection marks) to help you target fields quickly.
- Auto-Labeling: leverages prebuilt models (e.g., invoice, ID, credit card) to propose field labels automatically, reducing manual effort when documents match known templates.
- After training, take the Model ID and call the Document Intelligence REST API or SDKs to analyze new documents.
- The studio and SDKs provide example code (Python, JavaScript) to integrate analysis into your applications.
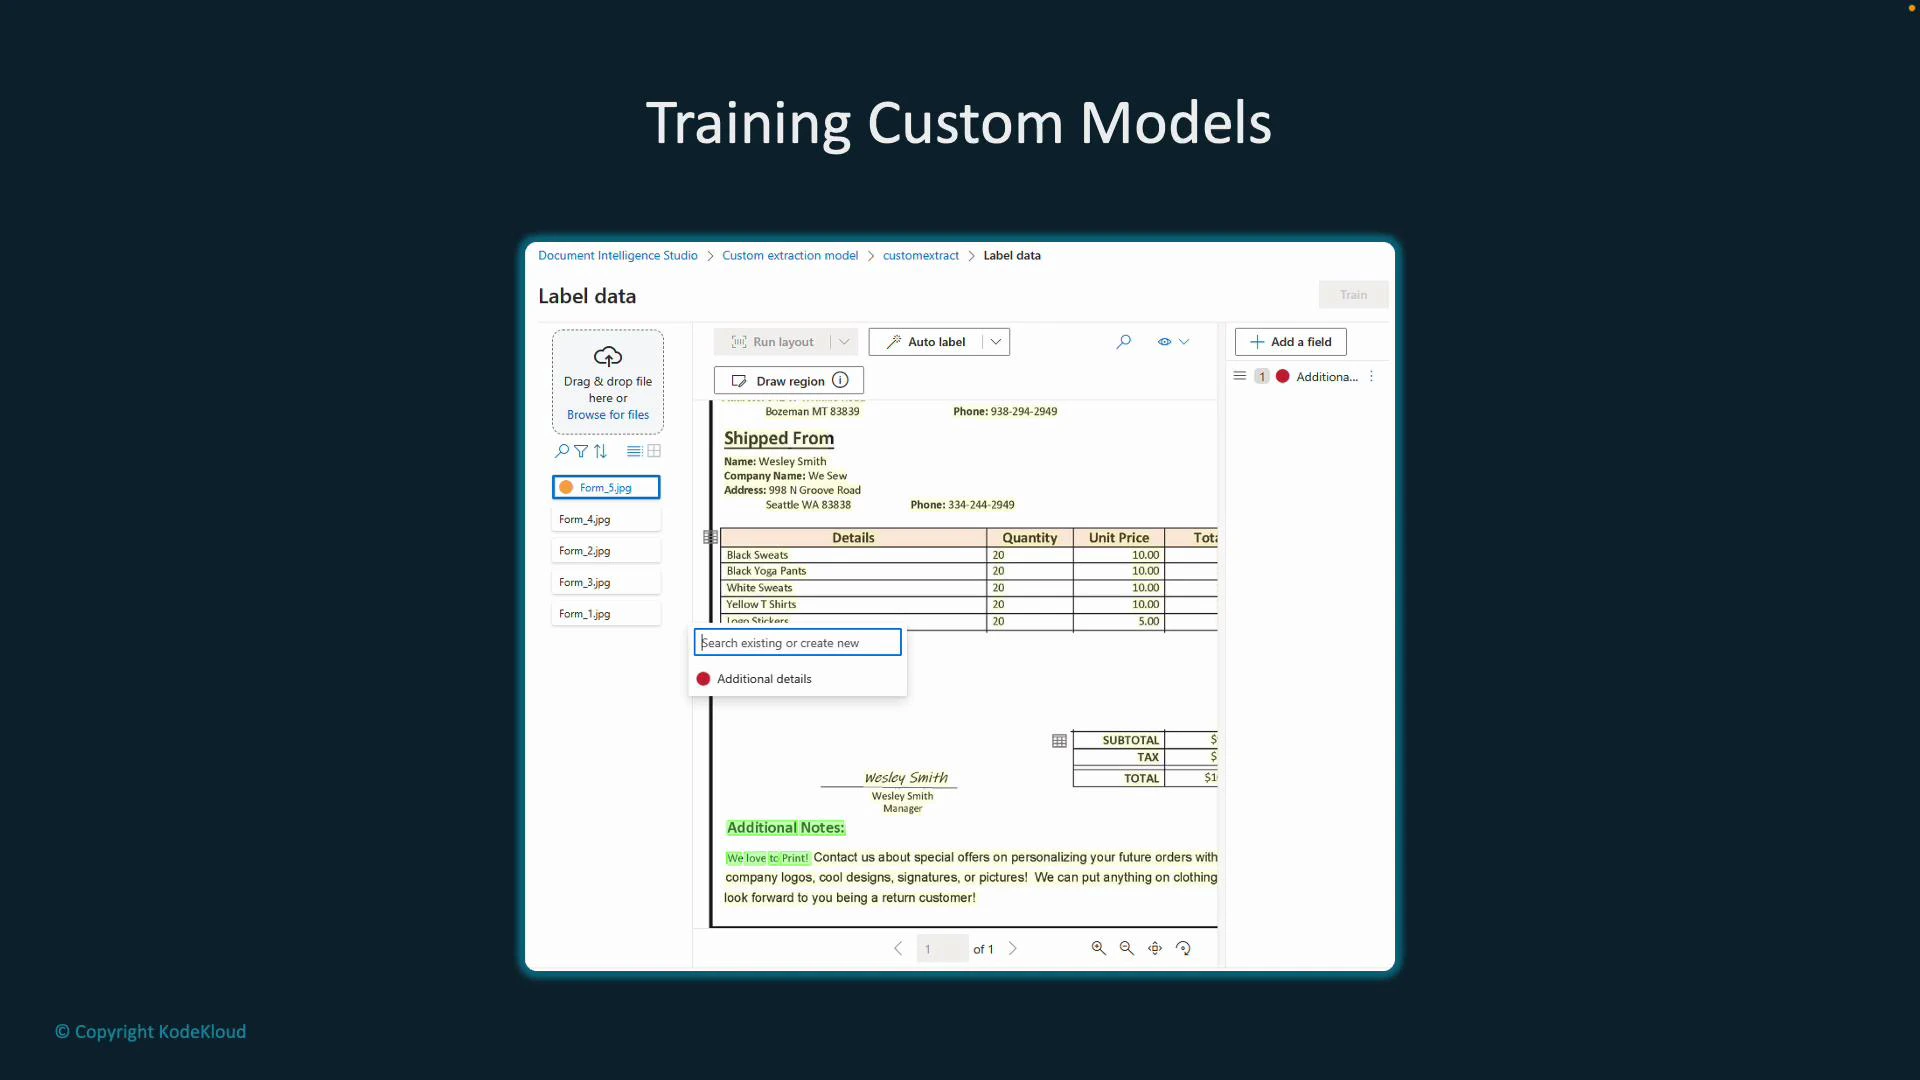
- Label data view — annotate fields directly on sample documents in the studio.
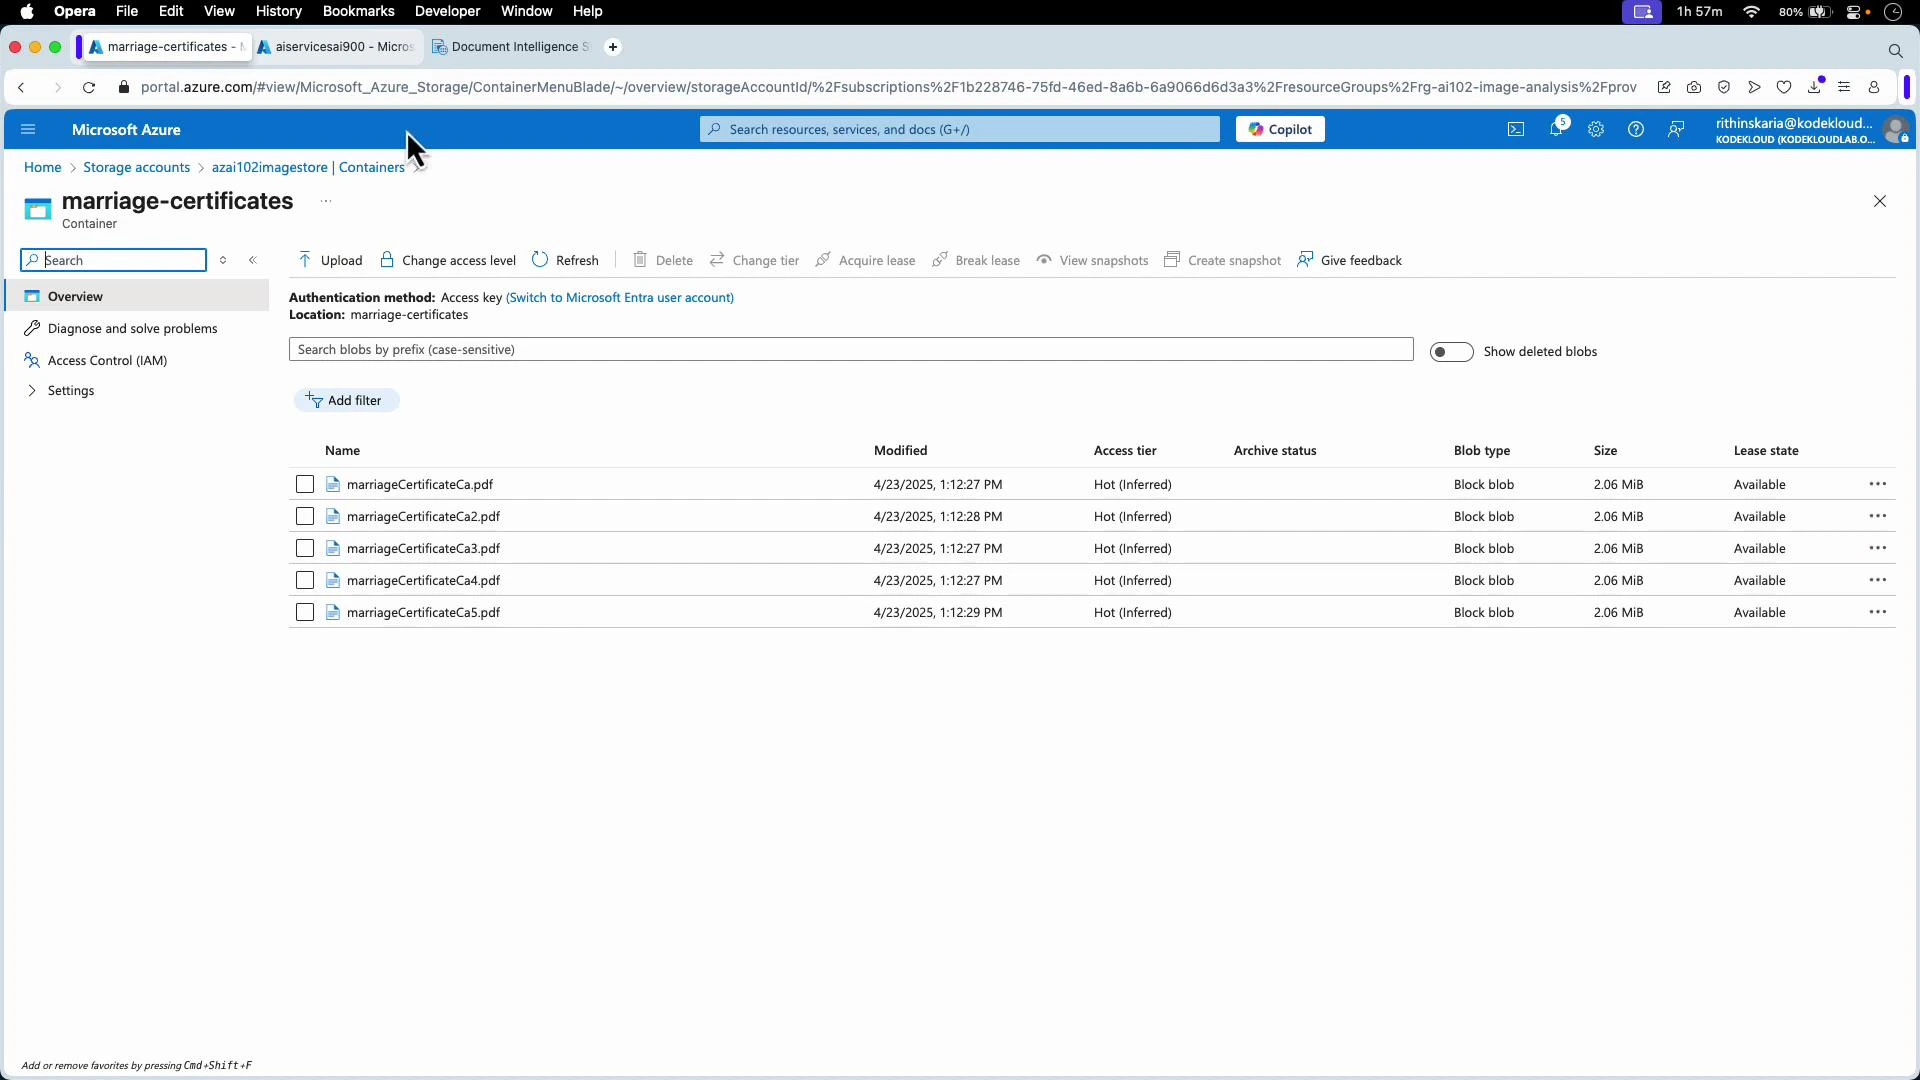
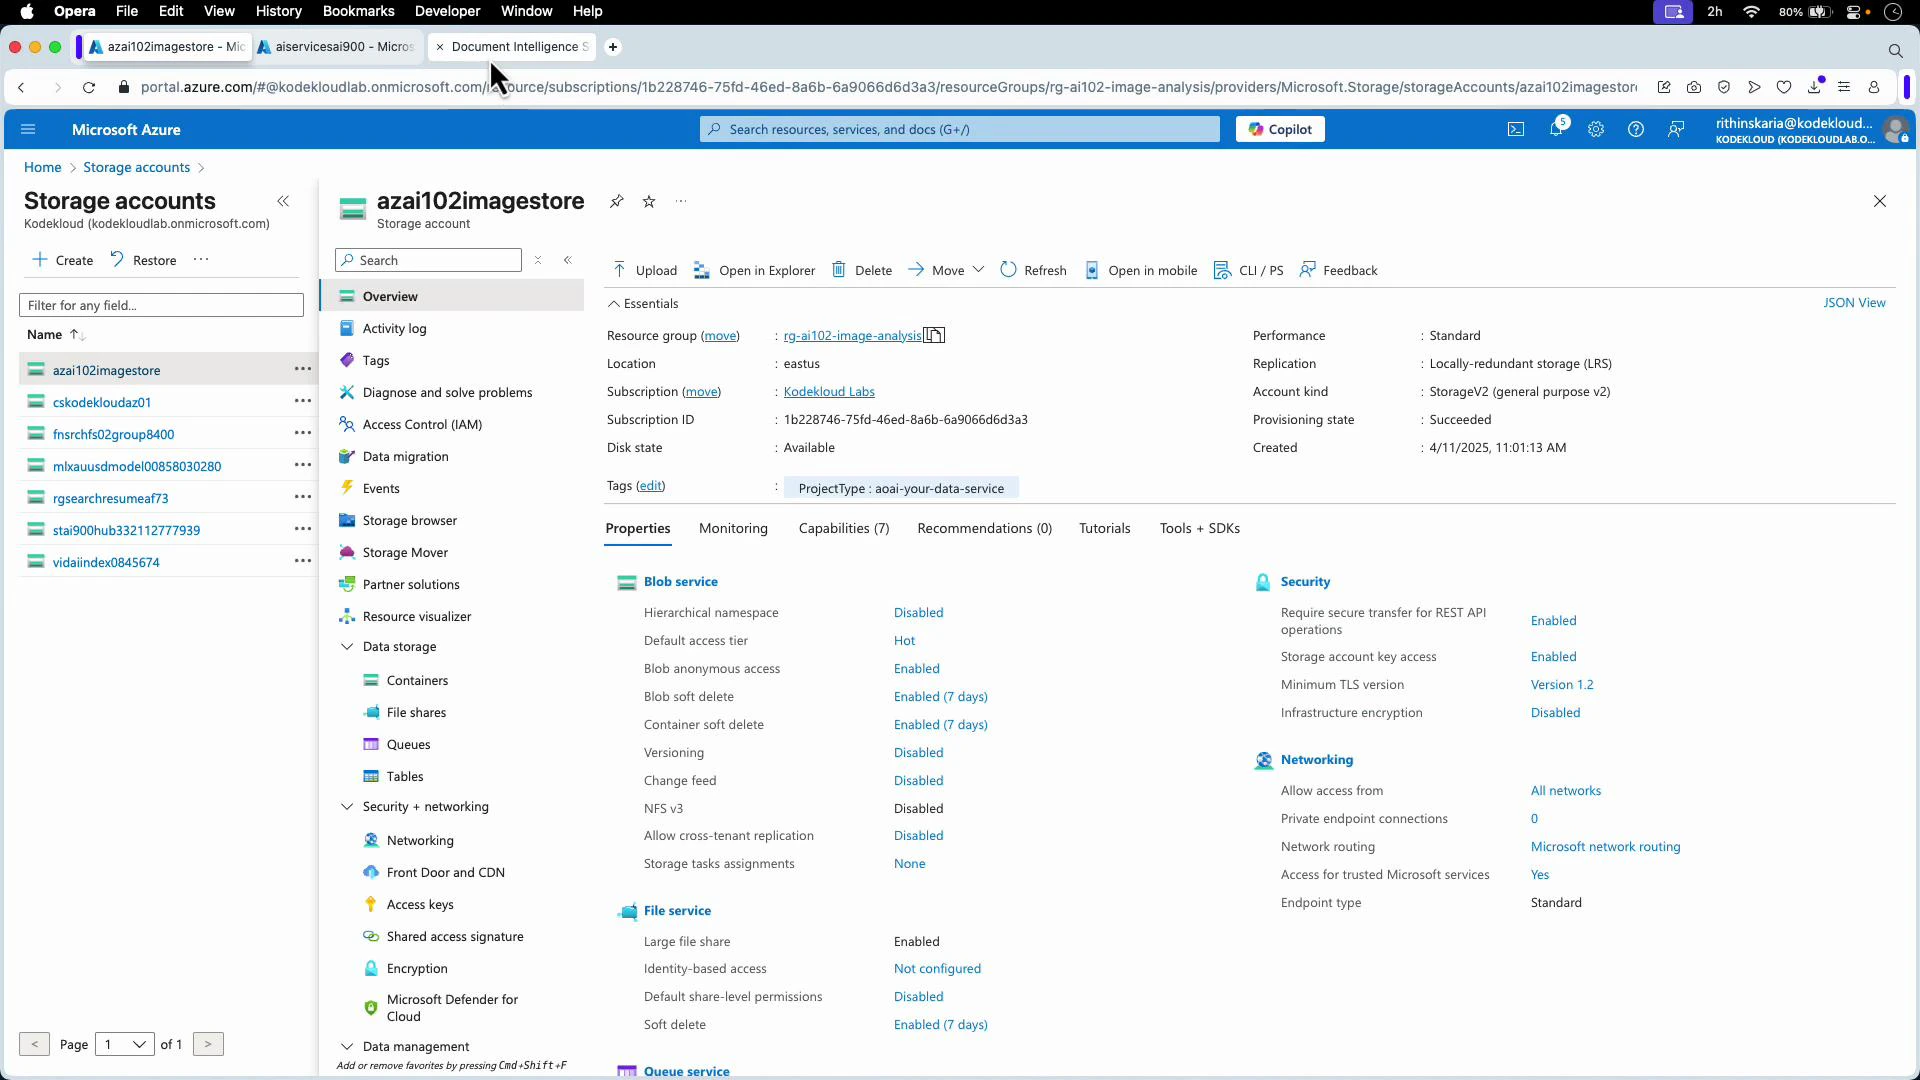
- Prepare your training set in Azure Blob Storage — for this demo, a container holds five marriage certificate PDFs used as training examples.
- Choose Custom Extraction in Document Intelligence Studio (we’re extracting named fields rather than classifying whole documents).
- Create a new project and link it to your Document Intelligence resource (select subscription, resource group, and the Document Intelligence resource).
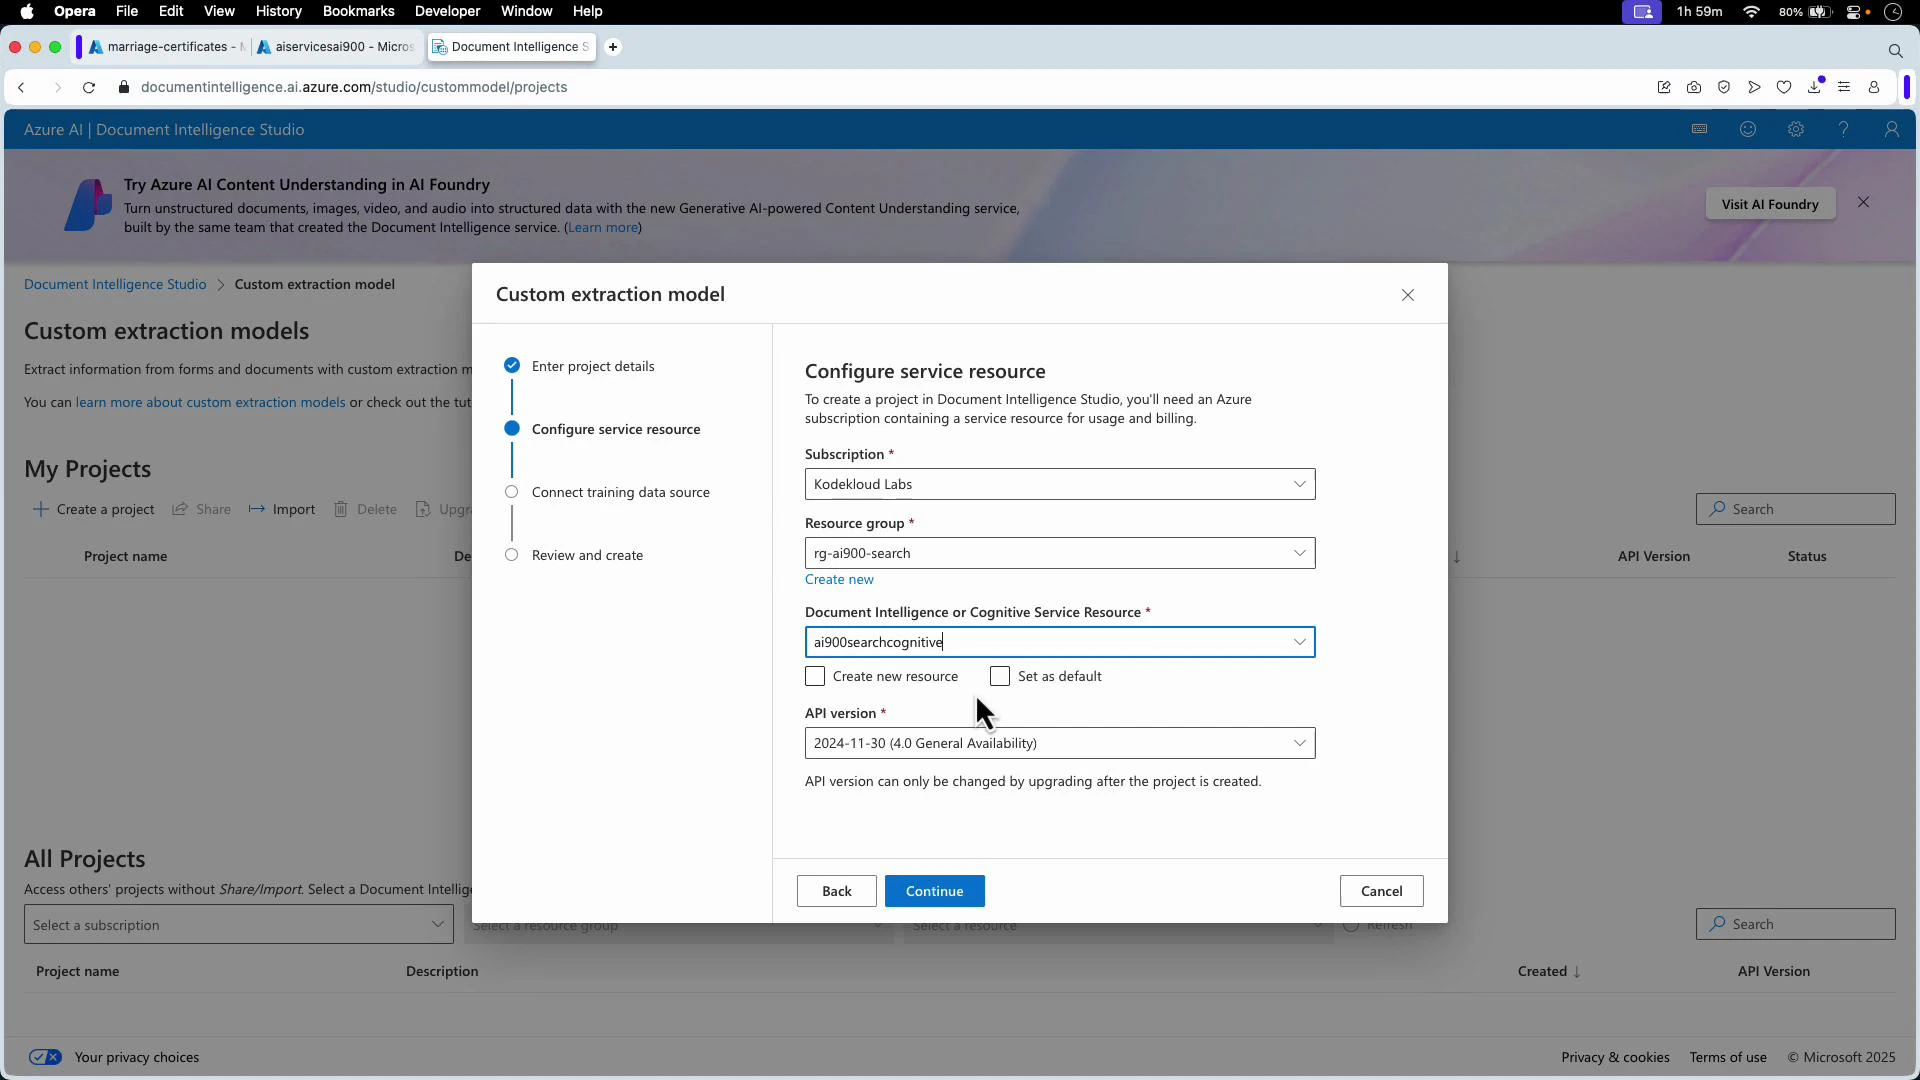
- Connect the project to your storage container (e.g., the “marriage-certificates” container). If files are in the container root, leave the folder path empty.
- Start labeling. Optionally run Layout Analysis and Auto-Label to obtain suggested tags from prebuilt models.
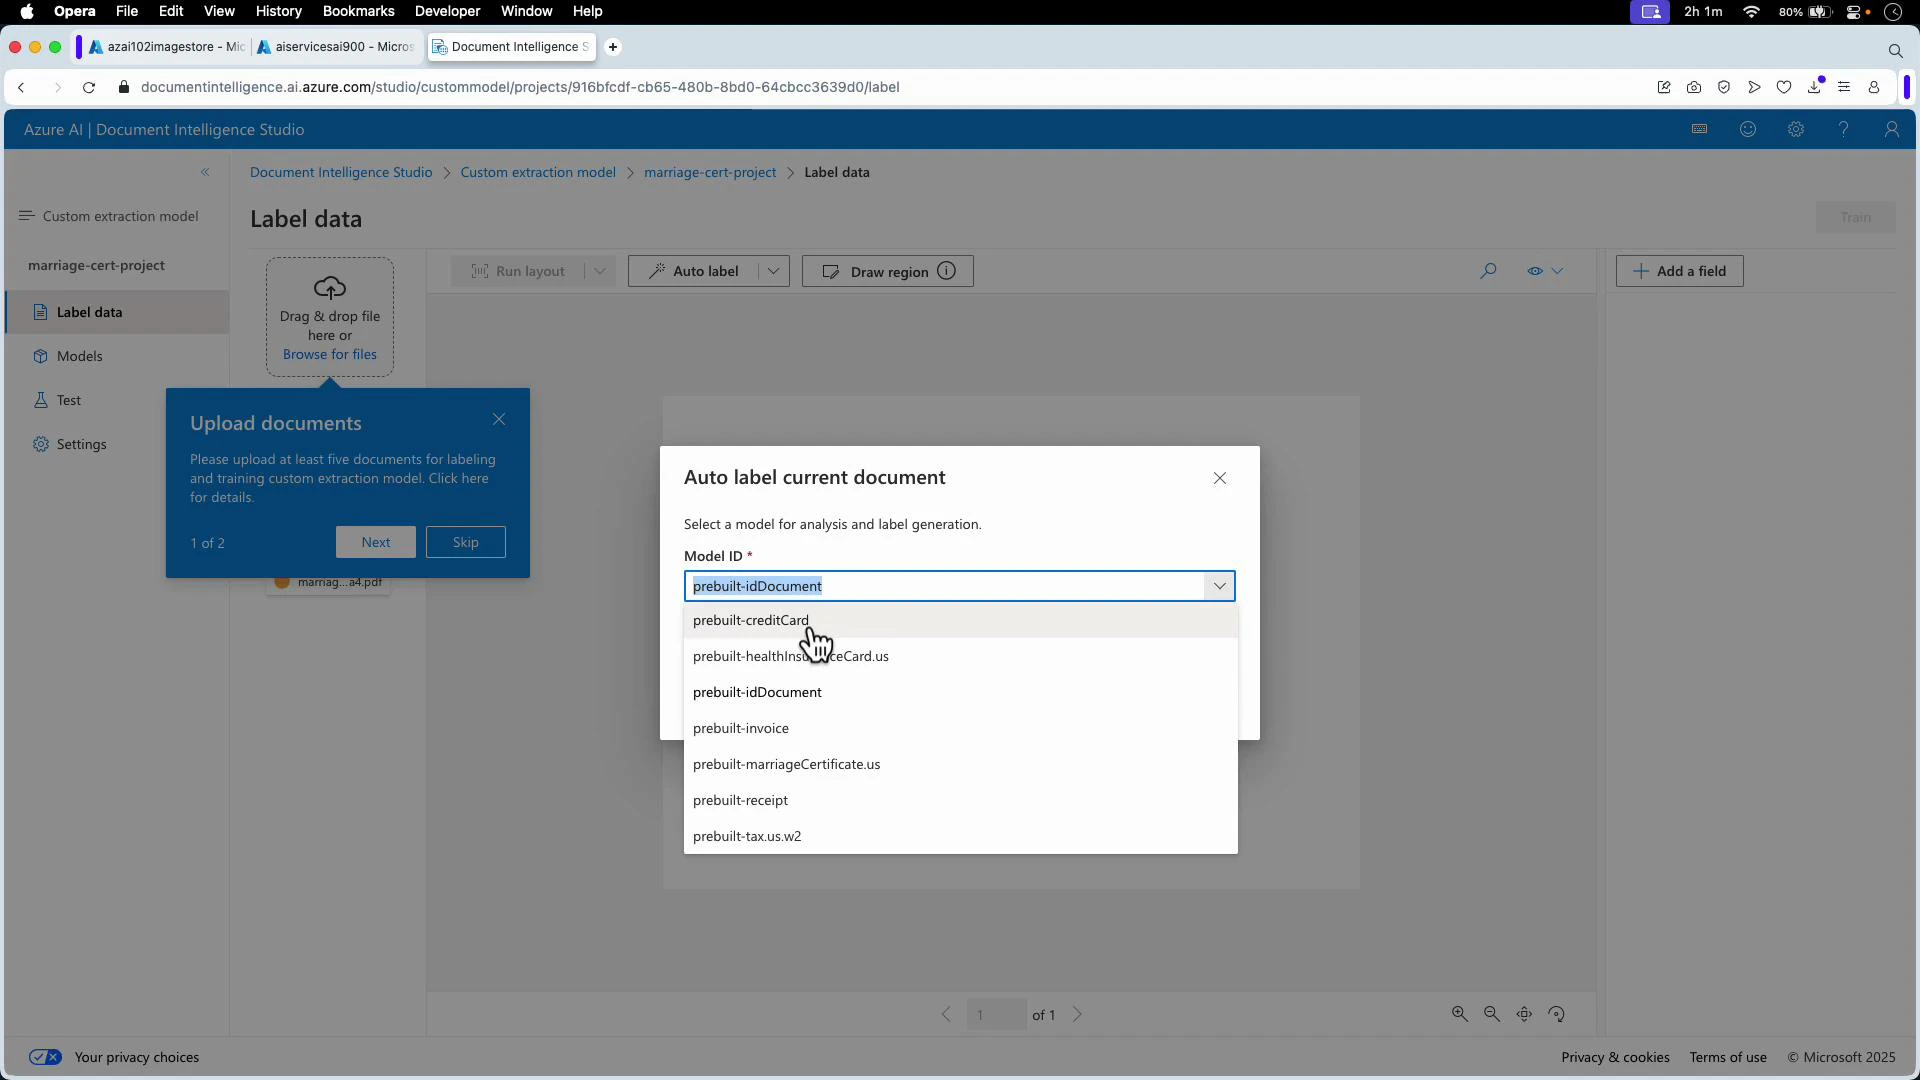
- If auto-labeling is insufficient, add fields and manually tag regions (e.g., bride_name, groom_name, date_of_marriage, place_of_marriage, signature). Label each field across multiple documents, then click Train. Choose:
- Template (structured) for consistent layouts (faster).
- Neural (flexible) for diverse layouts (more time but better generalization).
- Document Intelligence Studio provides generated code snippets (Python, JavaScript) and the official SDK documentation contains full examples to call the model using the Model ID.
- See Azure Document Intelligence docs for client libraries and API references:
result is the output from the SDK method (e.g., begin_analyze_document).
You can find full Python and JavaScript examples in the studio’s code snippets and the official SDK documentation to integrate trained models into your applications.