High-level workflow
| Step | Purpose | Outcome |
|---|---|---|
| Connect data | Point Language Studio to your document repository (Azure Storage) | Files available for annotation and training |
| Define entities | Create the labels your model should learn (e.g., PRODUCT_ID, CLAUSE_TYPE, FIN.CRYPTO) | Entity schema used for annotation and model output |
| Annotate documents | Manually tag text spans with entity labels | Labeled dataset for supervised training |
| Train model | Build a Custom NER model on labeled data (train/test split) | Trained model ready for evaluation |
| Deploy & test | Create an endpoint for real-time inference | Integrated model endpoint for applications |
| Evaluate & iterate | Inspect precision, recall, F1 and confusion patterns; add more labels or examples | Improved, production-ready model after iteration |
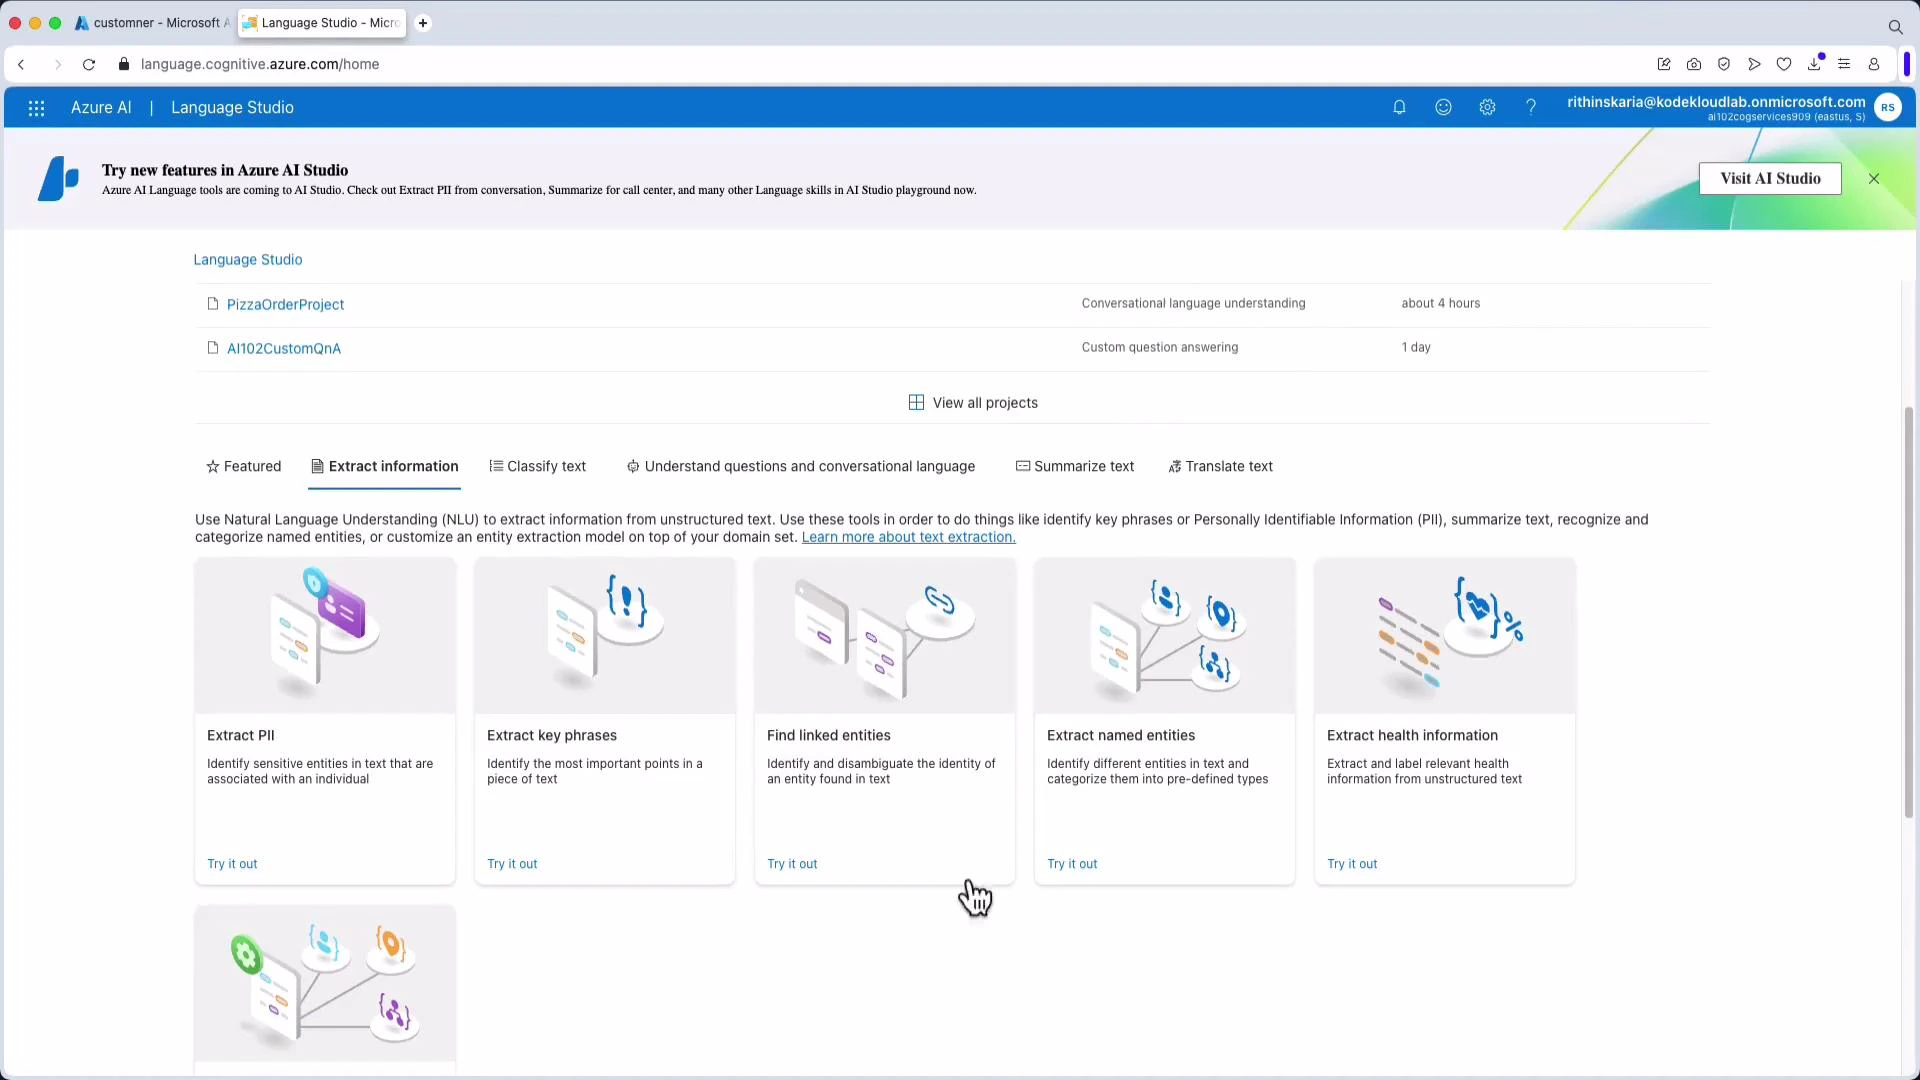
1) Connect data and define entities
Custom NER projects typically begin by giving Language Studio access to your documents stored in an Azure Storage container. Next, define the set of entities (labels) you want the model to recognize — for example: CITY, PRODUCT_ID, CLAUSE_TYPE, FIN.CRYPTO, FIN.FOREX, FIN.STOCK. These labels form the annotation schema used during manual labeling.2) Annotate documents (labeling)
Manual annotation is where you select spans of text in sample documents and assign the corresponding label. Consistent, high-quality annotations across varied contexts are the strongest predictor of a reliable Custom NER model. Here, the terms “Seattle” and “San Francisco” are being labeled as City entities in the labeling UI: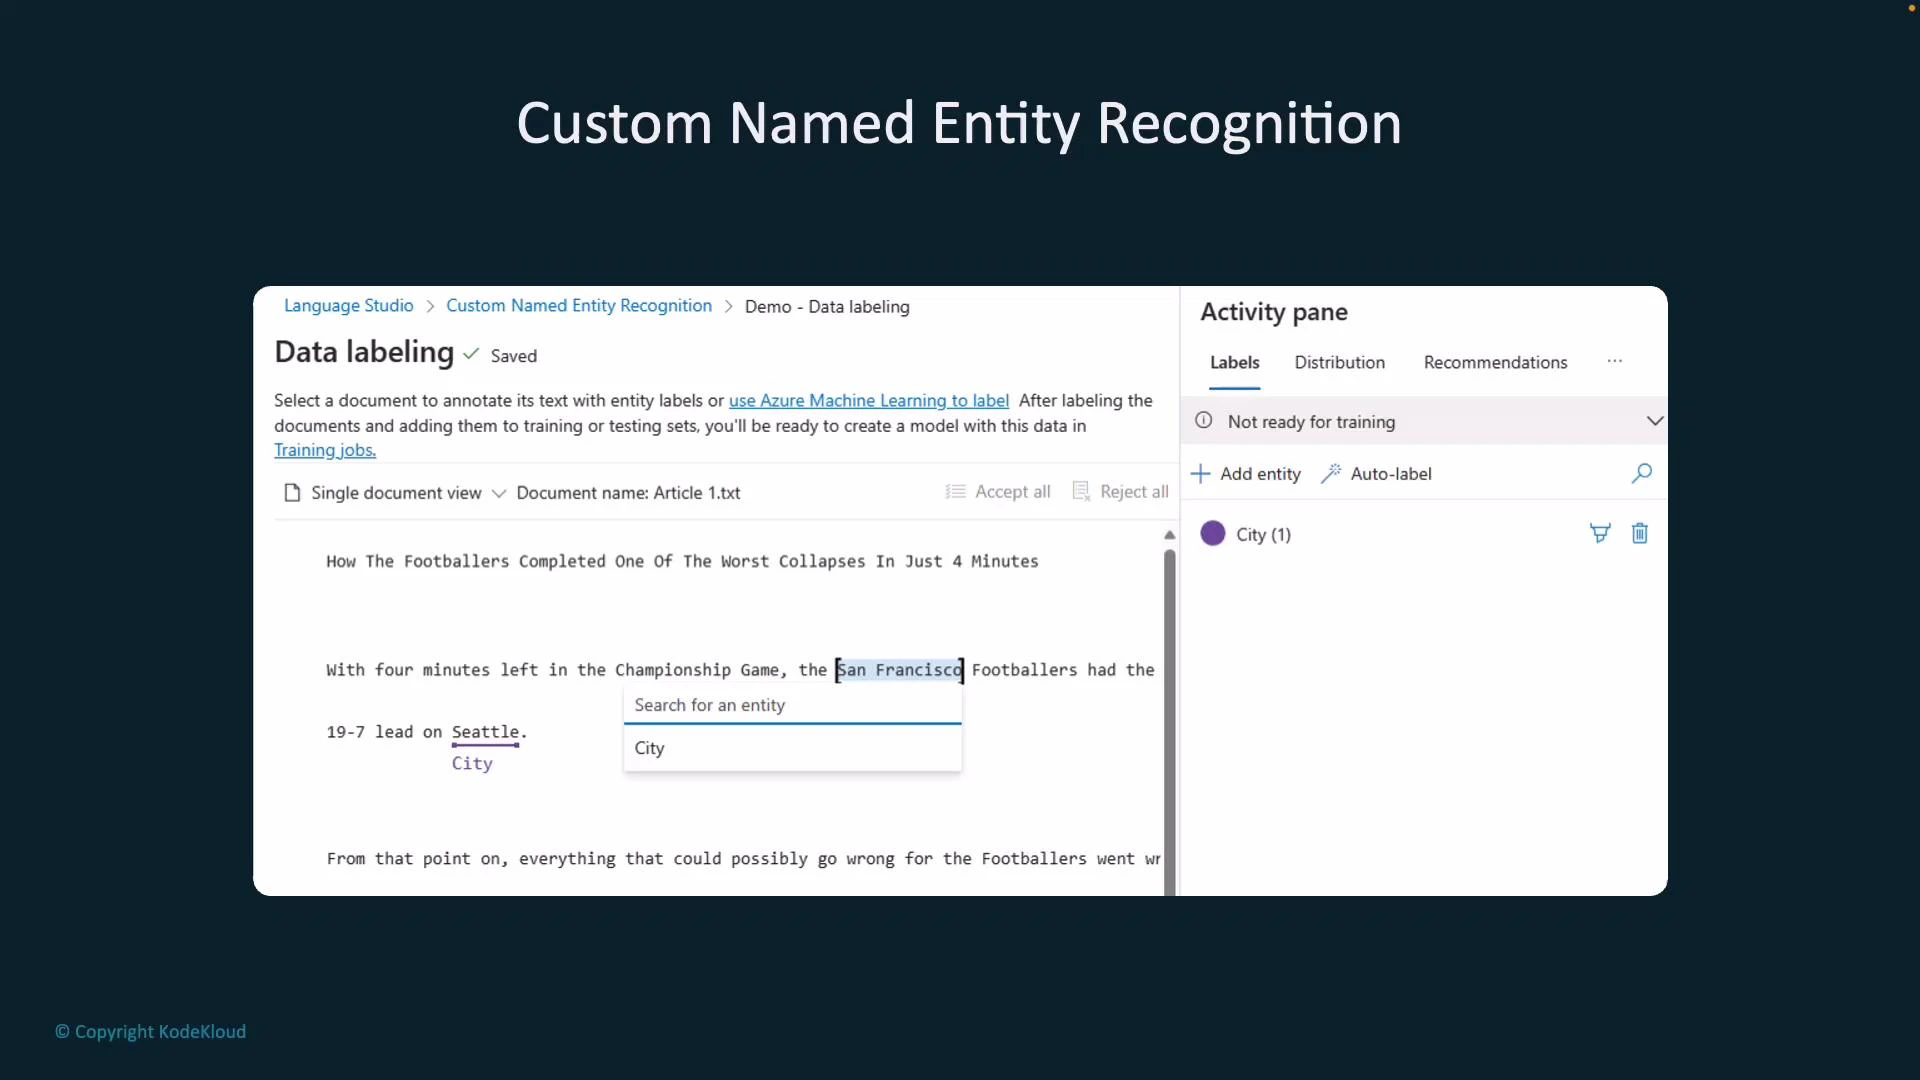
High-quality, consistent annotations are the most important factor for good Custom NER performance. Include varied contexts and edge cases in your labeled data (abbreviations, punctuation, casing, and tokens that look similar but belong to different labels).
3) Project setup and sample files
When creating a new Language Studio project you may need to connect a storage account and grant permissions. Provide a project name, choose the primary language (e.g., English), and select the storage container with your sample files. Example: a container named “Custom NER” with sample text files used for labeling and training: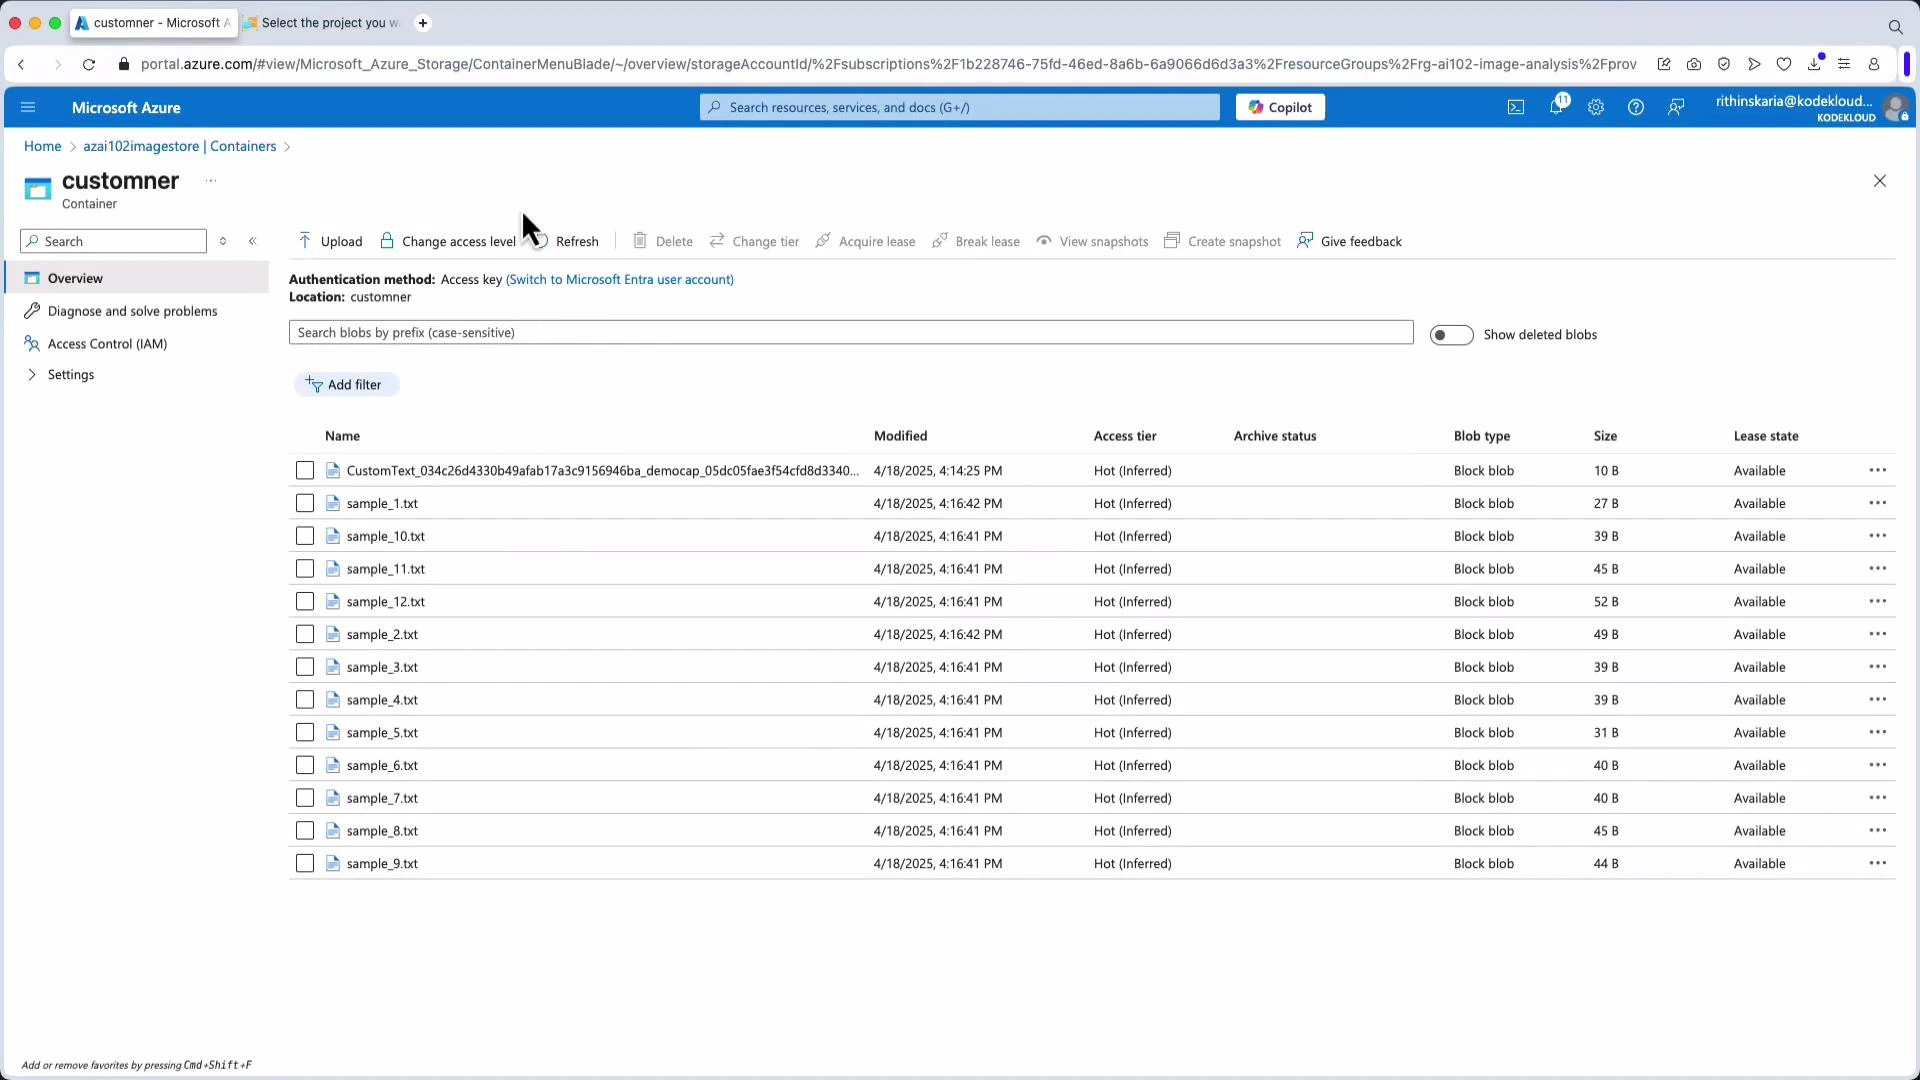
4) Data labeling view and entity creation
After files are loaded into the project, open the Data Labeling view. Create entity labels (for example: crypto, forex, stocks) and annotate documents by selecting spans and assigning the correct label. Save labels frequently to ensure training data is preserved and ready for model building.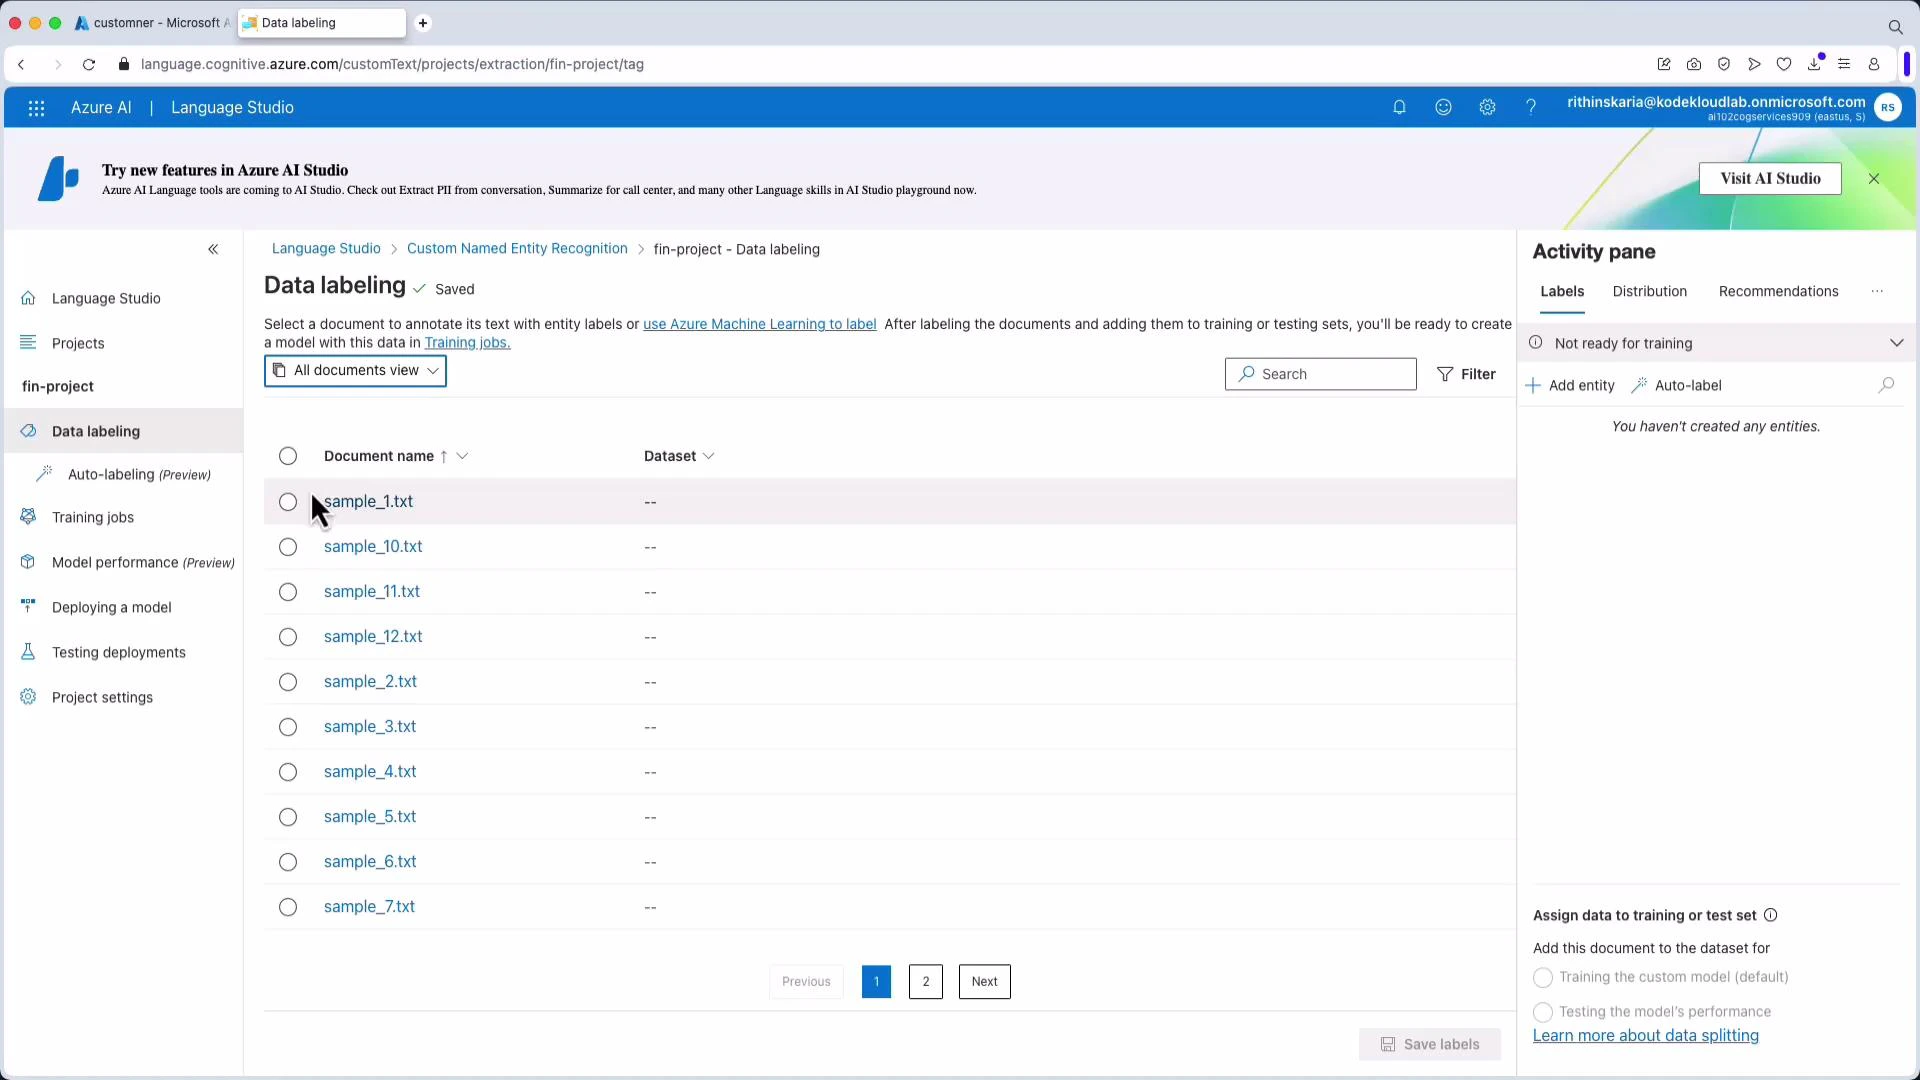
- “Google”, “Apple” → stocks
- “Bitcoin”, “BTC” → crypto
- “USDJPY”, “AUDJPY” → forex (include variations and punctuation)
5) Train the Custom NER model
Create a training job in Language Studio, choose the labeled dataset and a train/test split (commonly 80/20), give the job a name, and start training. Training duration depends on dataset size and model configuration.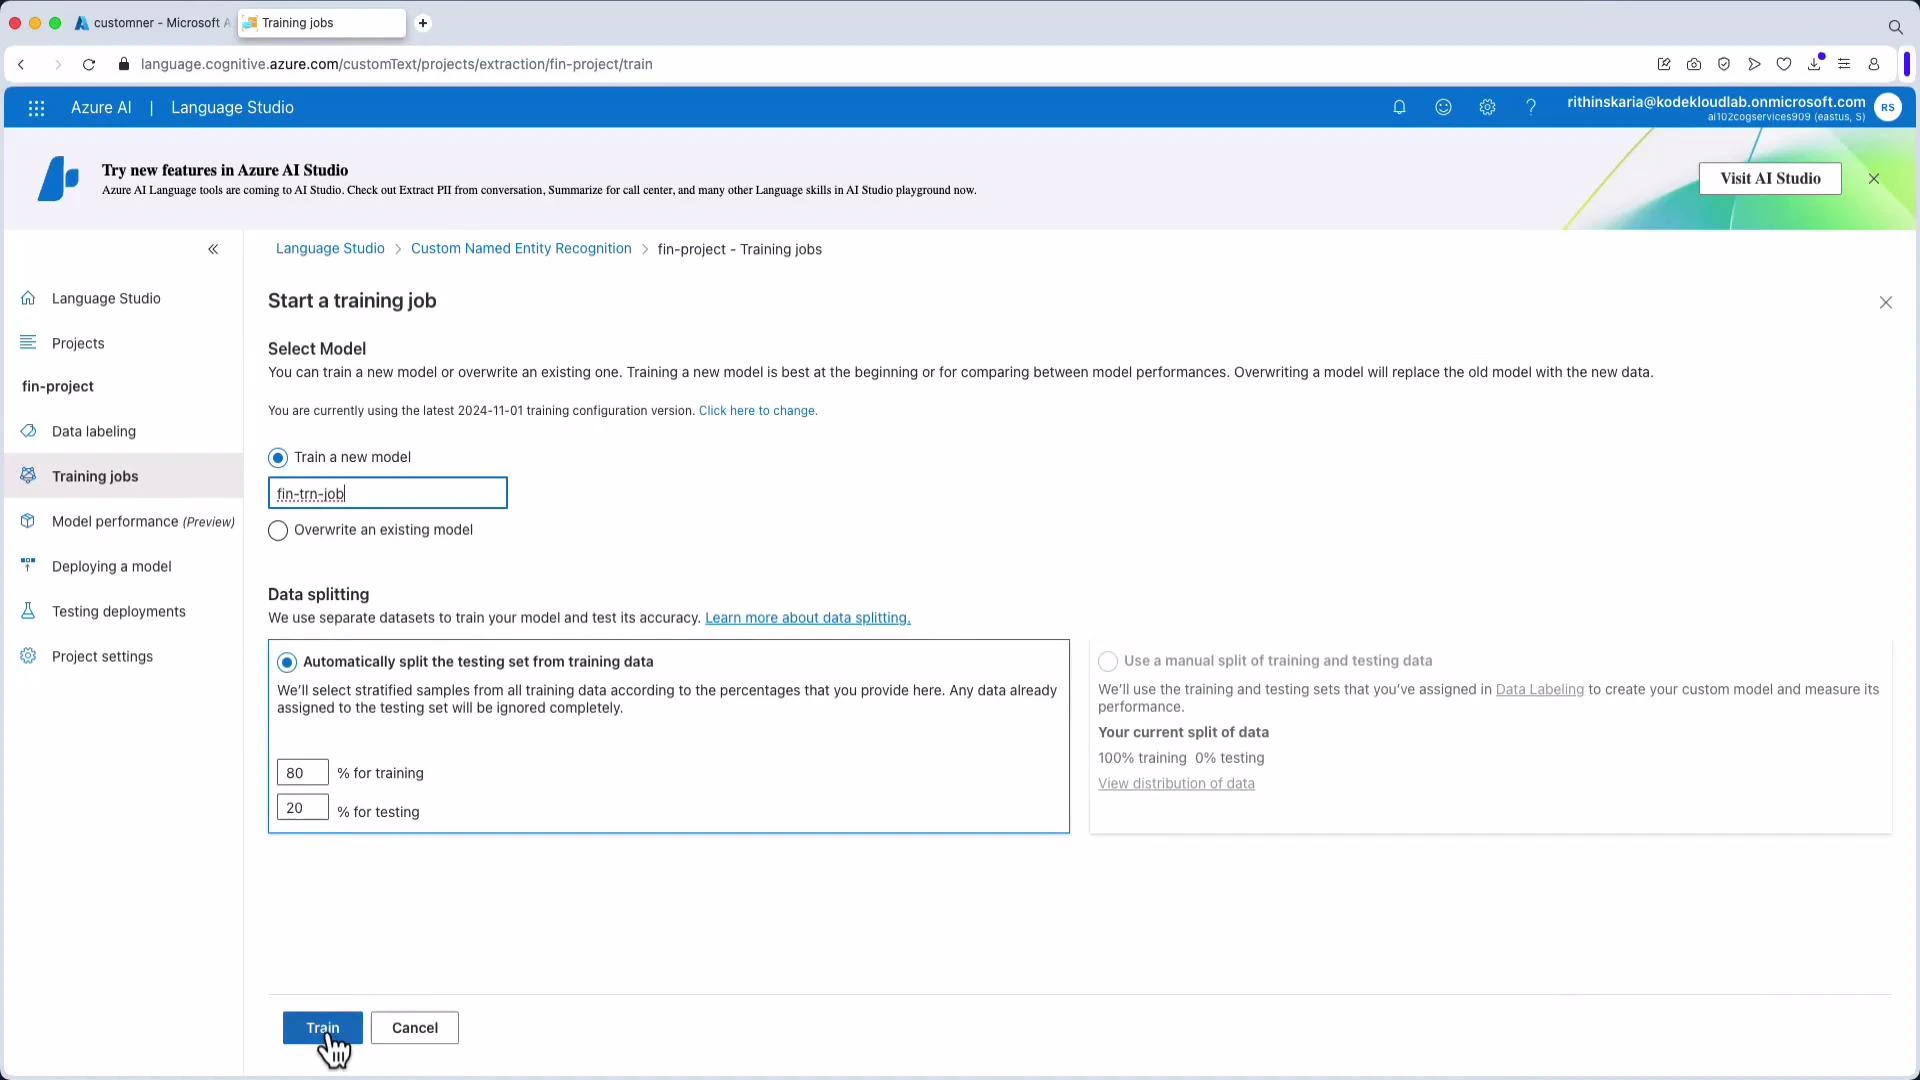
6) Evaluate, deploy, and iterate
After training, Language Studio will surface evaluation metrics such as precision, recall, and F1 score, including per-entity breakdowns. Inspect confusion patterns — for instance, if the model mistakenly classifies uncommon currency pairs as stocks, add labeled examples for those pairs and retrain. If metrics meet your requirements, deploy the trained model to create an inference endpoint (for example, named FinDep). You can then test predictions directly in Language Studio or call the endpoint programmatically from your application. Notes from common demos:- Tokens that appear frequently in training data (e.g., BTC) are often recognized correctly.
- Unseen or rare tokens (e.g., an uncommon currency pair) may be misclassified; collect and label more examples for those tokens to improve accuracy.
Best practices for production-ready Custom NER
- Label consistently and define a clear annotation guideline for all annotators.
- Include diverse examples: casing, punctuation, abbreviations, and context variations.
- Ensure balanced representation of each entity; use augmentation if needed.
- Monitor per-entity metrics and confusion matrices to find weak spots.
- Iterate: add challenging examples and retrain until performance stabilizes.
- Use an 80/20 or 70/30 train/test split to validate generalization and avoid overfitting.
Summary
- Custom NER trains models to detect domain-specific entities that pre-built extractors cannot.
- Key steps: connect data, define entities, annotate documents, train, deploy, evaluate, and iterate.
- High-quality, varied annotations and iterative retraining drive production-grade accuracy.
Links and references
- Azure AI Language Studio overview
- Azure Storage documentation
- For best practices on evaluation metrics, see resources on precision, recall, and F1 score in NER literature.