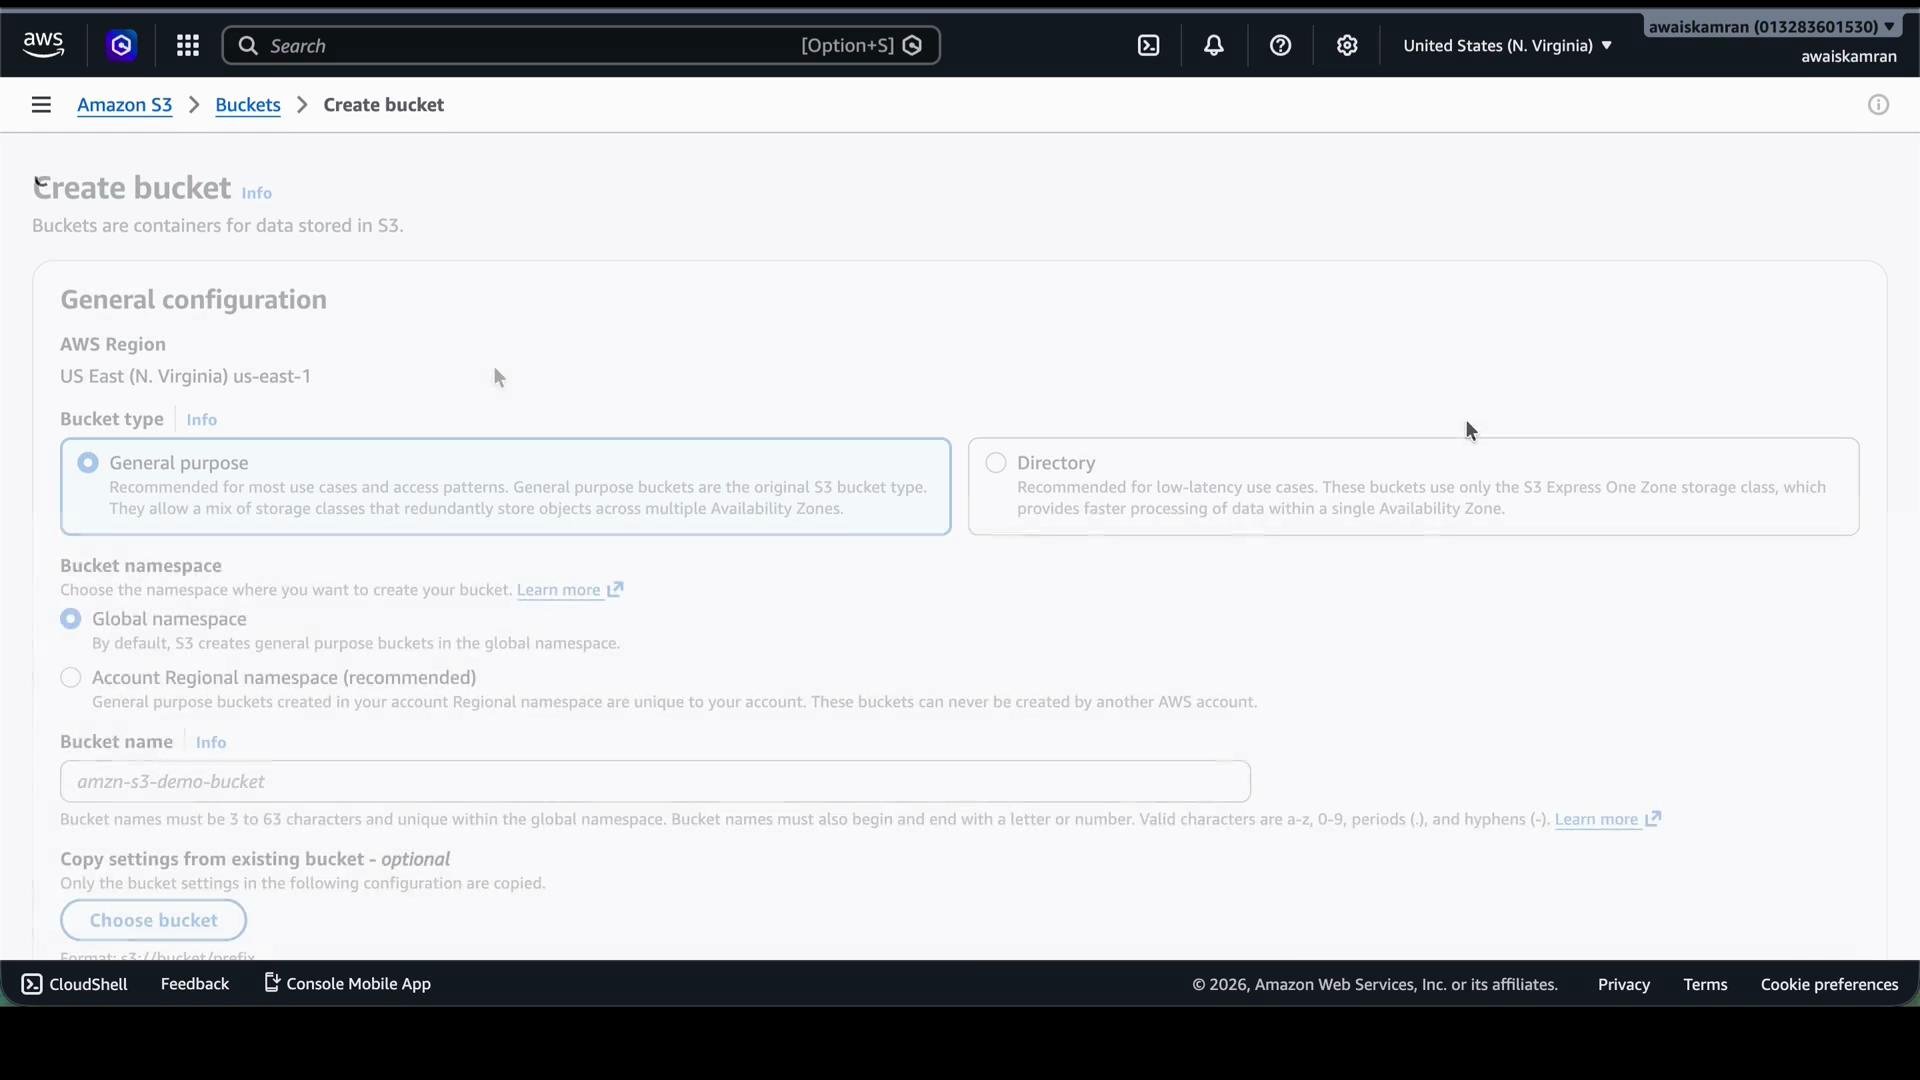
This guide shows how to create an Amazon S3 bucket and organize a simple folder (prefix) structure for a machine learning data lake. The walkthrough covers naming, region selection, public access considerations, folder organization, uploading a sample dataset, and enabling versioning for safe change management. I’m using the Amazon S3 landing page and my region is US East (N. Virginia). From the console click Create bucket and follow the prompts.
The image shows an AWS S3 management console interface for creating a new bucket, with options to configure the bucket's region, type, and namespace.
Key choices when creating a bucket:
  • Bucket type: keep General-purpose for standard ML workloads.
  • Region: choose the region where you run compute (data transfer costs and latency matter).
  • Bucket name: must be globally unique across AWS (namespace is global).
  • Object ownership: recommended to disable ACLs and use bucket policies/IAM.
Choose a bucket name that reflects the project and region, for example machine-learning-demo-<your-initials>. Use tags like Project: ML-Demo for cost tracking and easy discovery.
Next, enter a unique bucket name. In this demo I used machine-learning-demo. I left Object ownership at the recommended setting (disable ACLs).
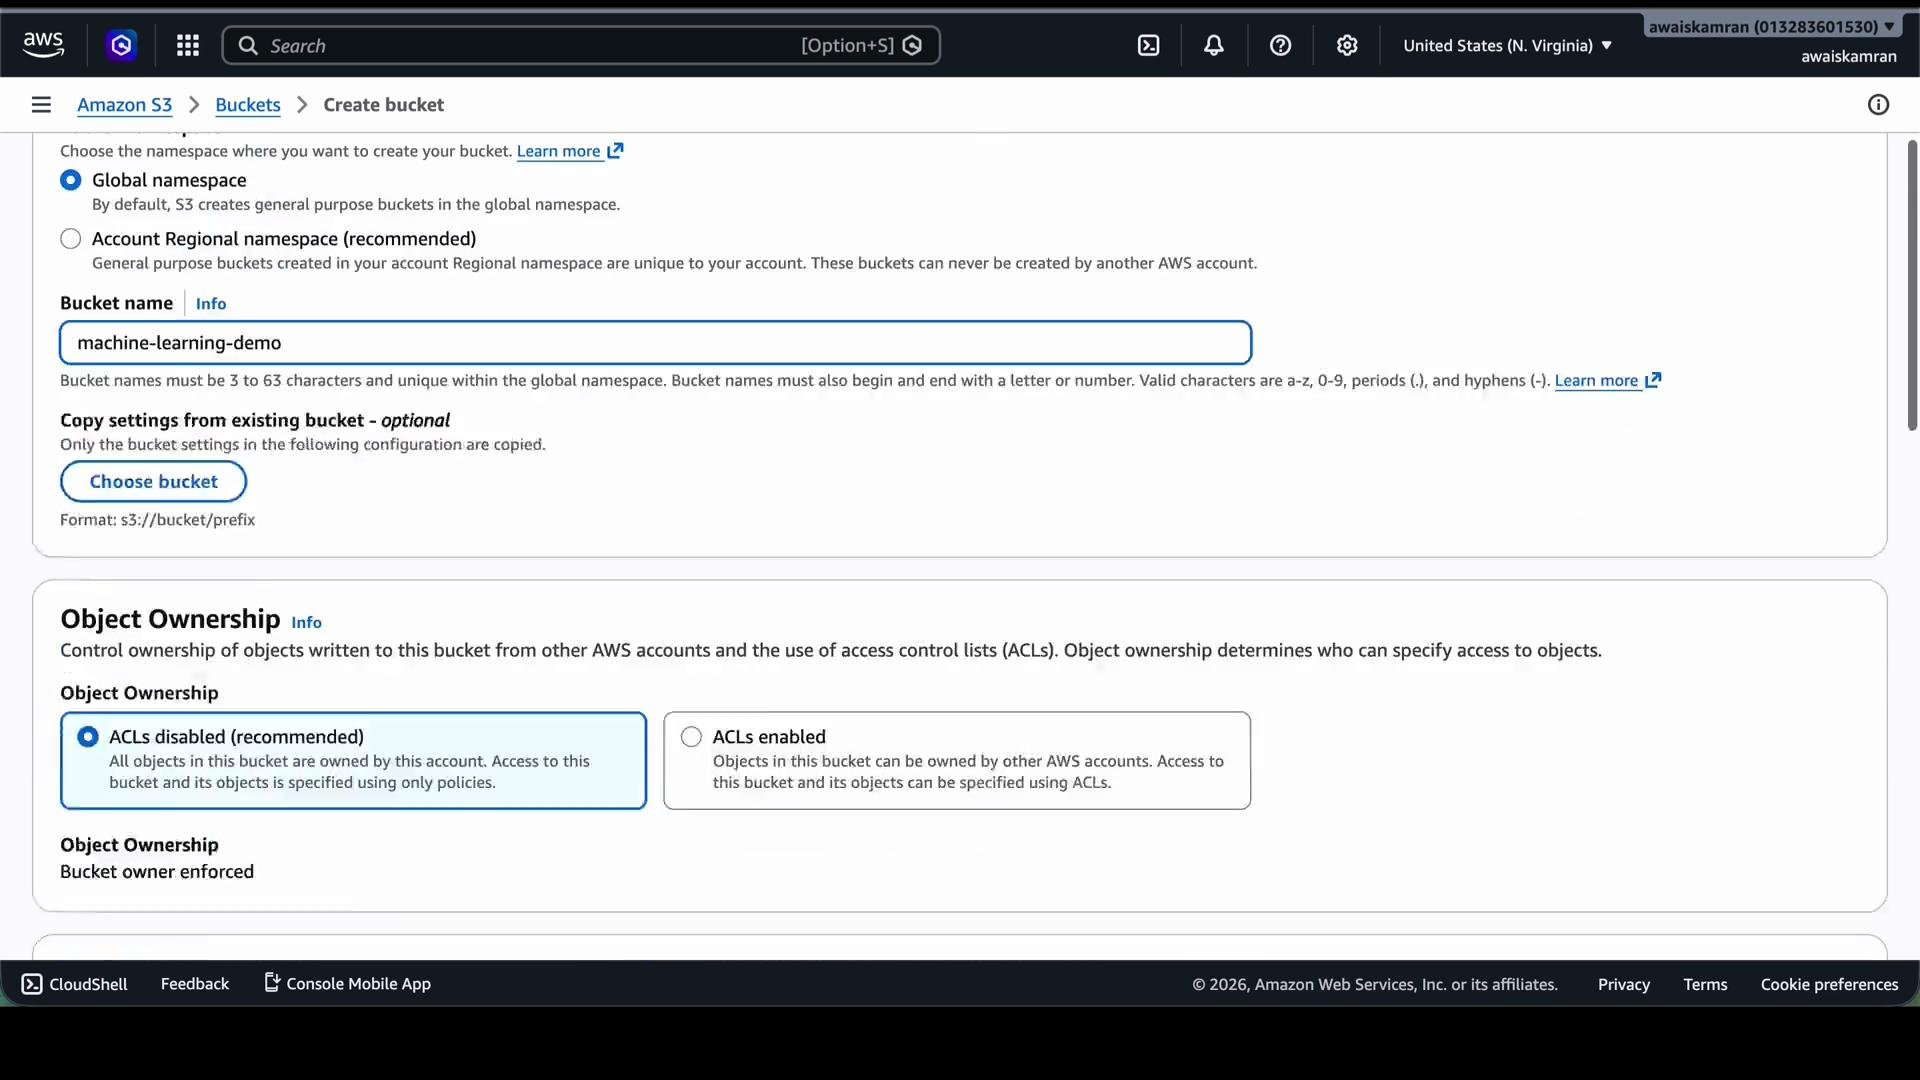
The image shows an AWS S3 console interface where a user is creating a bucket named "machine-learning-demo" with object ownership set to disable ACLs.
Block Public Access and encryption
  • Block Public Access: decide whether the bucket should allow public reads. For demos you might allow public reads, but never do this for sensitive or production data.
  • Encryption: enable server-side encryption (SSE-S3 or AWS KMS). SSE-S3 is fine for many cases; use KMS for stricter key control.
Disabling Block Public Access can make the bucket and its objects publicly readable. Only disable this for short-lived demos or non-sensitive data. For real projects, keep Block Public Access enabled and grant access via IAM, bucket policies, or pre-signed URLs.
After choosing settings, create the bucket. If the name already exists, pick a different one (for example, I appended my initials and created machine-learning-demo-ak). Once created, the bucket appears in the console and shows it contains no objects yet.
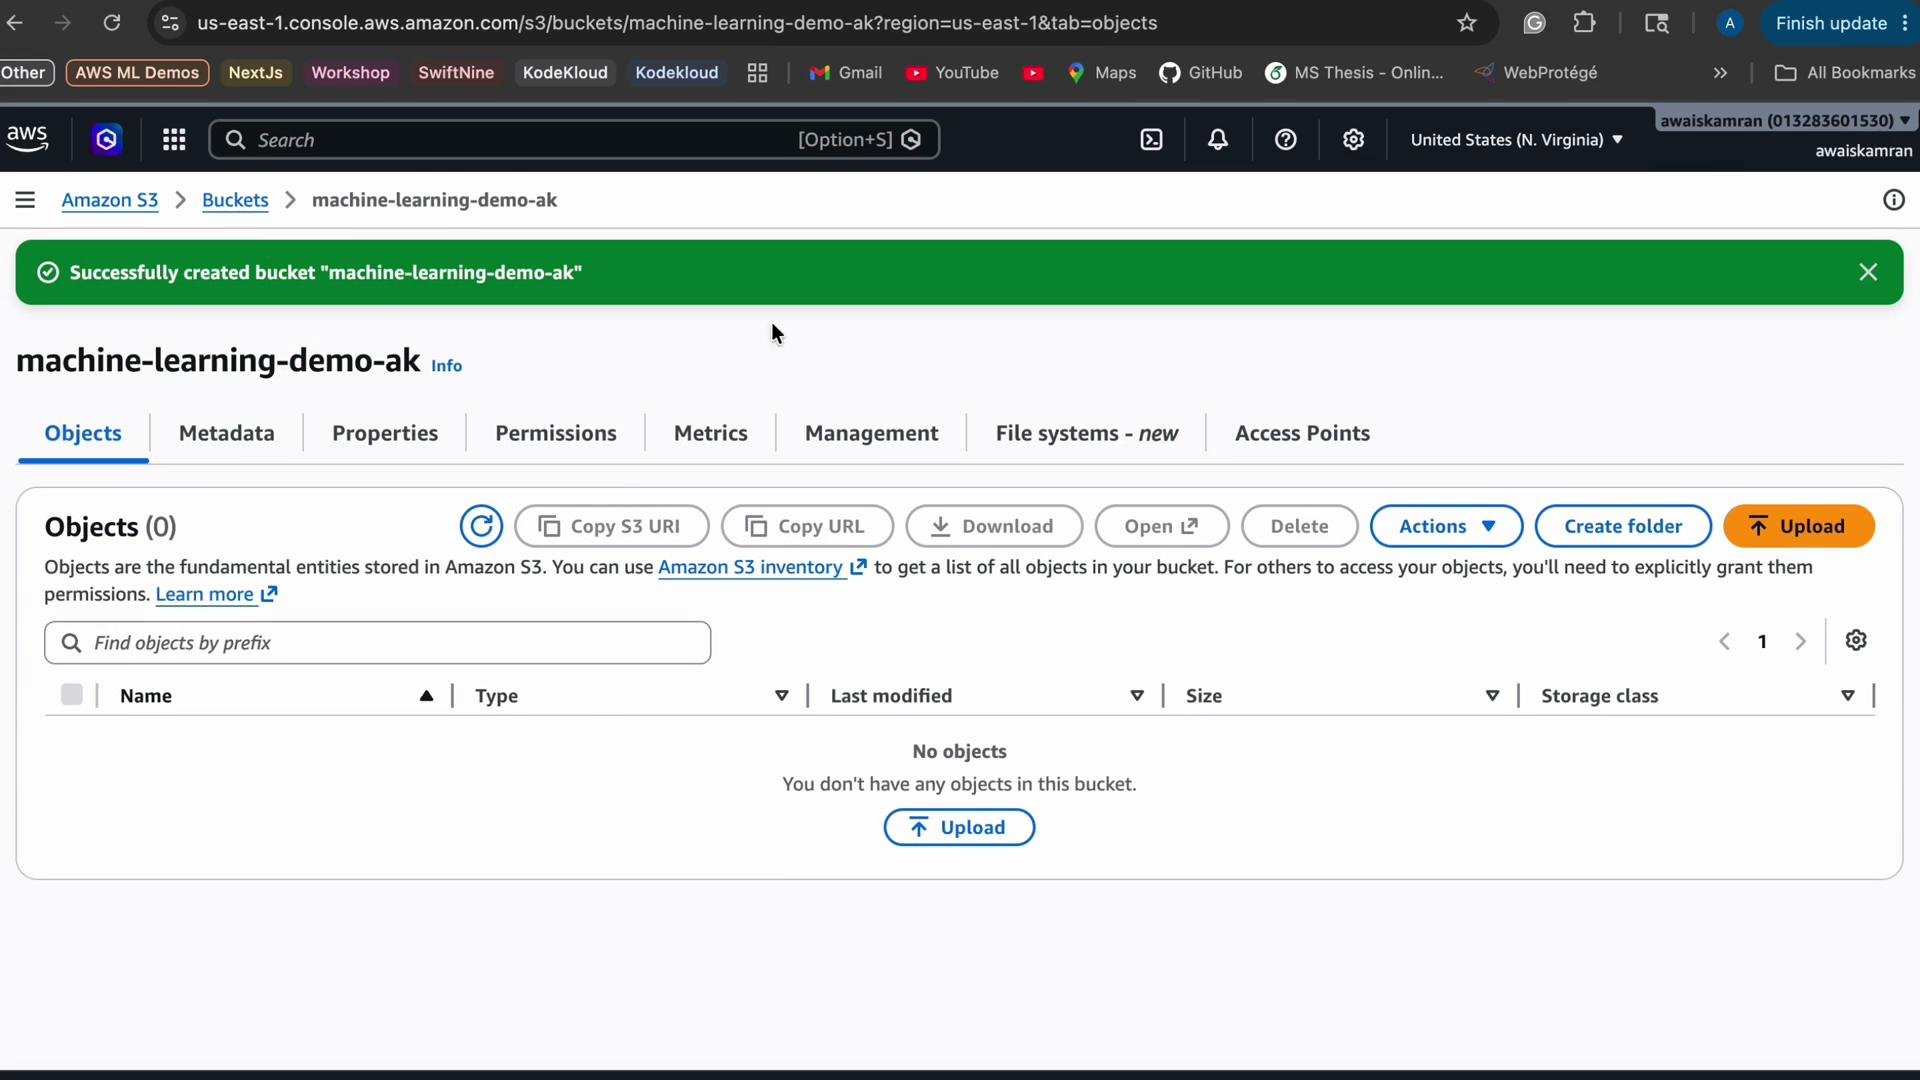
The image shows an Amazon S3 console with a newly created bucket named "machine-learning-demo-ak" which currently contains no objects. There are options to upload files, create folders, and various actions available.
Understanding S3 folders (prefixes) S3 uses object keys; “folders” are a UI convenience implemented as prefixes. Creating a folder simply creates a prefix for keys. For an ML pipeline, create prefixes to separate lifecycle stages and access patterns. Recommended prefix structure: Create raw-data/ and processed-data/ first and leave encryption as the bucket default. The console will show the newly-created folders.
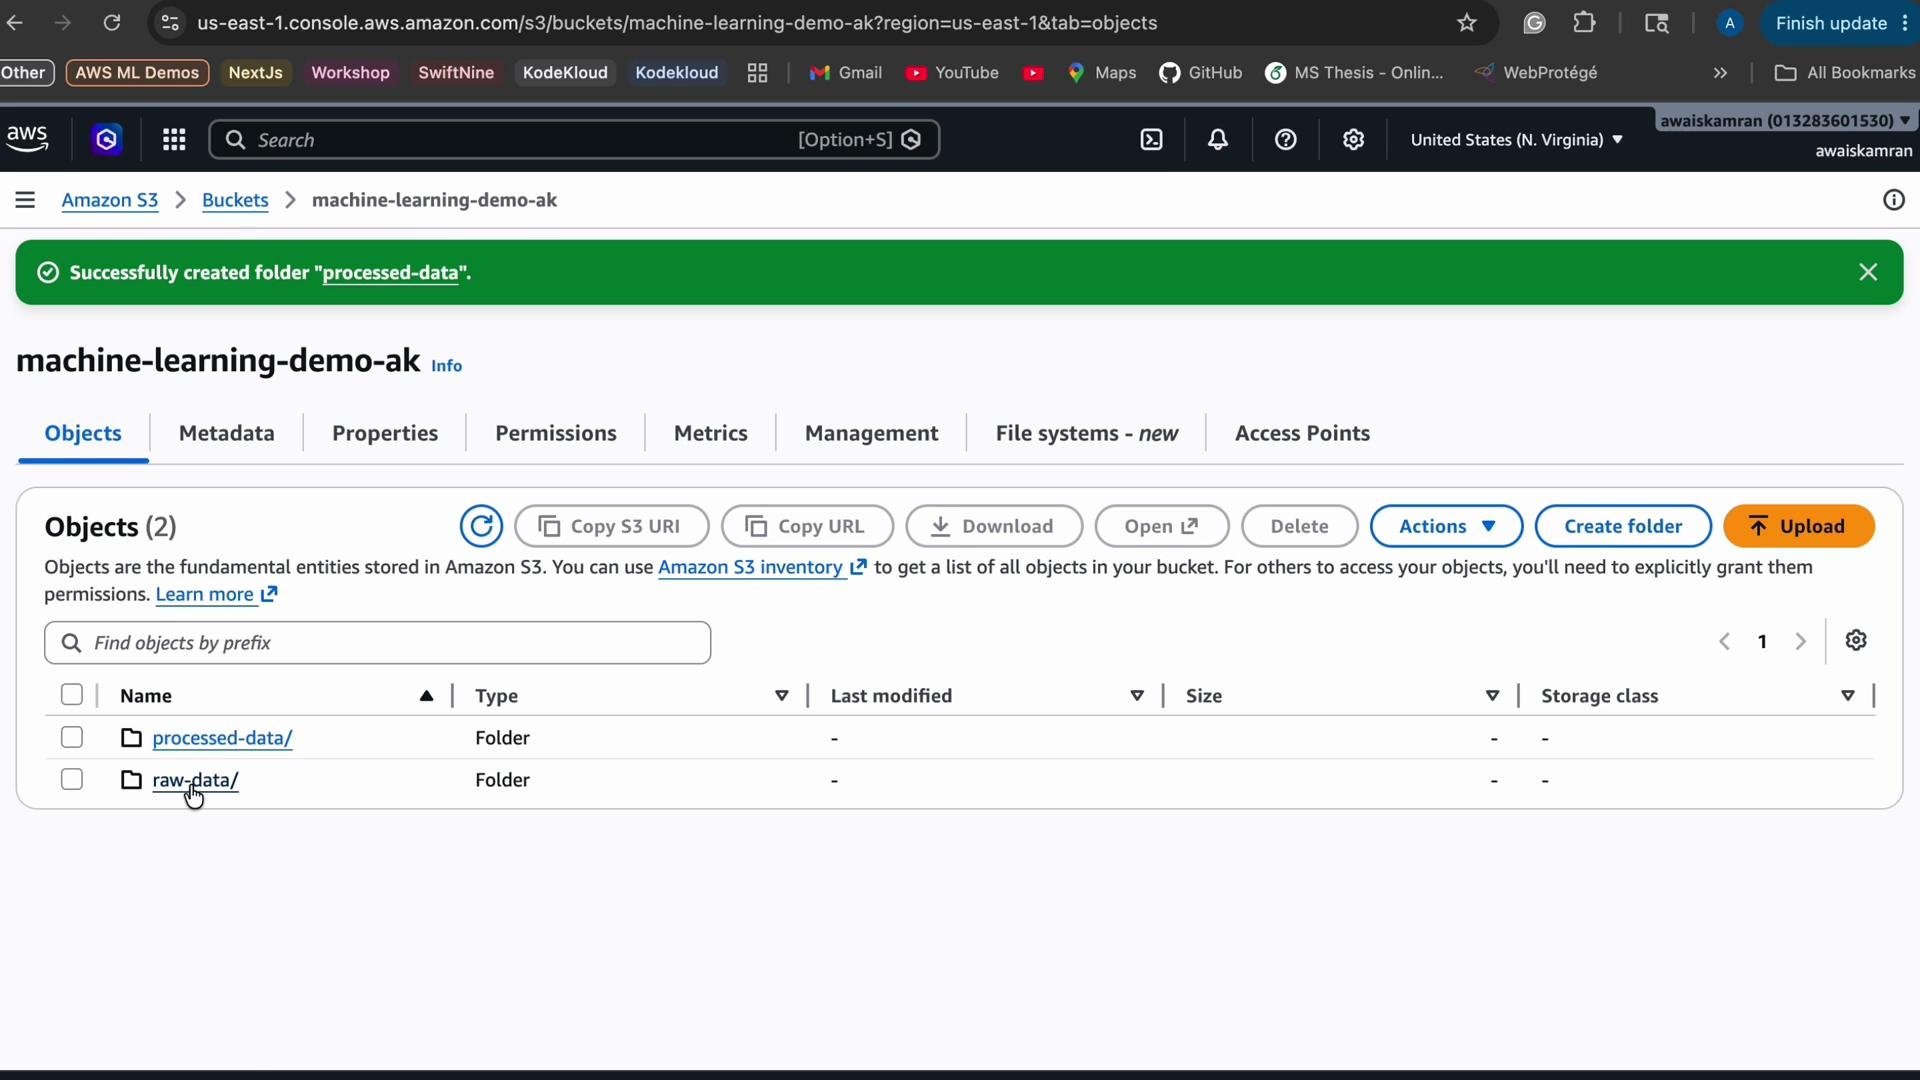
The image shows an Amazon S3 console displaying a bucket named "machine-learning-demo-ak" with two folders: "processed-data" and "raw-data." A notification indicates the successful creation of the "processed-data" folder.
Add the remaining prefixes: training-data/, predictions/, and models/. This simple layout maps directly to an ETL/ML lifecycle: ingest -> process -> prepare training features -> train and save models -> serve predictions. Upload a sample dataset For this demo I uploaded the Titanic dataset (commonly used for ML tutorials). Open the CSV locally to verify columns (Survived is 0/1, Pclass is passenger class, etc.). Here’s the CSV snippet I uploaded to raw-data/titanic.csv:
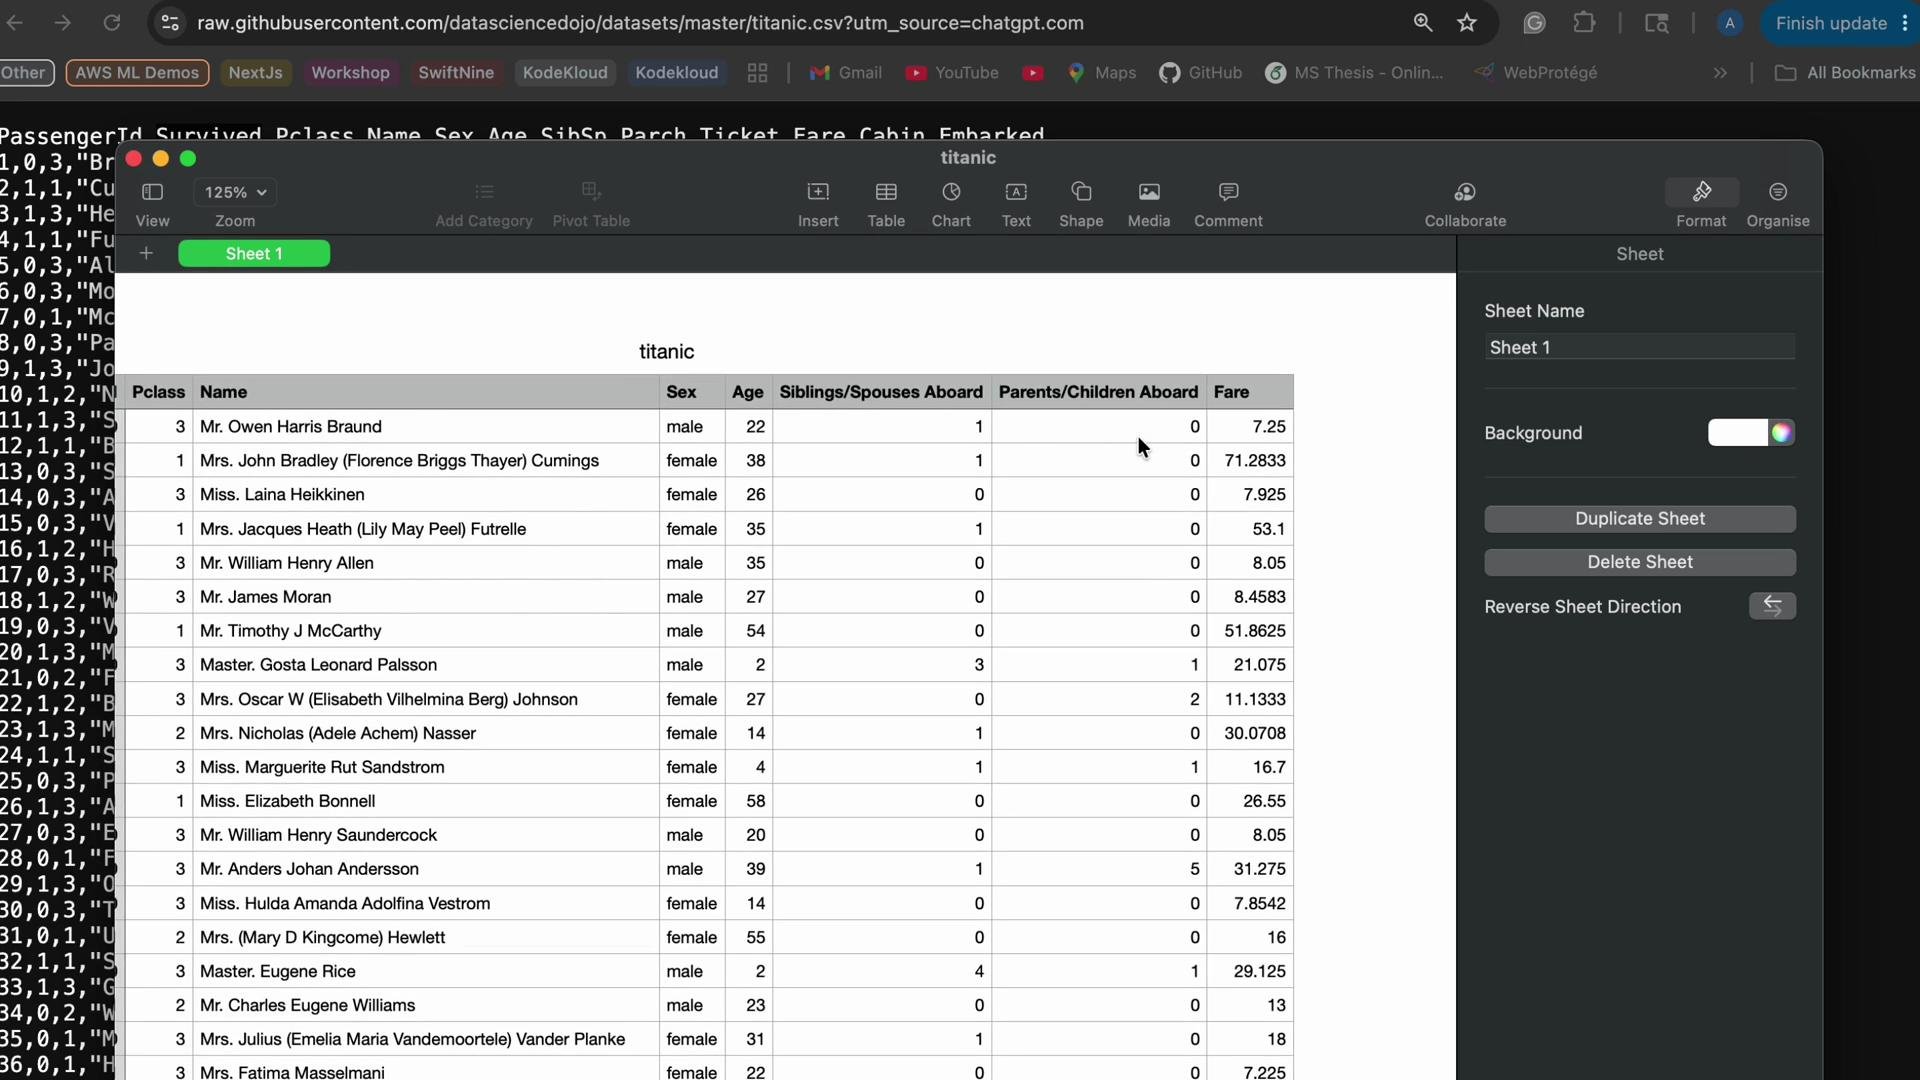
Verify the file locally (spreadsheet view or text editor) to confirm column names and types before uploading.
The image shows a spreadsheet containing data about Titanic passengers, including details like class, name, sex, age, family aboard, and fare.
Drag-and-drop the CSV into the raw-data/ prefix in the console. The upload completes and S3 displays upload metadata.
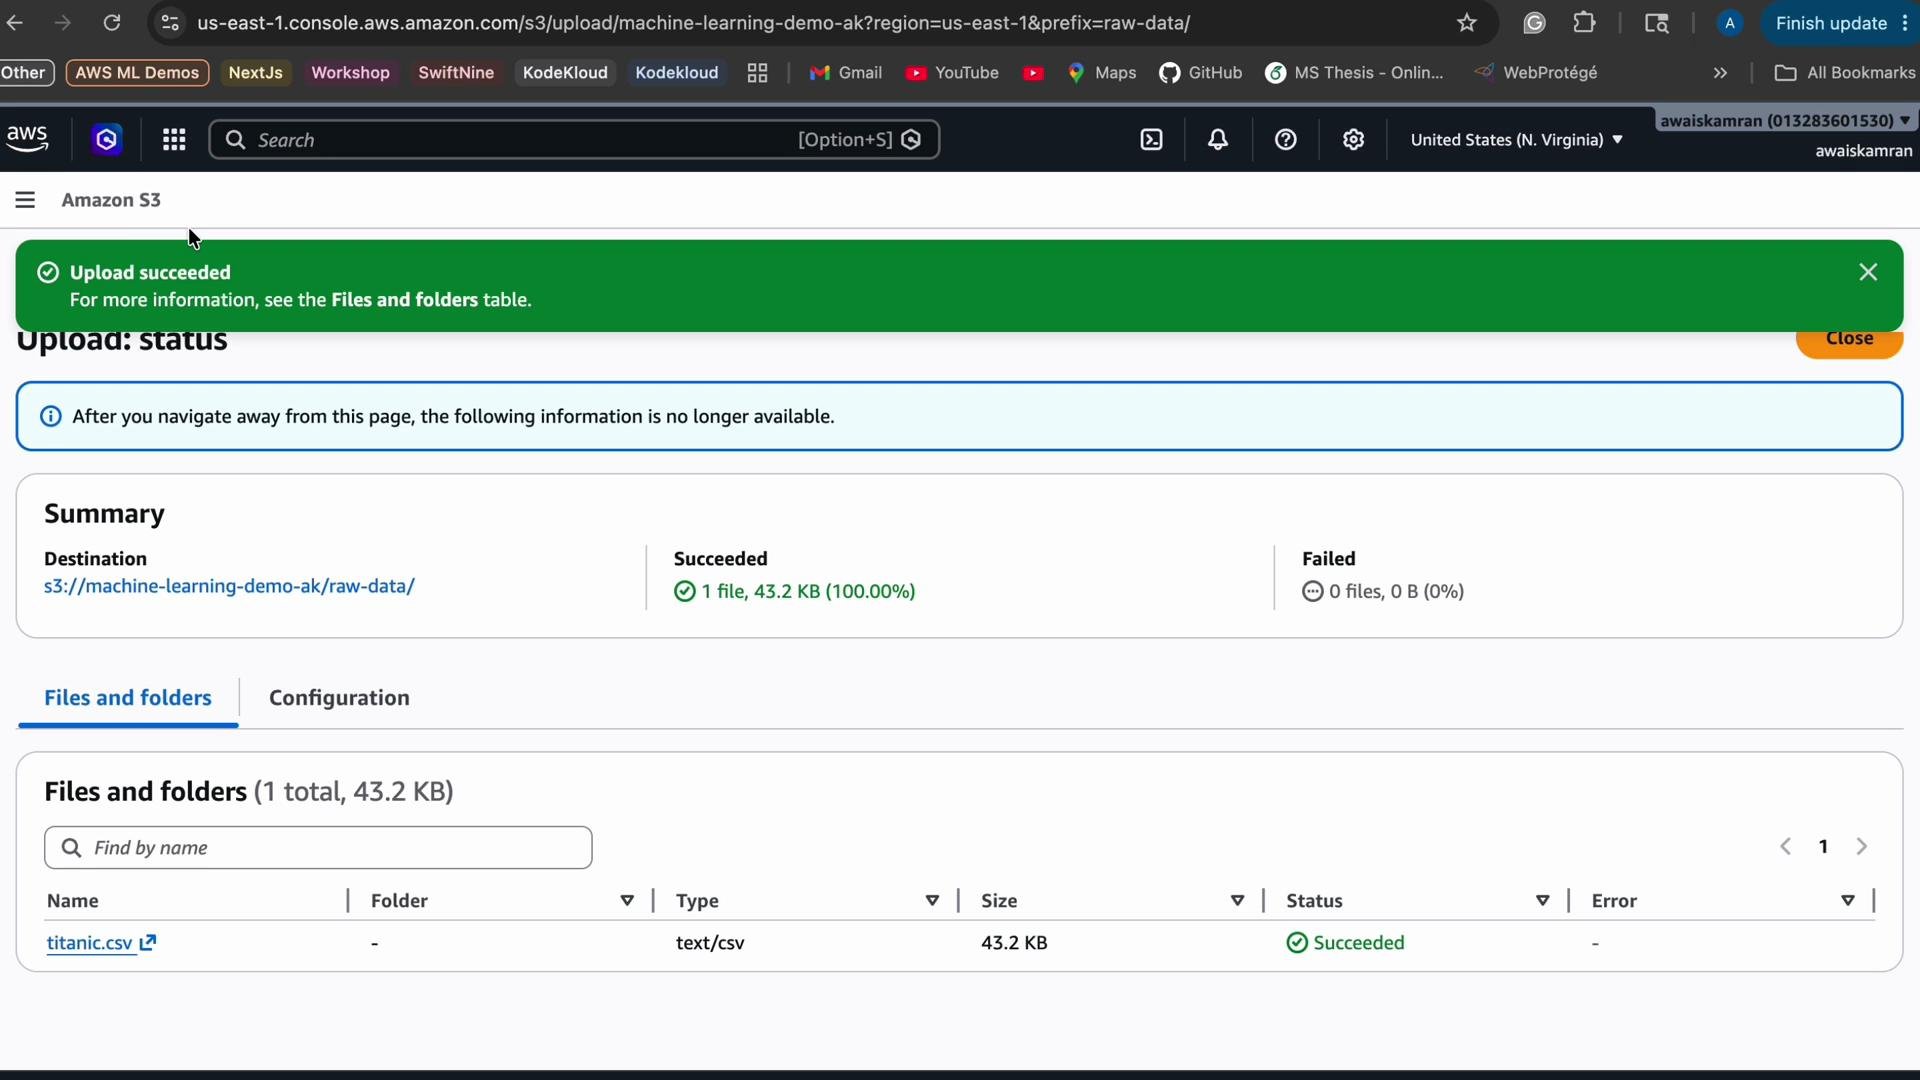
The image shows a successful file upload in the Amazon S3 console, detailing the upload of a file named "titanic.csv" with a size of 43.2 KB.
Referencing and ARNs
  • S3 URI for the uploaded object: s3://machine-learning-demo-ak/raw-data/titanic.csv
  • Bucket ARN: arn:aws:s3:::machine-learning-demo-ak
  • Object ARN: arn:aws:s3:::machine-learning-demo-ak/raw-data/titanic.csv
Enable Versioning for safe edits In the bucket Properties, you can enable Versioning. When enabled prior to overwrites, S3 preserves earlier object versions, allowing recovery of prior content. In this demo I edited the local CSV (modified a Fare value) and uploaded it to the same key; with versioning enabled the console shows multiple versions for titanic.csv. Note: if versioning is turned on after an initial upload, the pre-existing upload is the null (unversioned) version.
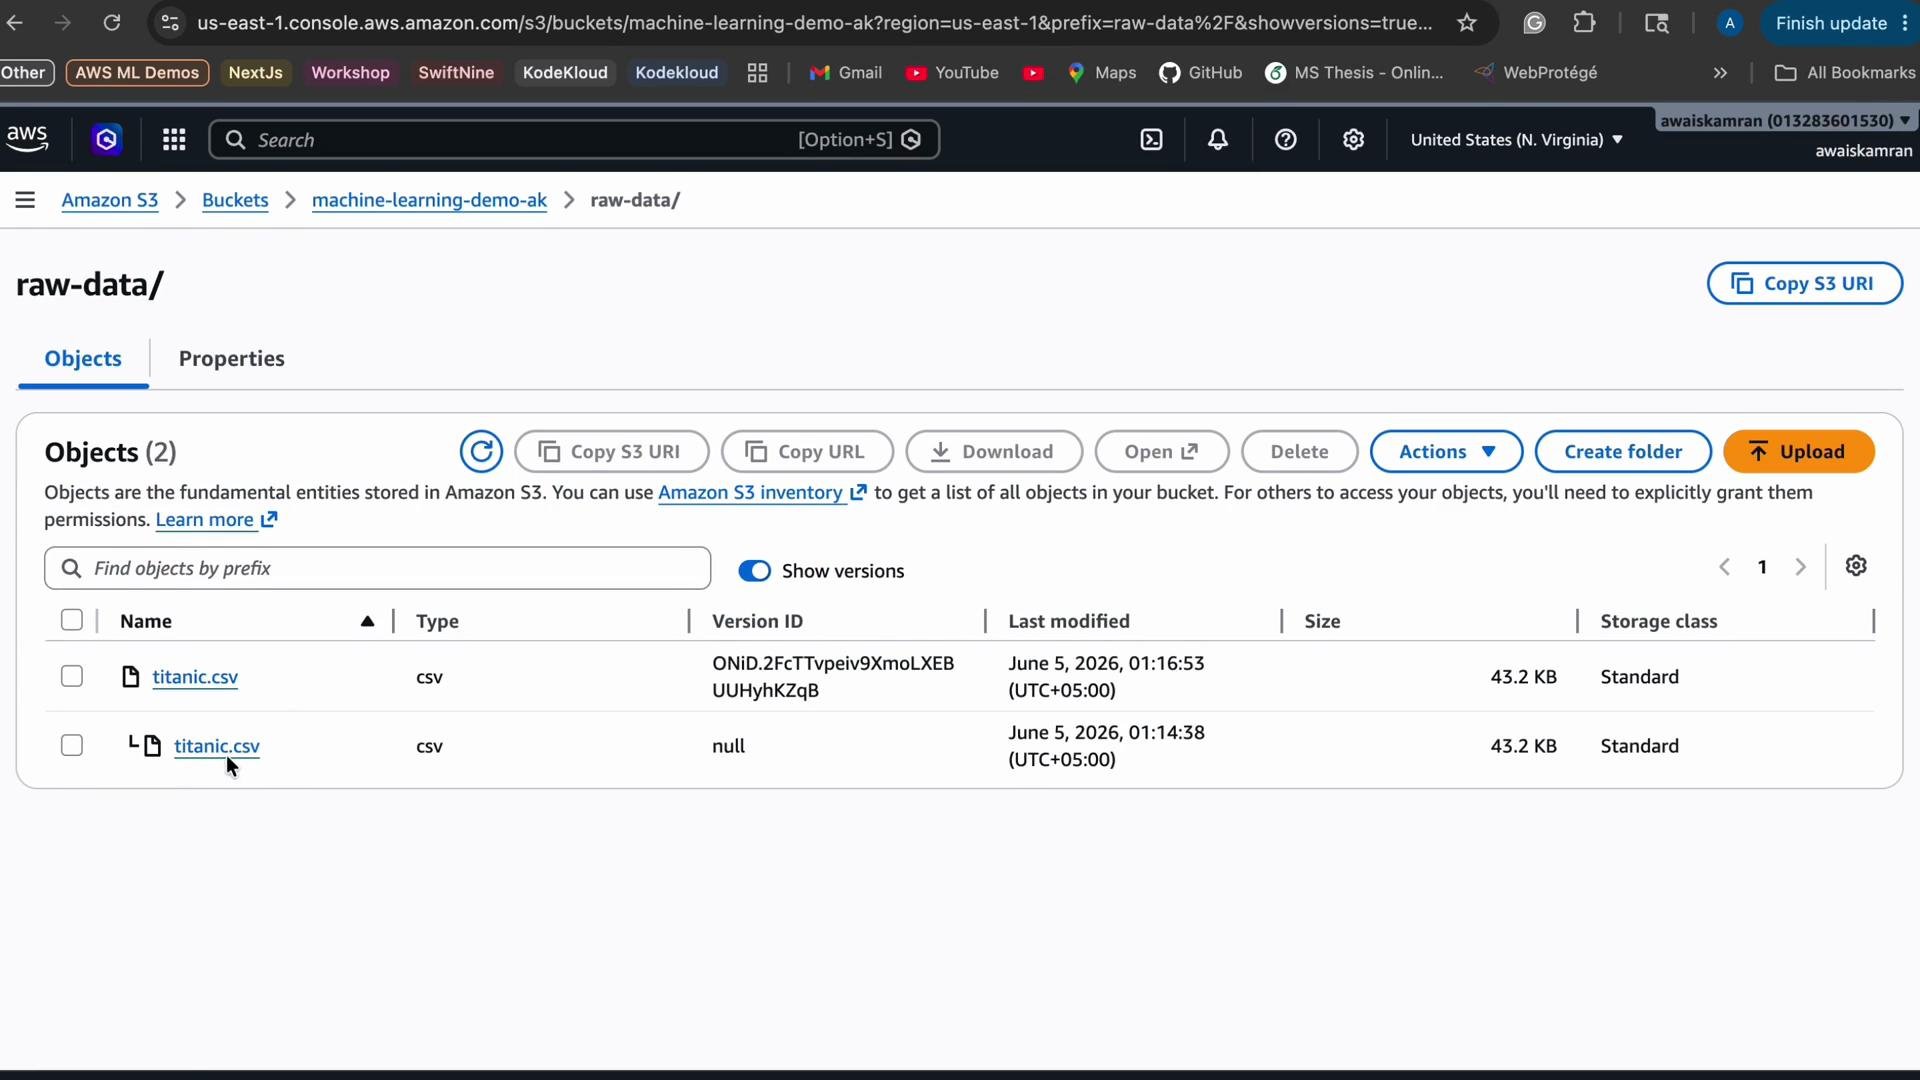
The image shows an Amazon S3 console interface displaying two versions of a file named "titanic.csv" in the "raw-data/" bucket, with details like size, date modified, and storage class.
Other properties to consider for ML data lakes:
  • Default encryption: SSE-S3 or AWS KMS for higher control.
  • Lifecycle rules / Intelligent-Tiering: automatically move infrequently accessed objects to cheaper storage tiers (e.g., Glacier) after a retention period.
  • Access control: use IAM roles, bucket policies, and pre-signed URLs for secure cross-service access.
This completes the basic S3 setup and organization for an ML data lake. With this foundation you can build preprocessing pipelines that read from raw-data/, write intermediate outputs to processed-data/, emit training sets into training-data/, save models to models/, and store predictions in predictions/. Future guides will show how to integrate these prefixes with AWS Glue, Amazon SageMaker, and CI/CD pipelines. Links and references

Watch Video