

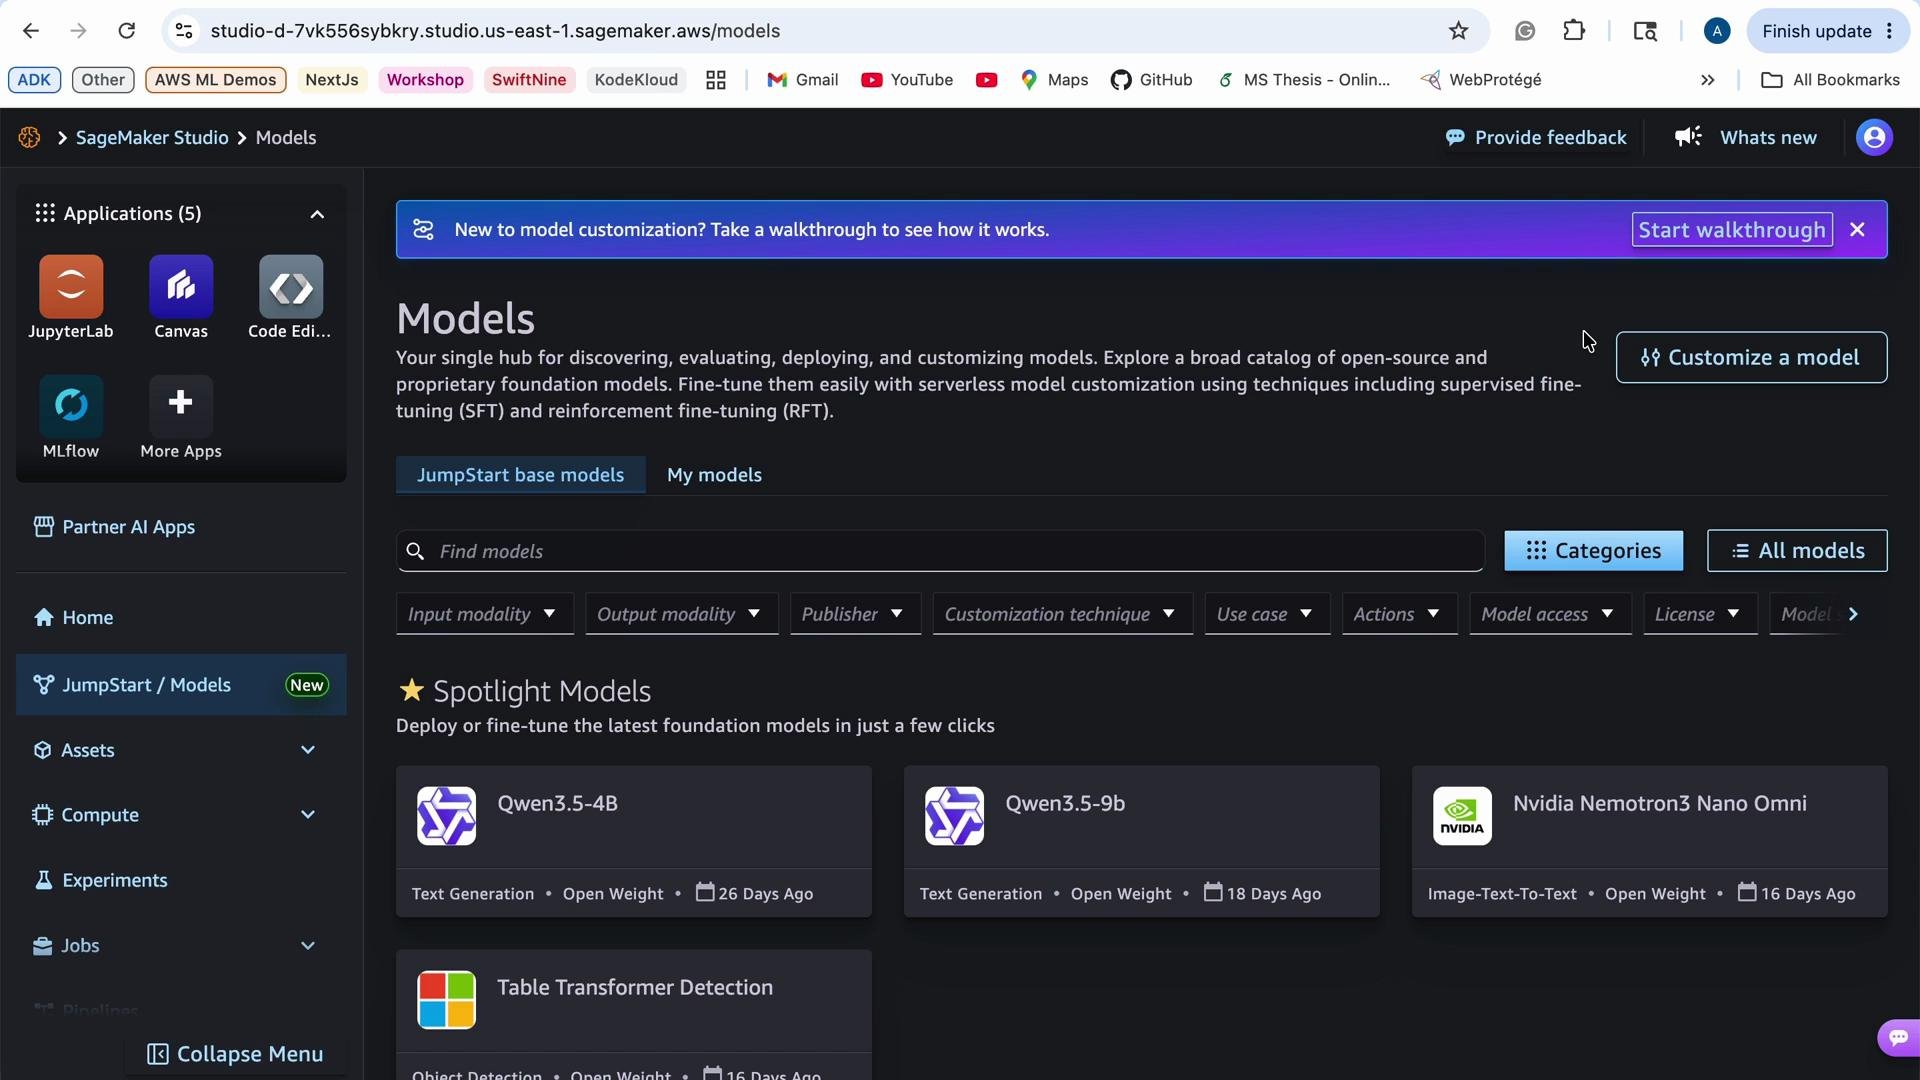
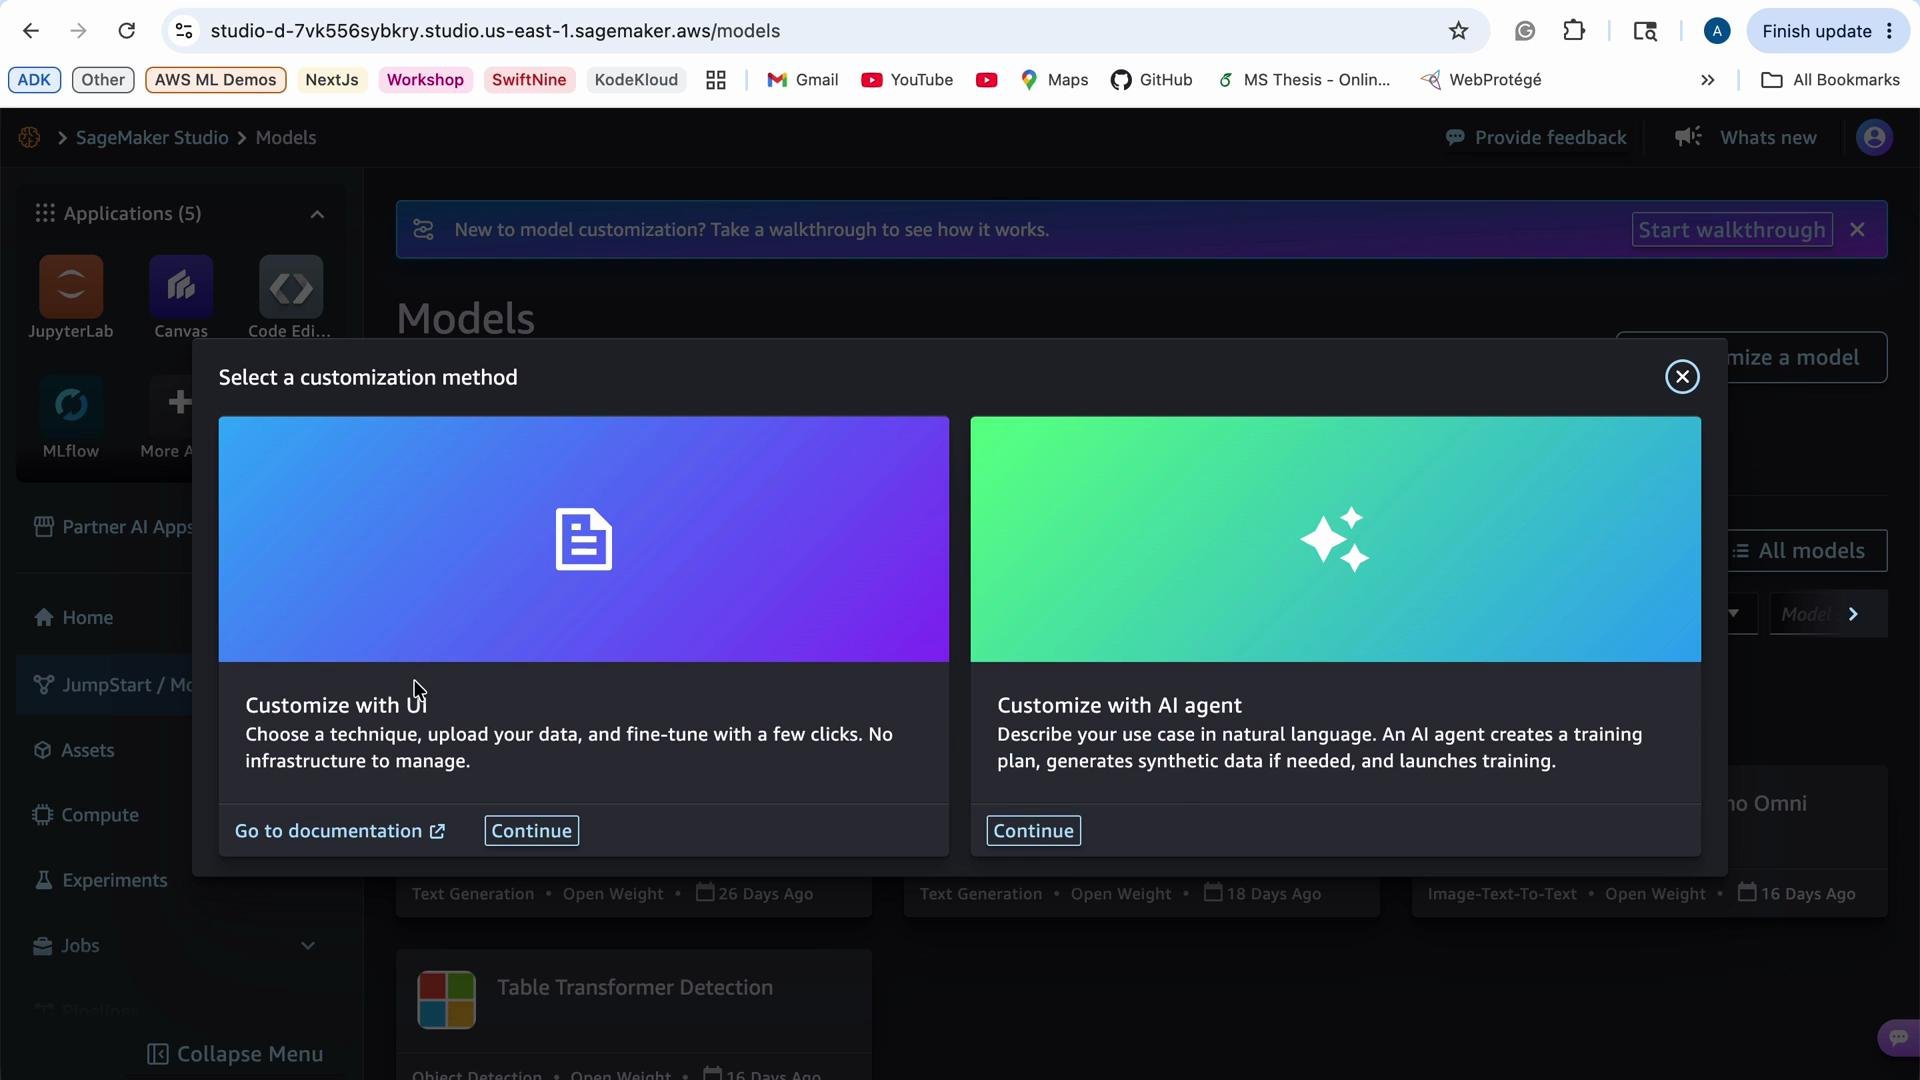
- Customize with the UI: follow a guided, point-and-click flow to select a technique, upload your dataset, configure hyperparameters, and run fine-tuning or evaluation jobs.
- Customize with an AI agent: use conversational prompts and agent recommendations to automate common steps and accelerate iteration.
- The endpoint name — the SageMaker real-time endpoint that clients call for inference (e.g.,
my-model-endpoint). - The compute backing the endpoint — the instance type and initial instance count that host the model.
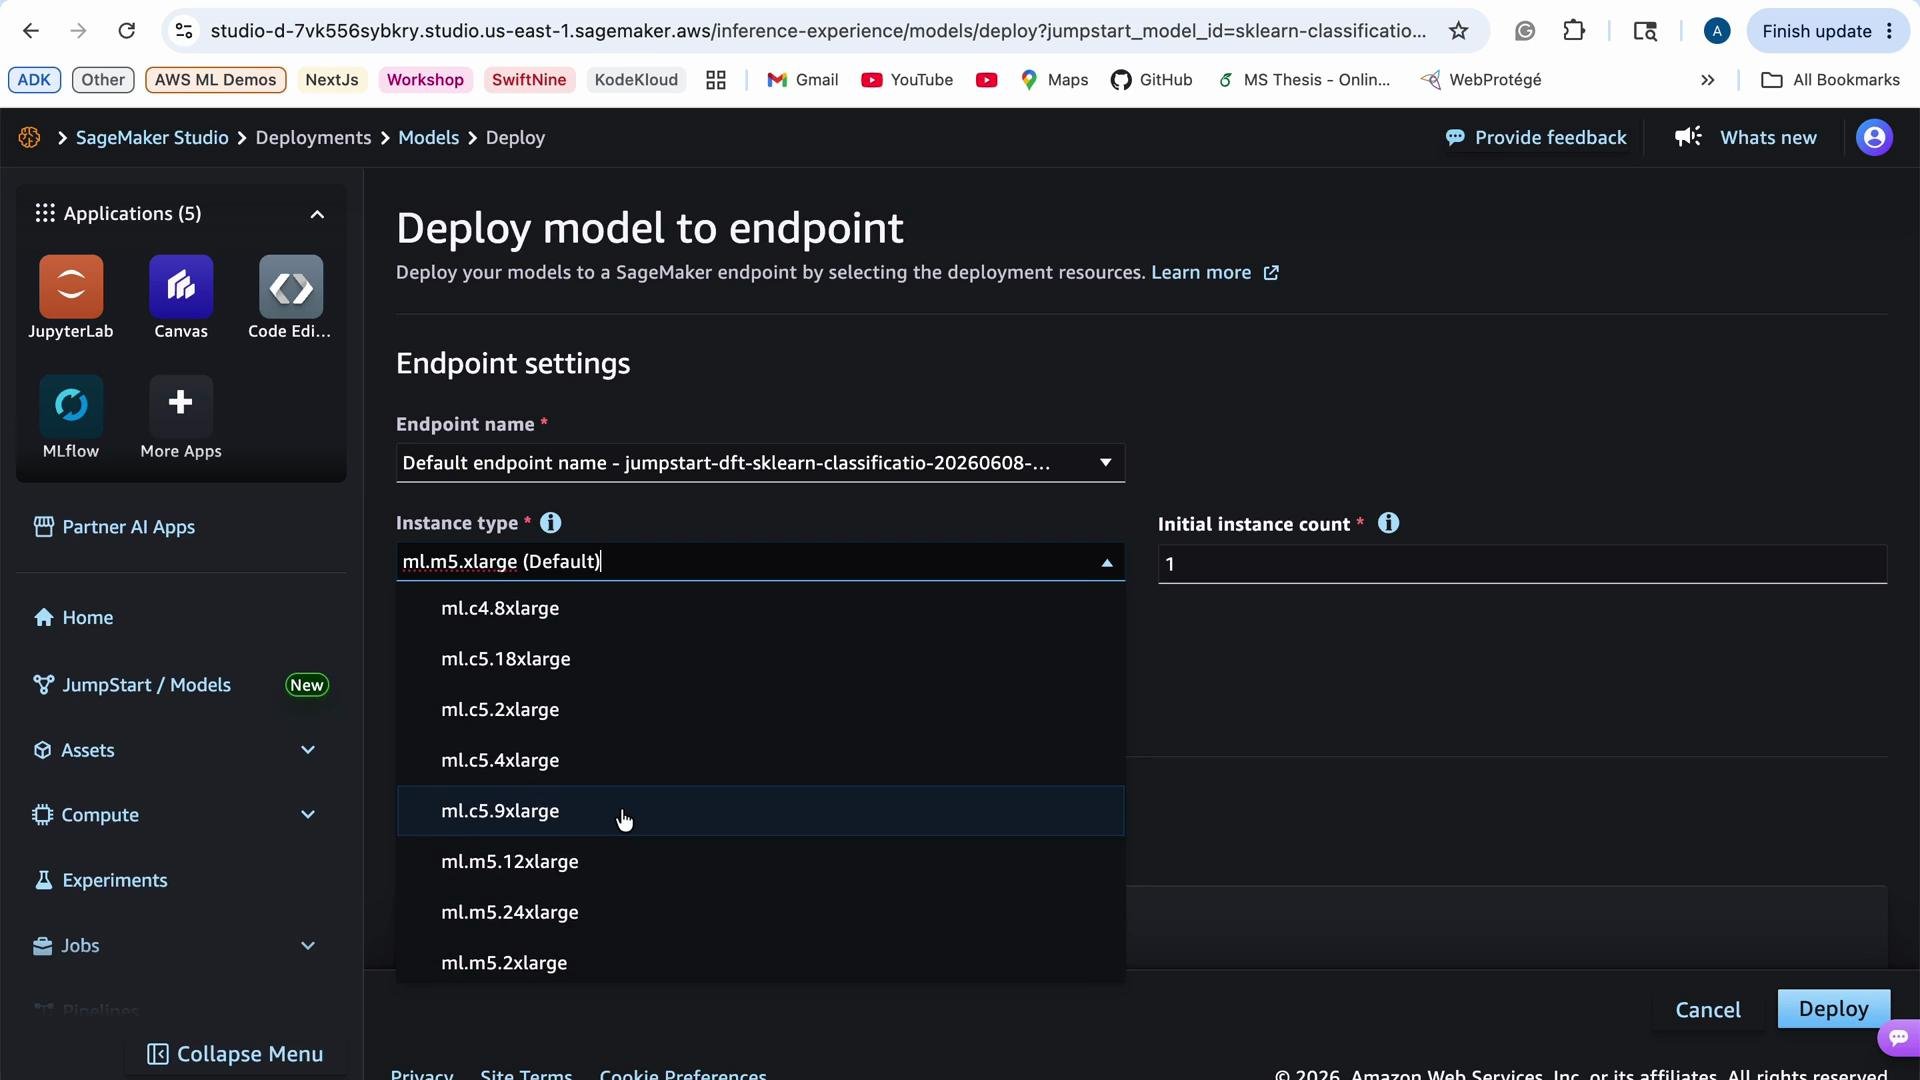
For the most up-to-date instance family options and region pricing, see the SageMaker instance types documentation: https://docs.aws.amazon.com/sagemaker/latest/dg/instance-types.html
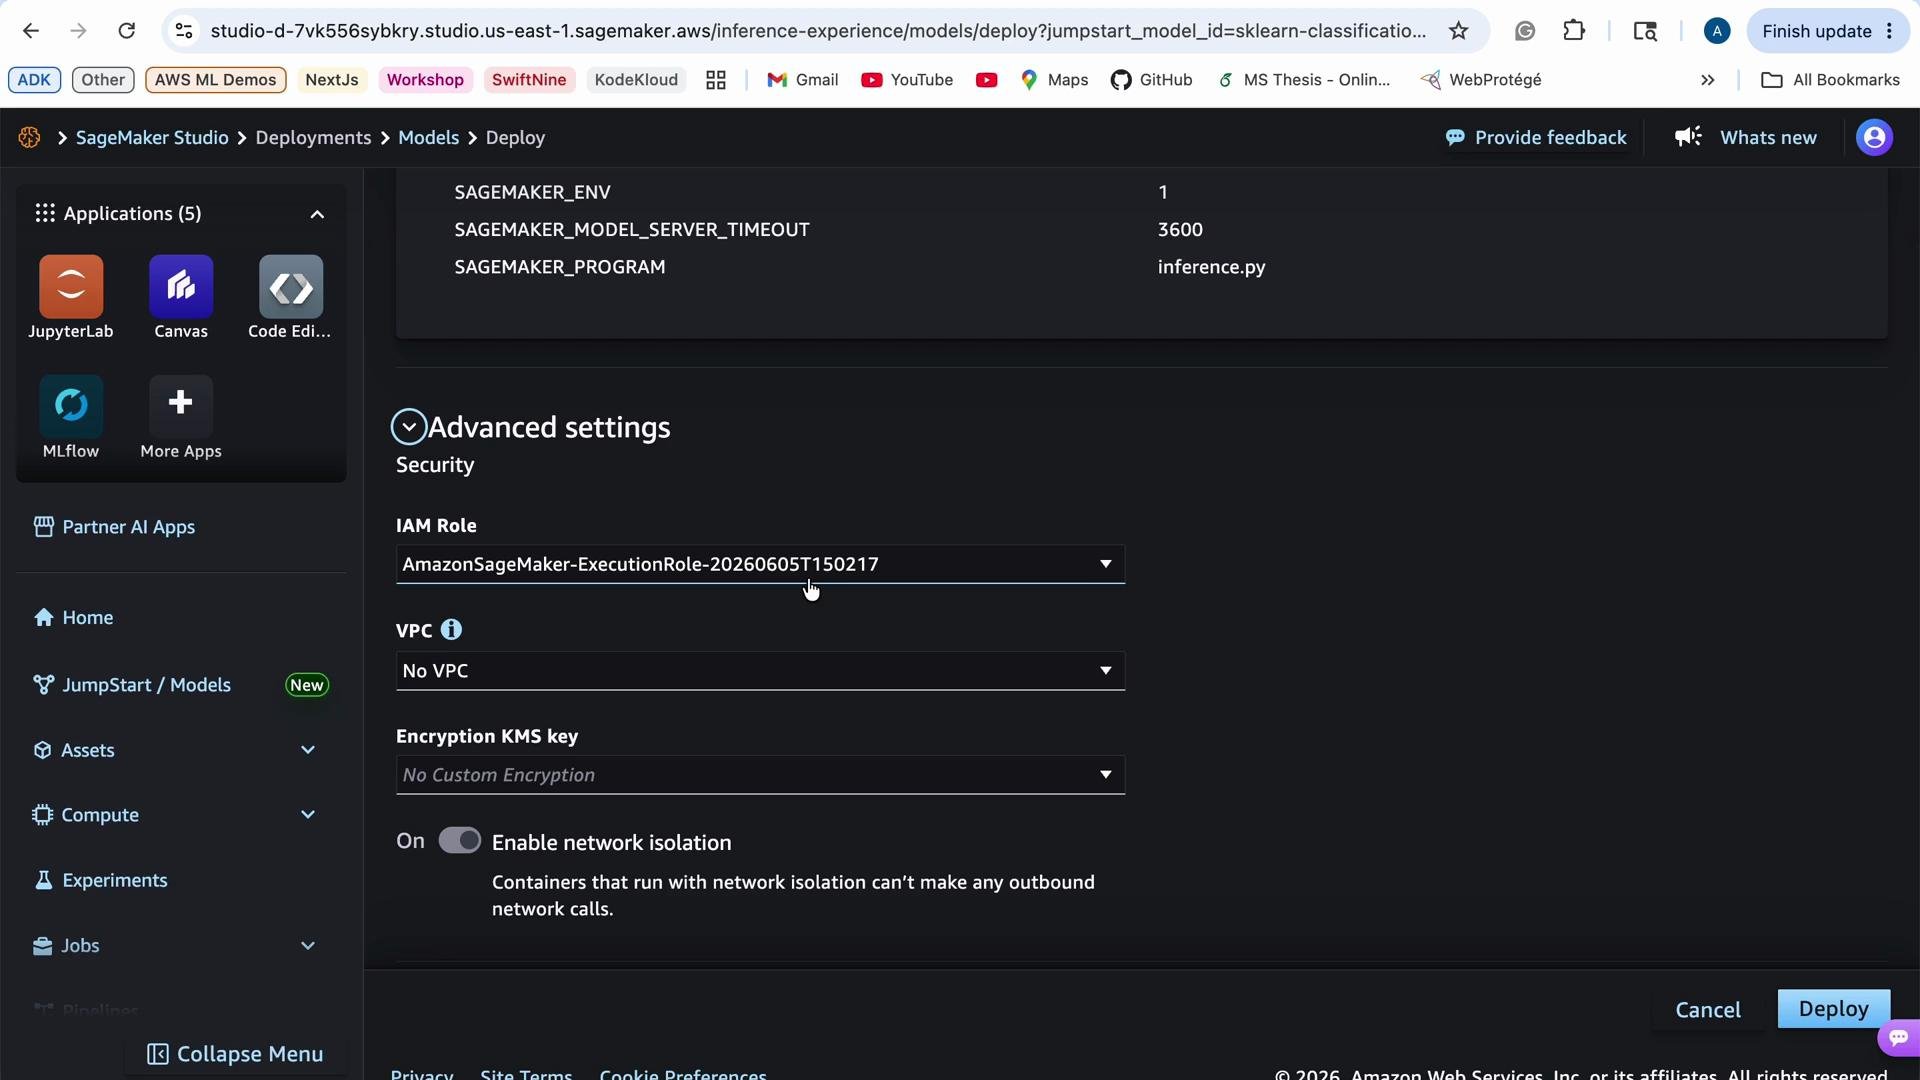
You can also review and adjust additional deployment settings such as the execution IAM role, VPC/networking, and environment variables. SageMaker Studio provides a default execution role; however, if your workflow needs to read training data or save artifacts to S3, ensure the role grants the necessary Amazon S3 permissions.
- Decide an endpoint name (
my-model-endpoint). - Select instance type(s) and initial replica count.
- Confirm the execution role has S3 access (for data/model artifacts).
- Configure VPC and networking if you require private access.
- Review costs for chosen instance types and replica counts.
- Select the model and click Deploy.
- Enter an endpoint name, choose instance type and count.
- Verify IAM role and networking settings.
- Click Deploy — SageMaker will provision the endpoint and start serving after deployment is complete.
Tip: Update the execution role to include
s3:GetObject / s3:PutObject if you plan to import datasets, save checkpoints, or store evaluation outputs in S3.Warning: Real-time endpoints (especially with larger instances or multiple replicas) incur ongoing hourly charges. Delete endpoints when they are no longer needed to avoid unexpected costs.
Links and References
- Amazon SageMaker JumpStart documentation: https://docs.aws.amazon.com/sagemaker/latest/dg/studio-jumpstart.html
- Amazon SageMaker Studio overview: https://docs.aws.amazon.com/sagemaker/latest/dg/studio.html
- SageMaker instance types: https://docs.aws.amazon.com/sagemaker/latest/dg/instance-types.html
- Amazon S3: https://aws.amazon.com/s3/