


- Choose the model and instance type
- Select the model you previously created in SageMaker. This model will be hosted by the transform job for batch inference.
- Choose an instance type that balances throughput and cost. Instance selection has a direct impact on job runtime and hourly cost.
- If your model needs GPU acceleration, select a GPU instance family (for example,
ml.g4dn.*orml.p3.*). For CPU inference, pick anml.m5.*or similar instance.
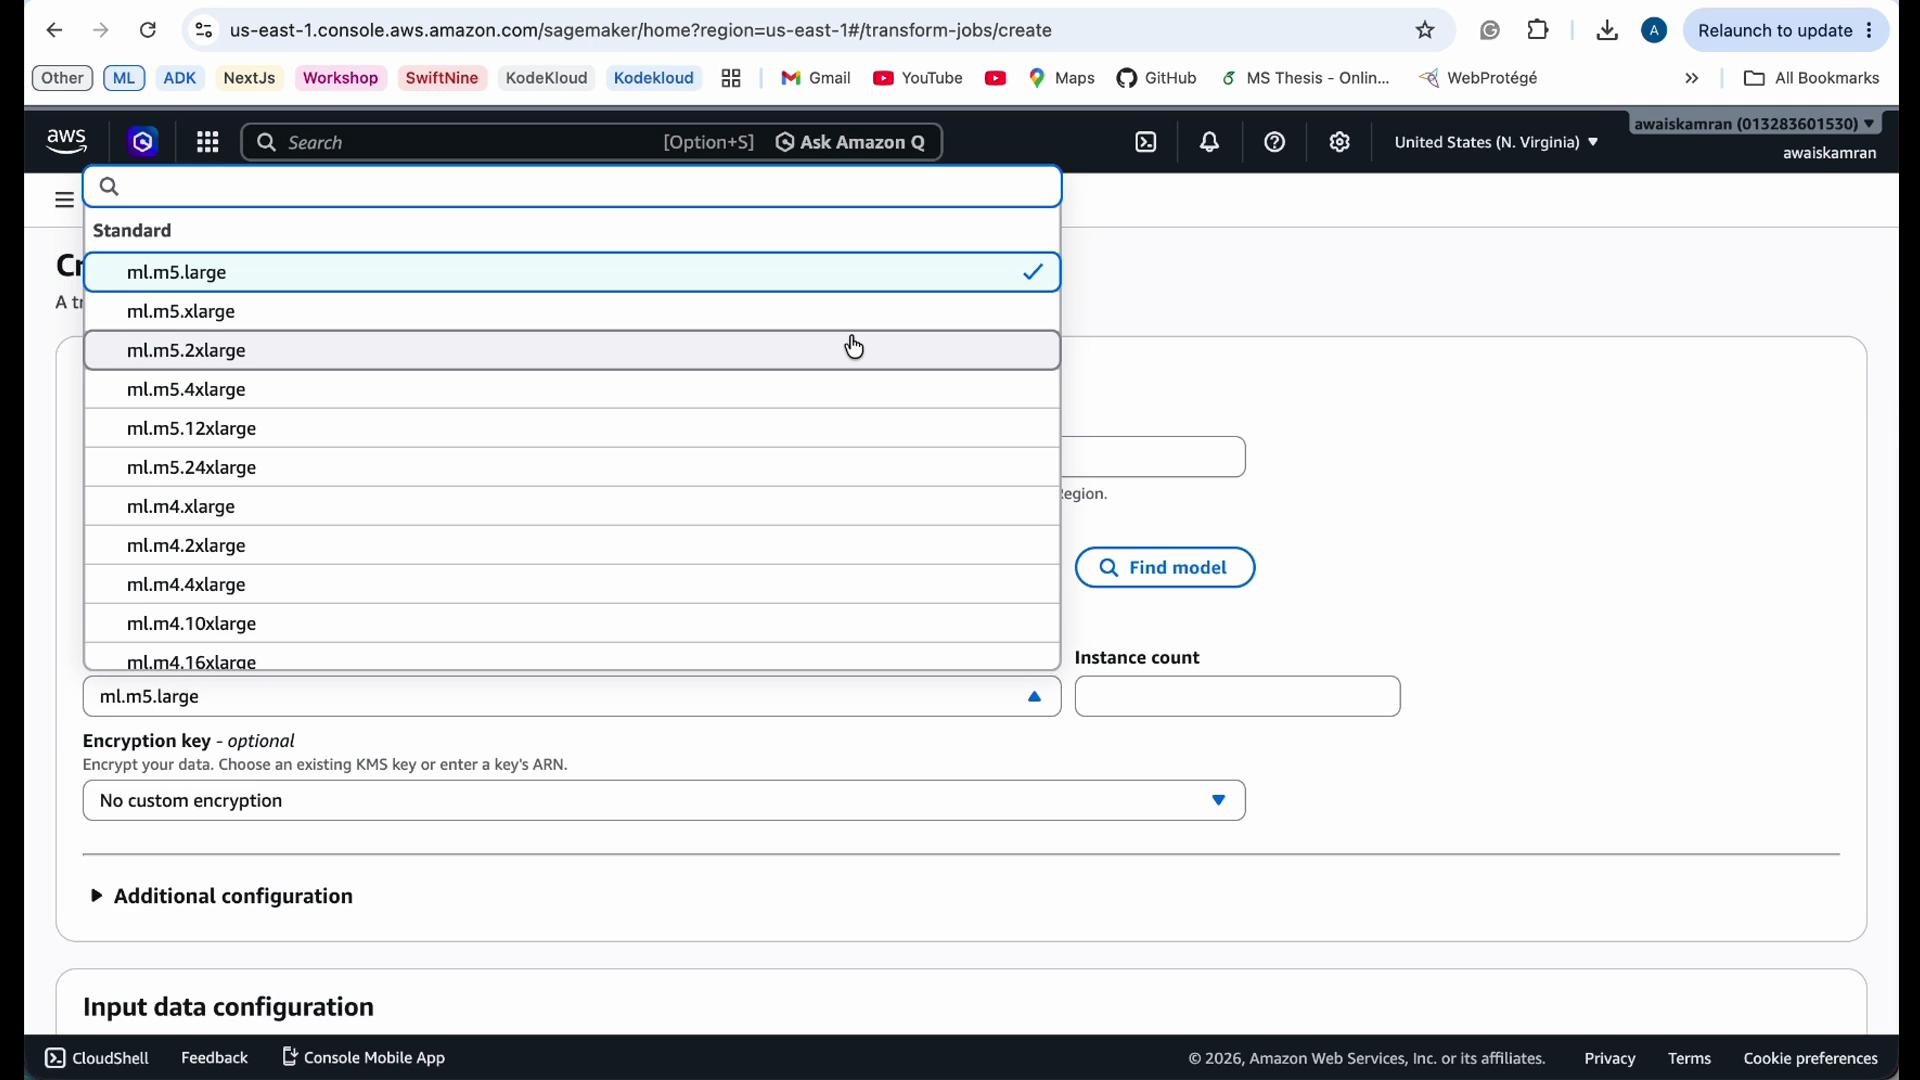
Instance sizing example:
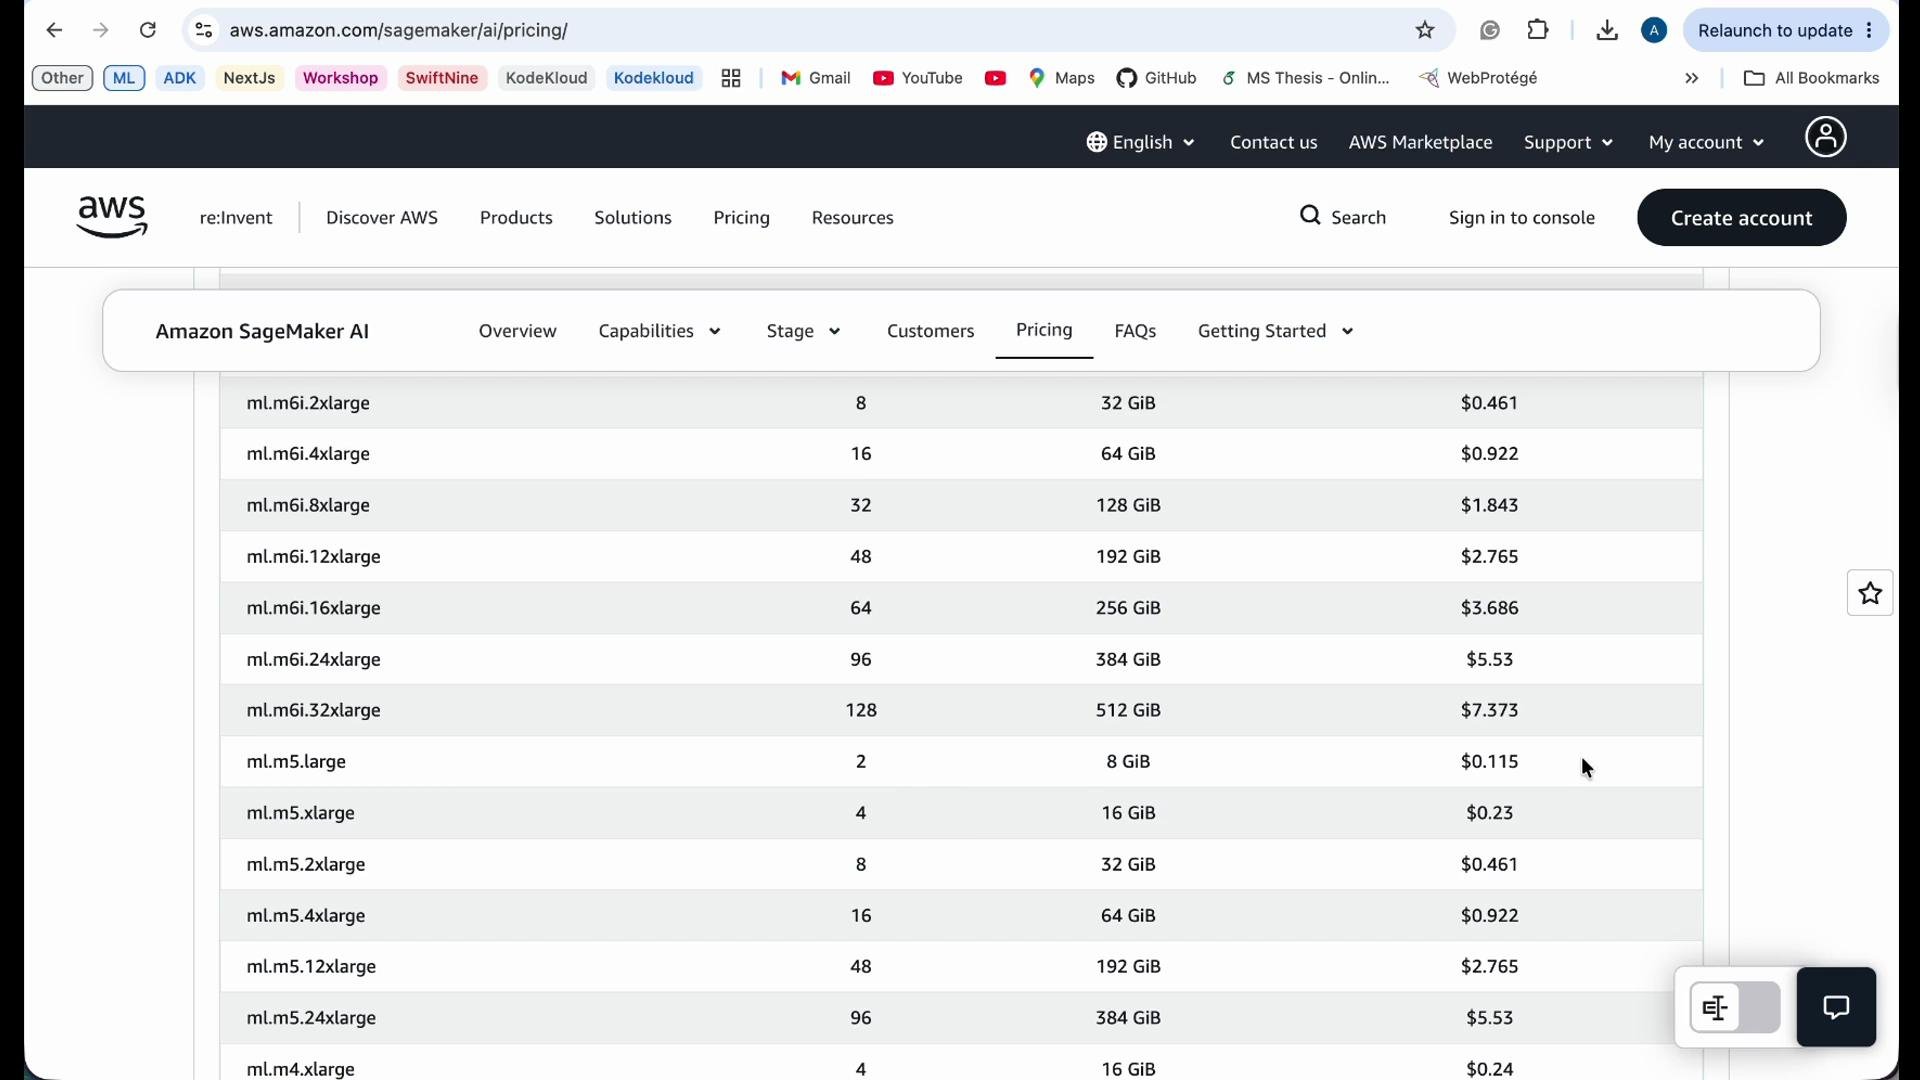
ml.m5.xlarge provides 4 vCPUs and 16 GiB memory, while ml.m5.large provides 2 vCPUs and 8 GiB memory. Pricing varies by region; always confirm current costs on the SageMaker pricing page before launching jobs.- Review instance specifications and pricing
- Verify vCPU, memory, and estimated hourly price for the instance class you selected.
- Choose the smallest instance or smallest cluster of instances that meets your performance goals to reduce costs.
- Consider parallelism: using multiple instances or larger instances may finish jobs faster but can increase total cost if not optimized.
- Configure input data (S3)
- Batch Transform reads input objects from S3. Configure the following fields:
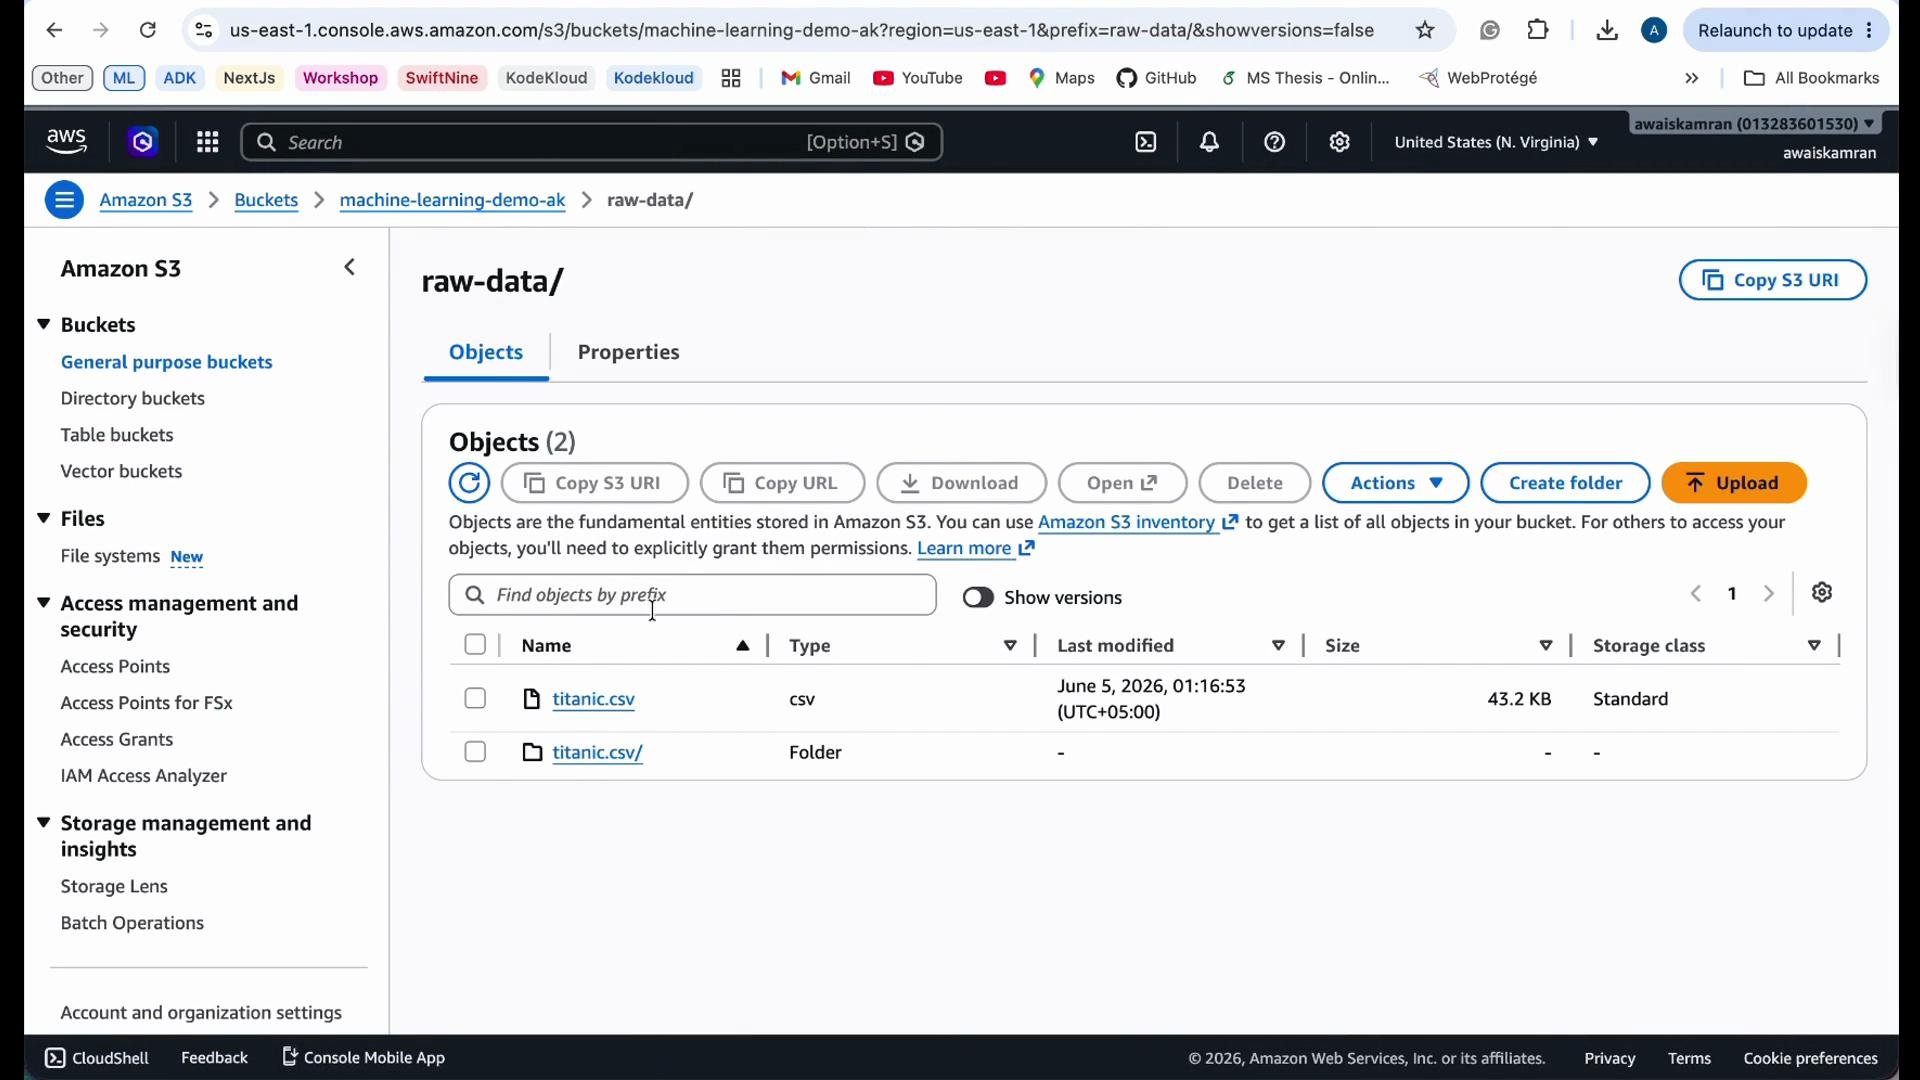
- S3 input URI: the S3 path or prefix containing your input files (for example,
s3://your-bucket/raw-data/titanic.csv). - Split type: determines how SageMaker splits input files into invocation payloads. Use
Linefor typical CSVs where each line is one record; useNoneif the model expects the entire file as a single payload. - Compression: set to
Noneunless your files are compressed. - Content type: set to
text/csv,application/jsonlines, etc., to match your model input formatter.
- S3 input URI: the S3 path or prefix containing your input files (for example,
- Example: if your Titanic dataset is in S3, copy the input URI such as
s3://.../raw-data/titanic.csvand paste it into the input location field.
- Use one record per line (
Line) for large CSVs so records are processed independently. - Partition large datasets into multiple objects to allow parallel processing by multiple instances.
- Configure output location
- Set an S3 output prefix where Batch Transform writes predictions (for example,
s3://your-bucket/predictions/ors3://your-bucket/processed/). - Use separate prefixes for intermediate/processed output and final predictions to keep raw and derived data organized.
- Additional configuration options
- Accept header: request a particular response content type for output (for example,
application/jsonlines). - Logging & buckets: optionally specify alternate buckets or prefixes for logs and job outputs.
- Input/Output filters and JoinSource:
- Use input/output filters when you need to transform or filter record fields before sending to the model or after receiving predictions.
- Use
JoinSourceto include input record fields alongside the model’s prediction in the final output if you want joined results.
- If your data is already clean and self-contained, these optional settings can usually be left unset.
- Launch and monitor
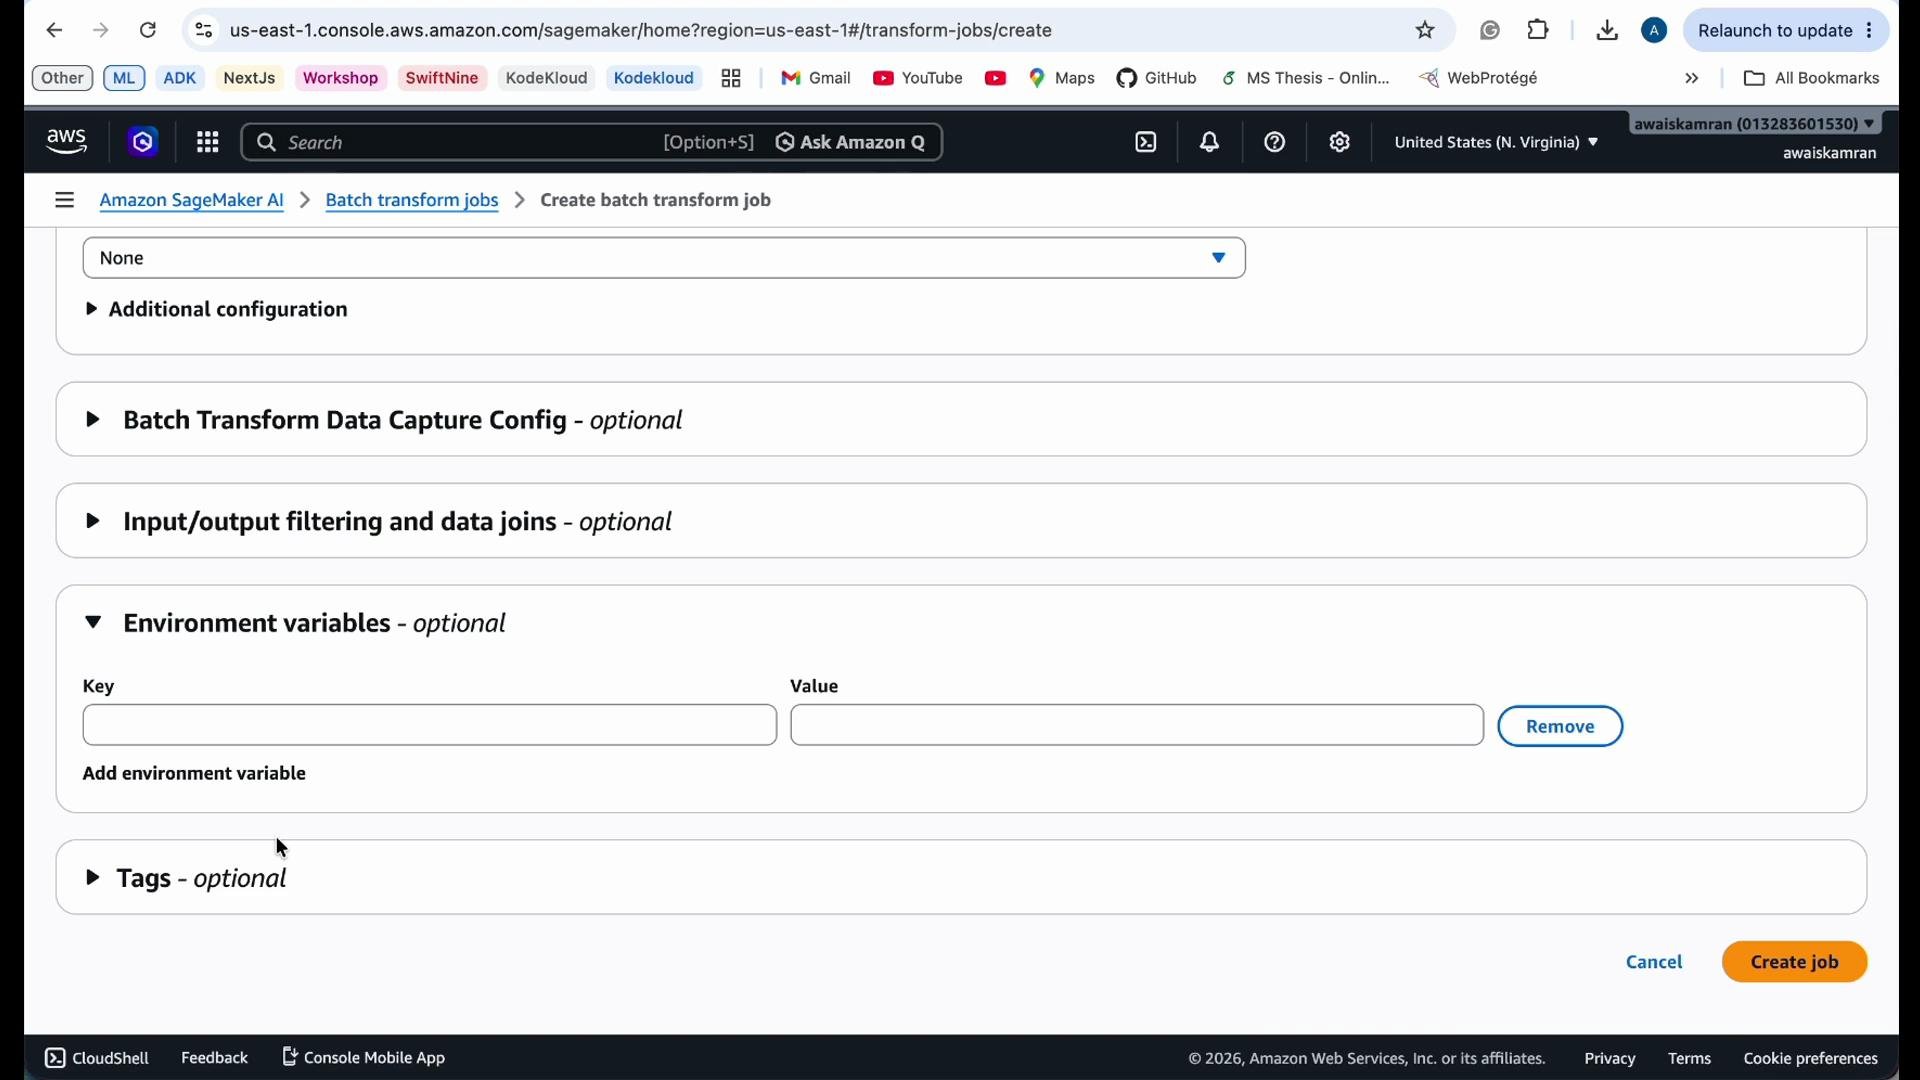
- After selecting the model, instance type, and input/output paths and configuring optional settings, create the Batch Transform job.
- Monitor job status from the SageMaker console under Inference → Batch transform jobs.
- When the job completes, download and inspect the output files in the S3 output prefix you provided.
- Check the job status and logs in the SageMaker console.
- Use Amazon CloudWatch for detailed logs and metrics (invocations, errors, instance utilization).
- If results look incorrect, inspect the content-type, split type, and any input filters to ensure inputs match model expectations.
Be mindful of cost: long-running or large Batch Transform jobs can incur significant charges. Terminate or delete any resources (models, endpoints, or unused S3 objects) you no longer need to avoid ongoing costs.
Further reading and references
That’s it — you’ve configured and launched a Batch Transform job in SageMaker. Monitor the job, inspect the outputs in S3, and optimize instance sizing or input partitioning as needed to balance cost and throughput.