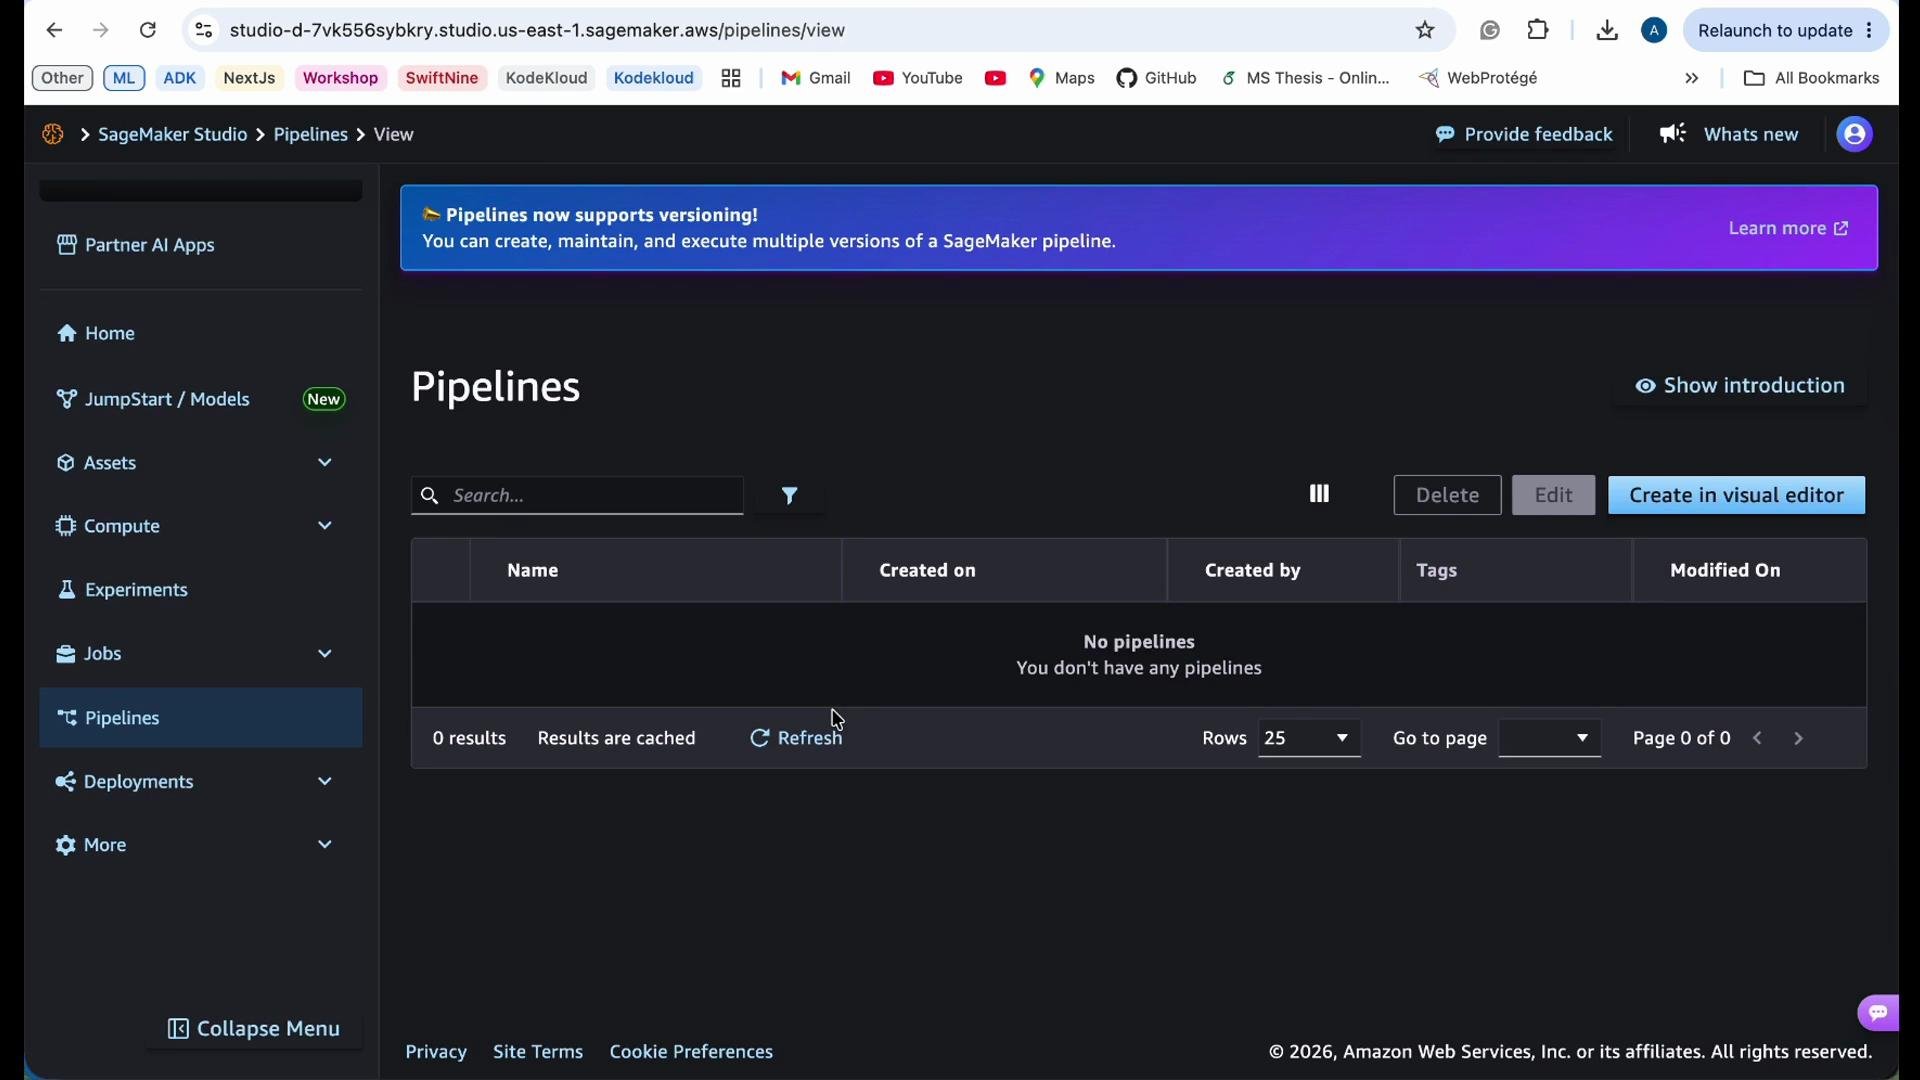
In this lesson we’ll walk through creating SageMaker Pipelines using the SageMaker Studio visual editor. The visual editor provides a drag-and-drop canvas to design, run, and monitor end-to-end ML workflows that include data processing, training, evaluation, model registration, and deployment. Open SageMaker Studio and select the “Pipelines” section to get started.
The image shows the SageMaker Studio Pipelines interface with no pipelines listed and options to create, edit, or delete pipelines.
How to start: click Create in Visual Editor to open the pipeline canvas. The editor exposes step types you can drag into your workflow, including:
  • Data processing (batch transforms, custom containers)
  • Custom code (your own containerized logic)
  • Lambda integrations
  • Training jobs
  • Model registration (Model Registry)
  • Deployment (real-time endpoints or batch inferencing)
  • Conditional branching (if/else flows based on evaluation metrics)
The visual editor also supports wiring outputs from one step into the inputs of another so you can build reproducible, end-to-end pipelines. Processing steps: compute, storage, and cost
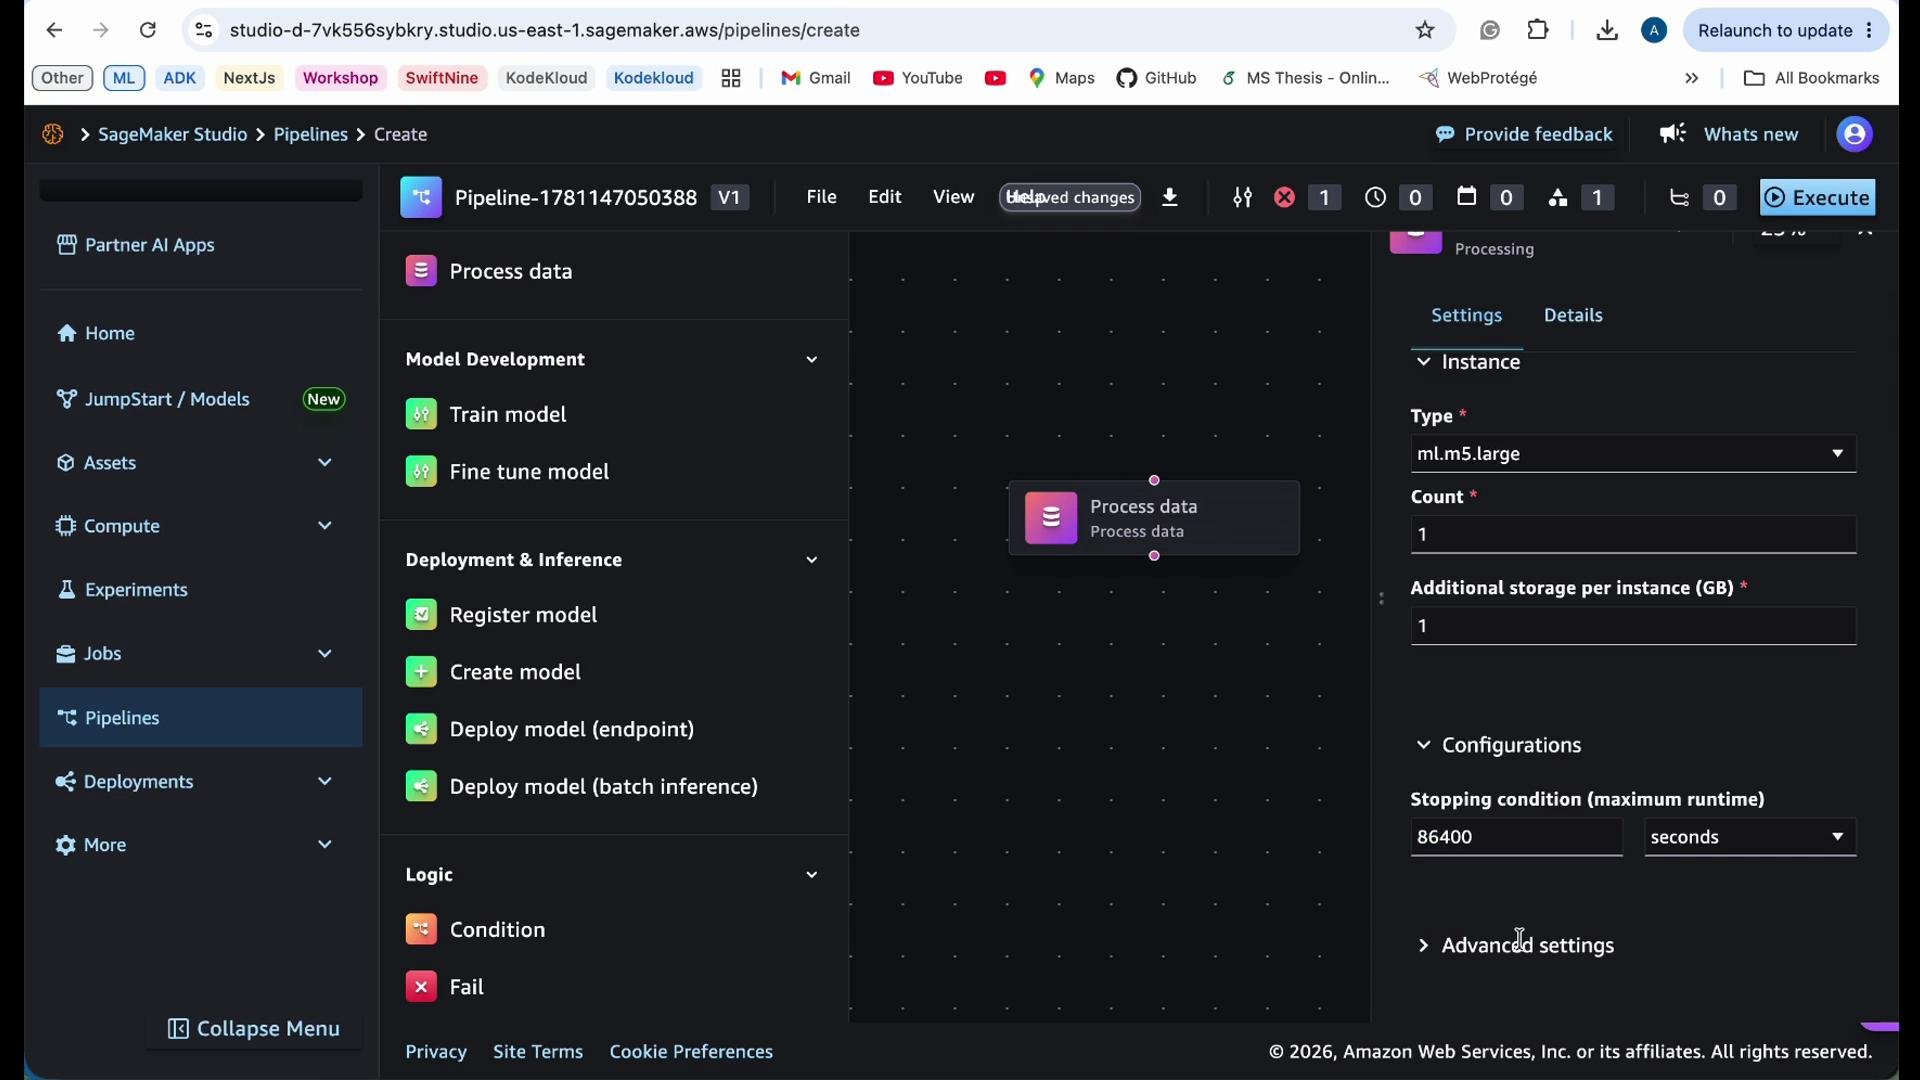
  • When you add a processing step, configure the instance type, instance count, local storage size, and stopping conditions (maximum runtime).
  • Select the smallest instance that fulfills resource needs to control costs.
  • Always review pricing for instance families you choose.
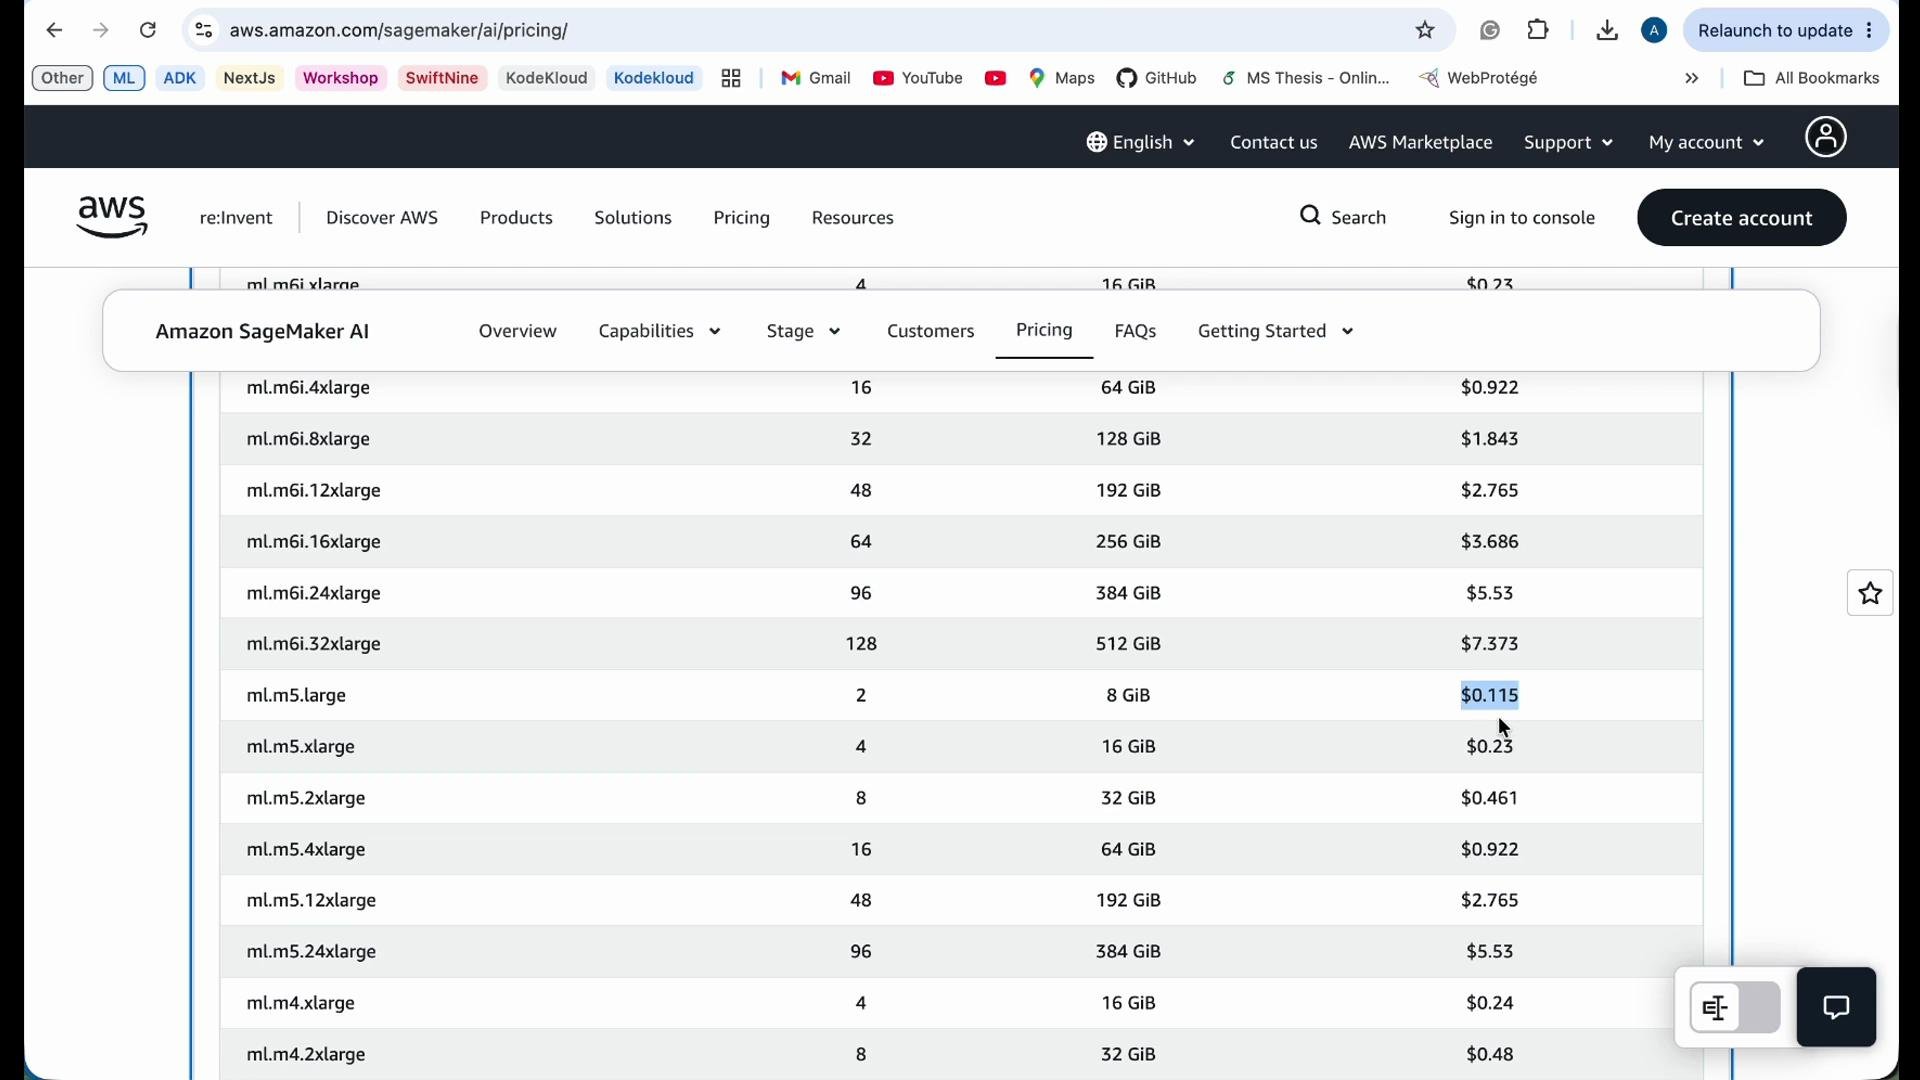
The image shows a pricing table from the Amazon SageMaker AI website, detailing various instance types, their specifications, and corresponding costs per hour.
Set runtime limits (stopping conditions) to prevent runaway jobs and unanticipated charges. These limits abort a job if it exceeds a defined duration and provide a predictable upper bound for step execution.
The image shows the interface of Amazon SageMaker Studio, specifically a pipeline creation view, with options for processing data, model development, deployment, and inference tasks. There are settings for selecting instance type and configurations for processing data.
App specification and data movement
  • Under the app specification for a step, provide a container image (for example, from Amazon ECR) that packages your code and dependencies.
  • For inputs and outputs, specify S3 locations (buckets and prefixes). Common examples:
    • s3://your-bucket/processed-data/
    • s3://your-bucket/model-artifacts/
  • Use consistent prefixes to make outputs discoverable and to simplify downstream steps.
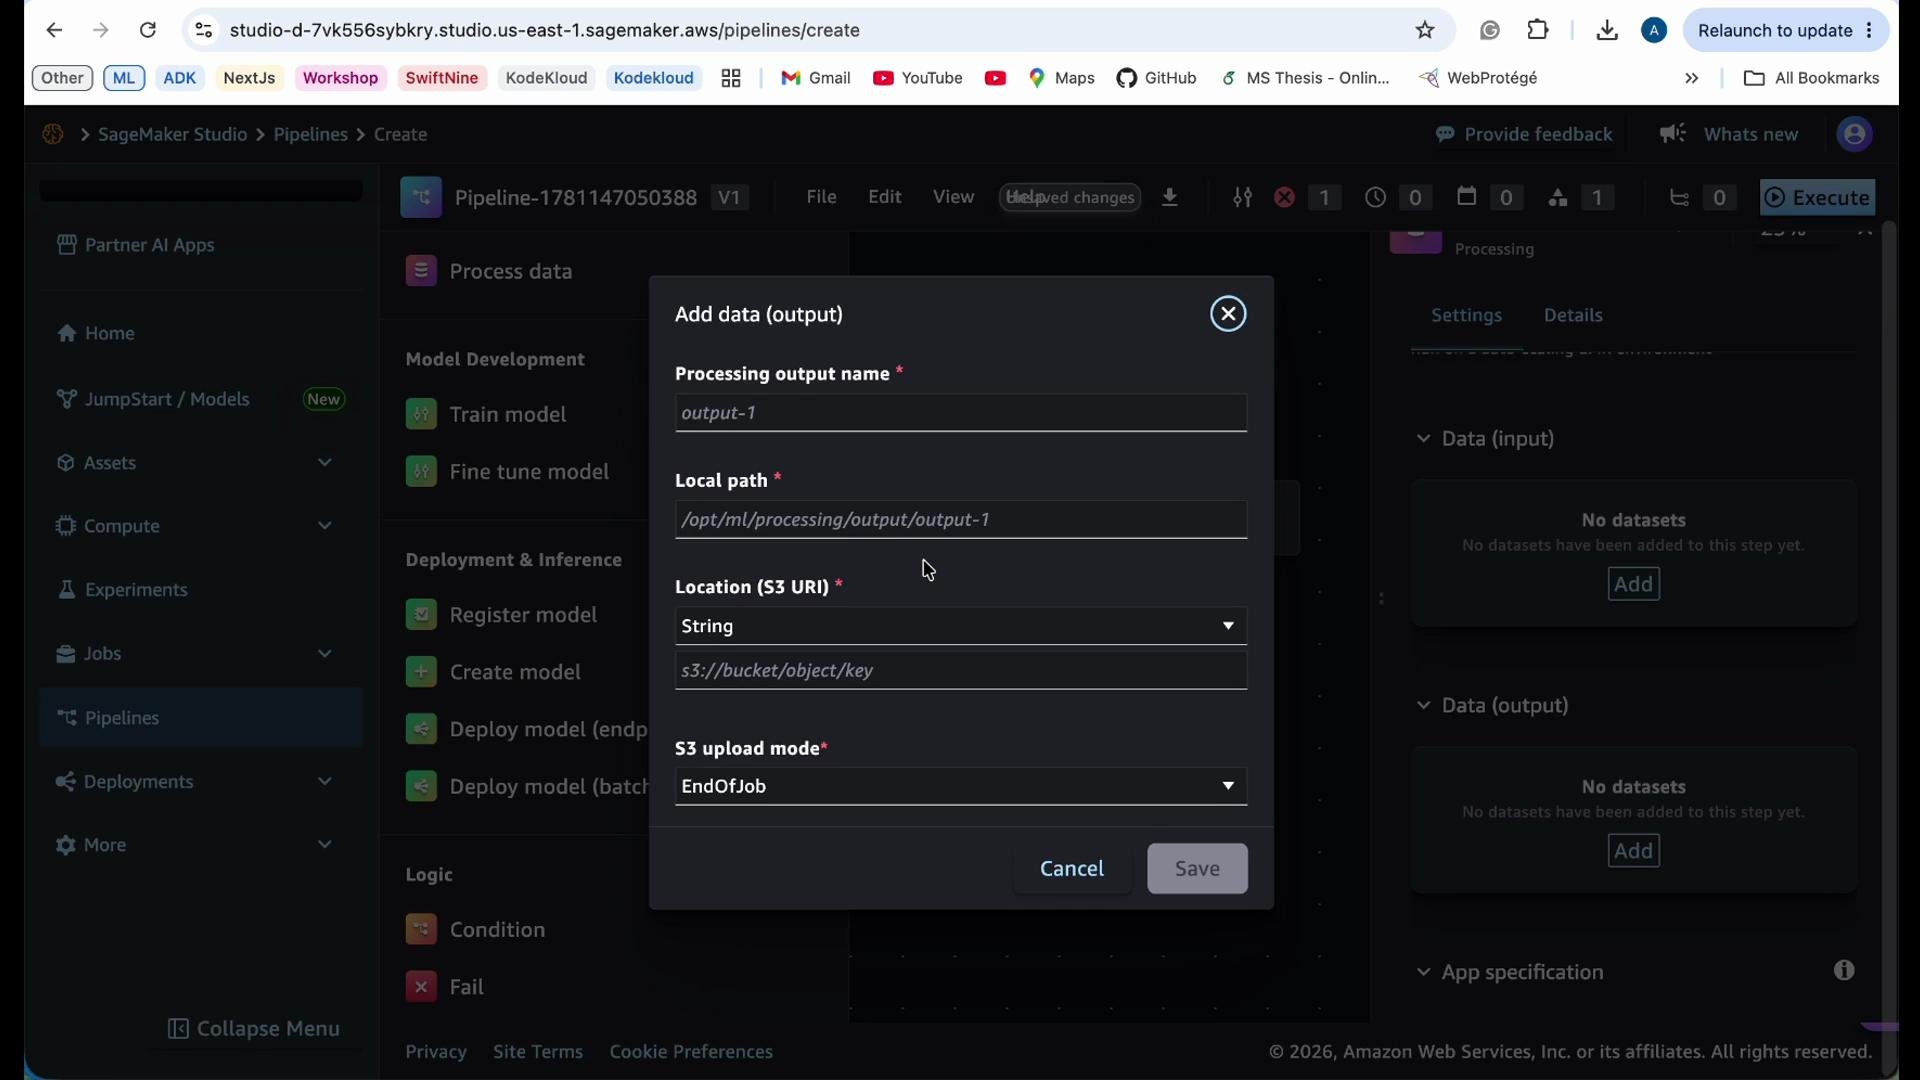
The image shows a form within the AWS SageMaker Studio environment, specifically for configuring a data output with fields for output name, local path, and S3 URI location.
Execution platform choices
  • Choose between SageMaker-managed execution or integrating external compute (for example, EMR). Each option has different runtime characteristics and cost profiles.
  • SageMaker-managed jobs simplify orchestration and monitoring; external platforms may be better for specialized distributed workloads or existing EMR pipelines.
Training step configuration When adding a training step, configure:
  • Training image or algorithm container
  • Input data location (S3 path for transformed/processed data)
  • Output S3 location for model artifacts
  • Hyperparameters for the training job
  • Checkpointing location in S3 to resume interrupted training
  • Stopping conditions and instance configuration (type and count)
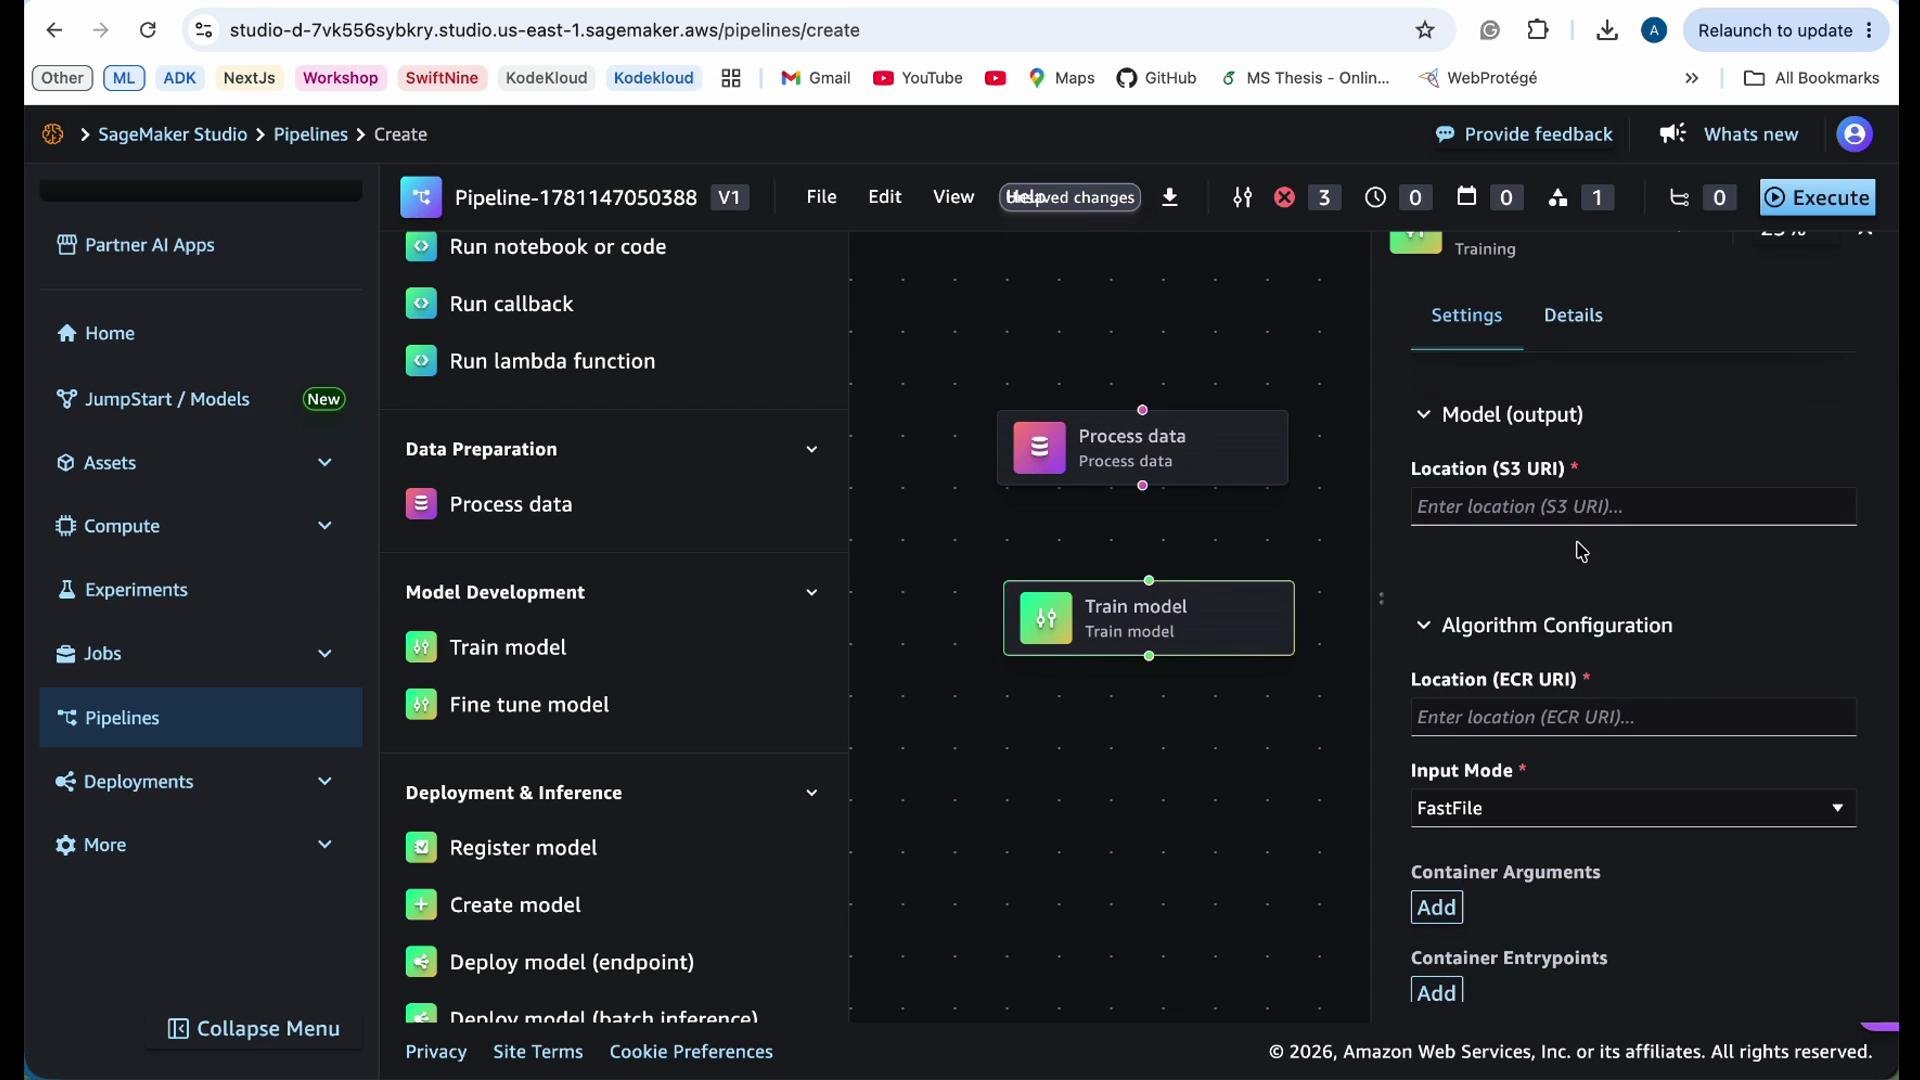
Checkpointing is critical for long-running or expensive training jobs: it allows resuming from the last saved state instead of restarting from the beginning.
The image shows the AWS SageMaker Studio interface with a pipeline workflow that includes steps for processing data and training a model. There's a sidebar with navigation options such as assets, compute, and pipelines, along with settings for configuring the model output and algorithm.
Model registration and deployment After successful training you can:
  • Register the trained model in the SageMaker Model Registry for versioning and governance.
  • Deploy the model as an endpoint (real-time) or create batch transform jobs for offline inference.
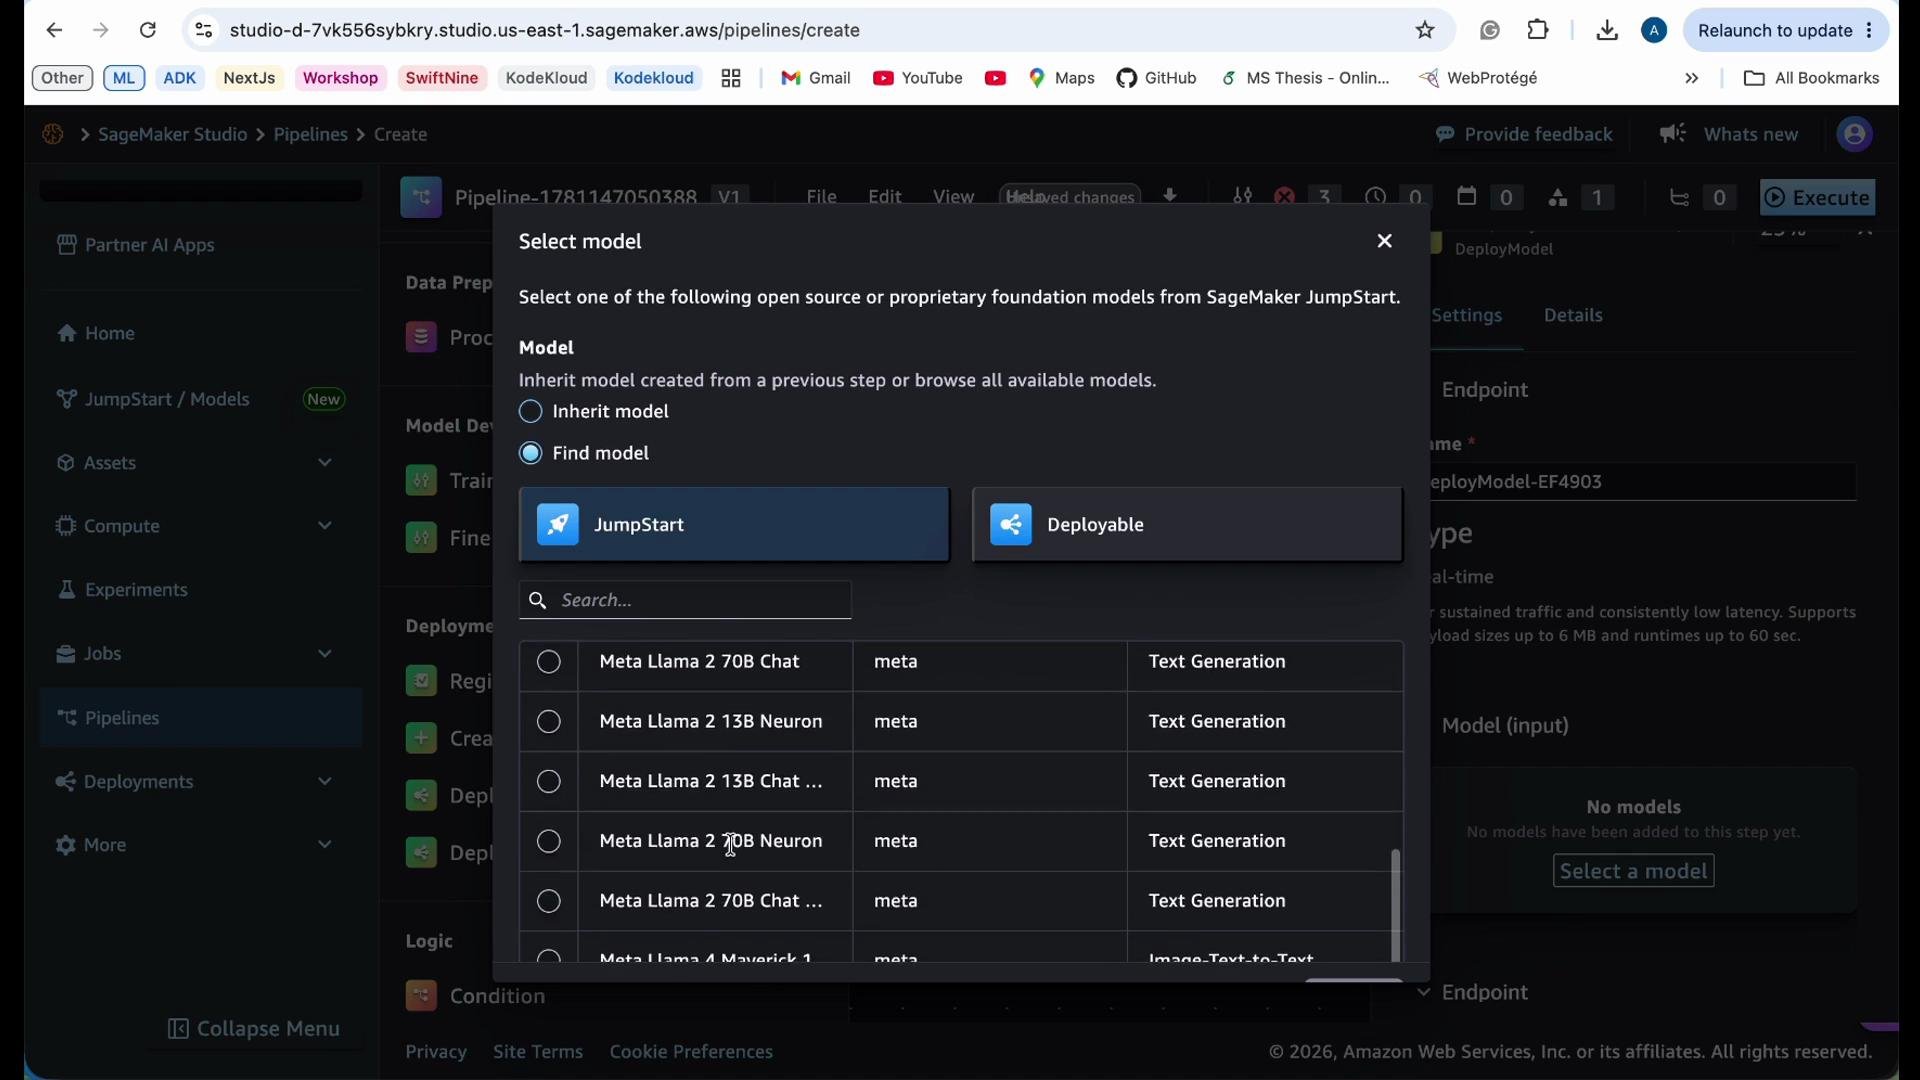
The deployment step in the visual editor prompts for a model name and lets you select either a model produced earlier in the pipeline or an existing model (for example, from SageMaker JumpStart).
The image shows a screen from AWS SageMaker Studio with a dialog box for selecting a model, including options from SageMaker JumpStart and a list of models like Meta Llama for text generation.
Checklist: common fields for each pipeline step Best practices summary
  • Use S3 prefixes consistently for processed data, checkpoints, and model artifacts.
  • Set stopping conditions to cap runtime costs.
  • Use checkpointing to resume interrupted training jobs.
  • Start with smaller instance types during development and scale up for production.
  • Use the Model Registry to manage model versions and approvals.
Tip: Always configure sensible stopping conditions and use S3 checkpointing for long-running or costly jobs. Start with smaller instance types like m5.large for development and monitor costs as you scale.
Warning: Instance pricing varies by region and changes over time. Review current pricing before launching large or long-running jobs and include budgeting/alerting in your monitoring strategy.
Links and references This walkthrough shows how to compose, configure, and operationalize pipelines in SageMaker Studio’s visual editor—allowing reproducible, monitored, and cost-aware ML workflows.

Watch Video