Azure Bicep is a domain-specific language designed to simplify the deployment and management of Azure resources. This guide explains how Azure Bicep streamlines your Azure deployments compared to traditional ARM JSON templates, offering a cleaner syntax and enhanced capabilities. Azure Bicep files reduce the complexity and clutter inherent in ARM templates by providing a simpler, more intuitive syntax. This allows you to spend less time deciphering code and more time creating and managing robust Azure resources.

Benefits of Azure Bicep

Azure Bicep enables you to build smaller, modular files while automatically detecting dependencies between resources—minimizing deployment errors that arise when resource relationships are not clearly defined. Additionally, the Visual Studio Code extension offers auto-completion and code snippets, ensuring a smoother authoring experience.
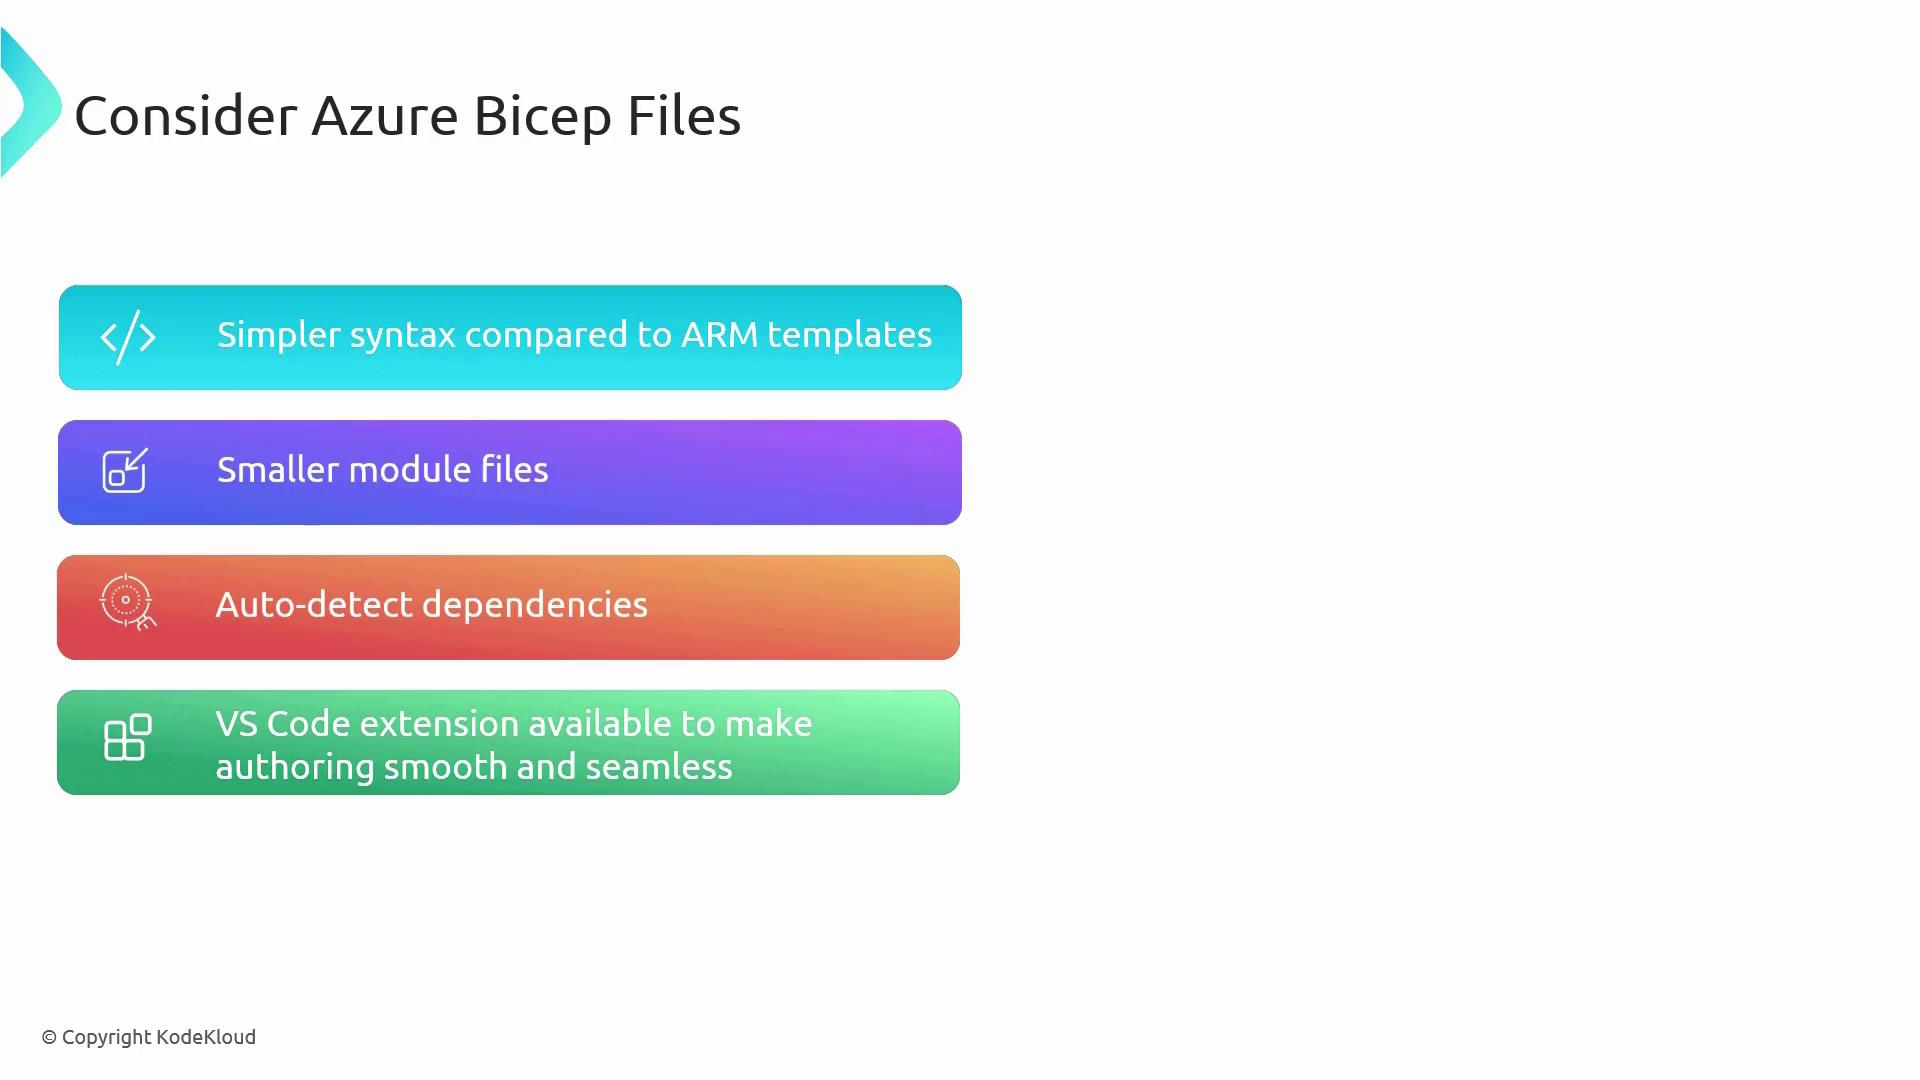
The image lists benefits of using Azure Bicep files, including simpler syntax, smaller module files, auto-detecting dependencies, and a VS Code extension for seamless authoring.
Whether you are new to Azure or an experienced cloud professional, leveraging Azure Bicep can transform the way you manage and deploy your cloud infrastructure.

Example: Storage Account Deployment

ARM Template Example

Before using Bicep, you might have deployed a storage account using an ARM template. Below is an example JSON snippet that creates a storage account:
You might deploy this ARM template using PowerShell as shown below:

Converting to Bicep

Converting the above ARM template to Bicep results in a much easier-to-read and maintain code. Compare the following Bicep snippet:
Use Visual Studio Code with the Bicep extension to create and edit these files. Simply install the extension from the Visual Studio Code marketplace, open a new file, select “Bicep” as the language, and begin authoring your template.

Defining Parameters, Variables, and Resources

When deploying resources, defining parameters with allowed values and constraints is crucial—in addition to using variables to dynamically build resource names. Consider the following ARM template JSON example:
Below is the equivalent, more concise Bicep version of the same configuration:
In this Bicep snippet, parameters enforce allowed values and string length constraints, while the variable “name” concatenates the part parameter with a suffix. The resource declaration then uses these values to create a storage account with a dynamic name.

Deploying Your Bicep Template

After saving your Bicep file (for example, as storage.bicep), you can deploy it using your preferred method. Remember to install the Bicep CLI manually if you are deploying through PowerShell.
To deploy using PowerShell, even though ARM deployments require a template file, the process is similar:
For Azure CLI, deploying a Bicep template is even more straightforward as Azure CLI natively supports the Bicep language. Begin by verifying your active account and subscription:
Set the appropriate subscription context, then deploy your Bicep template by passing parameters as needed:
Upon successful deployment, refresh the storage accounts list in the Azure portal to verify that your storage account has been created.

Conclusion

This lesson demonstrates how Azure Bicep simplifies resource deployment with its concise syntax, modular design, and integrated tooling in Visual Studio Code. By converting complex ARM JSON templates into more manageable Bicep code, you can streamline and enhance your cloud resource management. Happy deploying!

Watch Video

Practice Lab