

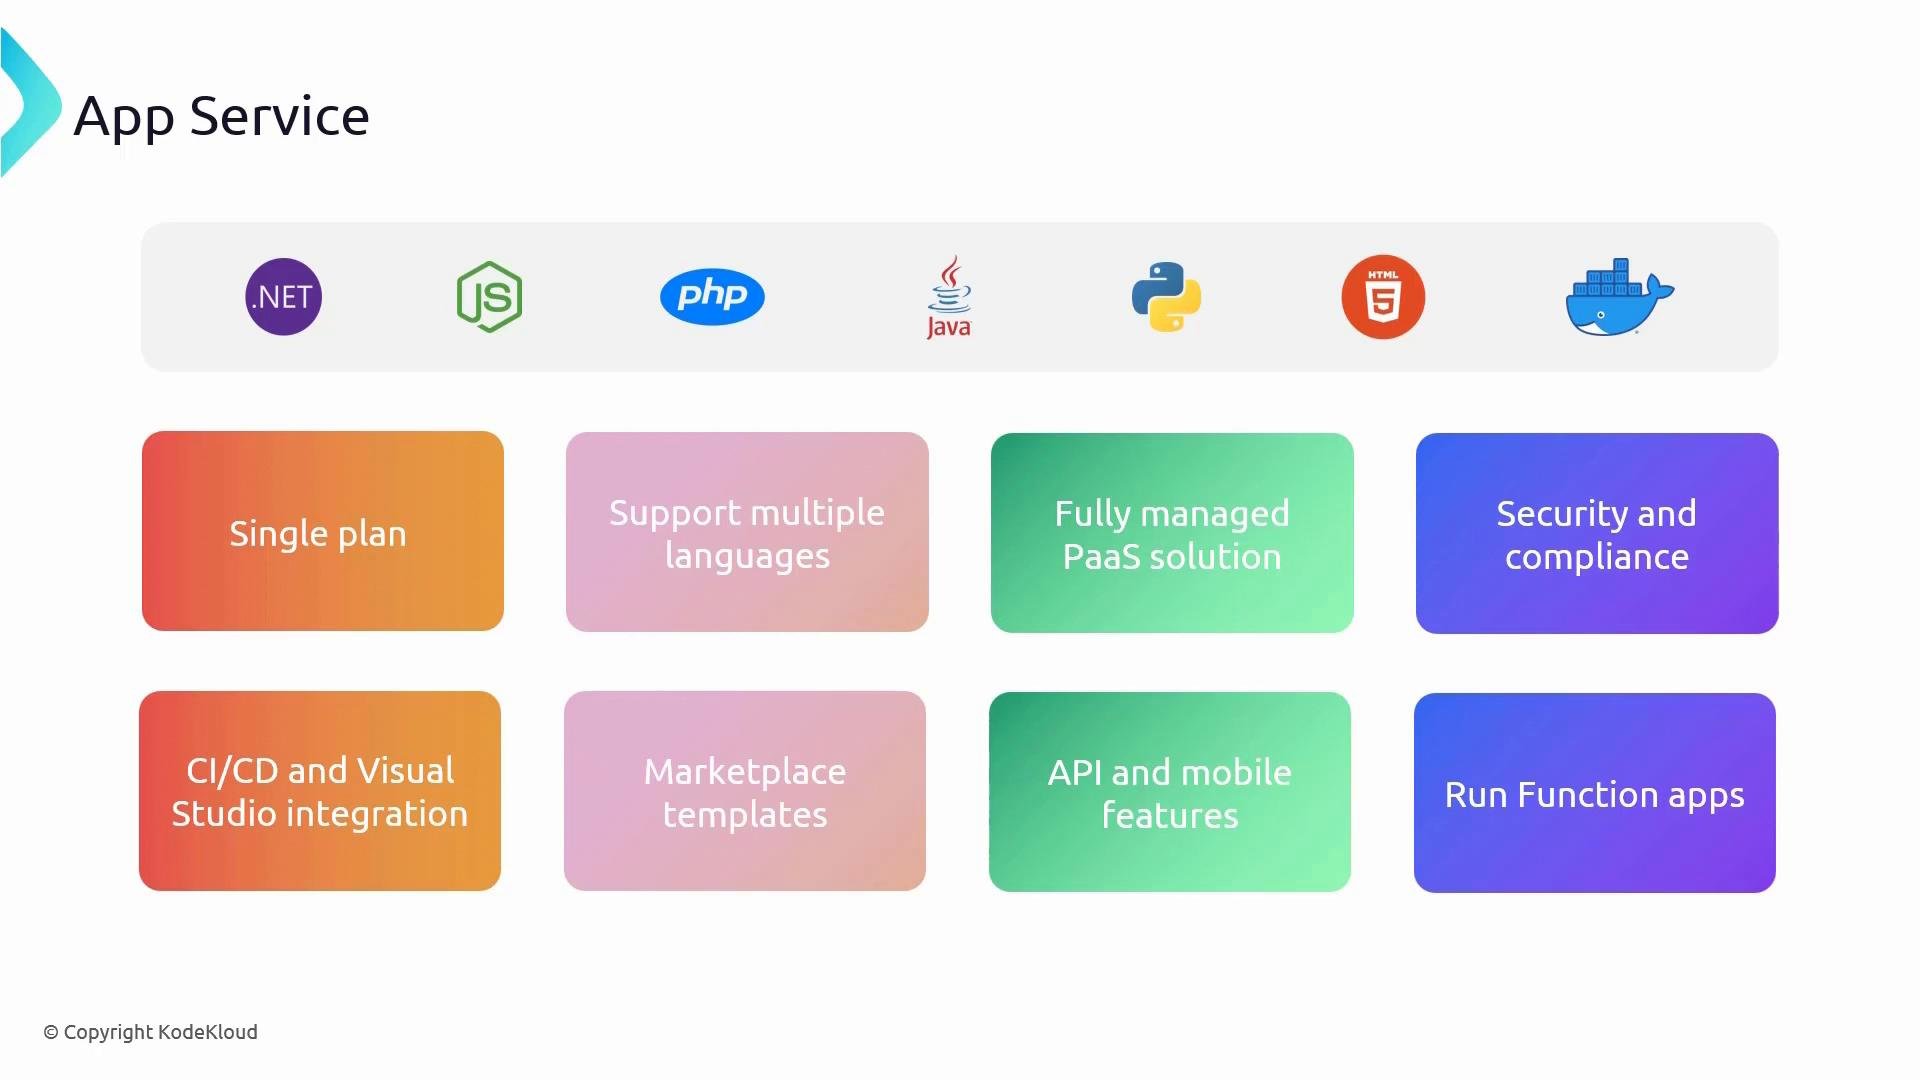
Create an App Service from the Azure portal
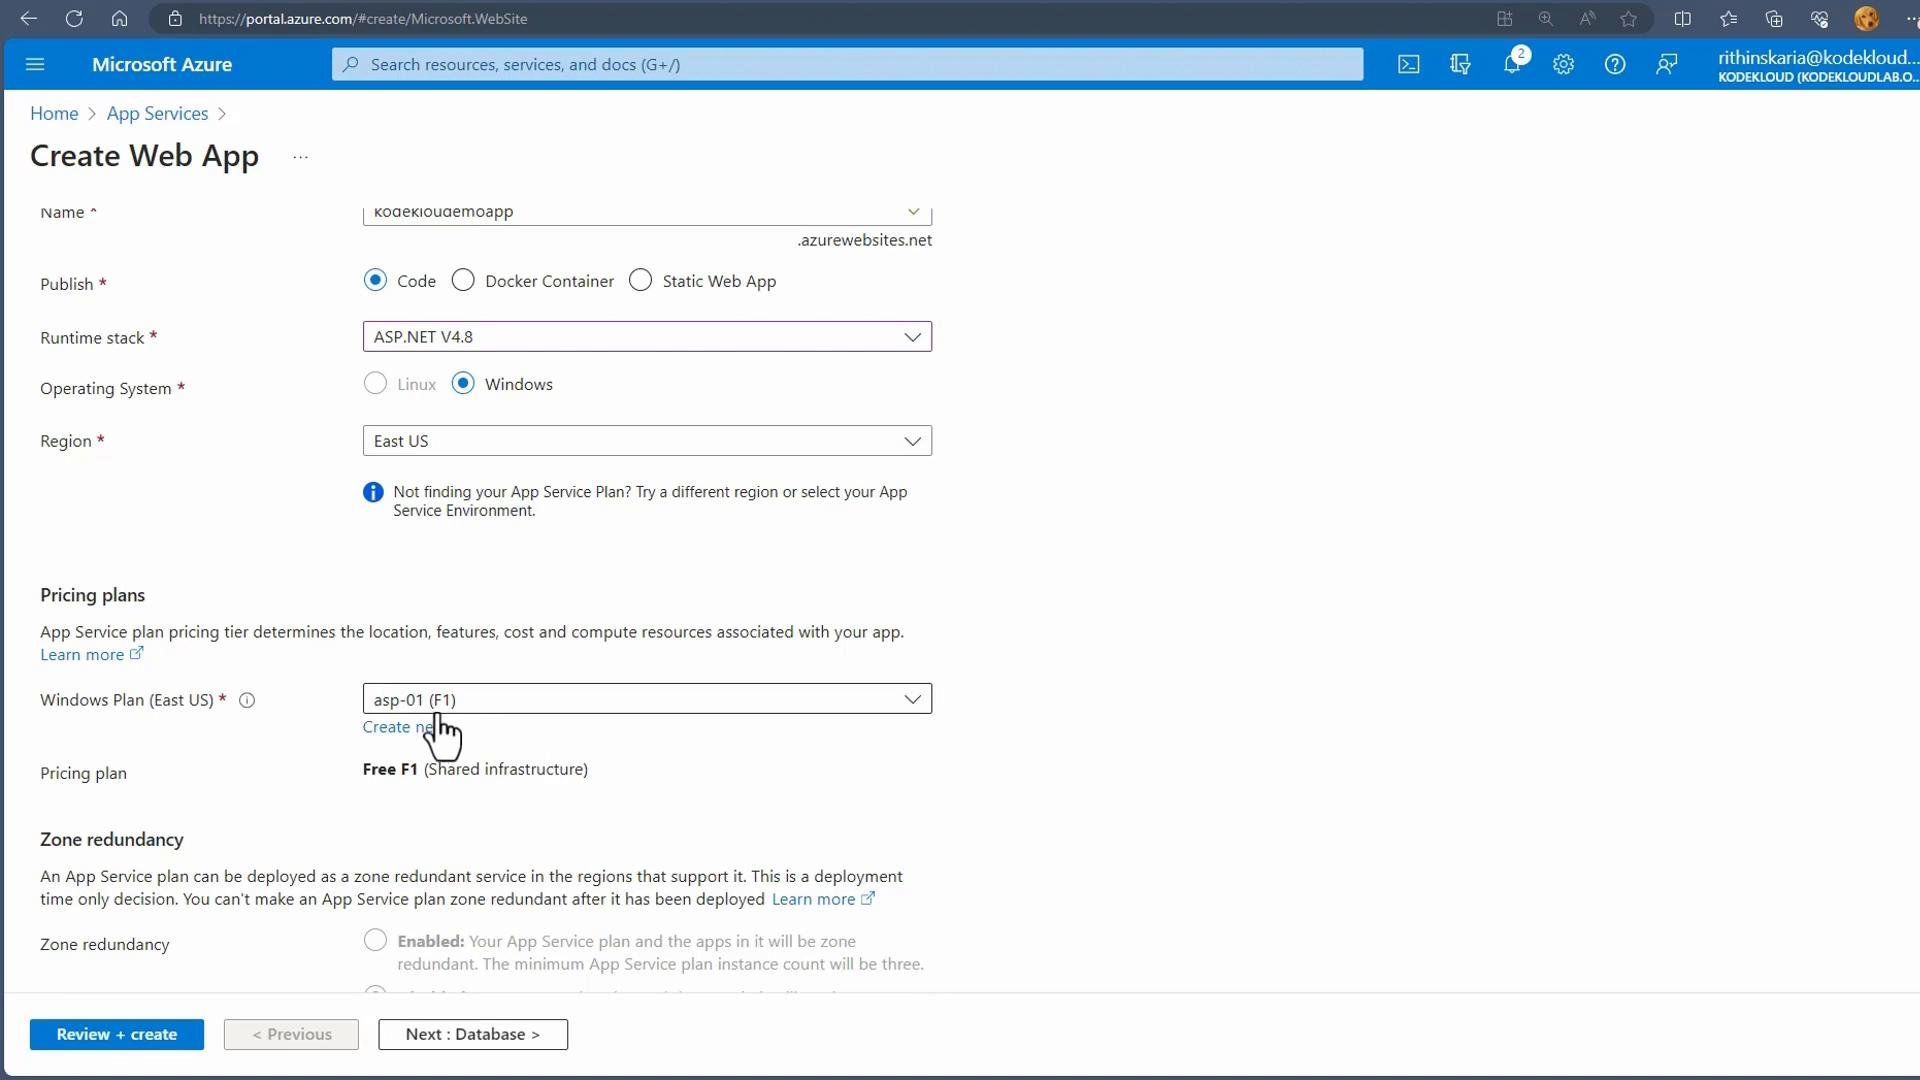
Follow these steps to provision a Web App (App Service) using the Azure portal:- In the Azure portal, search for App Services (or Web App). Click Create -> Web App.
- Select an existing resource group or create a new one.
- Enter a globally unique app name. This becomes the public hostname in the form
yourapp.azurewebsites.net. - Choose a publish option and runtime:
- Publish: choose Code or Docker container. For static site workflows consider Azure Static Web Apps.
- Runtime stack: pick from .NET, Node, PHP, Python, Java, etc., or choose a custom container image when publishing a Docker container.
- OS: Windows or Linux — pick the OS compatible with your runtime/image.
- Select or create an App Service plan (this defines compute resources, pricing tier, and scaling behavior).
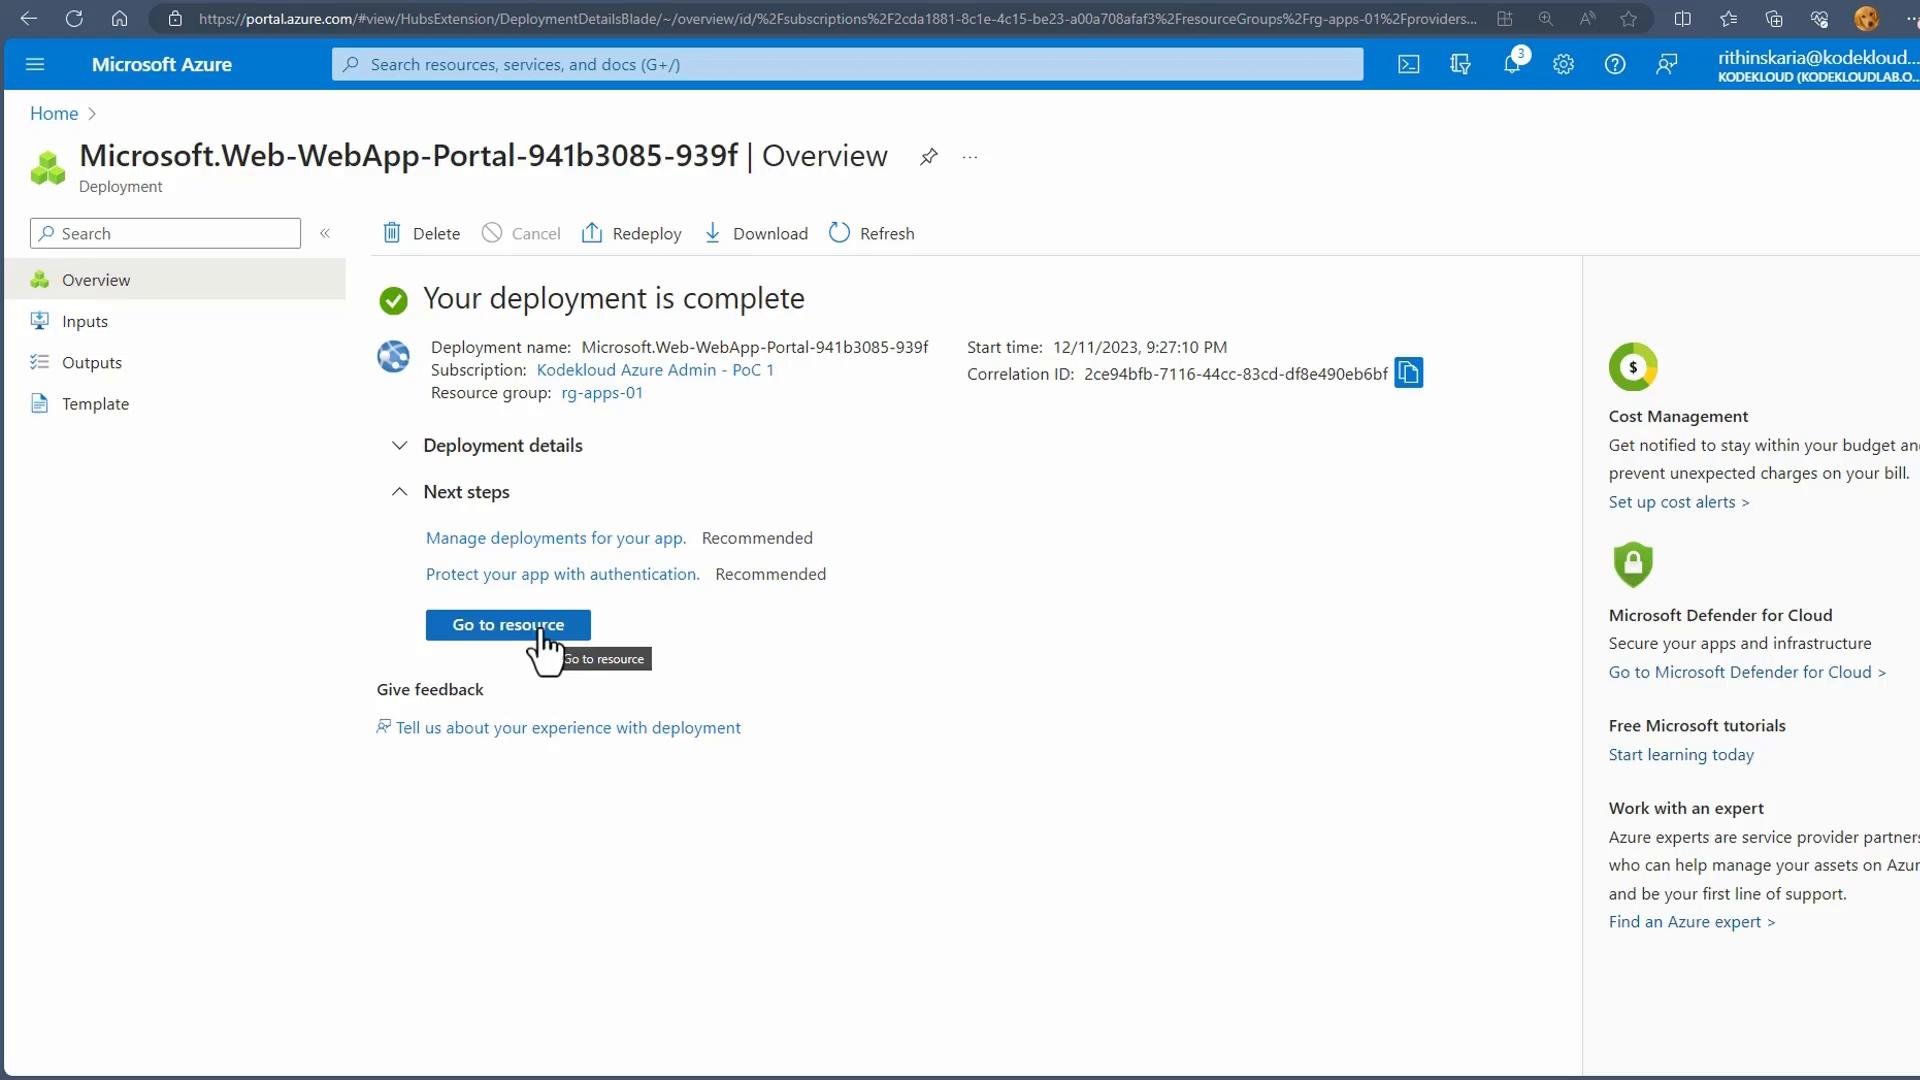
- Configure optional settings: database, deployment (CI/CD), networking, monitoring, tags. When ready, click Review + Create.
Scaling and tiers
The App Service plan determines pricing tier (Free, Shared, Basic, Standard, Premium, etc.) and the compute available to all apps within that plan. Two primary scaling operations are available:- Scale up (vertical scaling): change the pricing tier or instance size to get more CPU, memory, or features. This often restarts the app and can cause brief downtime.
- Scale out (horizontal scaling): increase the number of instances running the app to handle additional load without changing instance size.
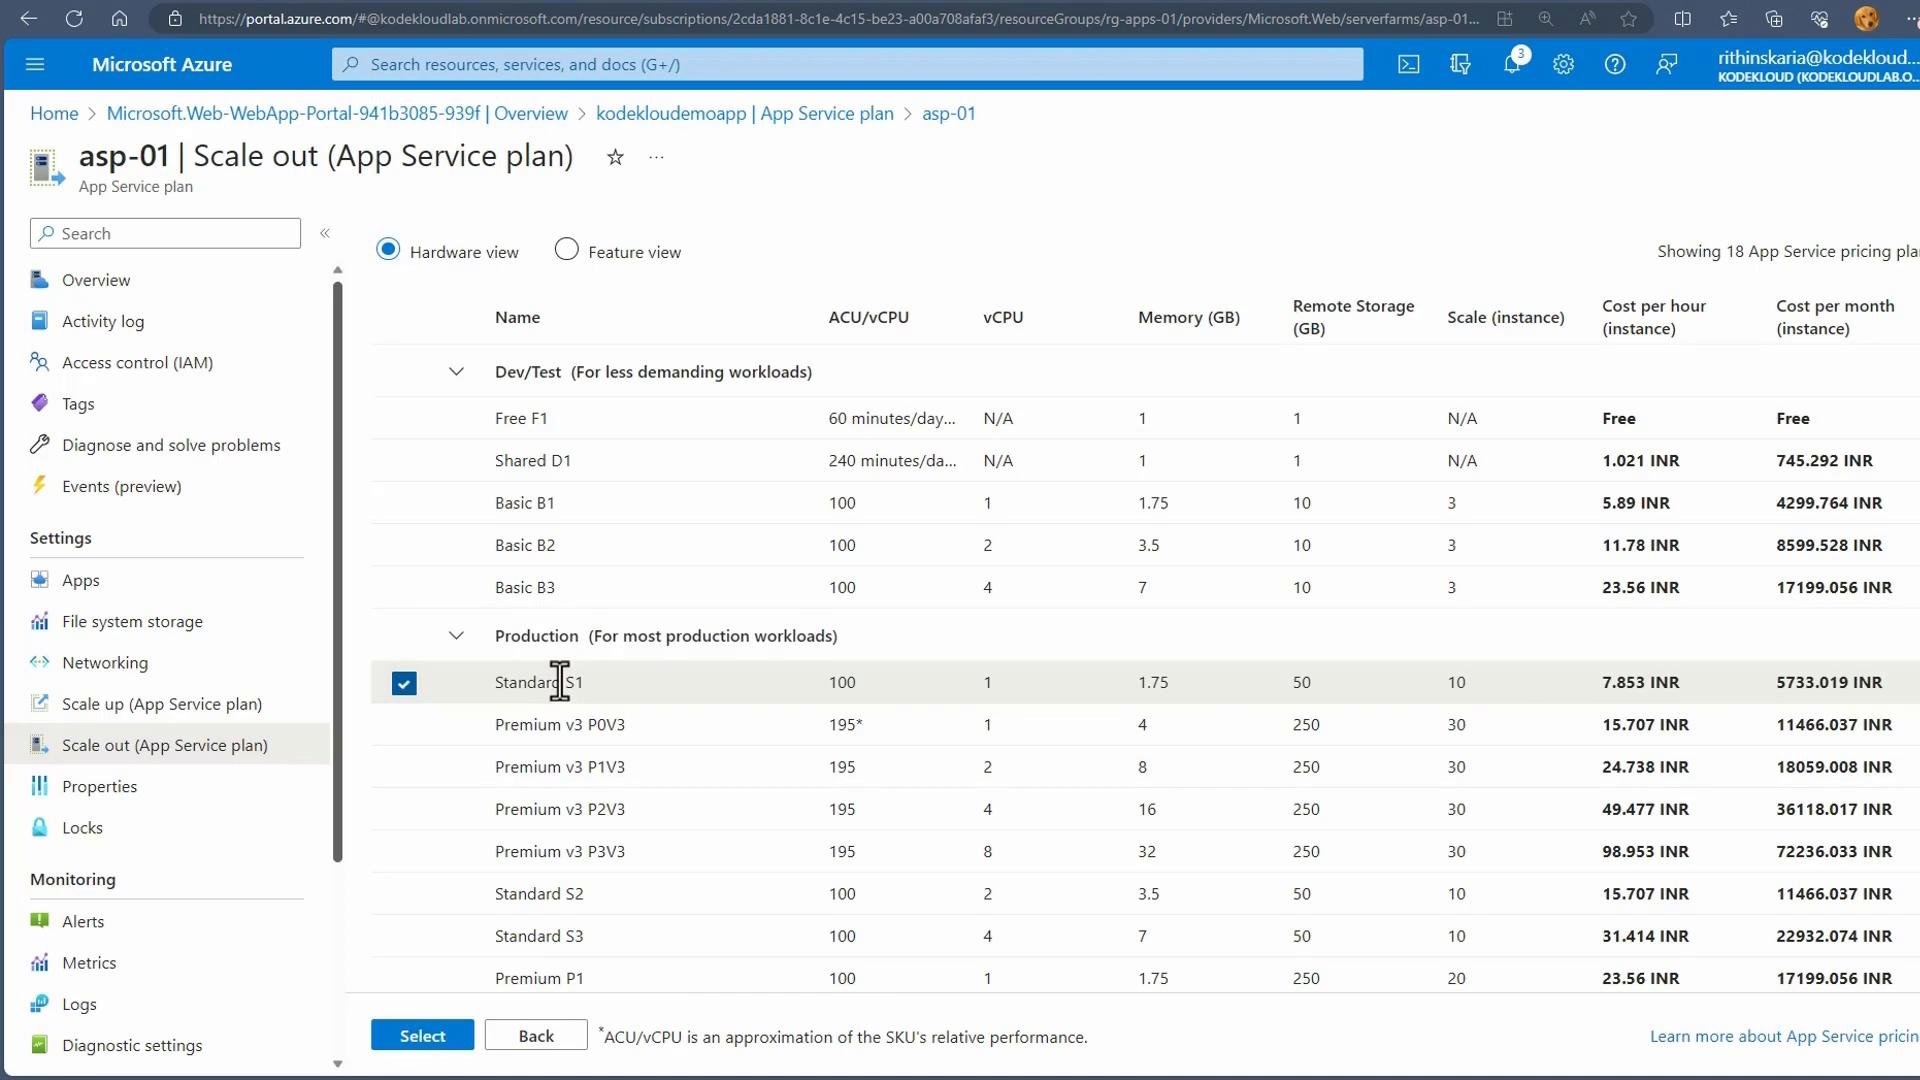
Resizing (scaling up) an App Service plan restarts application processes. Expect brief downtime when you change tiers or instance sizes.
App Service tier guidance
- Free / Shared: Useful for development or testing; limited compute and features.
- Basic: Low-cost production workloads with no autoscale.
- Standard / Premium: Production workloads with autoscale, staging slots, and advanced features.
- PremiumV2 / PremiumV3 and Isolated: High-performance workloads and network isolation.
Autoscale (rule-based scaling)
App Service supports rule-based autoscaling so your apps can scale out/in based on metrics such as CPU percentage, memory, HTTP queue length, or custom metrics. Typical autoscale configuration steps:- In your App Service plan, choose Scale out (App Service plan) -> Autoscale settings.
- Create or edit an autoscale profile.
- Add rules that define:
- Metric (for example, CPU percentage)
- Condition and threshold (for example, CPU > 70%)
- Time aggregation and duration (for example, 5 minutes)
- Action (increase instance count by X)
- Add complementary scale-in rules (for example, decrease when CPU < 25%).
- Set minimum and maximum instance counts.
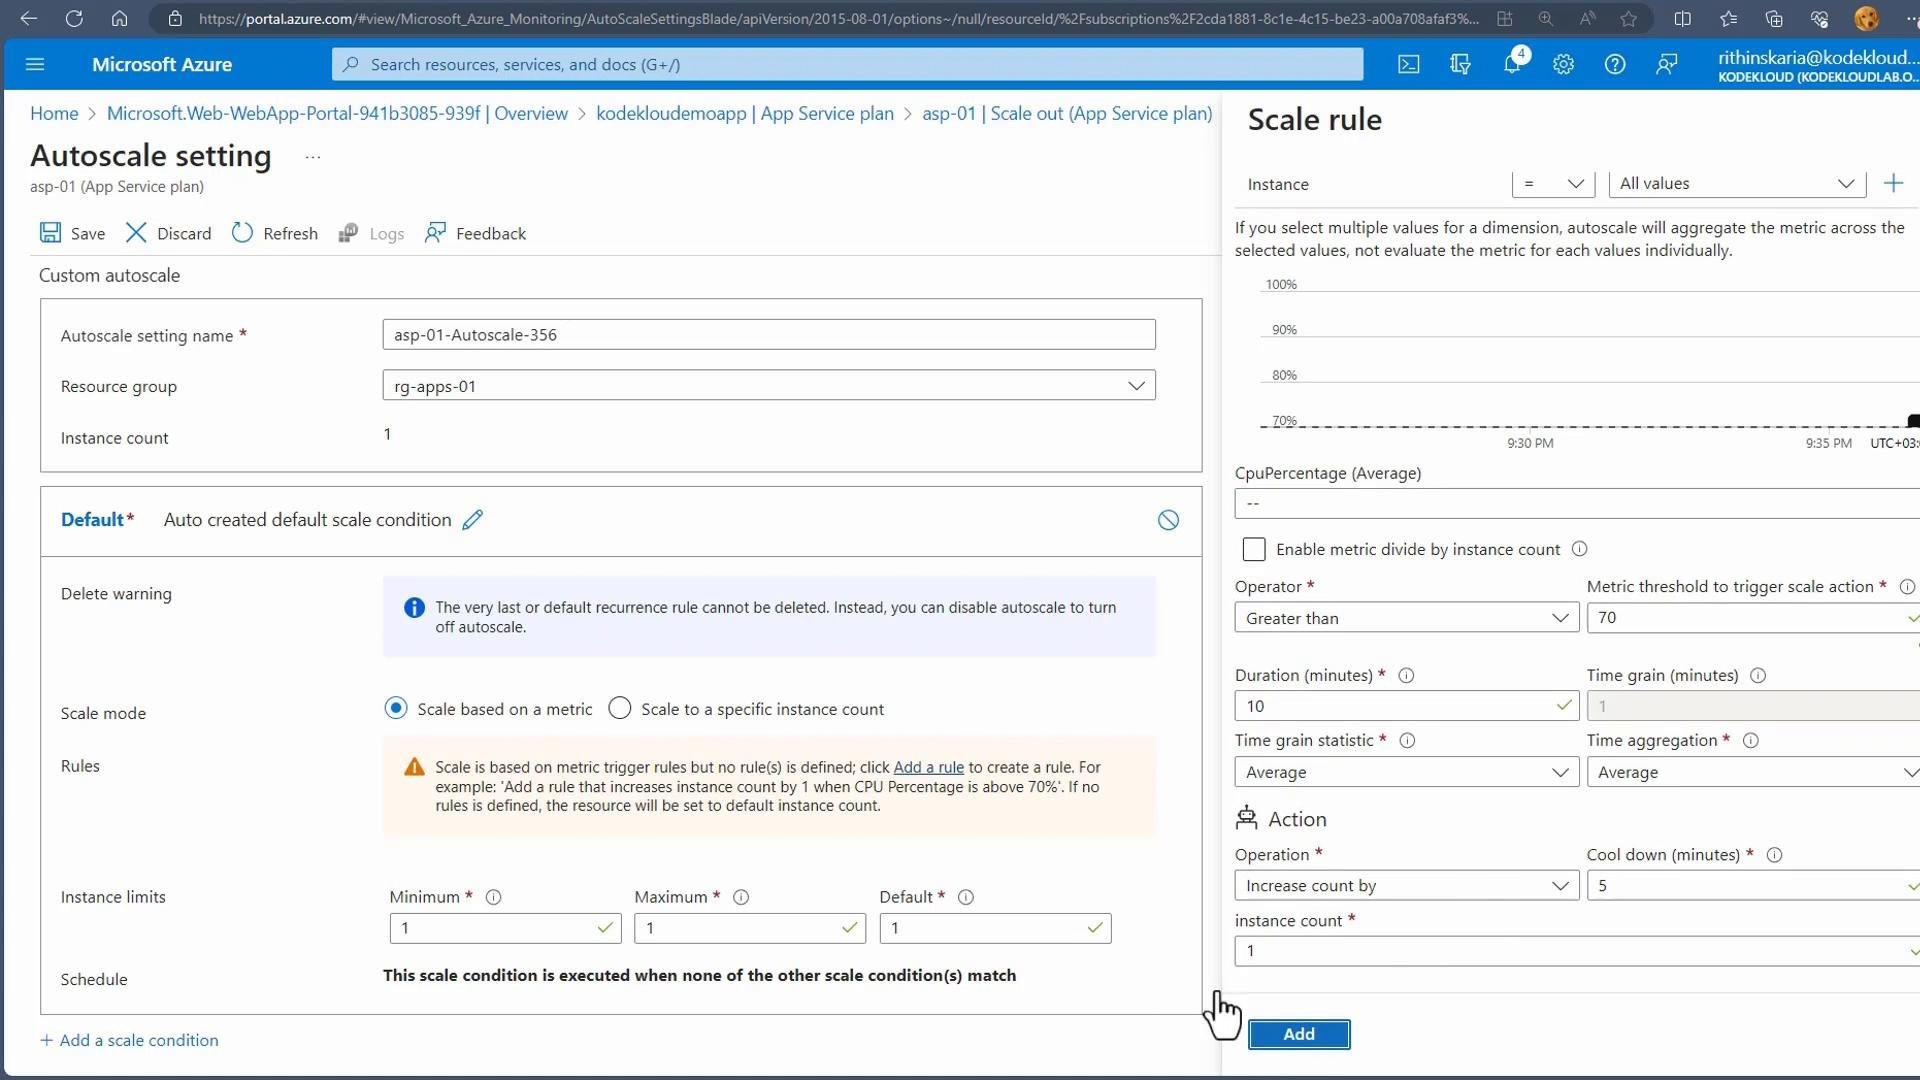
When building autoscale rules, include cool-down periods and sensible min/max instance limits to avoid rapid scale-churn. Account for application warm-up time so new instances are ready before receiving production traffic.
Next steps and recommendations
- Secure the app: configure Microsoft Entra ID, OAuth providers, and custom domains with TLS.
- Implement CI/CD: connect your repository (GitHub, Azure Repos) and set up deployment pipelines.
- Use deployment slots: configure staging slots to enable zero-downtime swaps.
- Monitor and alert: enable Application Insights, logging, and alerts for key metrics.
- Backups and high availability: configure backups and consider multiple regions for critical apps.
- Consider Azure Static Web Apps for single-page static frontends and Azure Functions for serverless workloads.