Creating a virtual machine (VM) in Azure is a common task for developers and administrators. This guide explains the portal blades and options you encounter in the Azure portal and shows equivalent automation examples using PowerShell and Azure CLI. It preserves the sequence of the portal UI so you can follow the same flow when creating VMs. High-level steps when creating an Azure VM:
  • Basics: subscription, resource group, region, VM name, image, size, authentication, and inbound port rules.
  • Disks: OS disk type/size and optional data disks.
  • Networking: virtual network, subnet, NIC, network security group (NSG), public IP, and load balancer placement.
  • Management & Monitoring: diagnostics, Defender for Cloud, Azure AD login, managed identity, backup, auto-shutdown, and extensions.
  • Advanced & Tags: post-deployment extensions and tags for organization and billing.
Choose a VM size based on CPU, memory, disk throughput and cost. For production workloads, plan for redundancy using availability zones or availability sets and check regional SKU availability.
Basics Key items you configure on the Basics blade include subscription, resource group, location, VM name, availability options, image, architecture, size/VM SKU, authentication method, and inbound port rules. Availability and size selection: click “See all sizes” to view SKU options and filters (e.g., General purpose). For test workloads, economical options like B1s can be appropriate. For production, select a family and size that match CPU, memory, disk IOPS and networking requirements. Authentication and inbound ports: for Linux prefer SSH keys (--generate-ssh-keys in CLI) and for Windows use secure practices or Azure AD login where possible. Only open ports you need — restricting management ports reduces risk.
Only open the ports you need. Exposing management ports (SSH/RDP) to the internet increases attack surface — restrict access with NSG rules, service endpoints, or Just-In-Time access where possible.
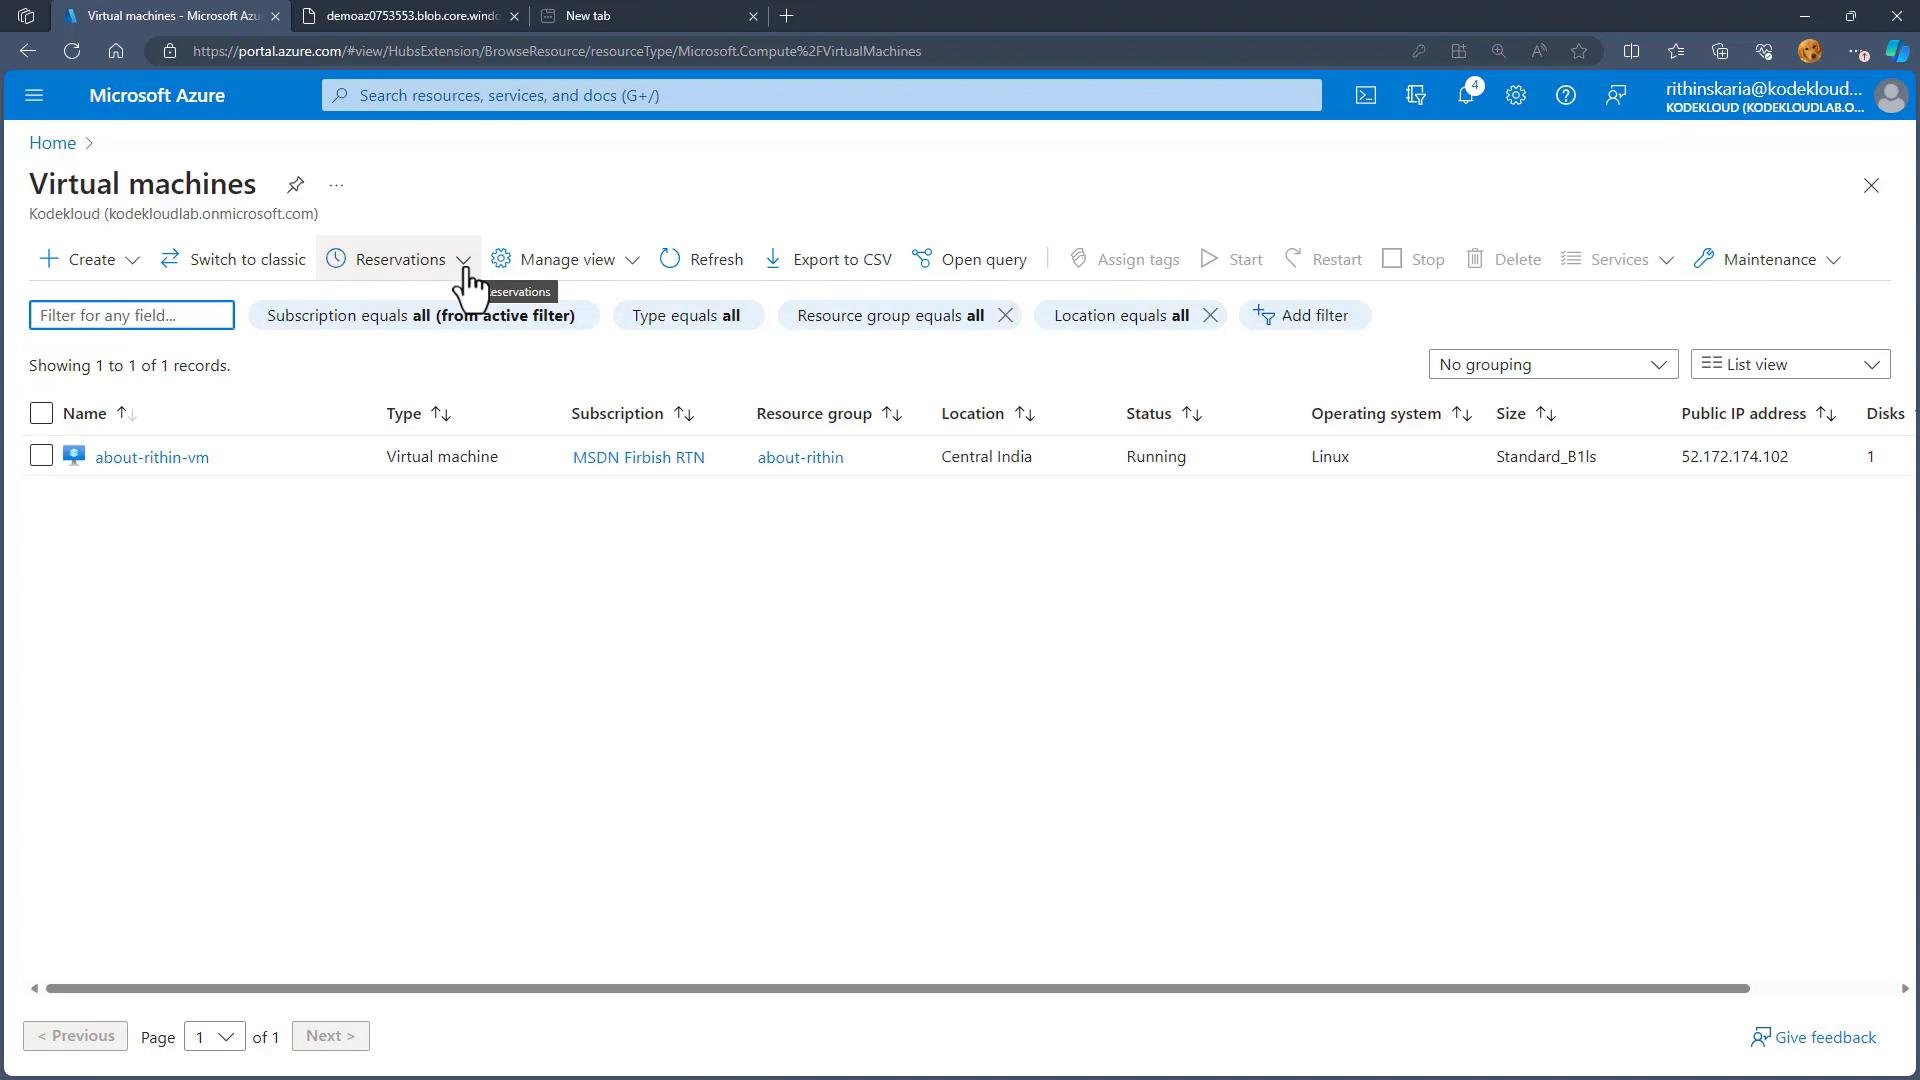
Azure Portal walkthrough Once you open the Azure portal and navigate to Virtual Machines, click Create and choose Azure virtual machine. From there you begin the guided wizard.
A screenshot of the Microsoft Azure portal showing the "Virtual machines" list with one VM named "about-rithin-vm" (Linux) that is running and has a public IP address. The page shows toolbar buttons and columns for subscription, resource group, location, status, OS, size and disks.
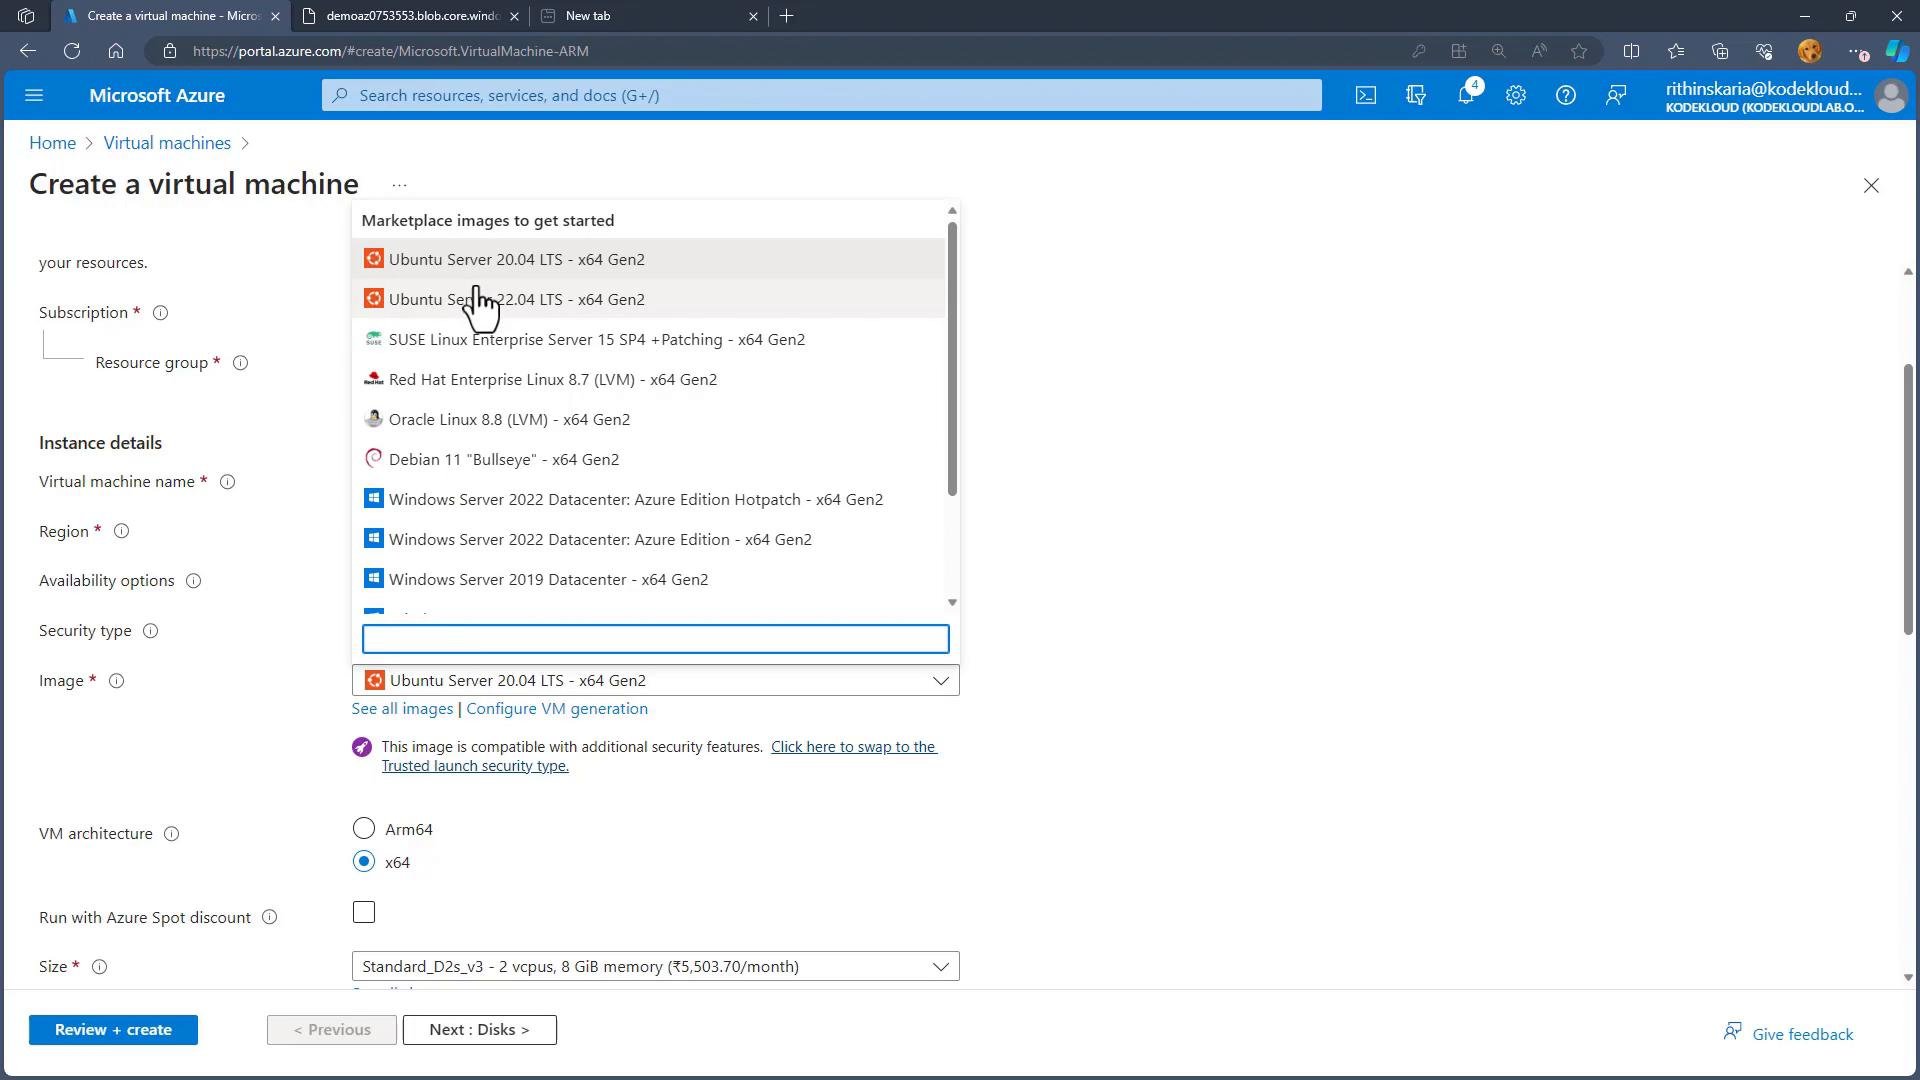
Image selection — the marketplace provides many OS images (Windows and Linux). For example, choose an LTS image such as Ubuntu 22.04. Use the Marketplace filter to find certified images and vendor offerings.
A screenshot of the Microsoft Azure "Create a virtual machine" page with the marketplace image dropdown open showing OS options like Ubuntu Server 20.04 LTS, Windows Server, SUSE, Debian, and others. The left side shows VM instance fields (subscription, resource group, name, region, architecture, size) and the bottom has navigation buttons like "Review + create."
Size selection — use the SKU picker to see vCPU, memory, temporary storage and network bandwidth. Filter by purpose (General purpose, Compute optimized, Memory optimized) to find a balance between performance and cost. Disks Choose the OS disk type and size and optionally add data disks. Azure offers Standard HDD, Standard SSD, Premium SSD, and Ultra Disk options — select based on performance and cost.
  • OS disk: set type and minimum size (typically 30 GB for many images).
  • Data disks: attach additional managed disks for application or database storage.
  • Encryption/KMS: use platform-managed keys by default, or configure customer-managed keys (CMK) with Azure Key Vault for extra control.
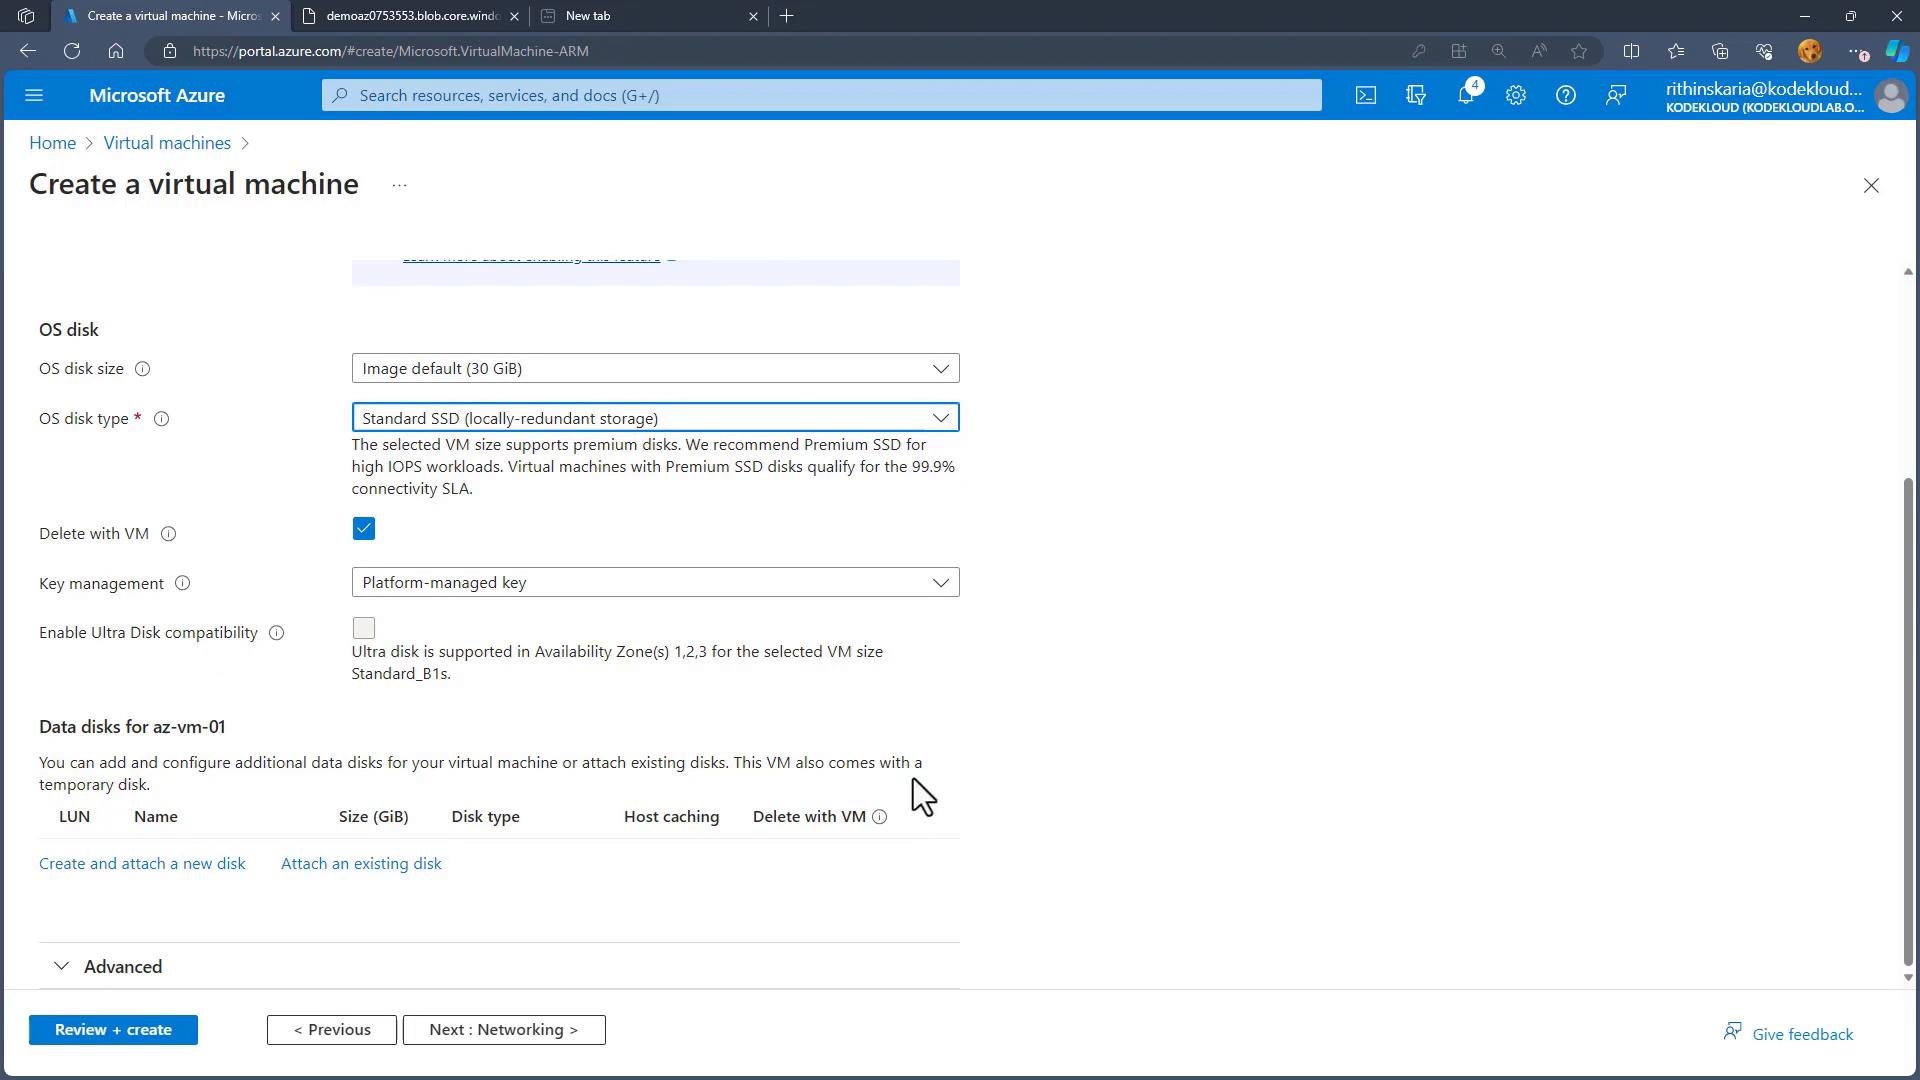
A screenshot of the Microsoft Azure portal on the "Create a virtual machine" page showing OS disk settings (OS disk size and type, delete-with-VM option, key management and Ultra Disk compatibility) and a section for data disks, with "Review + create" and navigation buttons at the bottom.
Networking Configure virtual network, subnet, public IP, NIC, and NSG rules. Decide if the VM requires a public IP (for direct internet access) or should be placed behind a load balancer or Application Gateway for load distribution and protection.
  • Virtual network & subnet: select existing vNet or create a new one.
  • Public IP address: optional; consider using private IP only for backend VMs.
  • Network Security Group (NSG): define inbound/outbound rules to restrict traffic.
  • Load balancer/Application Gateway: place VMs behind these for scale or web traffic management.
Management & Monitoring The Management blade contains identity, security, diagnostics, backup, and monitoring settings.
  • Defender for Cloud: enable security recommendations and controls.
  • Identity: assign a system-assigned or user-assigned managed identity for resource access without credentials.
  • Azure AD login: enable Azure AD authentication for supported OS images.
  • Auto-shutdown: schedule shutdown for non-production VMs to save costs.
  • Backup: enable Azure Backup to protect VM disks.
  • Diagnostics: enable boot diagnostics and guest-level monitoring to collect logs and metrics.
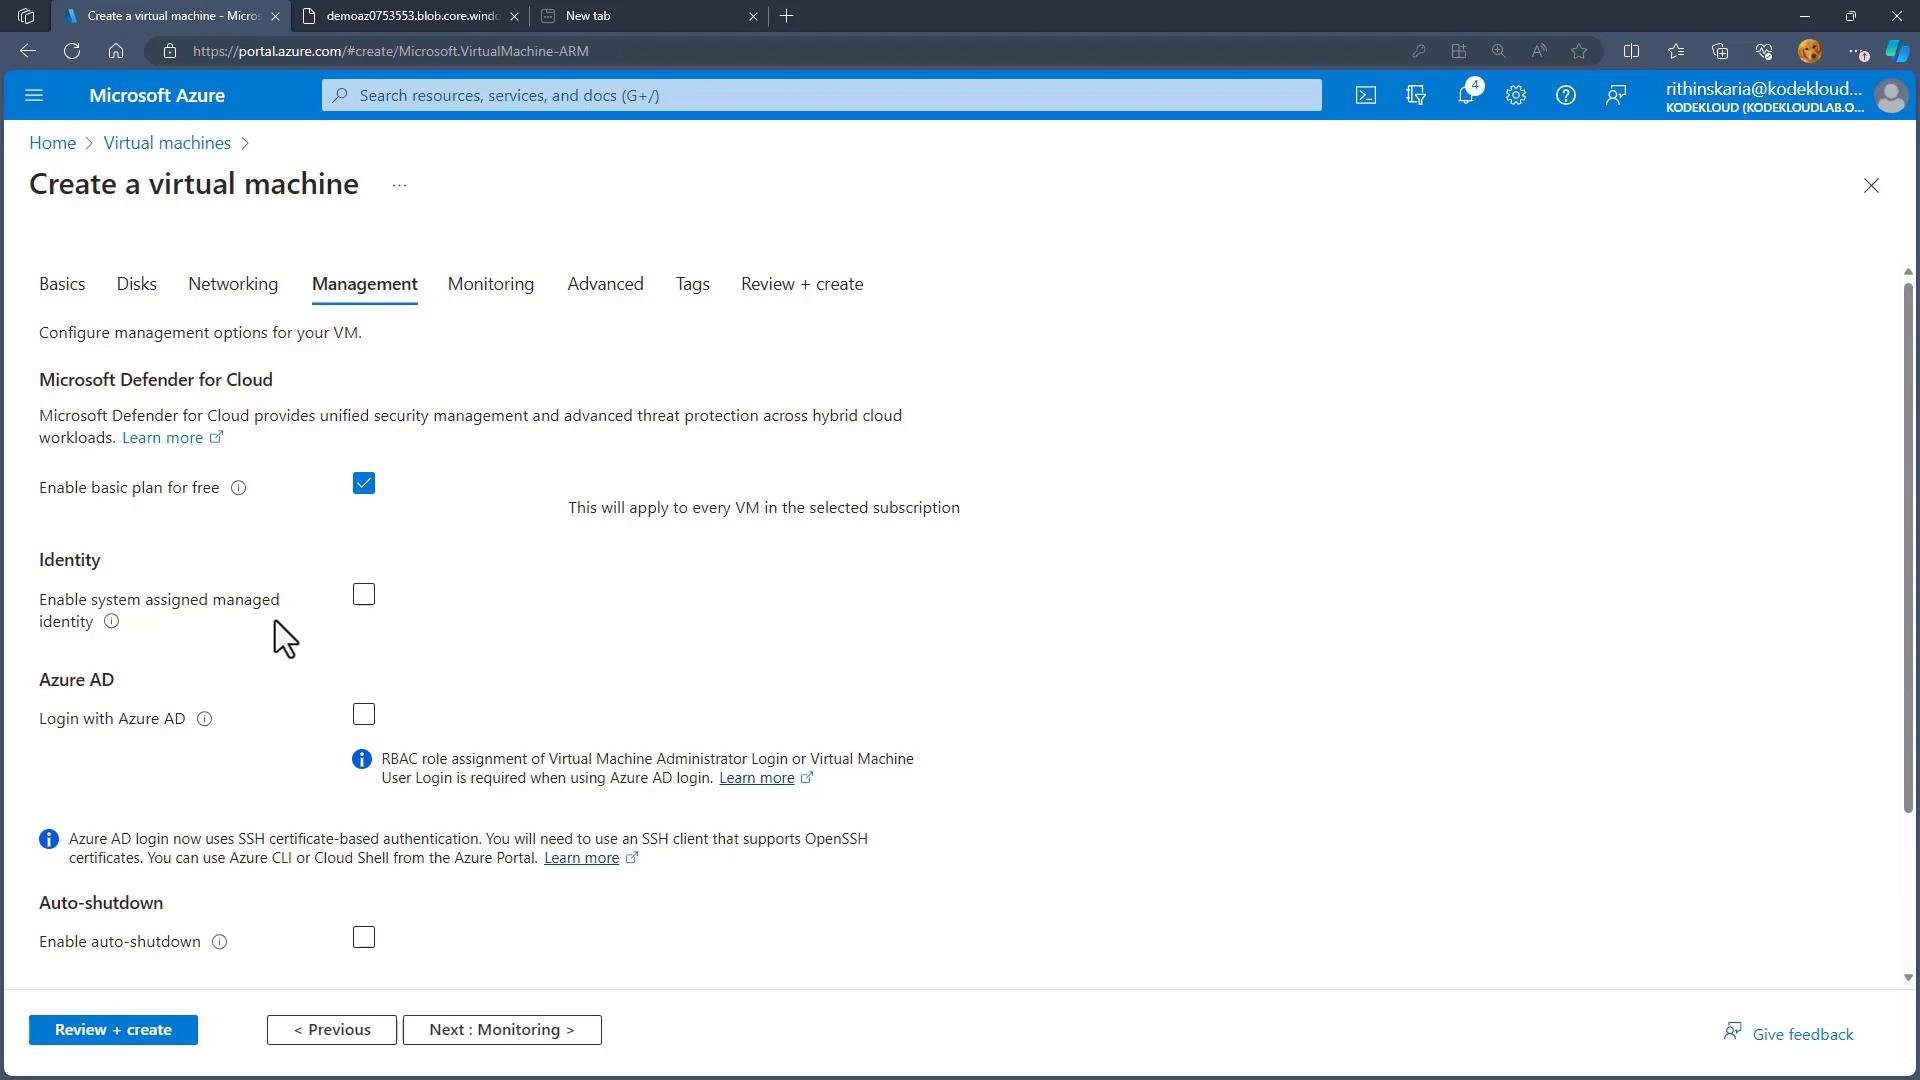
Screenshot of the Microsoft Azure "Create a virtual machine" wizard open to the Management tab. It shows settings such as Microsoft Defender for Cloud, Identity (system-assigned managed identity), Azure AD login, auto-shutdown, and navigation buttons like "Review + create" and "Next: Monitoring."
Advanced and Tags
  • Extensions: add post-deployment extensions such as the custom script extension or monitoring agents.
  • Tags: apply tags (key:value) to organize resources for billing and automation.
Review + Create After completing the blades, click Review + create. Azure validates your configuration; if validation passes click Create. Deployment will provision the VM and any dependent resources (NIC, public IP, NSG, storage, etc.). PowerShell and Azure CLI examples Use Cloud Shell or install Az module / Azure CLI locally to automate VM creation. Examples below demonstrate the same high-level deployment as the portal. PowerShell (Az module) — New-AzVm creates the VM and related resources if needed:
Azure CLI — create a Linux VM. Prefer SSH keys (--generate-ssh-keys) for production. The following shows a password example (not recommended for production):
Connecting to the VM
  • Linux: connect with SSH (e.g., ssh adminuser@<public-ip>), using the private key if you created one.
  • Windows: use RDP or Azure Bastion for secure access without exposing RDP to the internet.
If you automated the deployment, run these CLI/PowerShell examples from Cloud Shell or your local workstation with the proper Azure tooling and authenticated session. Next steps After you connect:
  • Perform initial configuration: install updates and required packages.
  • Harden the VM: configure OS-level firewalls, system updates, and user access controls.
  • Configure monitoring and backups: enable Azure Monitor alerts and Azure Backup for data protection.
Links and references Now that you know how to deploy a VM, connect to it and apply your configuration and security policies to prepare it for production use.

Watch Video

Practice Lab