

- How resource groups are used to organize and manage resources
- Common organization strategies and their trade-offs
- Key resource group behaviors and constraints
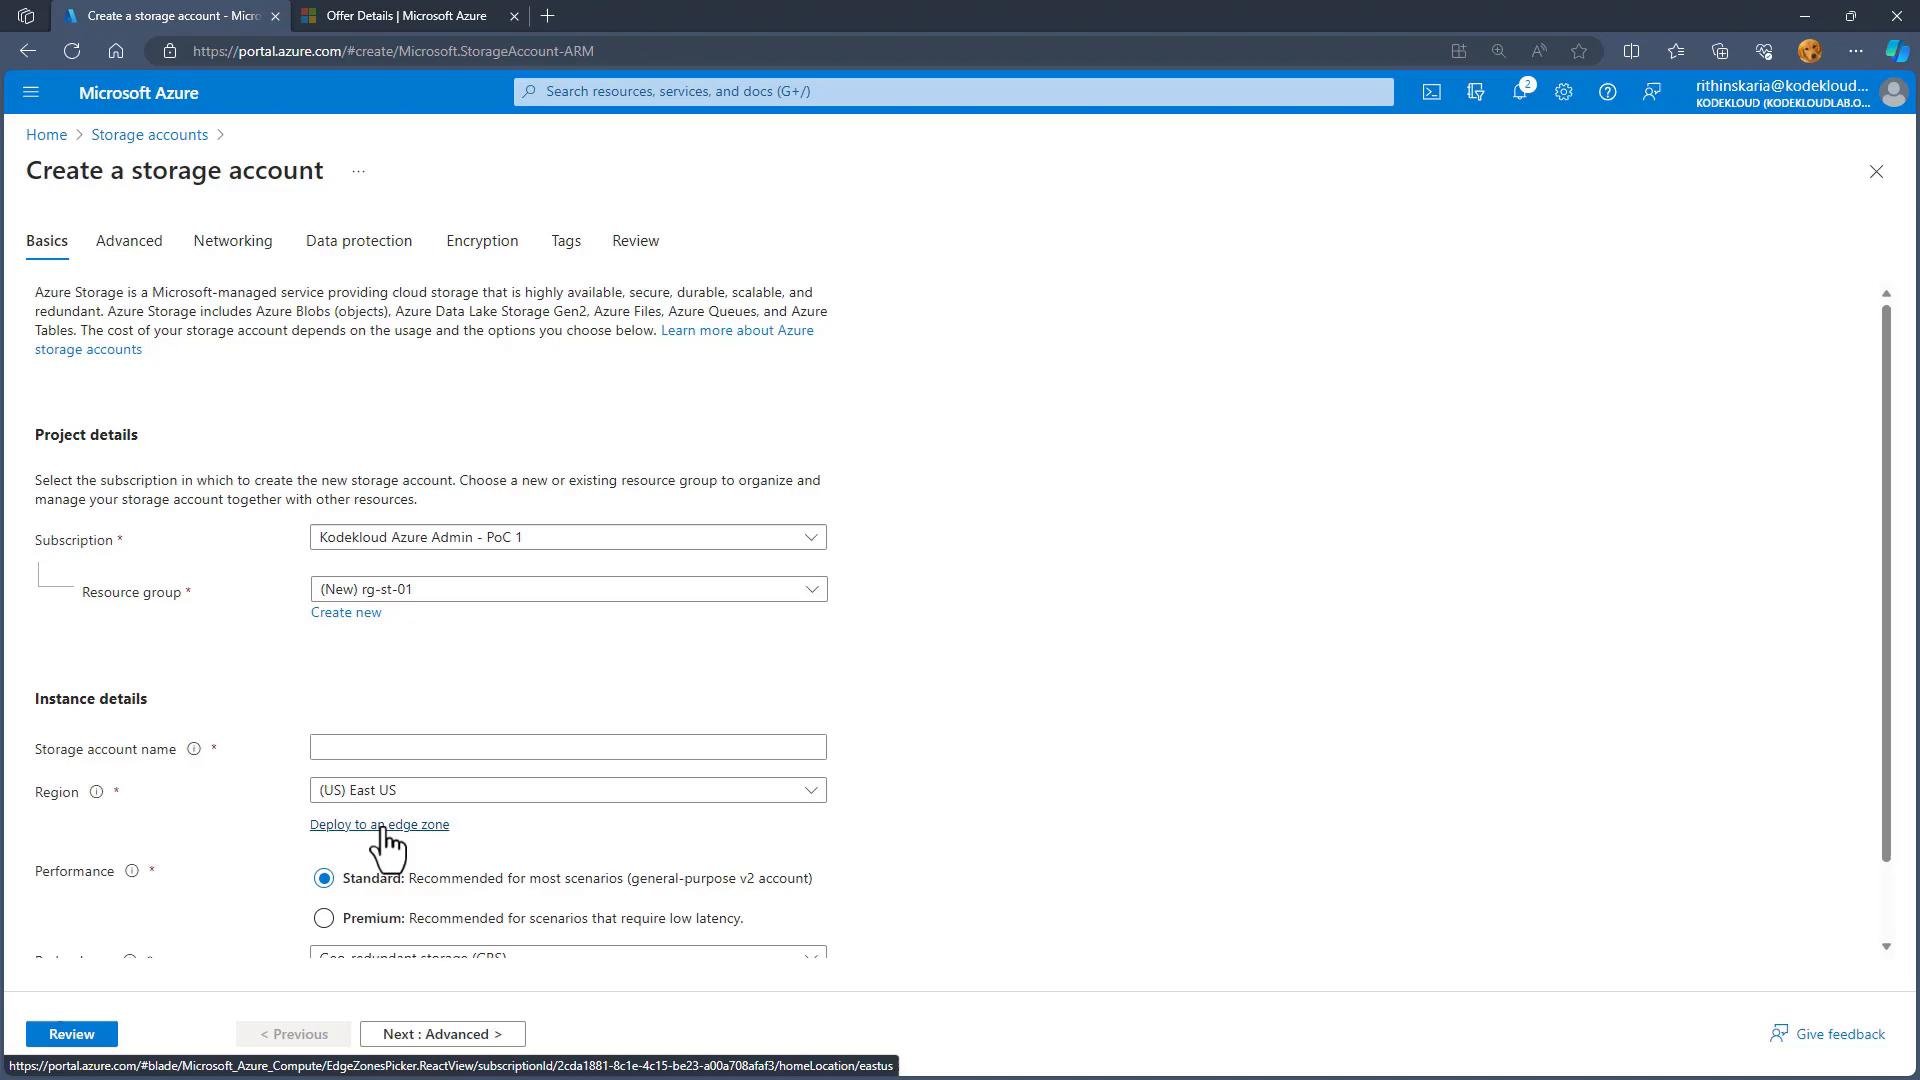
- How to create a resource group in the portal and reference it when deploying resources
- How quotas and limits work and how to view or request quota increases
What is a resource group?
A resource group is a logical container for Azure resources. It stores control-plane metadata in a specified Azure region, while the resources themselves can be deployed to any supported region. Key characteristics:- A resource can belong to only one resource group at a time.
- Resource group metadata (control plane) is stored in the resource group’s region.
- Resources inside a group can be deployed to different regions.
- Resource group names cannot be changed after creation.
- Resource groups cannot be nested; design your naming and structure accordingly.
Common organization strategies
Choose the organization strategy that fits your operational model and governance needs.
Note: These are organizational patterns only — they do not alter network connectivity. Resources across resource groups can still communicate when networking (VNets, peering, NSGs) is configured appropriately.
Important resource group behaviors
- You can move resources between resource groups or subscriptions using the Move operation (portal, PowerShell, CLI, REST).
- Azure Resource Mover is a separate service for moving resources between regions; use it when moving resources across regions.
- Use tags and consistent naming to improve discoverability and cost allocation.
Create a resource group in the Azure portal
Let’s create a resource group through the Azure portal — this demonstrates the portal experience.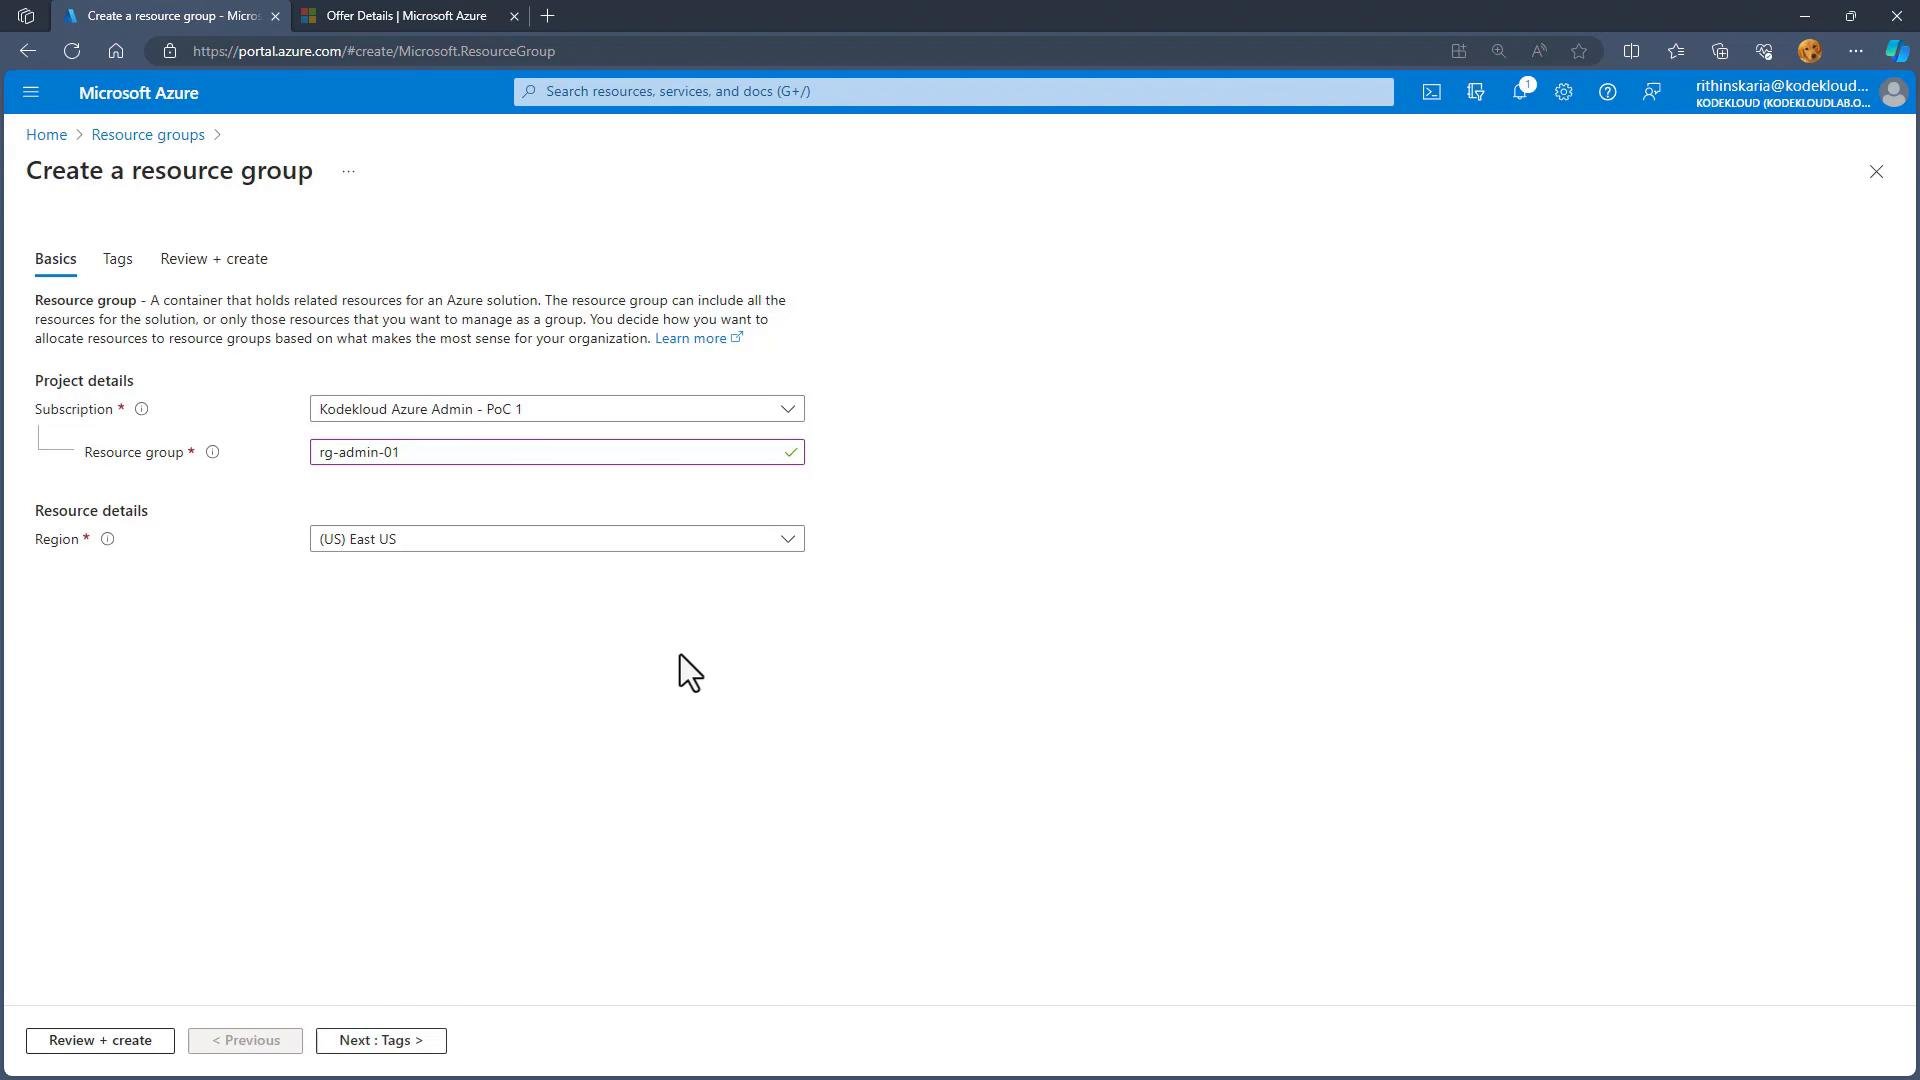
- Click Create and search for “Resource groups” (or use the left-hand menu).
- Select the Subscription where you want to create the group.
- Enter the Resource group name (cannot be changed later).
- Select the Region for the resource group (this is where the group metadata is stored).
- Optionally add Tags for cost allocation and filtering.
- Click Review + Create and then Create to finalize.
Create and manage resource groups via CLI, PowerShell, or REST
Examples:- Azure CLI
- Azure PowerShell
- REST API See the Resource Groups REST API: https://learn.microsoft.com/azure/azure-resource-manager/management/resource-groups
Tip: Use Tags and consistent naming conventions to make resource groups easier to search, filter, and report on for cost allocation and policy enforcement.
Service limits and quotas (why they matter)
Quotas and limits prevent accidental overprovisioning, protect platform stability, and ensure fair resource distribution across tenants. They are applied at different scopes (subscription, region, resource provider) and may be either adjustable (soft limits) or non-adjustable (hard limits). Practical implications- Quotas help you plan capacity (for example, vCPU quotas per region).
- Soft limits can usually be increased by request; hard limits cannot.
- If you cannot raise a hard limit, using additional subscriptions can increase capacity but adds management overhead.
Quota types and examples
Important: If you are using a free trial or sponsored subscription, quota increase approvals are less likely. Paid production subscriptions generally have a higher chance of approval.
Viewing and managing quotas in the portal
To inspect quotas and current usage:- Open the Subscription in the Azure portal.
- Go to Usage + quotas (or Limits + quotas / Usage + quotas).
- Select the provider or service (for example, Compute or Storage).
- Optionally filter by region and review current usage versus quota.
- The portal indicates which quotas are adjustable and which require a support request.
- For adjustable quotas, you can often submit a request directly from the portal.
- For non-adjustable limits, consider alternative strategies such as additional subscriptions.
- Azure Resource groups overview: https://learn.microsoft.com/azure/azure-resource-manager/management/overview
- Quotas and limits: https://learn.microsoft.com/azure/azure-resource-manager/management/azure-subscription-service-limits
- Move resources between subscriptions or resource groups: https://learn.microsoft.com/azure/azure-resource-manager/management/move-resource-group-and-subscription
Quick reference and best practices
- Resource group naming: plan names carefully — they cannot be changed later.
- Governance: apply RBAC and Azure Policy at the resource group level for scoped control.
- Tags: use for cost allocation and automated reporting.
- Move vs. migrate: use Move for resource group/subscription reorganization and Azure Resource Mover for cross-region migrations.
- Quotas: monitor usage, request increases early, and maintain a plan for hard limits (additional subscriptions or architecture changes).
- Resource groups are logical containers for organizing and scoping management of Azure resources.
- Choose an organization strategy (by application or by resource type) that fits your operations.
- Resource group metadata is stored in the group’s region; resources can be deployed across regions.
- Resource groups cannot be renamed or nested, but resources can be moved between groups or subscriptions.
- Azure enforces quotas at subscription and regional levels; many quotas are adjustable while some are hard limits.
- Use the portal, CLI, PowerShell, or REST APIs to manage resource groups and request quota changes when needed.