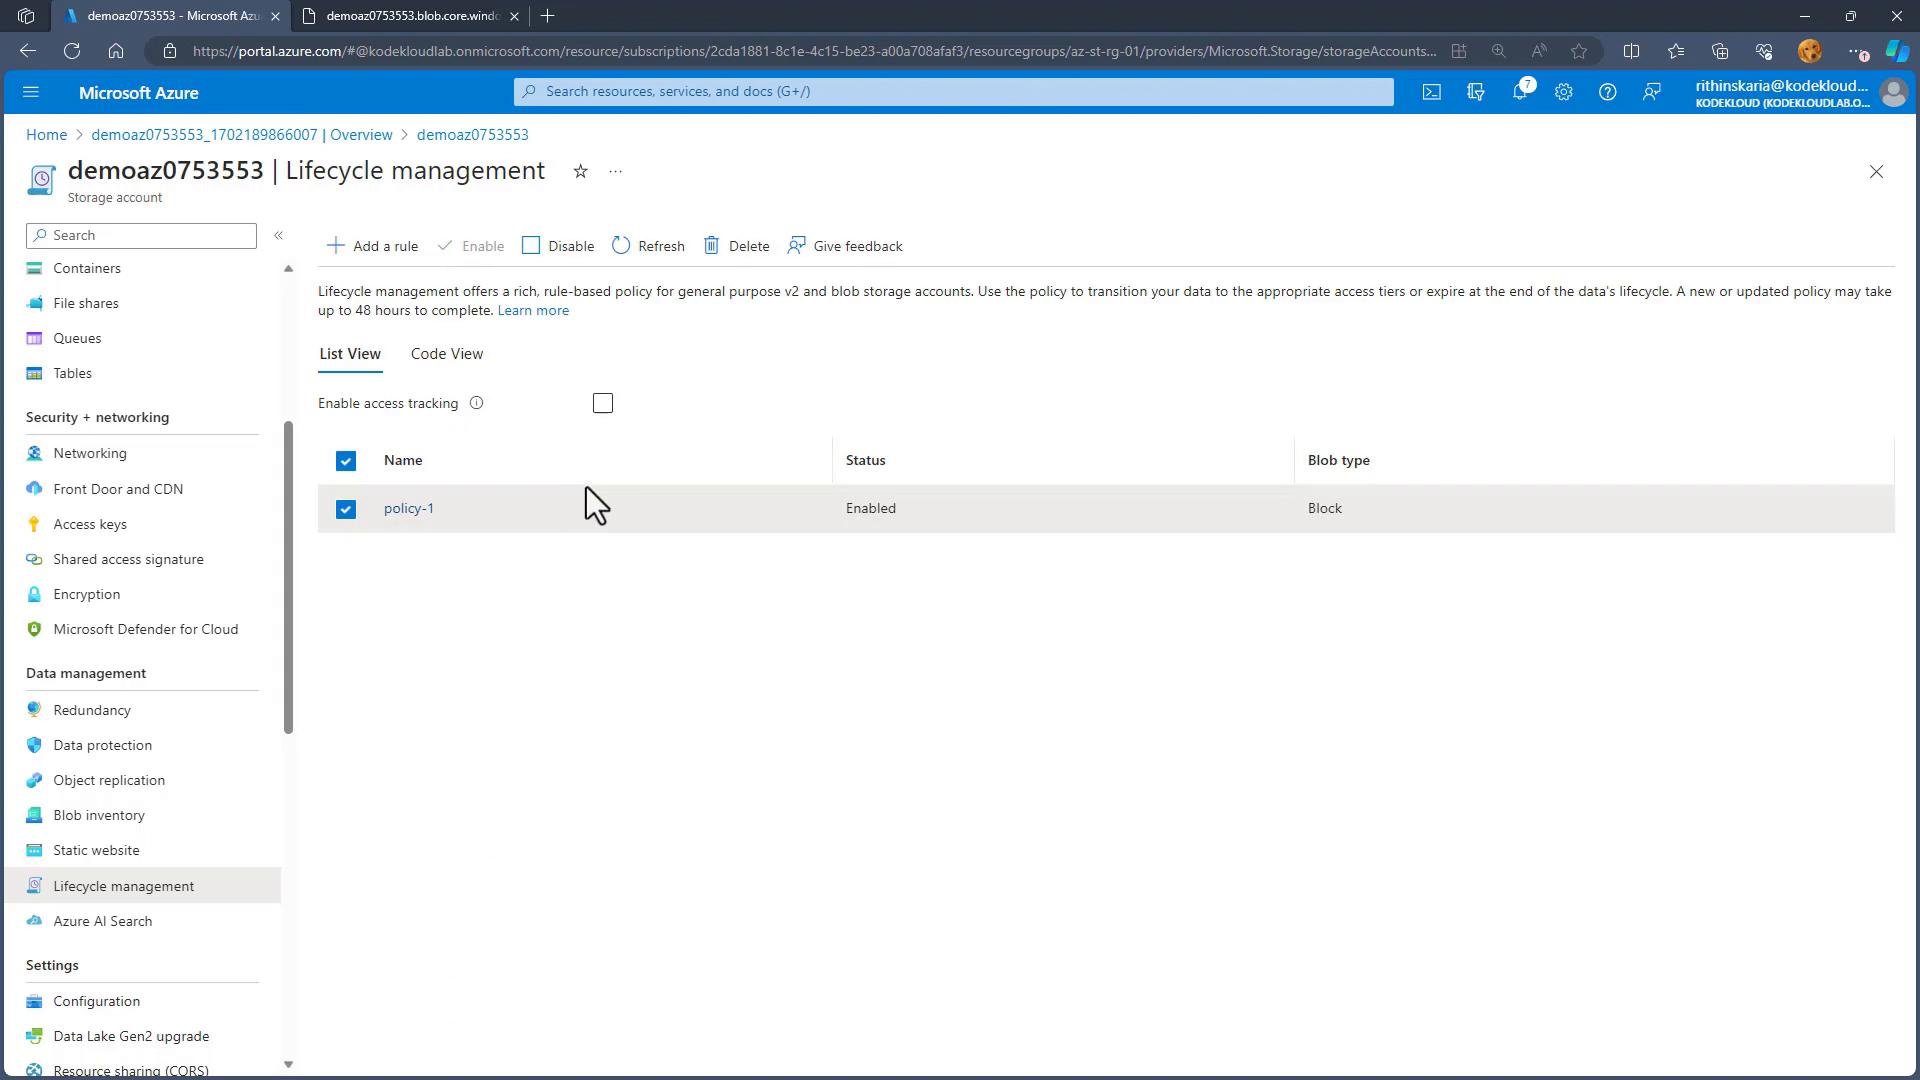
Blob Lifecycle Management is available only for Blob Storage and General Purpose v2 (GPv2) storage accounts. If your account is General Purpose v1 (GPv1), upgrade it to GPv2 to use lifecycle policies.
Blob Lifecycle Management provides policy-based transitions of blobs between tiers and automatic deletion of blobs and snapshots based on rules you configure.
- Automatically transition blobs to cooler tiers based on
lastModifiedorlastTierChangedates. - Automatically delete blobs and blob snapshots after a configured number of days of inactivity.
- Scope policies using filters such as blob name prefixes, blob index tags, blob types (e.g.,
blockBlob,appendBlob), or a combination of these. - Target base blobs, blob versions, and snapshots with separate actions and conditions.
- Be enabled or disabled.
- Specify filters (prefixes, blob index tags, and blob types).
- Specify actions for base blobs, blob versions, and snapshots using actions like
tierToCool,tierToArchive, anddelete. - Use conditions such as
daysAfterModificationGreaterThananddaysAfterLastTierChangeGreaterThan.
Typical lifecycle rule behaviors
- Move base blobs to Cool if not modified for 60 days.
- Move base blobs to Archive if not modified for 180 days.
- Delete base blobs if not modified for 365 days.
- Skip blobs that were rehydrated or had a tier change within the last 7 days.
- Sign in to the Azure portal and open your storage account.
- In the left-hand menu, select Lifecycle management under Data management.
- Use the List view and click Add rule to create a rule without editing JSON directly.
- Enter a name (for example,
policy-1) and choose whether the rule is enabled. - Limit the rule scope with filters (apply to all blobs or specific prefixes/tags).
- Select blob types and targets: base blobs, versions, snapshots, block blobs, or append blobs.
- Define actions and conditions (for example, set days after modification or days after last tier change).
- Save the rule. You can view or edit the generated JSON representation at any time.
- Use tag-based filters to apply policies to specific datasets without relying only on prefixes.
- Test rules on a small subset (prefix or tag) before applying broadly.
- Consider
daysAfterLastTierChangeGreaterThanto avoid repeated tier-churn after rehydration or manual tier changes. - Keep separate rules for different retention and tiering requirements (for example, media files vs. logs).