This article compares various Azure administrator tools, highlighting their unique features and how they enhance resource management efficiency.
This article offers a detailed comparison of the various administrator tools available in Azure, including Azure Portal, Azure Cloud Shell, Azure PowerShell, and Azure CLI. Each tool provides unique features that can enhance your daily workflow and help you manage Azure resources more efficiently.
Azure Portal is a user-friendly, graphical interface designed for managing and organizing your Azure resources. With its intuitive design, you can perform tasks quickly, such as restarting a virtual machine. For example, you can execute the following command to restart a VM:
az vm restart -g MyResourceGroup -n MyVm
Azure Portal is not only a gateway to your services but also a comprehensive hub filled with learning resources and detailed documentation. The built-in “learn more” hyperlinks and the availability of a mobile application make it perfect for managing operations such as scaling databases or creating virtual machines on the go.
For those who prefer working in a command-line interface via a web browser, Azure Cloud Shell is an excellent choice. This tool offers both Bash and PowerShell environments, allowing you to choose the interface that best aligns with your experience.Restarting a virtual machine using Cloud Shell is as simple as running:
az vm restart -g MyResourceGroup -n MyVm
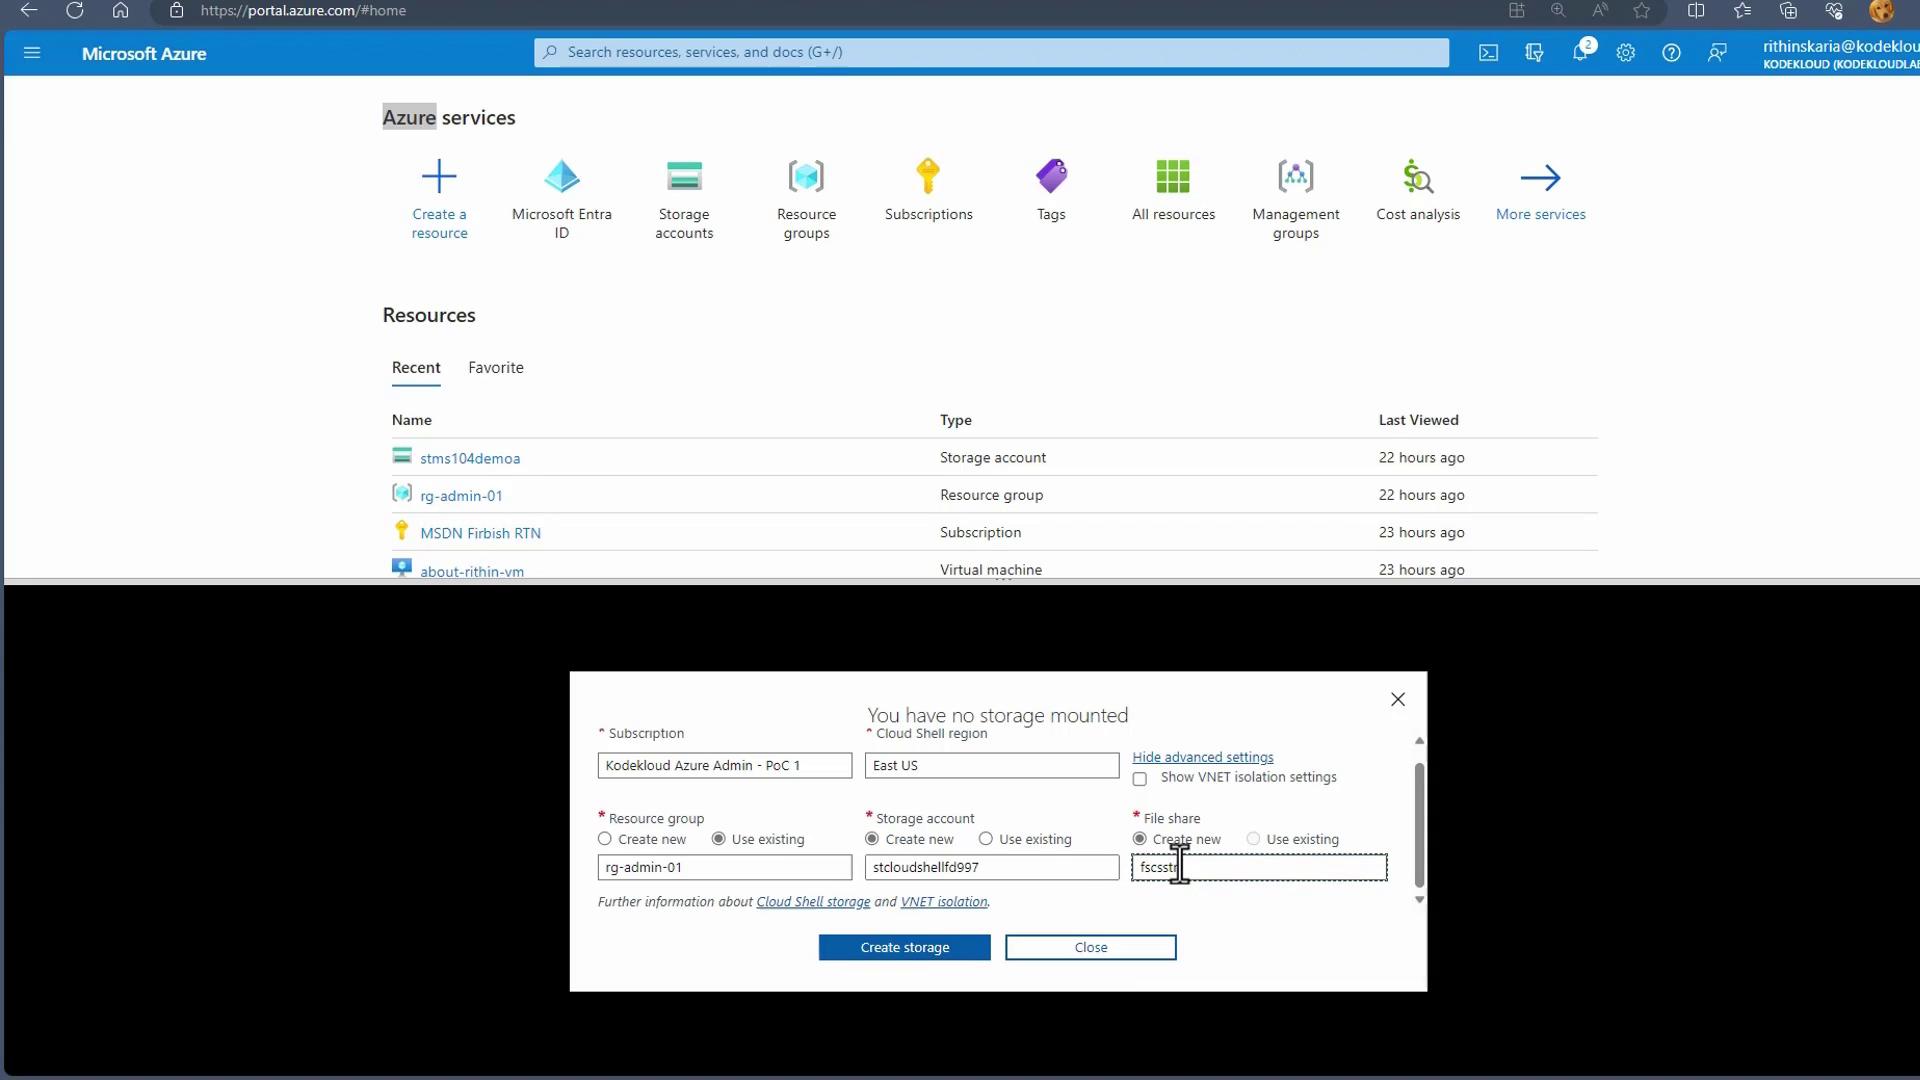
With an automatic sign-in using your Azure credentials, Cloud Shell maintains your session for 20 minutes of inactivity. This feature is ideal for short-lived tasks. However, be aware that long-running operations might be interrupted by session timeouts.When you access Cloud Shell through the Azure Portal by clicking the terminal icon, you will be prompted to create a Storage Account if one does not already exist. For instance, if there is no existing storage account, you might see a pop-up like the following:
Once you create the storage account (e.g., in East US with a unique name and an associated file share), Cloud Shell launches and displays your cloud drive. An example session may resemble:
Requesting a Cloud Shell. Succeeded.Connecting terminal...Welcome to Azure Cloud ShellType "az" to use Azure CLIType "help" to learn about Cloud ShellStorage fileshare subscription 2cda1881-8c1e-4c15-be23-a00a708afaf3 is not registered to Microsoft.CloudShell Namespace. Please follow these instructions "https://aka.ms/RegisterCloudShell" to register. Unregistered subscriptions will have restricted access to CloudShell service.rithin [ ~ ]$ lsclouddriverithin [ ~ ]$
Azure Cloud Shell allows you to easily switch between Bash and PowerShell, create files, and clear the screen, providing a flexible environment for your command-line activities.
Azure PowerShell and Azure CLI are robust, terminal-based utilities that facilitate command-line operations and script automation. These tools are platform-independent, running seamlessly on Windows, Linux, and macOS, making them ideal for automated deployments.For example, to restart a virtual machine, you can use the same command previously demonstrated:
You can install Azure PowerShell on your computer, and the process is straightforward regardless of your operating system. After installation, verify your environment with the following commands:
$PSVersionTable.PSVersion
Get-Module -Name AzureRM -ListAvailable
To sign in, use a browser-based login:
Login-AzAccount
If you prefer device authentication without launching a browser automatically, run:
Login-AzAccount -UseDeviceAuthentication
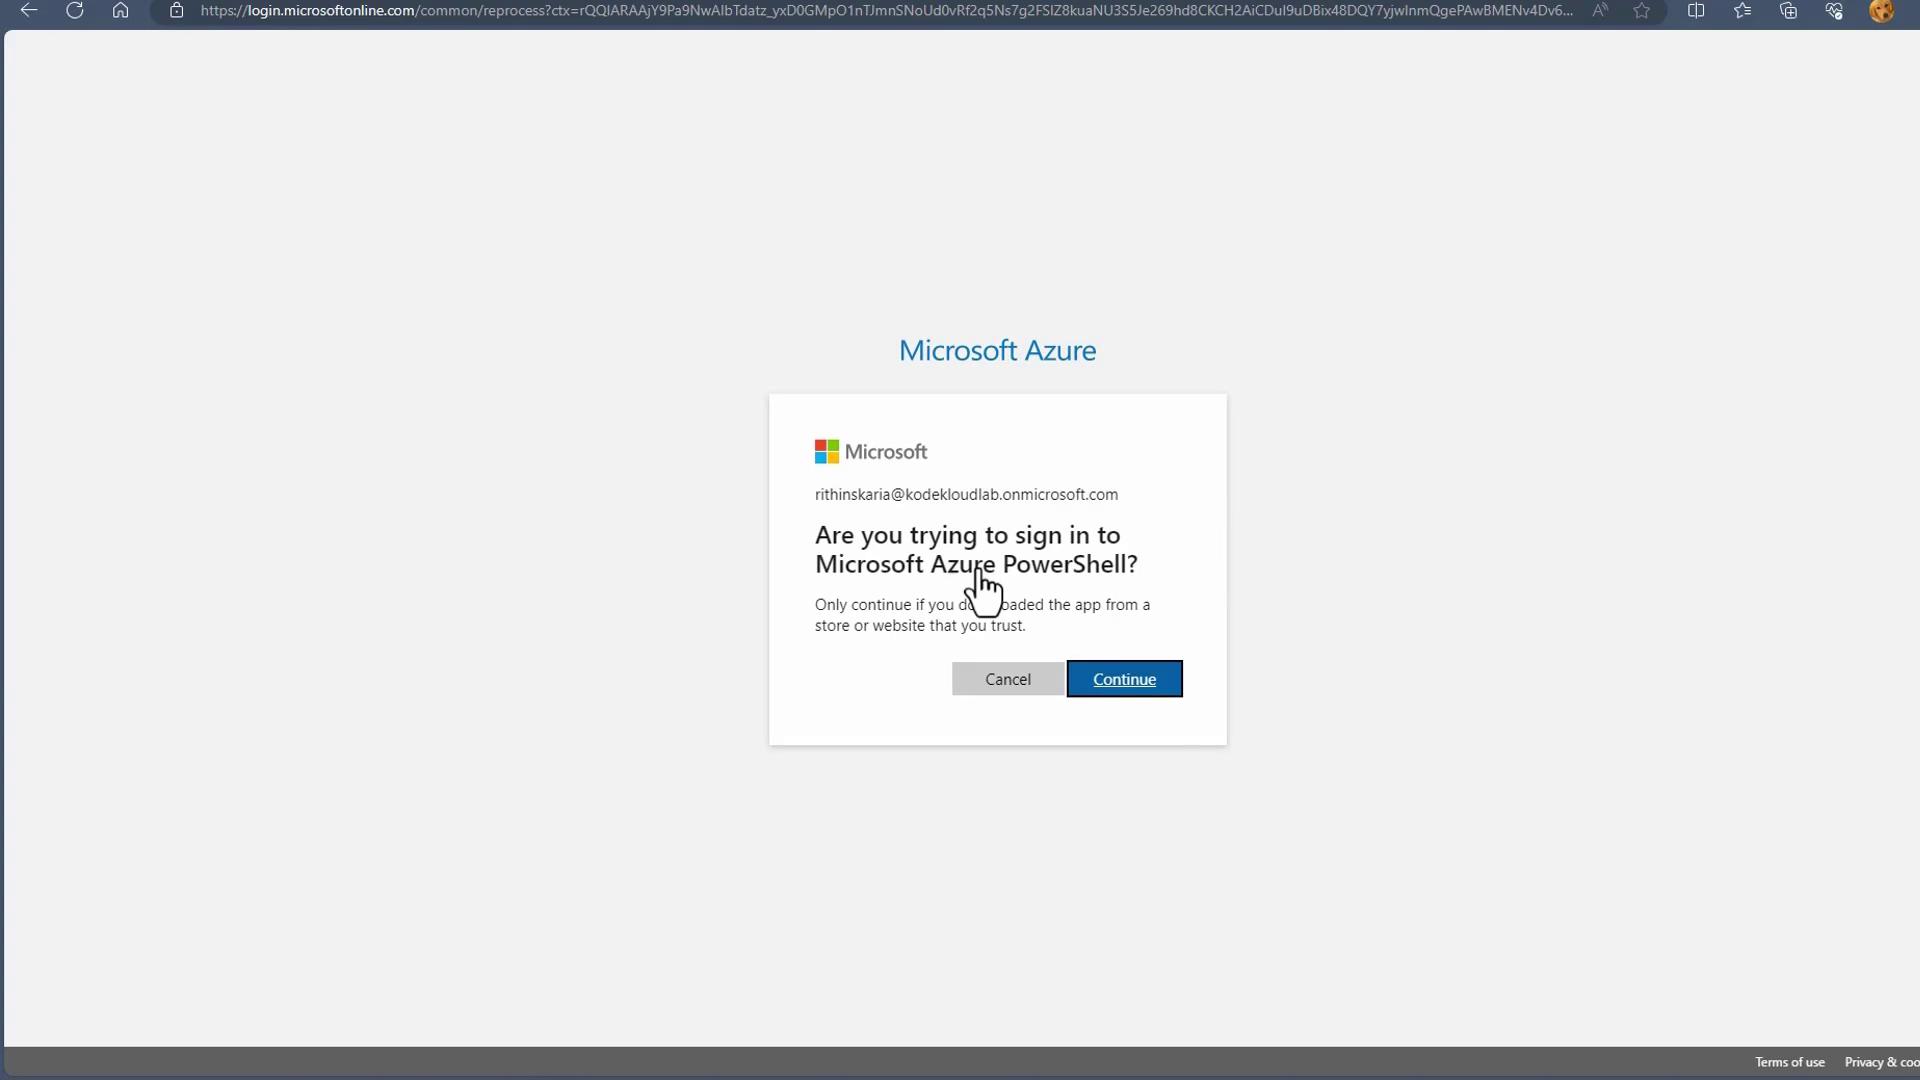
This command displays a code (e.g., DJ9CKZBF2) along with instructions to navigate to https://aka.ms/devicelogin. After entering the code in your browser and completing the login process, your terminal will update with your subscription details. An example output is shown below:
Azure CLI is another popular tool, which after installation allows you to log in using:
az login
After logging in, simply running the command “az” will display a list of base commands available, such as account management, container registries (acr), Active Directory management (ad), and Advisor. Here’s an introductory message from Azure CLI:
azWelcome to Azure CLI!------------------------Use `az -h` to see available commands or go to https://aka.ms/cli.Telemetry-----------The Azure CLI collects usage data in order to improve your experience.The data is anonymous and does not include command line argument values.The data is collected by Microsoft.You can change your telemetry settings with `az configure`.Azure------------------------Welcome to the cool new Azure CLI!Use `az --version` to display the current version.Here are the base commands: account : Manage Azure subscription information. acr : Manage private registries with Azure Container Registries. ad : Manage Azure Active Directory Graph entities needed for Role Based Access Control. advisor : Manage Azure Advisor.
Both Azure PowerShell and Azure CLI offer similar functionalities, allowing you to list subscriptions, execute automation scripts, and integrate with other services. Their robust command-line interfaces provide a powerful way to manage your Azure resources programmatically.
For users with a .NET background, Azure PowerShell provides rich object-oriented outputs, while Azure CLI may be preferable for those looking for simplicity and quick command responses, such as for container image deployment and management.
In summary, selecting the right administration tool in Azure depends on your specific needs:
Azure Portal: Best for quick, ad hoc tasks with its intuitive and interactive graphical interface.
Azure Cloud Shell: Ideal for administrators who prefer a cloud-based command-line experience without local setup.
Azure PowerShell and Azure CLI: Perfect for automation and scripting, enabling cross-platform command-line management.
By understanding the features and capabilities of each tool, you can choose the solution—or combination of solutions—that best supports your workflow and helps manage your Azure environment efficiently.Up next, we will explore Azure Resource Manager and uncover its powerful capabilities for resource deployment and management.For additional information on managing Azure resources, check out the following resources: