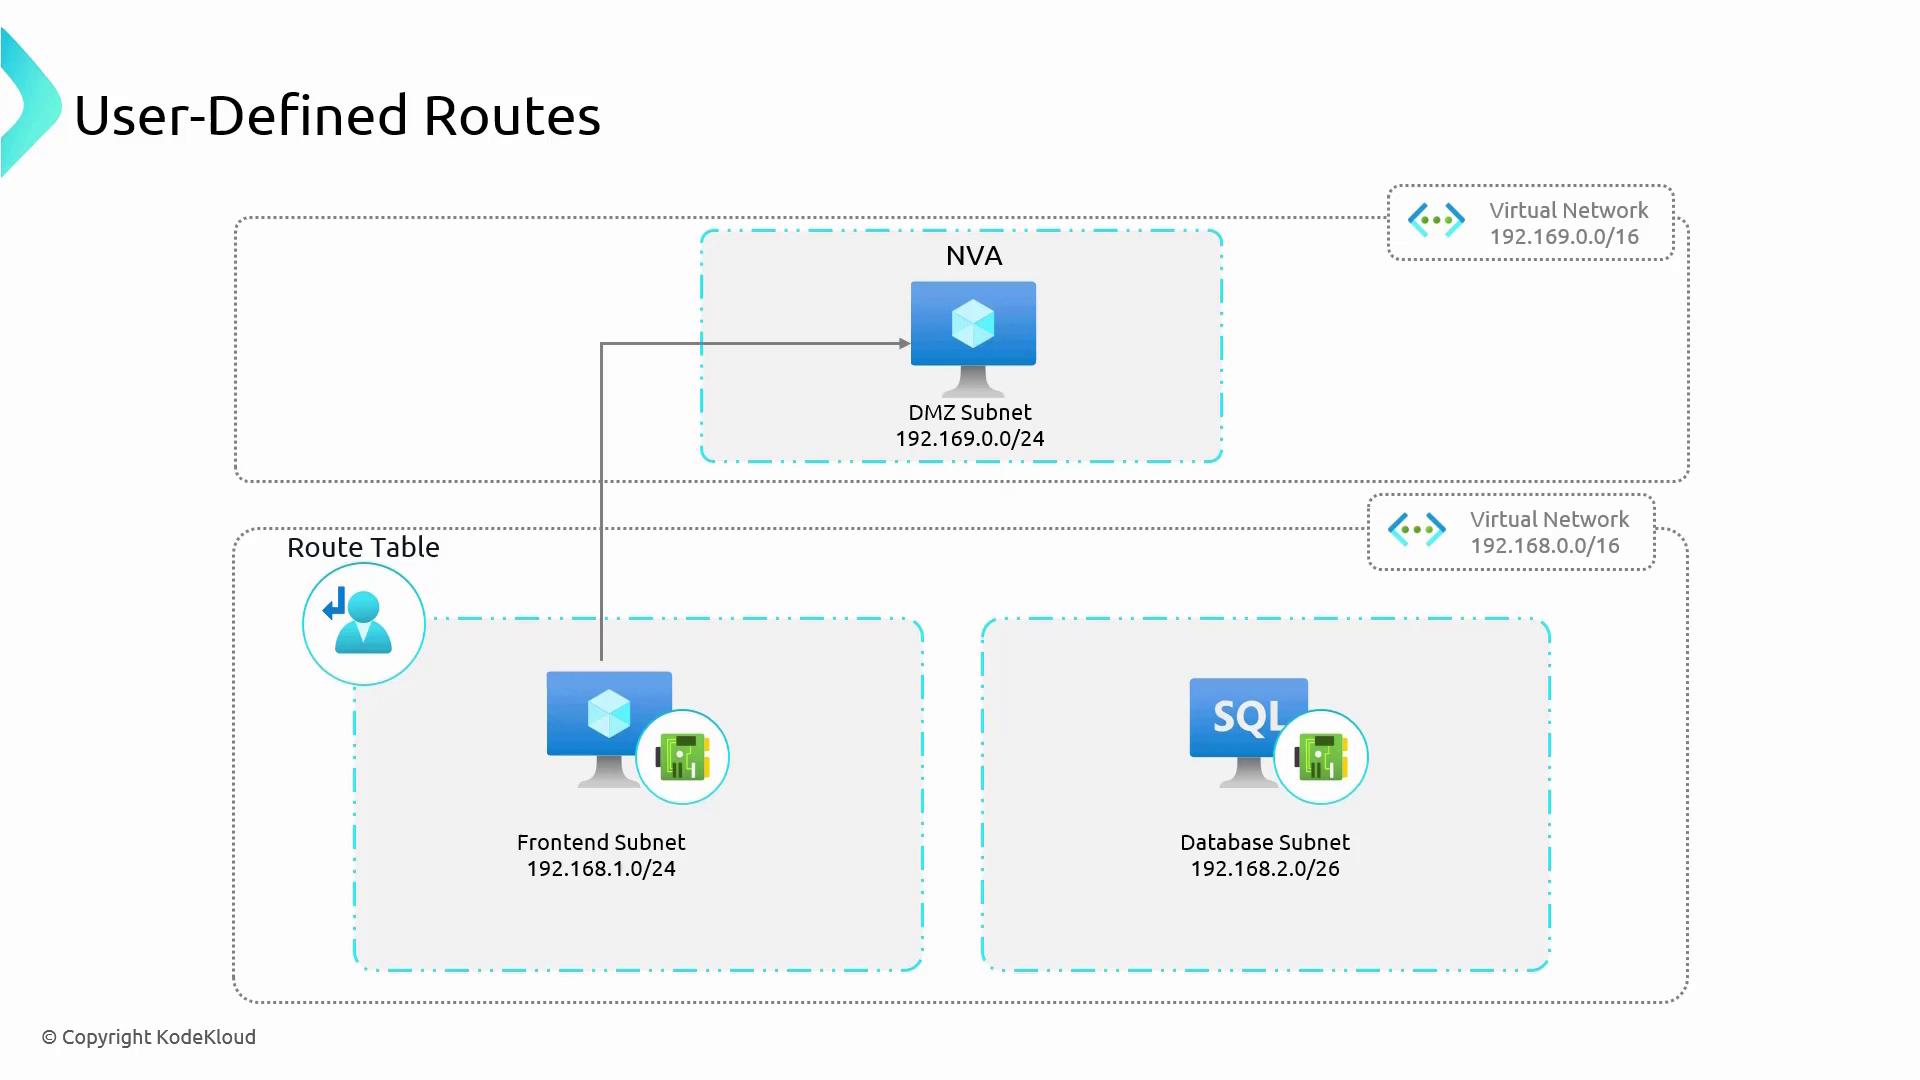
Virtual Network Traffic and System Routes
By default, system routes allow seamless communication between VMs in the same subnet or across subnets within a virtual network. For example:- VMs within the same subnet can ping one another.
- VMs can access external resources (like NTP servers or Windows updates) using outbound connectivity.
When to Use User-Defined Routes
Imagine a scenario where traffic from a frontend subnet must communicate with a database subnet. Normally, system routes would enable direct connectivity between these subnets. However, if your organization’s security policy requires that all traffic from the frontend to the database passes through an NVA (acting as a firewall), then default routing is insufficient. To enforce this level of security:- Create a route table to redirect traffic from the frontend subnet to the NVA’s IP address.
- Associate the route table with the frontend subnet.
- Ensure there is a peering connection between the virtual network containing the frontend and database subnets and the network where the NVA is deployed.
Creating a Route Table in the Azure Portal
To configure a UDR in the Azure portal, follow these steps:- Sign in to the Azure portal and search for “Route table”.
- Create a new route table. For example, you could use a resource group named “inter-site” and name your route table “RT-inter-site”.
- Enable the “Propagate gateway routes” option to automatically include routes learned from connected gateways.
- Once deployed, you can add one or more user-defined routes to the table.
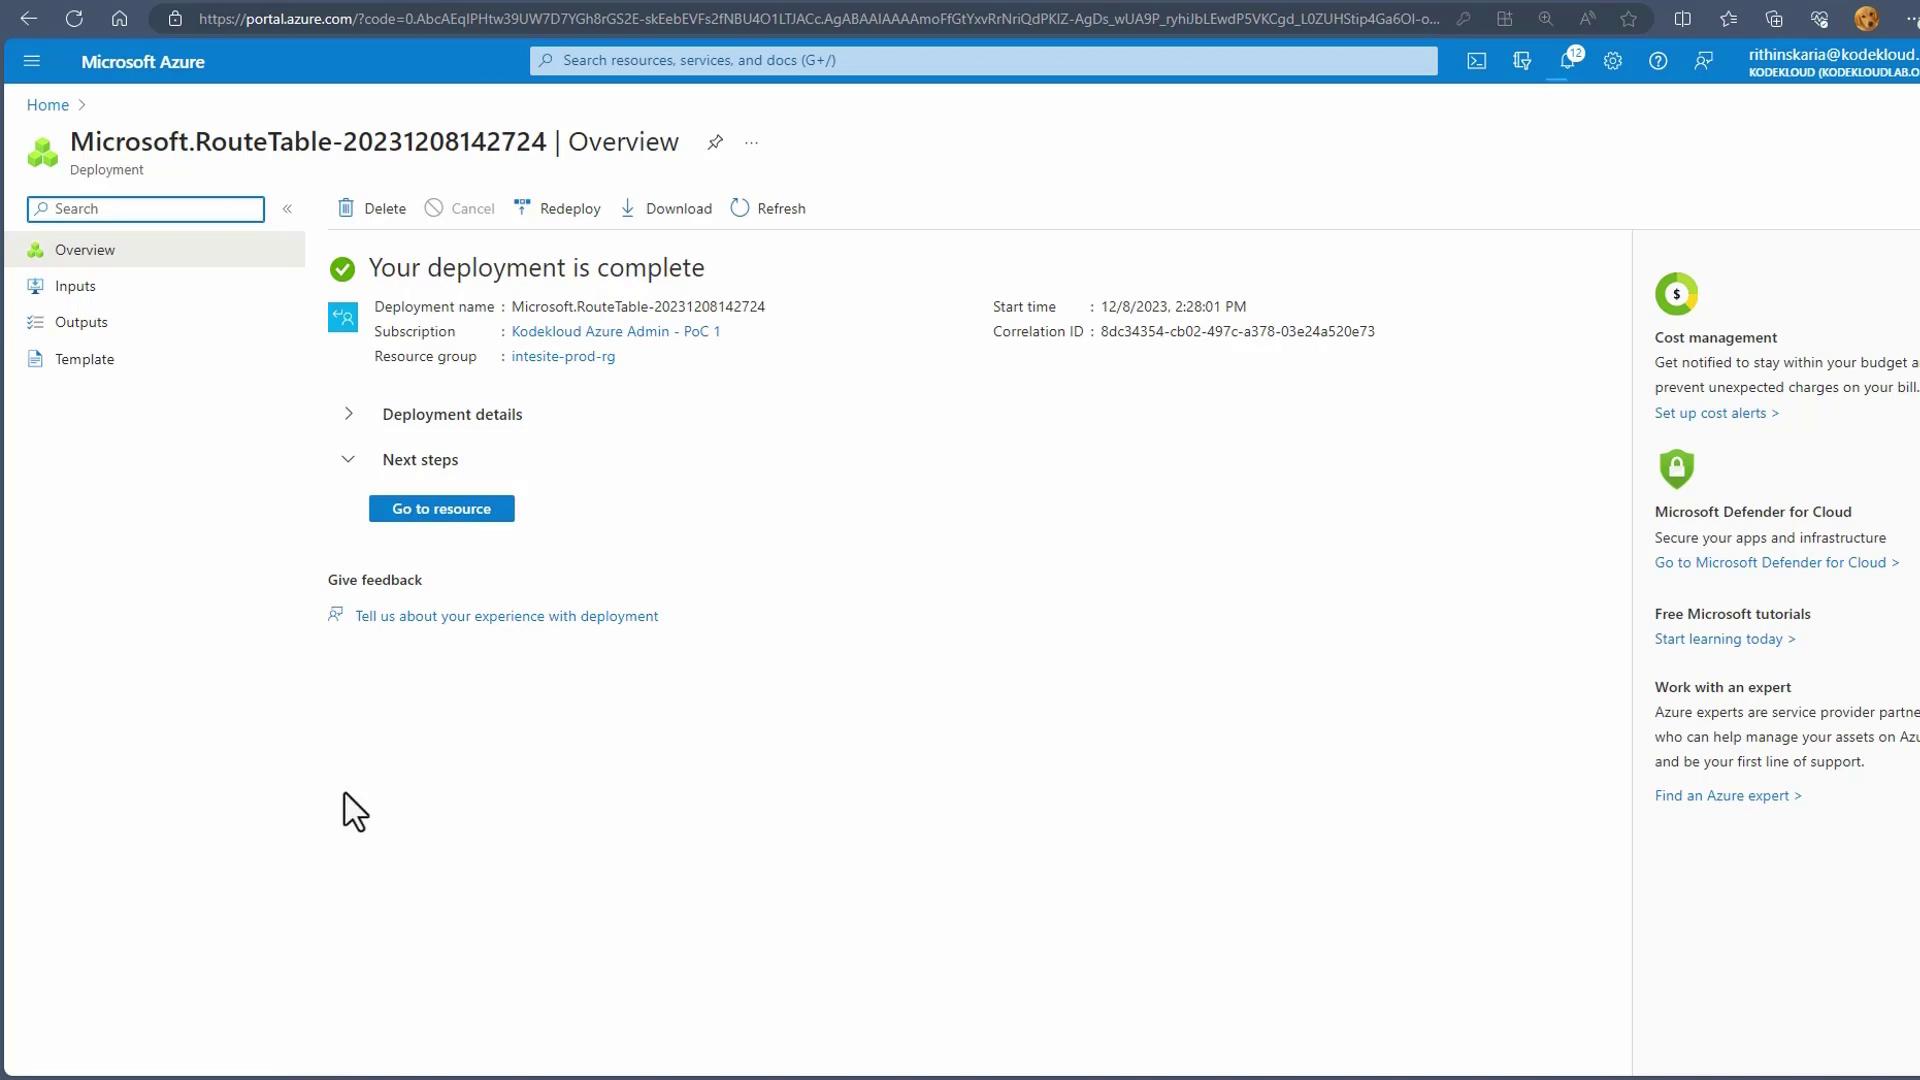
After deployment, review the deployment details to ensure your route table is configured correctly before association.
Associating the Route Table with a Subnet
- In the Azure portal, select your newly created route table and click on “Associate”.
- Choose the appropriate virtual network and subnet (for example, the default subnet).
- Associating the route table with the subnet ensures that all traffic from that subnet follows the defined routing rules.
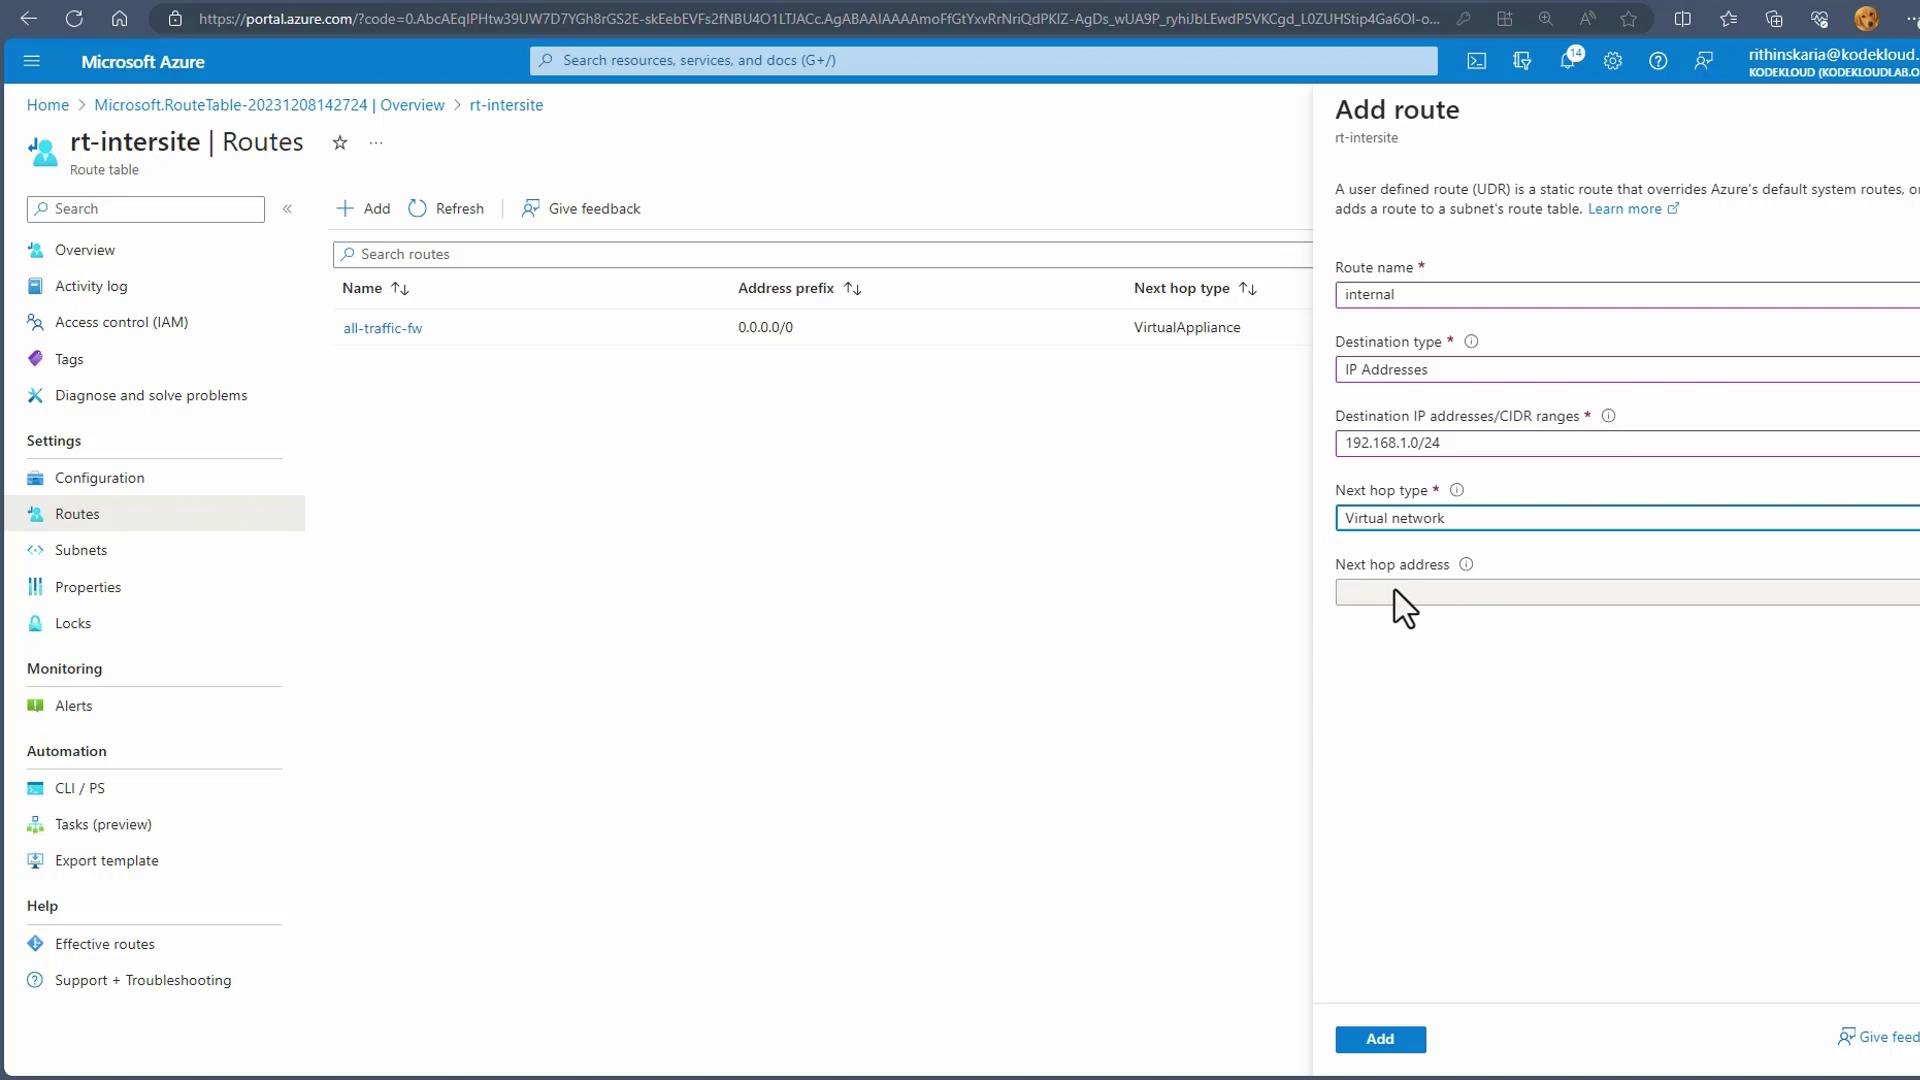
Adding User-Defined Routes
Suppose you want all traffic from the associated subnet to route through a firewall. To add a specific route:- Click on “Routes” within the route table and then click “Add”.
- Create a route (e.g., name it “all traffic firewall”) with these settings:
- Destination Type: IP address
- Destination IP address range: 0.0.0.0/0 (to capture all traffic)
- Next Hop Type: Virtual Appliance
- Next Hop IP Address: Enter the IP address of your firewall (e.g., 15.1.x.x)
- Click “Add” again within the route table.
- Create a route named “internal” with these settings:
- Destination Type: IP address
- Destination IP address range: 192.168.1.0/24
- Next Hop Type: Virtual network
When multiple routes are configured, Azure selects the route with the most specific address range. For example, a route for 192.168.1.0/24 takes precedence over one for 0.0.0.0/0. Adding an even more specific CIDR (like /27) will override both.
Route Priority
Azure’s routing engine selects the route with the most specific destination range. In the example above:- The route with destination 192.168.1.0/24 (more specific) is prioritized over the generic 0.0.0.0/0 route.
- If a route with an even narrower range (such as /27) is added, it will take precedence over both the /24 and /0 routes.
- General outbound traffic may be forwarded to a firewall.
- Specific traffic blocks, such as those for on-premises addresses, may be directed to a VPN Gateway.