This article explores Virtual Network Peering in Azure, detailing its benefits, configuration, and a demonstration setup for seamless connectivity between virtual networks.
Virtual Network Peering in Microsoft Azure enables seamless connectivity between separate virtual networks (VNets) as if they were part of a single, unified network. In this guide, you’ll explore the concept, benefits, and configuration of Virtual Network Peering, along with a detailed demonstration setup.
Virtual Network Peering simplifies the process of connecting resources across different VNets without the need for additional gateways, hubs, or public internet exposure. There are two primary types of peering:
Global VNet Peering: Connects VNets across different Azure regions.
Regional VNet Peering: Connects VNets within the same Azure region.
Both configurations offer secure, high-speed communication and reduce complexity when managing network architectures.
High-Speed Data Transfer: Optimized for robust performance with low latency, ensuring seamless application communication.
Utilization of Microsoft Backbone Network: When peered, data flows over Microsoft’s secure private backbone network instead of the public internet.
Seamless Connectivity: Supports connectivity across VNets in different regions, subscriptions, and even Azure Active Directory tenants, facilitating scalable and resilient network architectures.
Ensure you have the necessary permissions and network configurations in place before starting the peering setup.
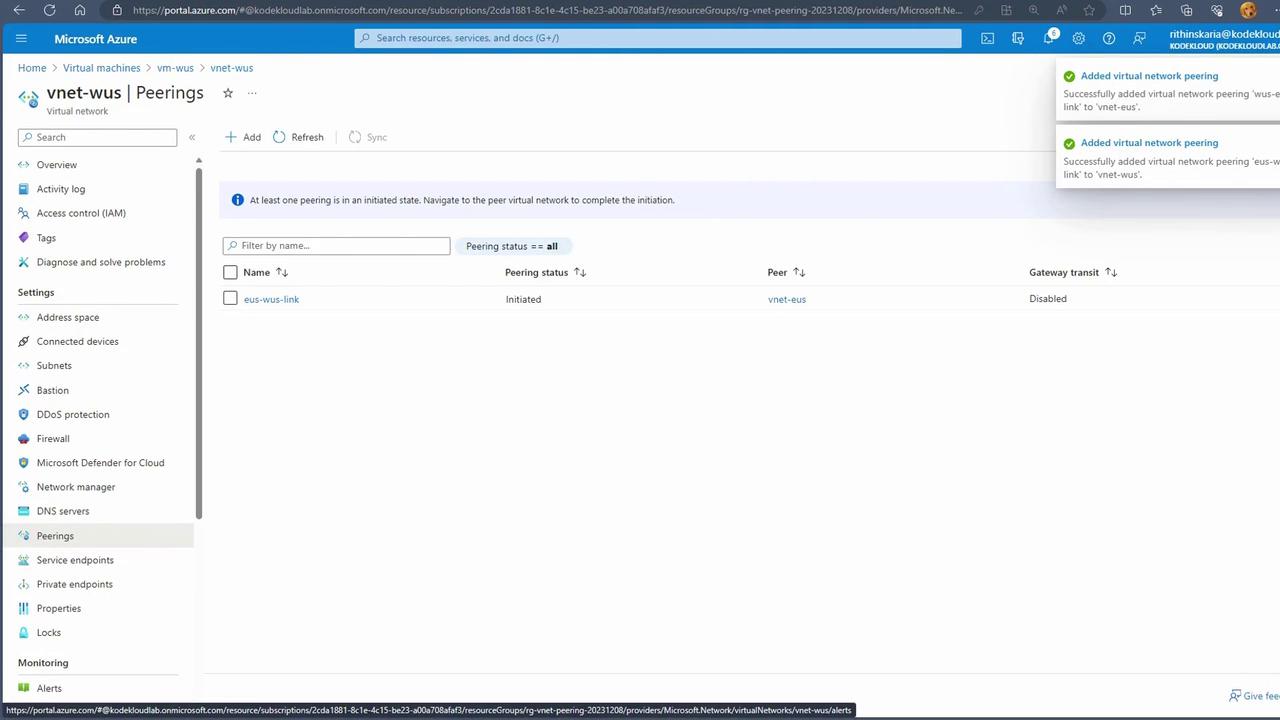
In this section, we will create an environment using a PowerShell script to test Virtual Network Peering. The provided repository includes a folder named “060-Administer Intersite Connectivity” containing the script peering-pref-infra.ps1.
Run the script to deploy two Linux virtual machines in separate virtual networks—one in East US and another in West US. After the deployment is complete, verify your Azure context using the command:
After configuring peering, return to the SSH session on the East US VM. The previously unsuccessful ping to the West US VM should now succeed. Additionally, you can initiate an SSH connection between the two VMs using their internal IP addresses (e.g., connecting from 192.168.0.4 to 192.168.1.4).By default, the Network Security Group (NSG) rule “Allow VNET inbound” permits traffic between peered VNets. There is no need to manually open additional ports unless custom traffic rules are required.
This guide demonstrated the end-to-end process of setting up Virtual Network Peering in Azure, from deploying virtual machines in separate regions to configuring and verifying secure connectivity through peering.Stay tuned for the next section, which will cover setting up a VPN Gateway for advanced connectivity scenarios.Happy learning!