

Listing Kubernetes Services
To start, list the services in your cluster. You can use either of the following commands:The default Kubernetes service is automatically created and managed by the system.
Inspecting the Default Kubernetes Service
Next, inspect the default Kubernetes service to review its type and configuration. Running the following commands reveals that the service type is ClusterIP:kubectl describe command as shown below:
Understanding Labels and Endpoints
The Kubernetes service is labeled with key-value pairs that identify the API server:component=apiserverprovider=kubernetes
Endpoints represent the set of pod IP addresses and ports that receive traffic from the service. If the service’s selector mistakenly does not match any pods, the endpoints list will be empty.
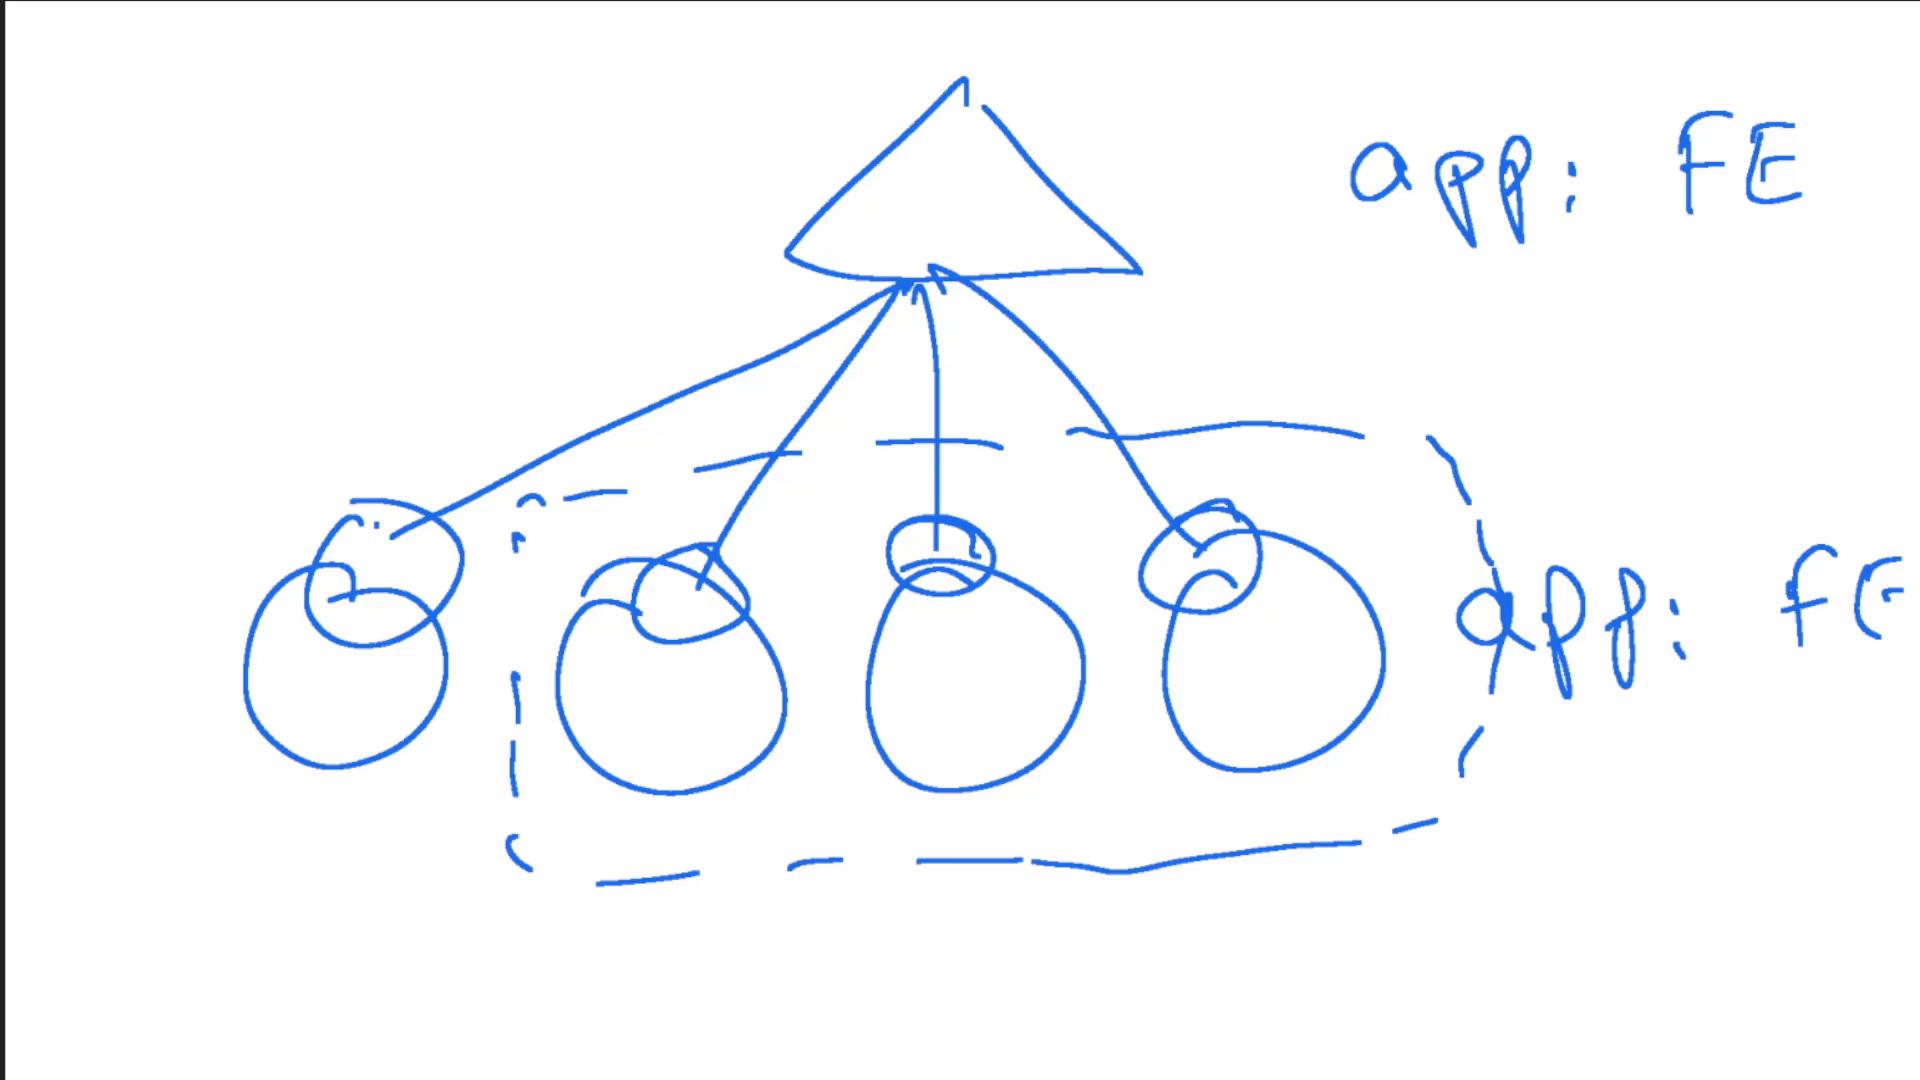
Inspecting Deployments
Now, let’s examine deployments within the default namespace. To list all deployments, run:simple-webapp-deployment exists.
Reviewing Deployment Details
To check details—such as the container image used—describe the deployment:kodekloud/simple-webapp:red.
Accessing the Web Application UI
If you attempt to access the web application UI without first exposing it through a service, you may encounter a “Bad Gateway” error. This occurs because no service directs traffic to your pods.Creating a Service for the Web Application
The next step is to create a NodePort service that makes the web application accessible. The diagram below shows the service definition framework: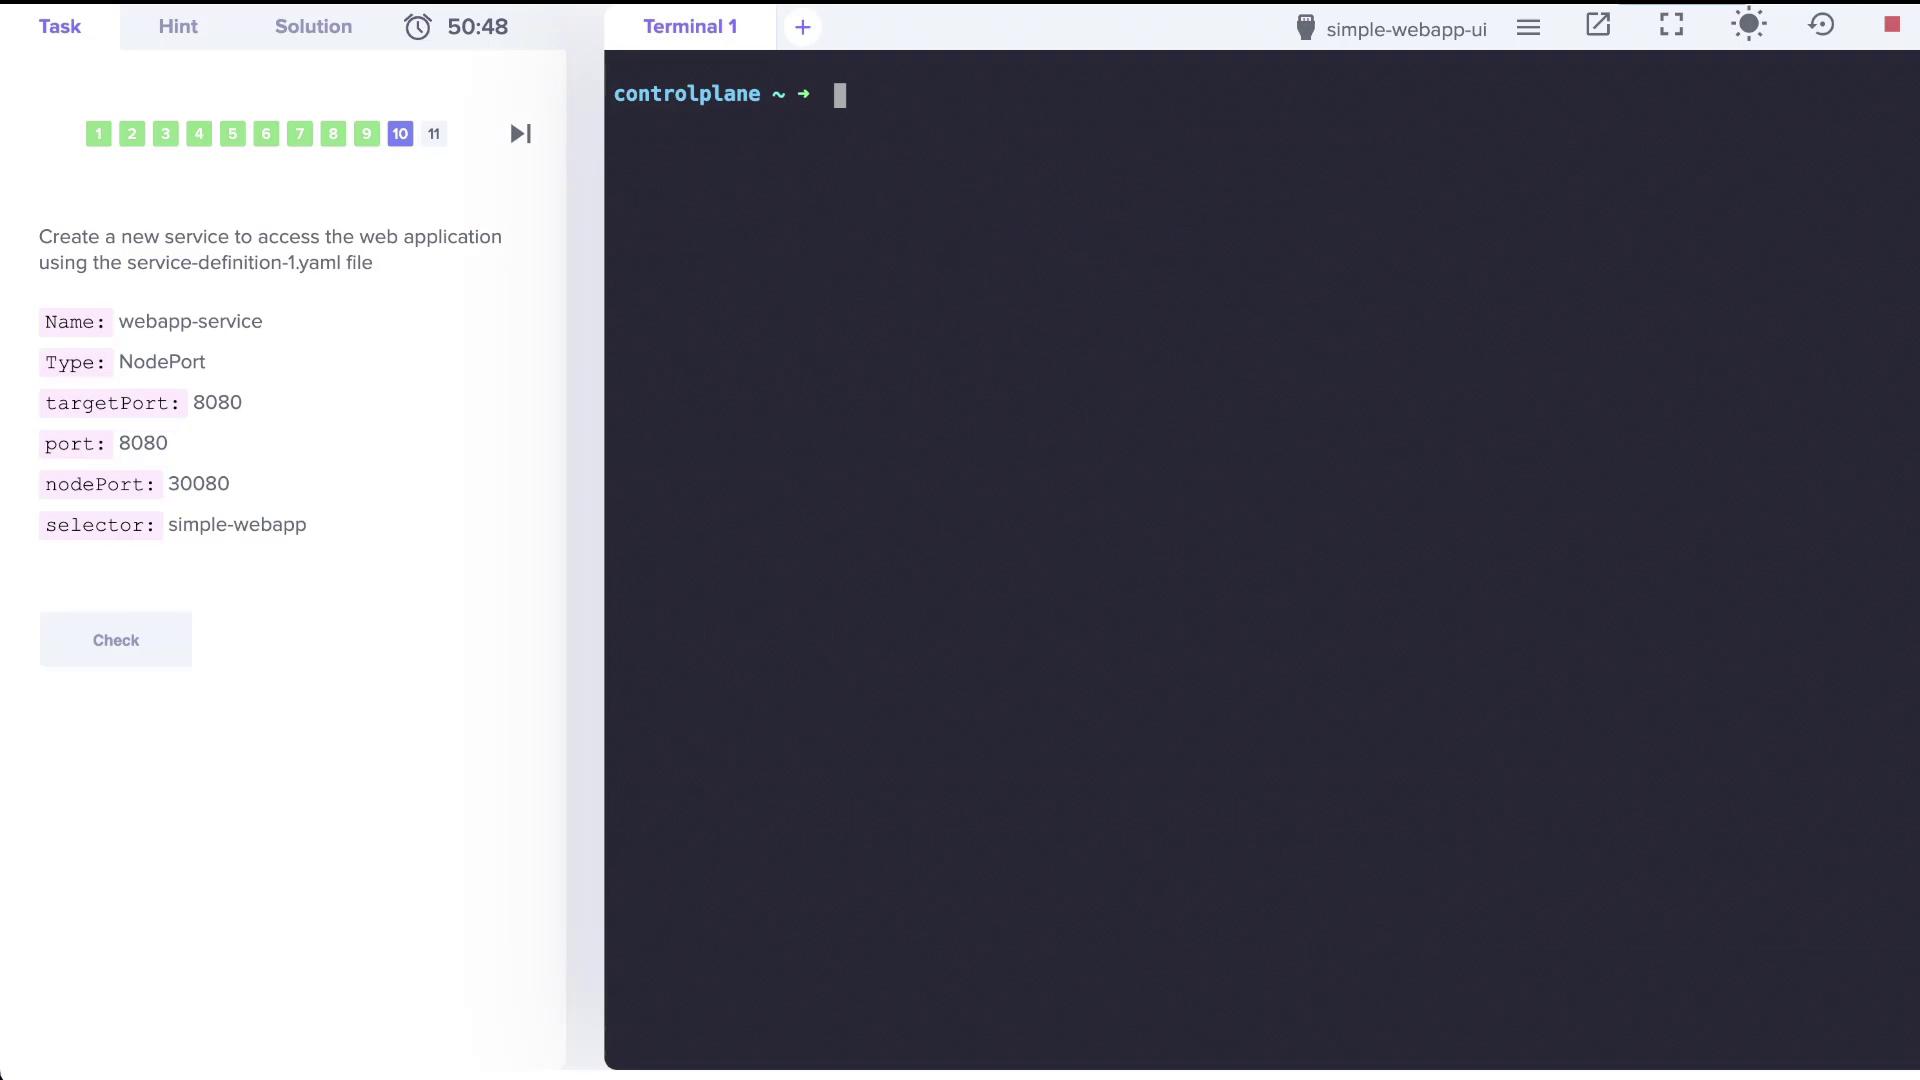
webapp-service that exposes your web application on port 8080. The final service definition is as follows:
service-definition-1.yaml) and then run the following commands to create the service:
Imperative Commands for Creating Services
In the subsequent sections, we will discuss additional imperative commands for creating services. Below are some sample commands that you might find useful for quickly generating service definitions:This concludes the lab for this lesson. In upcoming lessons, we will dive deeper into imperative commands and additional details on managing Kubernetes services effectively. For further reading, check out these resources: