

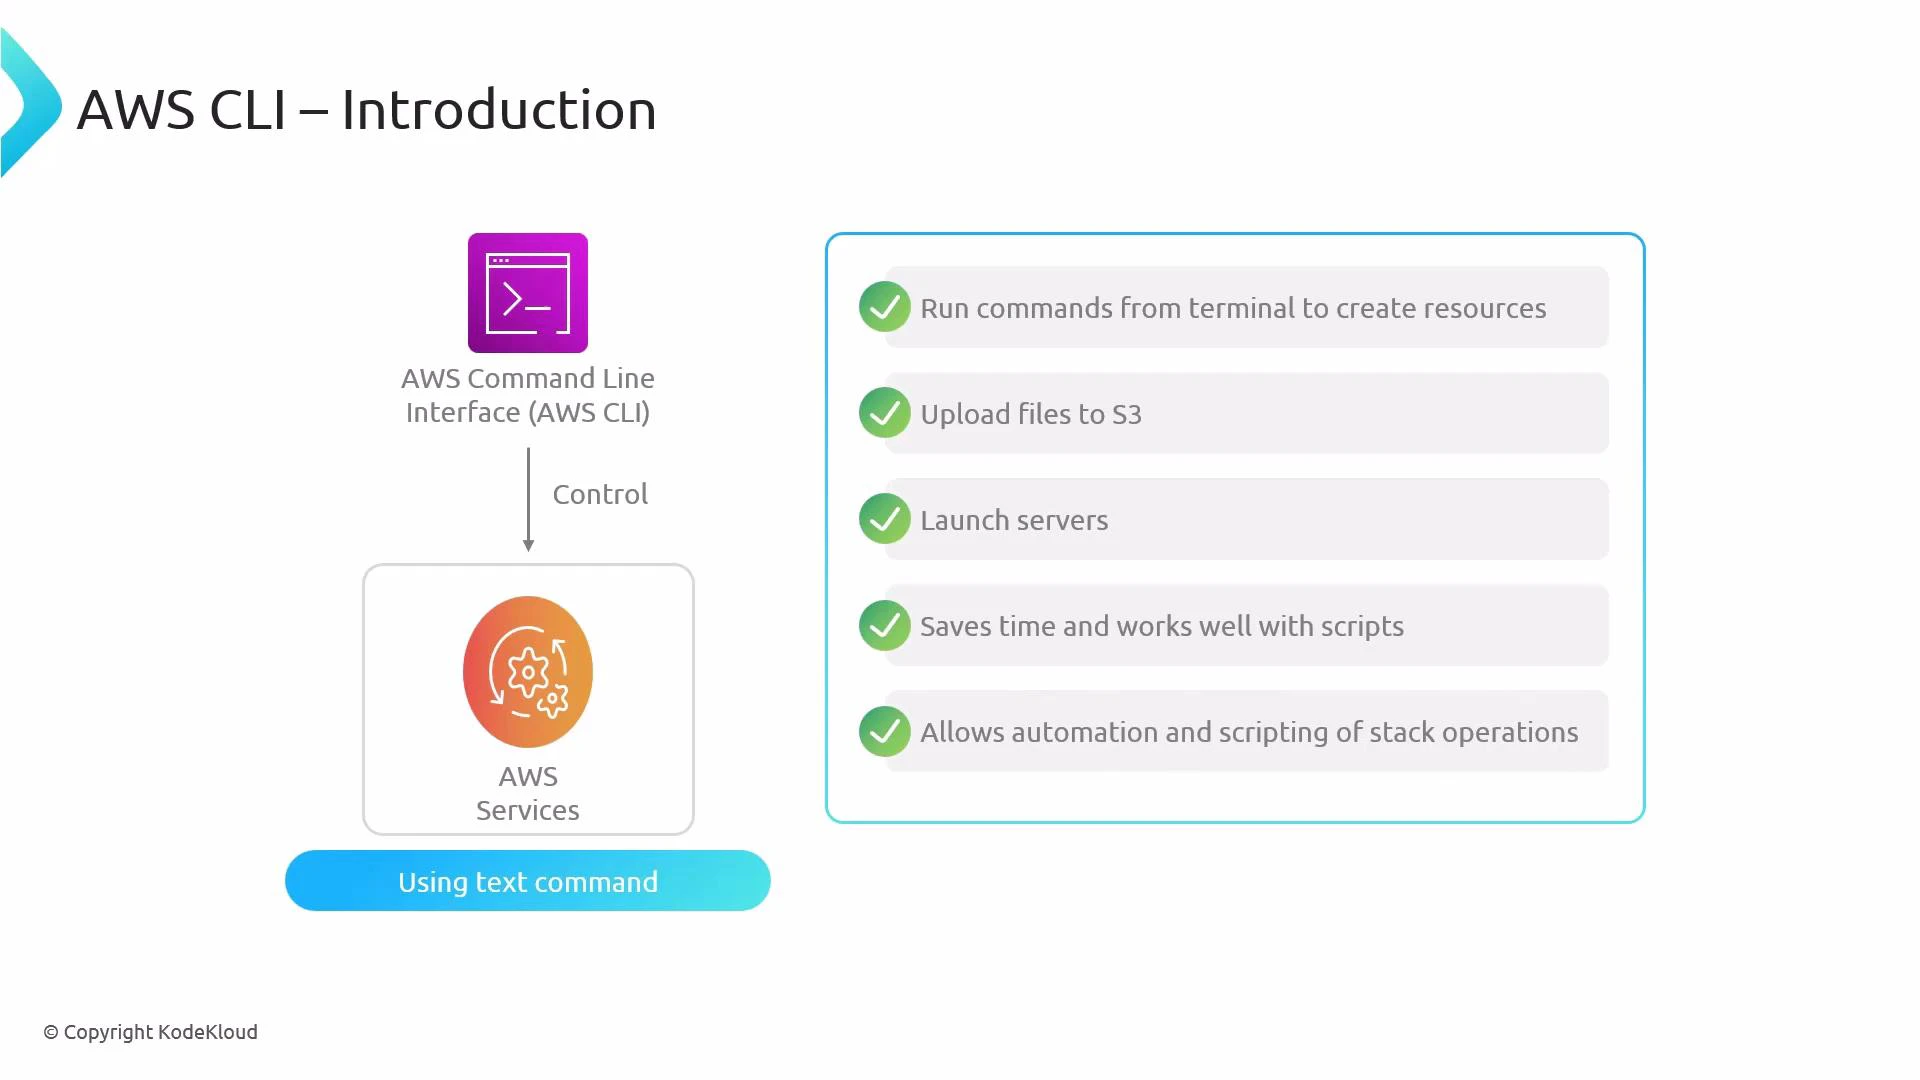
- Provision and manage infrastructure using scripts and CI/CD pipelines instead of manual clicks.
- Upload and download objects to/from Amazon S3.
- Launch and manage compute resources such as EC2 instances.
- Automate CloudFormation stack lifecycle actions (create, update, delete, inspect).
Prerequisites and configuration
- Install the AWS CLI (v2 recommended). See the official AWS CLI installation guide: https://docs.aws.amazon.com/cli/latest/userguide/getting-started-install.html
- Ensure you have an AWS account and an IAM user or role with the necessary permissions for CloudFormation and the resources your templates create.
- Configure the CLI with your credentials and defaults:
- AWS Access Key ID
- AWS Secret Access Key
- Default region name (for example, us-east-1)
- Default output format (json, text, or table)
Ensure the AWS - IAM user or role whose credentials you use has the necessary permissions to perform CloudFormation and any resource-specific actions (for example, creating Amazon Elastic Compute Cloud (EC2) instances or Amazon Simple Storage Service (Amazon S3) buckets).
-
Manual (console)
- Author CloudFormation template (YAML/JSON).
- Open AWS Management Console → CloudFormation.
- Create a stack by uploading the template or providing a template URL.
- CloudFormation provisions resources and you monitor events in the console.
-
AWS CLI
- Author CloudFormation template (YAML/JSON).
- Run CLI commands to create, update, or delete stacks.
- CloudFormation provisions resources; CI/CD and scripts can automate end-to-end flows.
If your template creates or modifies IAM resources you must include an appropriate
--capabilities flag such as CAPABILITY_IAM or CAPABILITY_NAMED_IAM. Omitting this will cause the stack operation to fail.- Prefer
aws cloudformation deployfor CI/CD pipelines because it handles change sets and parameter handling more gracefully thancreate-stack. - Use S3 for large templates or bundled assets; reference them via
--template-url. - Always grant the least-privilege IAM permissions required for the CLI user/role.
- Use
describe-stack-eventsand CloudFormation console events for troubleshooting failed operations. - Integrate CLI commands in pipeline steps (GitHub Actions, GitLab CI, Jenkins) to enable reproducible infrastructure changes.
Links and references
- AWS CLI: https://docs.aws.amazon.com/cli/latest/
- AWS CloudFormation: https://docs.aws.amazon.com/cloudformation/index.html
- Amazon S3 overview: https://aws.amazon.com/s3/
- AWS IAM basics: https://aws.amazon.com/iam/
- Learn more (related courses): Amazon S3, Amazon EC2, AWS IAM