In this walkthrough you’ll use AWS CloudFormation’s Infrastructure Composer to visually design a resource, export the generated template, and create a CloudFormation stack. This is useful when you prefer a drag-and-drop experience to build CloudFormation templates (YAML or JSON), inspect the output, and then deploy it. Key concepts covered:
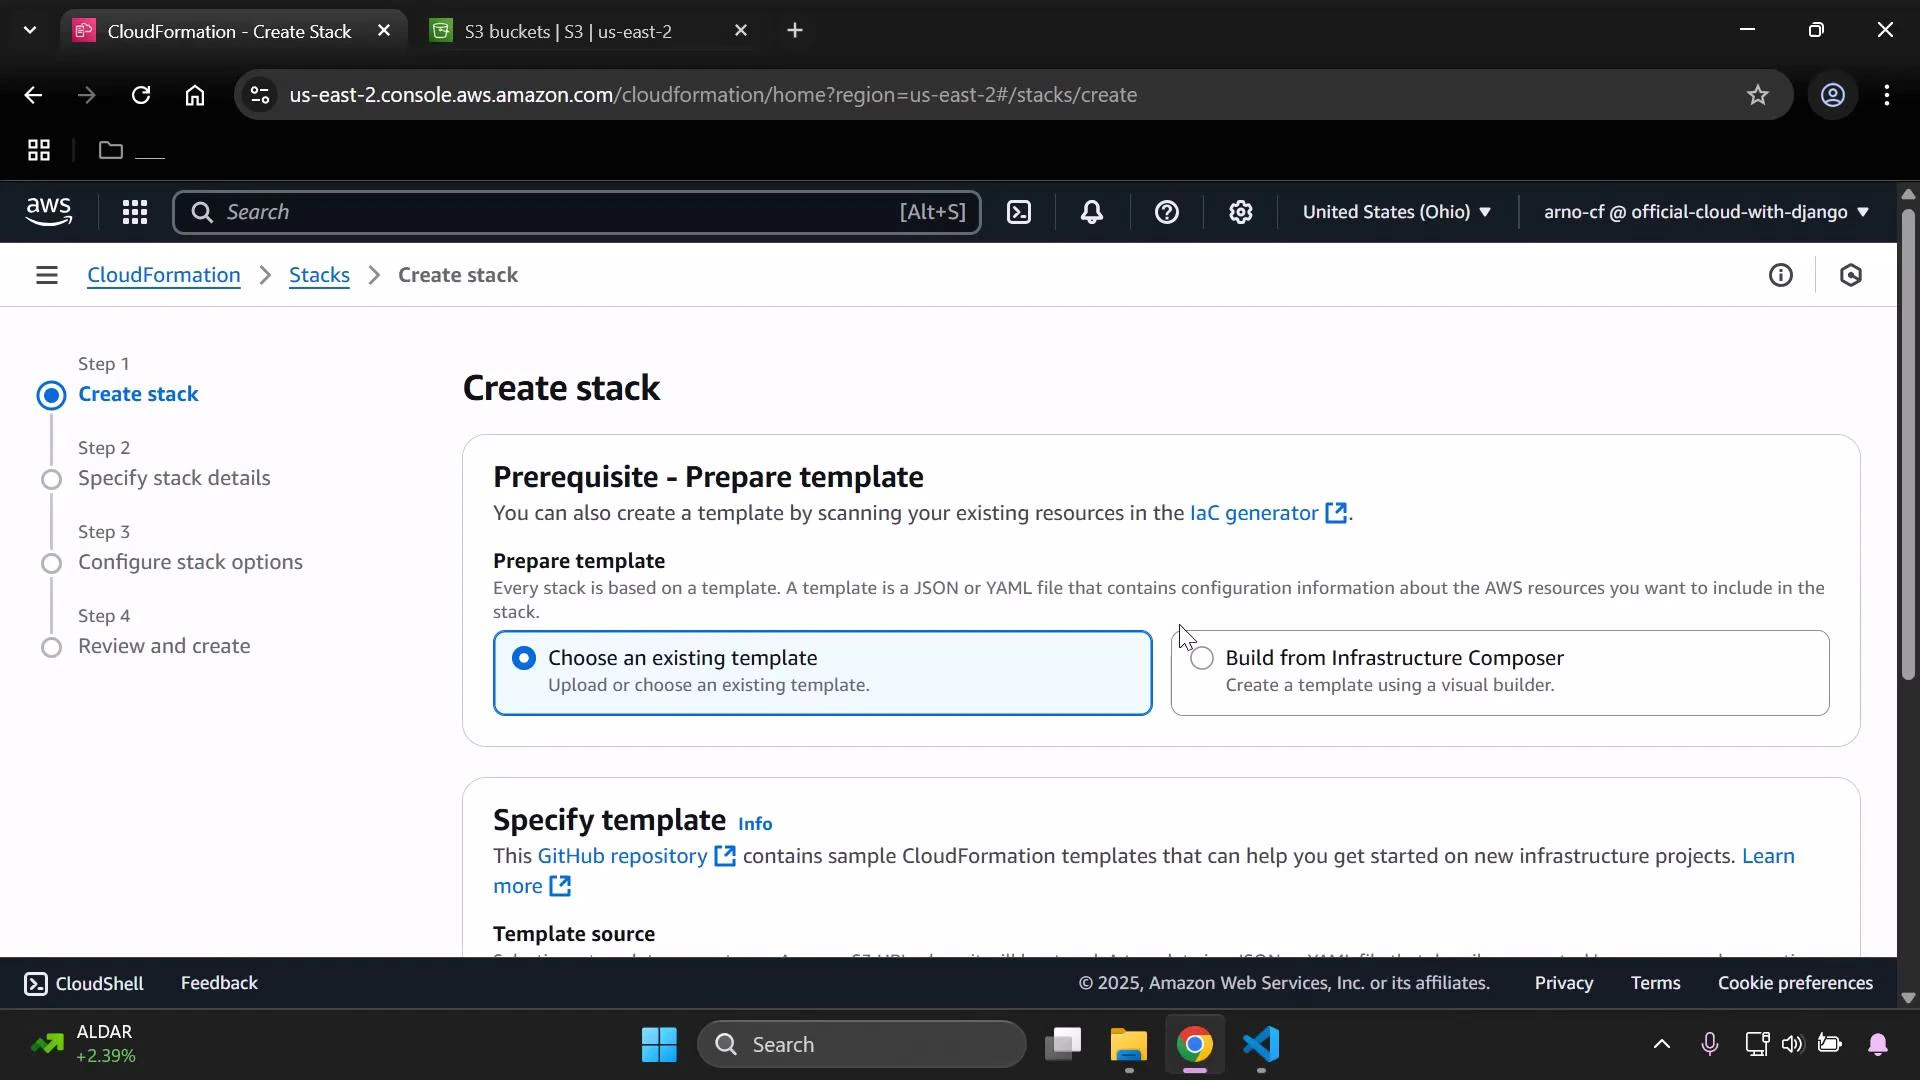
  • Use Infrastructure Composer to add an S3 bucket visually
  • Inspect and edit the generated CloudFormation template
  • Export the template to CloudFormation and deploy the stack
  • Understand deletion behavior for S3 buckets created by CloudFormation
First, start creating a stack in the CloudFormation console and choose the “Build from Infrastructure Composer” option.
A screenshot of the AWS CloudFormation "Create stack" page showing the "Prerequisite - Prepare template" section with the "Choose an existing template" option selected and an alternate "Build from Infrastructure Composer" option. The browser window shows tabs at the top and the Windows taskbar along the bottom.

1. Add resources in Infrastructure Composer

When Infrastructure Composer launches, you’ll see the visual canvas. Use the search box to find the resource you want to add (for example, type “S3”), then drag an S3 bucket onto the canvas. Select the resource to open the resource properties in the right-hand sidebar. There you can:
  • Change the logical ID (for example, from the default “bucket” to MyS3BucketSpecial)
  • Enable features like static website hosting
  • Override the bucket name to supply a specific globally unique name
S3 bucket names must be unique across the entire AWS global namespace and must follow S3 bucket naming rules. If you supply a custom bucket name, ensure it’s globally unique.
In this demonstration a custom bucket name was used: eden-kodekloud-vbnc-bkt. Infrastructure Composer fills in reasonable defaults for security and encryption, such as blocking public access and enabling server-side encryption. You can preview and edit the generated template before exporting.

2. Example generated template (YAML)

Below is the CloudFormation YAML that Infrastructure Composer created for the S3 bucket and an attached bucket policy that denies non-HTTPS requests:
Resources:
  MyS3BucketSpecial:
    Type: AWS::S3::Bucket
    Properties:
      BucketName: eden-kodekloud-vbnc-bkt
      BucketEncryption:
        ServerSideEncryptionConfiguration:
          - ServerSideEncryptionByDefault:
              SSEAlgorithm: aws:kms
              KMSMasterKeyId: alias/aws/s3
      PublicAccessBlockConfiguration:
        IgnorePublicAcls: true
        RestrictPublicBuckets: true

  MyS3BucketSpecialBucketPolicy:
    Type: AWS::S3::BucketPolicy
    Properties:
      Bucket: !Ref MyS3BucketSpecial
      PolicyDocument:
        Version: "2012-10-17"
        Id: RequireEncryptionInTransit
        Statement:
          - Sid: DenyUnencryptedTransport
            Effect: Deny
            Principal: "*"
            Action: "s3:*"
            Resource:
              - !Sub "arn:aws:s3:::${MyS3BucketSpecial}"
              - !Sub "arn:aws:s3:::${MyS3BucketSpecial}/*"
            Condition:
              Bool:
                aws:SecureTransport: "false"
You can switch the template view to JSON if you prefer, run template validation, or make direct edits in the template editor. When satisfied, click Create template to export it to CloudFormation. When you confirm the export, Infrastructure Composer stores the template in an S3 bucket. You can select an existing bucket or let Composer use the suggested bucket.
A screenshot of the AWS CloudFormation Infrastructure Composer showing a "Continue to CloudFormation" modal that says the template will be put in an existing S3 bucket and offers "Cancel" or "Confirm and continue to CloudFormation" buttons. The blurred background shows the Infrastructure Composer canvas and resources sidebar.

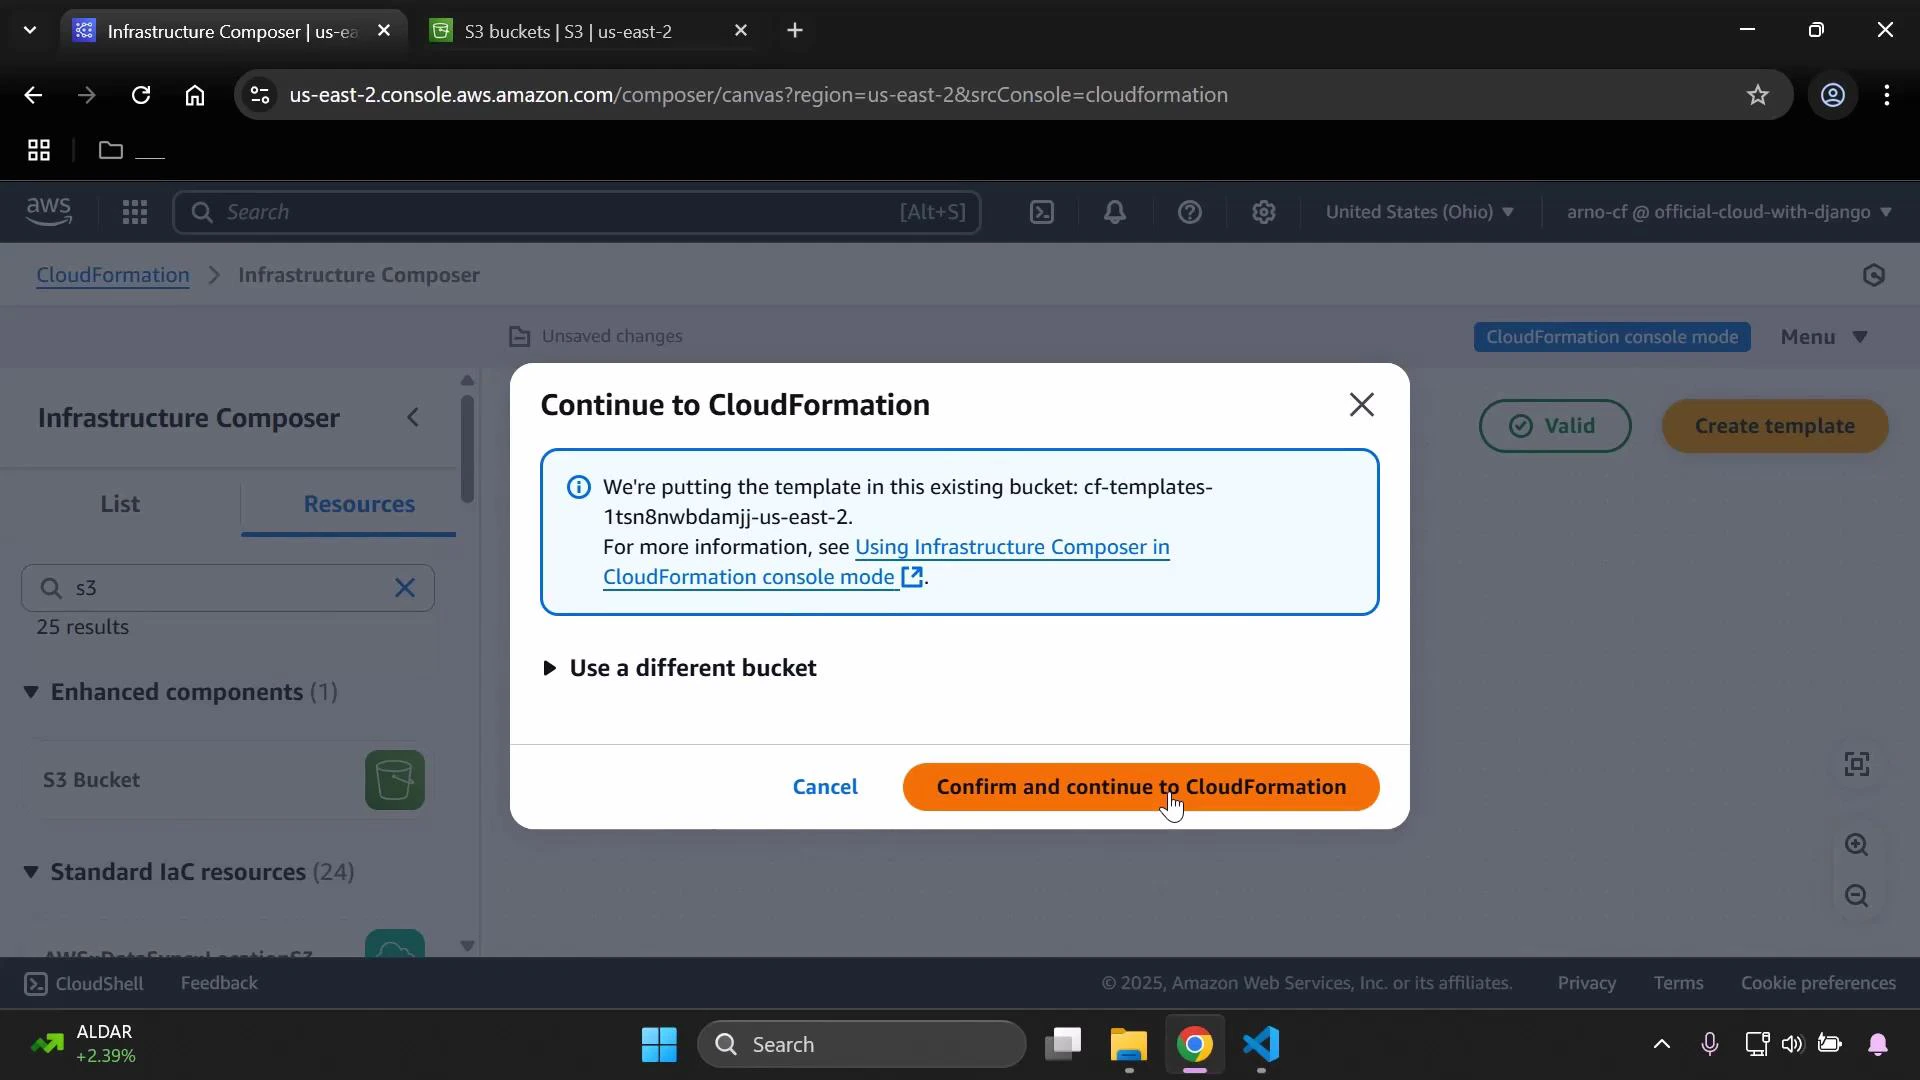
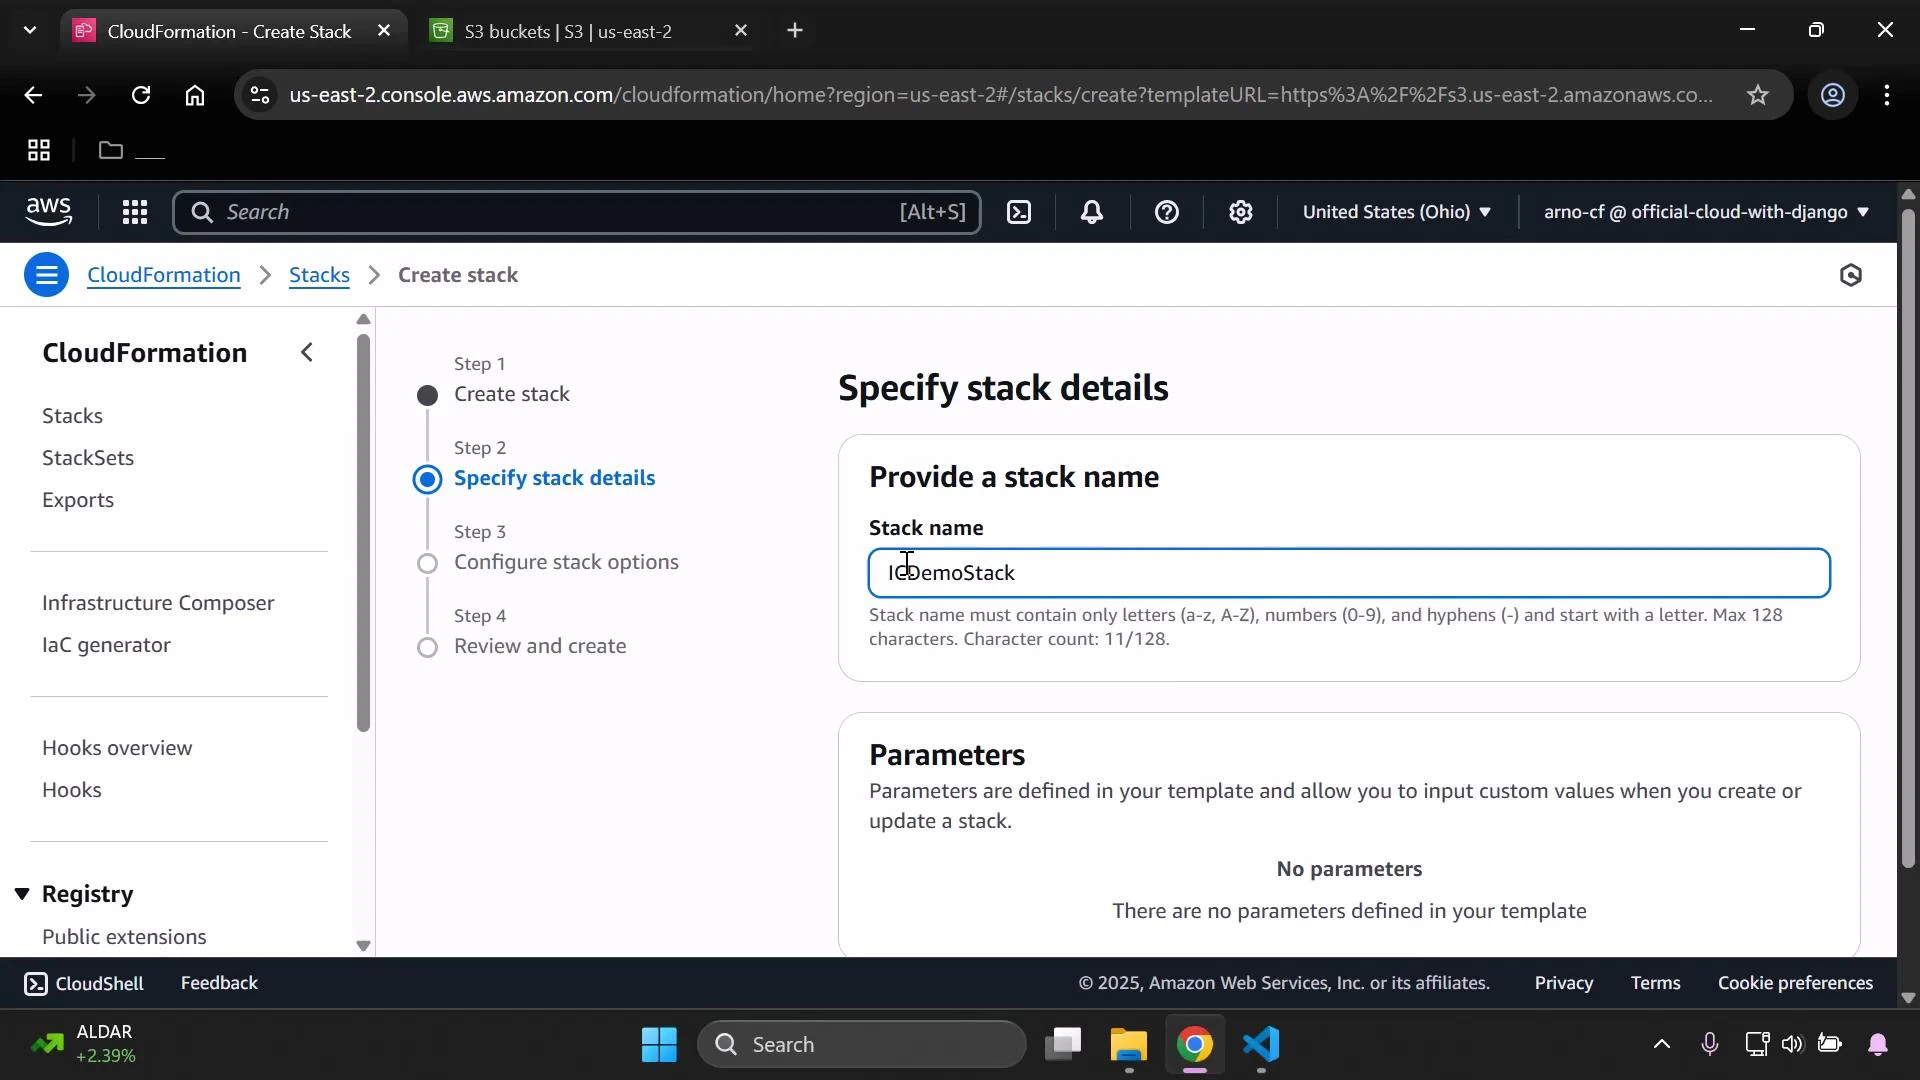
3. Create the CloudFormation stack

Provide a stack name (for example, ICDemoStack) and proceed through the CloudFormation create-stack workflow. Review parameters, options, tags, and IAM capabilities as you normally would.
Screenshot of the AWS CloudFormation "Create stack" console on the "Specify stack details" step, with the stack name field filled as "iCDemoStack." The left sidebar shows CloudFormation navigation and the parameters section reports no parameters defined.
Submit the stack and monitor progress on the CloudFormation console’s Events tab.
A screenshot of the AWS CloudFormation console showing the "Stacks" view. The right pane displays an ICDEmoStack selected with its Events tab open and status "CREATE_IN_PROGRESS."

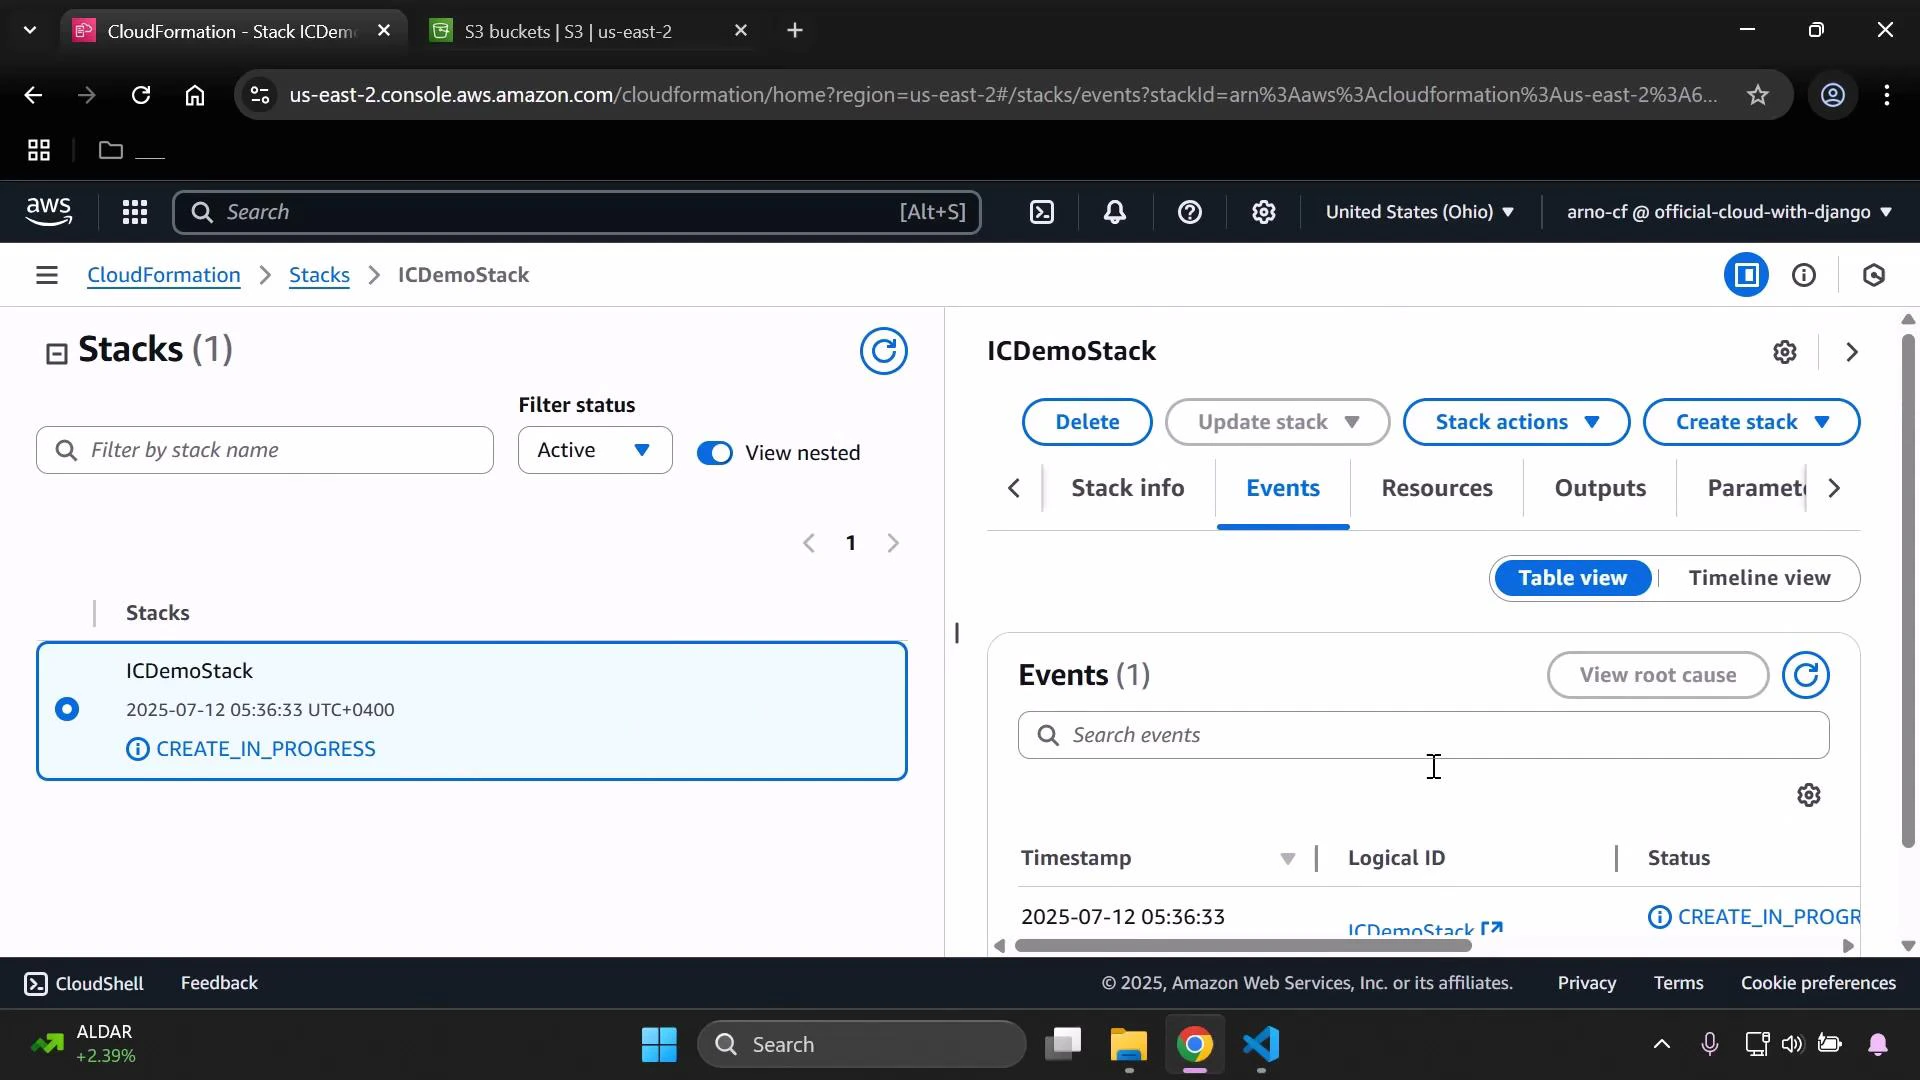
4. Confirm resource creation

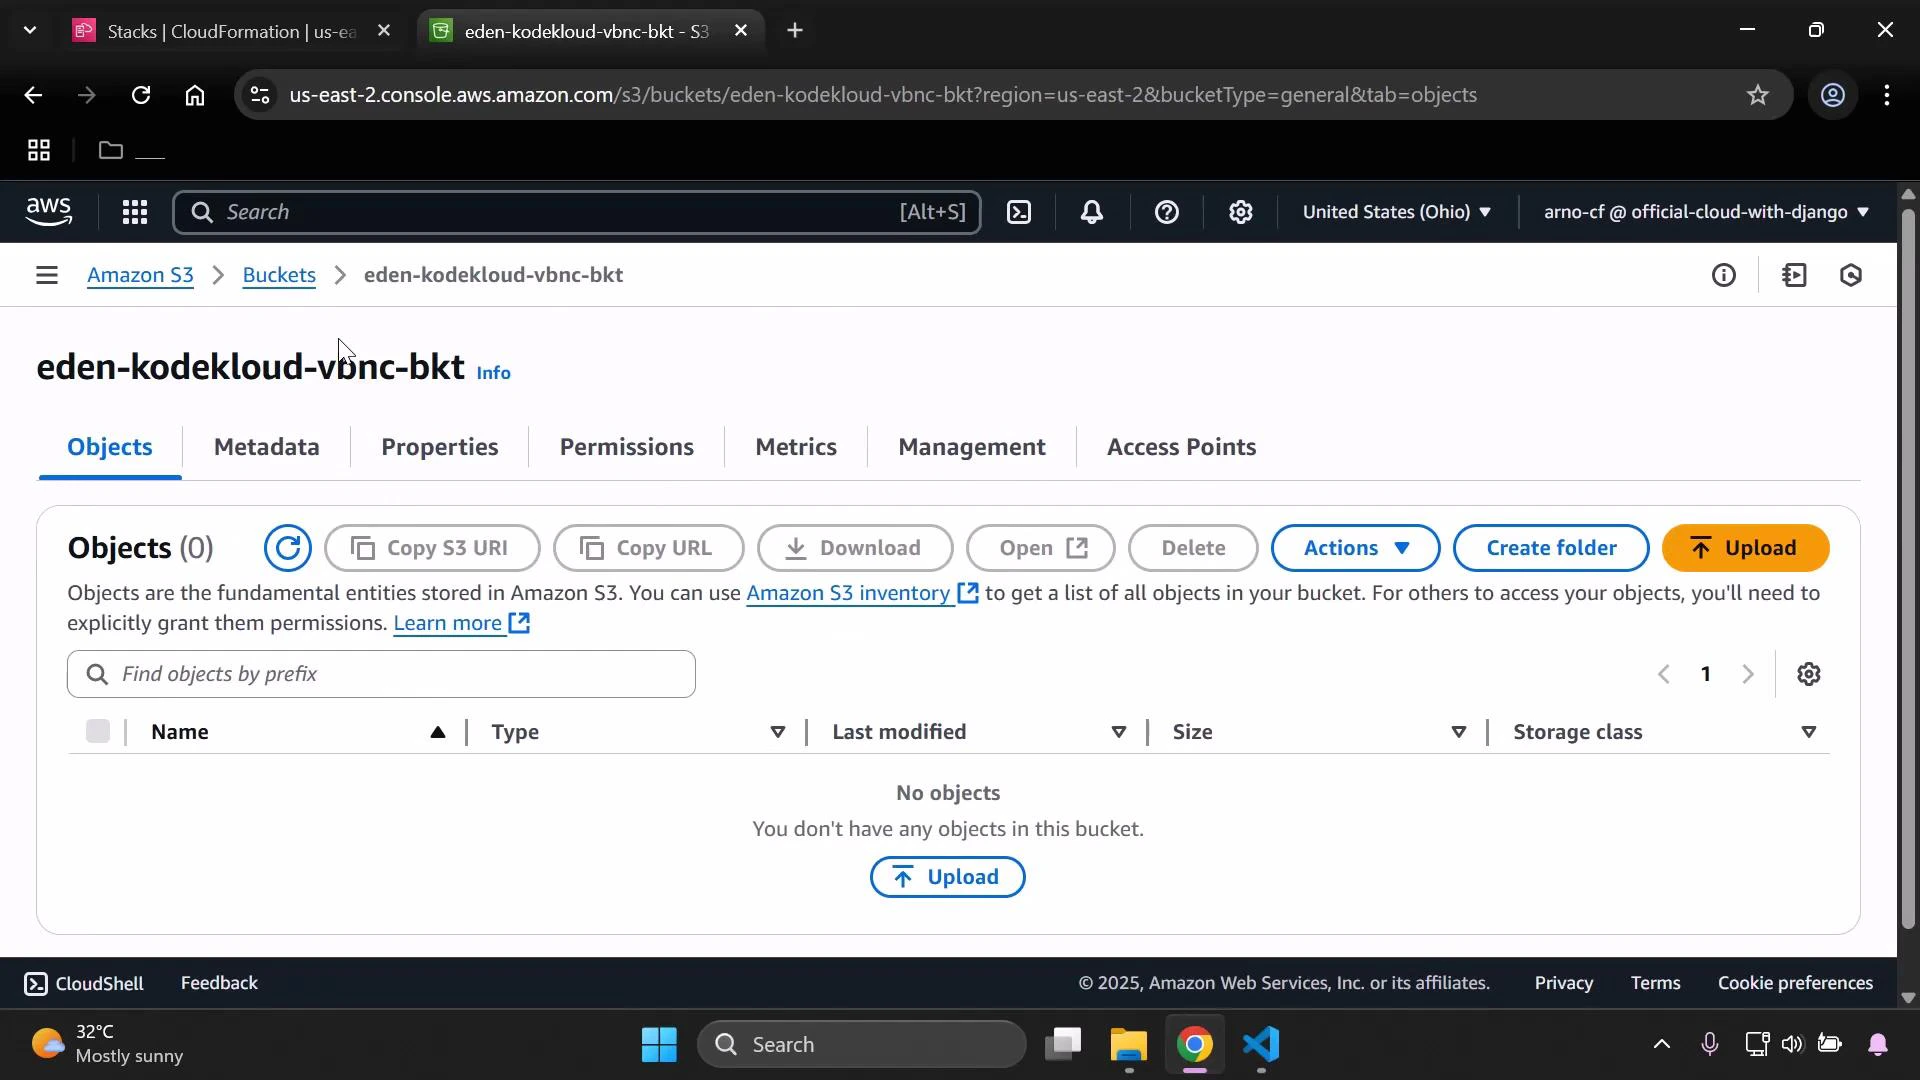
After the stack completes, the S3 bucket is available in the S3 console. In the example shown, the bucket eden-kodekloud-vbnc-bkt is present and initially empty.
A screenshot of the AWS S3 console showing the bucket "eden-kodekloud-vbnc-bkt" with the Objects tab open; the bucket is empty and displays options like Upload, Create folder, Actions, and metadata/permissions tabs.
Because this bucket contains no objects, deleting the CloudFormation stack will remove the bucket cleanly. If the bucket contains objects, stack deletion can fail unless you handle object removal (see the warning below).
If an S3 bucket contains objects, CloudFormation stack deletion will fail for the bucket resource unless you explicitly handle object removal (for example with a Lambda-backed custom resource or an S3 lifecycle/configuration that empties the bucket). Always ensure you understand retention and deletion behavior before removing stacks that include S3 buckets.

Resources created by this example

Resource TypeLogical IDPurpose
AWS::S3::BucketMyS3BucketSpecialStores objects; has server-side encryption and public access blocked
AWS::S3::BucketPolicyMyS3BucketSpecialBucketPolicyDenies unencrypted (non-HTTPS) requests to the bucket

Summary

Using Infrastructure Composer you can:
  • Visually design resources and relationships
  • Preview and edit the generated CloudFormation YAML/JSON
  • Export the template to CloudFormation for deployment
  • Monitor stack creation and validate resulting AWS resources
Links and references:

Watch Video