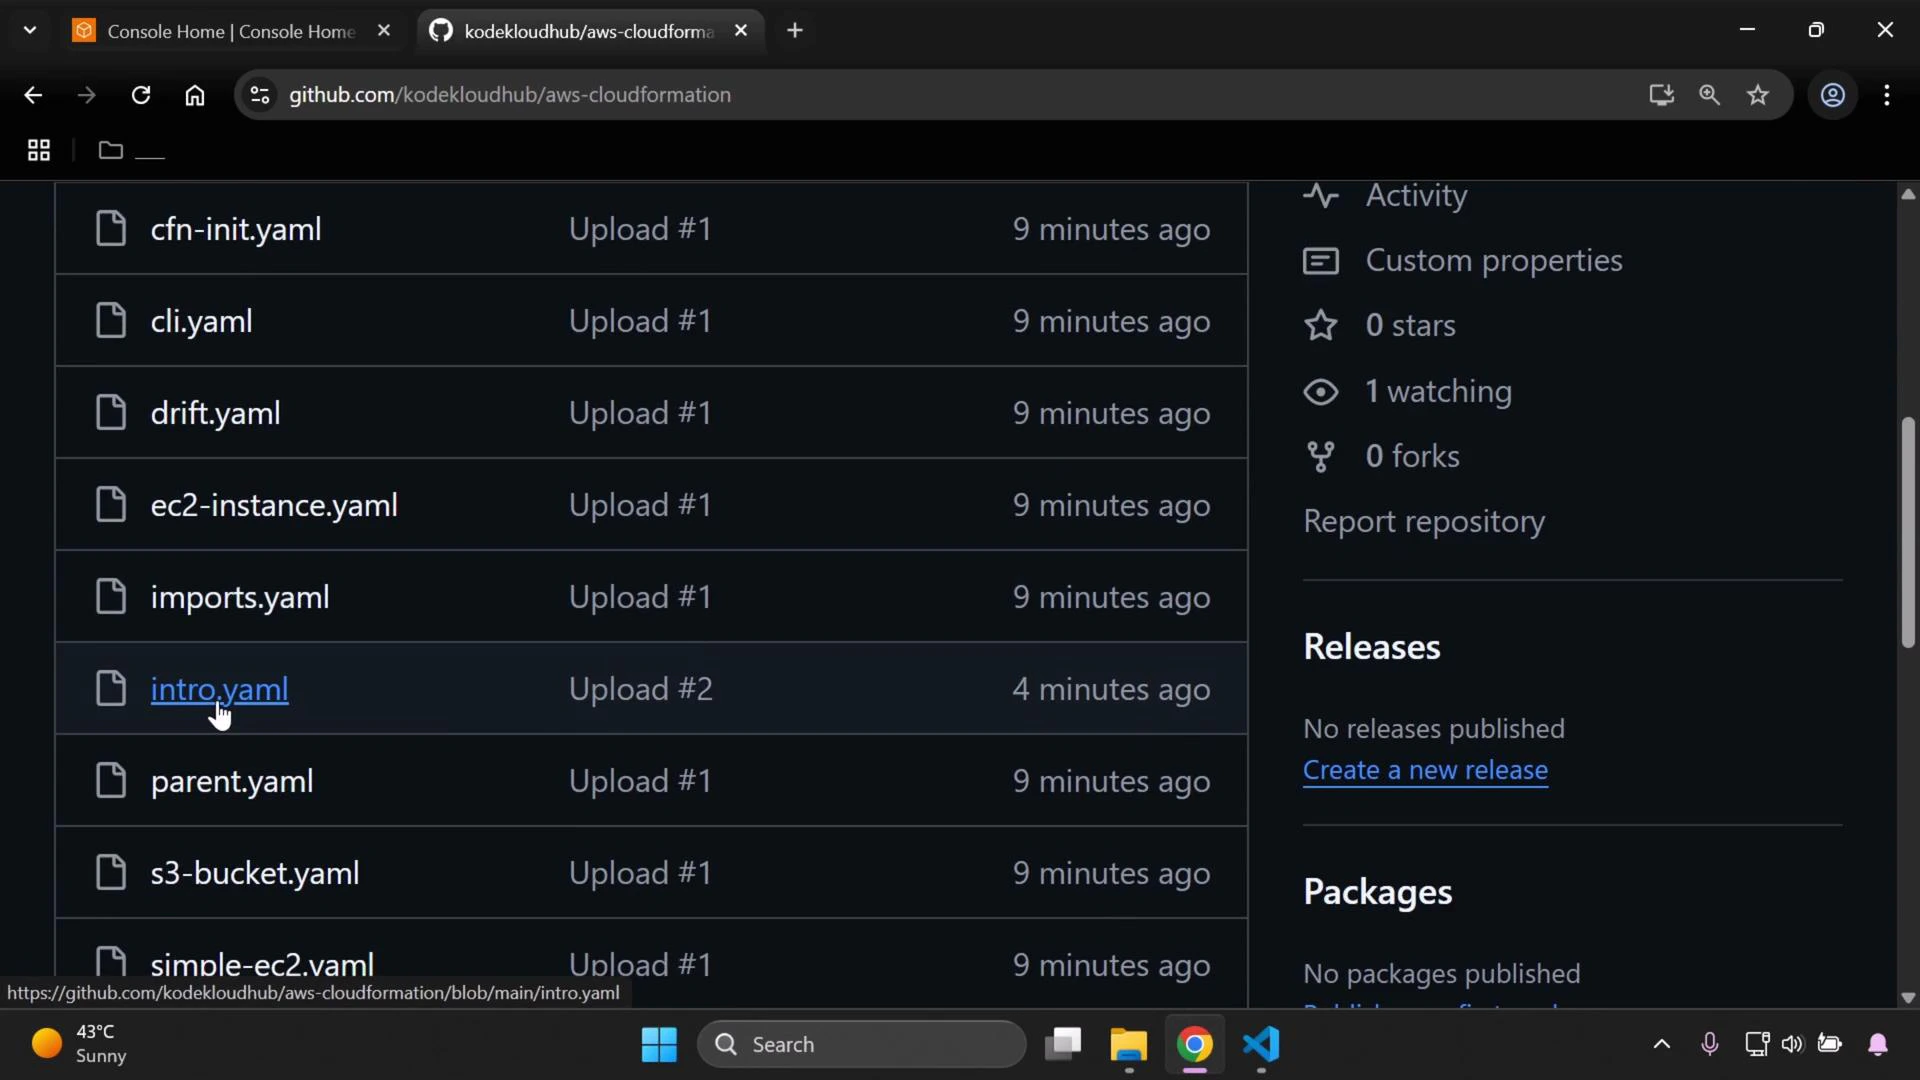
- Download the repository and make sure the file
intro.yamlis available locally (this demo uses anintro.yamlfile stored on the desktop). - An AWS account with permissions to create CloudFormation stacks, EC2 instances, and S3 buckets.
- The AWS Management Console access for the region you plan to use.
- You will: upload a CloudFormation template, create a stack, verify resources (S3 and EC2), then delete the stack to clean up.
- CloudFormation automates resource provisioning and lifecycle management using templates written in YAML or JSON.
- Sign in to the AWS Management Console and search for “CloudFormation”.
- Open CloudFormation in a new tab to keep your repository tab available.
- On the CloudFormation console, choose to create a stack from an existing template. A stack represents the set of AWS resources defined in your template (for example, EC2 instances, S3 buckets, IAM roles).
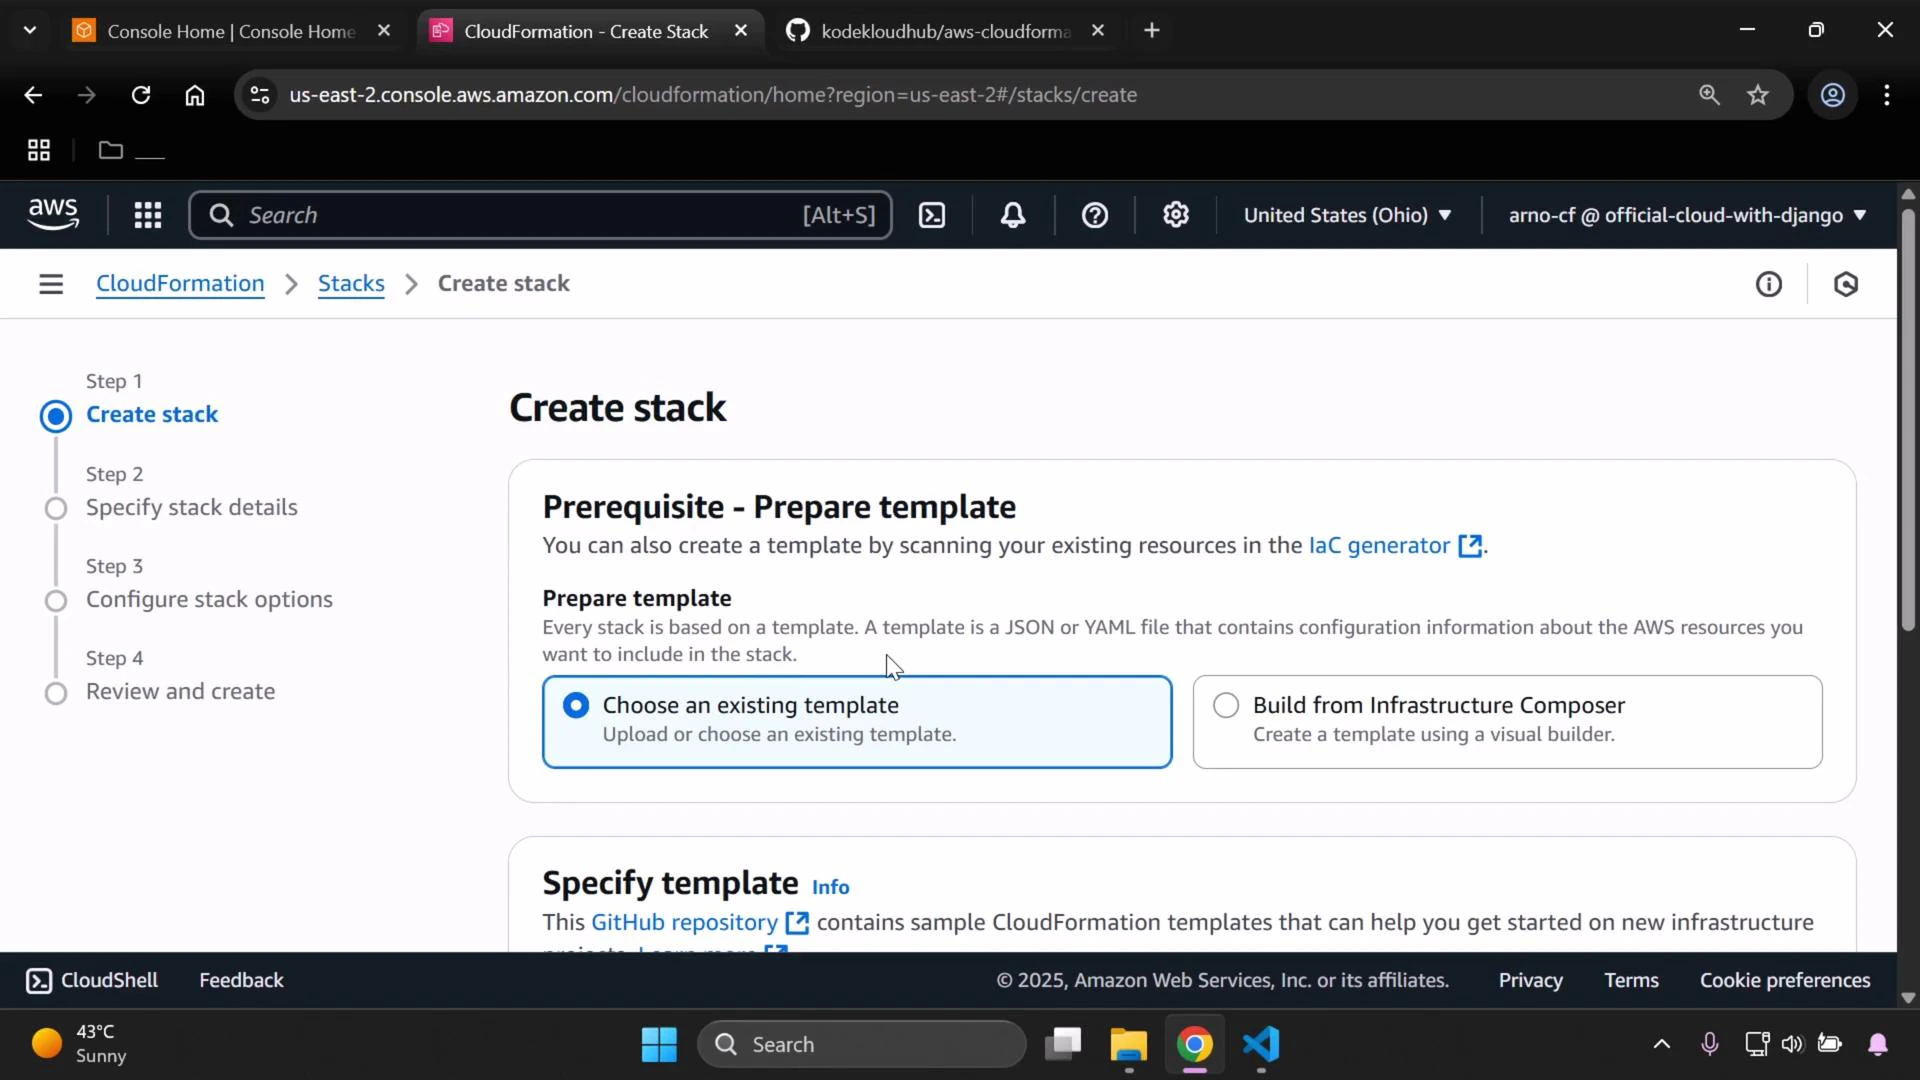
- Select “Upload a template file”.
- Click Choose file and select your local
intro.yaml. - When you upload the template, CloudFormation stores it in a temporary, CloudFormation-managed S3 bucket for templates.
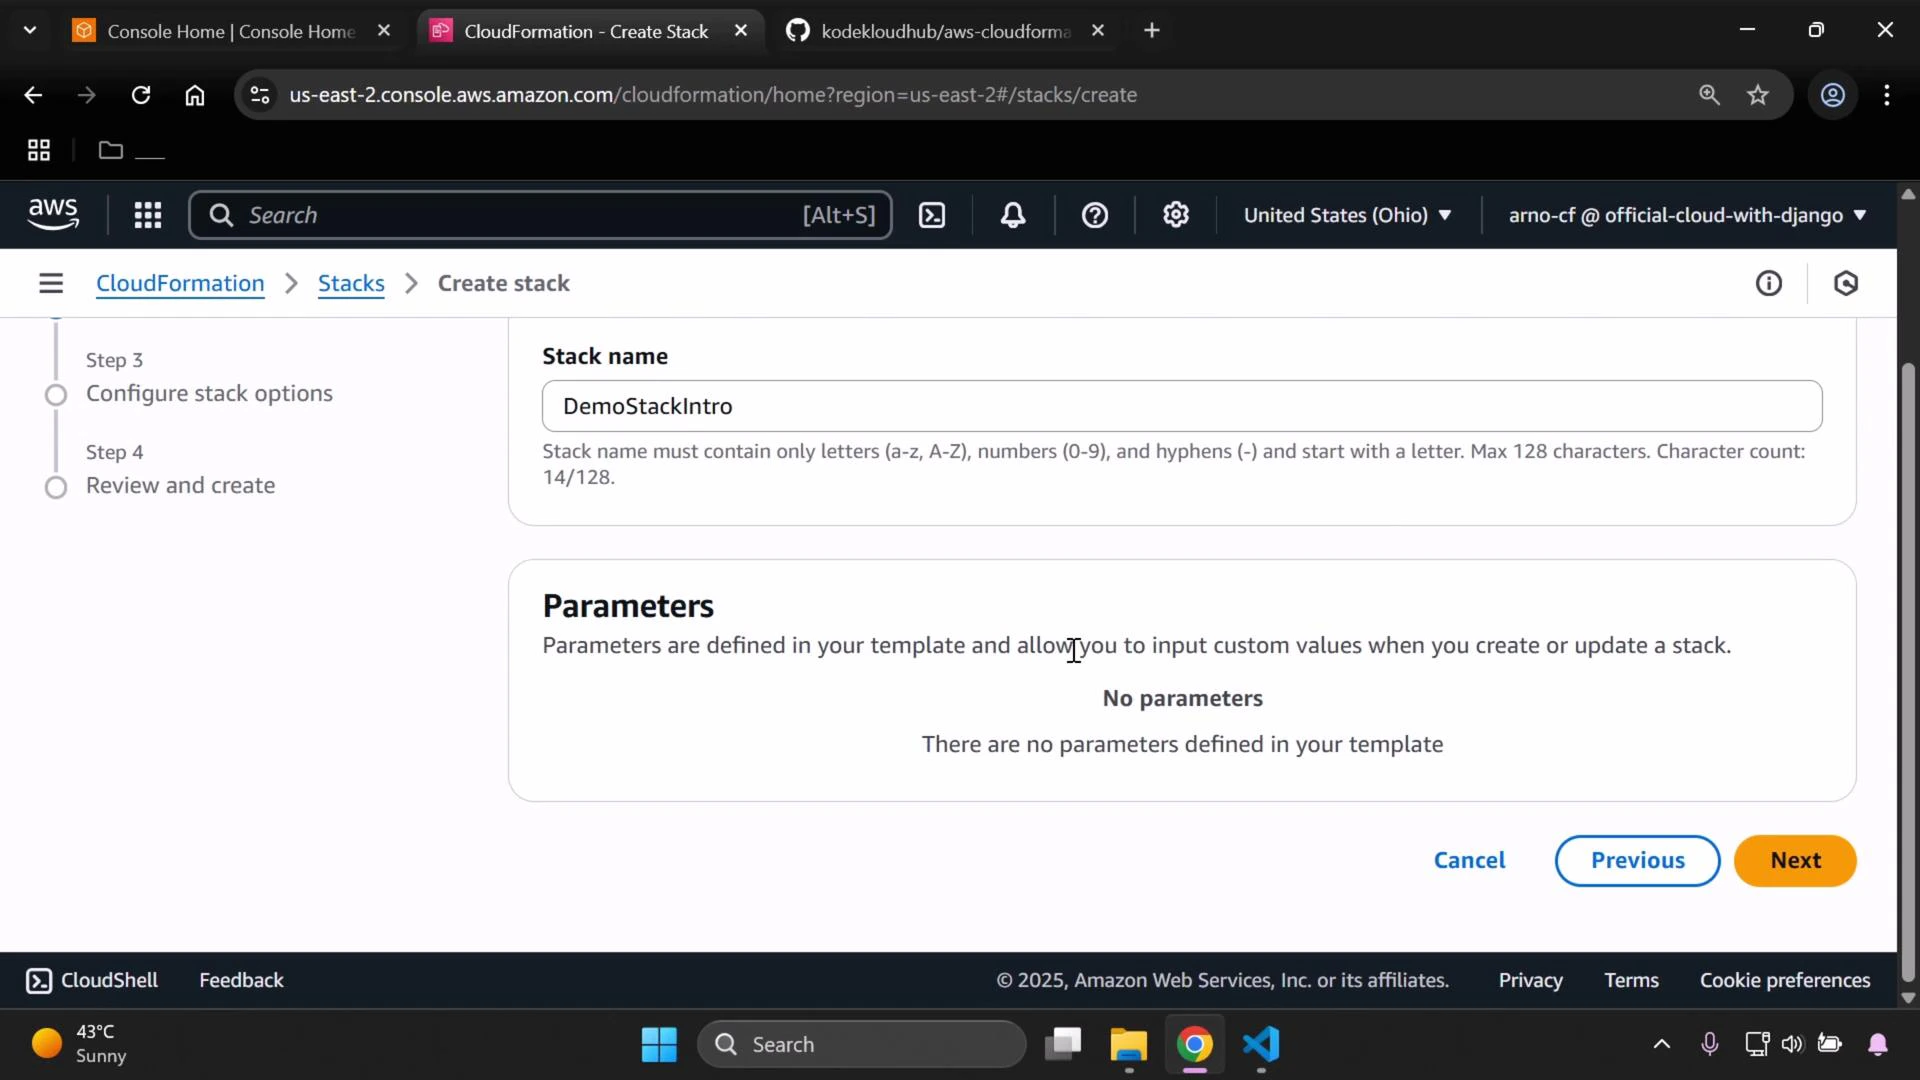
- Click Next, and enter a stack name (this demo uses
DemoStackIntro). - Continue through Parameters, Tags, Permissions, and Advanced options. For this quick demo there are no parameters to change.
- Submit to create the stack.
- After submission CloudFormation will begin provisioning resources defined in the template.
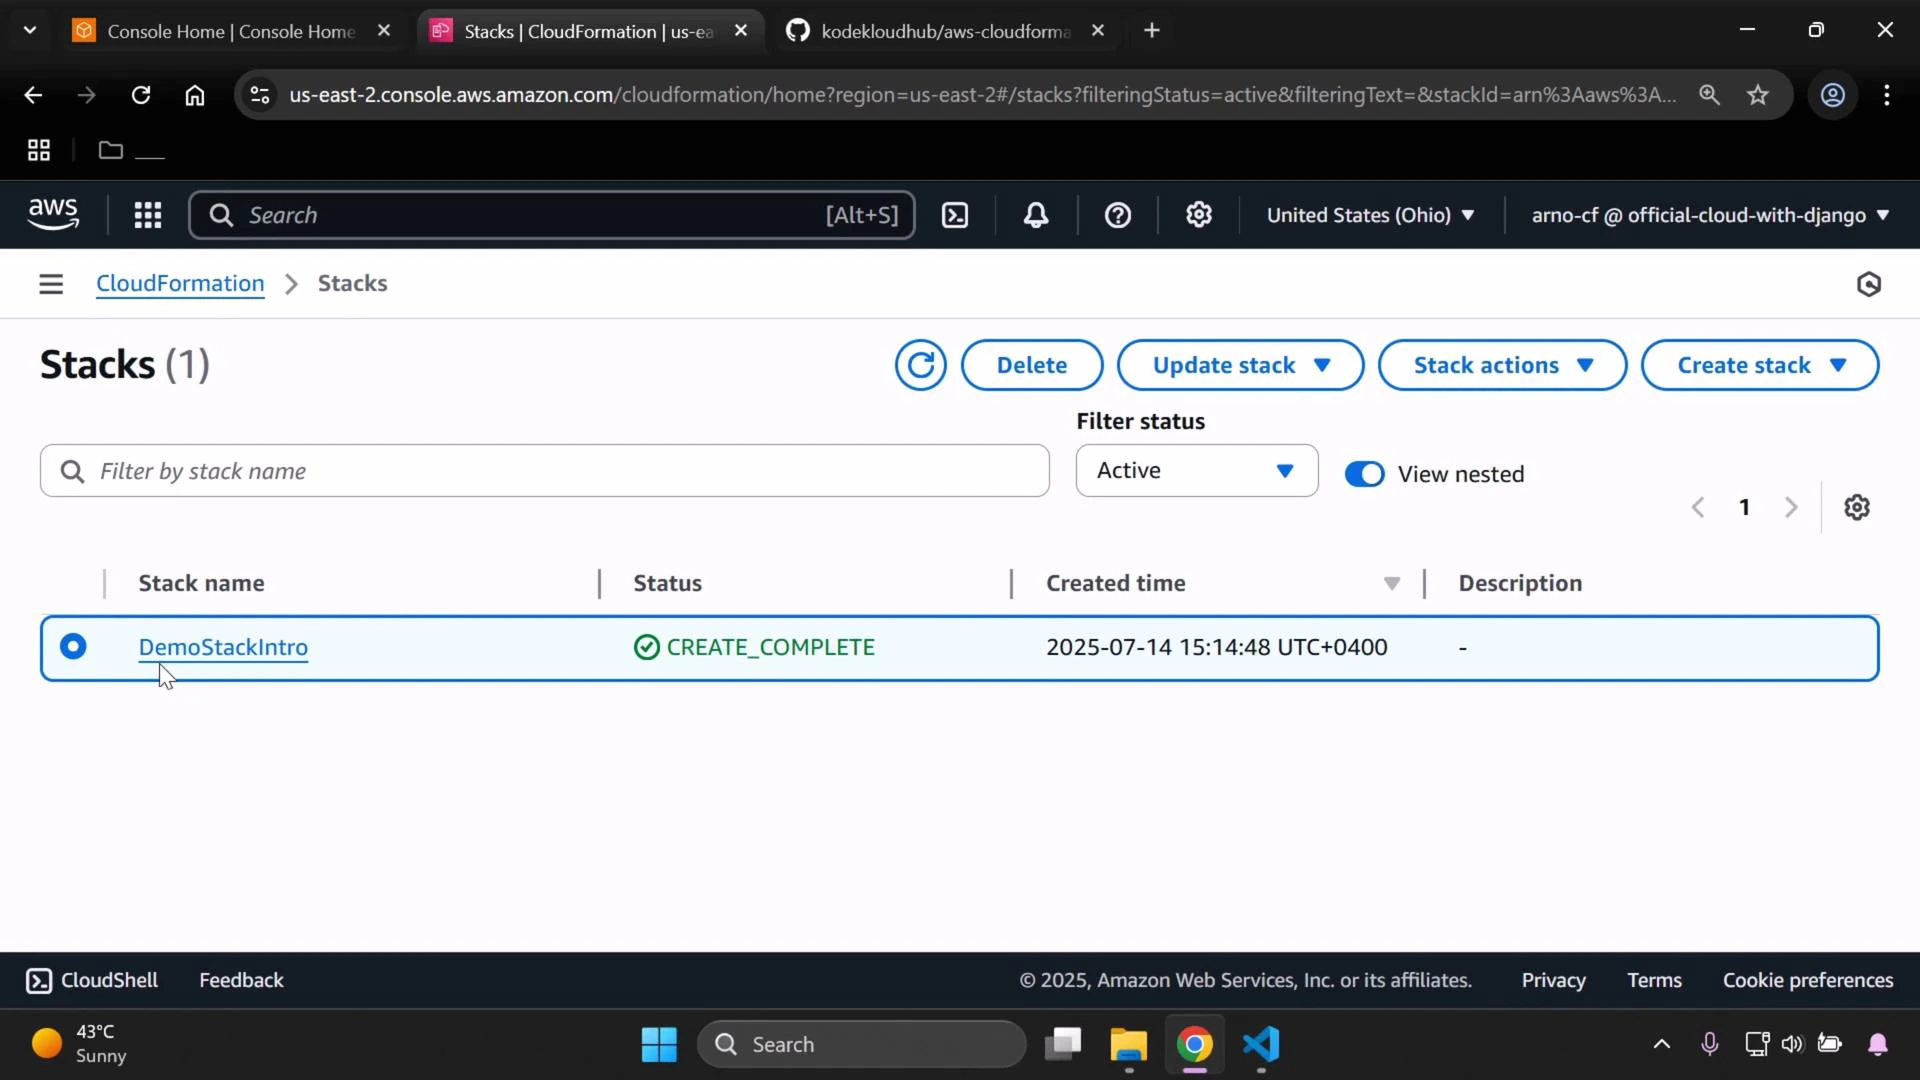
- Monitor the stack status from the Stacks page. Wait until the stack reaches CREATE_COMPLETE — that indicates resources were created successfully.
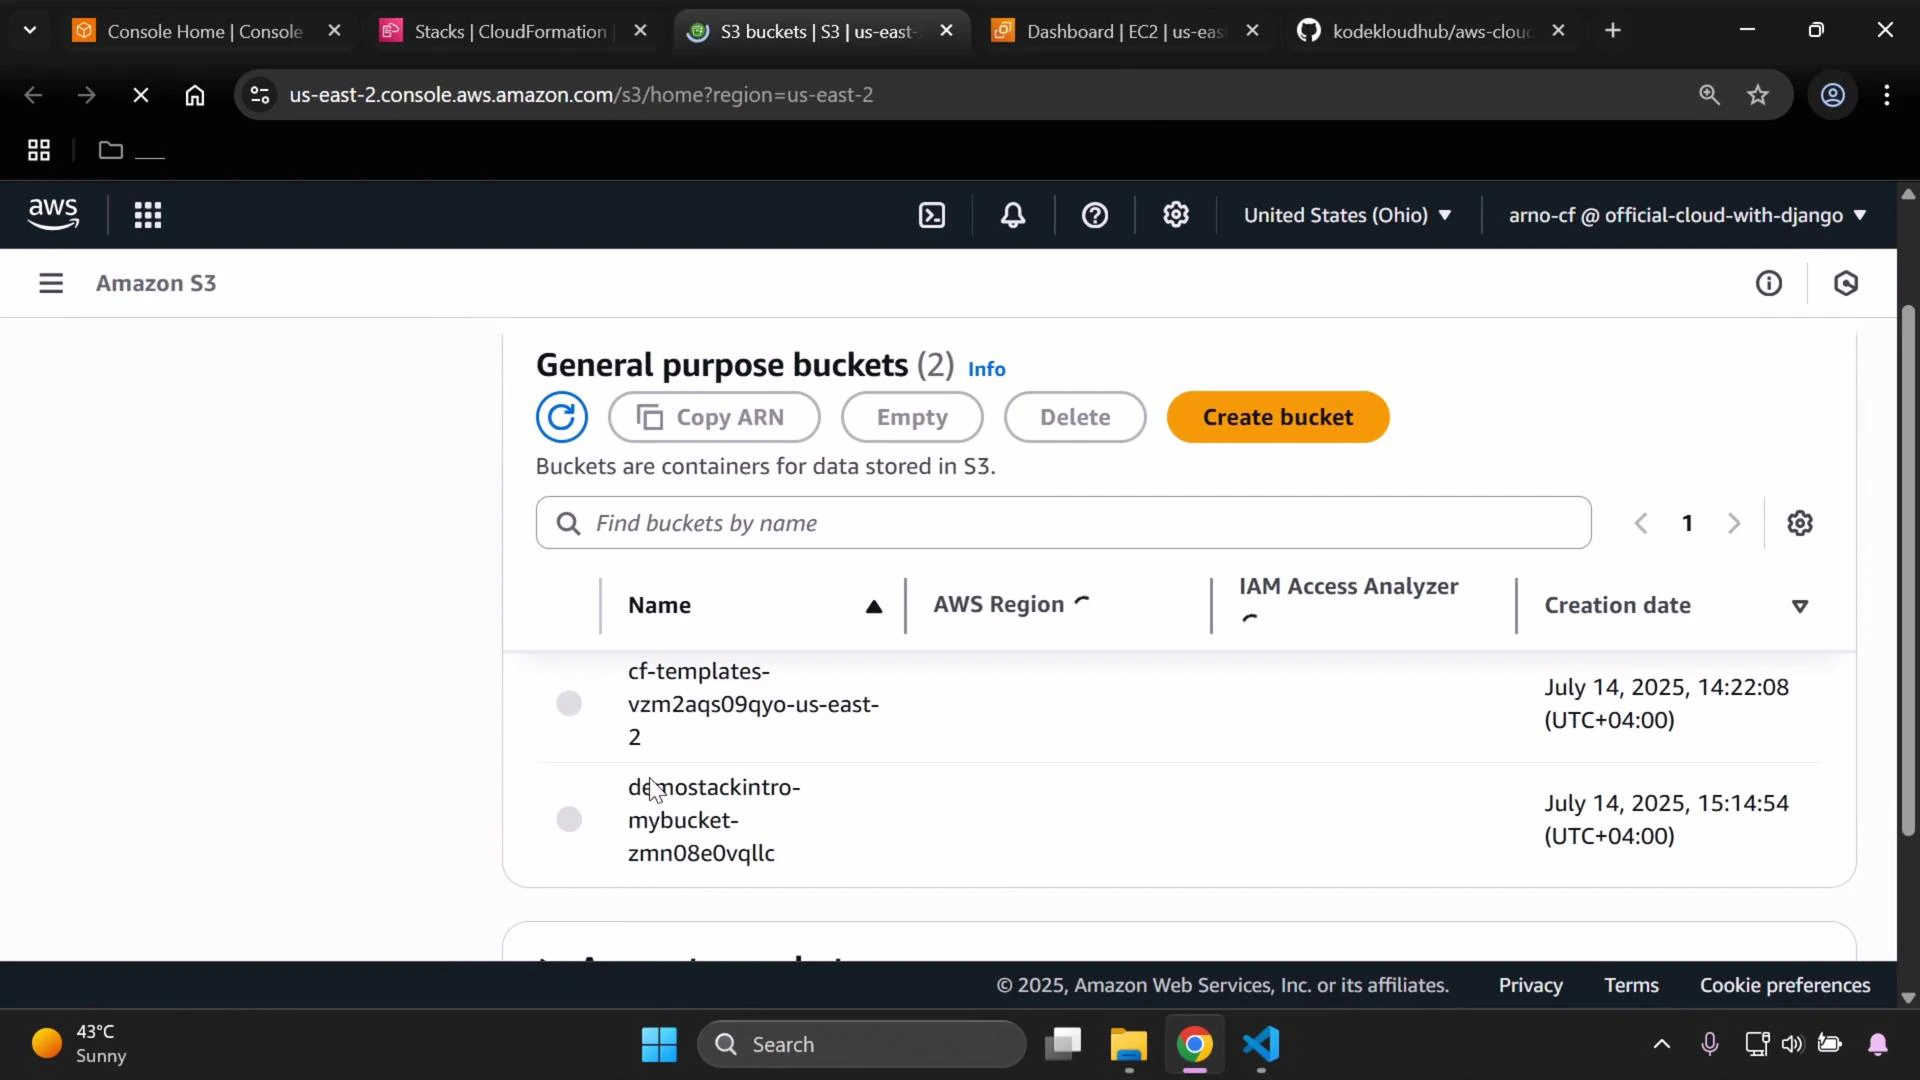
- Open the S3 and EC2 consoles in the same AWS Region you used to create the stack (region mismatch is a common cause of “missing” resources).
- You should see two buckets: the CloudFormation-managed template storage bucket (used internally) and the bucket created by your template (for example,
demo-stack-intro-bucket).
- You should see the EC2 instance launched by the template. Confirm the instance status (running) and the region (US East 2 in this demo).
If you don’t see the resources, confirm the Console’s region matches the region where you created the stack.
| Resource Type | Use Case | Example |
|---|---|---|
| S3 Bucket | Object storage for application data or templates | AWS::S3::Bucket |
| EC2 Instance | Virtual servers for compute workloads | AWS::EC2::Instance |
| IAM Role | Permissions for instances or services | AWS::IAM::Role |
| CloudFormation Stack | Group of resources managed together | AWS::CloudFormation::Stack |
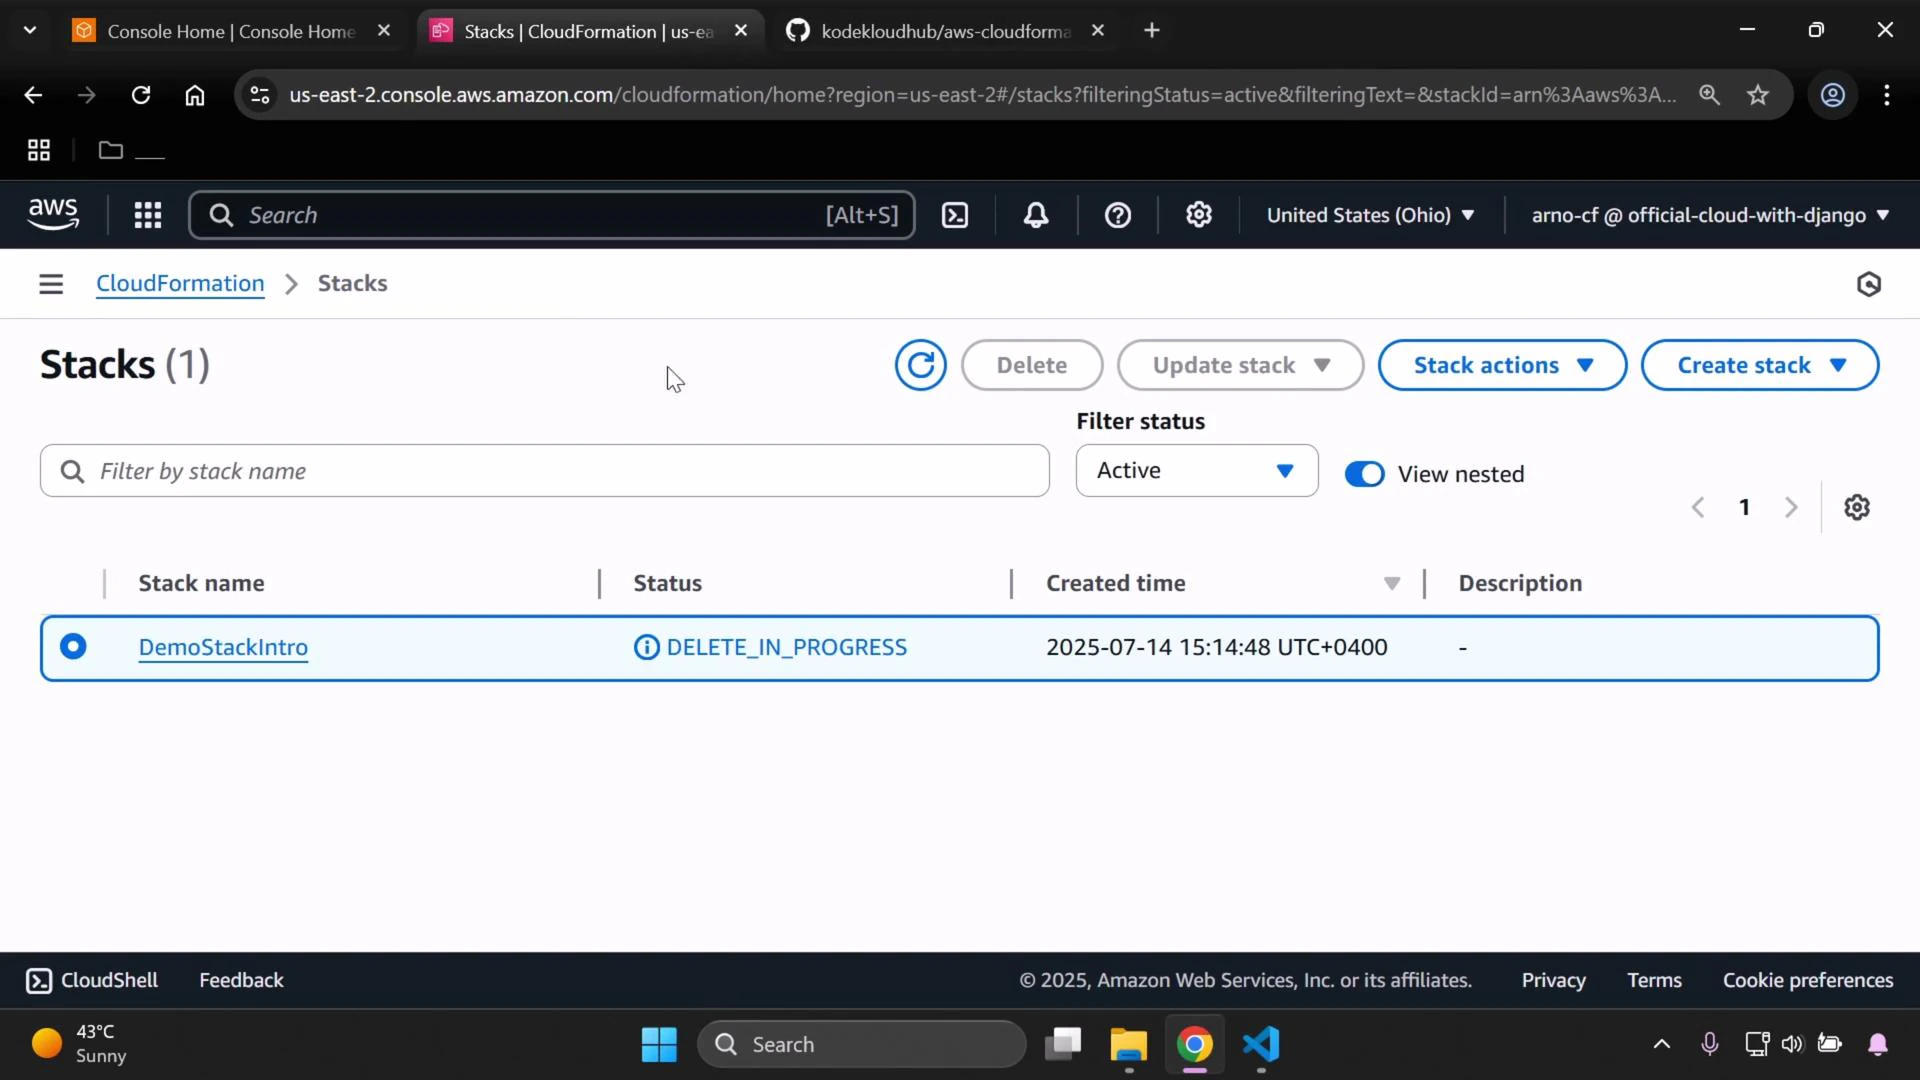
- To remove the resources, select your stack in the CloudFormation console and choose Delete stack.
- CloudFormation will transition the stack to DELETE_IN_PROGRESS and attempt to remove all resources created by that stack. The process is visible on the Stacks page.
Important: CloudFormation attempts to delete resources it created, but certain resources may remain if they were modified after creation or have deletion prevention settings. Also, the CloudFormation-managed template storage bucket is retained by AWS and is not deleted with the stack.
- The stack will no longer appear in the Stacks list.
- The resources created by your template (for example, the template-defined S3 bucket and EC2 instance) should be removed.
- This article provides a high-level, practical demo. To go further:
- Inspect the
intro.yamltemplate to learn how Resources, Parameters, Outputs, and Metadata are defined. - Modify the template to add or change resources (for example, add tags or change instance types).
- Explore CloudFormation best practices like modular templates, nested stacks, and use of Change Sets.
- Inspect the
- AWS CloudFormation docs: https://docs.aws.amazon.com/cloudformation/
- AWS Console: https://console.aws.amazon.com/
- S3 documentation: https://docs.aws.amazon.com/s3/
- EC2 documentation: https://docs.aws.amazon.com/ec2/
intro.yaml contents and explain each template section in detail.