Overview — why this matters
- AWS CloudFormation cannot delete S3 buckets that contain objects.
- If a stack-managed bucket is non-empty, stack deletion will fail and leave resources in an inconsistent state.
- Cleaning up via CloudFormation (when possible) preserves the stack lifecycle and avoids manual drift.
Step 1 — Empty the demo S3 bucket
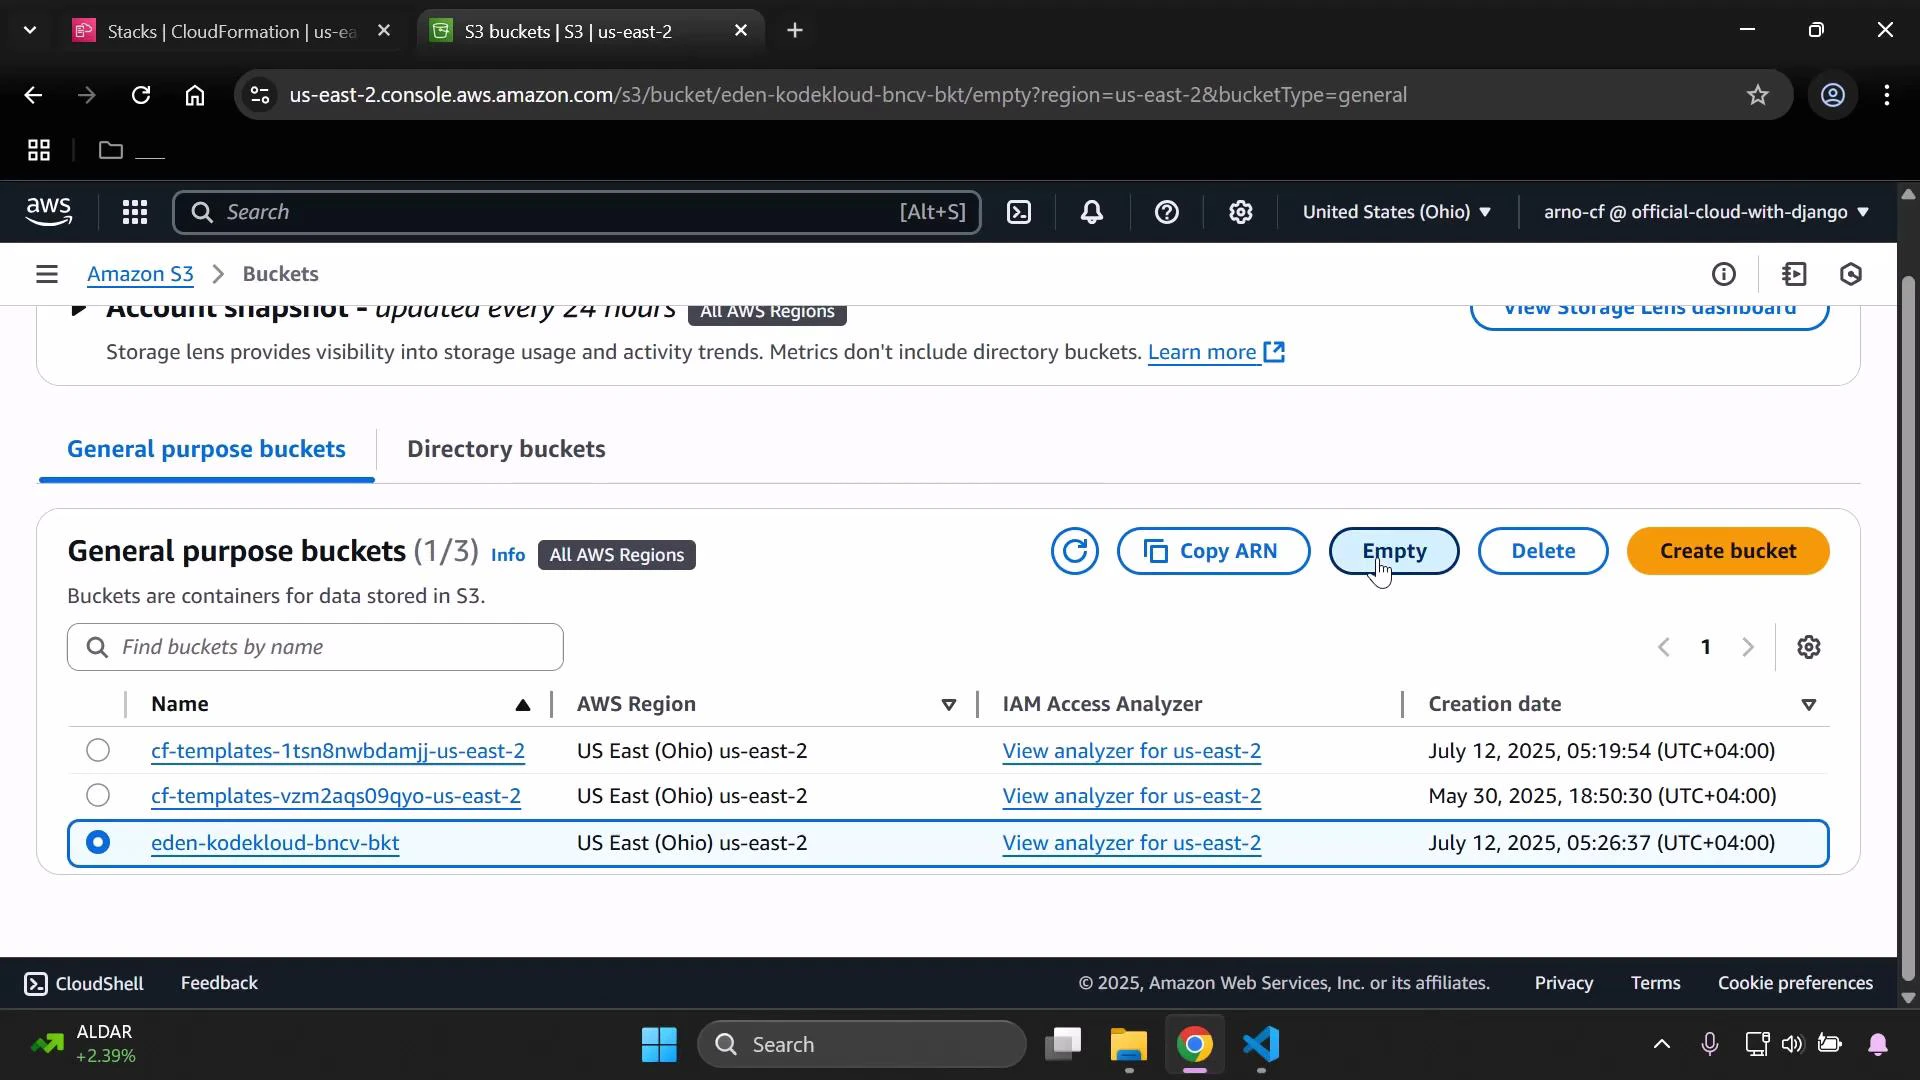
- Open the Amazon Simple Storage Service (Amazon S3) console and find the bucket created by the demo stack. (Ignore any CloudFormation template buckets; focus on the demo bucket you used.)
- Select the bucket.
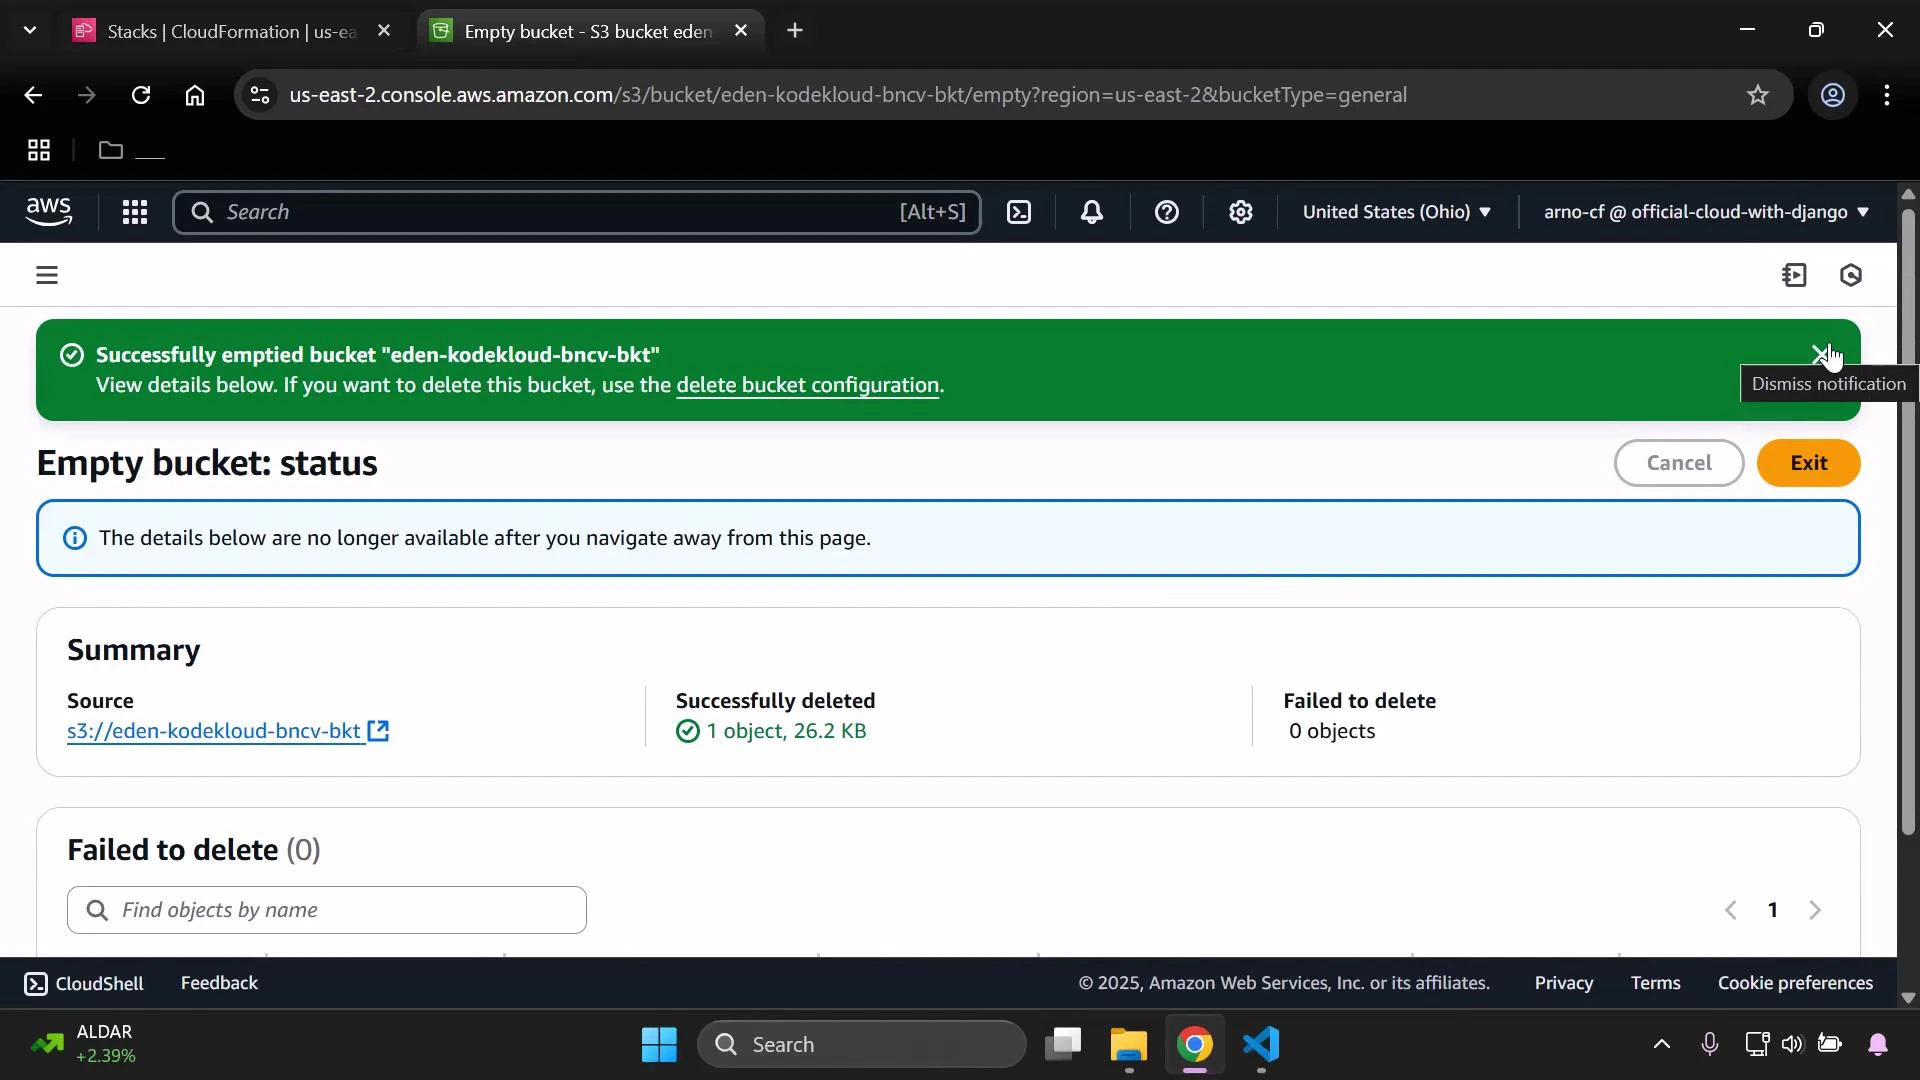
- Click the “Empty” action to remove all objects.
- Confirm by typing
permanently deletewhen prompted.
If the bucket has versioning enabled, simply emptying the bucket may not remove prior object versions. You must remove all versions (or suspend versioning and delete versions) before CloudFormation can delete the bucket. Attempting to delete a stack with a versioned, non-empty bucket will fail.
Step 2 — Delete the CloudFormation stack
With the S3 bucket empty, remove the CloudFormation stack that created the demo resources:- Open the AWS CloudFormation console.
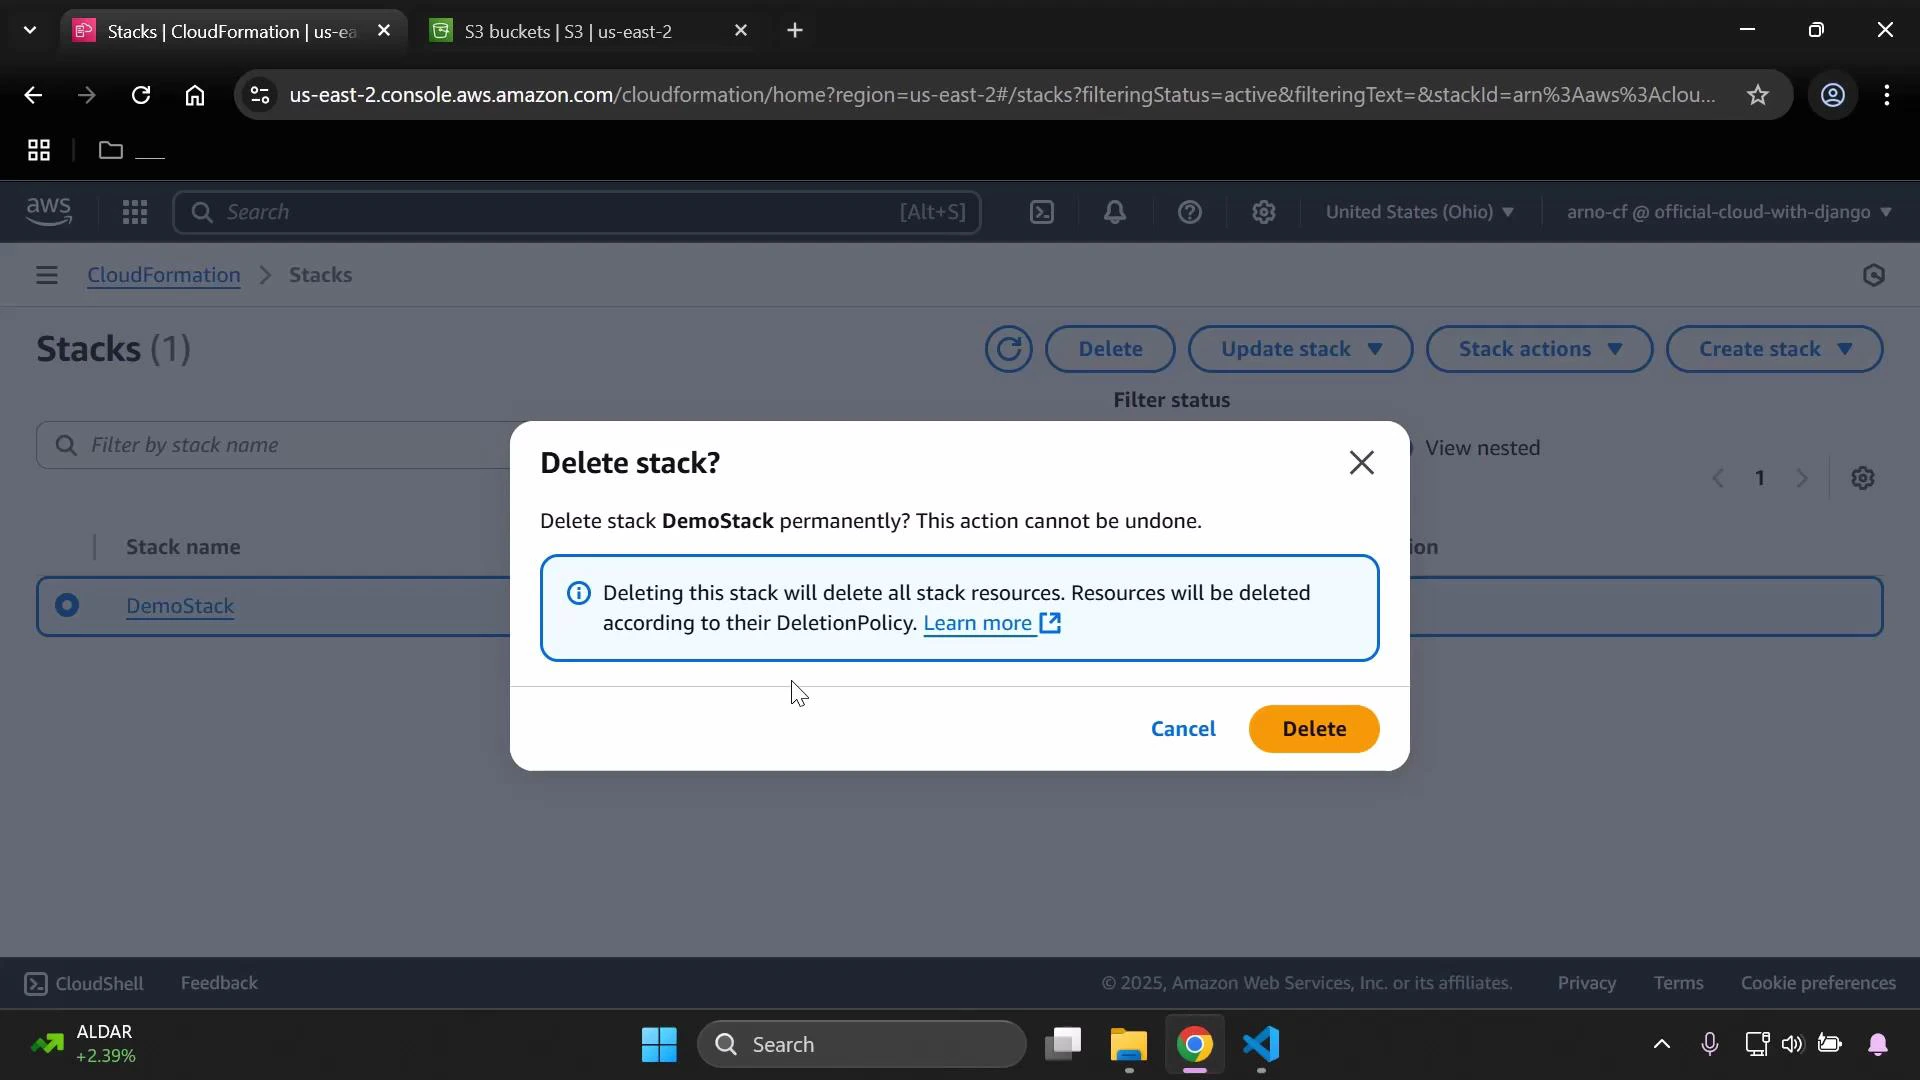
- Select the stack you want to delete (for example, DemoStack).
- Click “Delete” to initiate the deletion process.
- Confirm the deletion in the modal.
Tip: You can delete an empty bucket directly from the S3 console, but preferring CloudFormation-driven deletion for stack-managed resources keeps the stack status accurate and reduces manual cleanup steps.
Quick checklist
| Resource | Action | Expected result |
|---|---|---|
| Demo S3 bucket | Empty all objects (and delete versions if enabled) | Bucket becomes empty and displays success notification |
| CloudFormation stack | Delete stack from console | Stack transitions to DELETE_IN_PROGRESS then is removed |
| S3 console verification | Confirm bucket absence | Demo bucket is no longer listed |
Troubleshooting
- If stack deletion fails due to the S3 bucket, confirm there are no remaining objects or versions in the bucket.
- For cross-account or permission issues, ensure your IAM user/role has S3 and CloudFormation delete permissions.
- For automated cleanup, consider scripting removal with the AWS CLI (aws s3 rm —recursive and aws cloudformation delete-stack).