- A Windows PC (Windows 10 or newer is recommended).
- Administrator privileges to run the installer (may be required for system-wide PATH changes).
- An internet connection to download the installer.
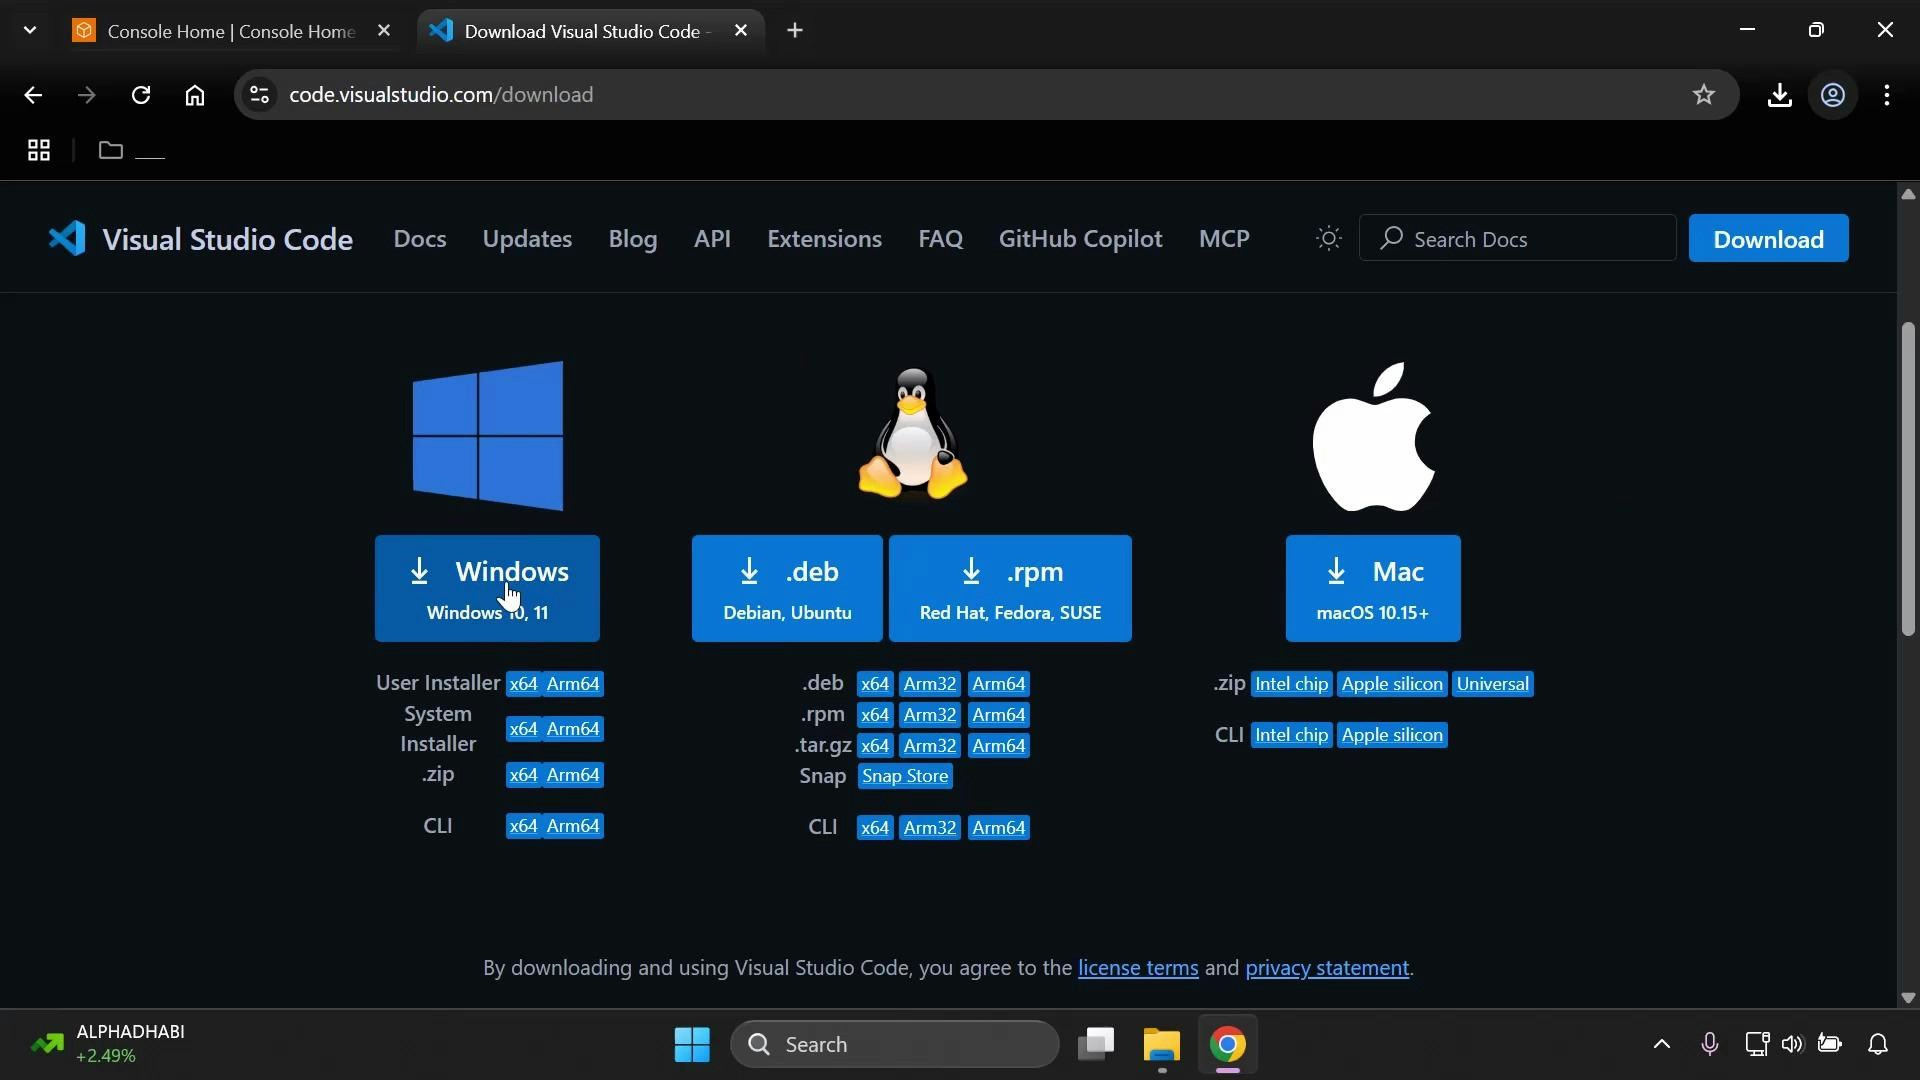
- Open your web browser and search for “Visual Studio Code download” or go directly to the official download page:
- Visual Studio Code download: https://code.visualstudio.com/Download
- Official documentation: https://code.visualstudio.com/docs
- On the downloads page, choose the Windows installer to begin the .exe download. If the file does not start automatically, click the provided direct download link.
- Once the .exe file has downloaded, run it to start the Visual Studio Code Setup Wizard. If prompted for administrator permission, allow it to proceed.
-
Follow the installer prompts:
- Accept the license agreement and click Next.
- Choose an installation location (the default is usually fine) and click Next.
- Select the Start Menu folder (or accept the default) and click Next.
- On the “Select Additional Tasks” page, pick the options that suit your workflow. Common recommendations are described in the table below.
| Installer Option | What it does | Recommendation |
|---|---|---|
| Add “Open with Code” to file context menu | Right-click a file to open it in VS Code | Recommended |
| Add “Open with Code” to directory context menu | Right-click a folder to open it in VS Code | Recommended |
| Add to PATH | Makes the code command available from the command line | Highly recommended |
| Register as default editor for supported file types | Sets VS Code as the default app for files it supports | Optional |
| Create a desktop icon | Adds a desktop shortcut | Optional |
Recommended: At minimum, check “Add to PATH” and the Explorer context menu options. These make it much easier to open files, folders, and projects from the command line or File Explorer.
- Click Next, then Install. The installer will copy files and configure VS Code — this typically completes quickly.
- When installation finishes, leave “Launch Visual Studio Code” checked if you want to open it immediately, then click Finish.
- Open a new Command Prompt or PowerShell window and verify VS Code is available on your PATH and check the version:
- To open the current directory in VS Code from the command line:
- If
codeis not recognized after installation, restart your terminal or log out and log back into Windows to ensure PATH changes take effect. - If you prefer a Stable vs. Insiders build, download the appropriate installer from the official Downloads page.
Only download installers from the official Visual Studio Code site (https://code.visualstudio.com/). Avoid installing executables from untrusted sources to reduce security risk.
- Explore the Command Palette (Ctrl+Shift+P) and the integrated terminal (Ctrl+`) to become productive quickly.
- Install recommended extensions for your development stack from the Extensions view (Ctrl+Shift+X).
- Learn more with the official VS Code documentation: https://code.visualstudio.com/docs