- Change EC2 instance type from
t3.microtot3.small. - Add a
Developer: Johntag to the S3 bucket created by the nested S3 stack.
- Updating an instance type may stop or replace the instance (possible downtime).
- Updating nested templates requires the parent stack to reference the same S3 object keys (TemplateURL) so CloudFormation picks up the changes.
| Resource Type | Change | Template file |
|---|---|---|
| EC2 Instance | InstanceType: t3.micro → t3.small | simple-ec2.yaml |
| S3 Bucket | Add tag Developer: John | simple-s3.yaml |
| Parent stack | Re-run update so nested TemplateURLs are re-read | Parent template (no change required unless you change filenames) |
- simple-ec2.yaml (nested EC2 stack)
- simple-s3.yaml (nested S3 stack)
Updating the InstanceType of an AWS::EC2::Instance can cause the instance to be stopped or replaced, which may result in downtime or a new instance ID. Plan for possible interruption when applying this change via CloudFormation.
- Save the modified templates locally.
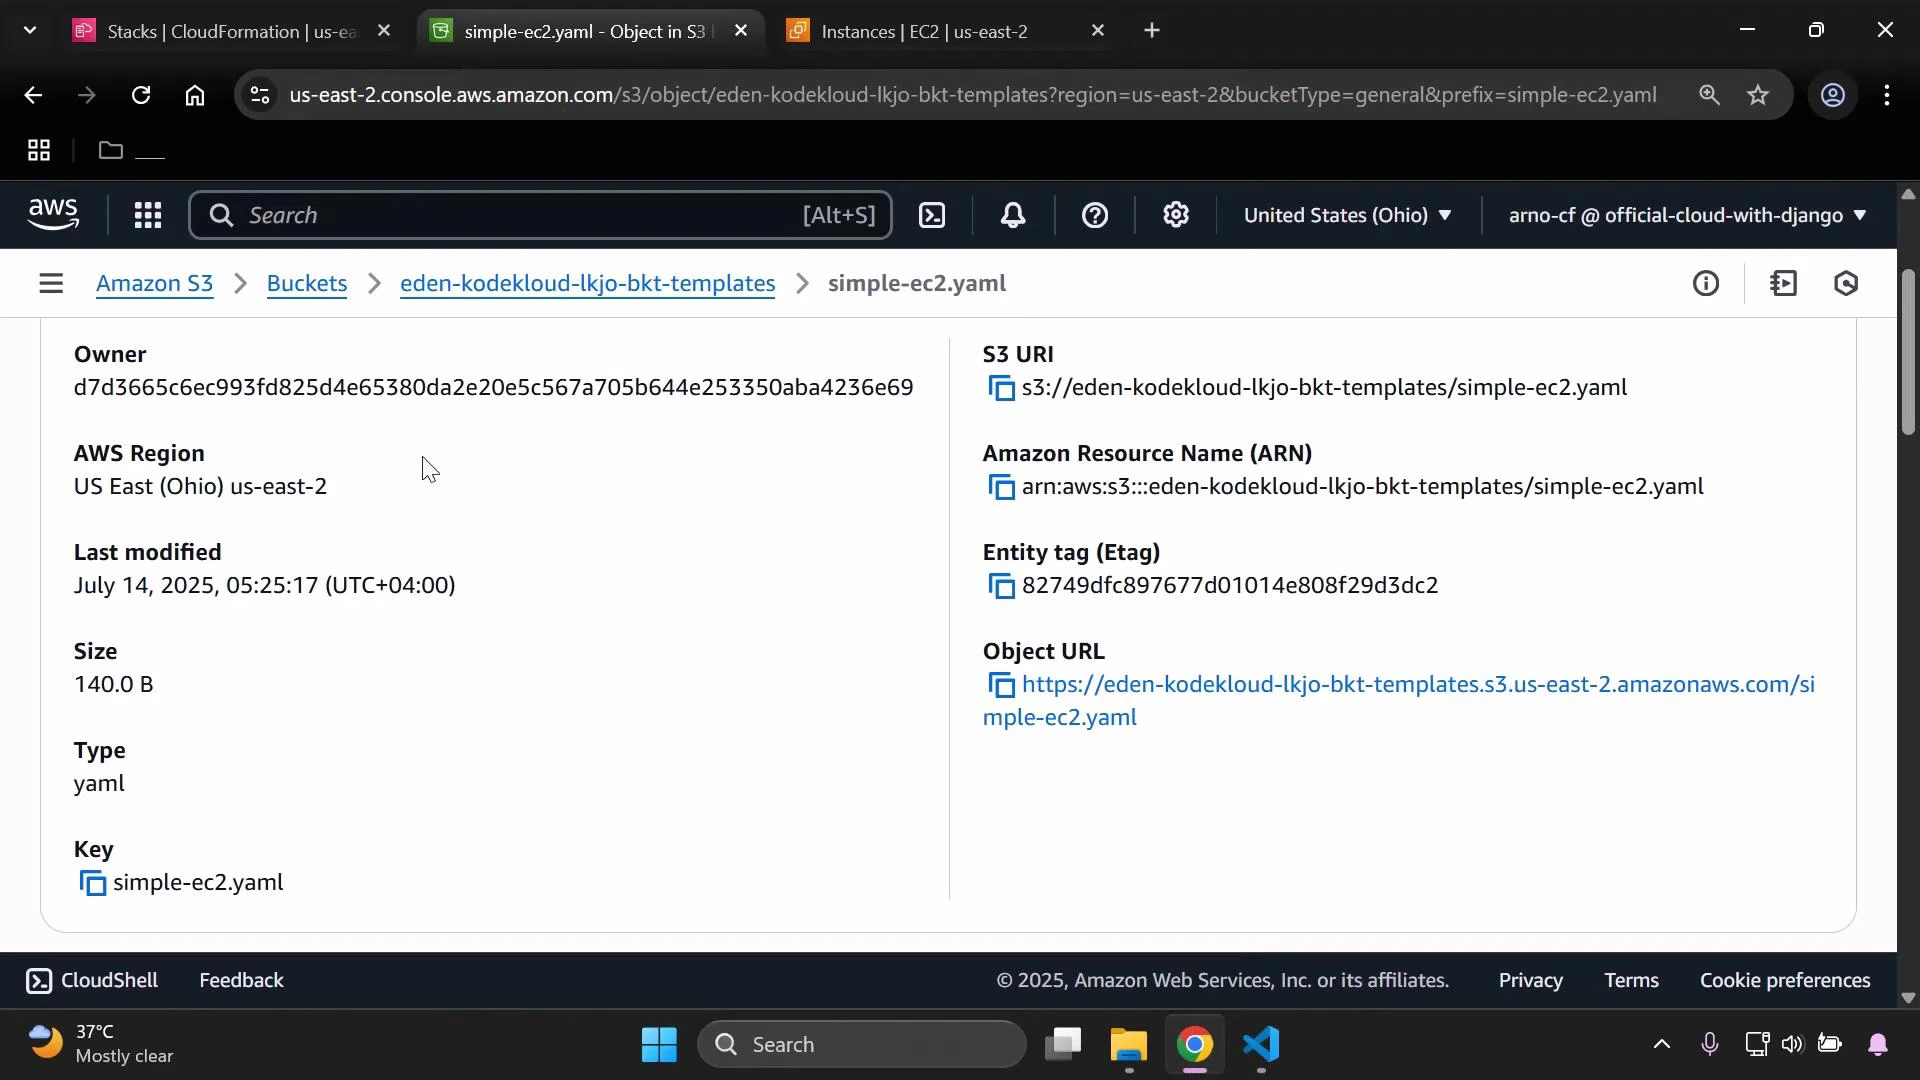
- Upload
simple-ec2.yamlandsimple-s3.yamlto the S3 bucket your parent stack expects (same object keys).- If you change the filename/object key, you must update the parent template’s
TemplateURLto the new S3 URL.
- If you change the filename/object key, you must update the parent template’s
- Confirm the object details after upload (ETag, size, last modified, S3 URI) to ensure the correct files were replaced.
- In the CloudFormation console select the parent (Demo) stack.
- Choose Update stack → Use current template (unless you intentionally changed the parent template).
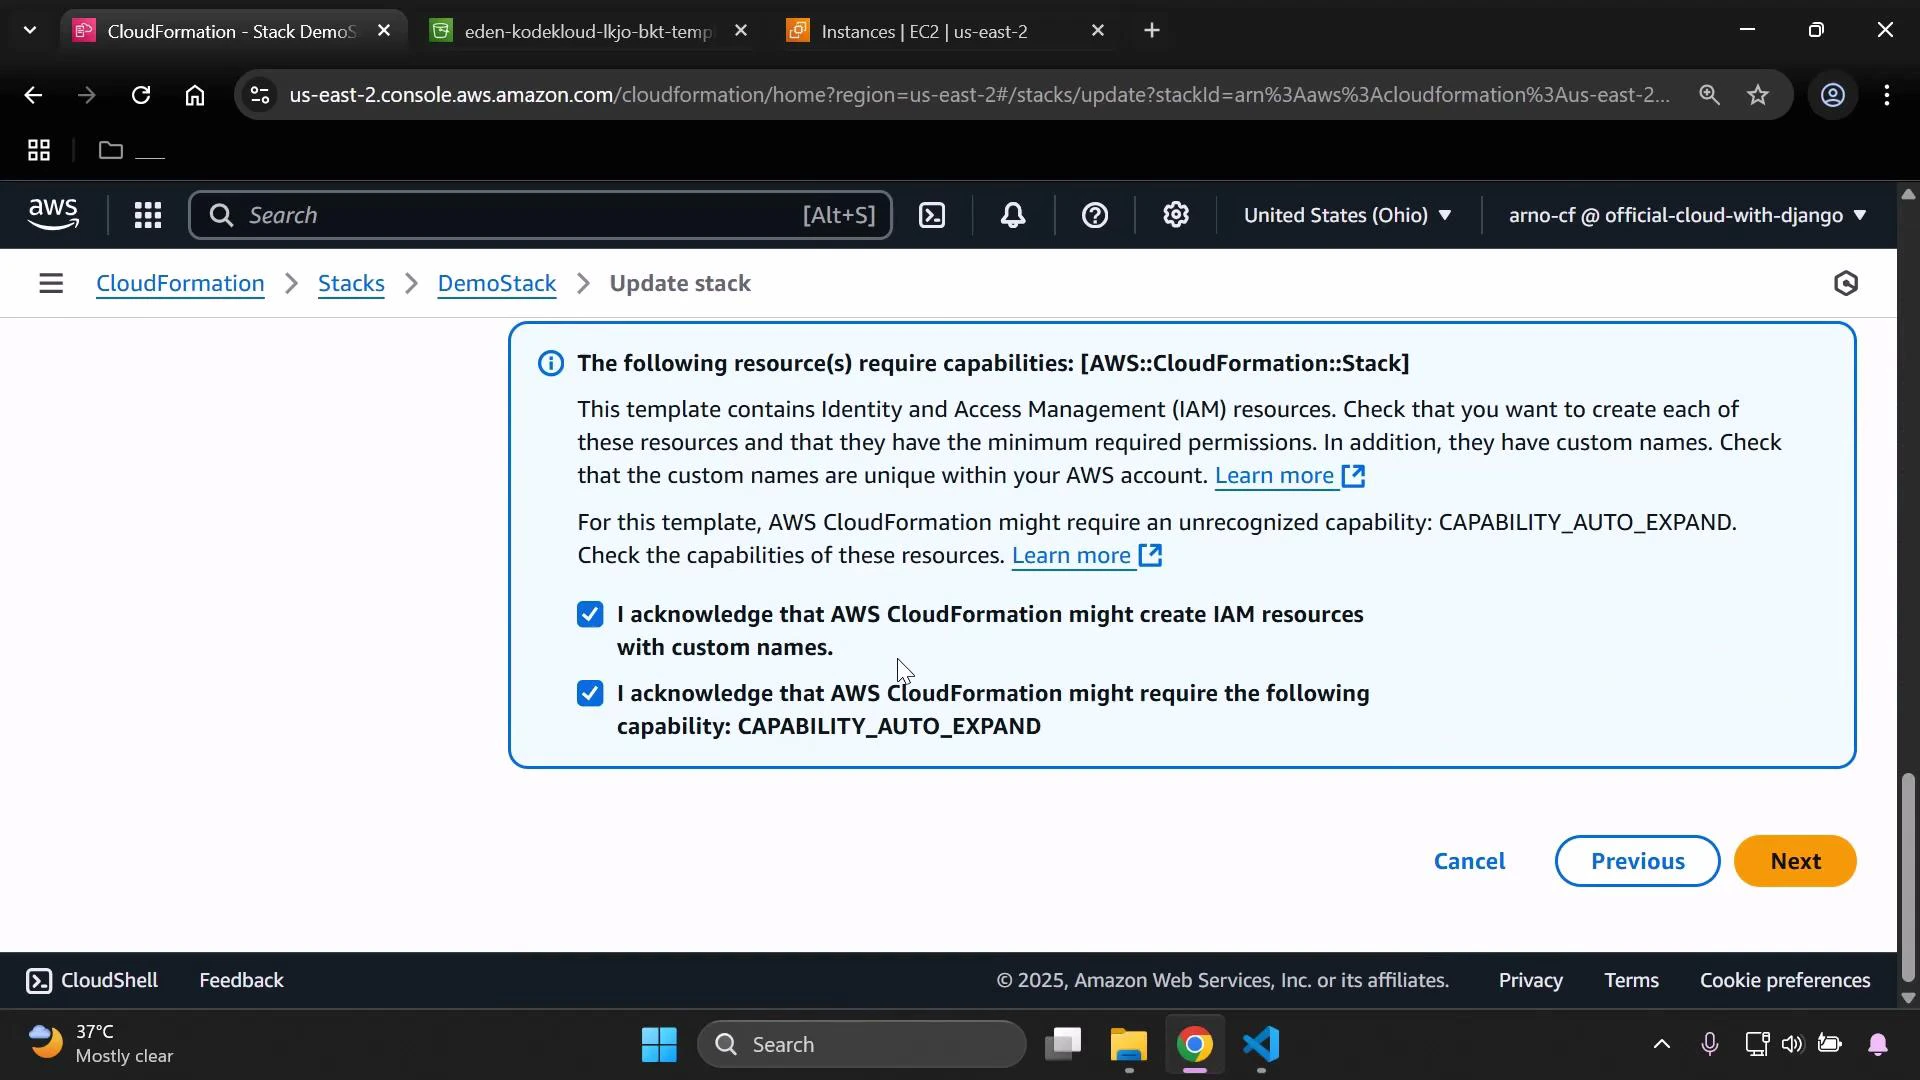
- Follow the wizard and acknowledge any required capabilities (for example, IAM or CAPABILITY_AUTO_EXPAND) before you submit the update.
- When you submit the parent stack update, CloudFormation creates a change set and identifies which nested stacks have changes.
- Execute the change set. CloudFormation updates the parent stack and then updates each nested stack according to its TemplateURL contents.
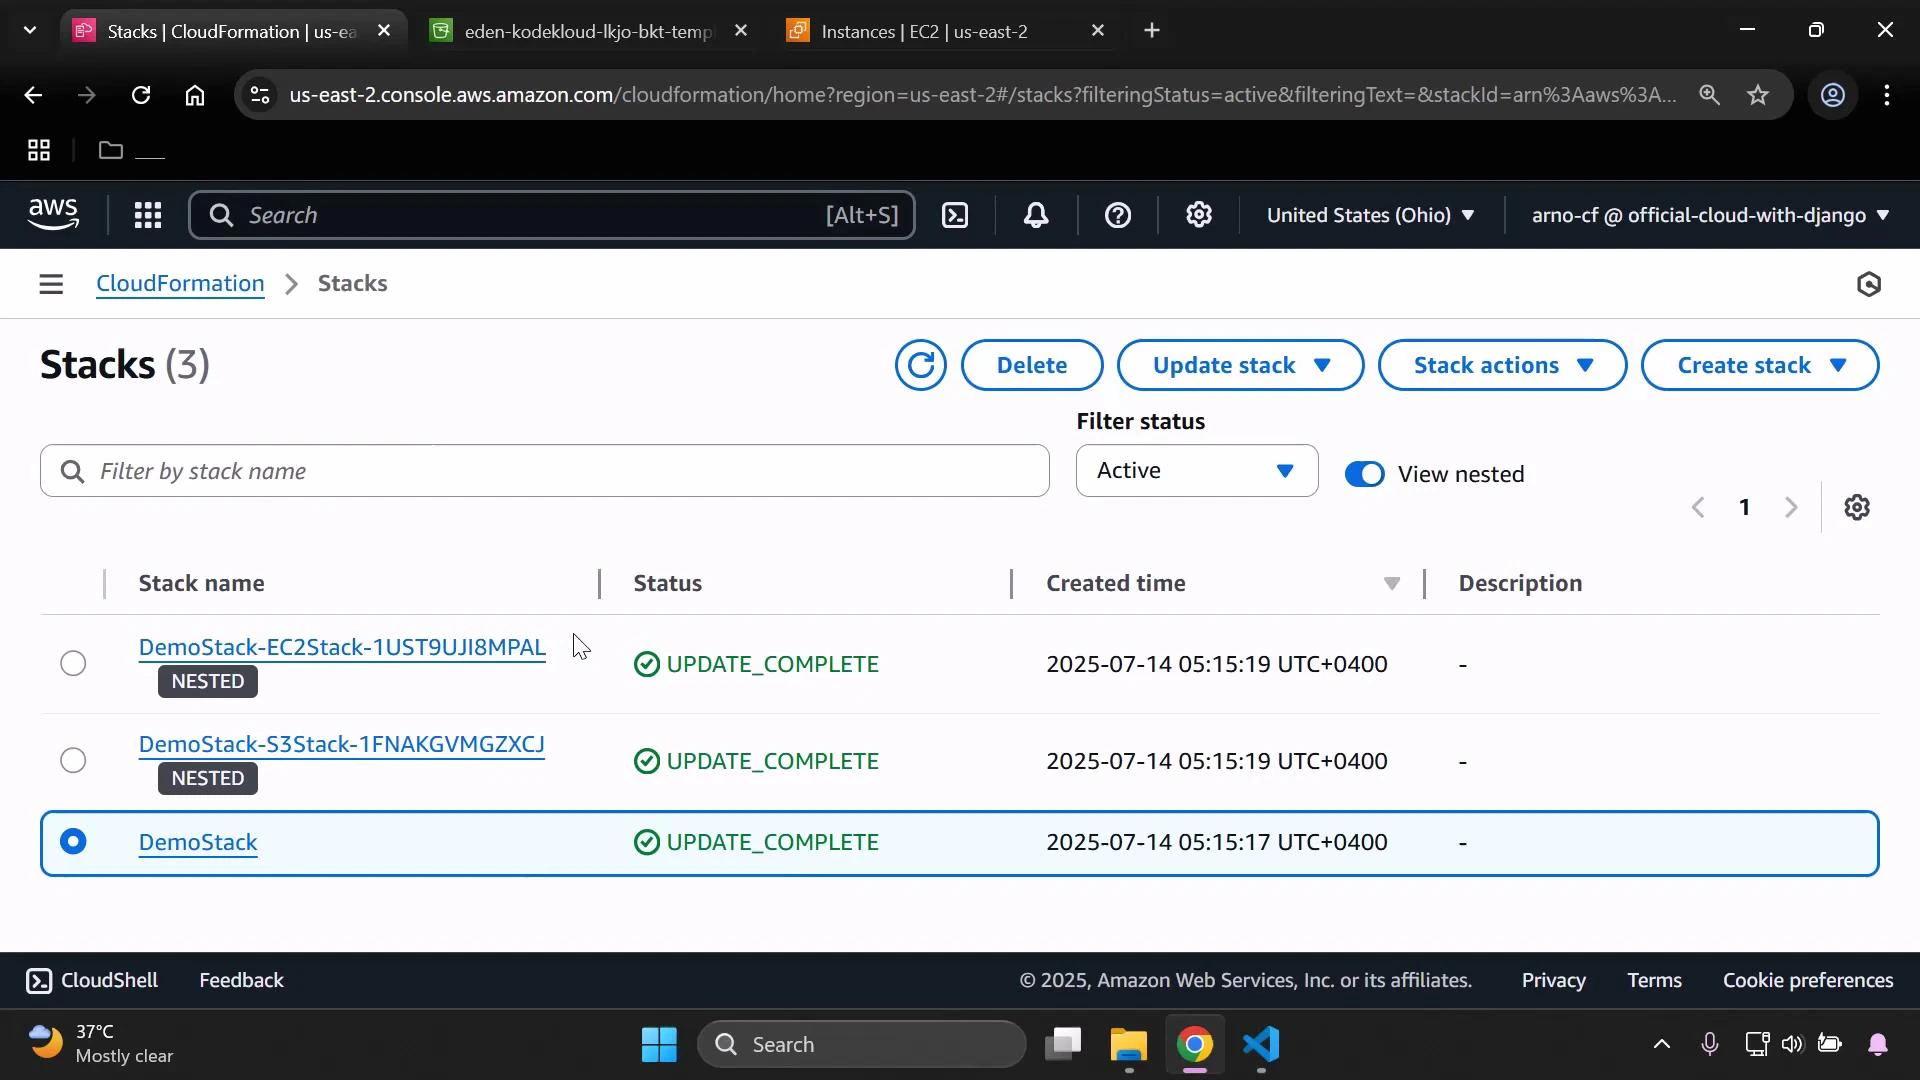
- After execution, the parent and nested stacks should reach
UPDATE_COMPLETEstatus in the Stacks list.
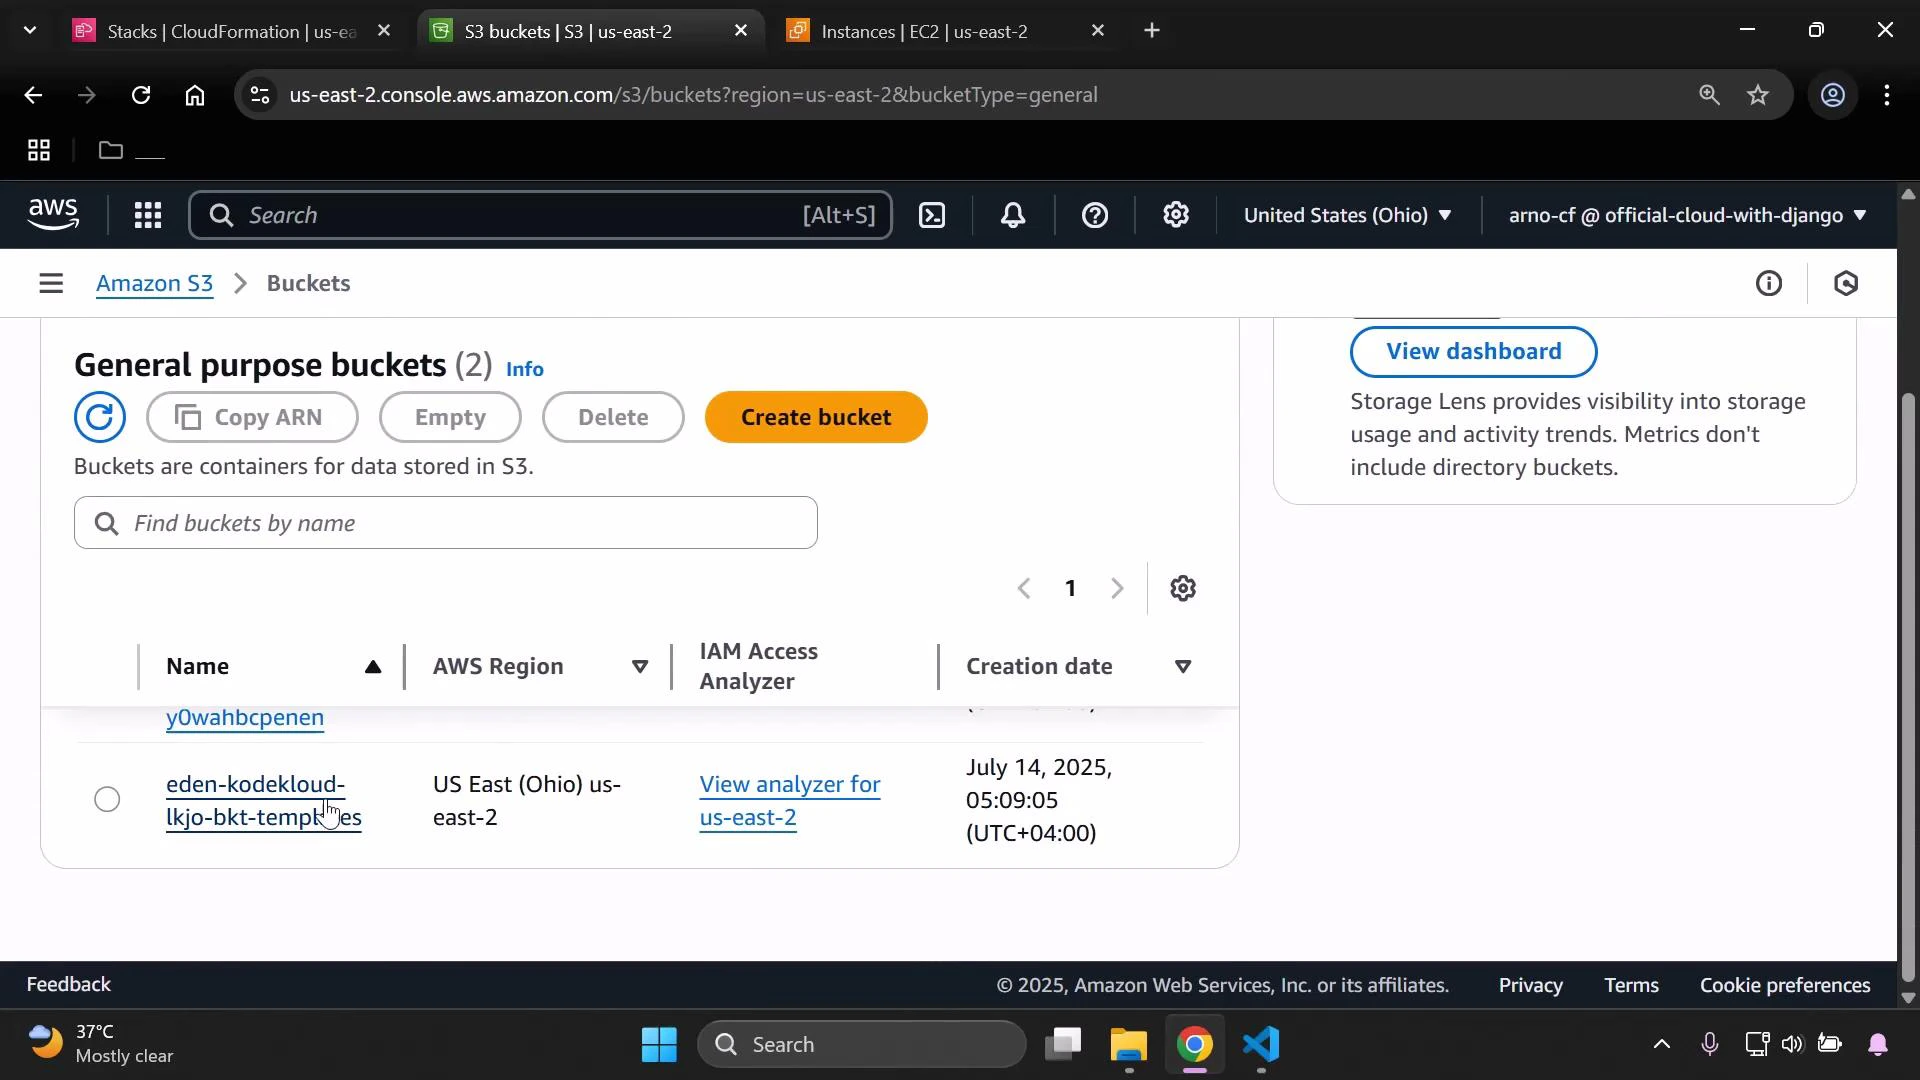
- Verify S3 bucket tags (the bucket you created via the nested stack, not the templates bucket)
- Open the S3 console, refresh and open your deployed bucket.
- Go to Properties → Tags and confirm there is a
Developertag with valueJohn.

- Verify EC2 instance type
- Open the EC2 console, refresh Instances, and locate the instance created/managed by the nested EC2 stack.
- Confirm the Instance Type column shows
t3.small.
- If both verifications pass (S3 tag and EC2 instance type), the nested stack update succeeded and the desired resource changes are in effect.
Always keep the parent template’s TemplateURL values aligned with the S3 object keys used for nested stacks. If you rename or move nested templates in S3, update the parent template to point to the new TemplateURL before applying the update.
- AWS CloudFormation nested stacks overview: https://docs.aws.amazon.com/AWSCloudFormation/latest/UserGuide/using-cfn-nested-stacks.html
- AWS CloudFormation Update Stack: https://docs.aws.amazon.com/AWSCloudFormation/latest/UserGuide/using-cfn-updating-stacks.html
- AWS EC2 Instance Types: https://aws.amazon.com/ec2/instance-types/
- AWS S3 Bucket Tagging: https://docs.aws.amazon.com/AmazonS3/latest/userguide/object-tagging.html