Step by step guide to download, install, and configure Visual Studio Code on macOS, enable the code command line launcher, and set useful shortcuts.
This step-by-step guide shows how to download and install Visual Studio Code (VS Code) on macOS. Follow the sequence below to get VS Code running, enable the command-line launcher, and configure a couple of handy shortcuts.
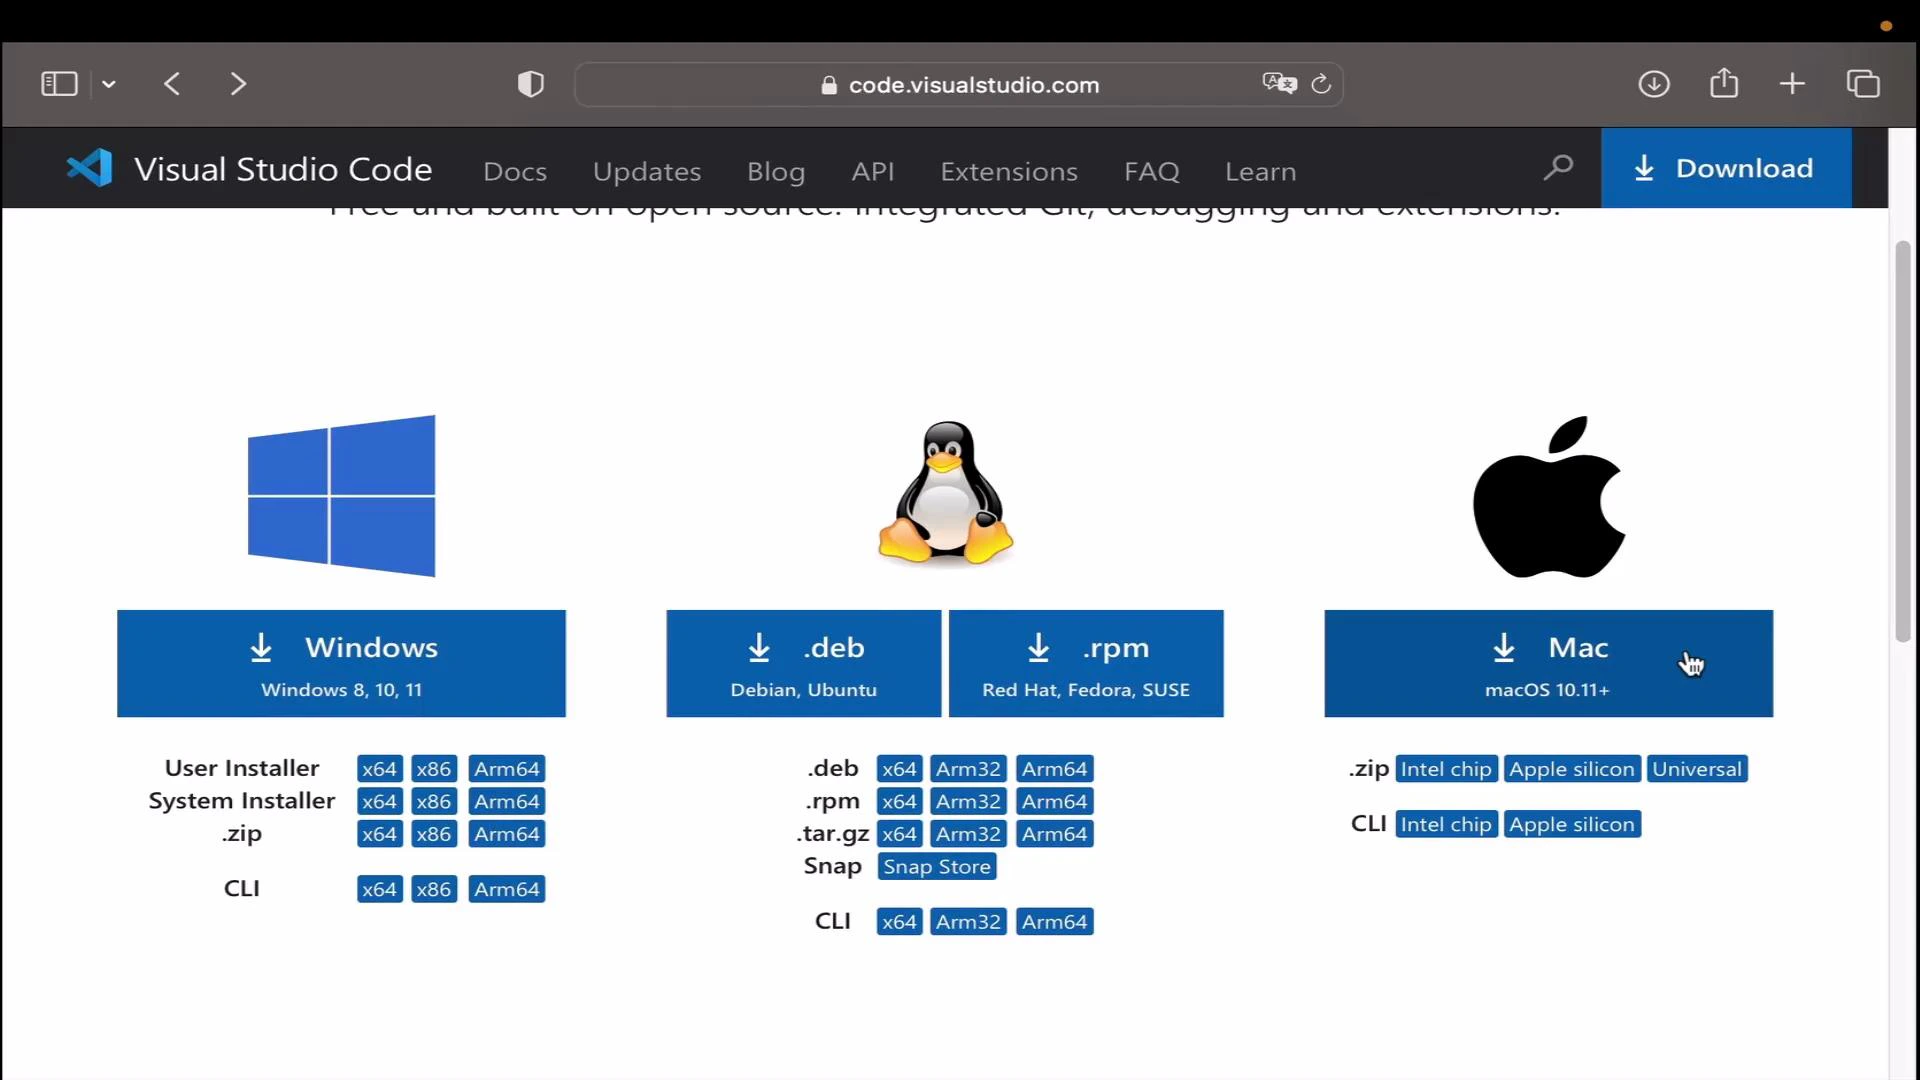
Open the Visual Studio Code download page in your browser and scroll to the macOS section. Choose the installer that matches your Mac architecture (Intel x64 or Apple Silicon / Arm64).
Click the macOS download button. The download is typically a .dmg or a .zip file and will be saved to your Downloads folder.
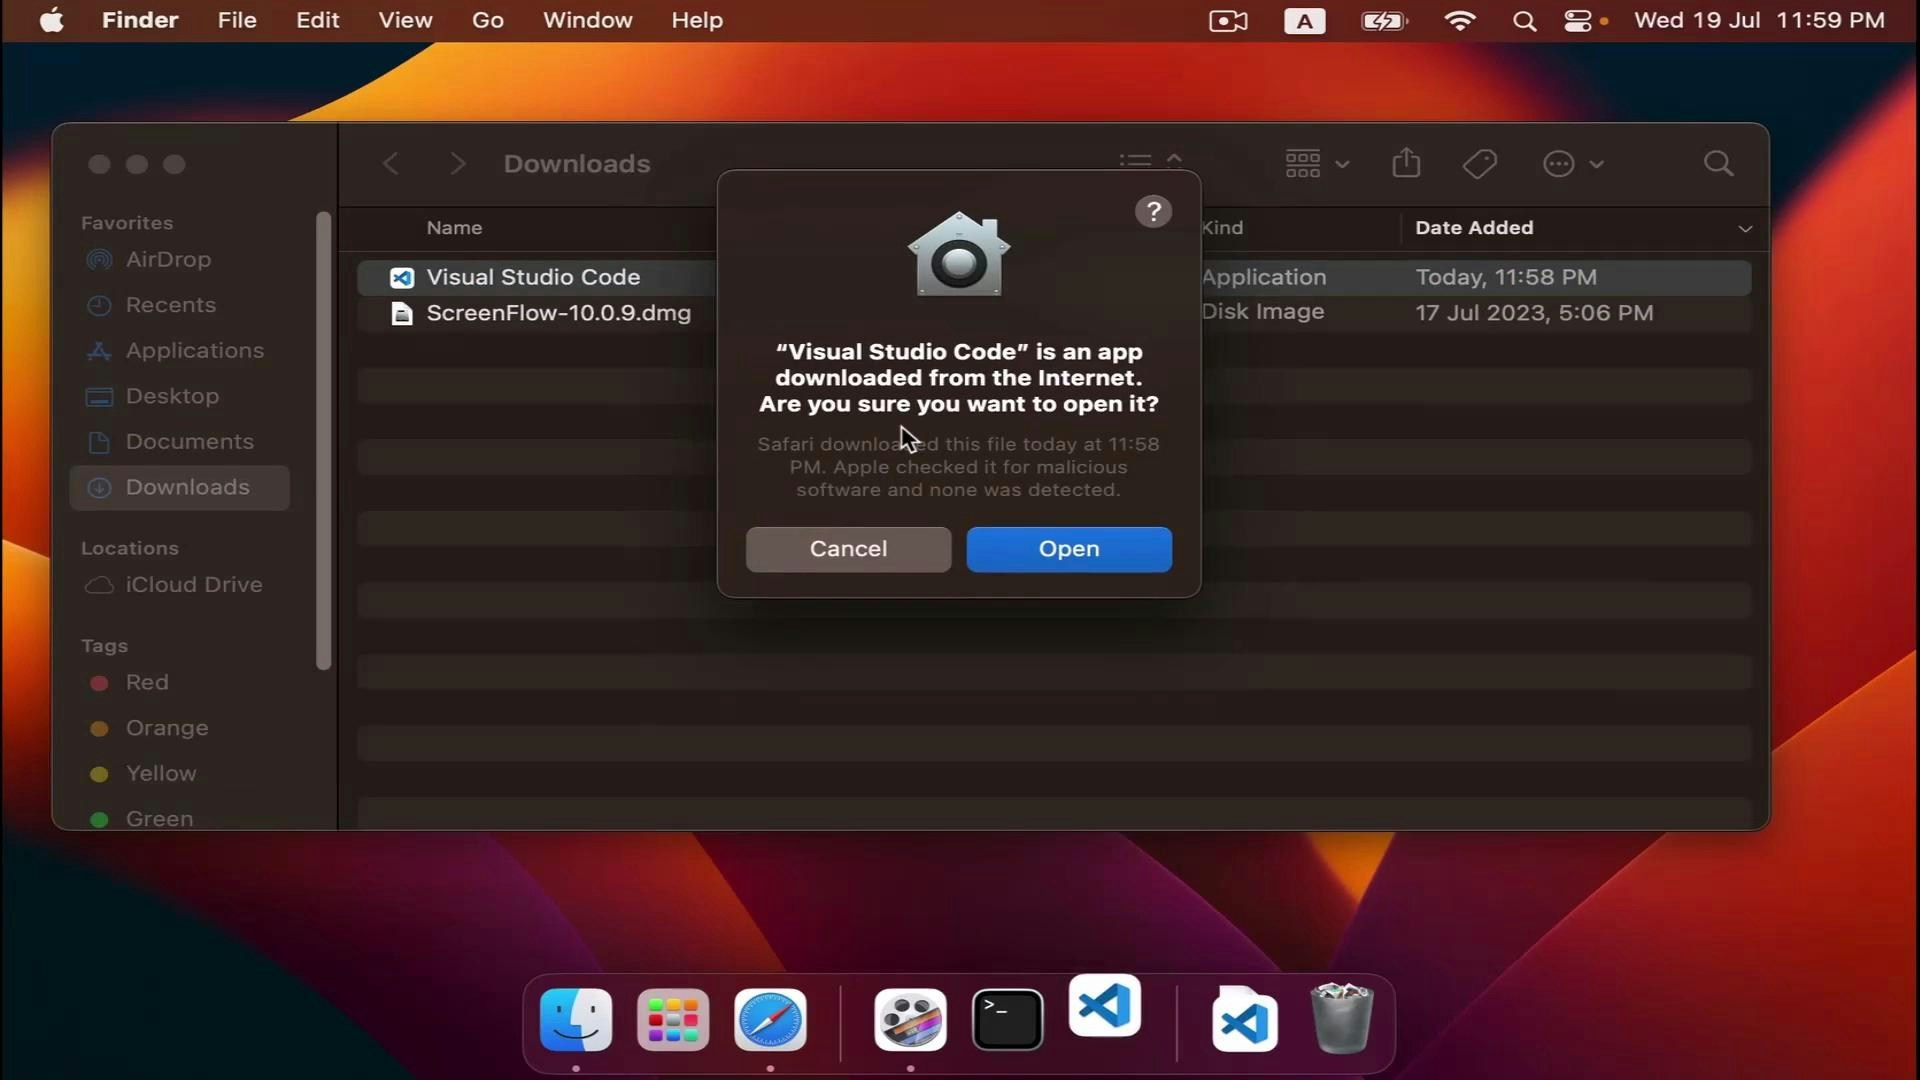
Open Finder → Downloads and locate the Visual Studio Code download. Double-click the file to open it. If macOS shows a security prompt saying the app was downloaded from the Internet, click Open to continue.
Install VS Code
If you downloaded a .dmg: open the mounted image and drag the Visual Studio Code icon into the Applications folder.
If you downloaded a .zip: double‑click the zip to extract the .app, then move Visual Studio Code.app to Applications.
Launch VS Code
Open Visual Studio Code from the Applications folder or use Spotlight (⌘Space → type “Visual Studio Code”).
If you want easy access, right‑click the app in the Dock → Options → Keep in Dock.
Tip: After moving VS Code to your Applications folder, right-click the app and choose Options → Keep in Dock to pin it for quick access.
That’s it — VS Code is now installed and ready to use on your macOS machine. If you run into permission or gatekeeper warnings, approve the app in System Preferences → Security & Privacy, or open it via the Finder Open dialog as described above.