Quick step-by-step summary
- Open the CloudFormation console and choose the stack you want to update.
- Choose Update stack → Use current template → Next.
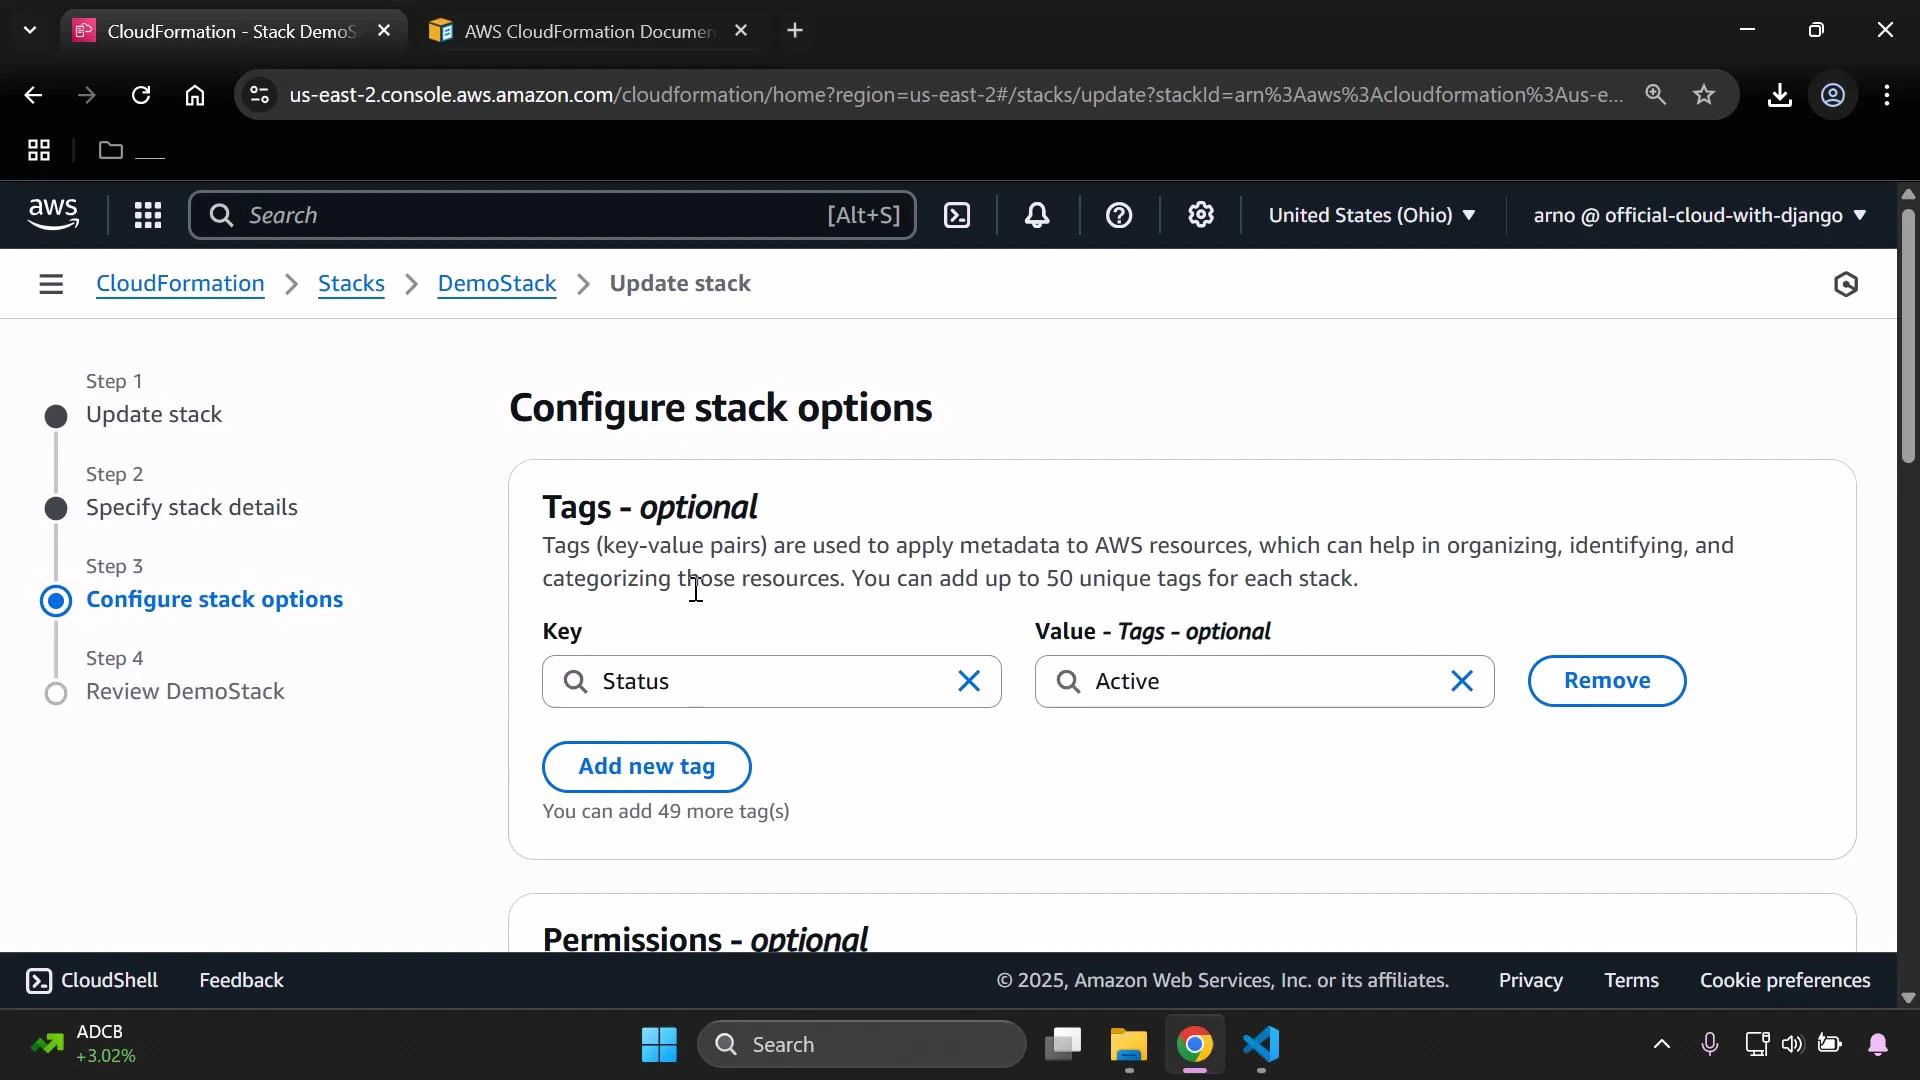
- On the Configure stack options page, add the tag you want (for example: Key = Status, Value = Active).
- Continue through the wizard and submit the update.
- Wait for the update to complete, then verify the tag on the stack and on any supported resources.
| Step | Console location | Action |
|---|---|---|
| 1 | CloudFormation → Stacks | Select the stack to update |
| 2 | Update stack | Choose “Use current template” and proceed |
| 3 | Configure stack options | Add tag(s) under Tags (e.g., Status = Active) |
| 4 | Review & update | Submit the change |
| 5 | Stack details & resource consoles | Confirm tags on stack and on resources (S3, etc.) |
- Active, Deprecated (lifecycle status)
- Development, Staging, Production (environment)
- CostCenter or Owner (billing and ownership)
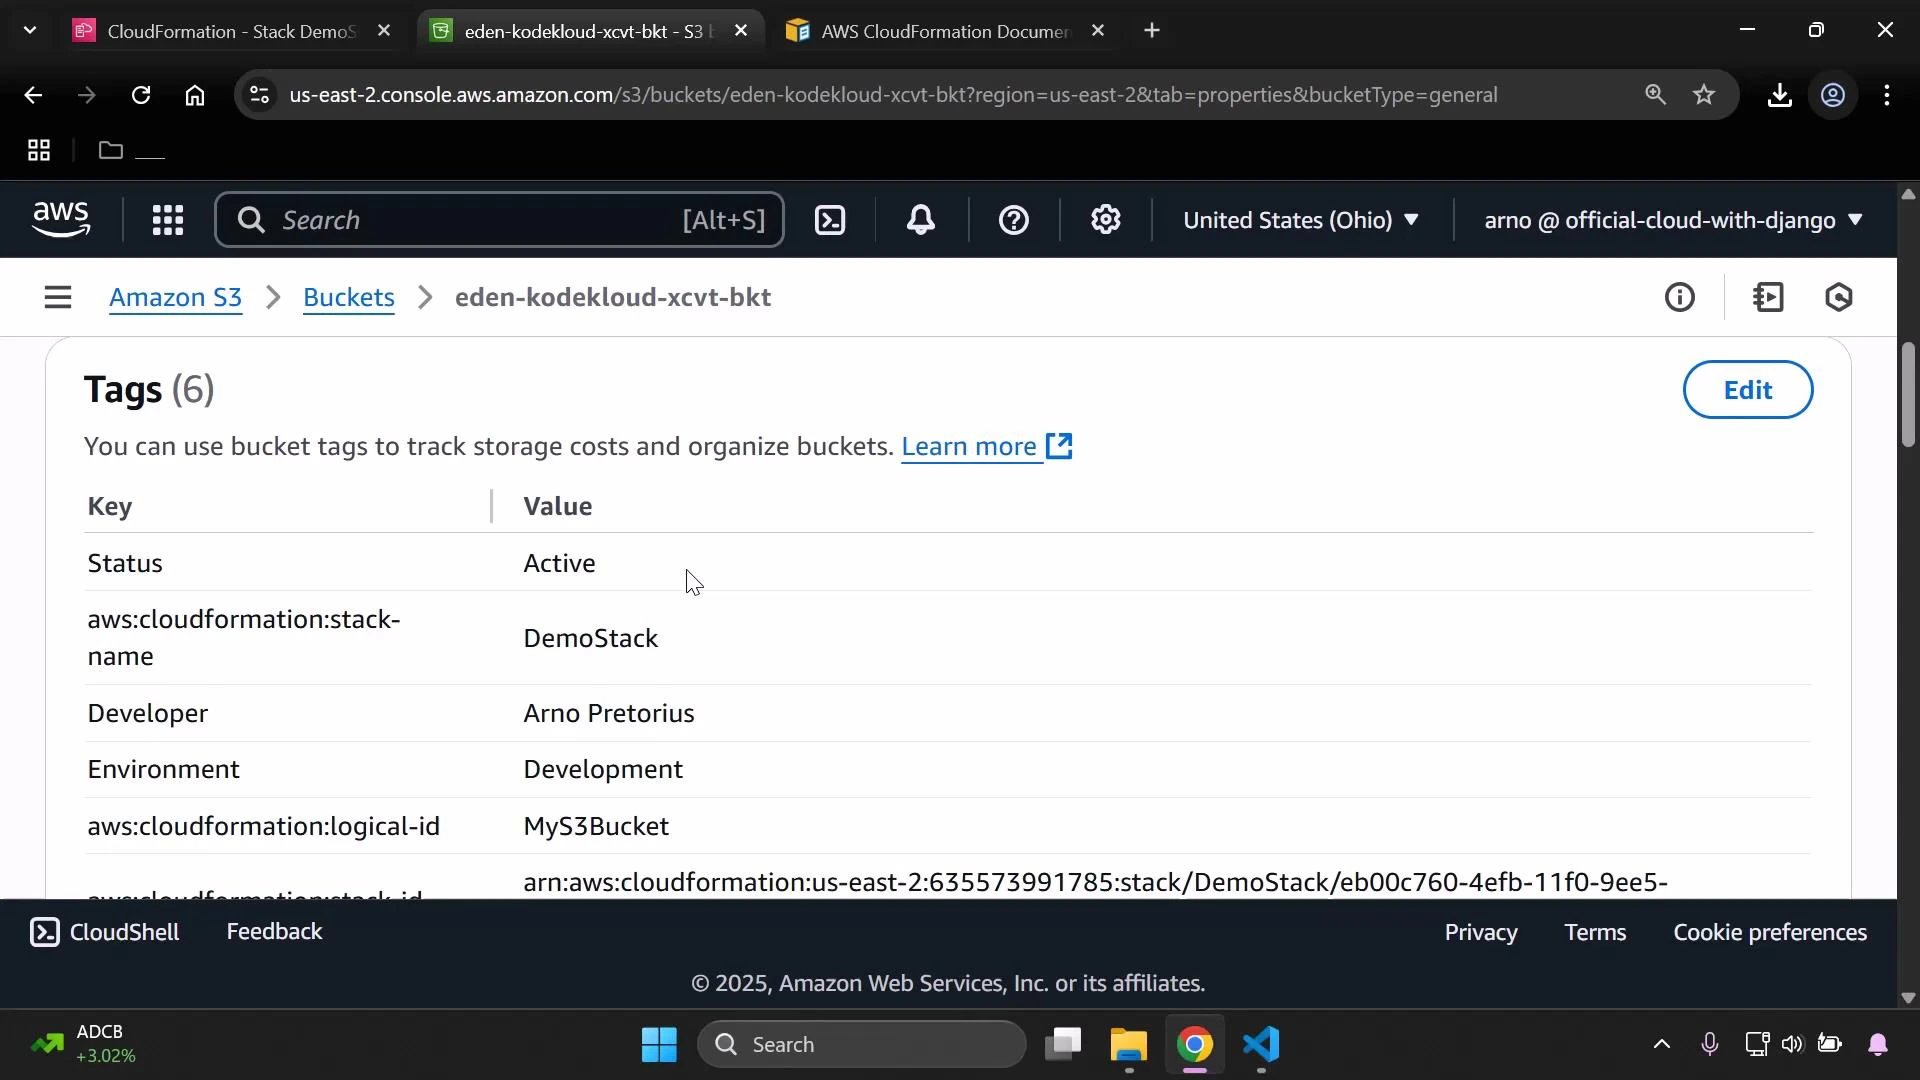
When you add tags through the CloudFormation console, those tags are associated with the stack. CloudFormation will propagate them to resources created by the stack only if the resource type supports tagging (S3 and many other AWS services do). Resources that do not support tags will not receive the stack tags. For authoritative details on supported resources, see the AWS CloudFormation documentation.
Verification checklist
- Stack Updates: Confirm the stack update completed successfully in CloudFormation.
- Stack Tags: Open the stack’s Tags section and verify the new tag(s).
- Resource Tags: Open each resource created by the stack (S3 bucket, EC2 instances, RDS, etc.) and confirm tags were propagated where supported.
- Billing & Reporting: Ensure your cost allocation/reporting tools can read the tag keys you added (keys are case-sensitive).
Links and references
- AWS CloudFormation — Working with stacks and stack updates
- AWS Tagging Best Practices
- Amazon S3 — Using tags to manage access and billing