Welcome to this demo lesson. We’ll update an AWS CloudFormation template, re-deploy it via an existing CI/CD pipeline, verify the change on the EC2 instance, and then safely clean up pipeline-related resources. This walkthrough assumes you already have:
  • A CloudFormation template stored as a zipped object in an S3 bucket (used as the CodePipeline Source).
  • A CodePipeline pipeline configured to use that S3 object as its Source action.
  • Appropriate IAM roles and an artifact bucket created for the pipeline.

1. Update the CloudFormation template

Re-open the template you want to change, edit it, and re-zip the file using the exact same filename so the S3 object key remains the same (or a new version will be created if the bucket has versioning enabled). Original snippet (t3.small):
Resources:
  MyInstance:
    Type: AWS::EC2::Instance
    Properties:
      InstanceType: t3.small
      ImageId: ami-0eb9d6fc9fab44d24
Updated snippet (t3.micro):
Resources:
  MyInstance:
    Type: AWS::EC2::Instance
    Properties:
      InstanceType: t3.micro
      ImageId: ami-0eb9d6fc9fab44d24
Save and re-zip using the same filename so your upload replaces (or creates a new version of) the existing S3 object.
A screenshot of the Amazon S3 console showing the "eden-kodekloud-kjhl-templates" bucket's Objects tab. It lists one object, "simple-ec2.zip" (304.0 B, last modified July 14, 2025), with action buttons like Upload and Create folder visible.

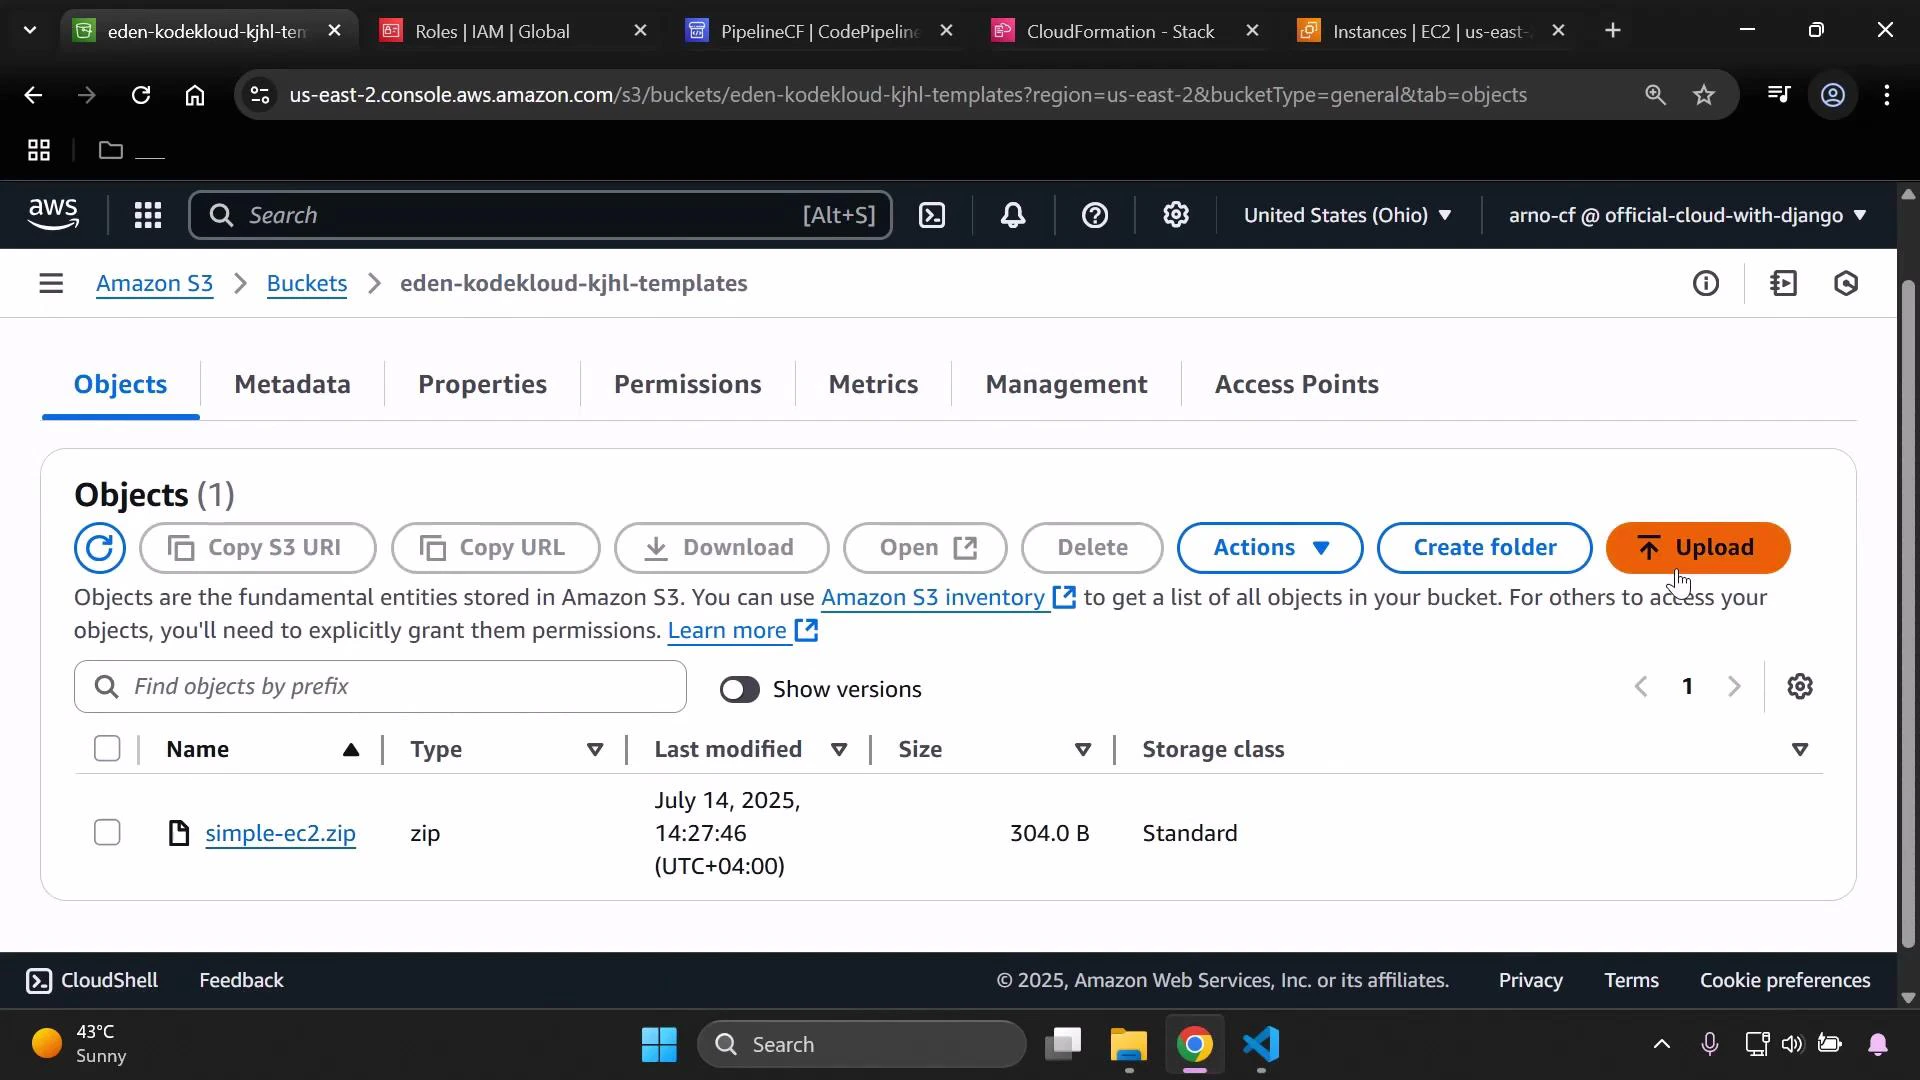
2. Upload the revised template to S3

From the S3 upload dialog, add the updated zip (same filename) and upload it to replace the existing object in the templates bucket.
A browser screenshot of the AWS S3 "Upload" page showing the destination bucket "eden-kodekloud-kjhl-templates." The page shows collapsible sections for Destination details, Permissions, and Properties, with "Cancel" and an orange "Upload" button.
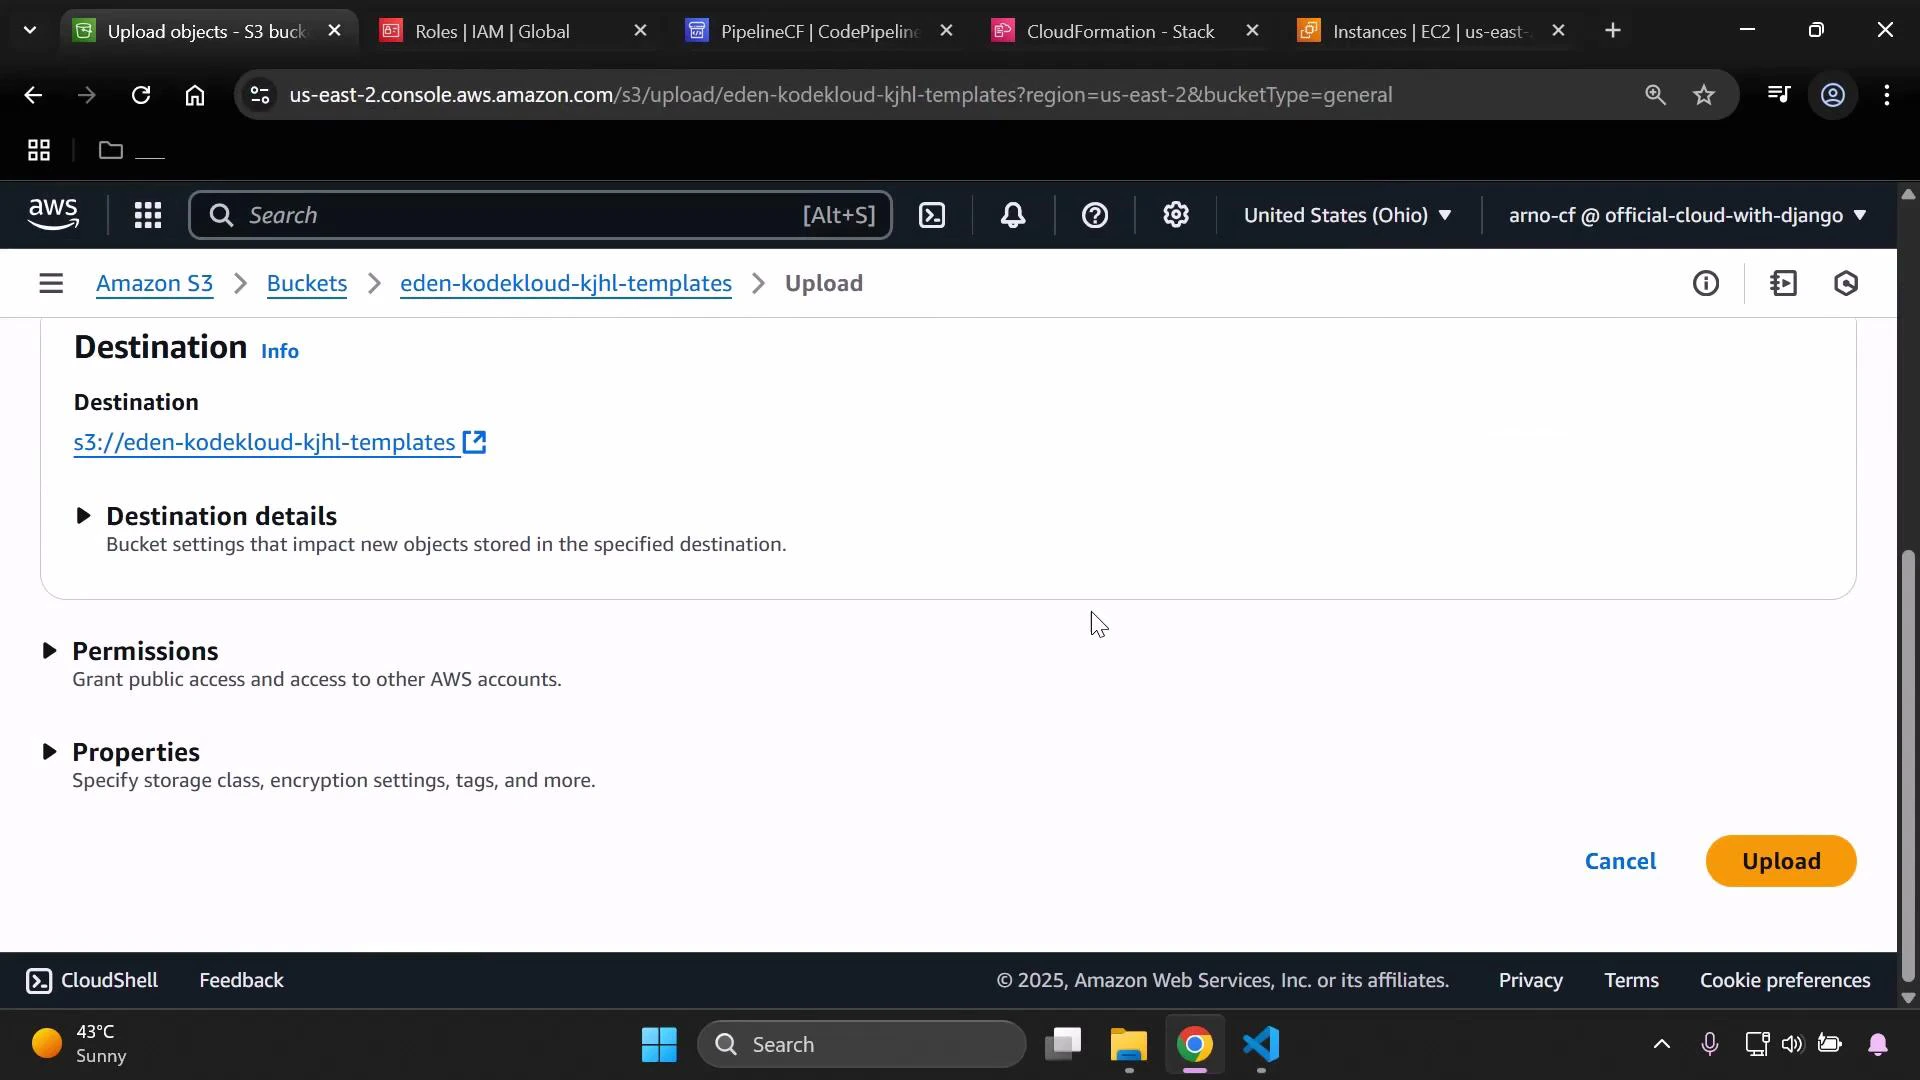
If your CodePipeline Source uses this S3 object (and you have S3 versioning enabled), uploading a new object with the same filename will create a new version and can automatically trigger the pipeline to start a new deployment.

3. Monitor CodePipeline for the deployment

If the pipeline’s Source action points to the S3 object (via object versioning or change notifications), CodePipeline should detect the new template and start a run. Refresh the pipeline console to monitor progress and view logs for each stage.
A screenshot of the AWS CodePipeline console for a pipeline named "PipelineCF," showing Source and Deploy stages. The stages display green success checks and the top has buttons like Edit, Stop execution, Create trigger, Clone pipeline, and Release change.

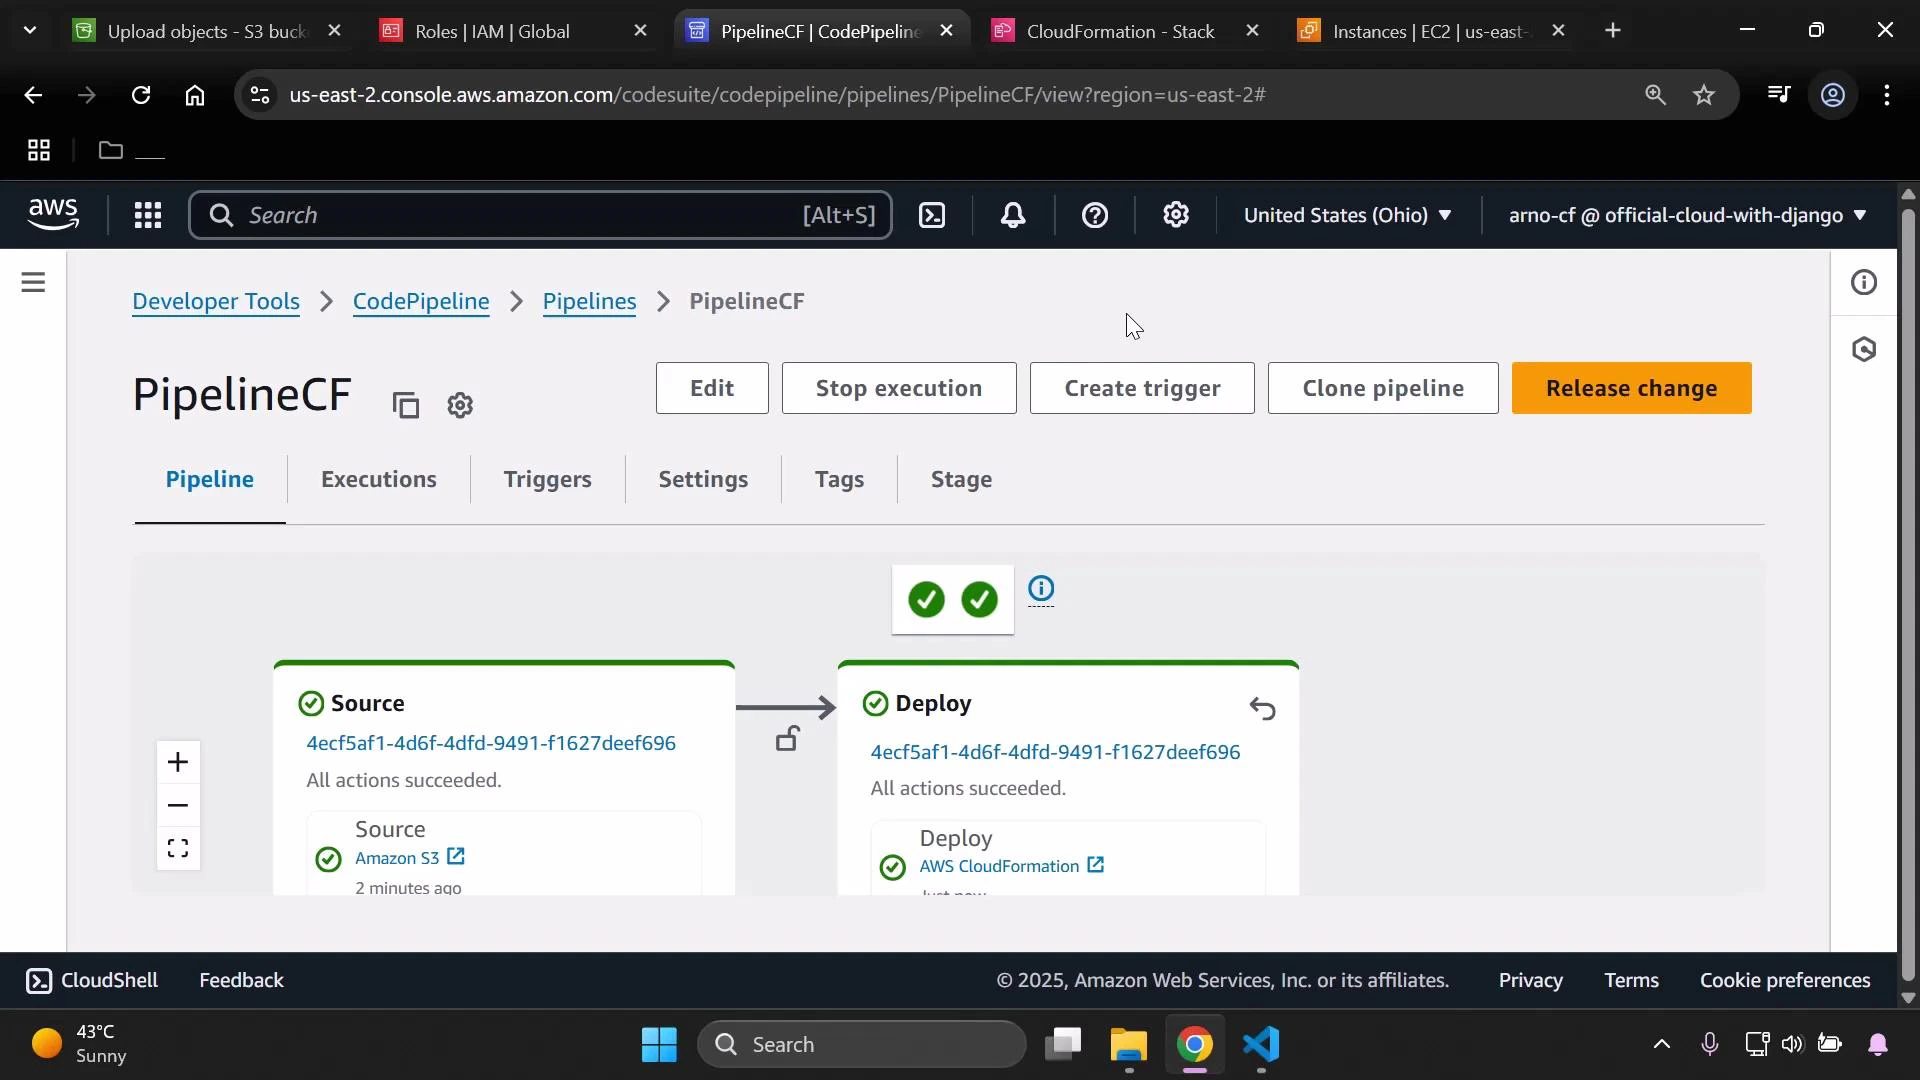
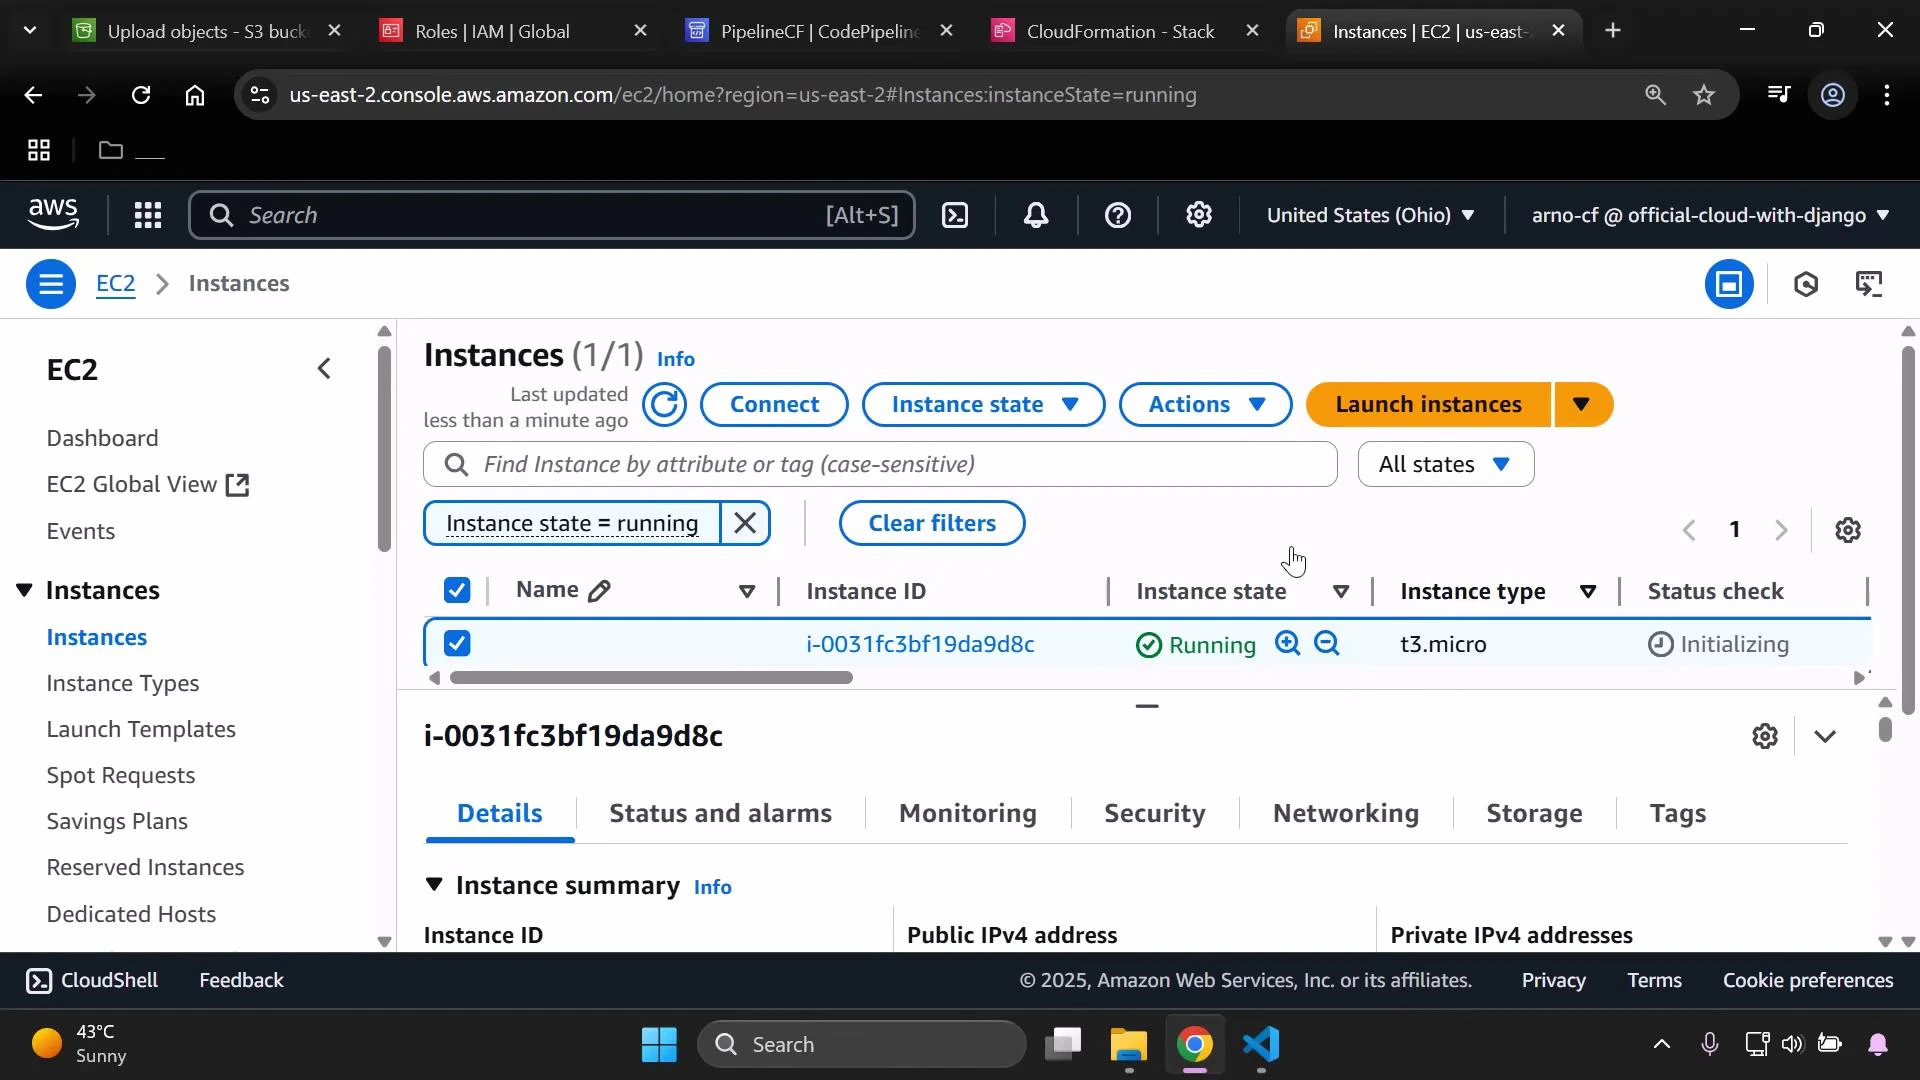
4. Verify the EC2 instance change

After the pipeline completes, verify the instance properties in the EC2 console. Confirm the InstanceType reflects the change from the template (t3.micro in this demo).
Screenshot of the AWS EC2 Instances console showing one running t3.micro instance (ID i-0031fc3bf19da9d8c) with its status listed as "Running" and status check "Initializing." The console region is United States (Ohio, us-east-2).
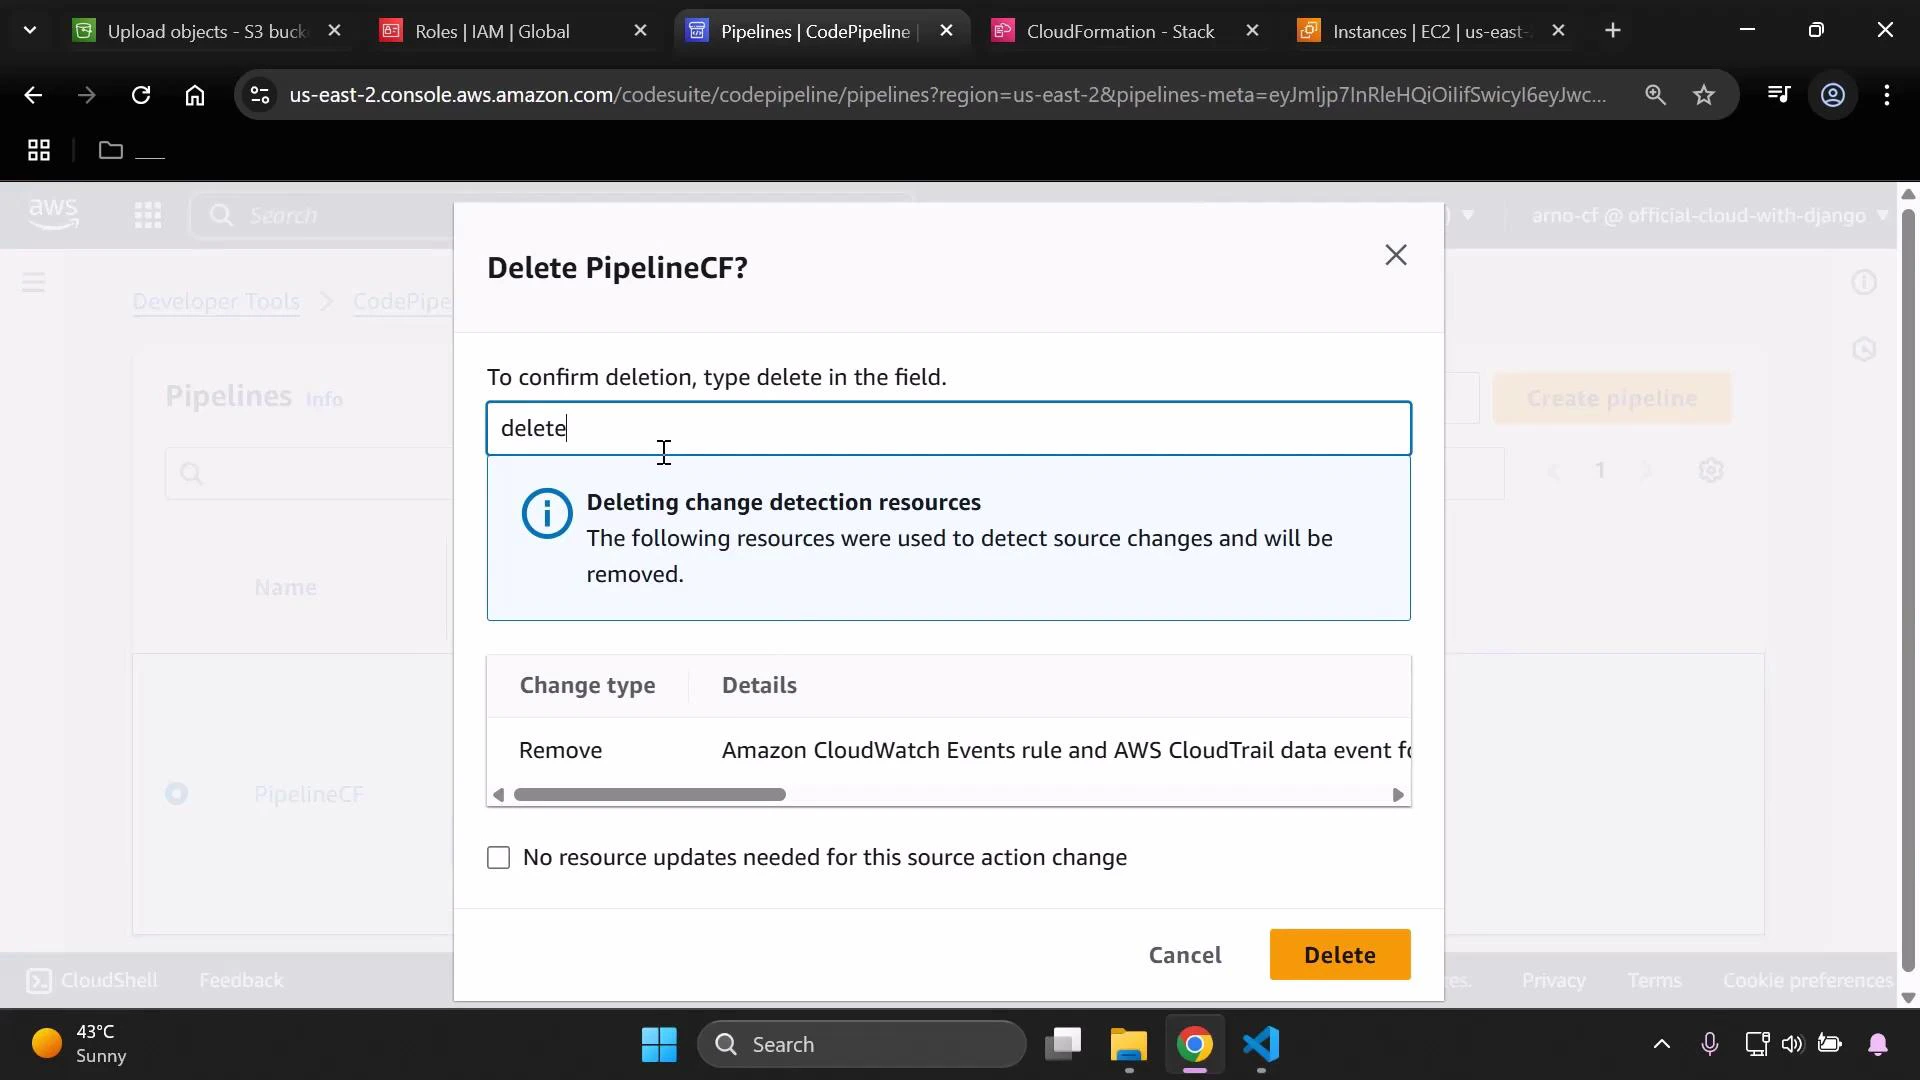
If you no longer need the pipeline and related resources, remove them in a safe order to avoid orphaned resources or failures:
  1. Delete the CodePipeline pipeline.
    • Open the Pipelines page, select your pipeline, and choose Delete.
    • Confirm by typing “delete” when prompted.
A screenshot of the AWS CodePipeline console showing a "Delete PipelineCF?" confirmation dialog that asks you to type "delete" to confirm. The dialog warns it will remove change-detection resources (e.g., an Amazon CloudWatch Events rule and CloudTrail data event) and shows Cancel/Delete buttons.
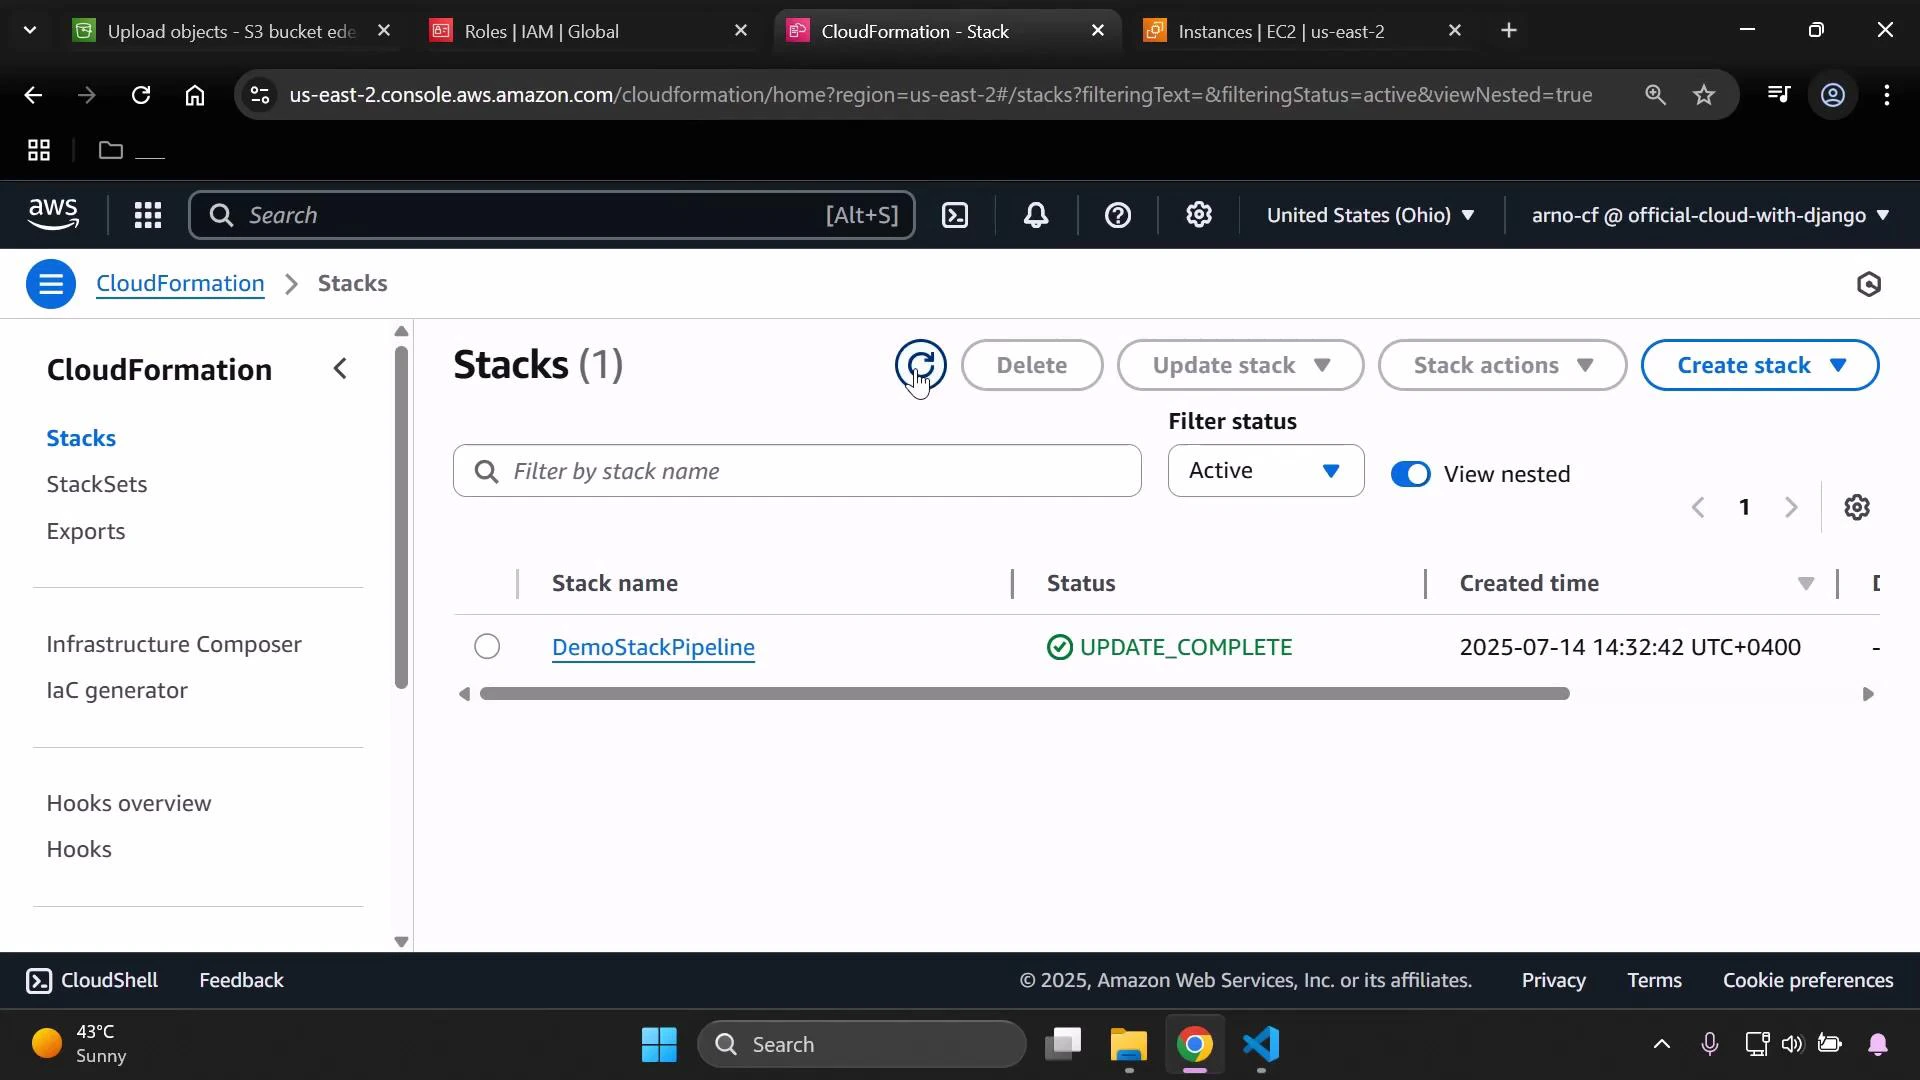
  1. Delete the CloudFormation stack created by the pipeline.
    • In the CloudFormation console, select the stack and choose Delete Stack. CloudFormation will remove resources it created (including EC2 instances provisioned by the stack).
A screenshot of the AWS CloudFormation console showing one stack named "DemoStackPipeline." The stack is marked UPDATE_COMPLETE with a created timestamp (2025-07-14) and the left navigation and toolbar are visible.
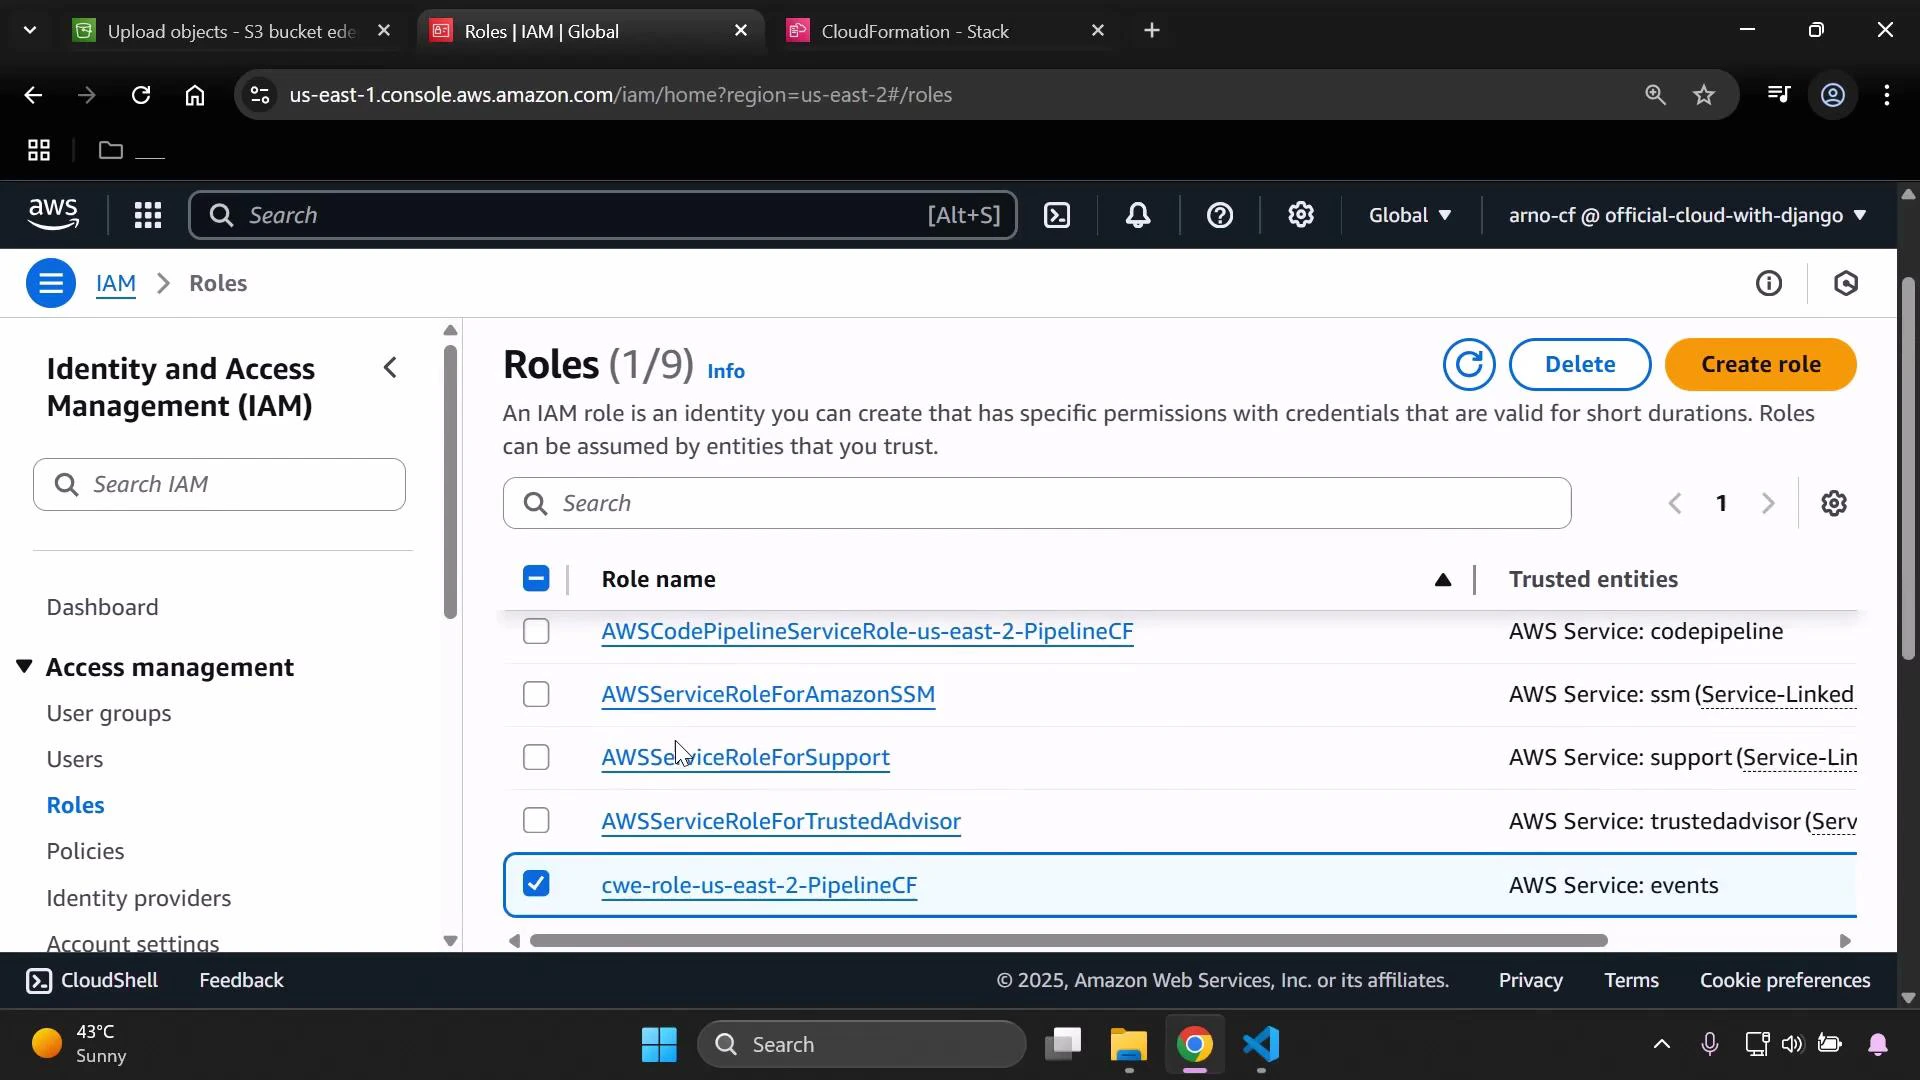
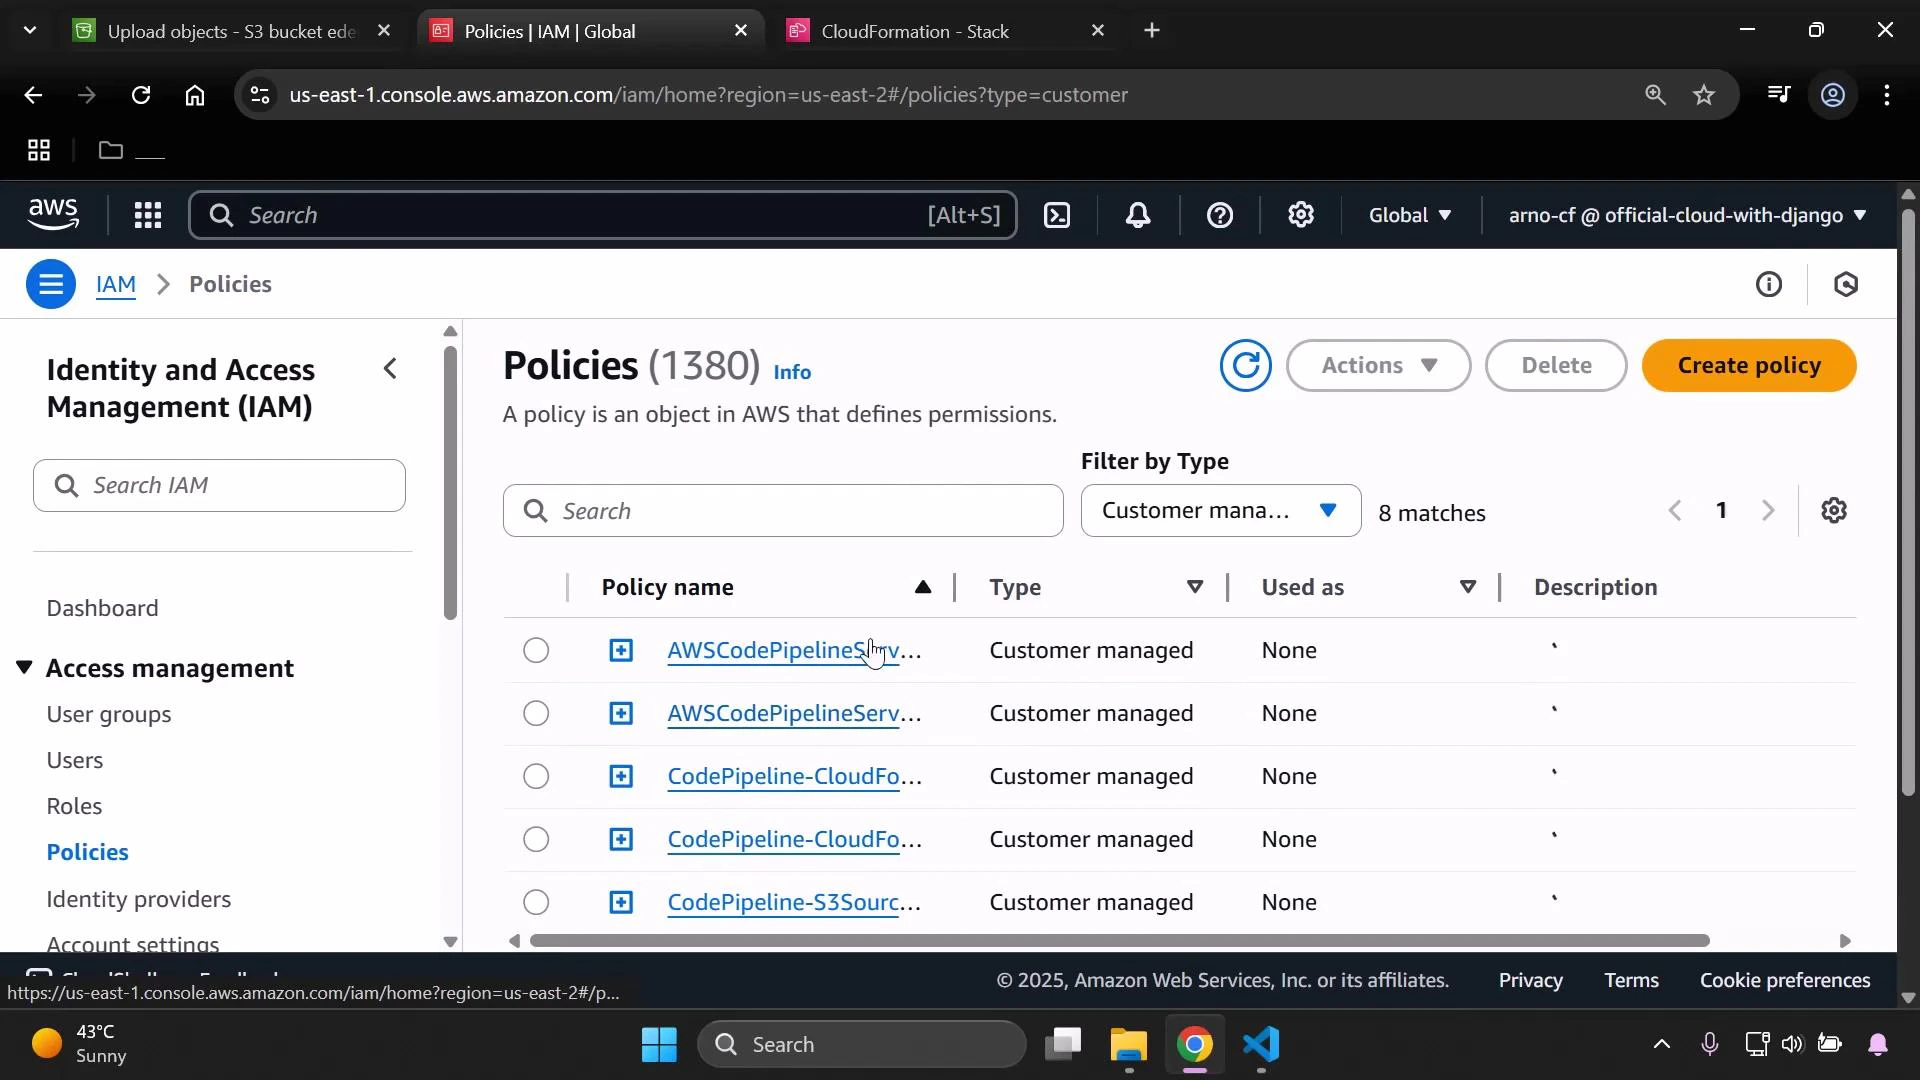
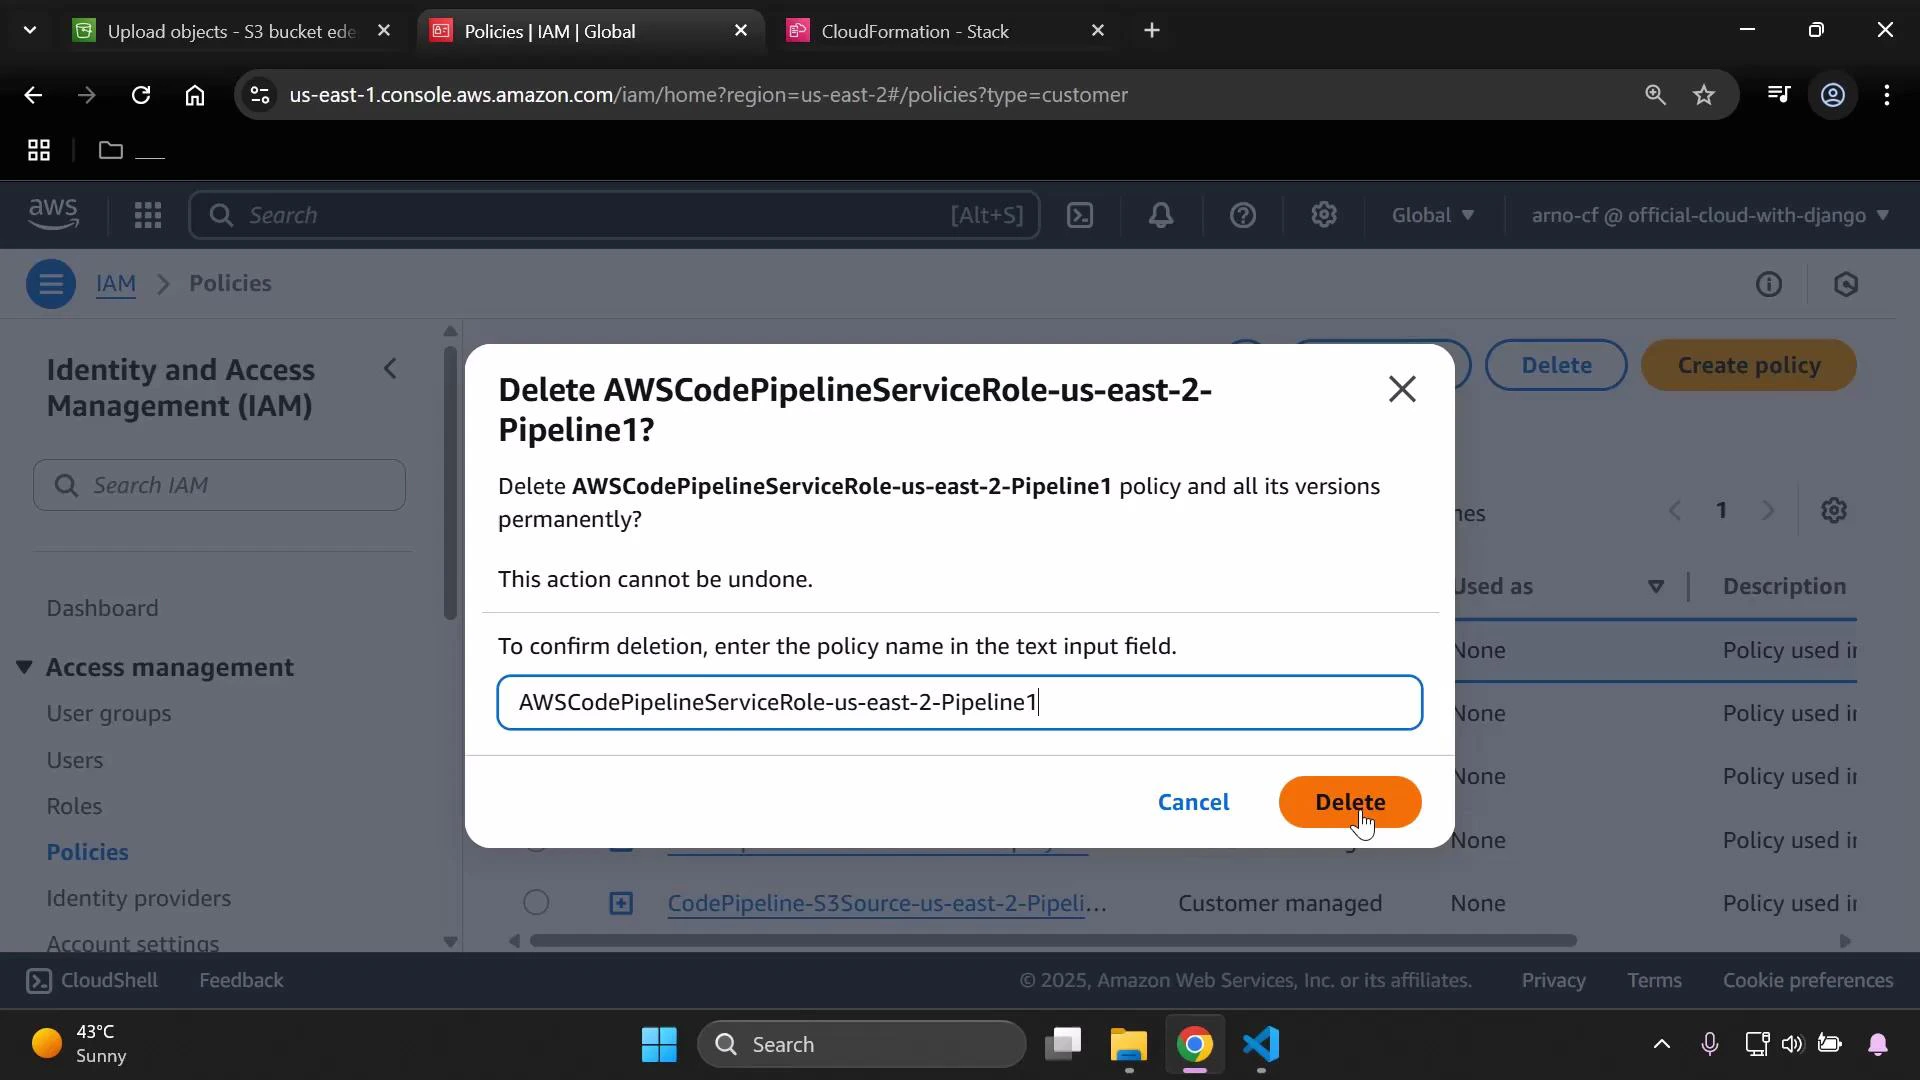
  1. Remove IAM roles and customer-managed policies that were created for the pipeline.
    • Use the IAM console to locate roles and policies related to the pipeline and delete them if they are no longer referenced.
    • Note: If the CloudFormation stack created IAM roles/policies, they may be removed automatically with the stack. Only delete manually-created or orphaned items after confirming they are unused.
A screenshot of the AWS Identity and Access Management (IAM) console showing the Roles page with a list of IAM roles and their trusted entities. The UI shows options like Create role/Delete and the role "cwe-role-us-east-2-PipelineCF" is selected.
A screenshot of the AWS Identity and Access Management (IAM) console showing the Policies page (Policies (1380)) with a filtered list of customer-managed policies, including several CodePipeline-related policy names. The left sidebar shows IAM navigation items like Dashboard, User groups, Users, Roles, and Policies.
When deleting a policy, confirm by entering the policy name if prompted.
A screenshot of the AWS IAM console showing a confirmation dialog to permanently delete the policy "AWSCodePipelineServiceRole-us-east-2-Pipeline1." The policy name is entered in the confirmation text field and the orange "Delete" button is highlighted.
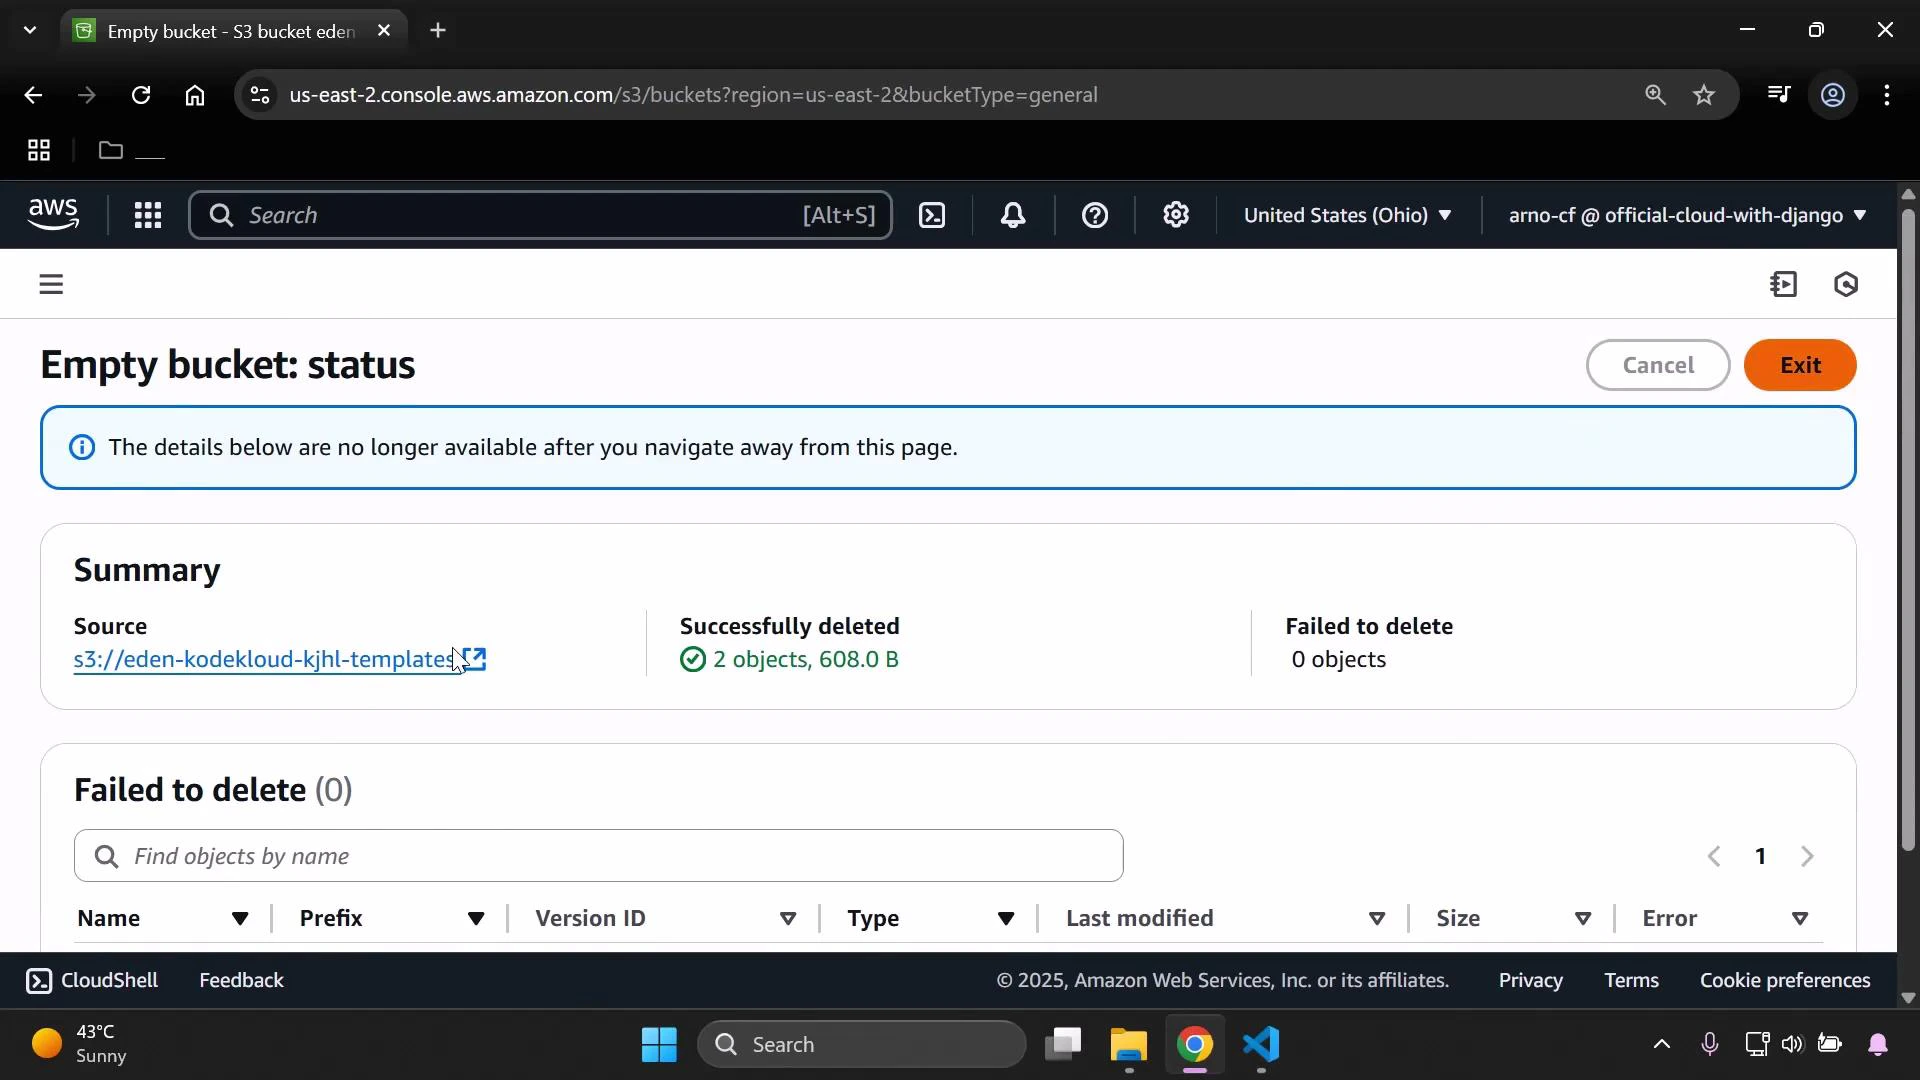
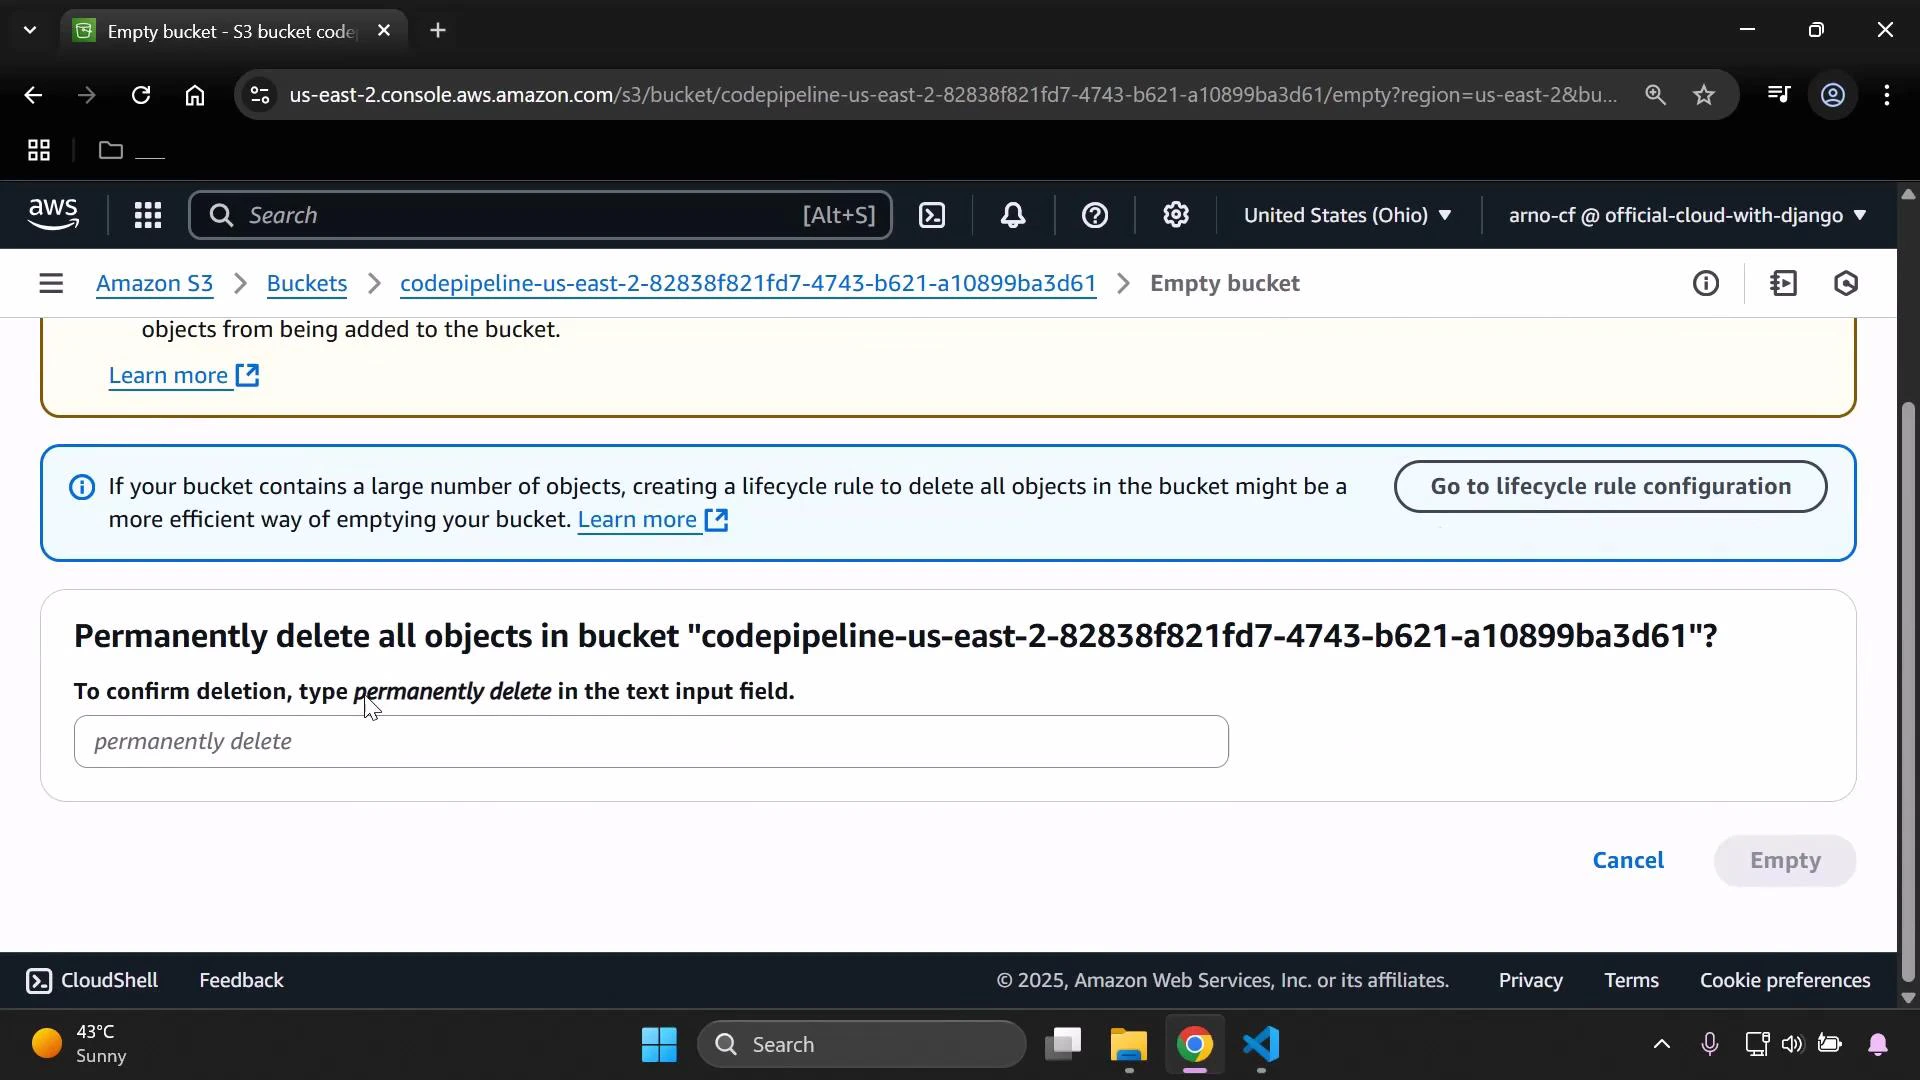
  1. Empty and delete S3 buckets used for templates and pipeline artifacts.
    • For each bucket (templates bucket, pipeline artifact bucket), empty its contents first and then delete the bucket.
    • If the bucket has versioning enabled, remove all object versions and delete markers before deleting the bucket.
A screenshot of the AWS S3 console showing an "Empty bucket: status" page that reports 2 objects (608.0 B) were successfully deleted and 0 failed to delete. The page displays the bucket source path, a summary panel, and surrounding browser/OS UI.
A screenshot of the AWS S3 console showing a confirmation dialog to permanently delete all objects in the bucket "codepipeline-us-east-2-82838f821fd7-4743-b621-a10899ba3d61". It asks you to type "permanently delete" to confirm and shows options for lifecycle rule configuration, Cancel, and Empty.
After emptying, delete the bucket and confirm any prompts (you may be asked to enter the bucket name).
A screenshot of the AWS S3 "Delete bucket" confirmation page with a warning that deletion is irreversible and instructions to enter the bucket name to confirm. The bucket name shown is "codepipeline-us-east-2-82838f821fd7-4743-b621-a10899ba3d61."
When finished, the S3 console should only show buckets you intentionally kept.
A screenshot of the Amazon S3 web console showing the "General purpose buckets" tab. The page shows one bucket listed (cf-templates...), action buttons like Create bucket/Copy ARN, and an "Account snapshot" panel with a View dashboard button.
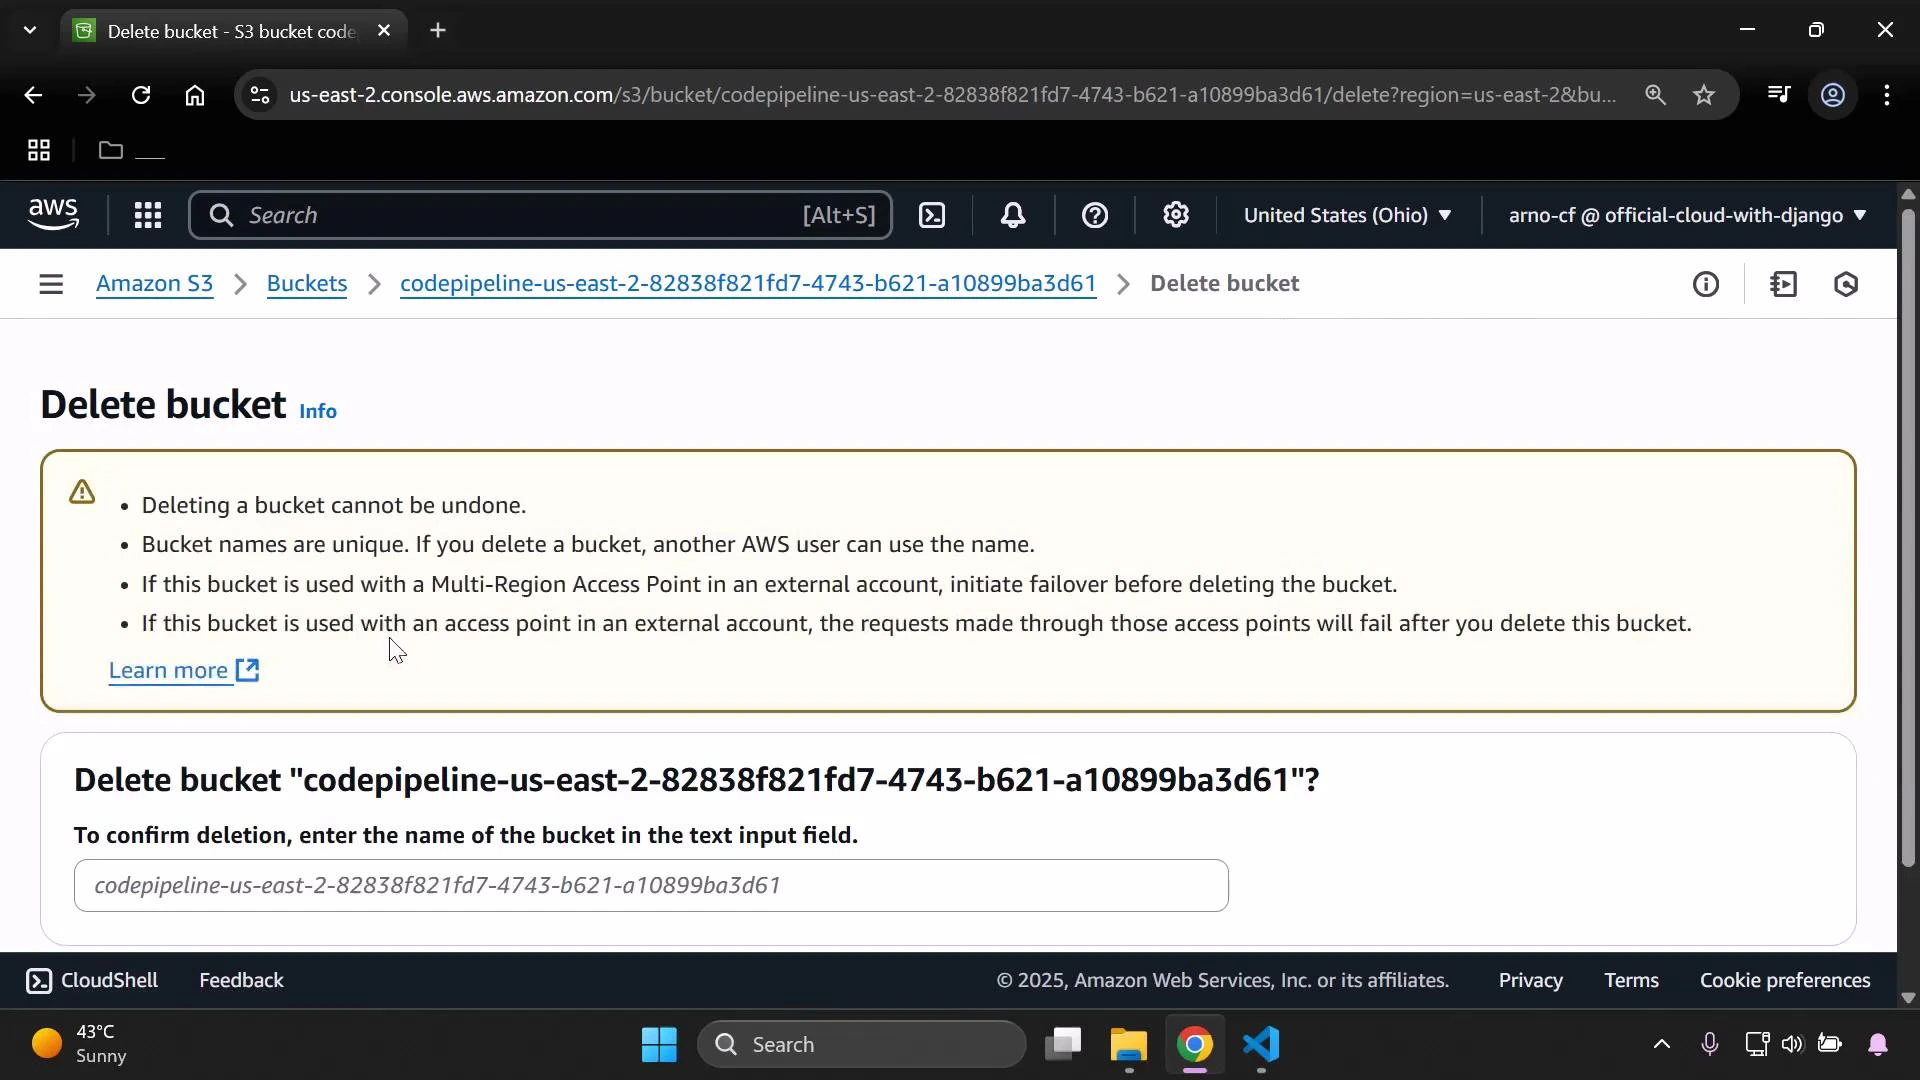
Be careful when deleting resources. Confirm dependencies before removing IAM roles, policies, S3 buckets, or CloudFormation stacks. Deleting a bucket with active object versions or lifecycle rules can fail unless versions and delete markers are removed first.

Cleanup checklist (quick reference)

ResourceConsole locationWhy delete
CodePipeline pipelineCodePipeline consoleStop automated deployments and remove CI/CD configuration
CloudFormation stackCloudFormation consoleRemove resources created by the stack (EC2, IAM if created by stack, etc.)
IAM roles & policiesIAM consoleRemove orphaned or manually-created roles/policies used by the pipeline
S3 template & artifact bucketsS3 consoleRemove stored templates and artifacts; ensure all versions are removed if versioning enabled

Summary

In this lesson we:
  • Updated a CloudFormation template (changed EC2 InstanceType).
  • Uploaded the revised template to S3 (same filename to replace/create a version).
  • Observed CodePipeline detect the change and deploy automatically.
  • Verified the EC2 instance type updated to t3.micro.
  • Walked through a safe cleanup process: delete pipeline → delete stack → remove IAM roles/policies → empty & delete S3 buckets.
References:

Watch Video