Demo Editing your existing template with Infrastructure Composer
Demonstrates editing, validating, and updating an existing AWS CloudFormation template using Infrastructure Composer’s visual and code editor, staging templates to S3 and applying stack updates.
In this demo lesson you’ll learn how to edit an existing AWS CloudFormation template directly from the CloudFormation console using Infrastructure Composer (the visual Infrastructure as Code editor), validate the template, and update the stack. This walkthrough shows how to:
Open the stack in the console and launch Infrastructure Composer
Edit the template on the visual canvas or in the code view (YAML/JSON)
Validate and transfer the edited template to S3 for CloudFormation to use
Update the stack and confirm outputs
Why this matters: Infrastructure Composer streamlines template changes by combining a visual canvas with direct code editing and built-in validation—helpful for quick updates, minor fixes, or collaborating with teammates.What you’ll need:
An existing CloudFormation stack you can update
Appropriate IAM permissions to update stacks and create S3 objects
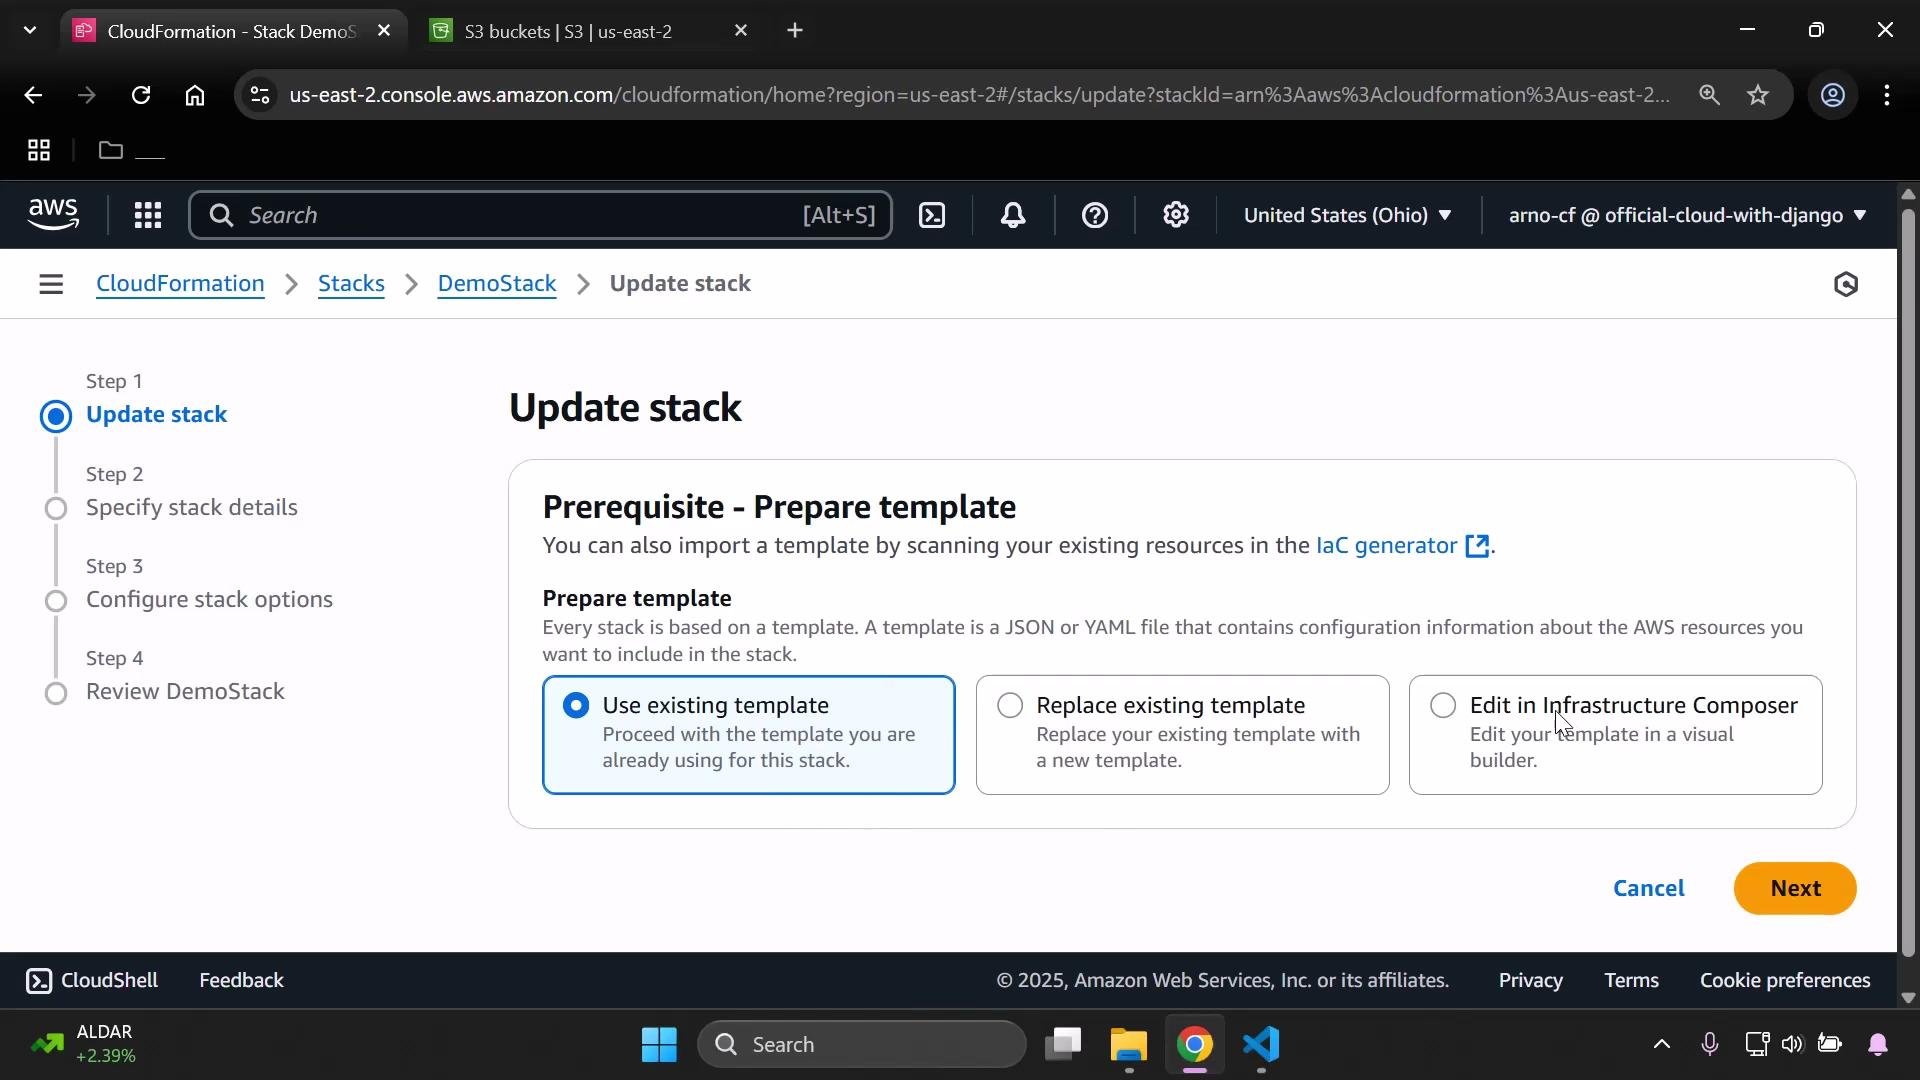
When you select a stack and choose Update stack → Make changes → Edit in Infrastructure as Code (Infrastructure Composer), the console opens a visual canvas where you can inspect and modify resources and the template.
Infrastructure Composer provides:
A zoomable canvas to visualize resource relationships
A code (template) view to edit YAML or JSON directly
Built-in validation to check syntax and basic schema before applying changes
Template example (YAML)
Below is the CloudFormation YAML that was loaded into Infrastructure Composer for this demo. It demonstrates common template sections: Mappings, Parameters, Conditions, Resources, and Outputs. This is the same template used in the walkthrough (outputs reflect the demo edits):
Mappings: DevMap: Arno: Field: Quality assurance Env: Testing/development Alice: Field: Backend developer Env: ProductionParameters: InputBucketName: Type: String Description: Please enter in your desired s3 bucket name InputDeveloperName: Type: String Description: Developer name AllowedValues: - Arno - AliceConditions: IsProd: !Equals - !FindInMap - DevMap - !Ref InputDeveloperName - Env - ProductionResources: MyS3Bucket: Type: AWS::S3::Bucket Properties: PublicAccessBlockConfiguration: BlockPublicAcls: true BlockPublicPolicy: true IgnorePublicAcls: true RestrictPublicBuckets: trueOutputs: BucketArn: Description: ARN Value: !GetAtt MyS3Bucket.Arn DeveloperBucketLabel: Description: Developer name and bucket name Value: !Join - ' - ' - - !Ref InputDeveloperName - !Ref InputBucketName
Editing and validation
Switch to the template (code) view to make direct edits in YAML or to convert to JSON.
Use the built-in validator before applying changes to ensure the template is syntactically correct.
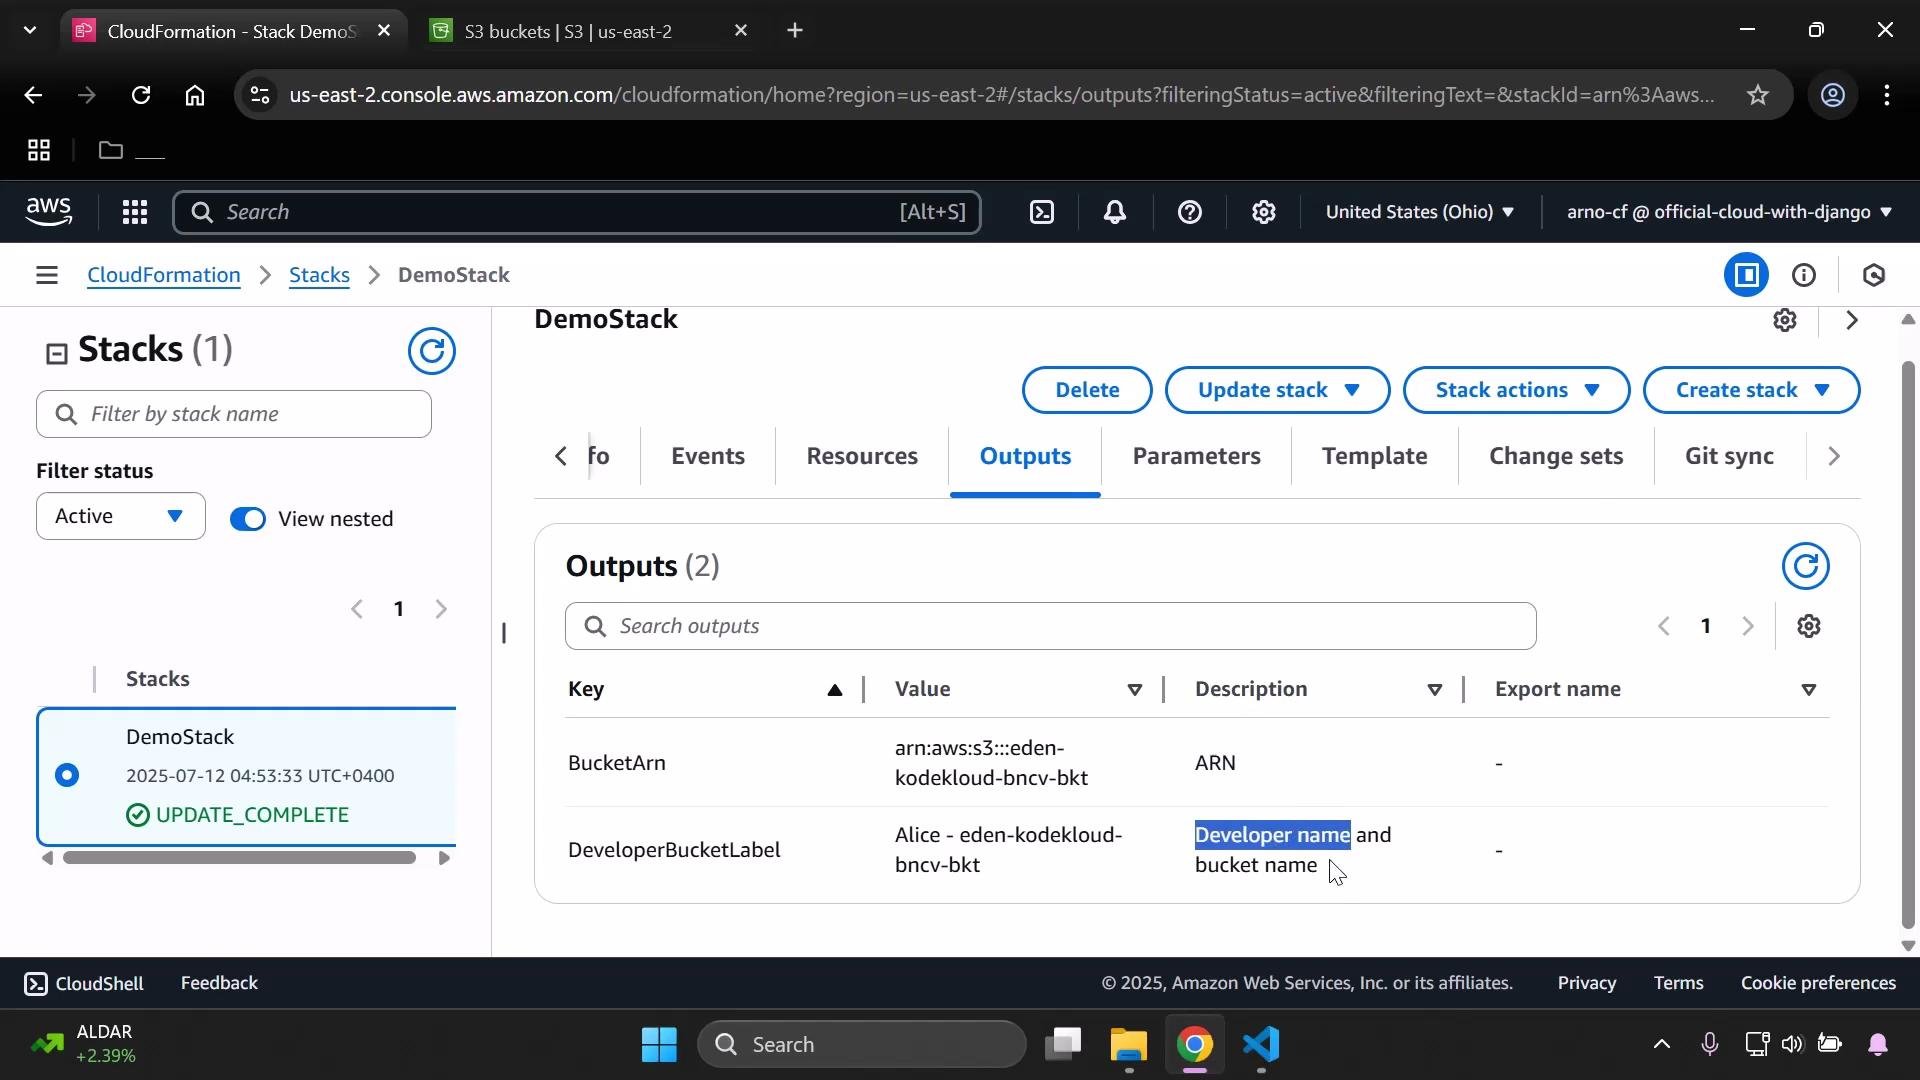
In the demo, output descriptions were simplified: BucketArn → “ARN” and DeveloperBucketLabel → “Developer name and bucket name”.
If you prefer JSON, Infrastructure Composer can display the template in JSON view. Here is the equivalent snippet of the S3 bucket in JSON:
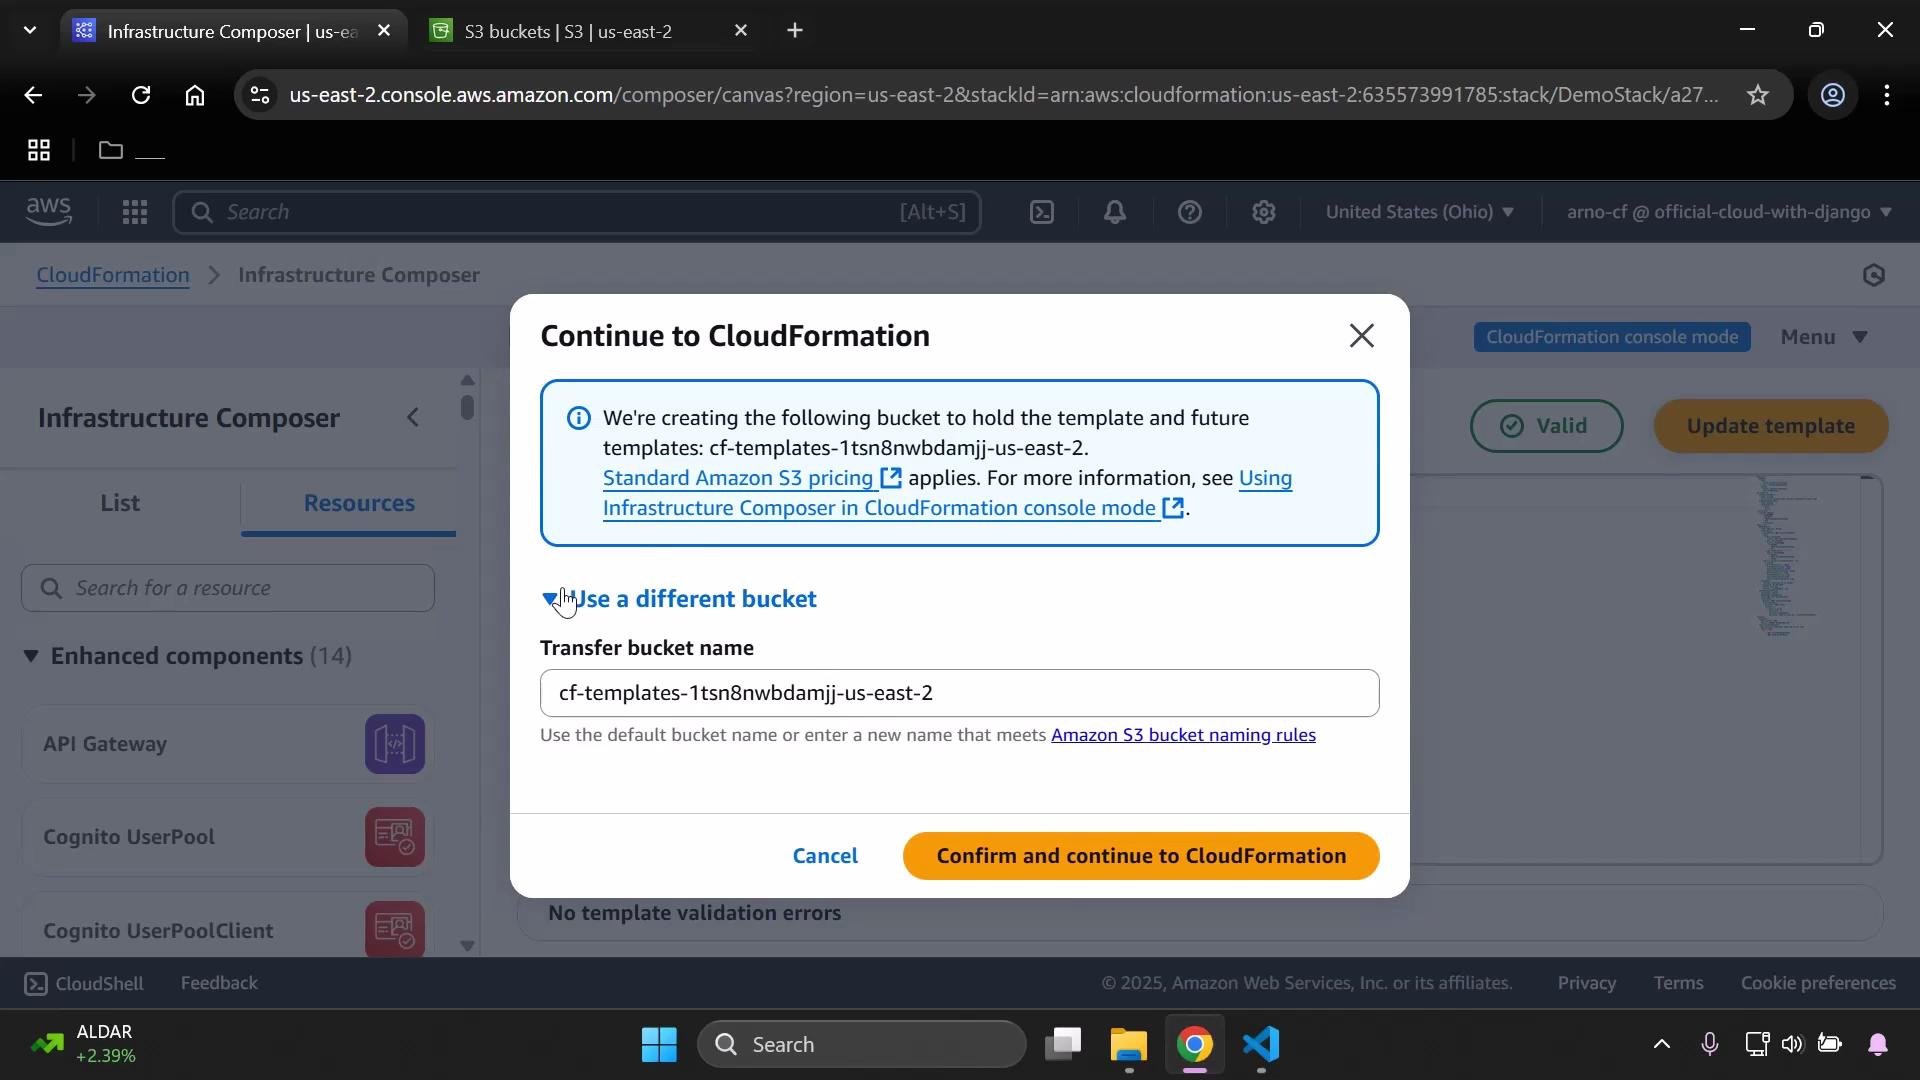
When you’re done editing and validation passes, click Update template (or Continue) to move forward. Infrastructure Composer stages the edited template in an S3 transfer bucket so CloudFormation can access the artifact during the stack update.
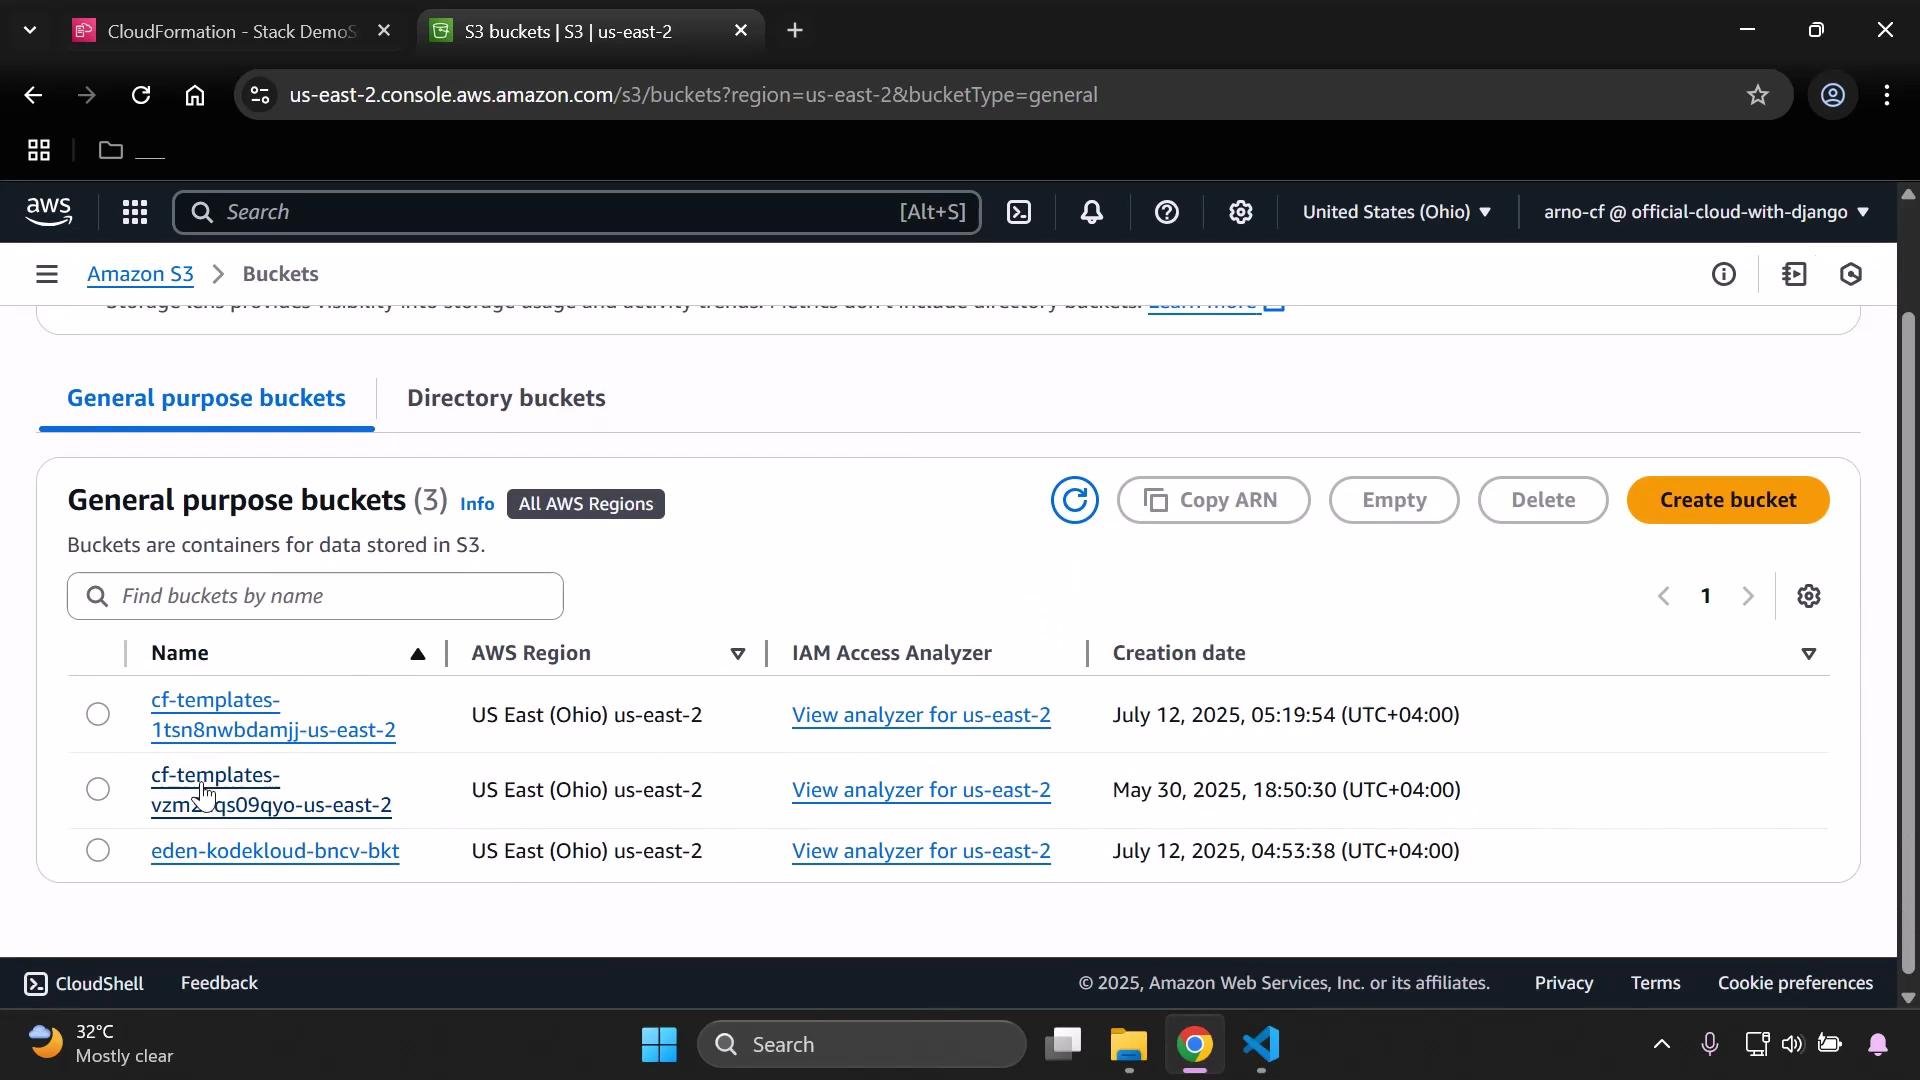
Infrastructure Composer uploads the edited template to an Amazon S3 transfer bucket (created automatically) so AWS CloudFormation can use it for the update. You can change the transfer bucket name if needed, but keeping the default is usually simplest.
Continuing the update
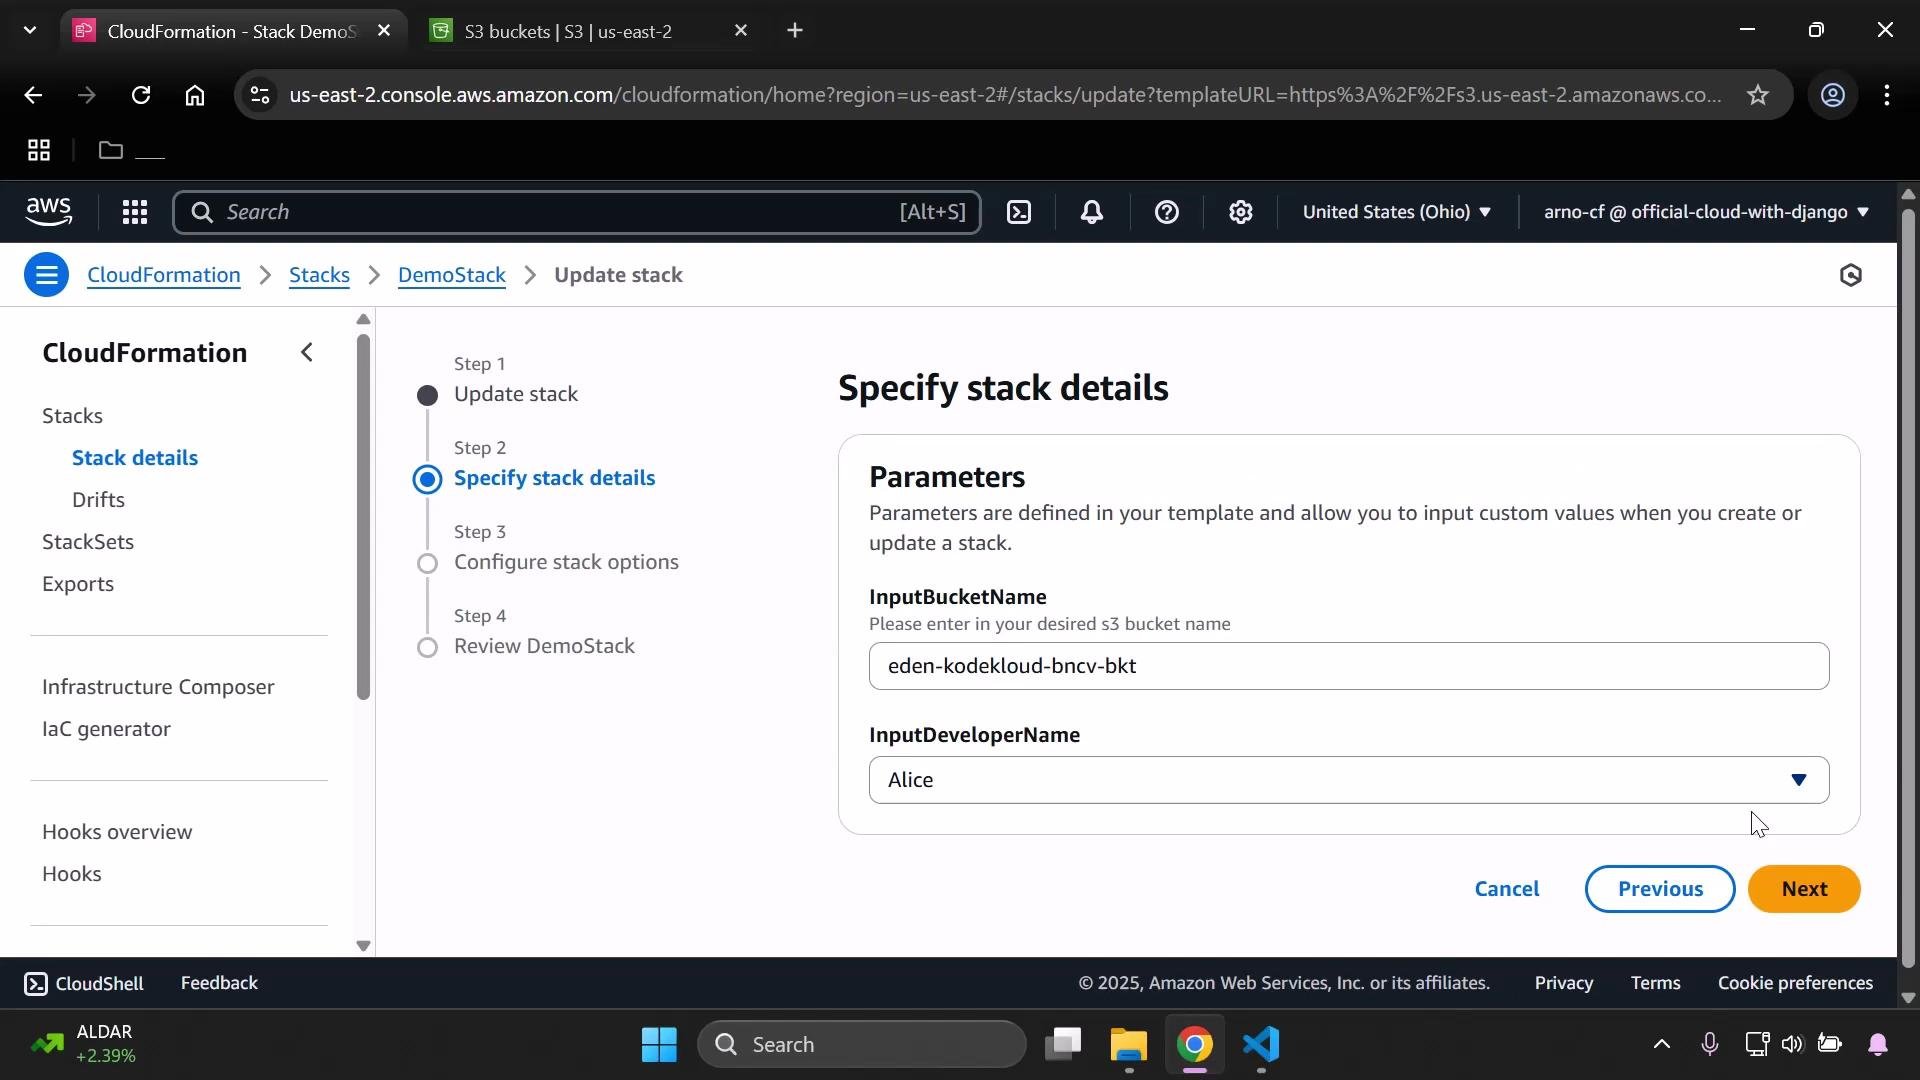
After confirming the transfer bucket, CloudFormation continues the update flow.
The console will return you to the stack parameter step; existing parameter values are preserved unless you change them.
Verify or change parameter values as needed before submitting the update.
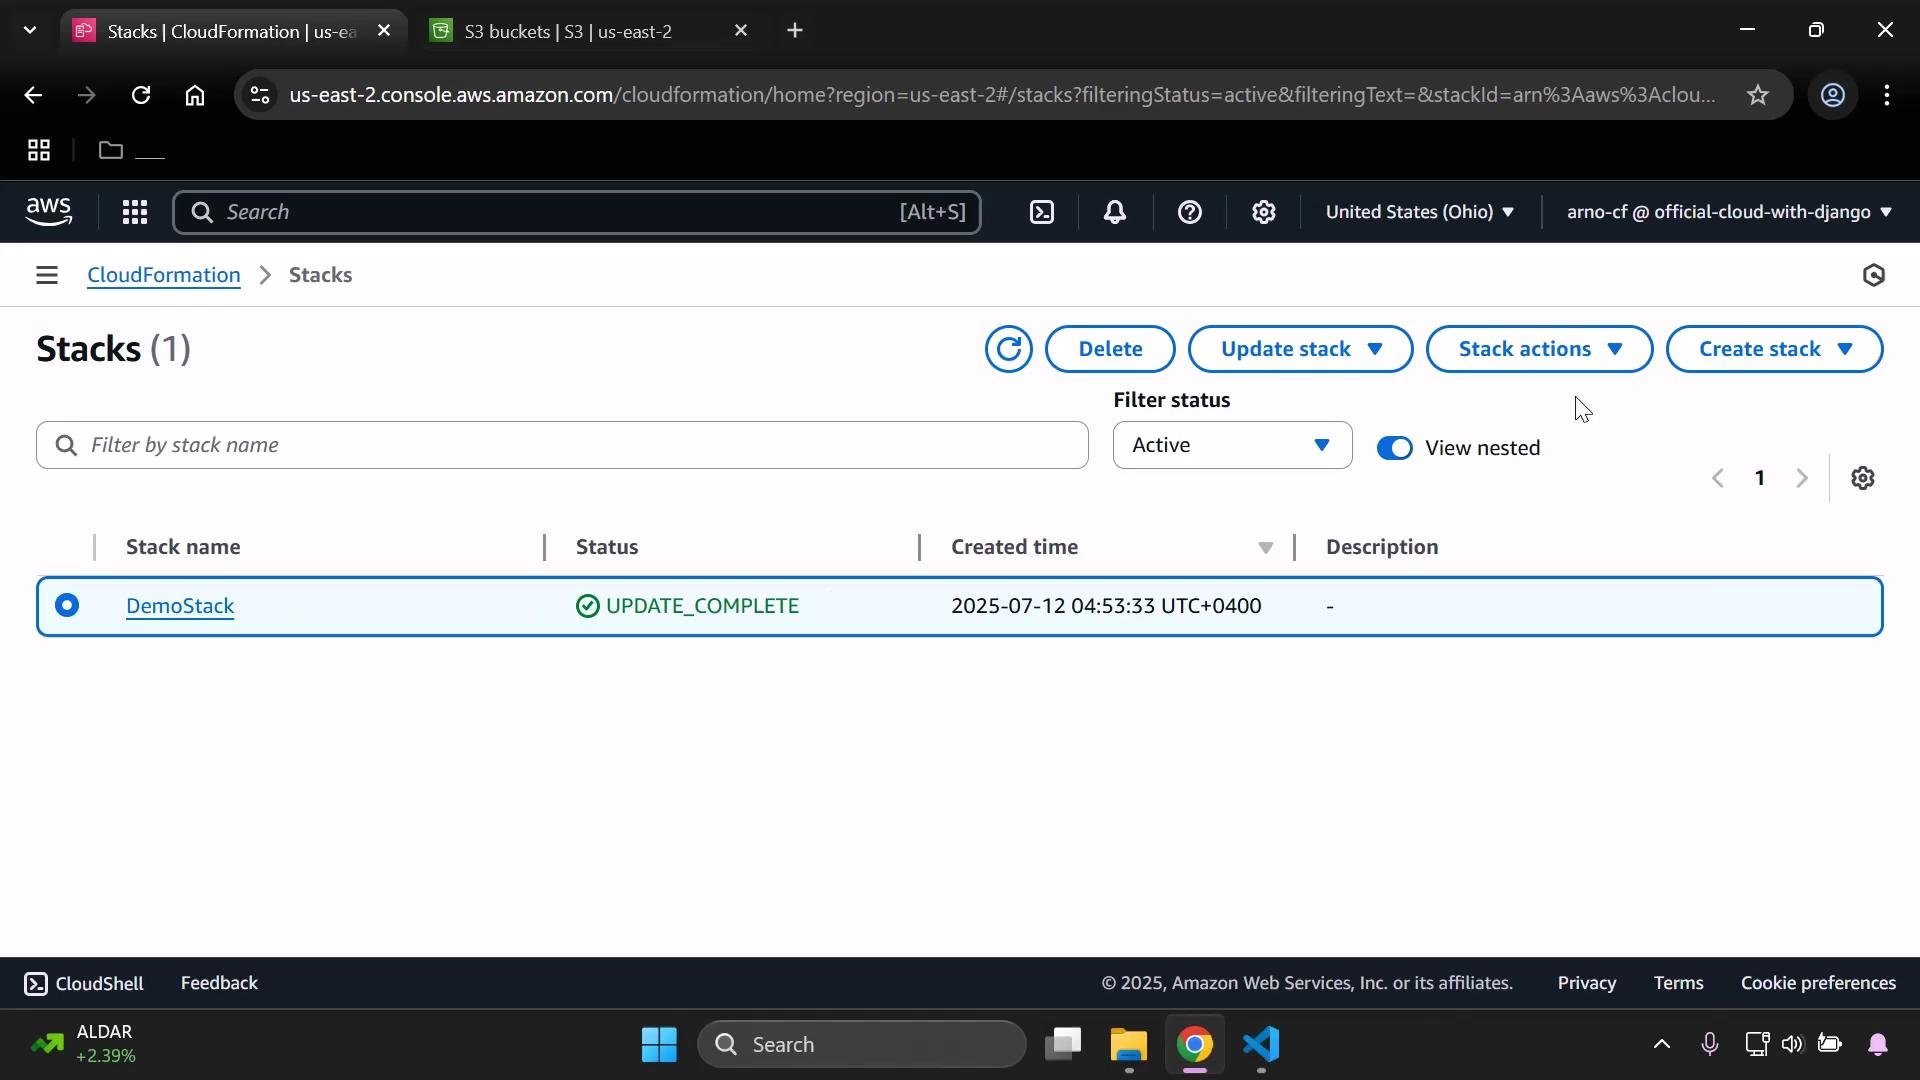
Submit the update. CloudFormation will apply the changes—this usually takes a short time. Once complete, the stack status reflects the update result.
Verify outputs
Open the stack, switch to the Outputs tab, and confirm the updated descriptions and output values are present. In the demo you should see the updated BucketArn and the DeveloperBucketLabel that joins developer name and bucket name.
Note on transfer S3 buckets
Because Infrastructure Composer stages edited templates in an S3 transfer bucket, you may see an extra template bucket in your S3 console (in addition to any buckets created by your stack). This is expected: Composer needs a place to store the template artifact handed off to CloudFormation.
Reverting to the original template
If you need to restore the original template:
Choose Update stack → Replace current template → Upload a template file.
Provide the original template file. Uploading the original will reset the stack template to its previous contents.
Summary
Use Infrastructure Composer to visually edit templates or make direct code changes, validate the template, and let Composer stage the edited template to S3 for CloudFormation to use. Then continue the CloudFormation update flow to apply changes, confirm parameters, and verify outputs. This workflow is ideal for quick edits, iterative template tweaks, or using a visual canvas to understand resource relationships.Links and references