In this lesson you’ll provision a simple Amazon EC2 web server using an AWS CloudFormation template. The template adds a UserData script so the instance boots with Apache (httpd) already installed and running. This approach makes it easy to automate server provisioning and verify that the instance is serving HTTP traffic after creation. What we’ll do
  • Add a Base64-encoded UserData script to the EC2 instance so it runs on first launch.
  • Create a security group that allows HTTP (port 80) and optionally SSH.
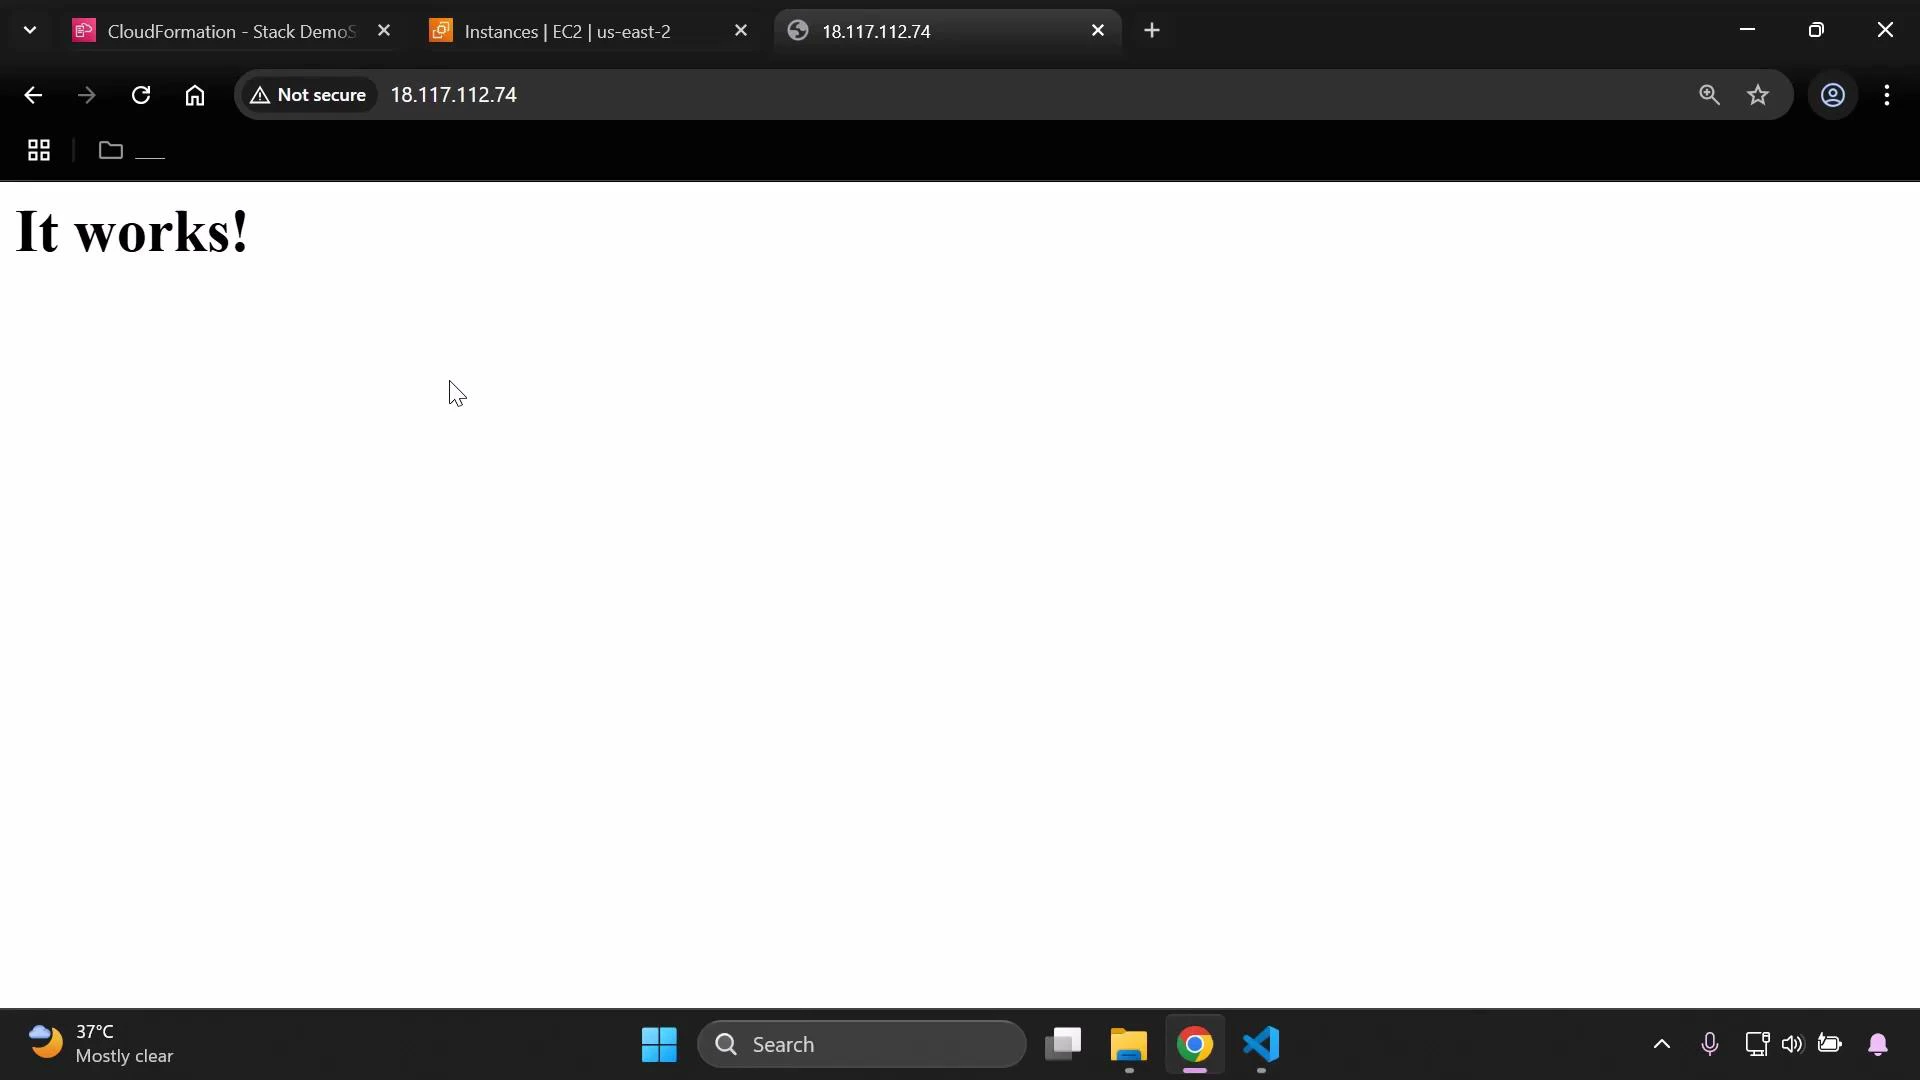
  • Deploy the stack, confirm the instance is running, and retrieve the public IP to visit the web server.

What is UserData (and why Base64)?

UserData is a script that automatically runs the first time an EC2 instance boots. It’s commonly used to install packages, configure services, or run commands that prepare the instance for its role. CloudFormation expects UserData to be Base64-encoded; use Fn::Base64 (or !Base64) so CloudFormation encodes the script for you. Example: EC2 resource with UserData
Resources:
  MyInstance:
    Type: AWS::EC2::Instance
    Properties:
      InstanceType: !Ref MyInstanceType
      ImageId: ami-0eb9d6fc9fab44d24
      SecurityGroupIds:
        - !Ref MySecurityGroup
      Tags:
        - Key: Name
          Value: SimpleWebServer
      UserData:
        Fn::Base64: |
          #!/bin/bash
          yum update -y
          yum install -y httpd
          systemctl start httpd
          systemctl enable httpd
Notes:
  • The shebang (#!/bin/bash) ensures the script runs with bash.
  • The commands update packages, install httpd, start it, and enable it to run on boot.

Configure the security group

Ensure the security group allows inbound HTTP (port 80). If you need SSH access, add a rule for port 22 — but restrict its source CIDR to known IP addresses for security. Security group example:
  MySecurityGroup:
    Type: AWS::EC2::SecurityGroup
    Properties:
      GroupDescription: Allow HTTP and SSH access
      VpcId: vpc-0f5d6445abf20b5
      SecurityGroupIngress:
        - IpProtocol: tcp
          FromPort: 80
          ToPort: 80
          CidrIp: 0.0.0.0/0
        - IpProtocol: tcp
          FromPort: 22
          ToPort: 22
          CidrIp: 203.0.113.0/24  # replace with your allowed IP range for SSH
Quick reference: common inbound rules
ProtocolPortExample CIDRPurpose
TCP800.0.0.0/0Public HTTP (web) access
TCP22203.0.113.0/24SSH access — restrict to known IPs

Full example template (core parts)

This concise CloudFormation template demonstrates Metadata, Parameters, Resources, and Outputs. It provisions an EC2 instance with the UserData script and a security group, and exposes the instance ID and public IP as outputs.
Metadata:
  Purpose: Basic EC2 instance with HTTP and SSH access

Parameters:
  MyInstanceType:
    Type: String
    Description: Select your EC2 instance type
    AllowedValues:
      - t3.micro
      - t3.small

Resources:
  MySecurityGroup:
    Type: AWS::EC2::SecurityGroup
    Properties:
      GroupDescription: Allow HTTP and SSH access
      VpcId: vpc-0f5d6445abf20b5
      SecurityGroupIngress:
        - IpProtocol: tcp
          FromPort: 80
          ToPort: 80
          CidrIp: 0.0.0.0/0
        - IpProtocol: tcp
          FromPort: 22
          ToPort: 22
          CidrIp: 203.0.113.0/24  # replace with your allowed IP range for SSH

  MyInstance:
    Type: AWS::EC2::Instance
    Properties:
      InstanceType: !Ref MyInstanceType
      ImageId: ami-0eb9d6fc9fab44d24
      SecurityGroupIds:
        - !Ref MySecurityGroup
      Tags:
        - Key: Name
          Value: SimpleWebServer
      UserData:
        Fn::Base64: |
          #!/bin/bash
          yum update -y
          yum install -y httpd
          systemctl start httpd
          systemctl enable httpd

Outputs:
  InstanceId:
    Description: EC2 Instance ID
    Value: !Ref MyInstance
  InstancePublicIP:
    Description: Public IP of web server
    Value: !GetAtt MyInstance.PublicIp
Notes about the template
  • Replace the AMI (ImageId) and VpcId with values appropriate to your region/account.
  • The Outputs section makes it easy to retrieve the public IP from the CloudFormation console.

Deploy the CloudFormation stack

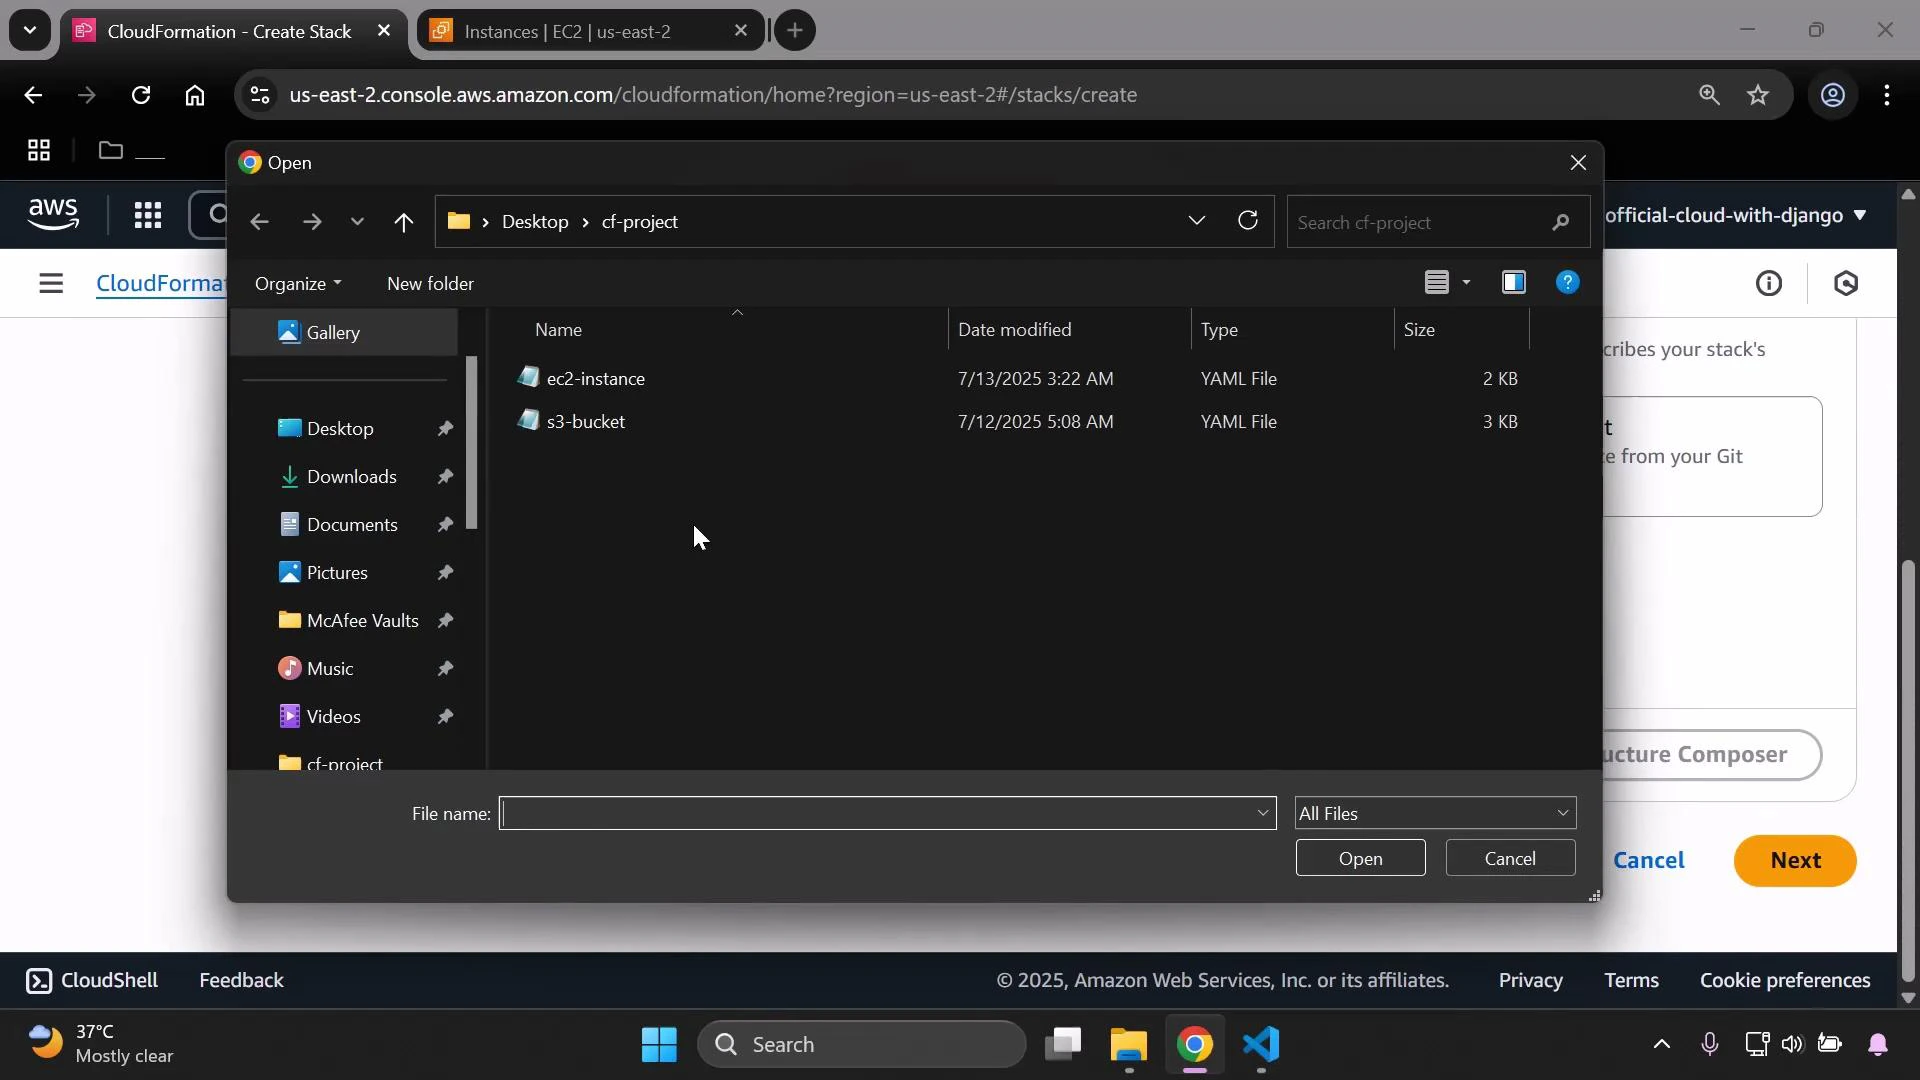
  • Upload this template when creating the stack in the CloudFormation console, or provide an S3 URL.
  • Choose an instance type (for example, t3.micro) and create the stack.
A screenshot of the AWS CloudFormation "Create Stack" page with a Windows file-open dialog overlay showing a "cf-project" folder containing two YAML files named "ec2-instance" and "s3-bucket." The browser tabs, AWS console UI, and the Windows taskbar are visible in the background.
Wait for the stack to reach CREATE_COMPLETE. Then open the EC2 console and confirm the instance status is Running and the instance status checks have passed before connecting.
A screenshot of the AWS EC2 Instances console showing one instance named "SimpleWebServer" (i-02402e29b515ac41f) in the Running state, type t3.micro. The instance shows "3/3 checks passed."

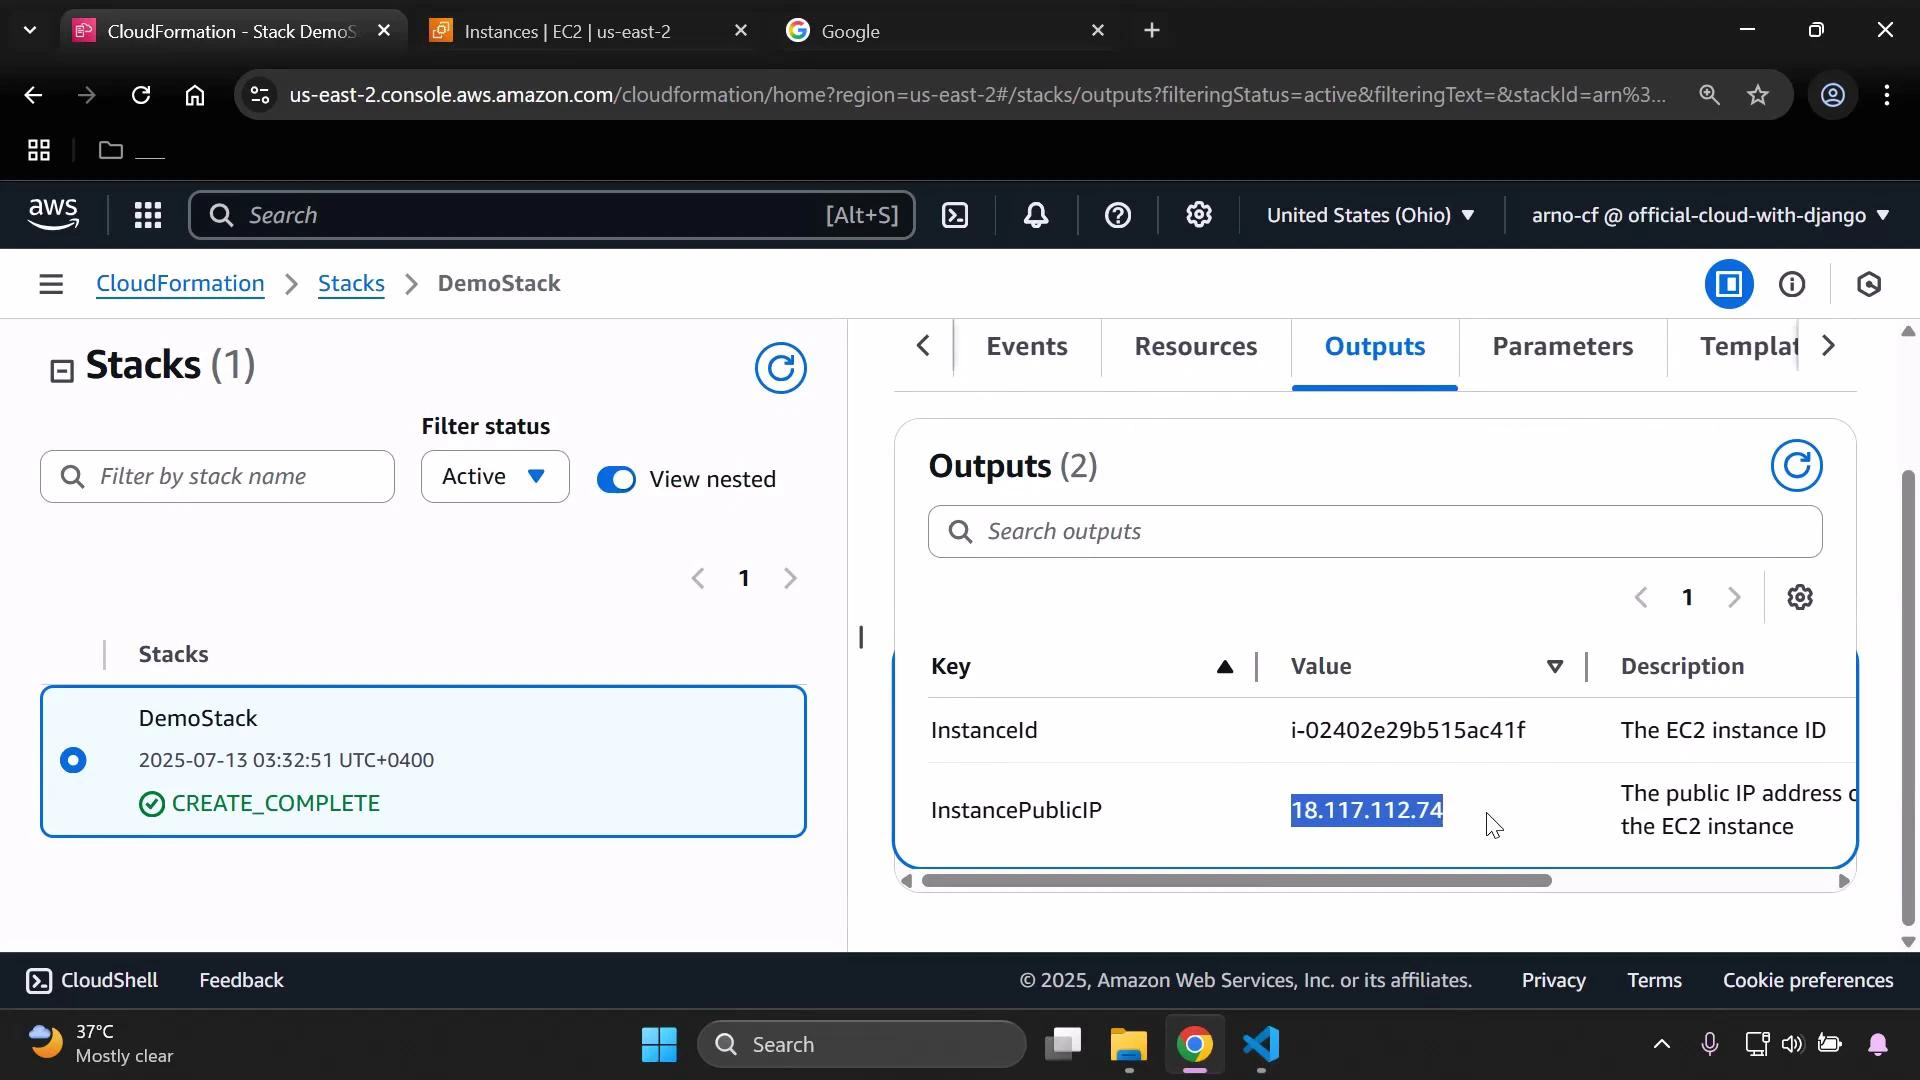
Find the instance public IP

You can locate the instance public IPv4 address via:
  • EC2 console: select the instance and view the Public IPv4 address, or
  • CloudFormation console: open the stack’s Outputs (InstancePublicIP).
A screenshot of the AWS CloudFormation console showing a stack named "DemoStack" with status CREATE_COMPLETE. The Outputs pane lists an EC2 InstanceId and its InstancePublicIP (18.117.112.74).
Open the public IP in a browser. If the UserData ran correctly, Apache will serve the default page and you should see the “It works!” message.
A web browser window showing a simple white page with a large "It works!" message. The address bar displays an IP address and a "Not secure" warning, with multiple tabs and the Windows taskbar visible.

Notes and best practices

UserData scripts run only once—on the instance’s first boot. To apply a changed UserData script to an existing instance, you must recreate the instance (for example, delete and re-create the CloudFormation stack) or use a configuration management tool (like Cloud-init, UserData-managed scripts that re-run, or systems such as Ansible) that can enforce configuration changes after boot.
Avoid leaving SSH (port 22) open to the entire internet in production. Restrict SSH access to known IP ranges or use AWS Systems Manager Session Manager for secure, auditable shell access: https://docs.aws.amazon.com/systems-manager/latest/userguide/session-manager.html
That’s it — with this CloudFormation template your EC2 instance will boot, install and start Apache, and serve a default web page so you can verify the UserData executed successfully.

Watch Video