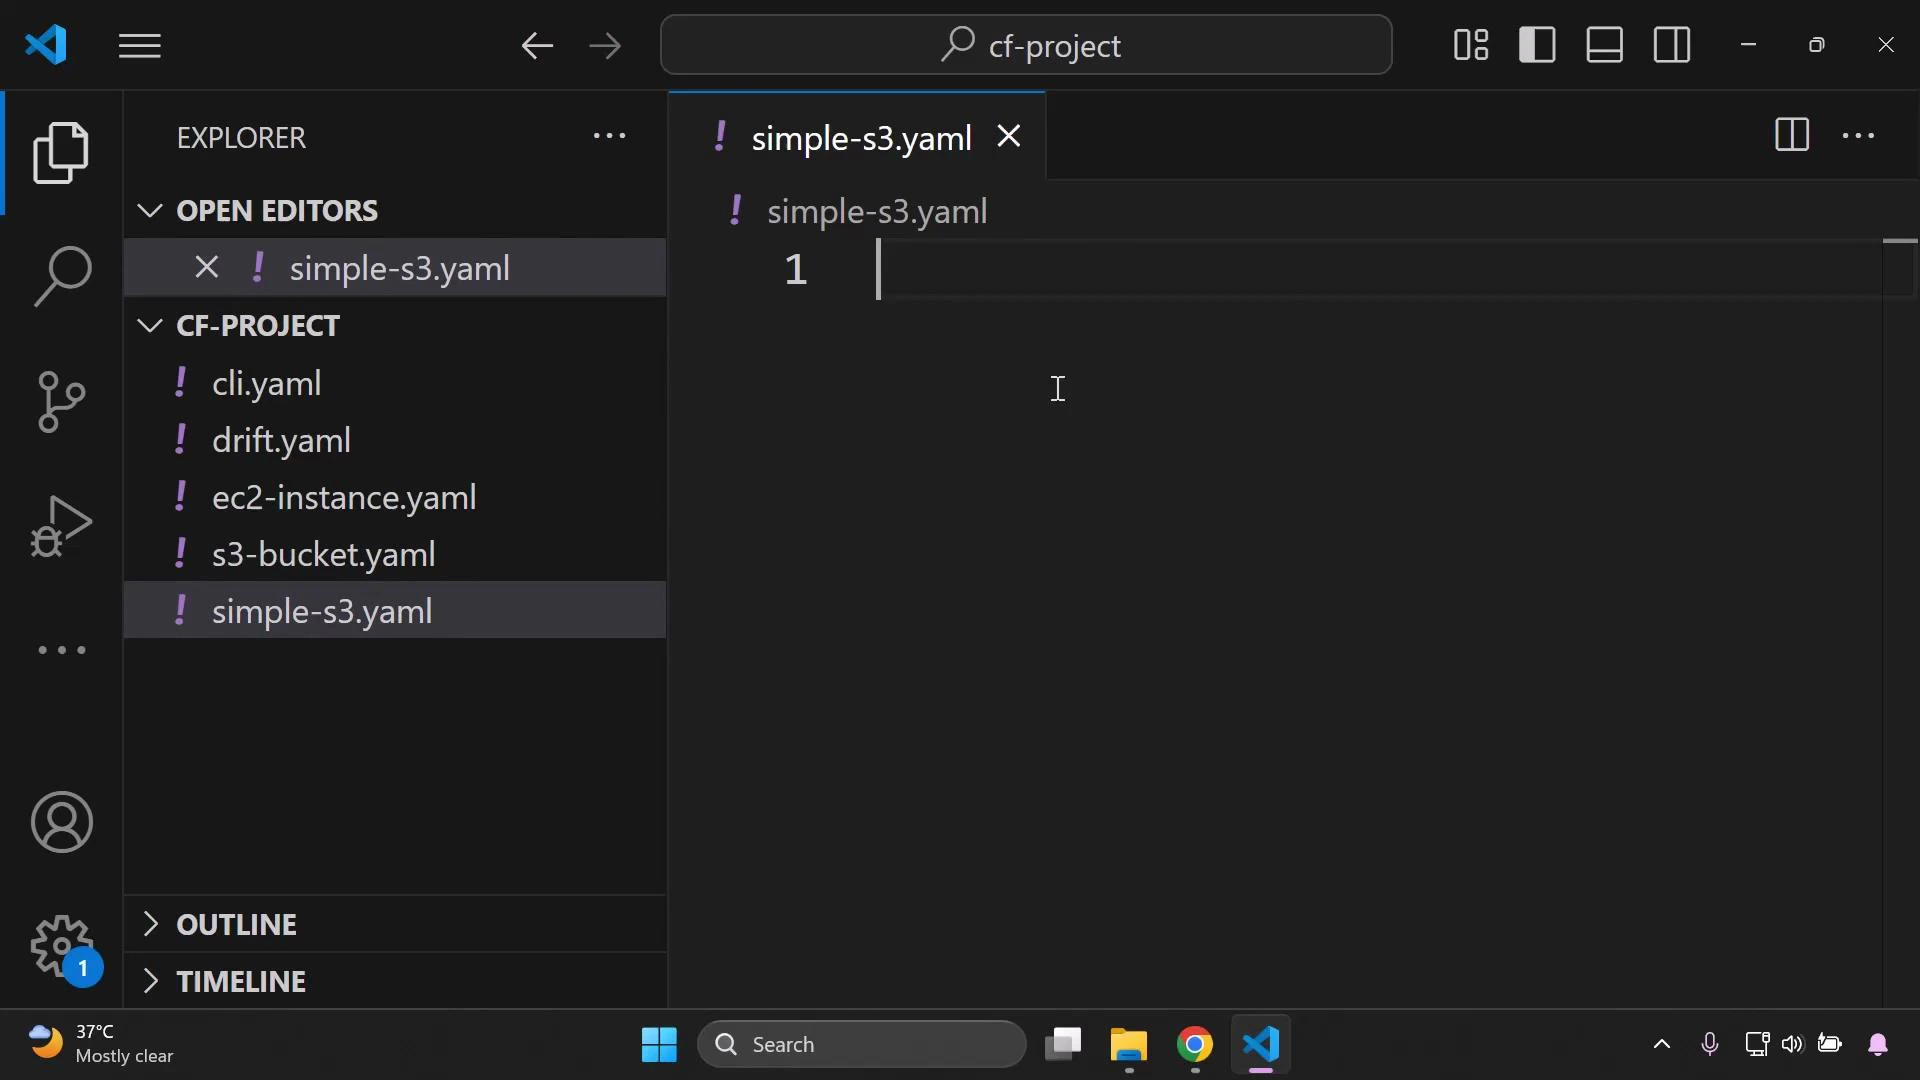
- simple-s3.yaml — child template that provisions an S3 bucket
- simple-ec2.yaml — child template that provisions an EC2 instance
- parent.yaml — parent template that references the two child templates as nested stacks
| Template file | Purpose | CloudFormation resource type |
|---|---|---|
| simple-s3.yaml | Create a simple S3 bucket | AWS::S3::Bucket |
| simple-ec2.yaml | Launch a single EC2 instance | AWS::EC2::Instance |
| parent.yaml | Reference child templates as nested stacks | AWS::CloudFormation::Stack |
Child template: simple-s3.yaml
Create a minimal child template containing a Resources block defining an S3 bucket. The resource Type must be AWS::S3::Bucket:Child template: simple-ec2.yaml
Create a child template that provisions a single EC2 instance. Use an AMI ID valid for your region — the example uses a sample AMI ID; replace it with one appropriate for your account/region: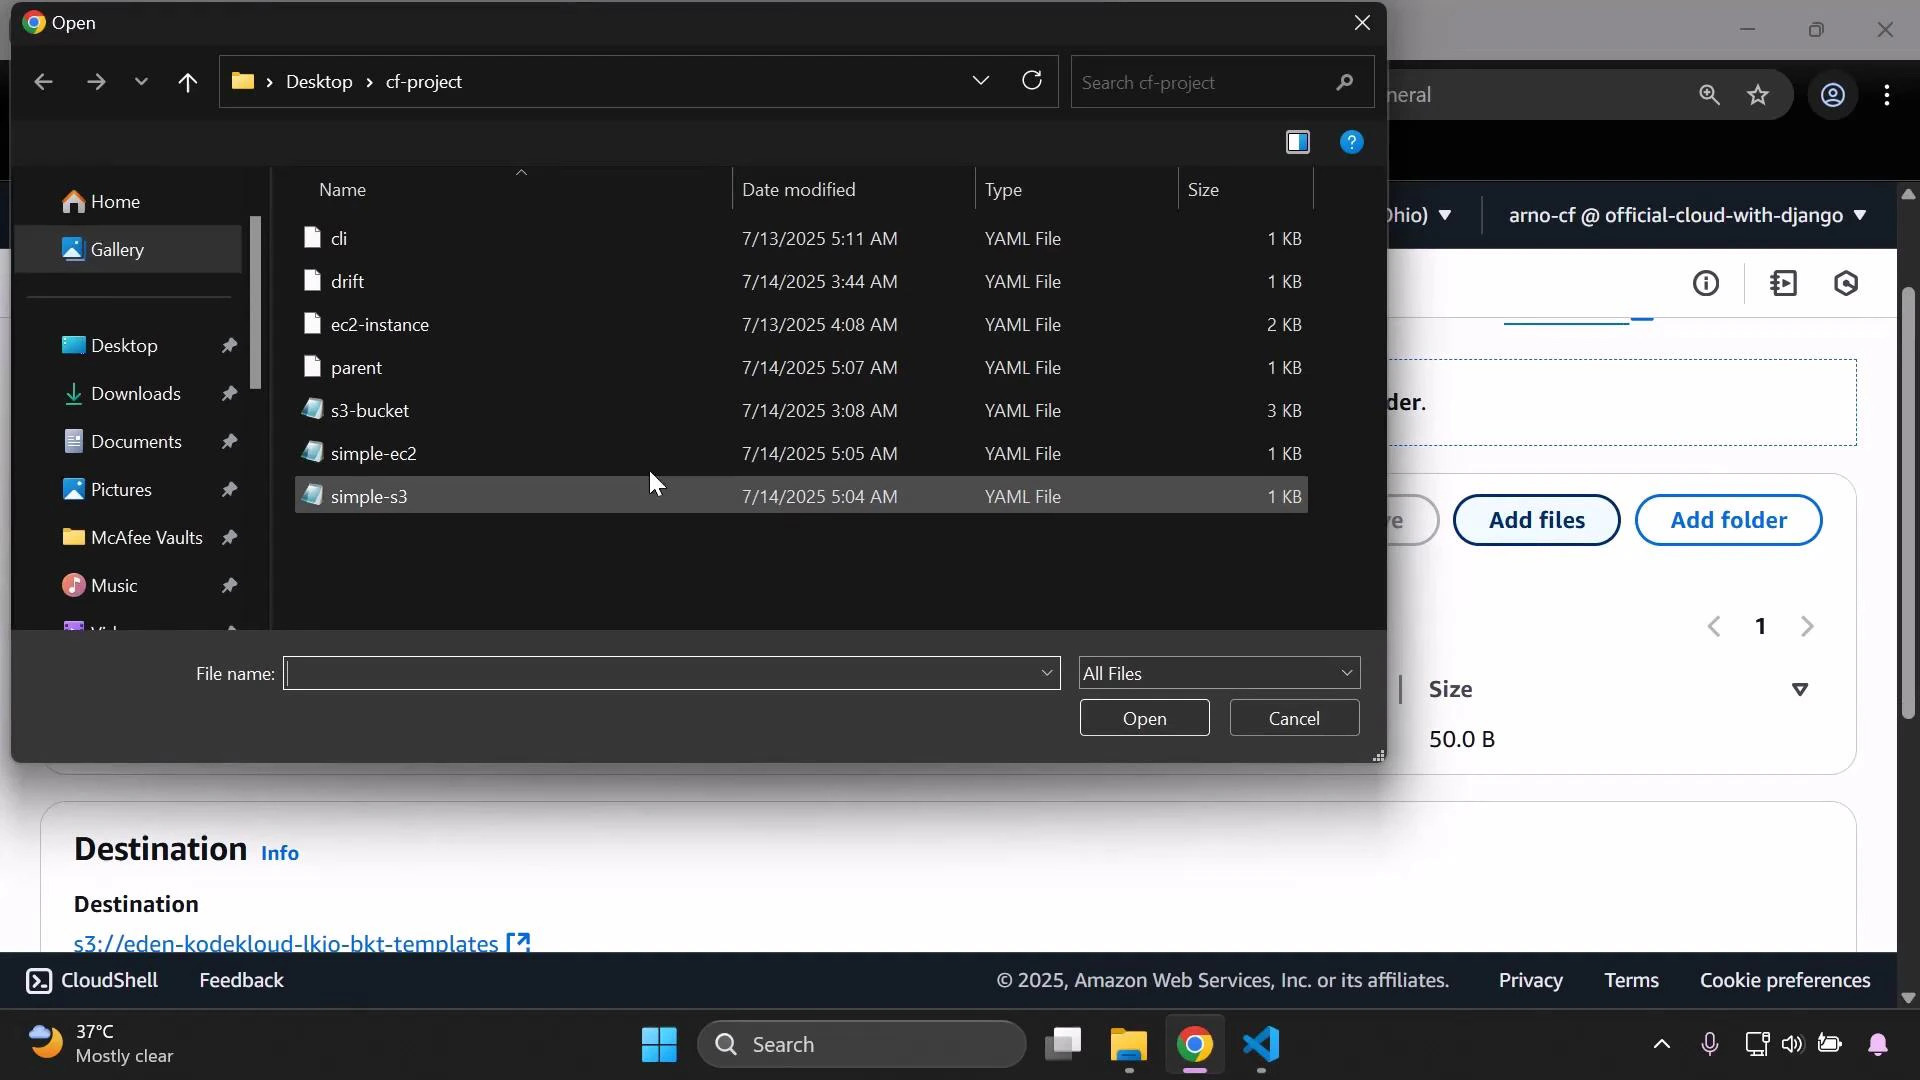
Parent template: parent.yaml
The parent template references the child templates using AWS::CloudFormation::Stack resources. Each nested stack requires a TemplateURL that points to the child template object hosted in S3 (the HTTP(s) object URL):Ensure the TemplateURL uses the S3 object URL (https://…). Verify the object exists, is in the correct region, and CloudFormation has read access to it (bucket policies or cross-account restrictions can block access).
Upload the child templates to S3
- Create (or choose) an S3 bucket to host your templates. Bucket names must be globally unique.
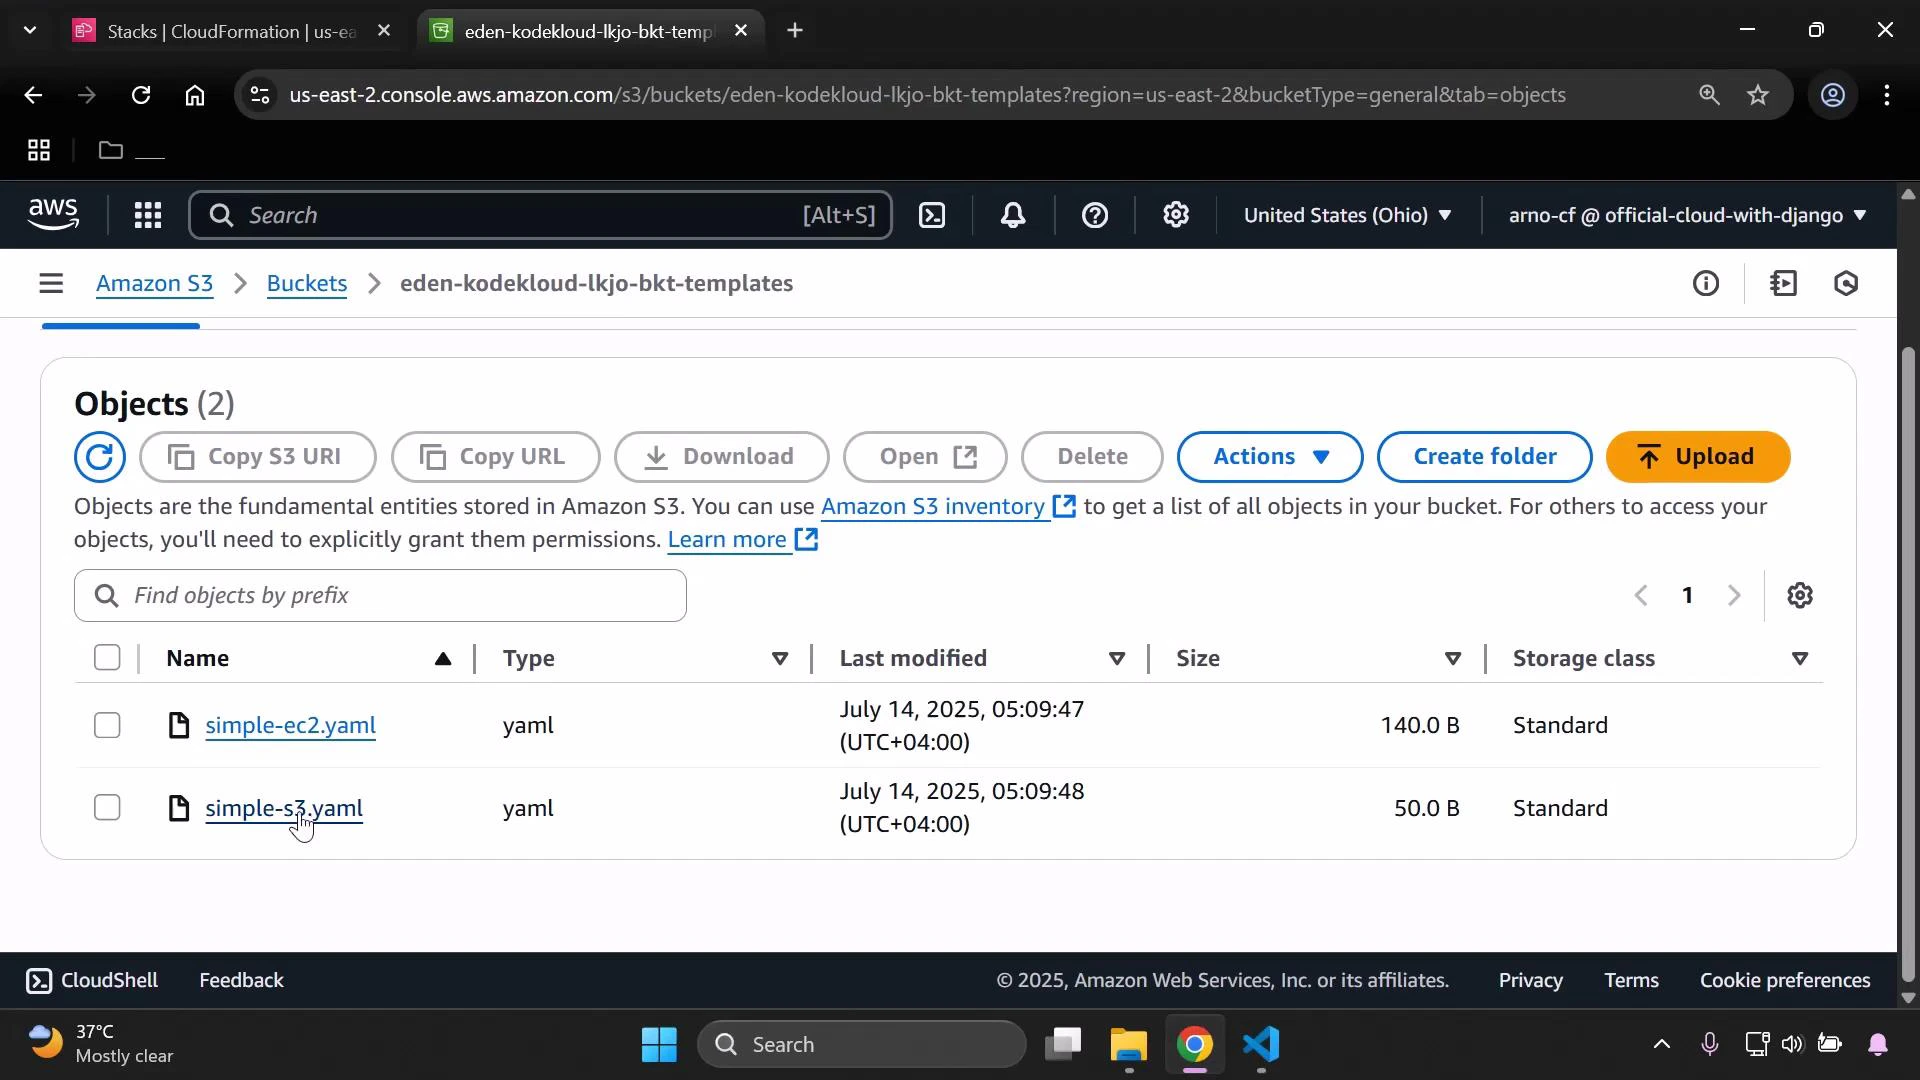
- Upload simple-s3.yaml and simple-ec2.yaml to the bucket.
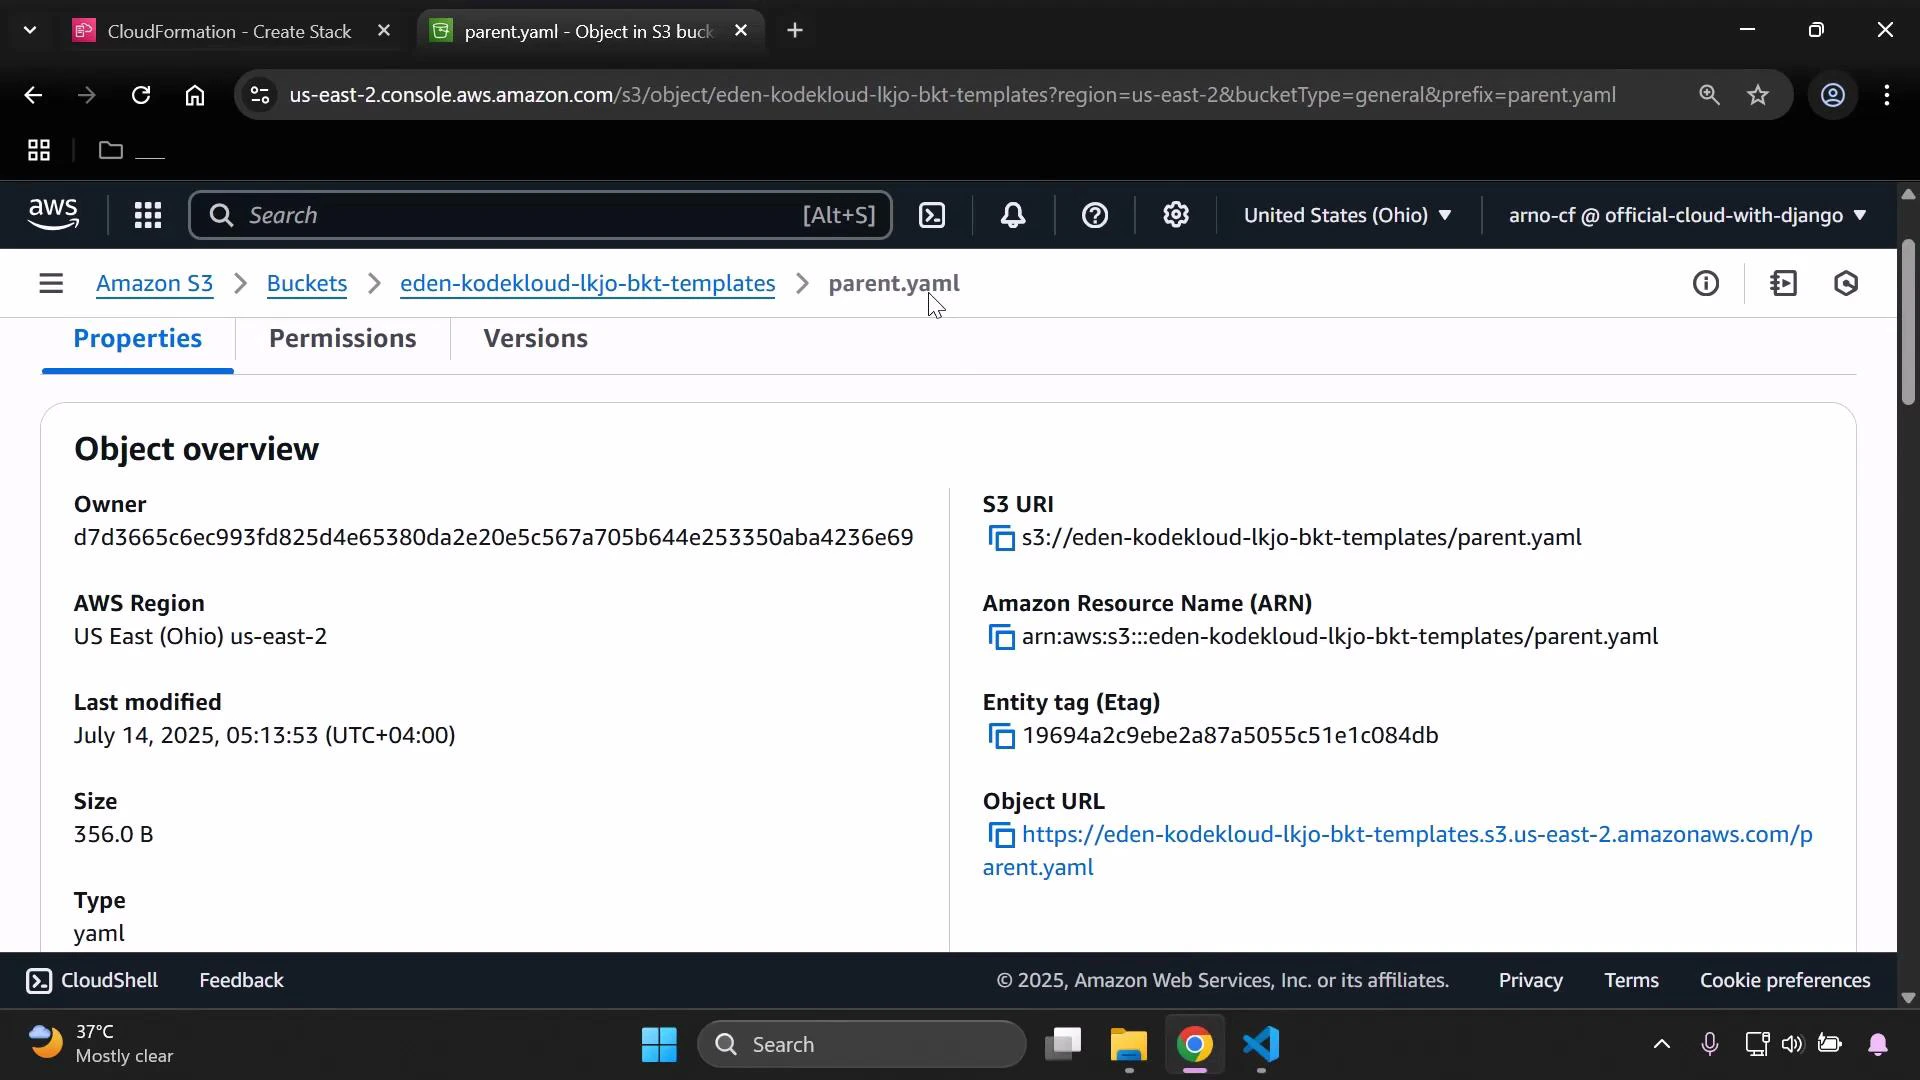
- Copy each object’s object URL from the S3 console and paste it into the TemplateURL fields in parent.yaml (or use the URLs when creating the parent stack).
S3 bucket names are globally unique — choose a distinct name. Double-check the object URLs are correct and that CloudFormation can access the files (region and permissions matter).
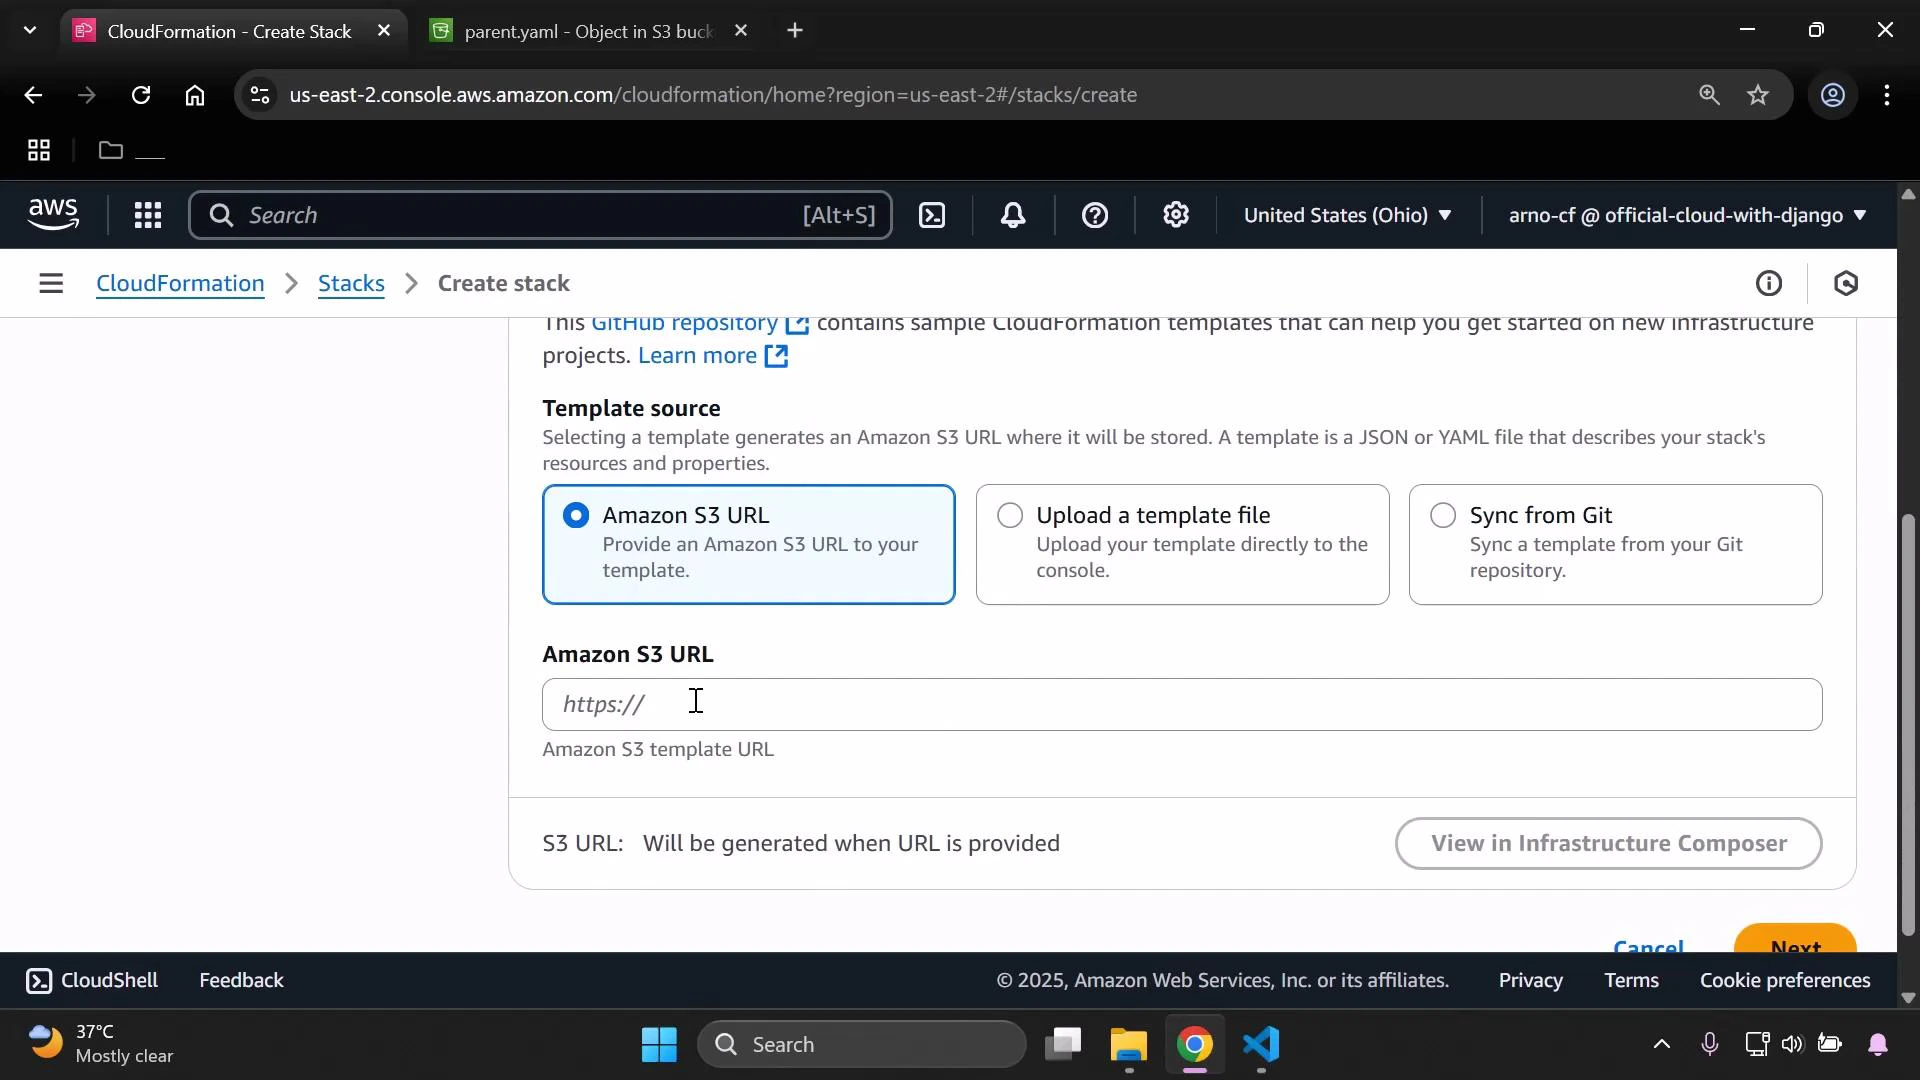
Create the parent stack in CloudFormation
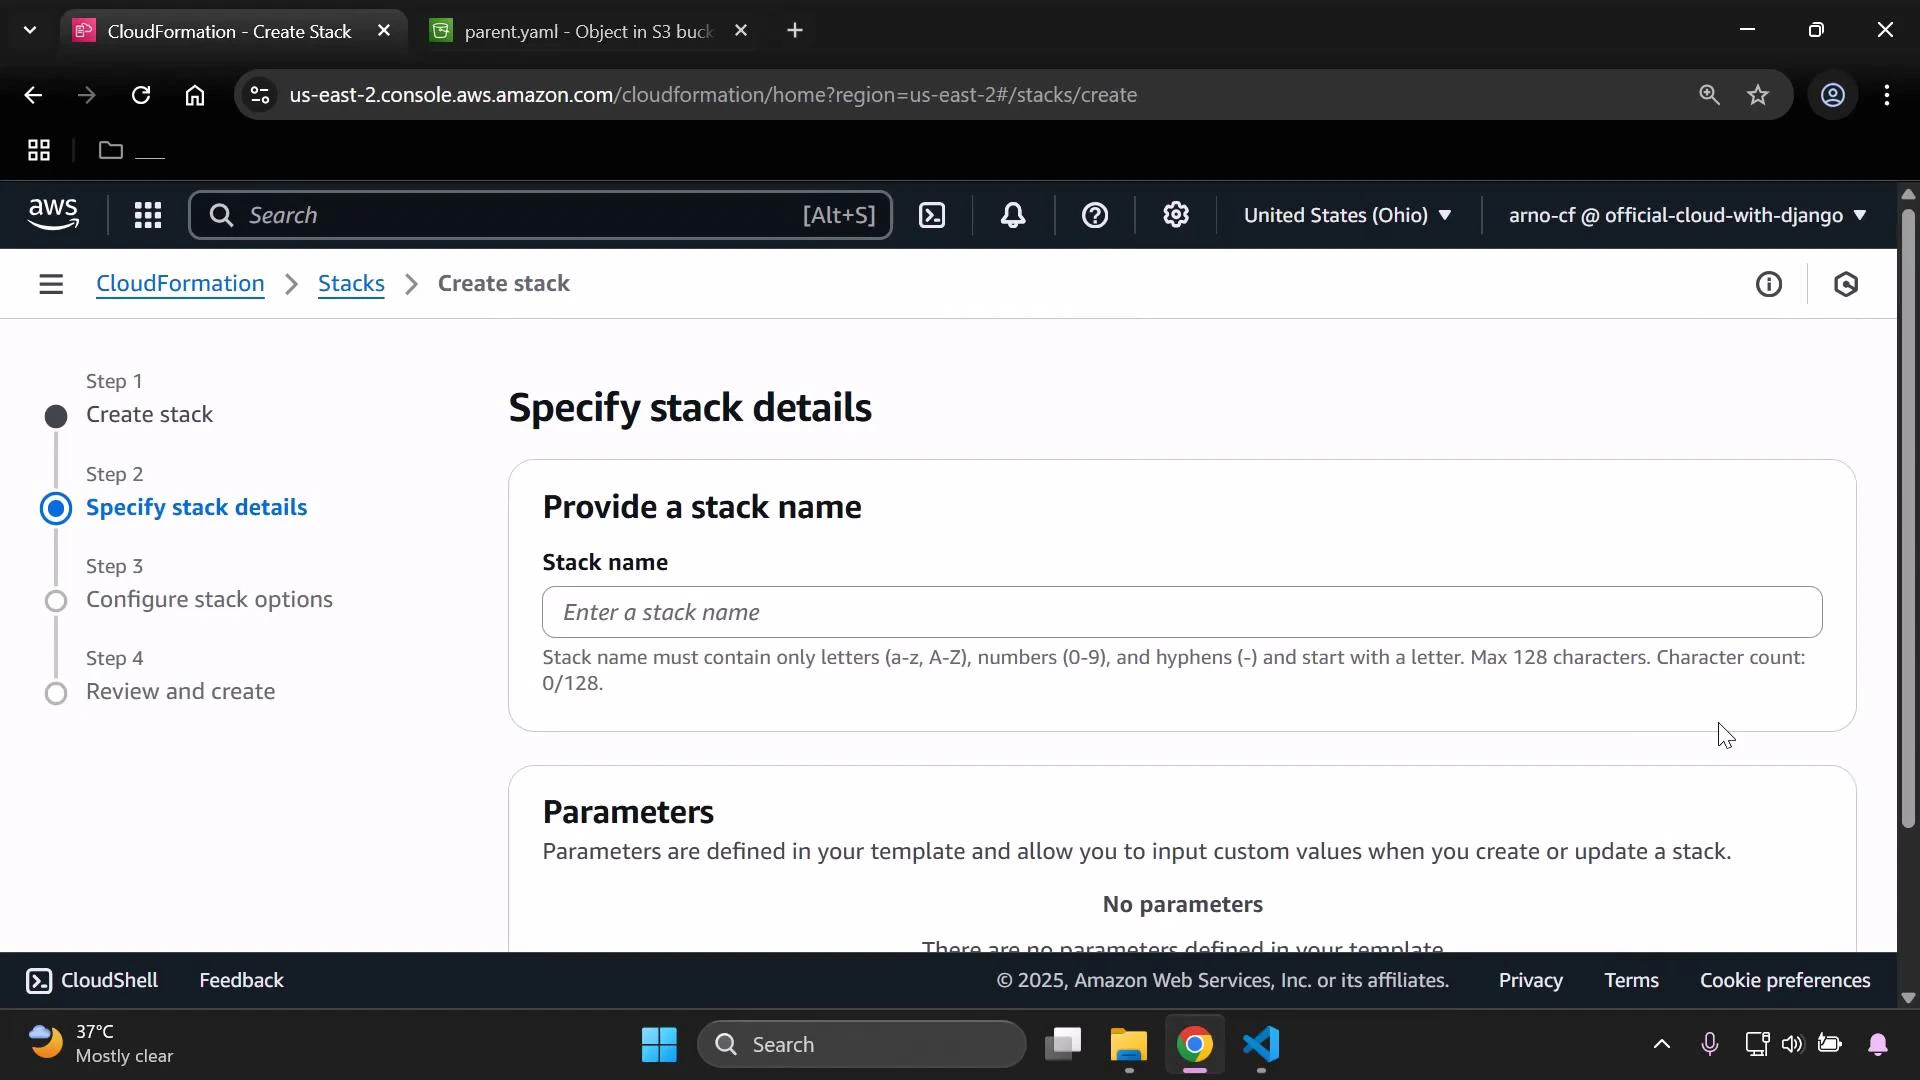
- In the AWS CloudFormation console choose “Create stack” and select “Amazon S3 URL”.
- Paste the S3 object URL for parent.yaml (this parent template references both child templates).
- Provide a stack name (for example, demo-stack) and complete the remaining steps (parameters, tags, IAM permissions) as applicable.
- Submit to create the stack.
Verify resources
- CloudFormation console: confirm the parent stack and its nested stacks are listed and have successfully created resources.
- S3 console: confirm the bucket created by the S3 child template exists.
- EC2 console: confirm the instance created by the EC2 child template is running (check AMI, instance type, and security group as needed).
Next steps and best practices
- Learn how to pass Parameters and capture Outputs between parent and child templates to enable modular, reusable stacks.
- Version and store templates in a secure, centralized S3 bucket with appropriate lifecycle and access controls.
- Consider StackSets or AWS CloudFormation modules for more advanced deployment patterns.
- AWS CloudFormation — Nested Stacks: https://docs.aws.amazon.com/AWSCloudFormation/latest/UserGuide/using-cfn-nested-stacks.html
- AWS CloudFormation documentation: https://docs.aws.amazon.com/cloudformation/
- Amazon S3 documentation: https://docs.aws.amazon.com/s3/
- EC2 AMI locator: https://docs.aws.amazon.com/AWSEC2/latest/UserGuide/finding-an-ami.html