To make a GitHub repository more discoverable and inviting to contributors, focus on a few high-impact components that improve searchability, clarity, and trust. This article walks through those elements and shows practical examples you can apply immediately. Key components covered:
  • Repository name
  • Short description
  • License
  • README (placement and rendering)
Why these matter (summary) Repository name Use a short, descriptive repository name that signals purpose and scope. When relevant, include a qualifier to distinguish types of projects (for example, “Blockbuster Web” vs “Blockbuster API”). Clear names help people find your repo in search results and understand its intent immediately.
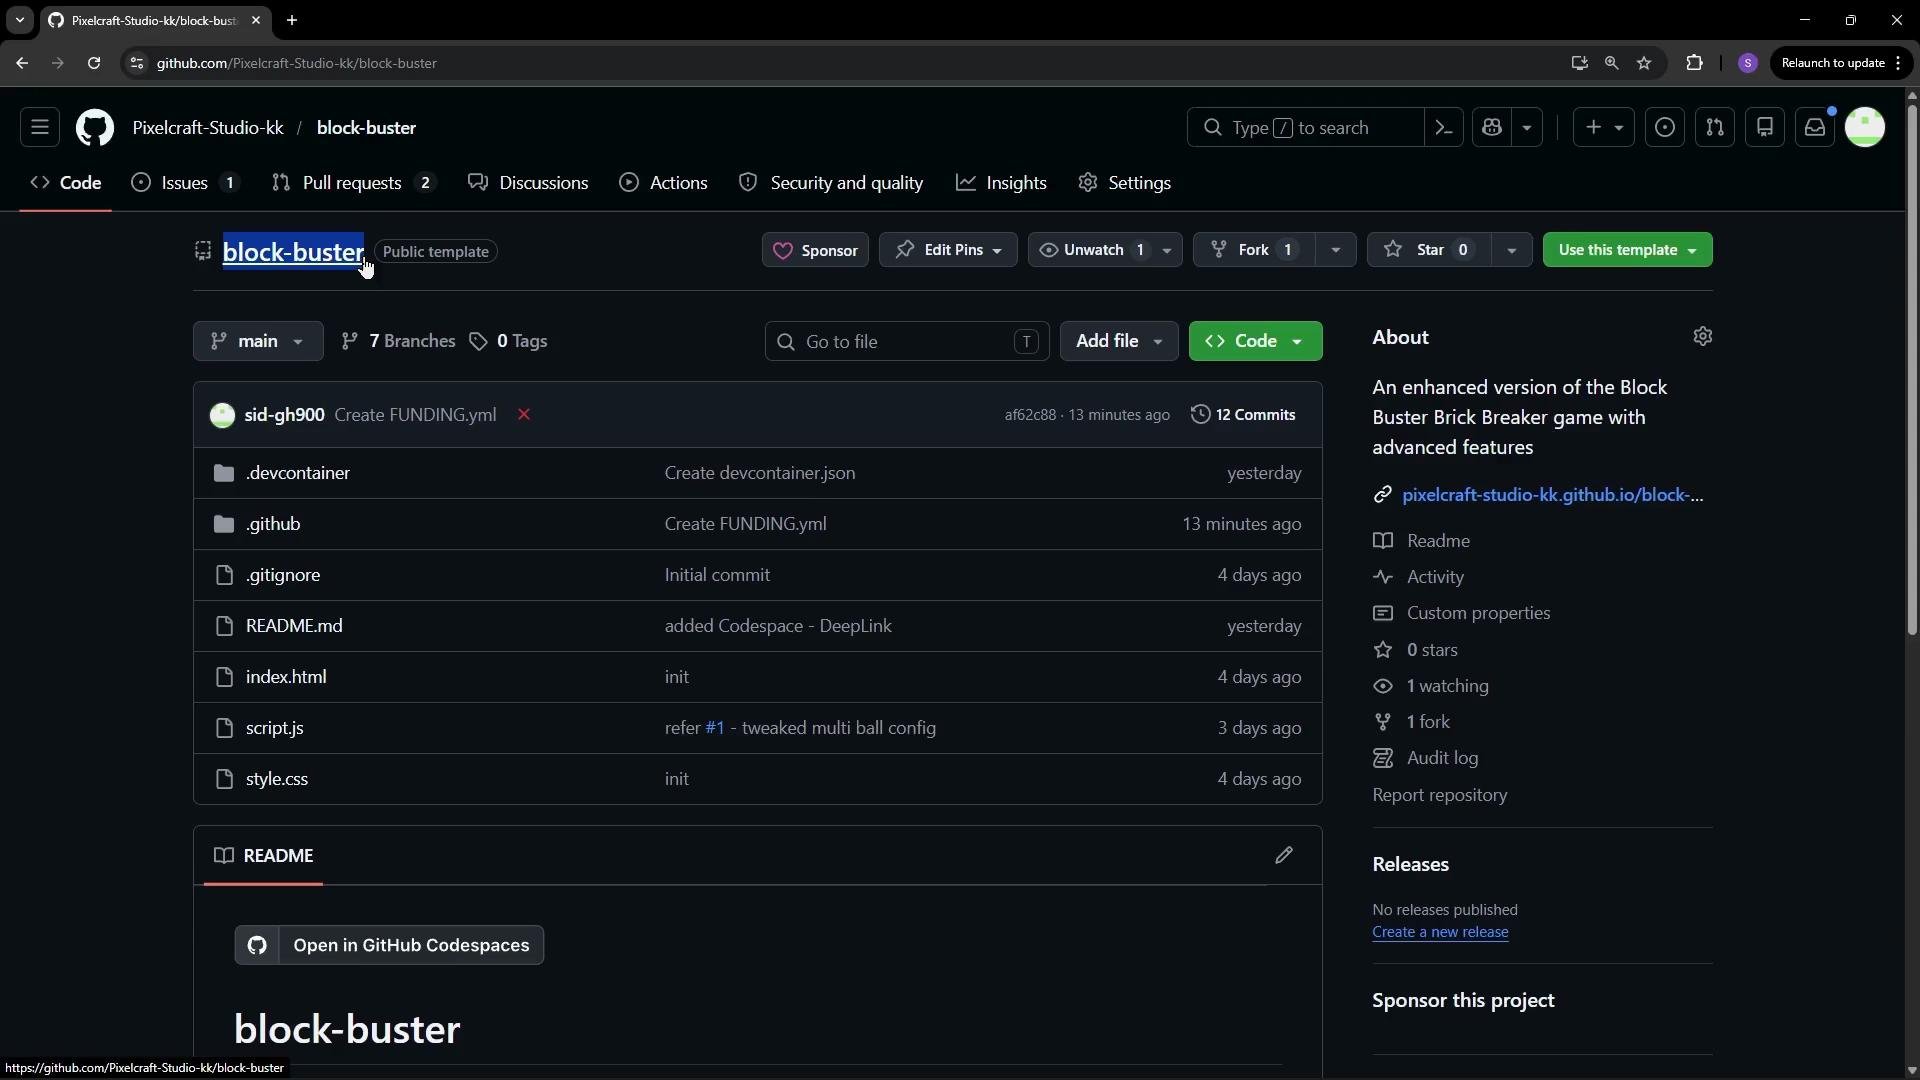
The image shows a GitHub repository page for a project named "block-buster," which is an enhanced version of the Block Buster Brick Breaker game. The repository includes files like .gitignore, README.md, index.html, script.js, and style.css.
Short description Add a concise one- or two-line description in the repository’s header. This short sentence appears in search results and at the top of your repo page, helping visitors decide whether to explore further. License A license tells others what they can do with your code. Without one, potential contributors and users may hesitate to reuse or contribute to your project. Steps to add a license on GitHub:
  • Click Add file → Create new file.
  • Name the file LICENSE (typing “license” will surface templates).
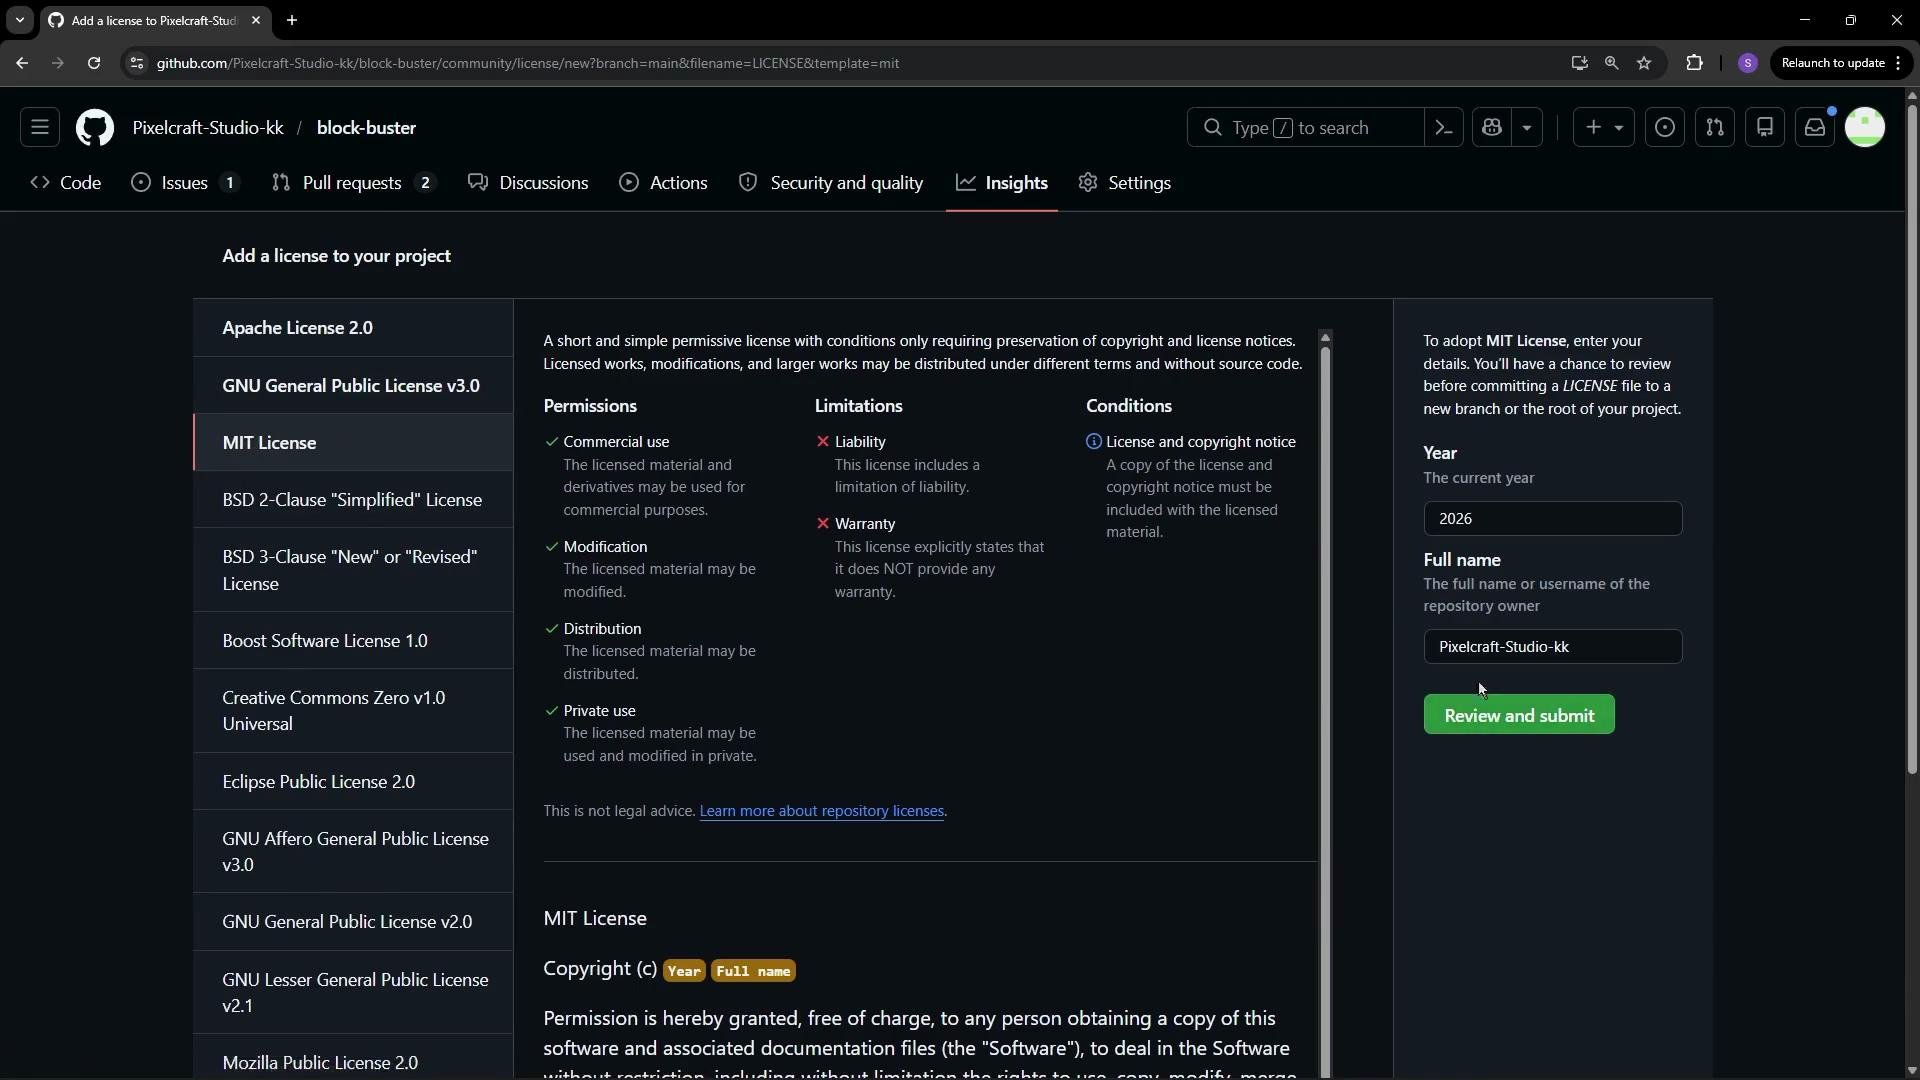
  • Choose a license template (for example, MIT or Apache 2.0), then review permissions, conditions, and limitations.
  • Fill required fields (such as year or copyright holder) and commit to your default branch (e.g., main).
Common options:
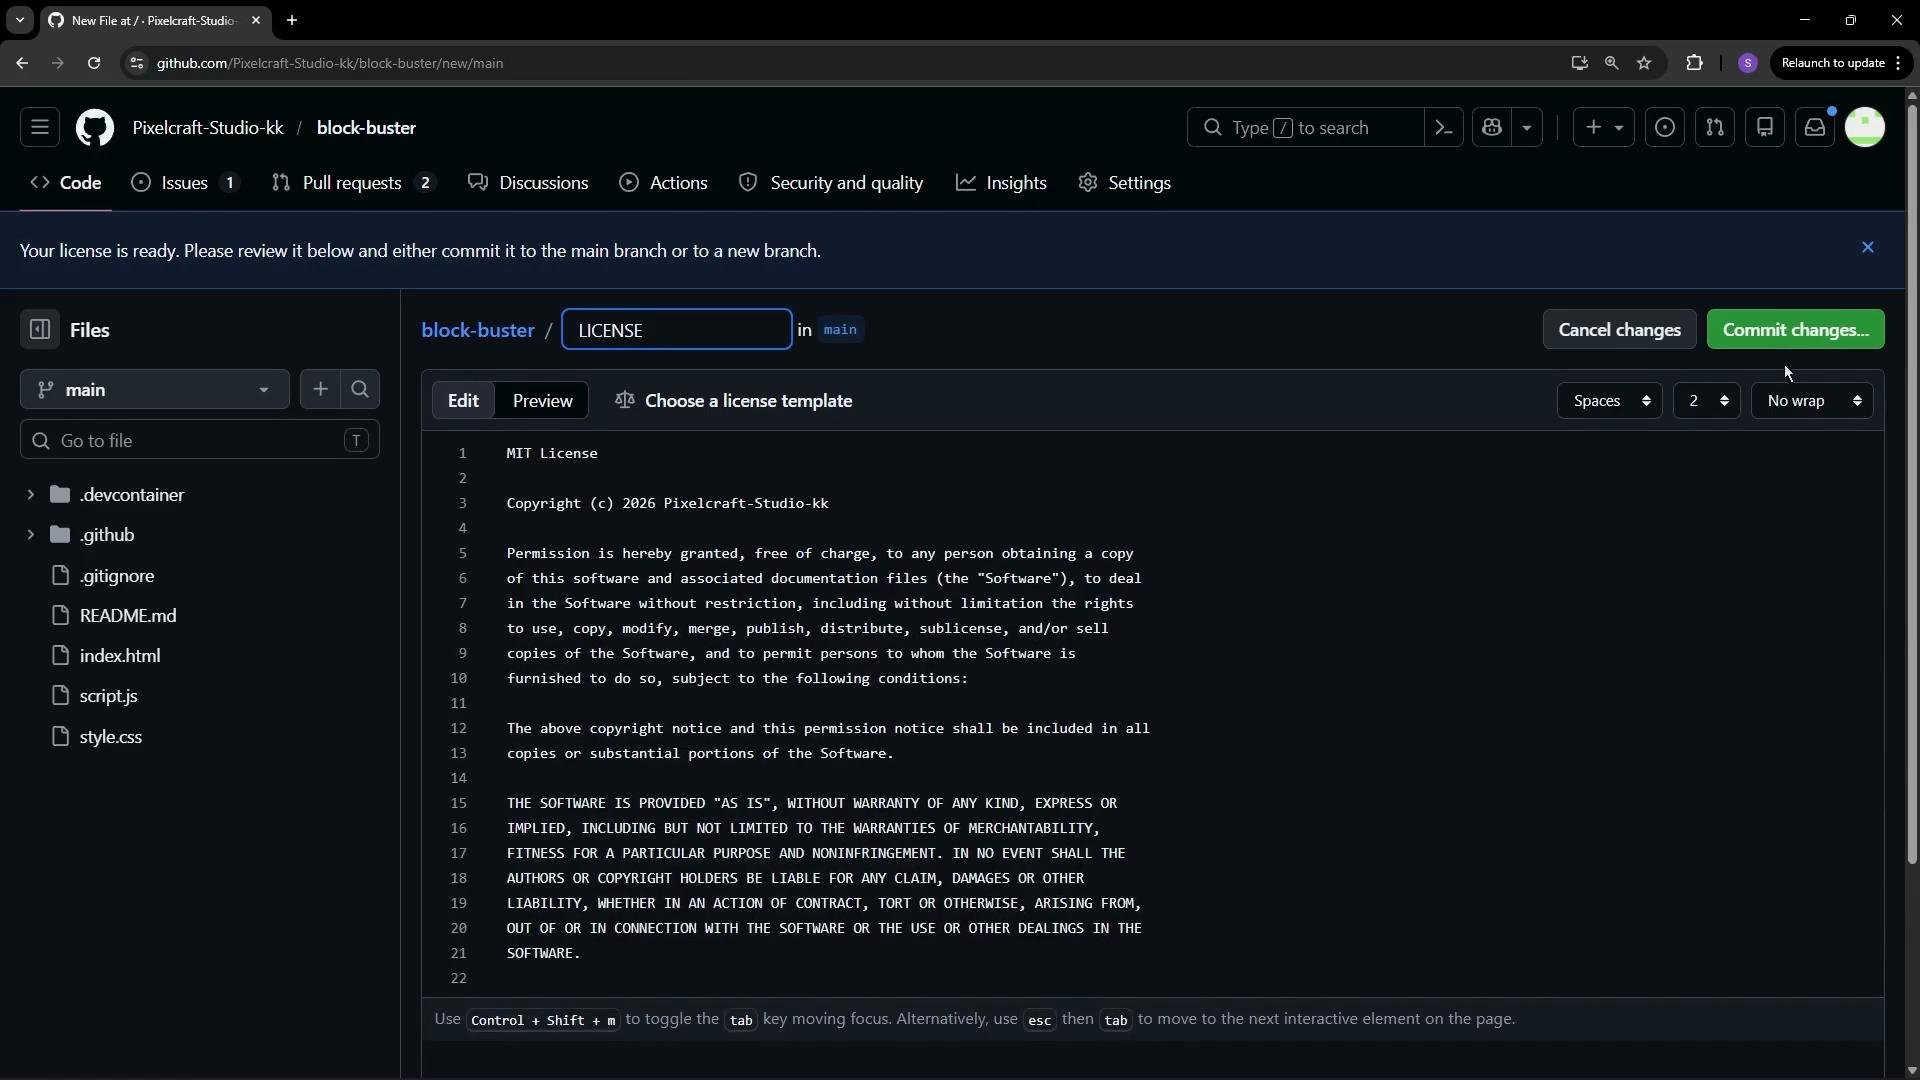
The image shows a GitHub interface where a user is adding an MIT license to their project repository. Various licenses are listed on the left, and details about the MIT license are displayed in the center and right sections.
After choosing a template and completing any fields, commit the LICENSE file to your default branch.
This image shows a GitHub repository with a file open in edit mode displaying the text of an MIT License. The sidebar lists various files and directories in the repository's main branch.
README: where to place it and why A clear README is often the first thing contributors read. GitHub will render a README from different locations depending on what exists in the repository. The most common locations are:
  • Root: README.md — highest priority and most visible to visitors.
  • docs/README.md — commonly used when a project has extensive documentation or GitHub Pages.
  • .github/README.md — used for organization-level defaults and some workflows.
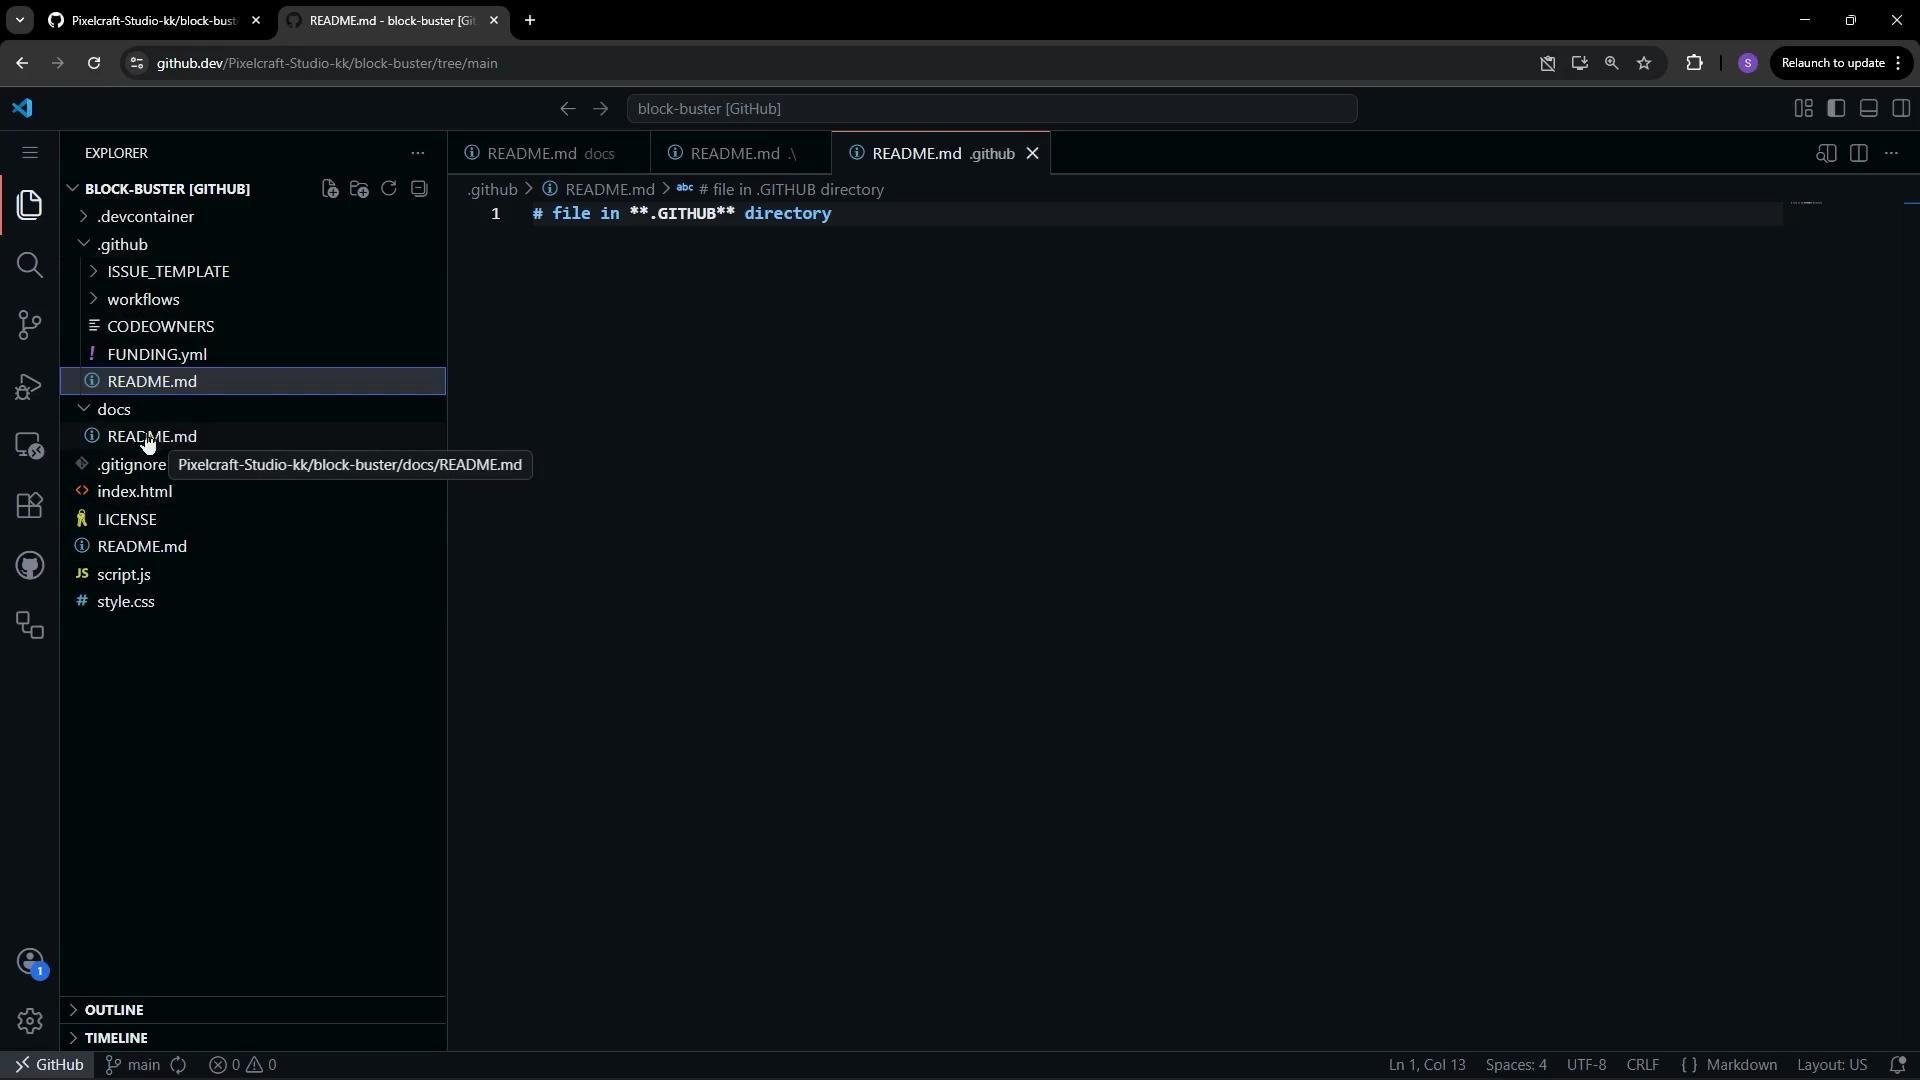
You can edit files directly in your browser by opening the repository and changing the URL from github.com to github.dev to use the web-based editor. Example: create a README inside the docs/ folder first.
Commit that change. If the repository root does not contain a README.md, GitHub will render docs/README.md on the repository landing page.
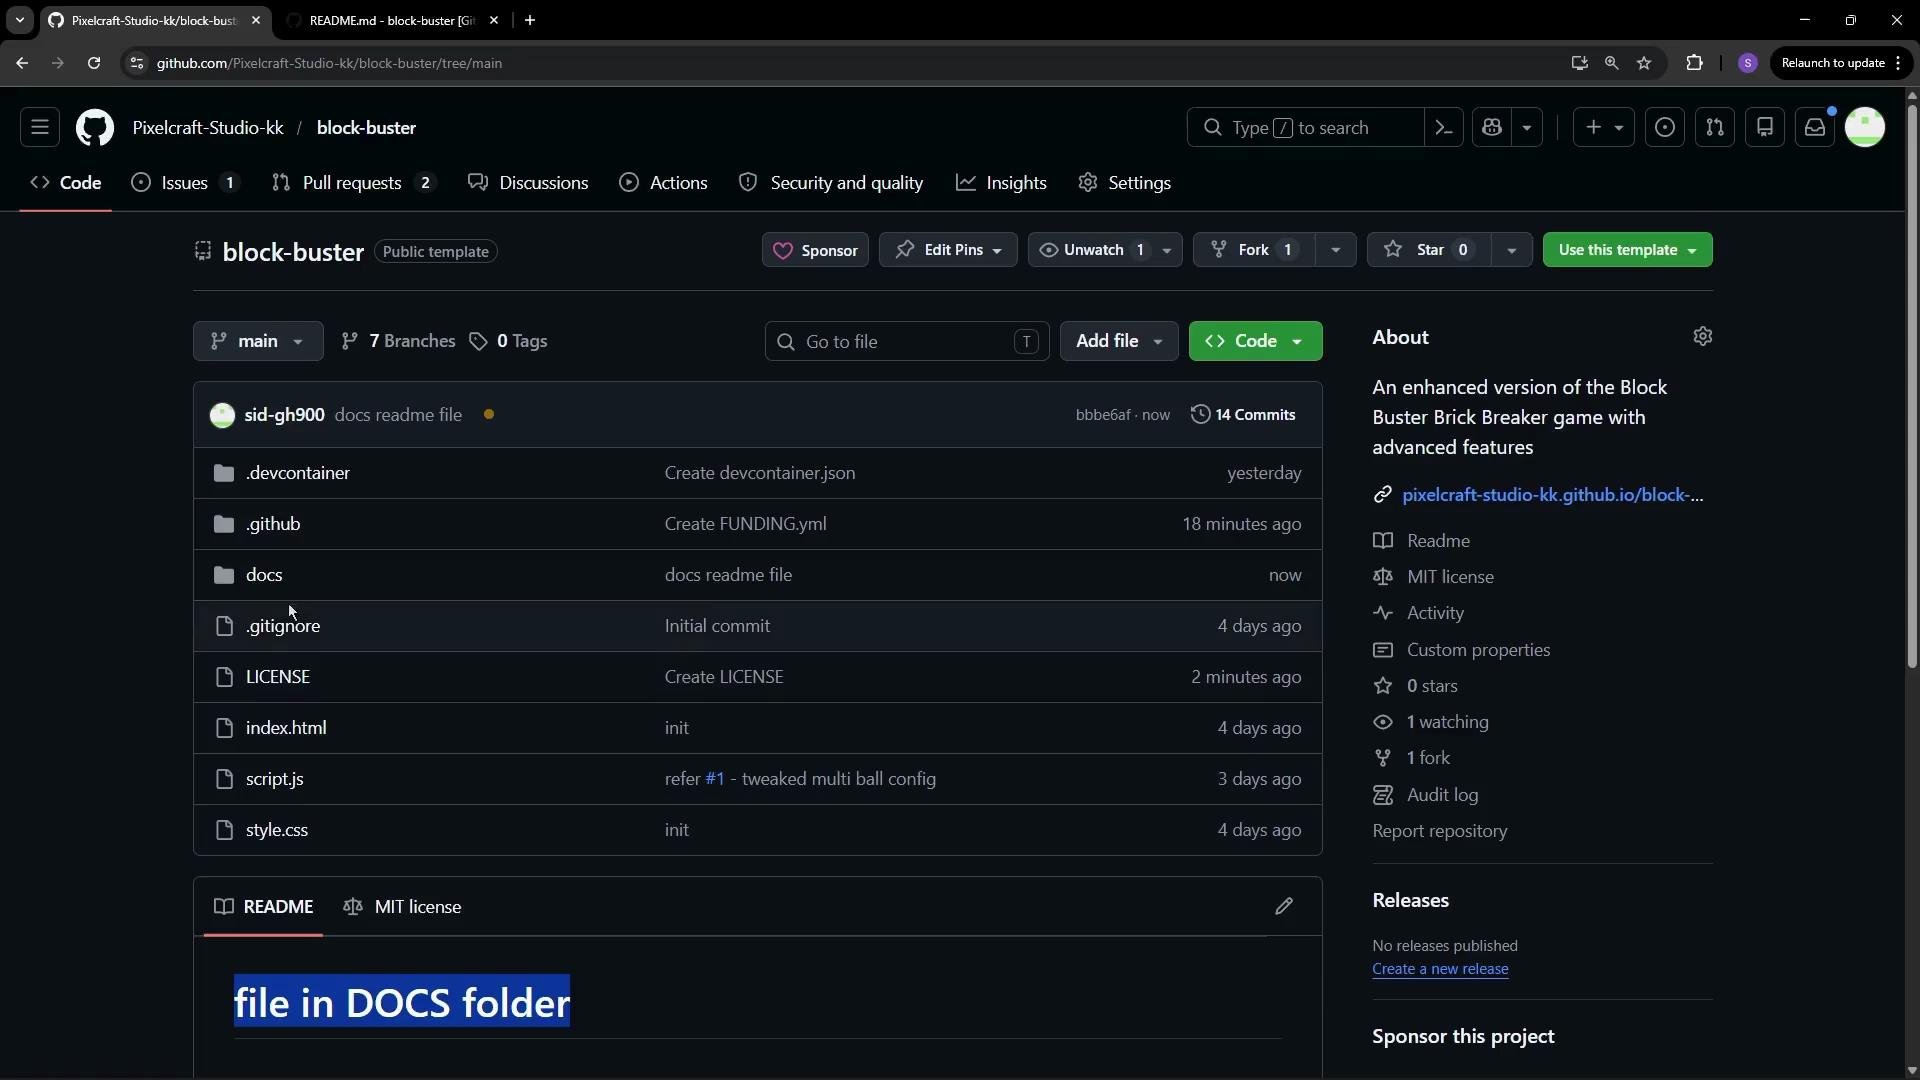
The image shows a GitHub repository page named "block-buster" with folders and files listed, including .devcontainer, .github, docs, .gitignore, LICENSE, index.html, script.js, and style.css. There's also additional project information on the right side.
Next, add a README in the repository root:
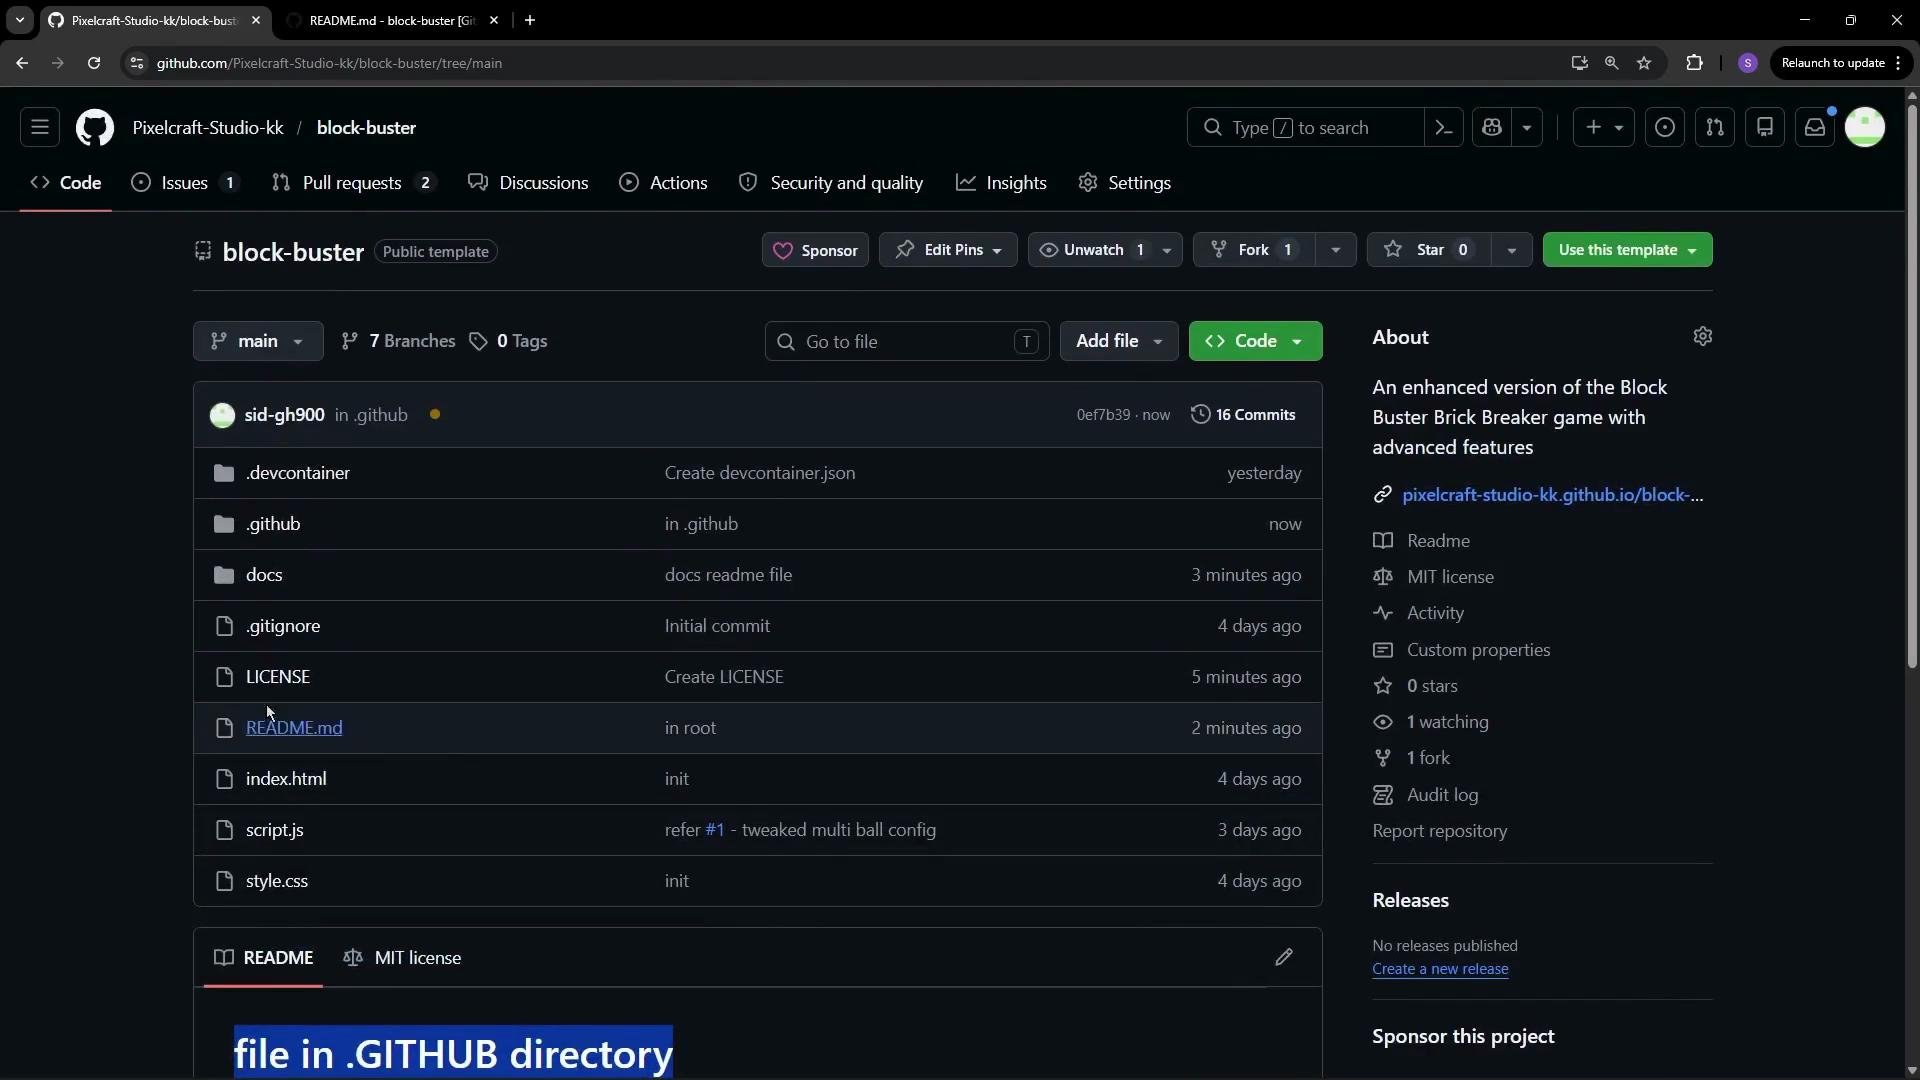
When a README.md exists in the repository root, GitHub will render that content on the repository home page instead of docs/README.md. If multiple README files exist (root, docs/, and .github/), GitHub chooses which to display based on its rendering rules and repository configuration. To avoid ambiguity, place the README you want visitors to see in the repository root.
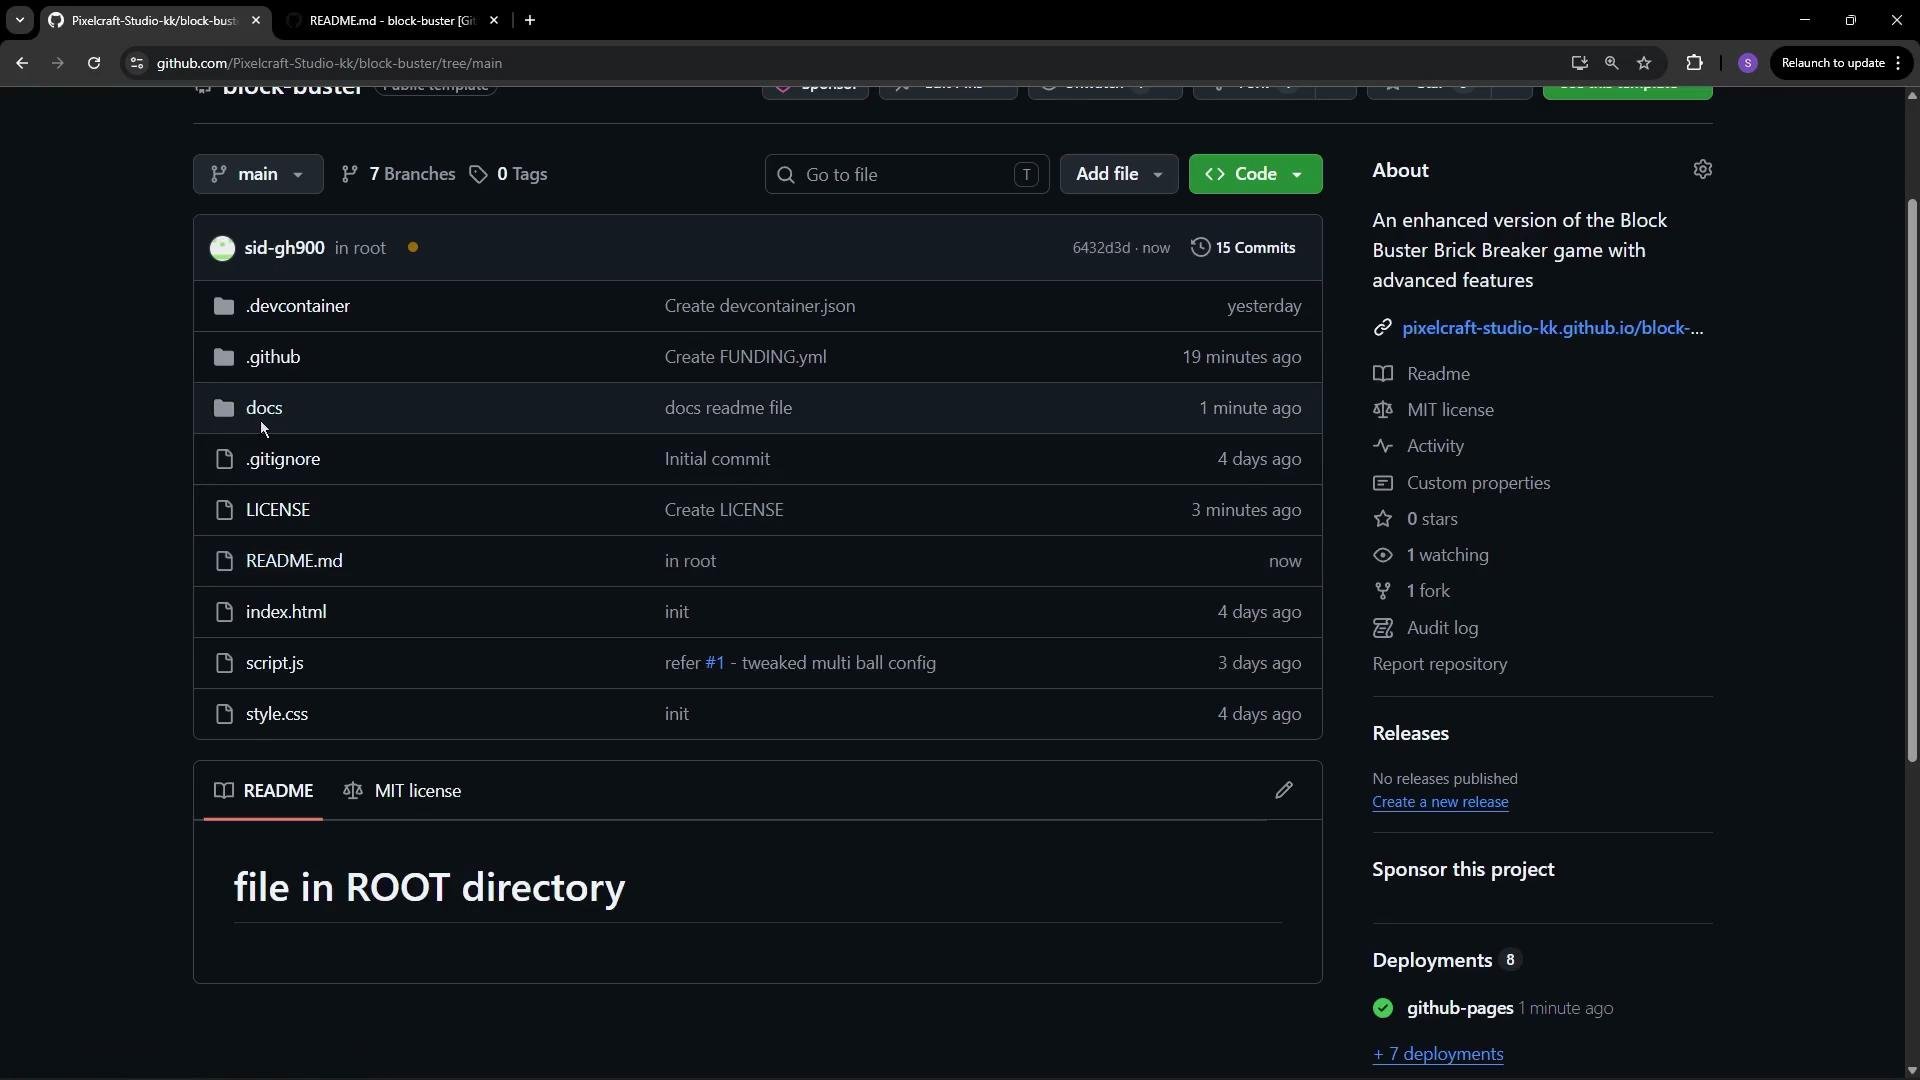
This is a screenshot of a GitHub repository named "block-buster," showing its file structure, recent commits, and repository details. The repository includes folders like .devcontainer, .github, and docs, as well as files like README.md, LICENSE, and others.
Example README files used in this demo
  • docs/README.md
  • README.md (root)
  • .github/README.md
The image shows a Visual Studio Code interface displaying a file explorer pane with a directory structure for a GitHub project called "BLOCK-BUSTER" and a README.md file open in the editor.
Recommendation: if you want a specific README shown to visitors, place it in the repository root. This avoids surprises caused by multiple READMEs competing for rendering priority. Four elements that make a repository discoverable
The image shows a GitHub repository named "block-buster" with a list of files and folders, including details about commits and timing. On the right, there's a description stating it's an enhanced version of a brick breaker game.
  • A clear, descriptive repository name
  • A short, helpful repository description
  • A license file (e.g., MIT or Apache 2.0)
  • A README placed where it will be rendered for visitors (commonly the repository root)
A well-written README and an explicit license dramatically increase the chances that others will find, trust, and contribute to your project. Invest a little time up front—clear names, a concise description, and the right README placement improve visibility, search ranking, and contributor confidence.
Links and resources

Watch Video