

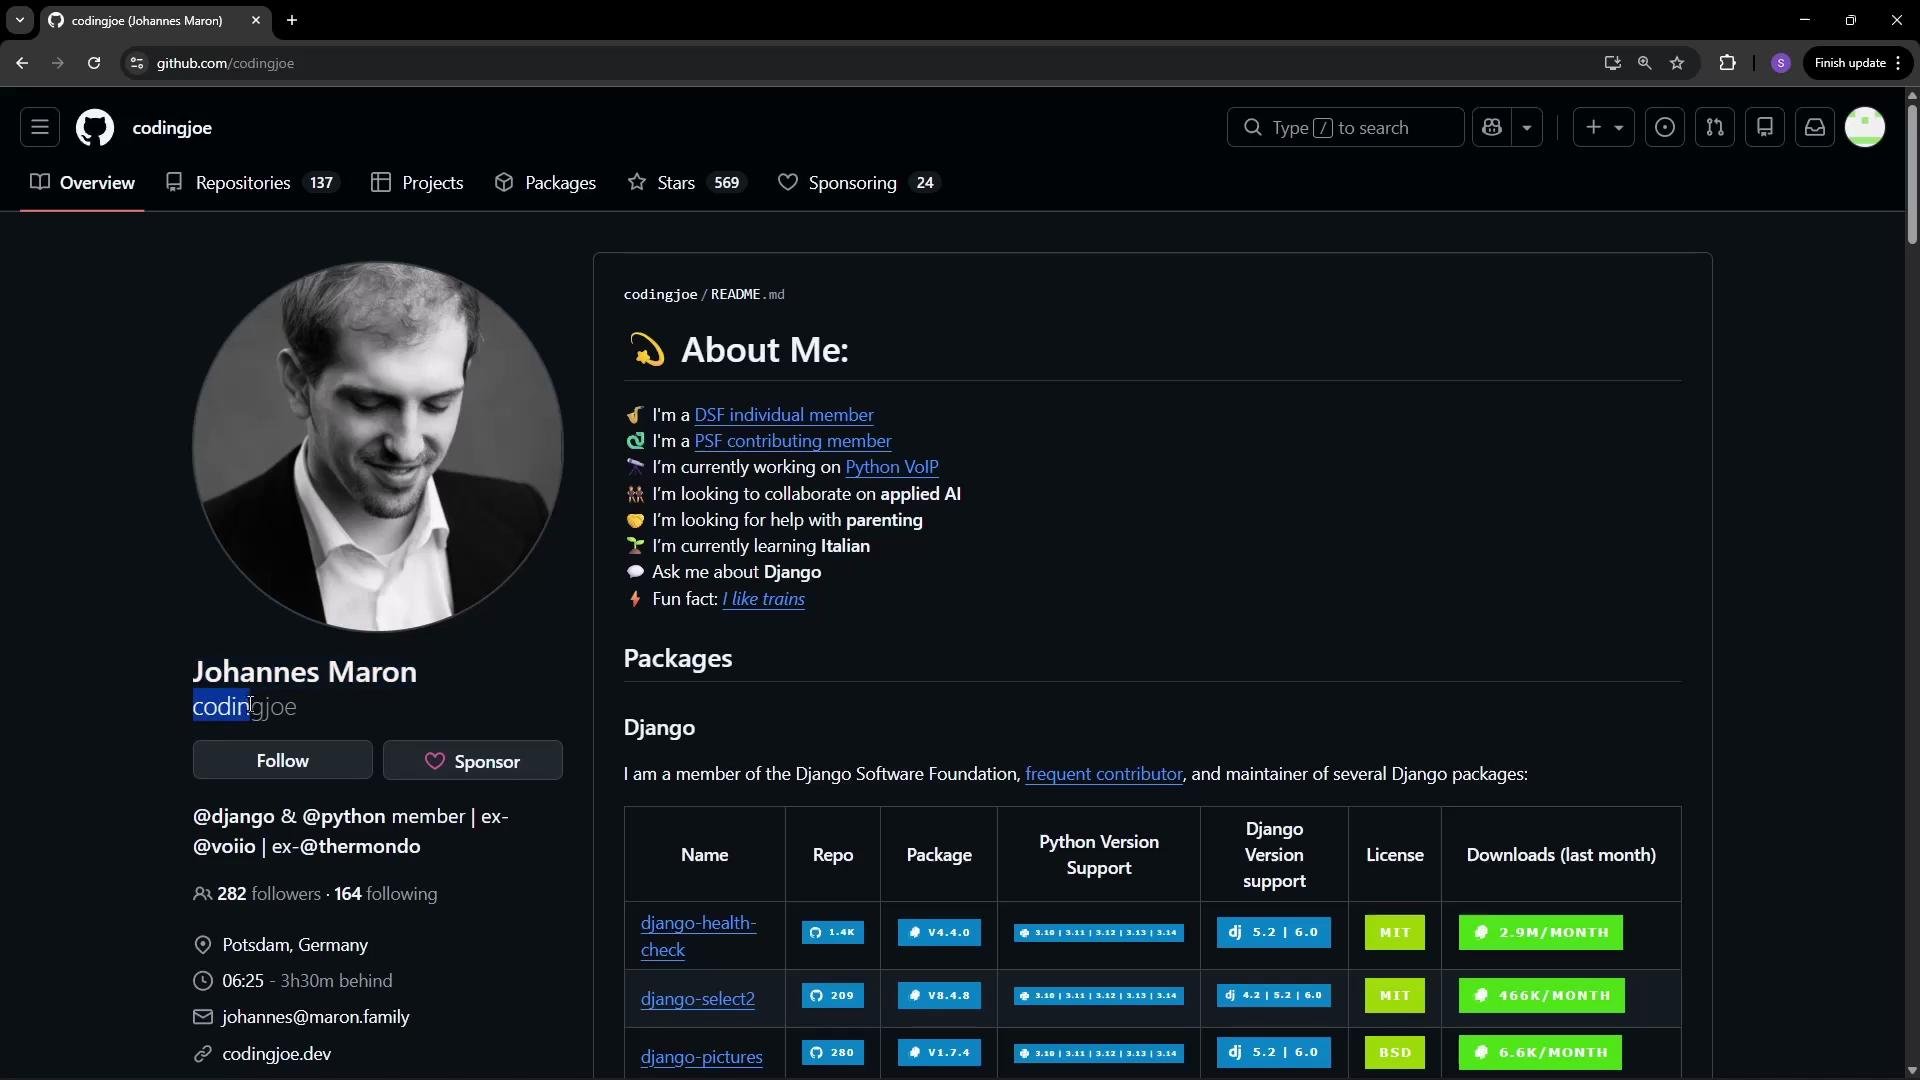
Profile header and contact details
The top of a profile lets you present your public identity on GitHub. Typical editable fields include:
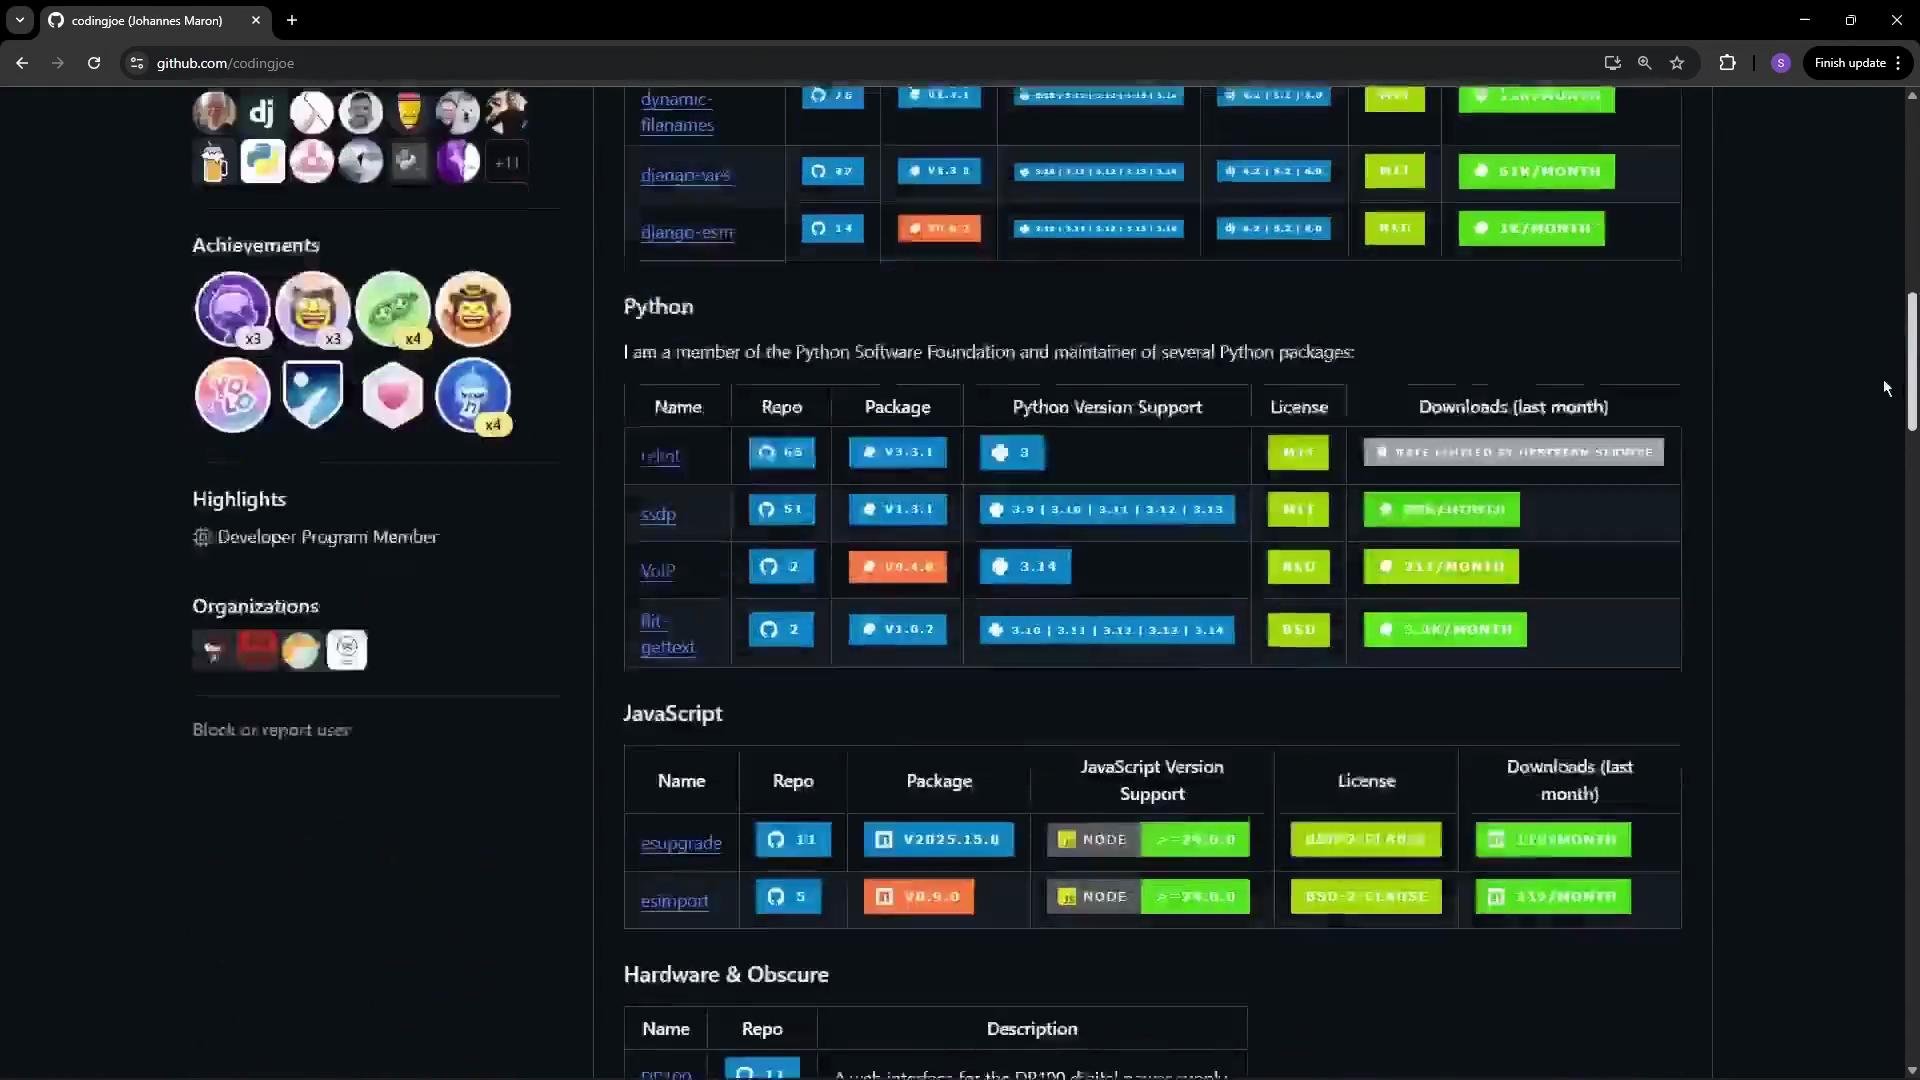
Scrolling further down a profile reveals a Sponsoring and Sponsors section. GitHub supports sponsorship for maintainers and projects; you can sponsor others or be sponsored. Sponsorship is a broader topic—see the GitHub Sponsors docs for details.
Profiles also display achievements—automatic badges earned for milestones and special contributions (for example, an Arctic Code Vault Contributor badge or a badge for co-authoring commits that are merged). Badges are granted automatically when criteria are met.
Profiles list organizations you belong to and include an optional profile README (the “About” section) where you can provide a richer introduction, links, project highlights, or even a mini portfolio.
Pinned repositories and the repository list
Pinned repositories let you curate which projects appear on the front of your profile. If you have many repositories, pinning ensures visitors see the projects you want to highlight first. Below the pinned section, GitHub lists all repositories you own and shows counts for Repositories, Projects, Stars, and Sponsors.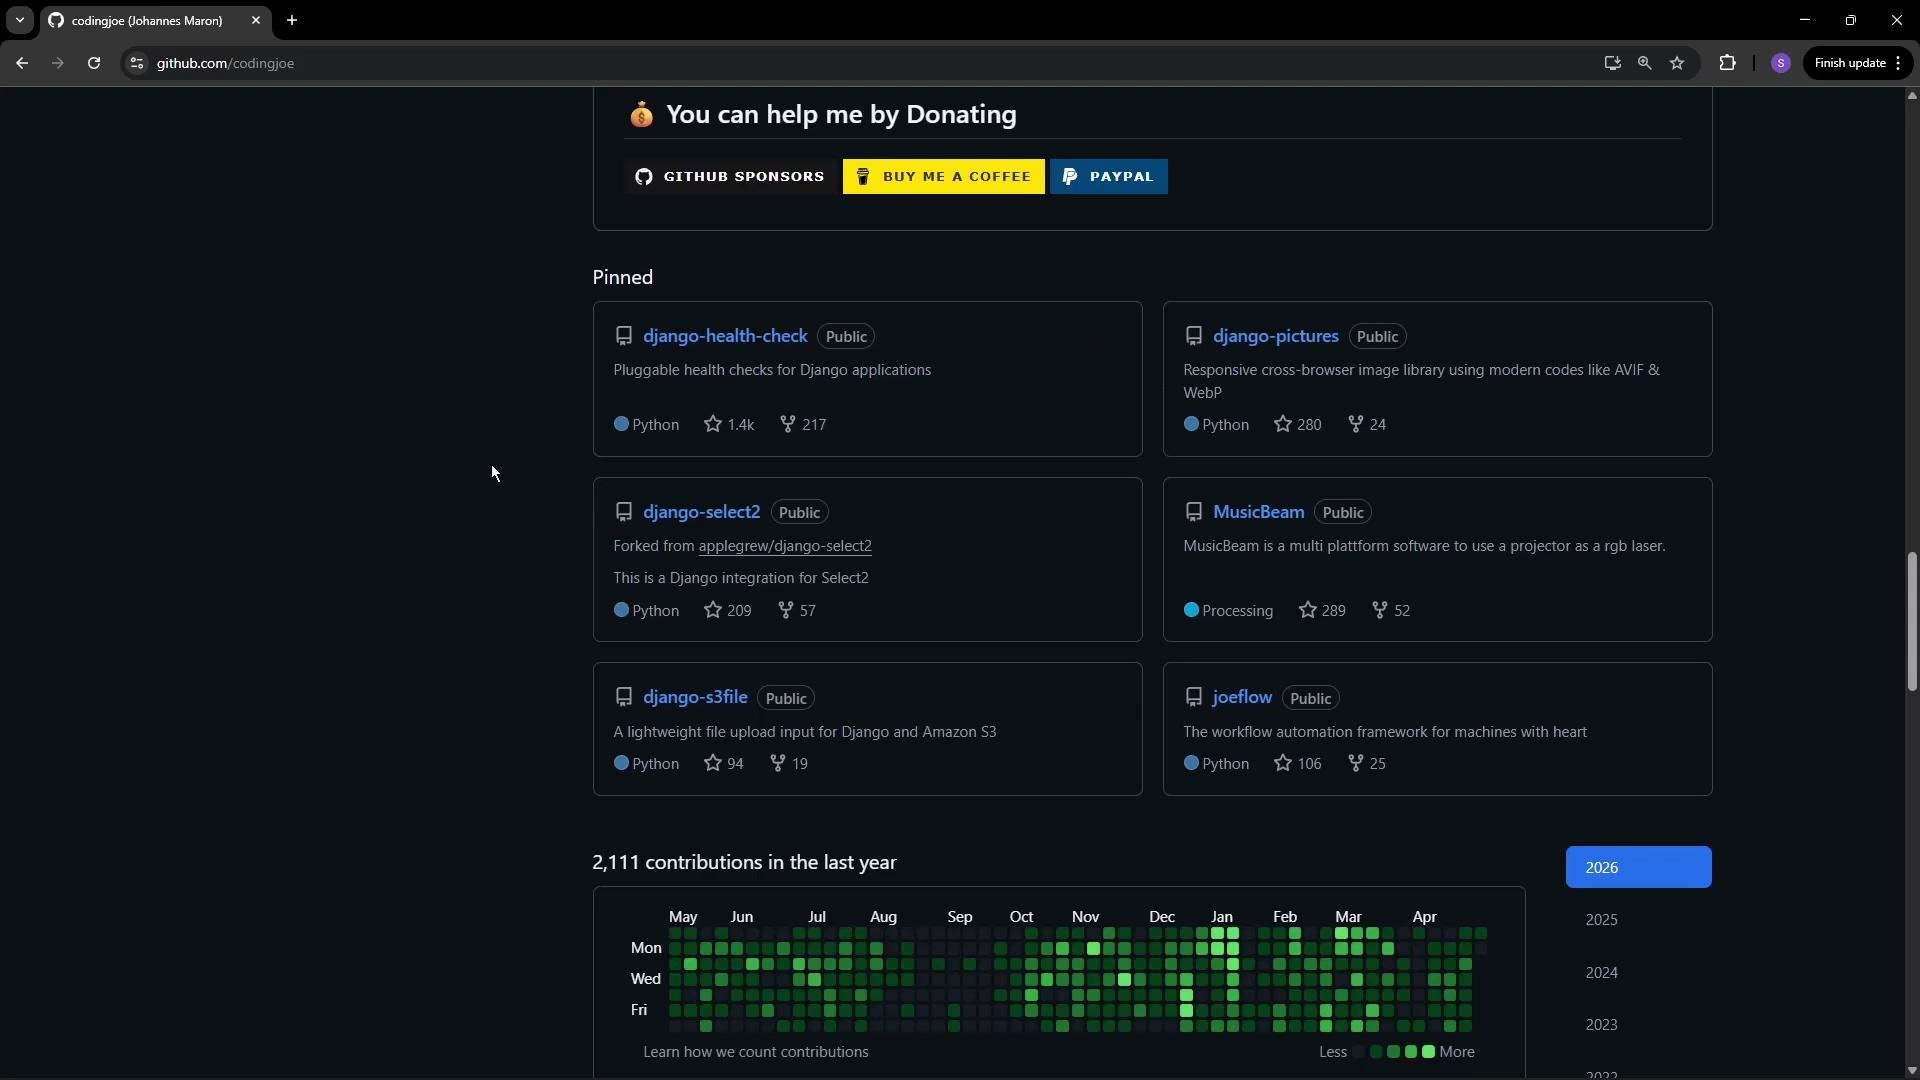
Contributions calendar and activity
The contributions calendar (heatmap) visualizes activity throughout the year. Each cell represents contributions for a specific date. If you’ve been active for multiple years, GitHub displays separate heatmaps for each year. Below the calendar, a detailed activity timeline summarizes recent commits, PRs, issues, and reviews.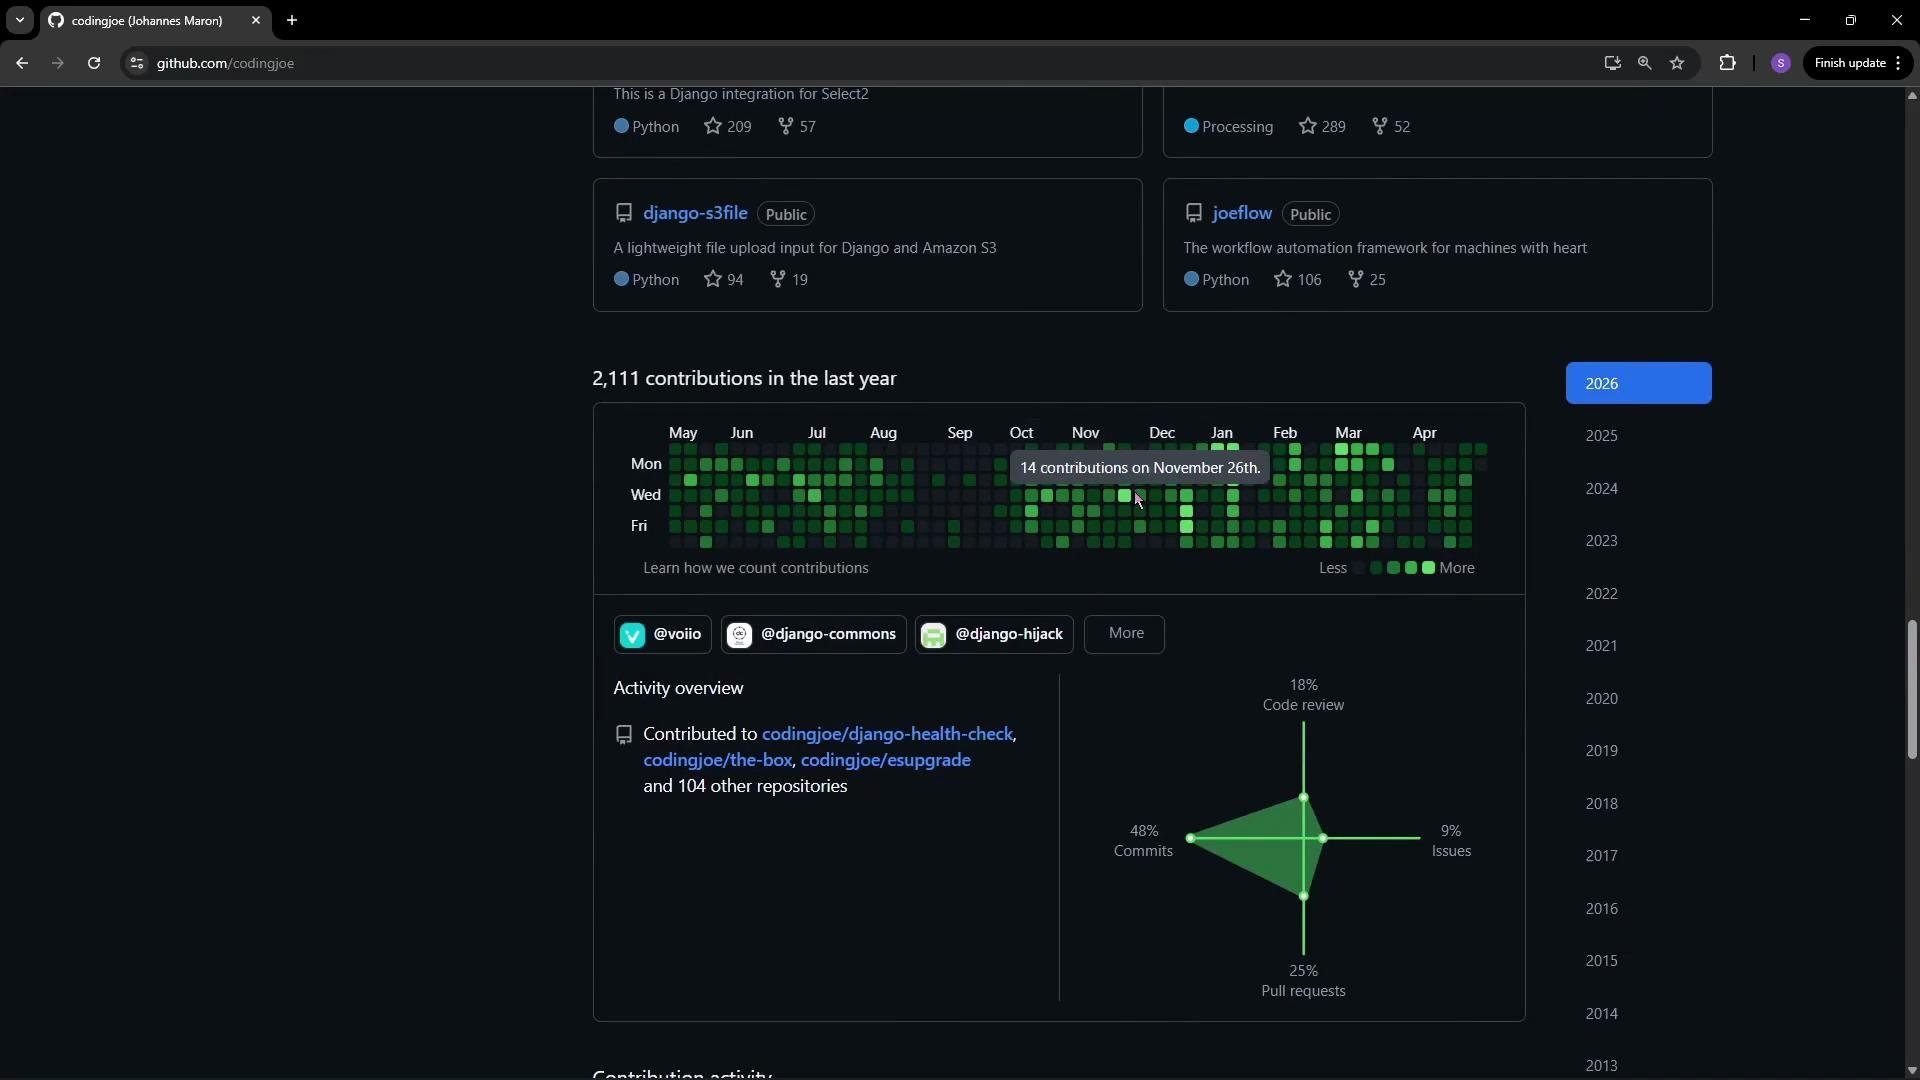
Quick actions and profile settings
Because my account is new, my profile shows very little information. To add details to your profile:- Click Edit profile on your profile page or open Settings > Public profile.
- Add your name, bio, pronouns, company, location, time zone, email, and social links.
- Pin repositories you want visitors to see first.
Avoid exposing sensitive personal information (like private email addresses or exact home addresses) in your public profile or README. Use links to controlled contact channels instead.
Profile README — make your profile more engaging
One of the most powerful profile features is the profile README. To create a profile README:- Create a public repository whose name exactly matches your GitHub username.
- Initialize it with a
README.mdfile. - Edit
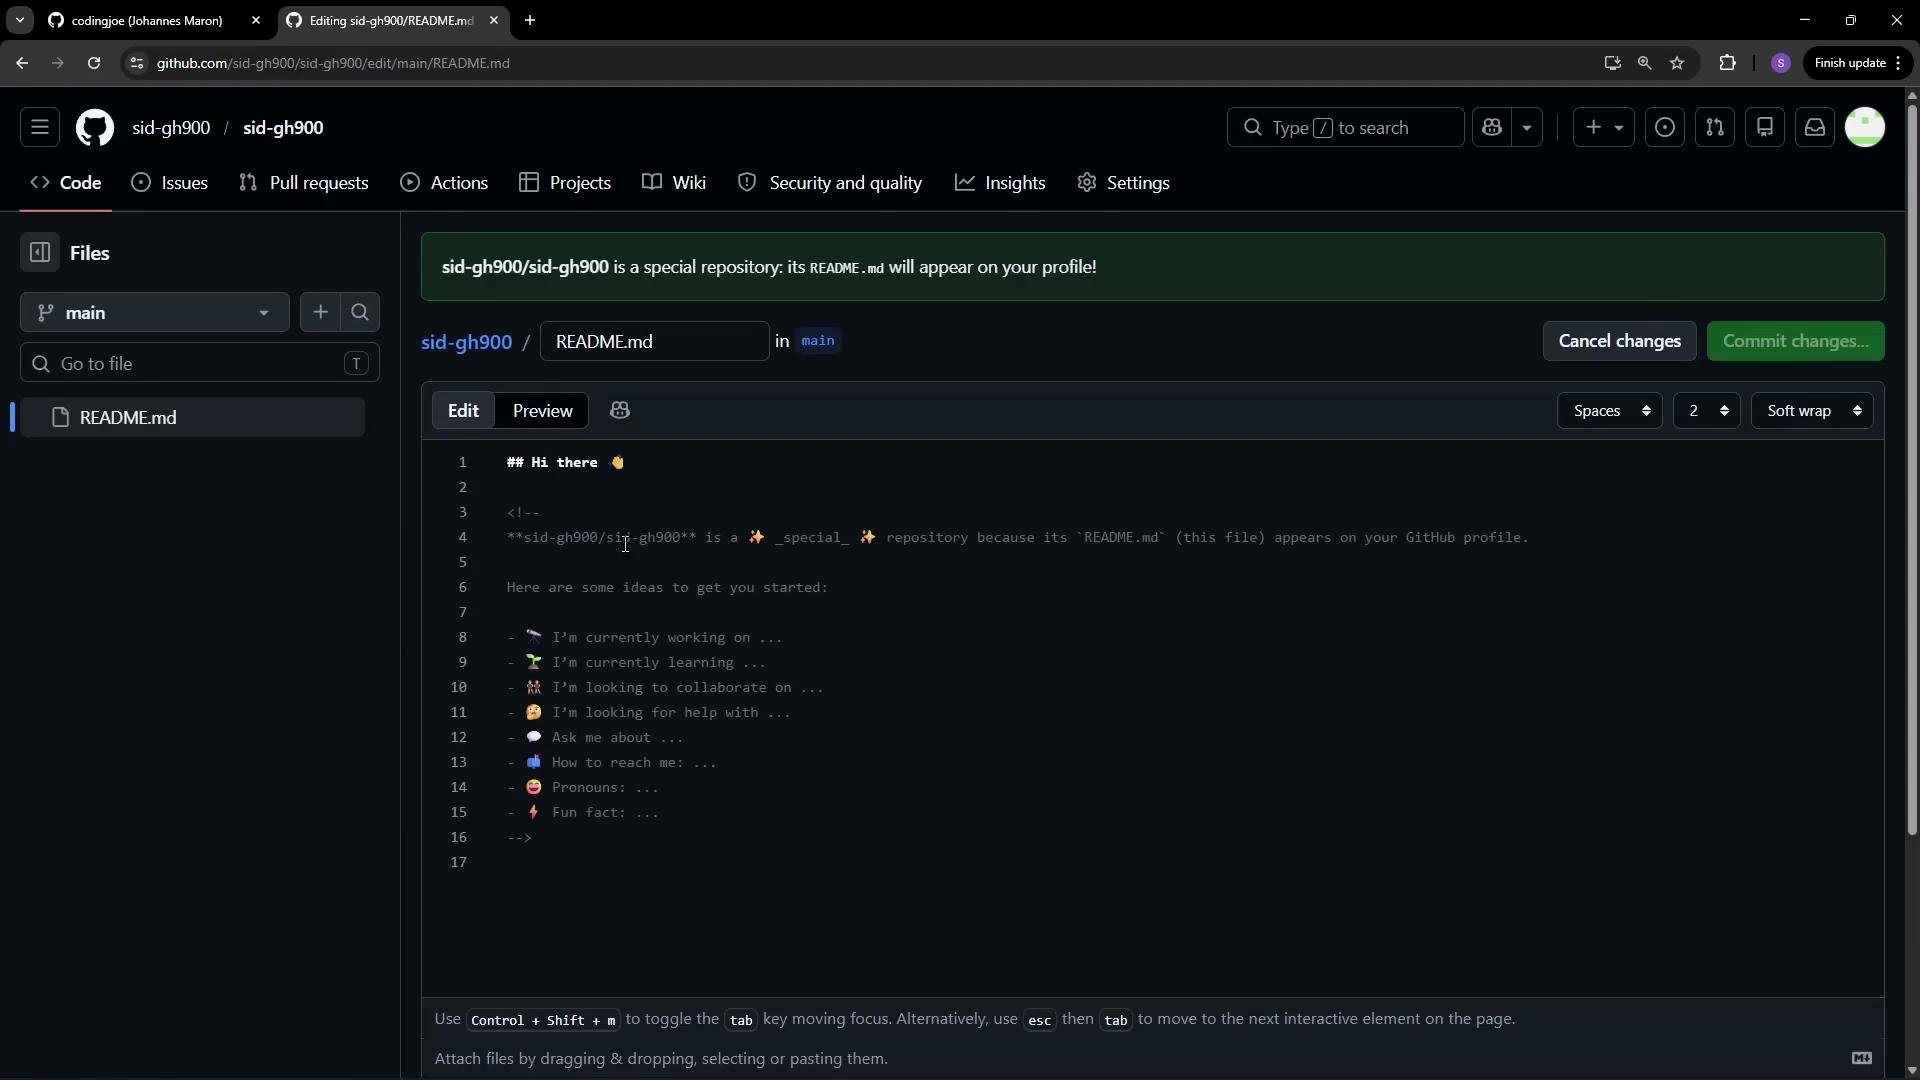
README.mdwith whatever content you want to display on your profile (Markdown, badges, images, tables, etc.).
sid-gh900 and initialized it with a README.
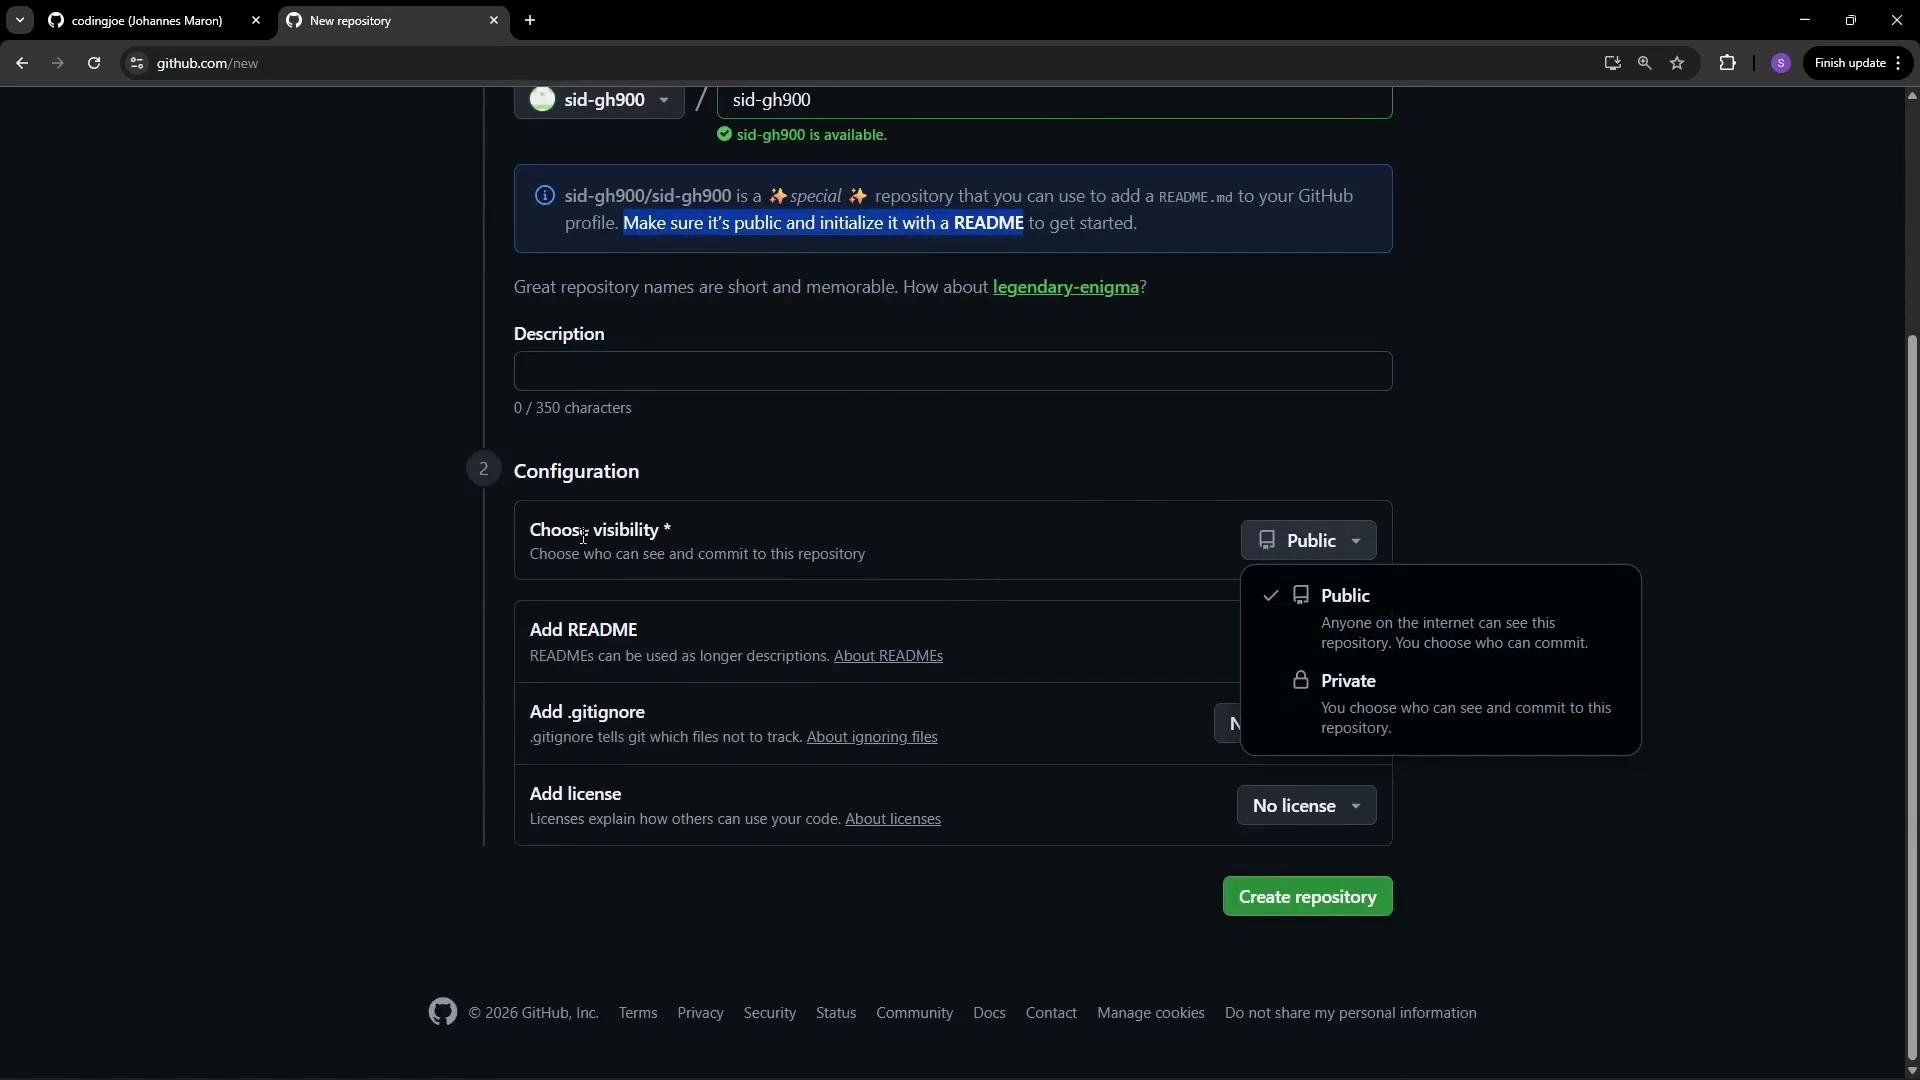
To make a profile README appear on your public profile: create a public repository whose name exactly matches your GitHub username, initialize it with a
README.md, and then edit that README to contain the content you want displayed on your profile.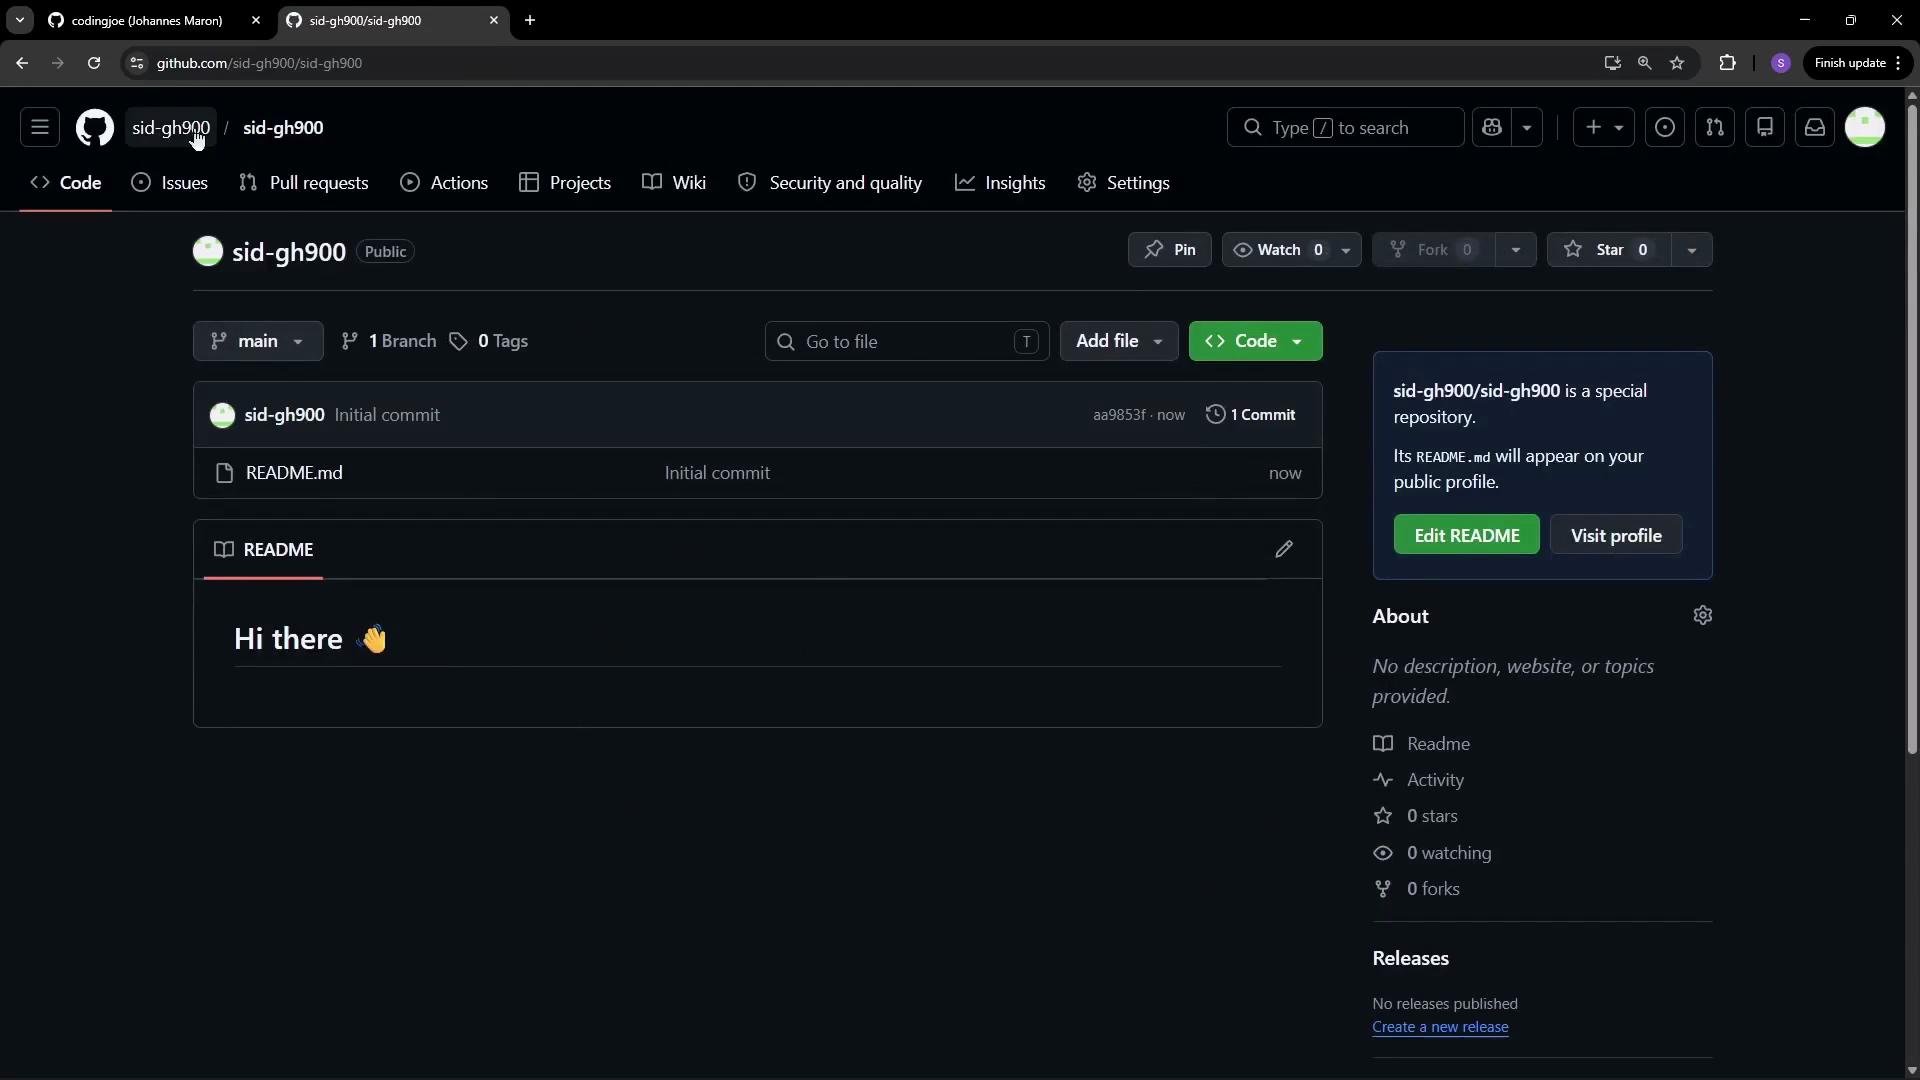
main).
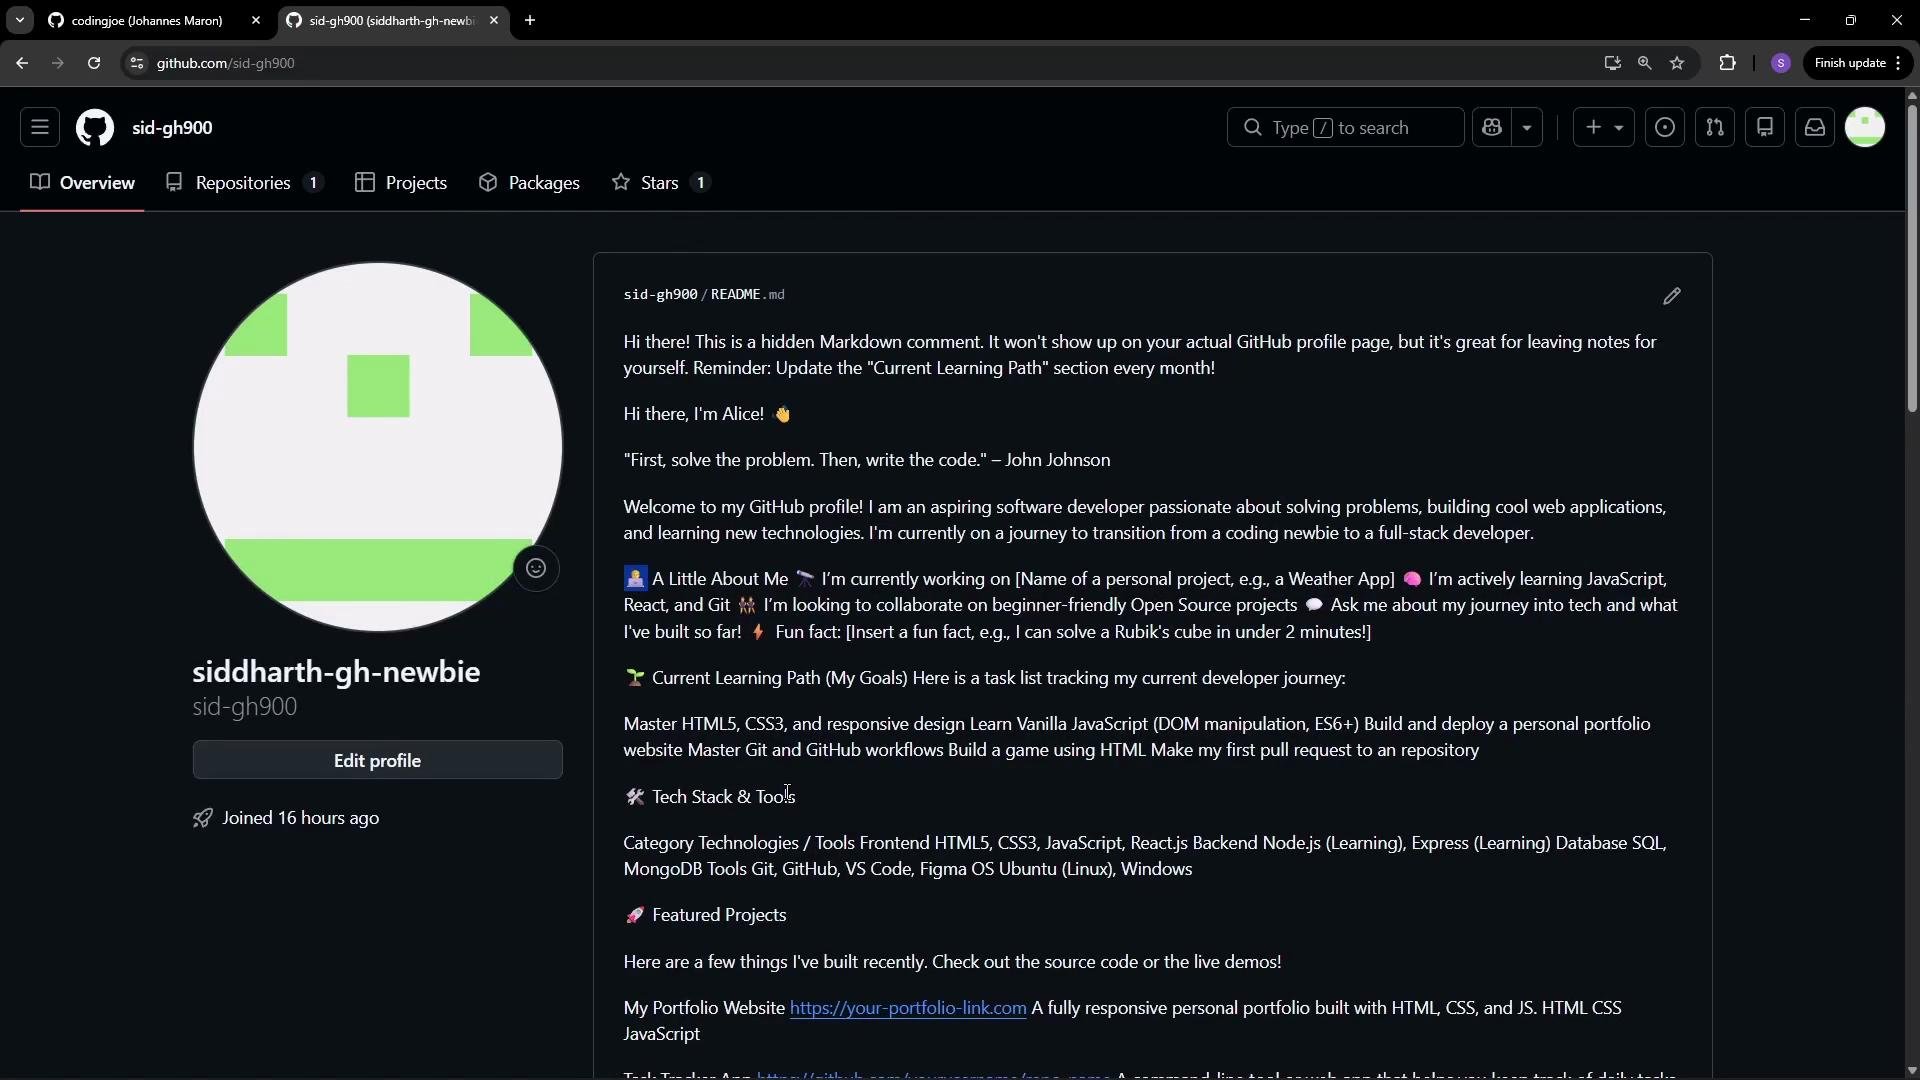
Final notes and next steps
- Add repositories and make contributions to populate the contributions graph and repository list.
- Use the profile README to surface your most important projects and information.
- Pin repositories to highlight the work you want visitors to see first.
- Consider exploring GitHub Sponsors if you maintain open source projects and want to accept funding.
- GitHub Docs — Profile README: https://docs.github.com/en/account-and-profile/setting-up-and-managing-your-github-profile/managing-your-profile-readme
- GitHub Docs — GitHub Sponsors: https://docs.github.com/en/sponsors