

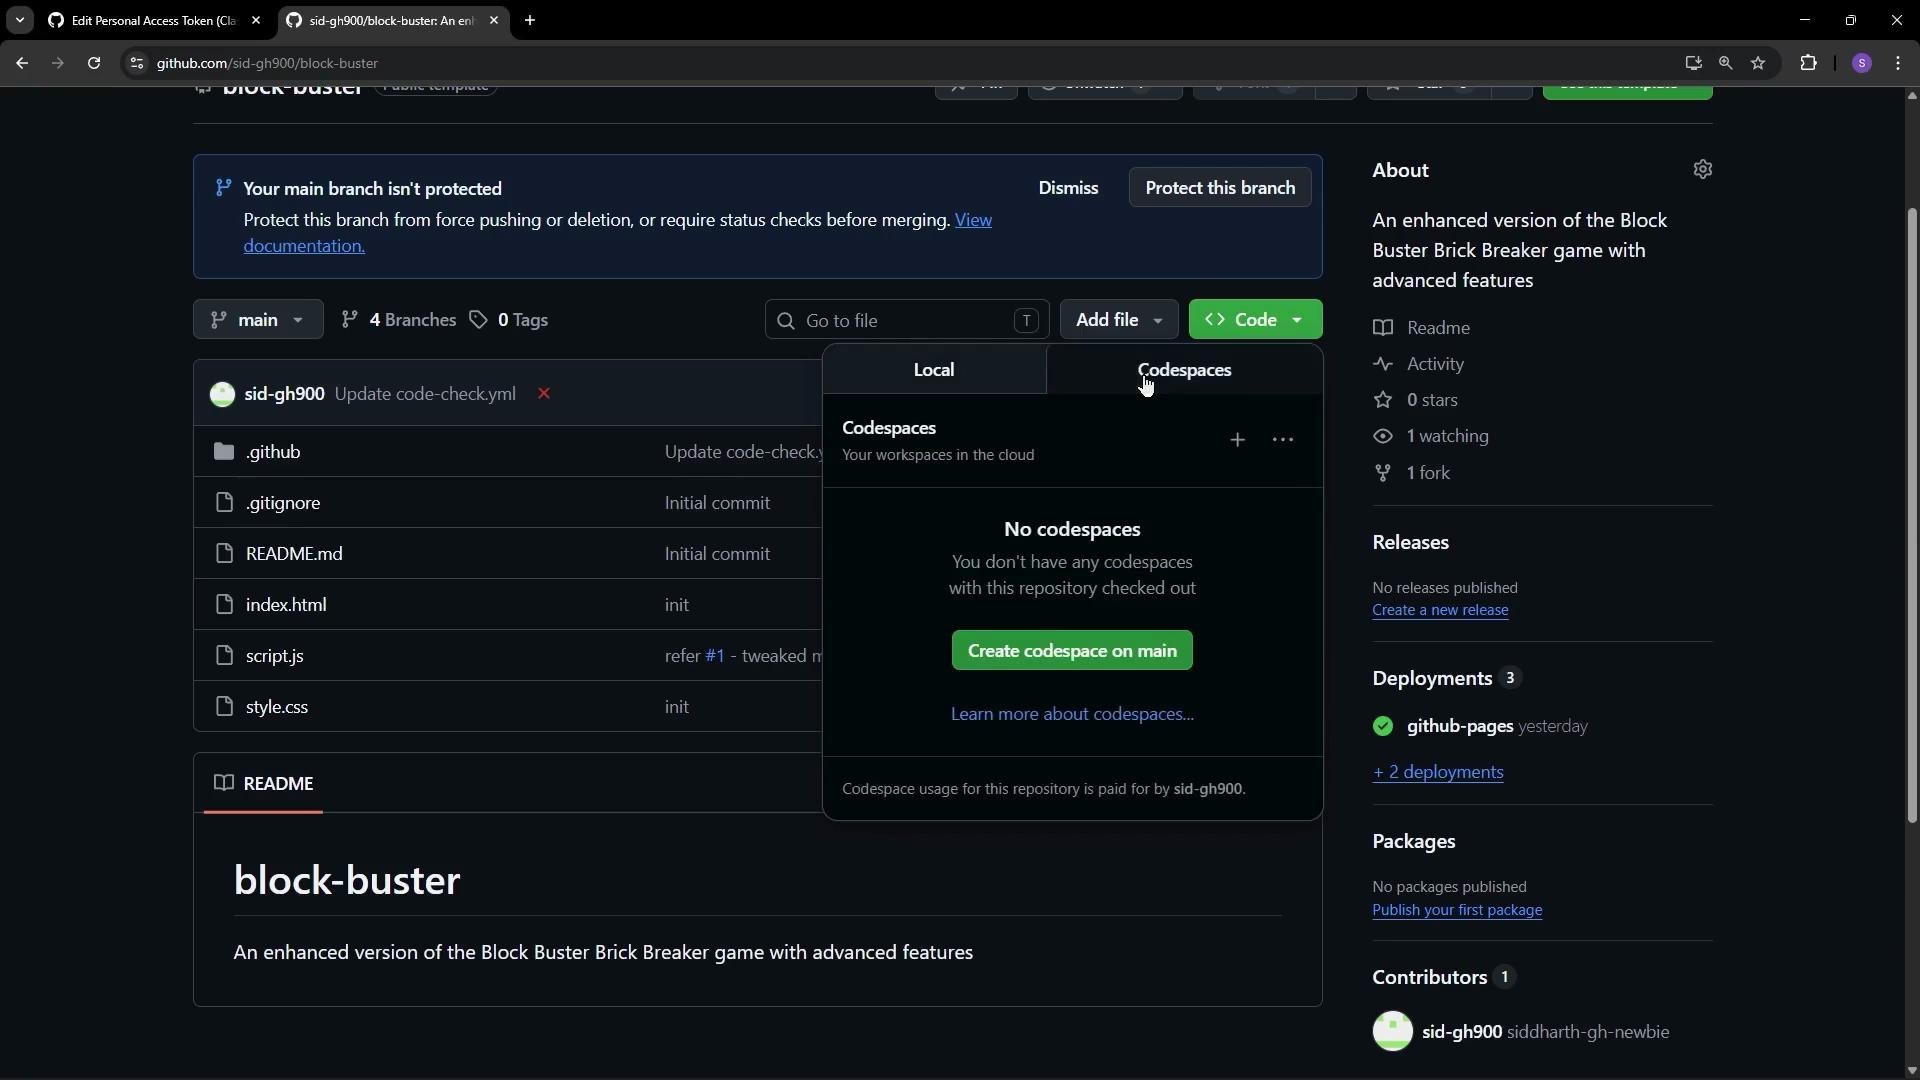
1. Create a Codespace
From the repository page open the Codespaces menu and click Create codespace (choose the main branch or another branch you prefer). After a short initialization step, GitHub launches a browser-hosted Visual Studio Code session with common tools and language runtimes already installed.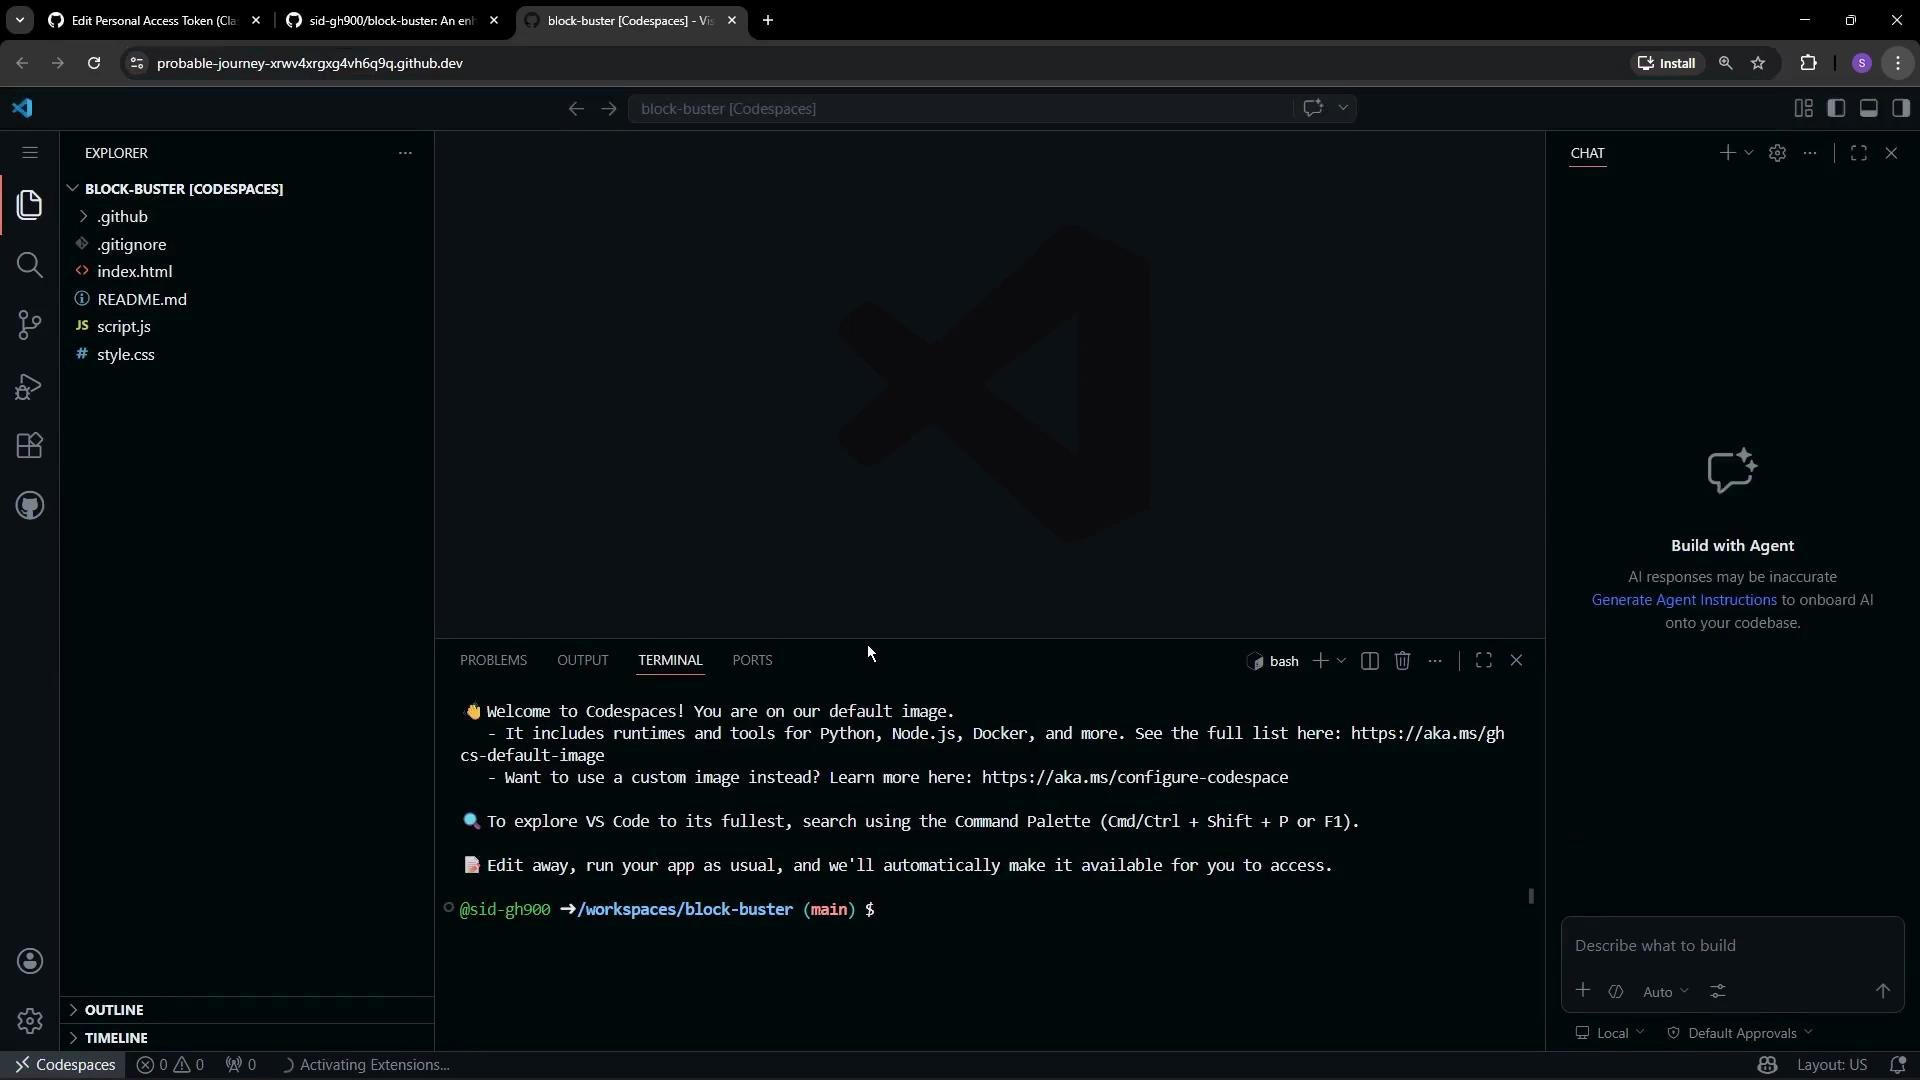
2. Verify common developer tools
Confirm that Node.js and the GitHub CLI are available in the Codespace terminal:3. Install optional VS Code extensions
Install any extensions you need inside the Codespace just like you would locally. For live HTML previews, consider:- Live Preview: https://marketplace.visualstudio.com/items?itemName=ms-vscode.live-server-preview
- Live Server: https://marketplace.visualstudio.com/items?itemName=ritwickdey.LiveServer
4. Preview the app
The project already includes a simple HTML entry point. Open the file in the editor and use Live Server / Live Preview to launch a browser tab that shows the running game: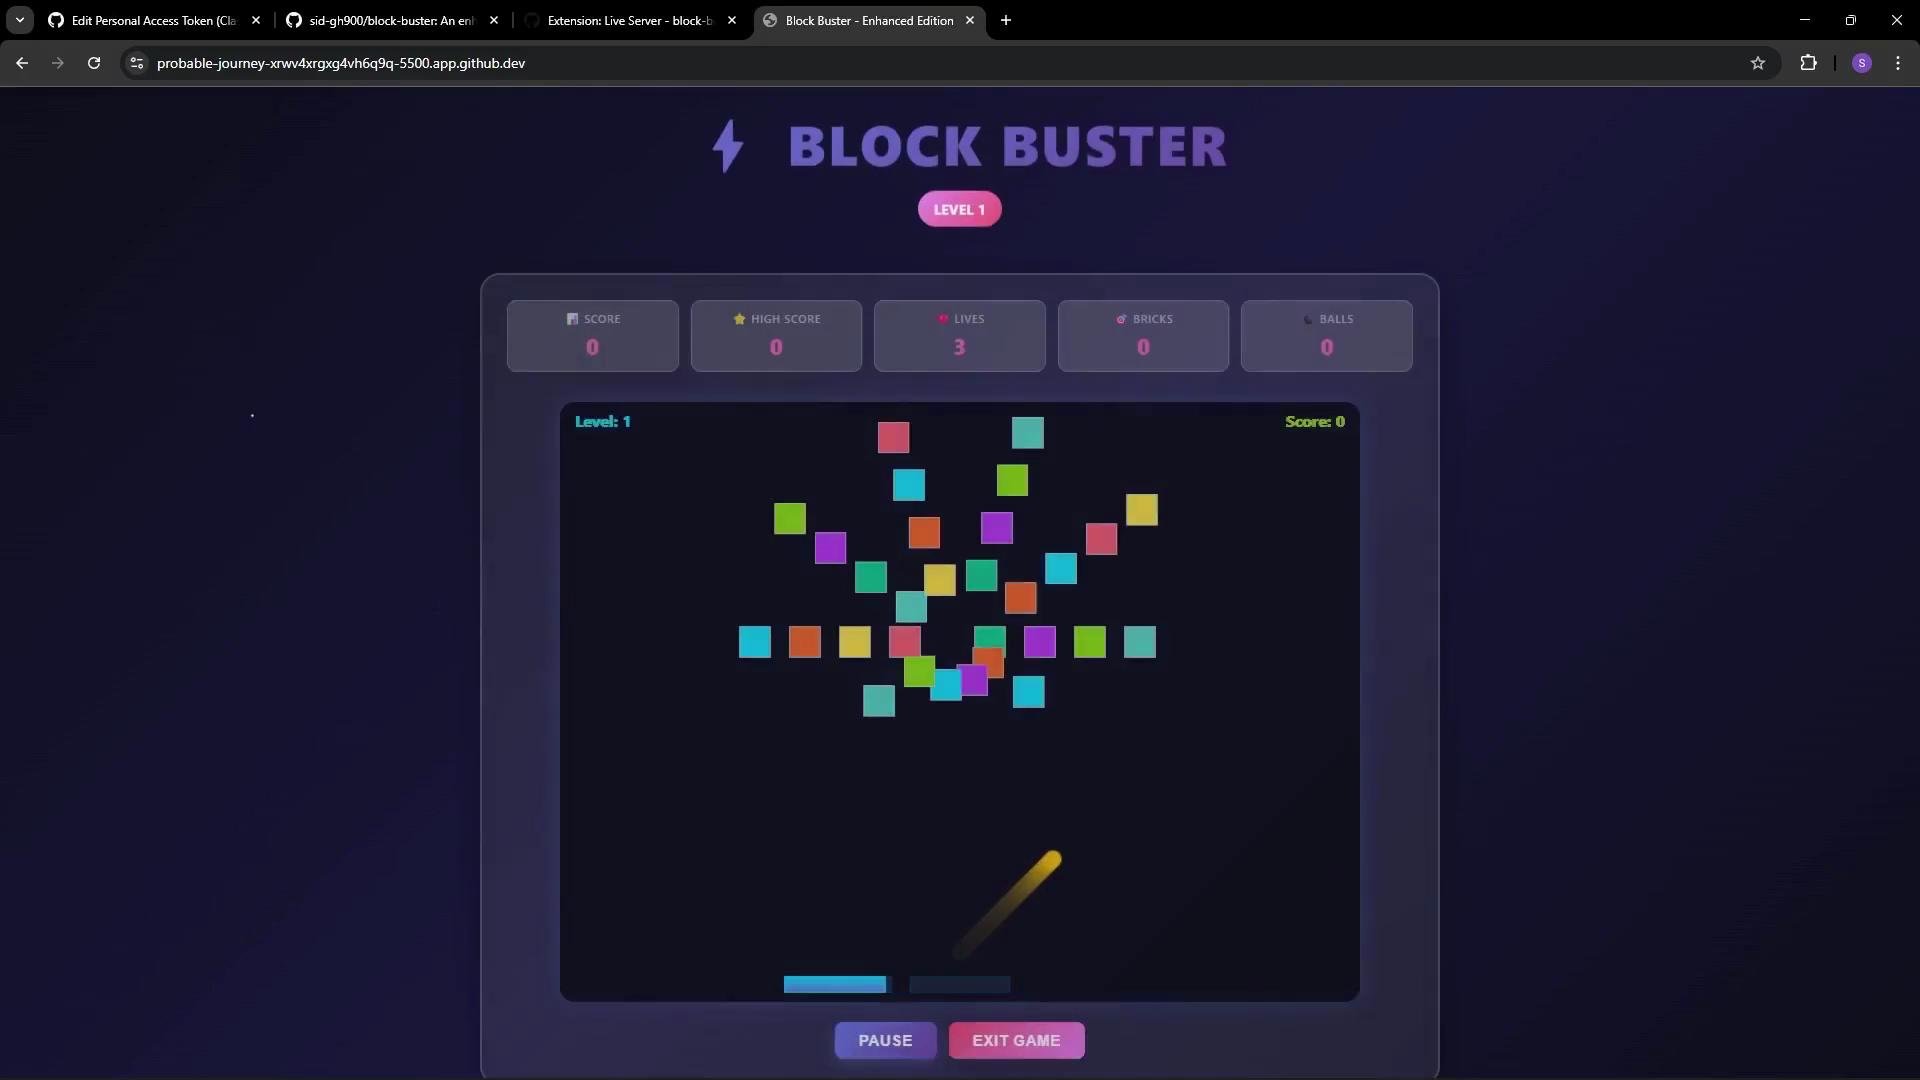
5. Make a UI change in a feature branch
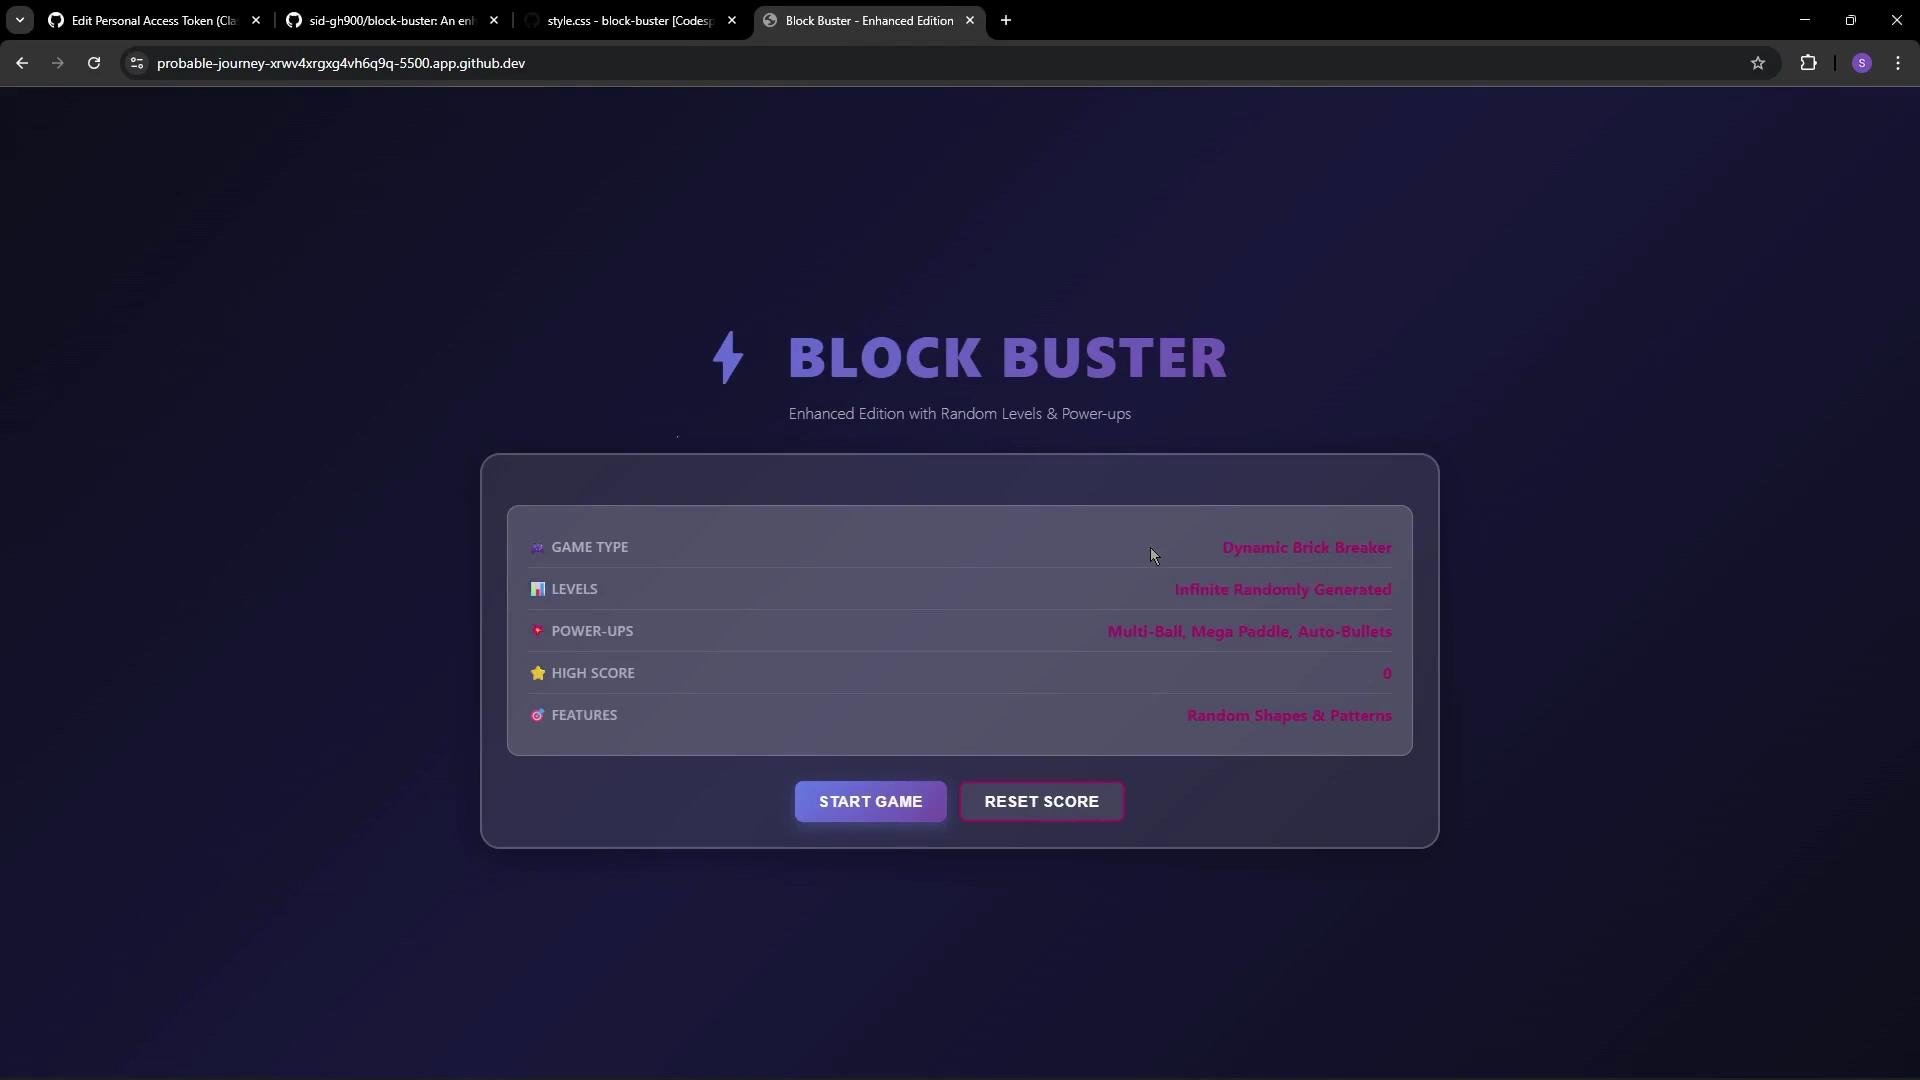
Create and switch to a new branch before editing:style.css (or style.scss) and locate the :root variables. The existing variables might look like this:
6. Commit and publish your branch
When you’re satisfied with the change, stage, commit, and push the branch: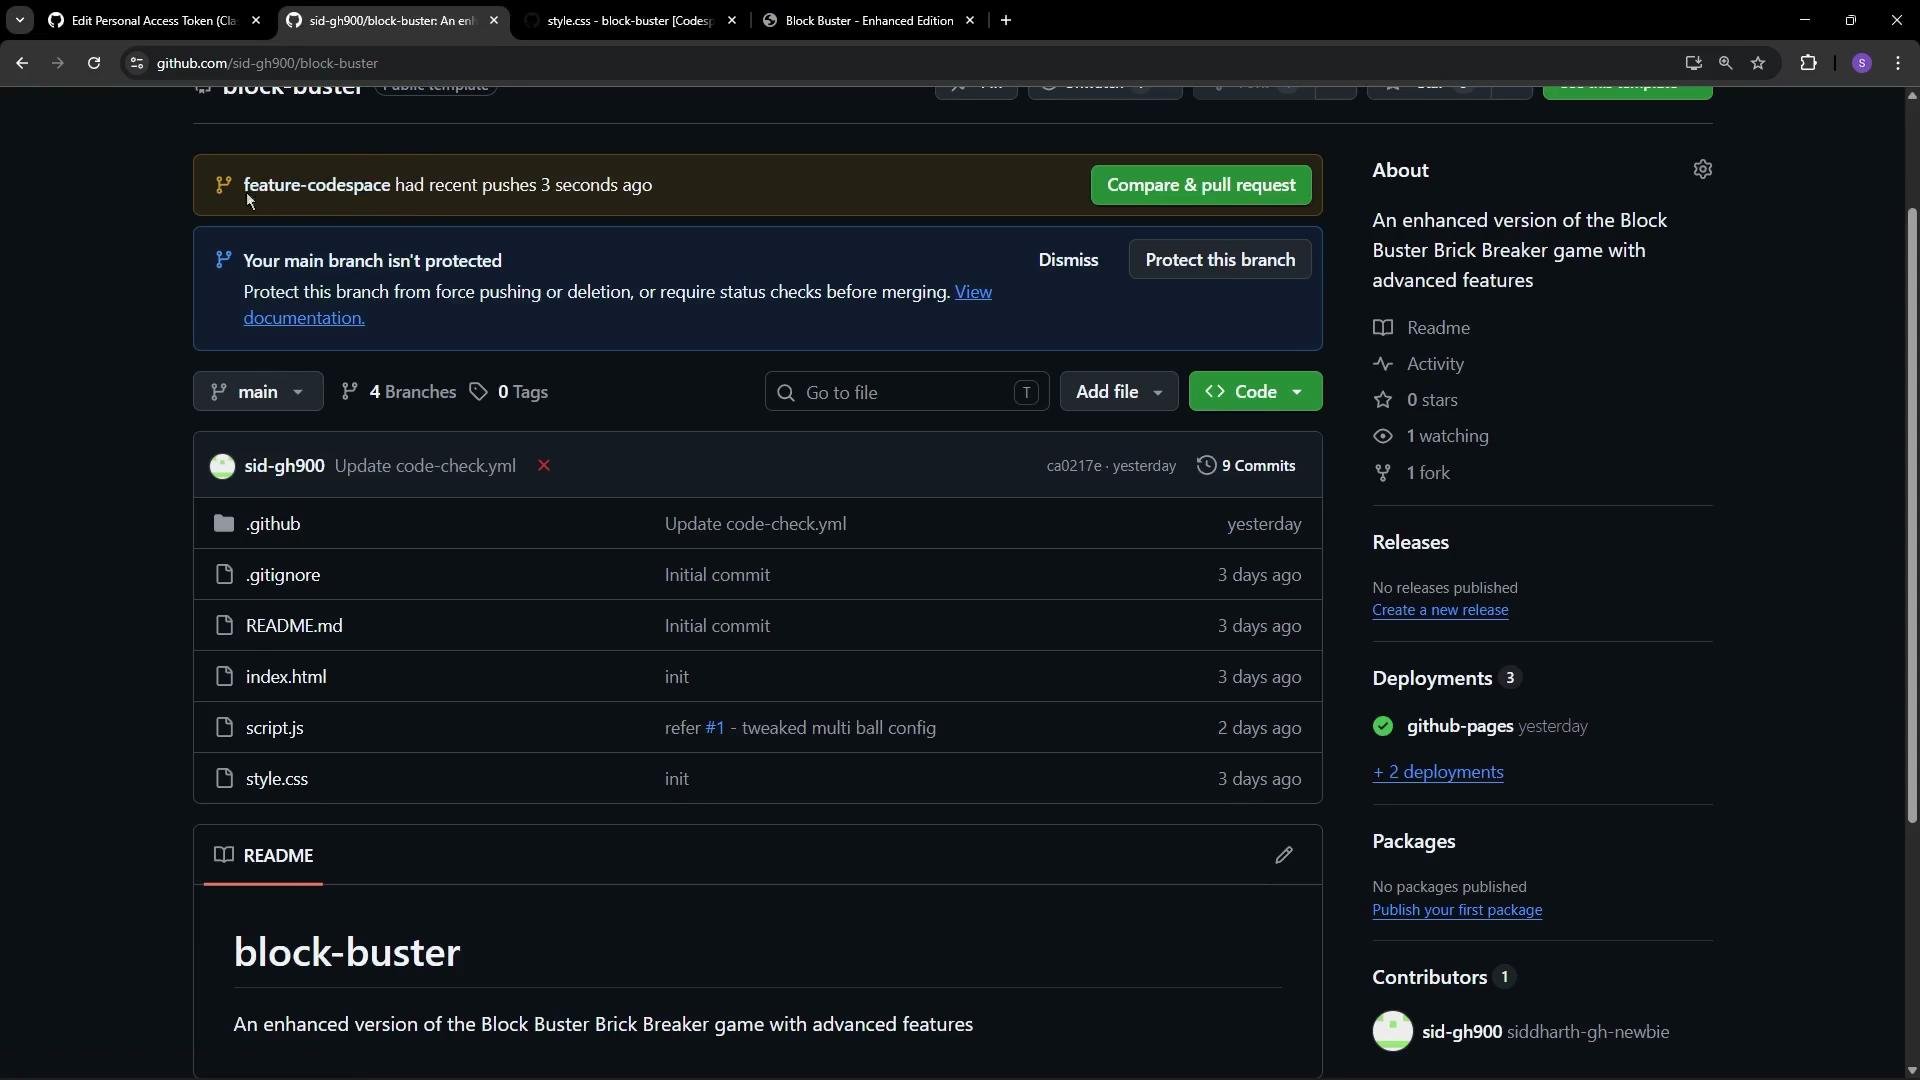
7. Codespace lifecycle: stopped vs deleted
A convenient detail of Codespaces is that stopping a Codespace preserves the VM state (open files and uncommitted changes) so you can resume work later. However, deleting the Codespace permanently removes its data.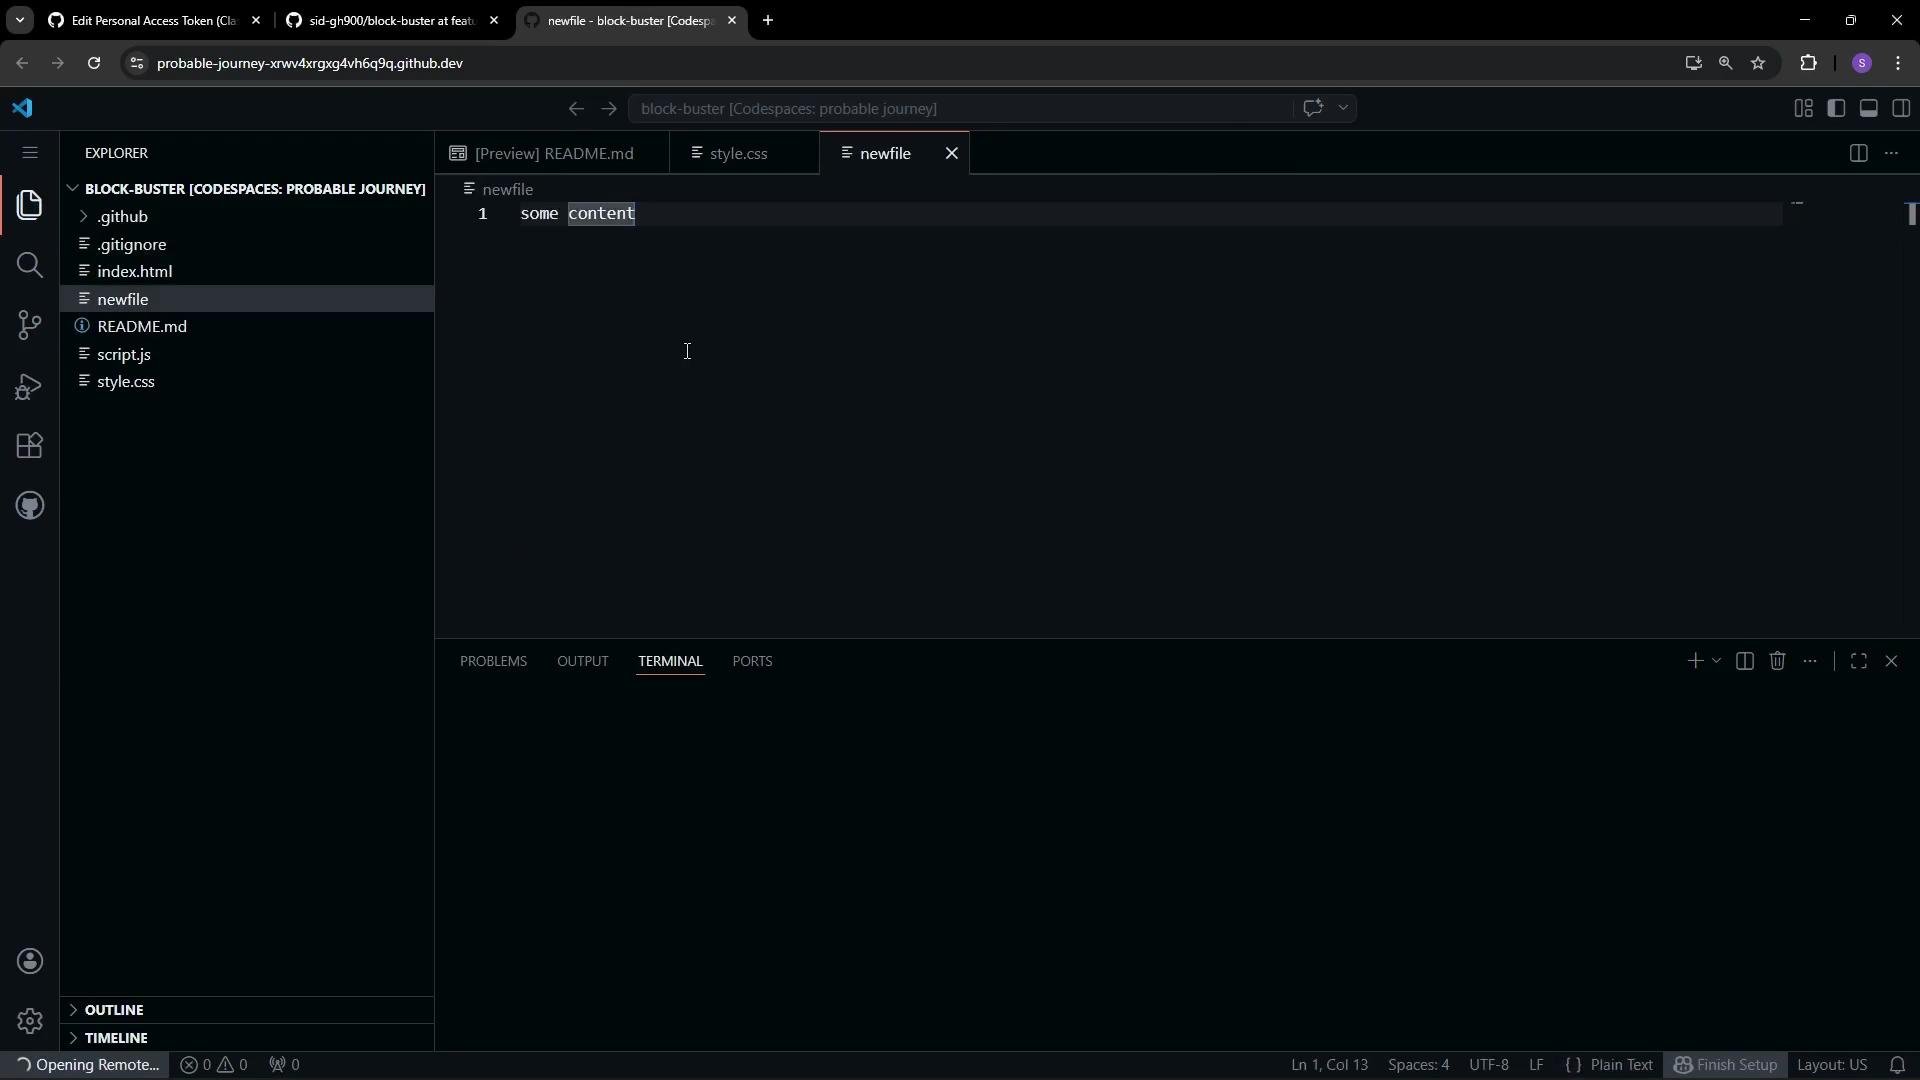
Before deleting a Codespace, commit and push any changes you want to keep. Stopping preserves open files and uncommitted work for your next start, but deleting removes all Codespace data permanently.
Summary
- Create a Codespace to get an instant cloud-hosted VS Code environment.
- Verify Node.js and
ghare available, and install any needed extensions. - Use Live Server / Live Preview to iterate on UI changes quickly.
- Branch, commit, and push changes back to GitHub.
- Stop Codespaces to preserve state; delete only when you no longer need the instance.
Links and References
- GitHub Codespaces documentation
- Visual Studio Code
- Node.js
- GitHub CLI
- Live Preview: https://marketplace.visualstudio.com/items?itemName=ms-vscode.live-server-preview
- Live Server: https://marketplace.visualstudio.com/items?itemName=ritwickdey.LiveServer