

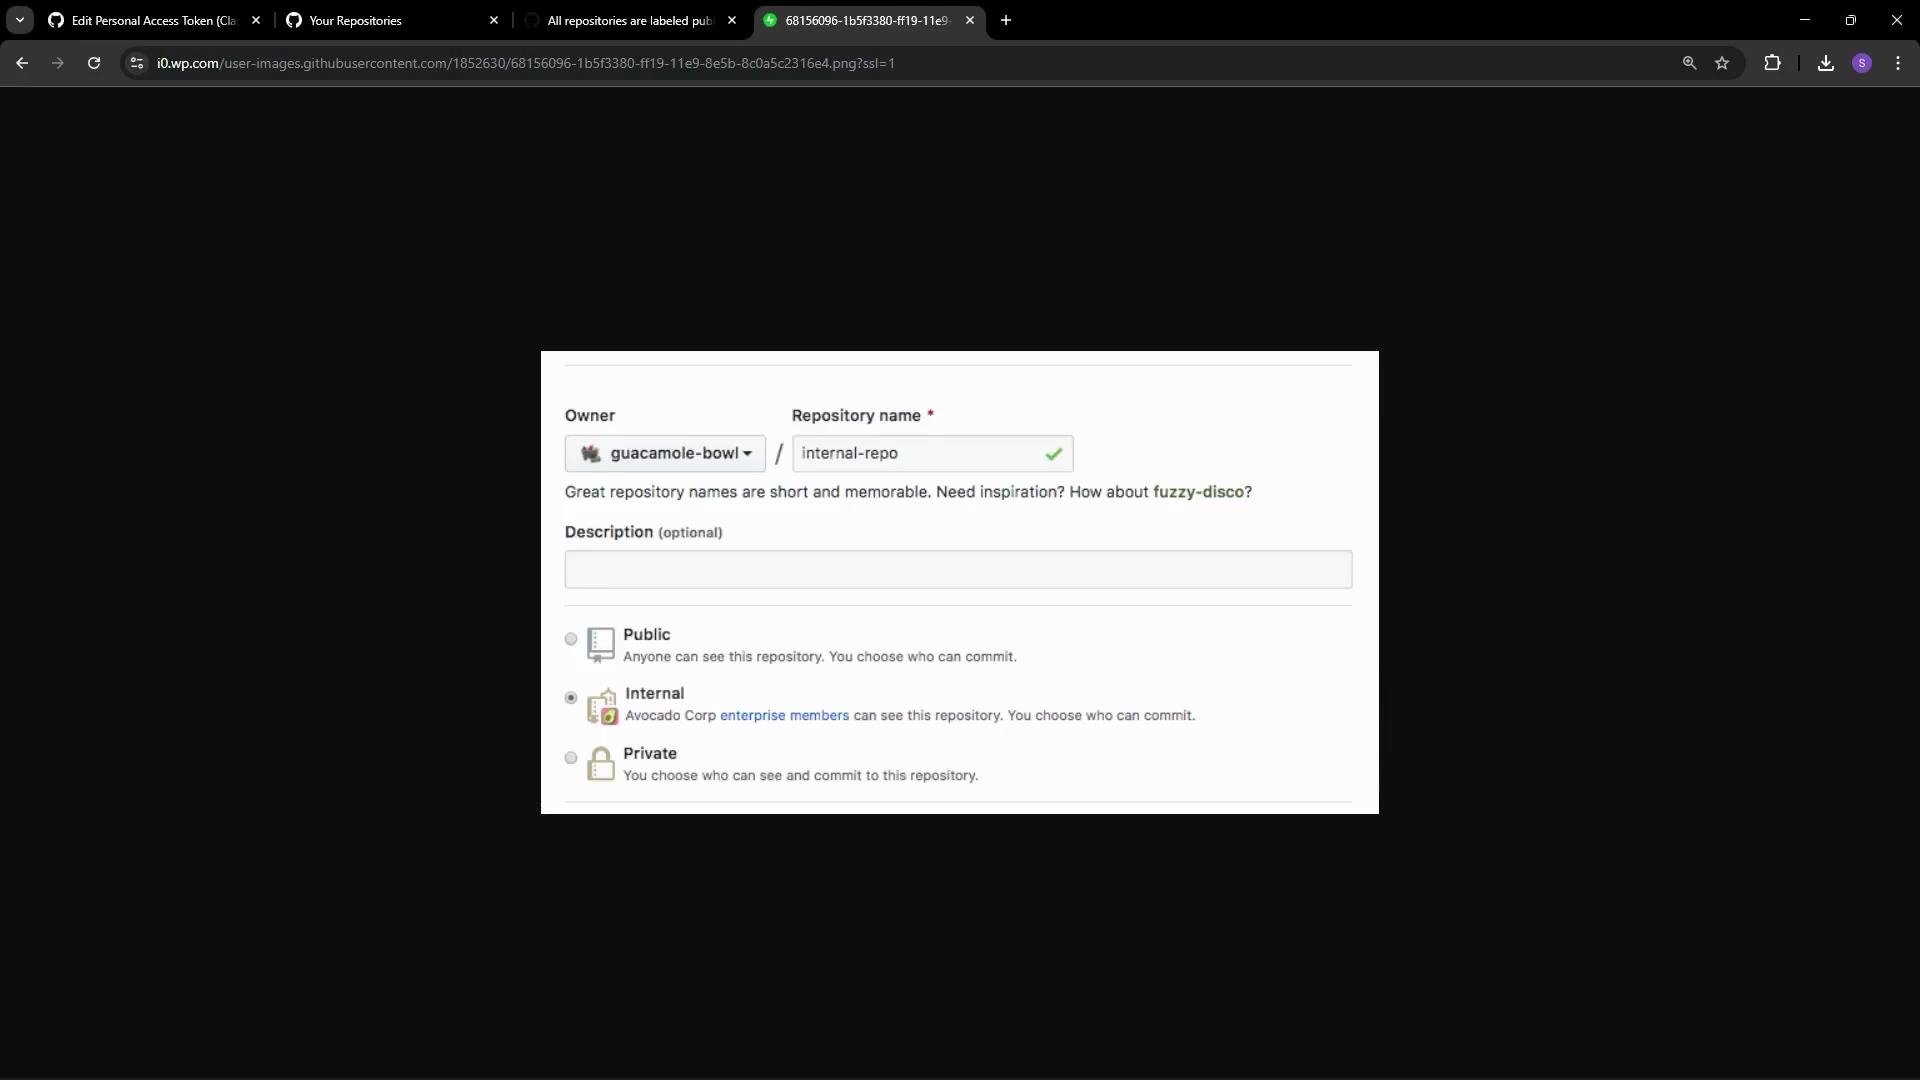
- Public — Visible to anyone on the Internet. Public repos are ideal for open-source projects where transparency and community contributions are desired.
- Private — Access is restricted to specific collaborators, teams, or organization members you explicitly grant access to. Only authorized users can view or clone the repository.
- Internal — Available across an organization or enterprise account but not to the general public. Internal visibility requires a GitHub Enterprise plan (Cloud or Server).
Internal repositories are available for organizations on GitHub Enterprise (Cloud and Server). They allow visibility across the organization or enterprise without exposing the repository to the public.
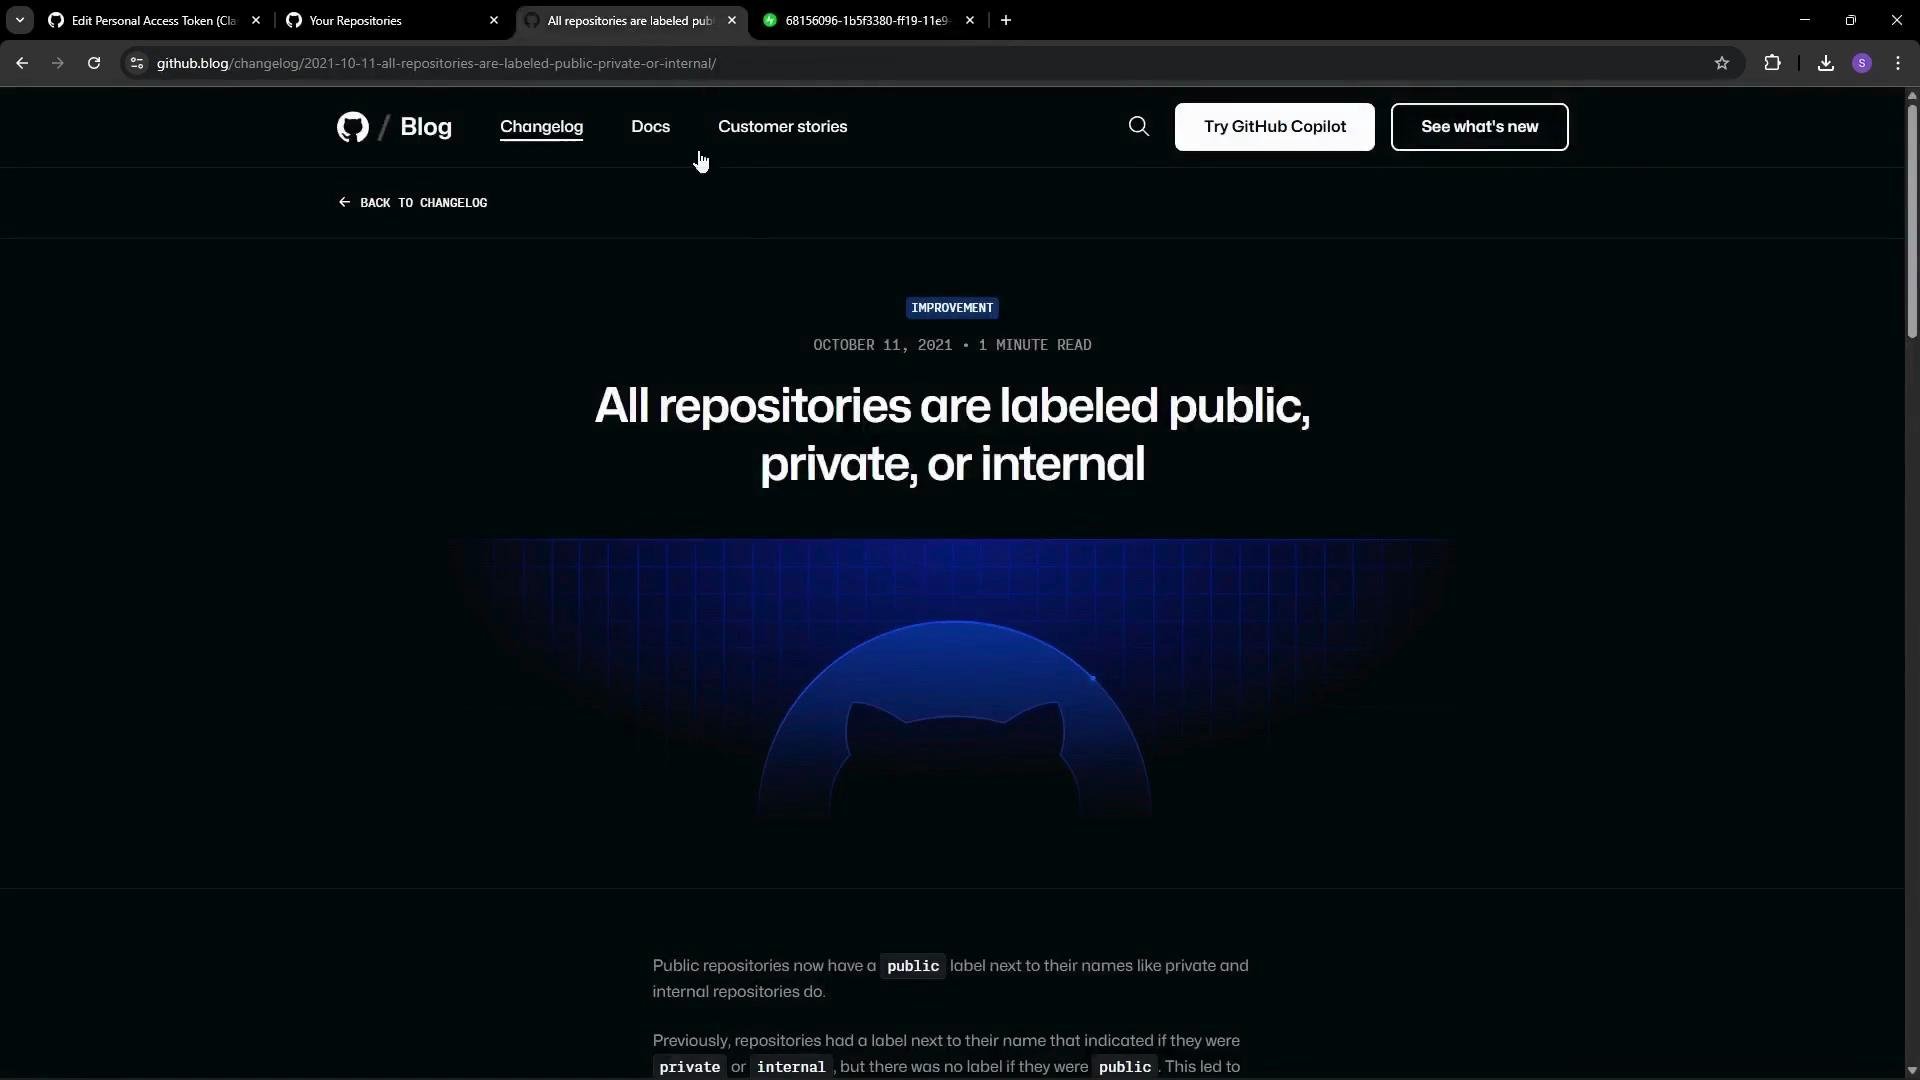
All repositories display a visibility label so you can tell at a glance whether a repository is Public, Private, or Internal. GitHub also shows icons (for example, a lock icon for private repositories) alongside the label.
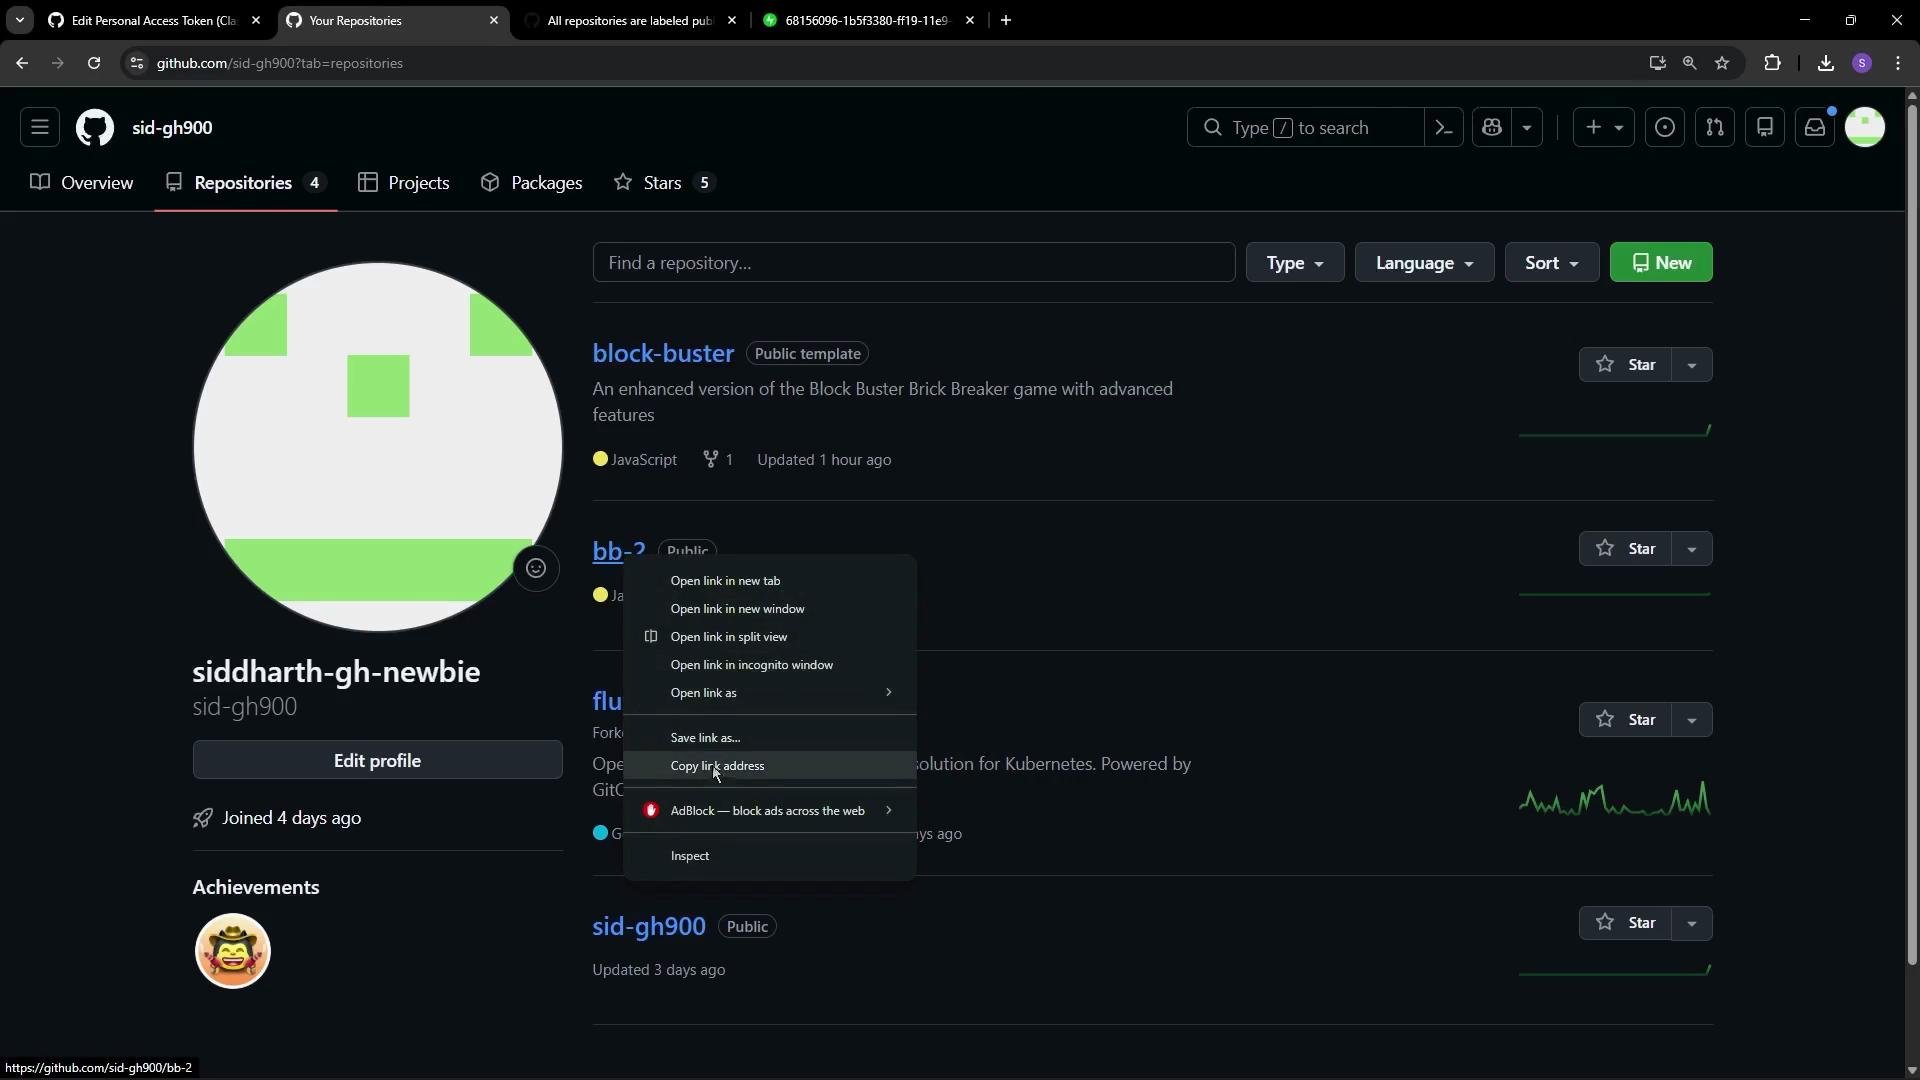
bb-2 is currently public, so other users (such as Alice) can view it. To change a repository’s visibility (for example, from public to private), you must be the repository owner or have administrative permissions on that repository.
How to change repository visibility (step-by-step)
- Open the repository you own or maintain.
- Go to Settings → scroll to the bottom to the “Danger Zone”.
- Select “Change repository visibility”, choose the new visibility, and follow the confirmation prompts (GitHub may require you to type the repository name to confirm).
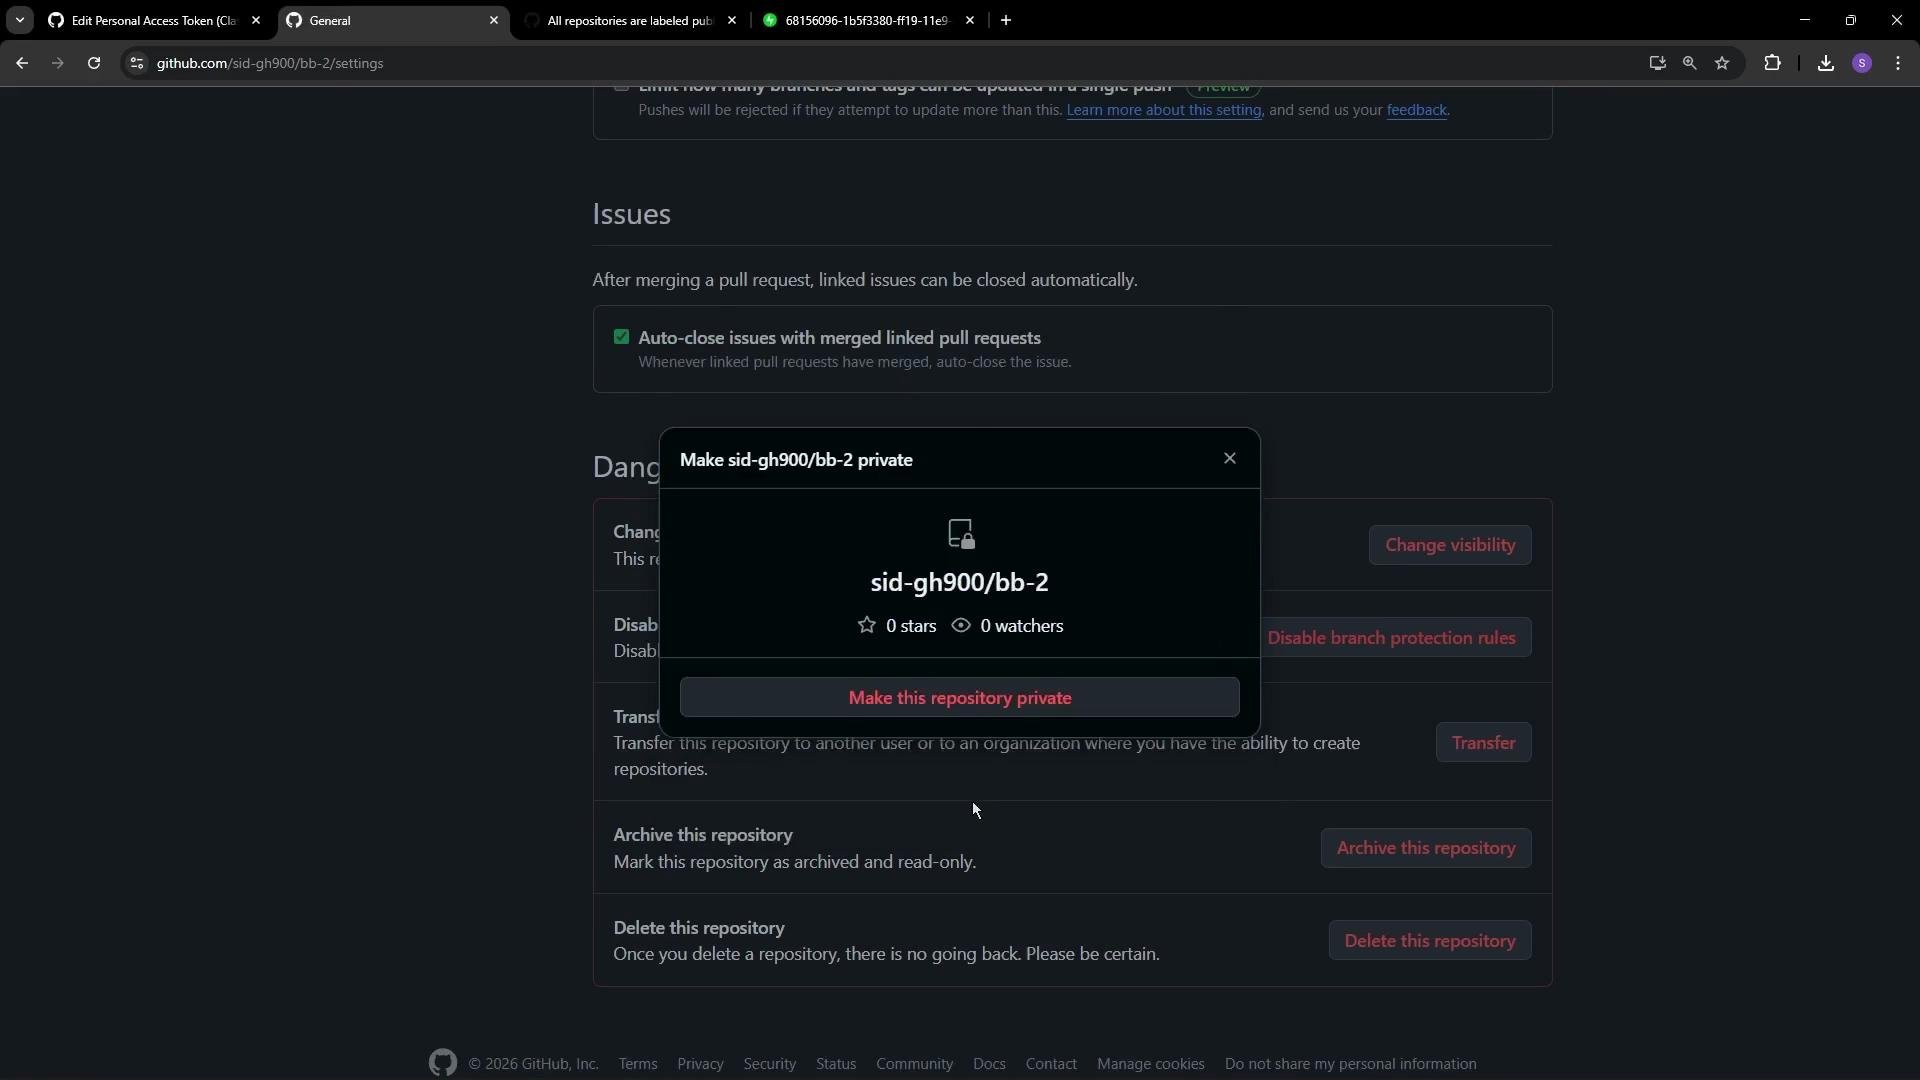
- The repository updates its visibility label (e.g., Private) and may display a lock icon to indicate restricted access.
- Only collaborators and users with granted access can view a private repository. Unauthorized users attempting to access it will receive a 404 (Not Found).
- GitHub will always prompt for confirmation before applying visibility changes; follow any additional prompts carefully.
- Verify repository access and collaborators before making a repo public—remove any sensitive data or credentials.
- Ensure branch protection rules and required checks are in place when opening a repository to the public.
- Confirm you have repository admin permissions before attempting any visibility changes.