

1. Environment synchronization
The first customization layer is environment synchronization. This keeps your development experience consistent across local VS Code and the web editor by syncing themes, keybindings, snippets, and editor settings. You can also use a dotfiles repository by linking it to your GitHub account. When you configure dotfiles, GitHub automatically clones the repository and executes any setup scripts during Codespace creation, applying shell aliases, environment variables, and personal tooling preferences. Example dotfiles aliases (place this in your dotfiles setup script or shell config):2. Workspace and resource management
The second layer covers workspace sizing and lifecycle controls. Tailor compute resources (CPU and memory) to the demands of your work: heavier builds or data science tasks benefit from more powerful machine types. Configure the region to reduce latency or meet data residency needs. You can also manage costs and lifecycle with:- Inactivity timeout (default: 30 minutes) to suspend idle Codespaces
- Auto-delete period for stopped Codespaces (up to 30 days)
- Custom display names to quickly identify multiple active environments

3. Editor and tooling preferences
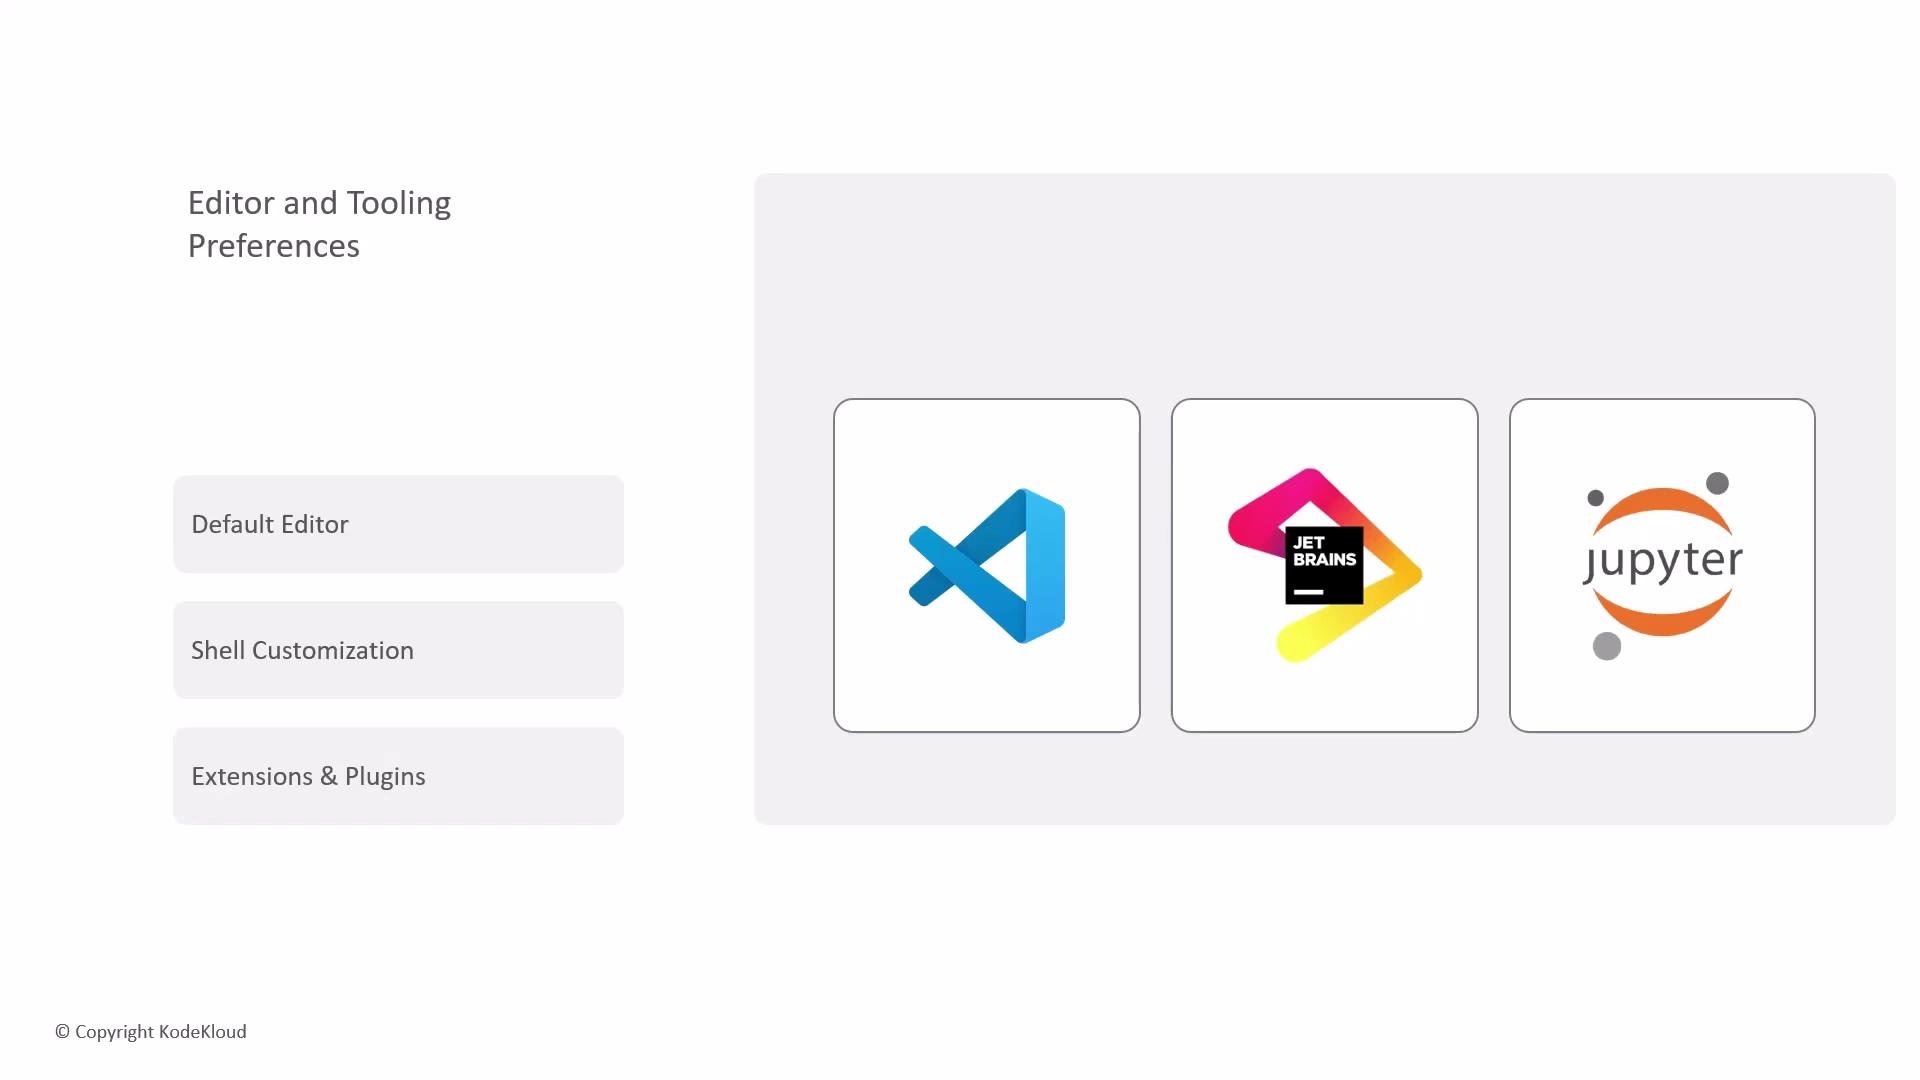
The third layer is your editor and tooling choices. Select a primary interface for each session:- Visual Studio Code (desktop or web)
- JetBrains IDEs via JetBrains Gateway
- JupyterLab for interactive Python/data workflows
Quick comparison: customization layers
Resources and references:
Note: Dev container configuration (the project’s devcontainer.json) defines the canonical, team-wide environment. Personal customizations applied via Settings Sync and dotfiles will be applied where allowed, but dev container settings may override or restrict some changes.