

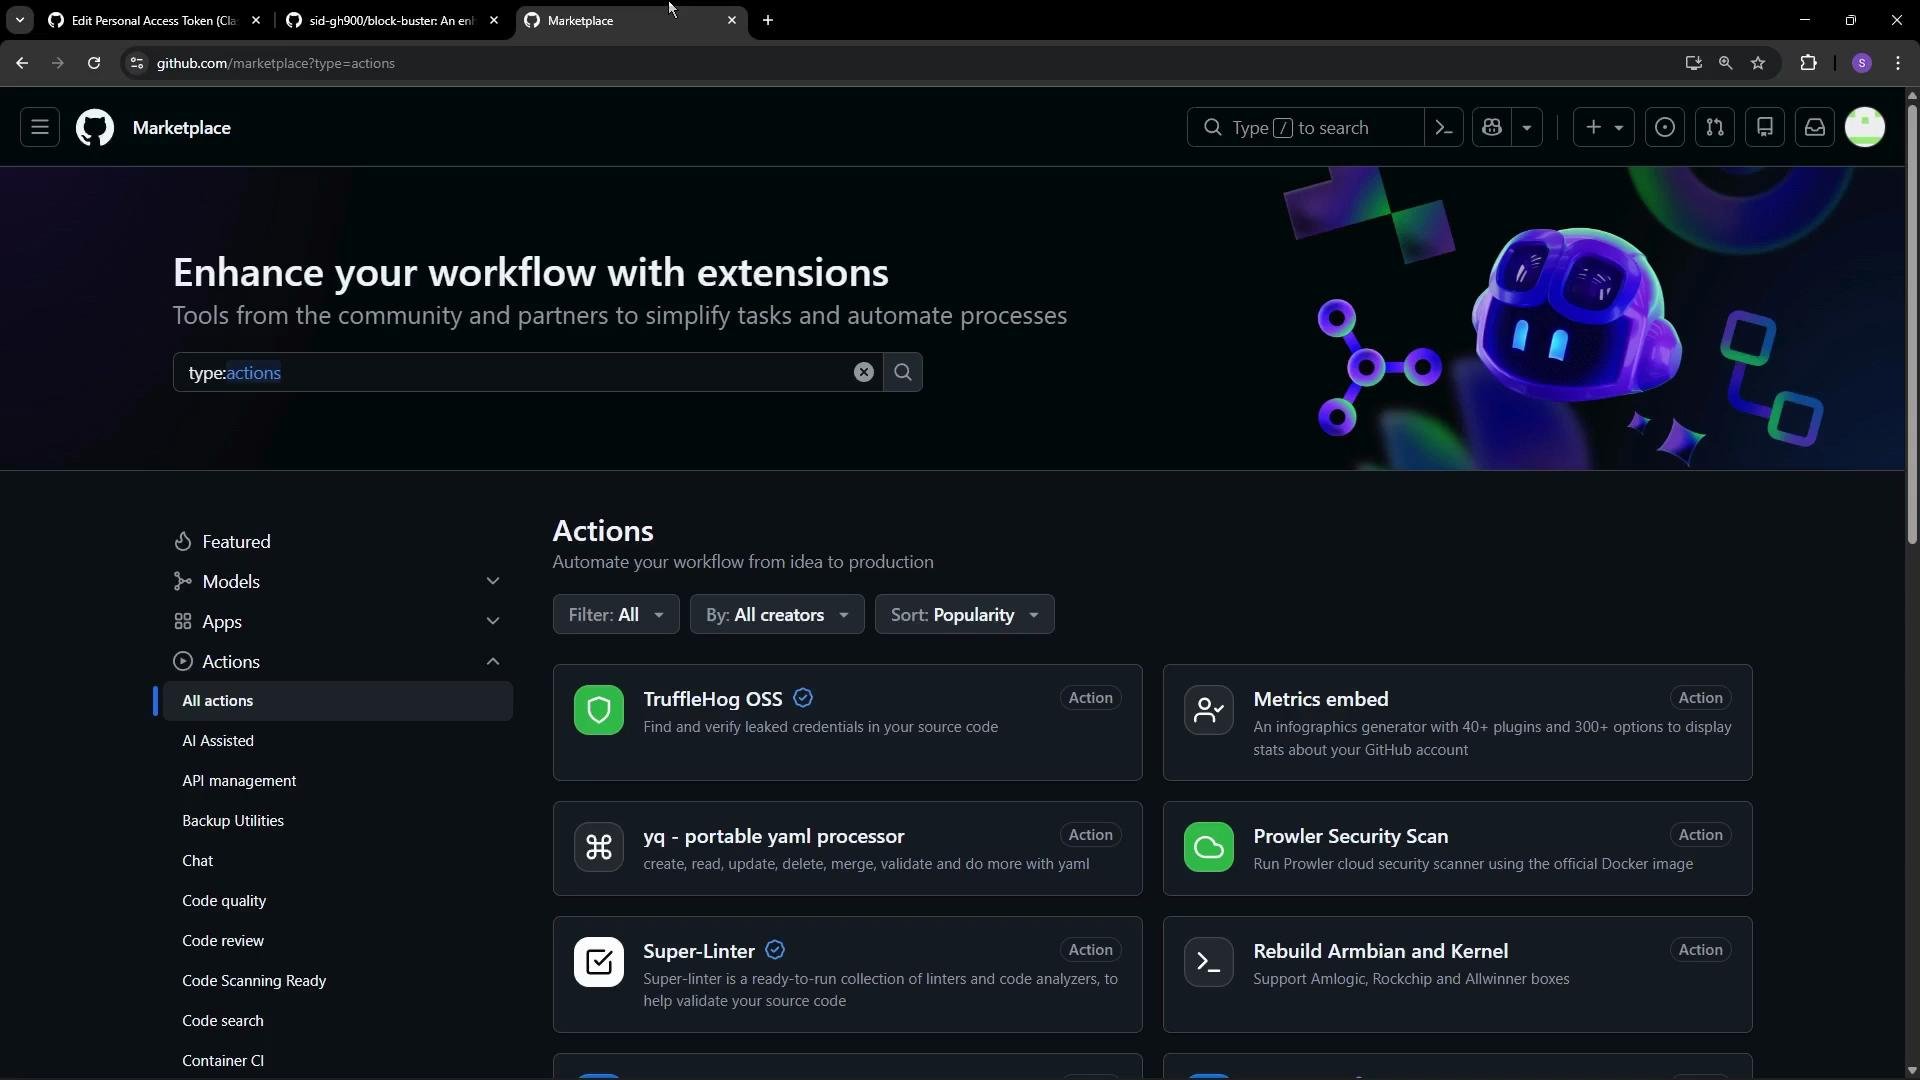
- Search the Marketplace for relevant keywords, e.g., “lint”.
- Look for a check/tick icon (verified Actions) — this indicates GitHub has vetted the publisher.
- Always review the Action’s README and source code before adding it to important workflows.
Verified actions (the tick/check icon) indicate that GitHub has vetted the publisher. Prefer verified actions when possible, but always review the action’s documentation and code before using it in important workflows.
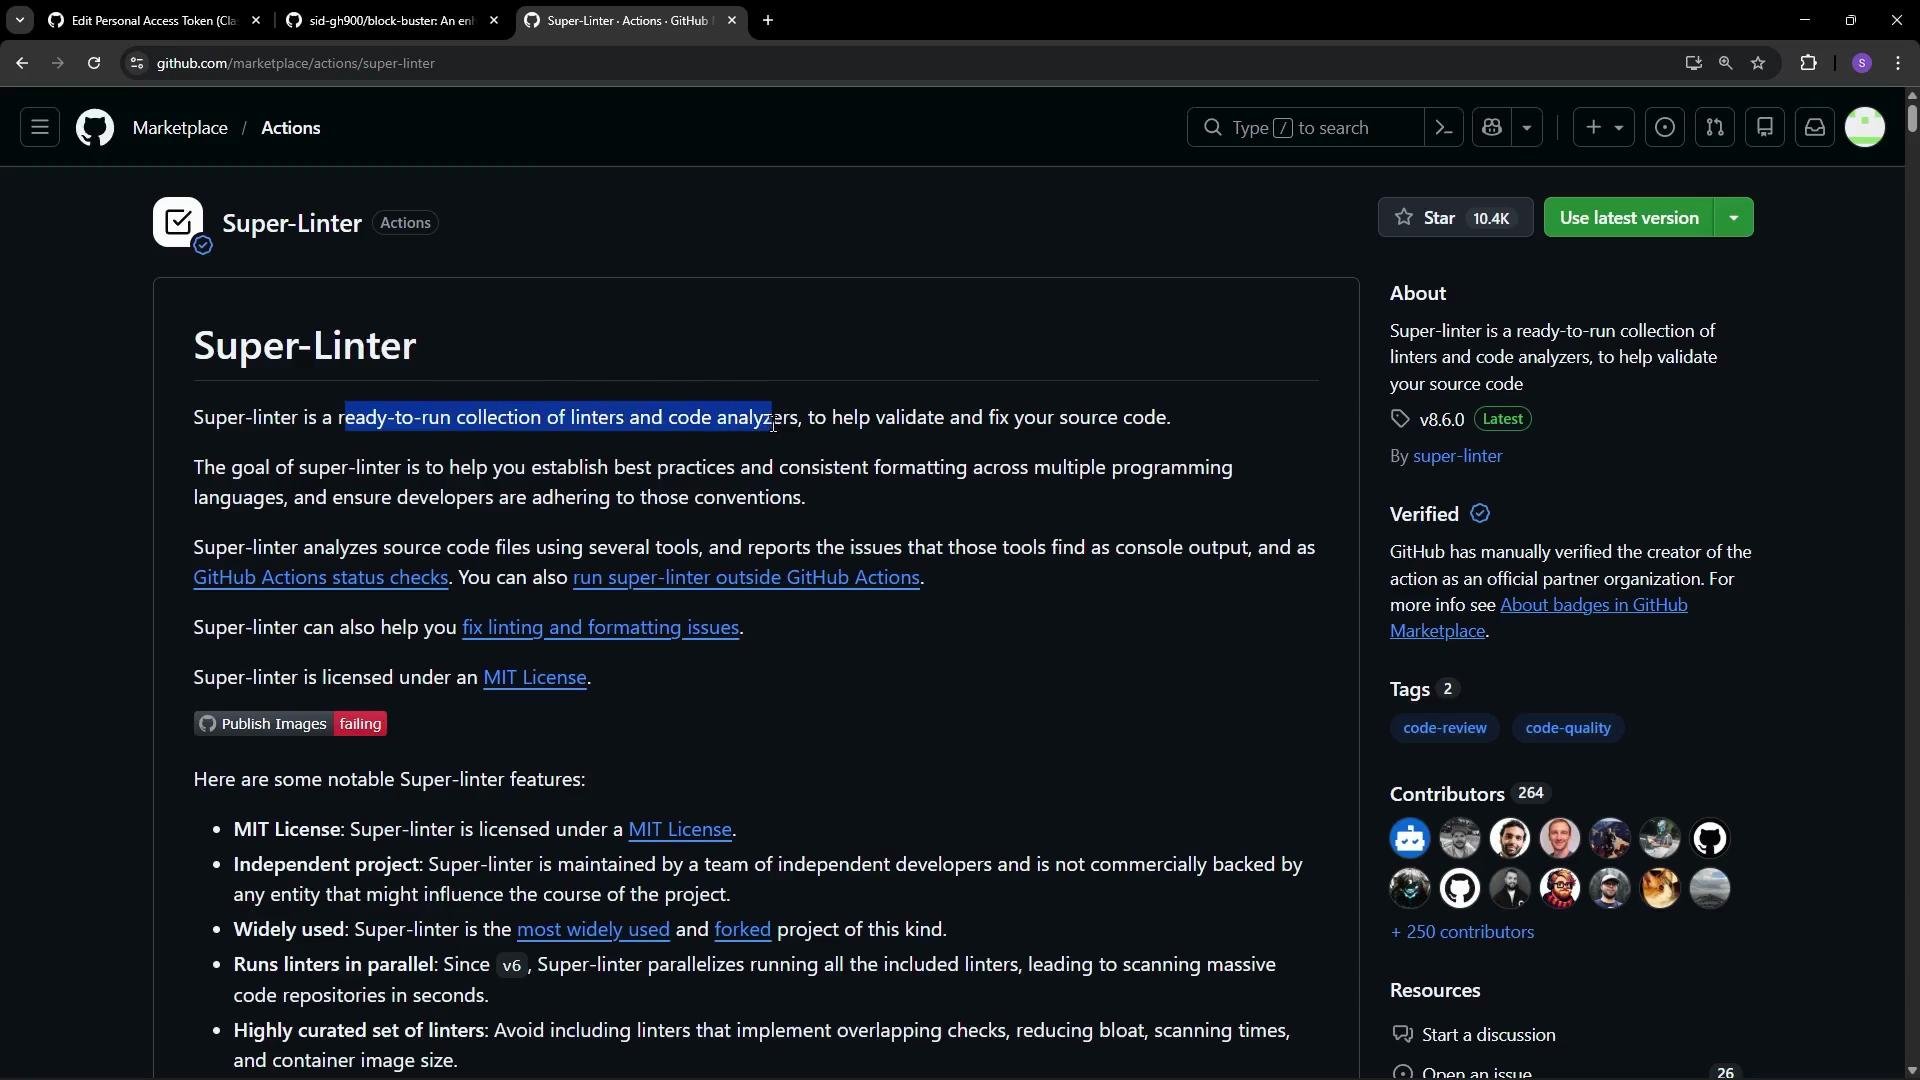
- You can configure which linters run, whether to lint the whole repository or only changed files, and which branch to compare against.
- These options are typically set with environment variables on the
uses:step that runs the Action.
main.
What happens during a run
- The workflow checks out your repository.
- It runs a quick validation step (example: ensure
index.htmlexists). - It runs Super-Linter (as a Docker container) with the provided environment variables.
- Super-Linter invokes the configured linters and returns any issues. If any linter exits non-zero, the Action step fails and the job is marked failed.
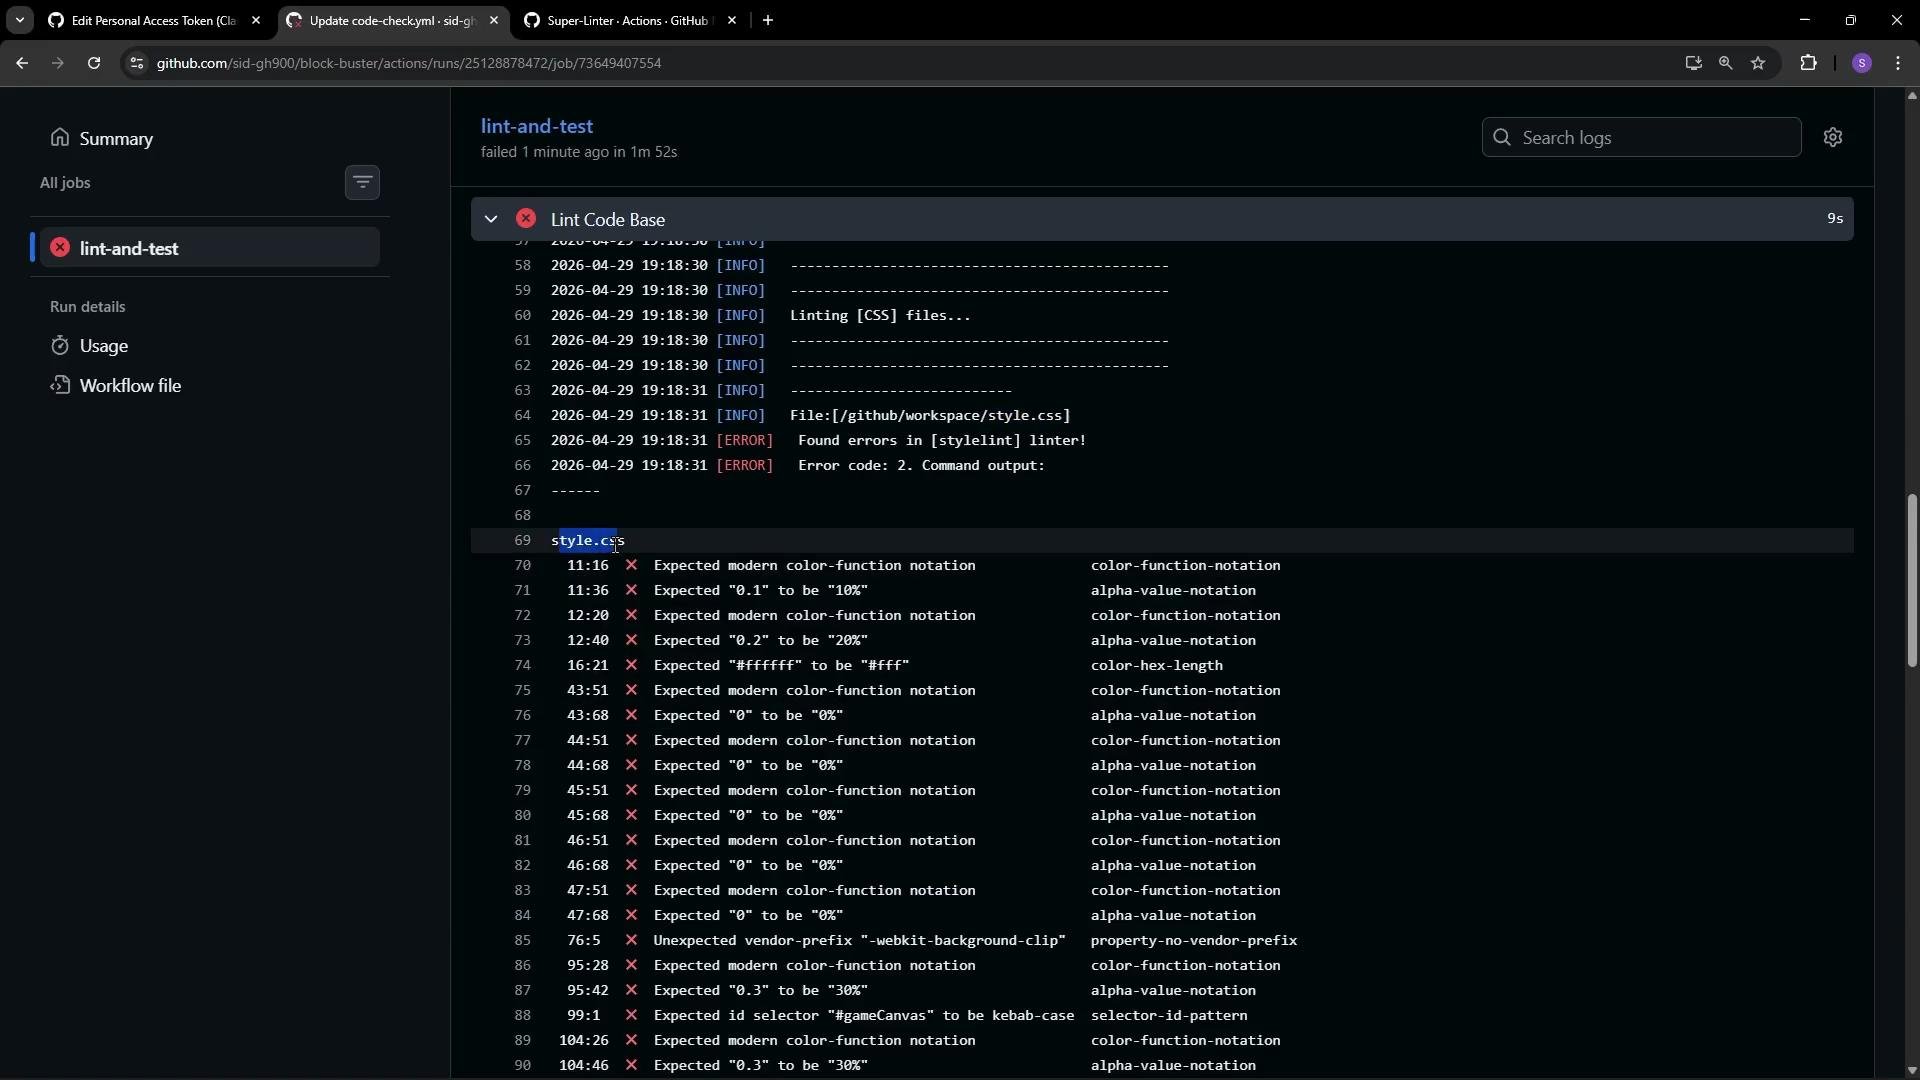
- Start by running linters on the full codebase to get a baseline, then move to changed-files-only for performance.
- Configure only the linters you need to reduce noise.
- Use annotations and PR comments (if supported) to surface issues directly in pull requests.
- When integrating third-party Actions, review the Action’s source and restrict permissions using least privilege.
Review third-party Action code and limit workflow permissions. Even verified Actions may have configuration or permission implications—always check the source repository and apply the principle of least privilege.
- Super-Linter repository: https://github.com/github/super-linter
- GitHub Marketplace: https://github.com/marketplace
- GitHub Actions docs: https://docs.github.com/actions