

- An active GitHub account (personal or business).
- An email address you can access for verification and invitations.
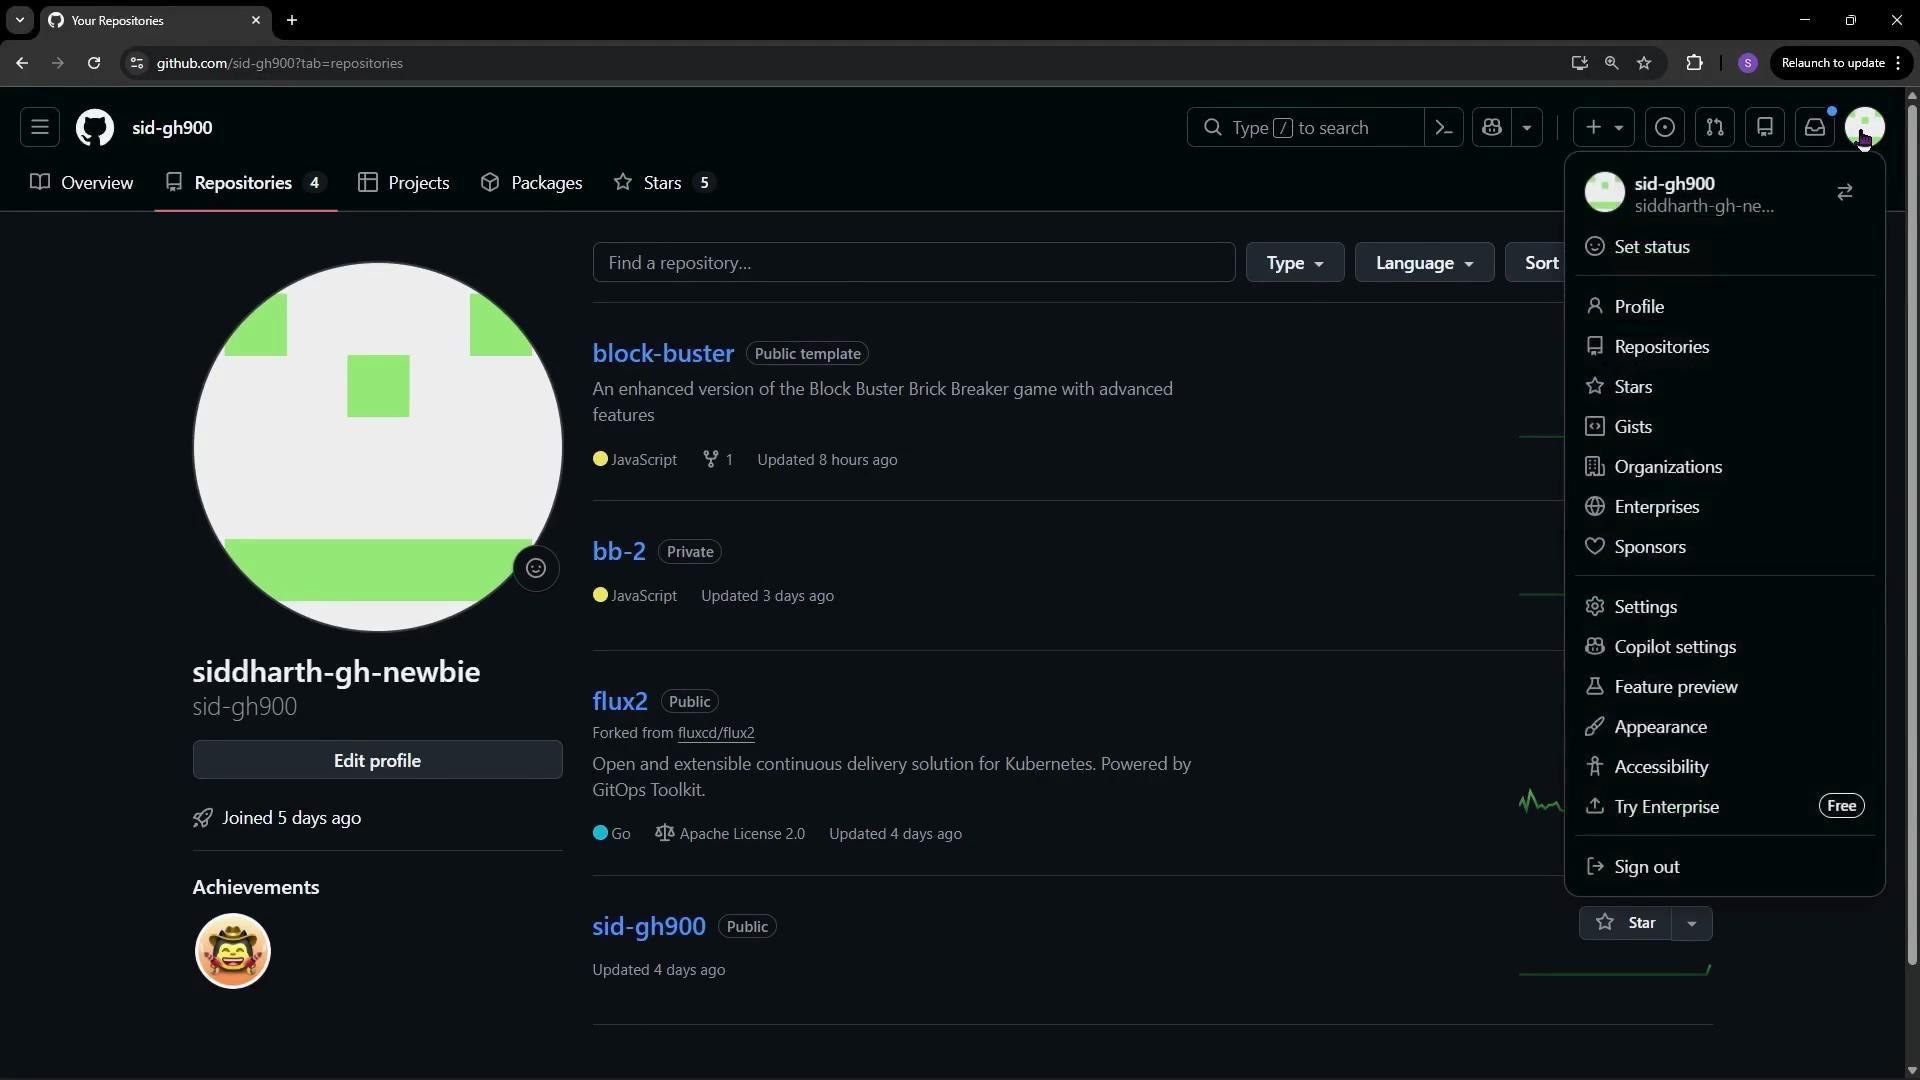
- Click Create Organization from the Organizations page. GitHub will present plan options: Free, Team, or Enterprise. Choose the plan that fits your team size and governance needs—Free is often sufficient for small teams and personal projects, while Team and Enterprise add advanced collaboration, security, and compliance features.
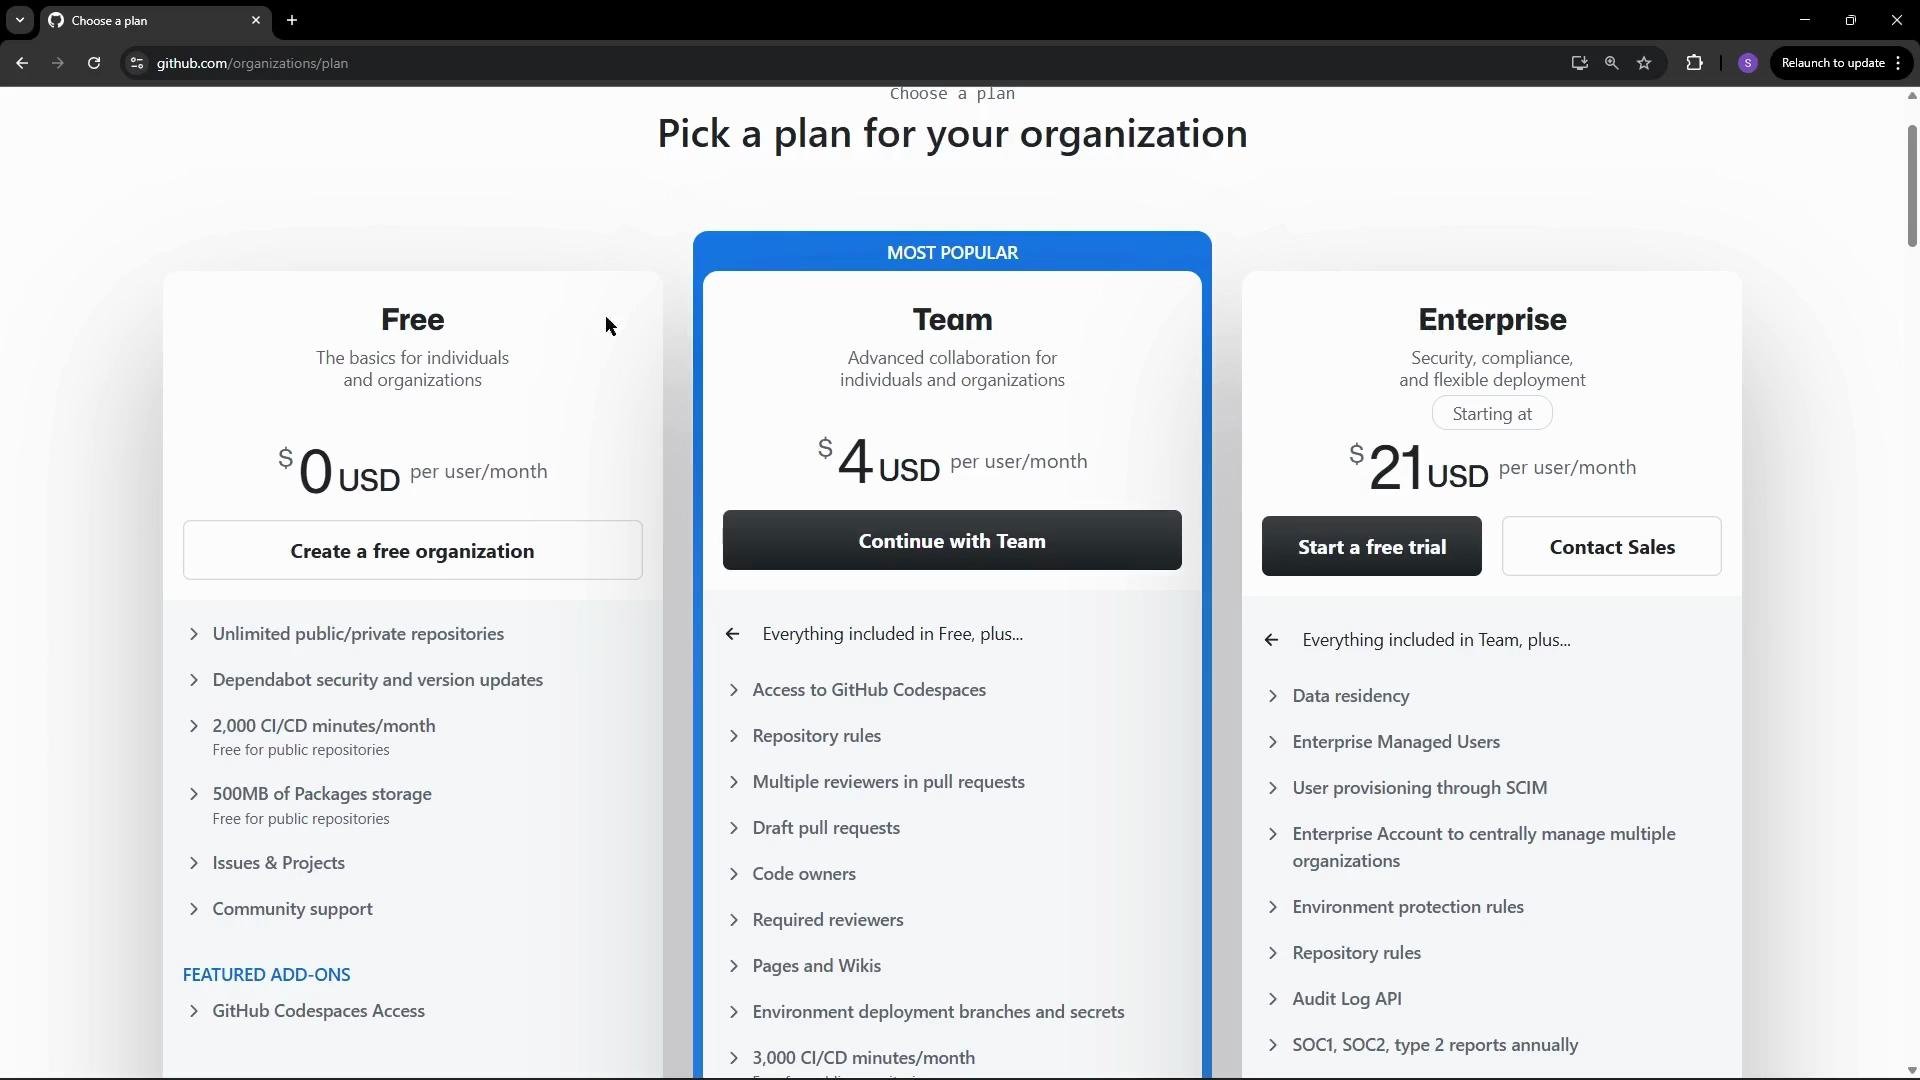
- For this demo, select the Free plan. Enter a unique organization name and a contact email. If the name is already taken, GitHub will prompt you to choose another. You’ll also choose whether the organization belongs to your personal account or a business account.
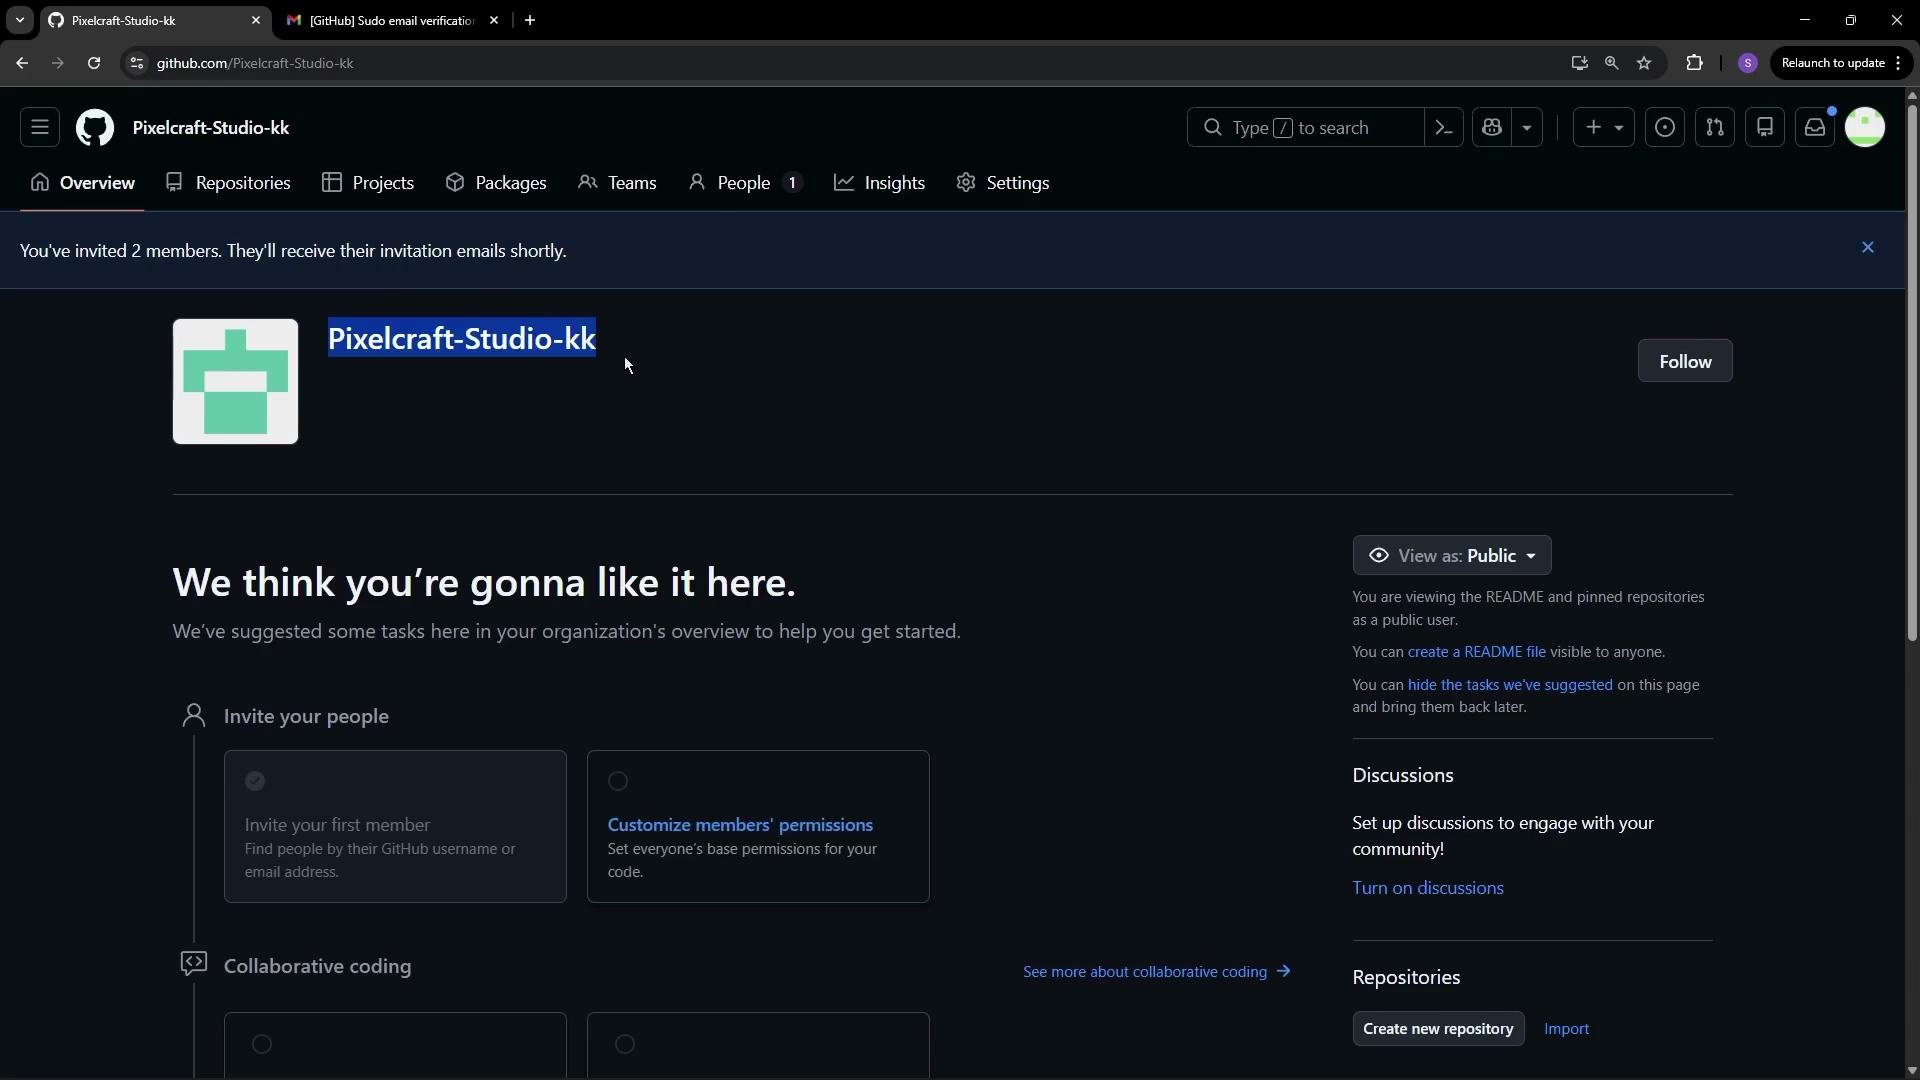
- Verify ownership and confirm details. Depending on account settings, verification may occur via email, SSO, or other methods. You can also invite members during setup; invited users will receive an invitation email that they must accept to join.

Invited members must accept the invitation sent to their email before they appear as members of the organization. Until they accept, invitations will show as pending.
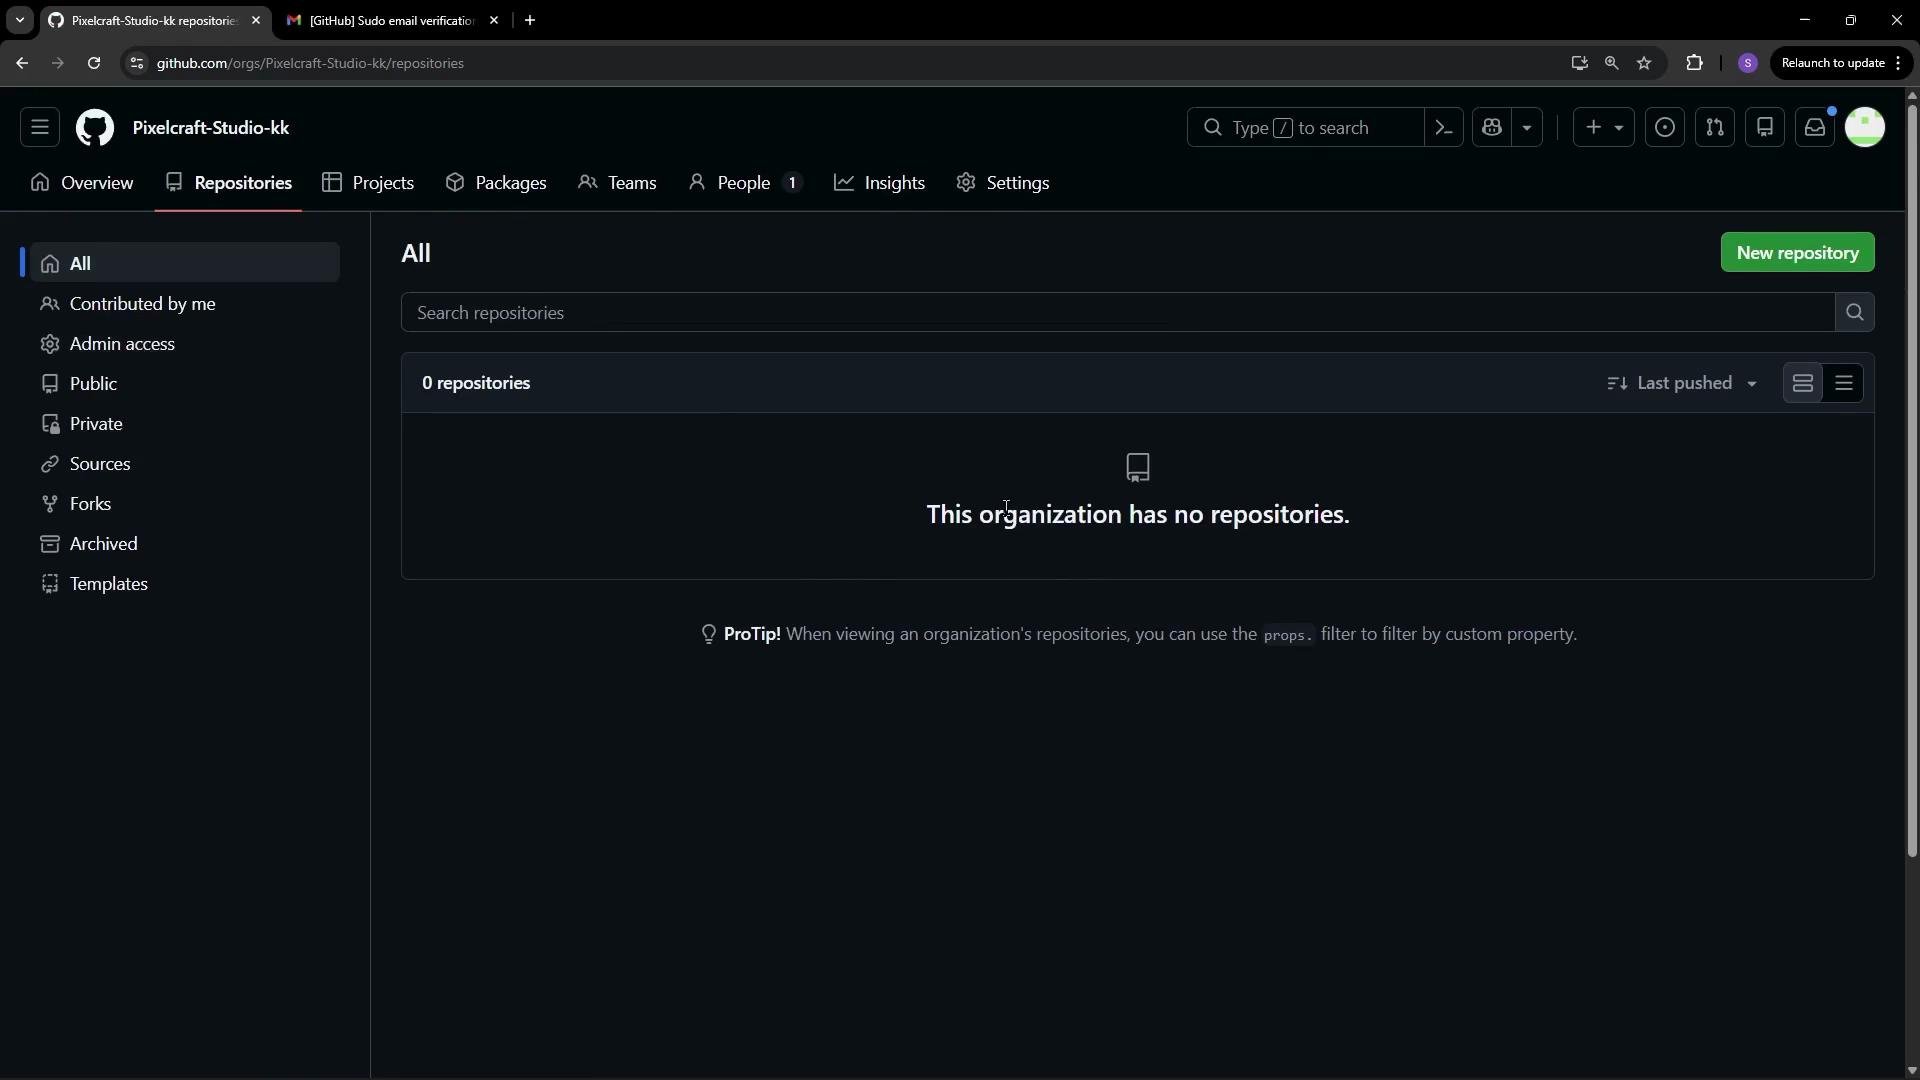
- If this is a new organization, the Repositories tab may show a message indicating there are no repositories yet. You can create a new repository directly under the organization or transfer existing repositories into it.
- Once you have repositories, start by configuring teams and repository permissions, branch protection, code owners, and CI/CD (GitHub Actions) as needed.
- GitHub Organizations documentation
- Managing organization settings and policies
- GitHub Plans and Pricing
If you choose a paid plan (Team or Enterprise), review billing and SSO/SSO provisioning requirements before upgrading to avoid unexpected costs or access changes.