

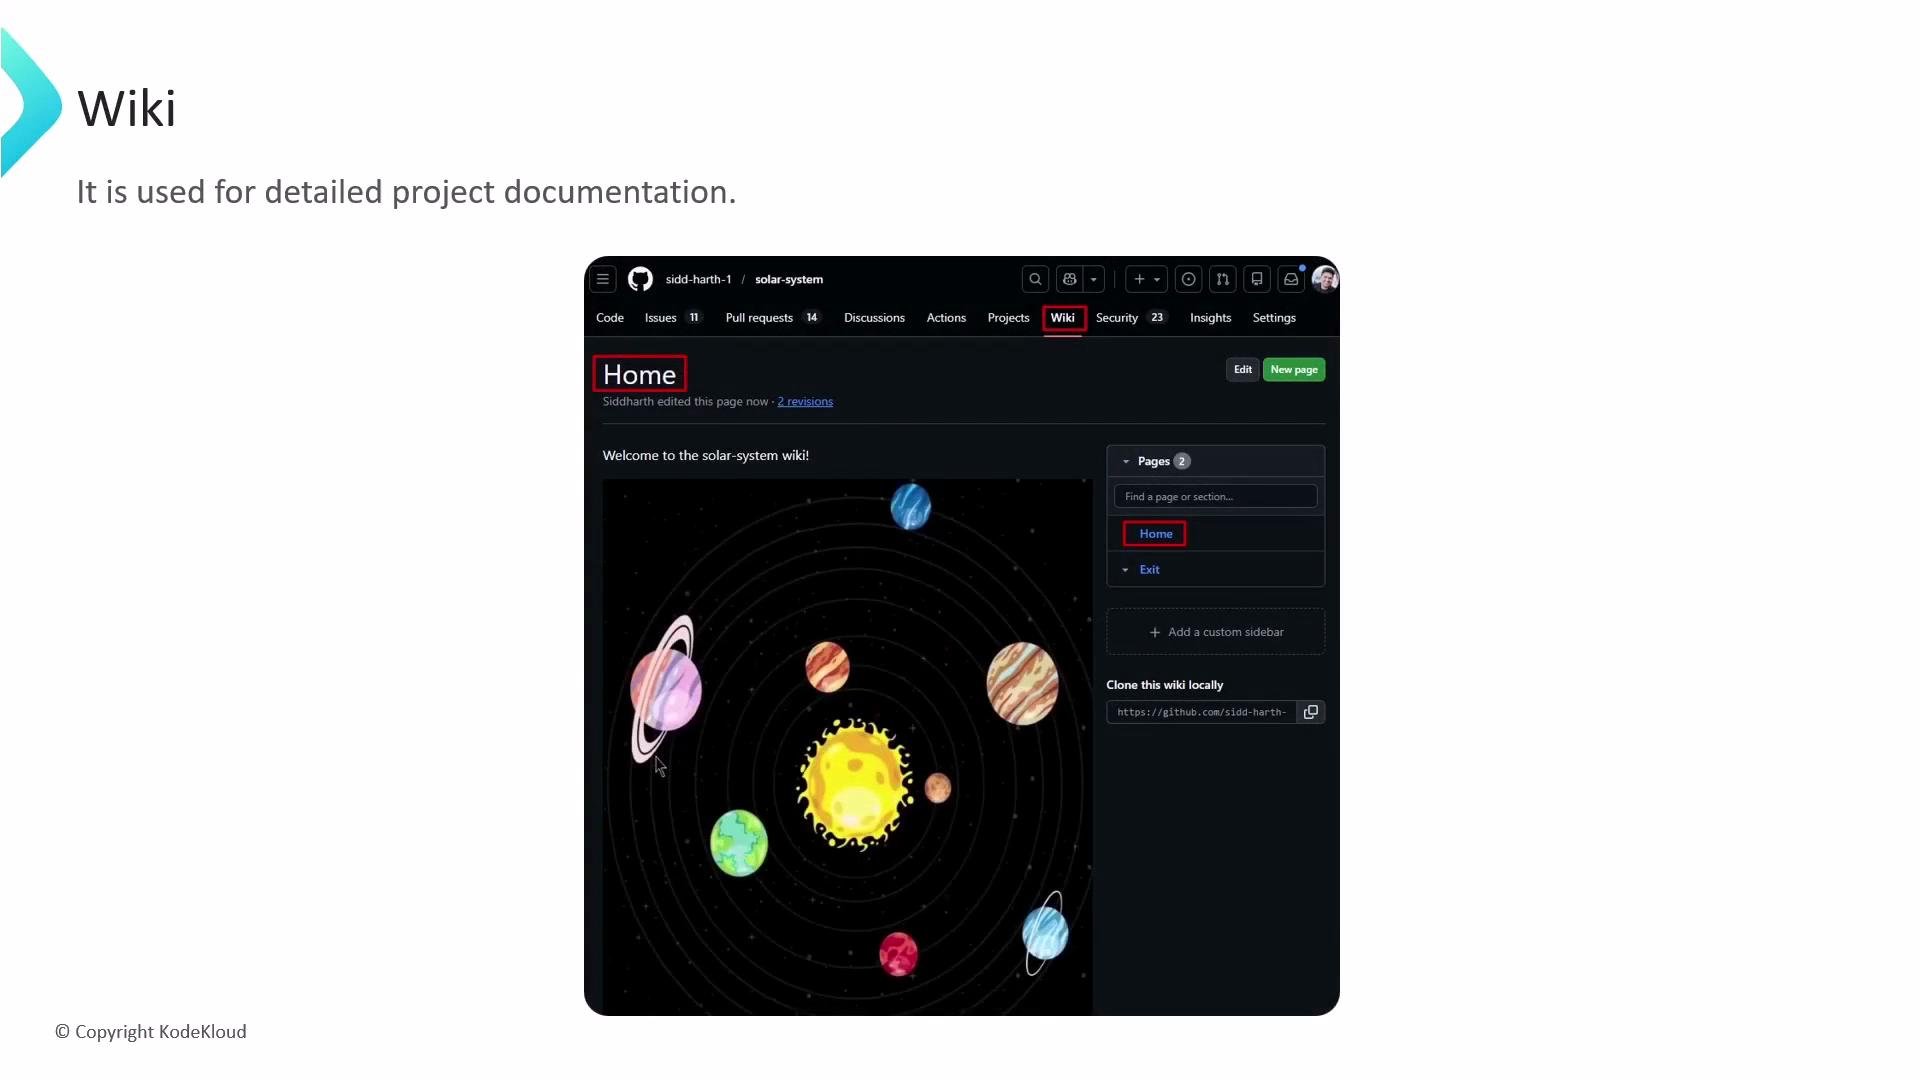
Enable the wiki for a repository
- Open the repository on GitHub.
- Go to Settings → Features.
- Check the Wikis option to enable the wiki for that repository.
Create and edit wiki pages
- Click the Wiki tab in the repository UI to create and edit pages directly in the browser.
- Pages support Markdown (and other formats) and can include headings, links, images, and internal navigation.
- Add special files like
_Sidebar.mdand_Footer.mdto customize the sidebar and footer that appear across all wiki pages.
If your repository is public, be aware that the wiki can be edited by contributors depending on repository settings. Use the “Restrict editing to users with push access” option to limit who can update the wiki.
Work with the wiki as a Git repository
Each wiki is a separate Git repository. Clone it locally, edit Markdown files, and push changes like any other repository:Permissions, workflows, and review considerations
- By default, wiki edits are made through the web UI by users with repository access.
- You can restrict editing to collaborators with push access via repository settings.
- Wikis do not use the same pull-request (PR) review model as the main repository. If you require PR-based reviews, CI checks, or stricter versioning for documentation, consider keeping docs in the main repository instead.
When to use Wiki vs README vs docs/
Use the following guidance to choose the right place for documentation:Links and references
Wikis are great for collaborative, long-form documentation. If you need documentation that must be reviewed via pull requests or integrated with CI, prefer the repository
docs/ directory and GitHub Pages instead.