

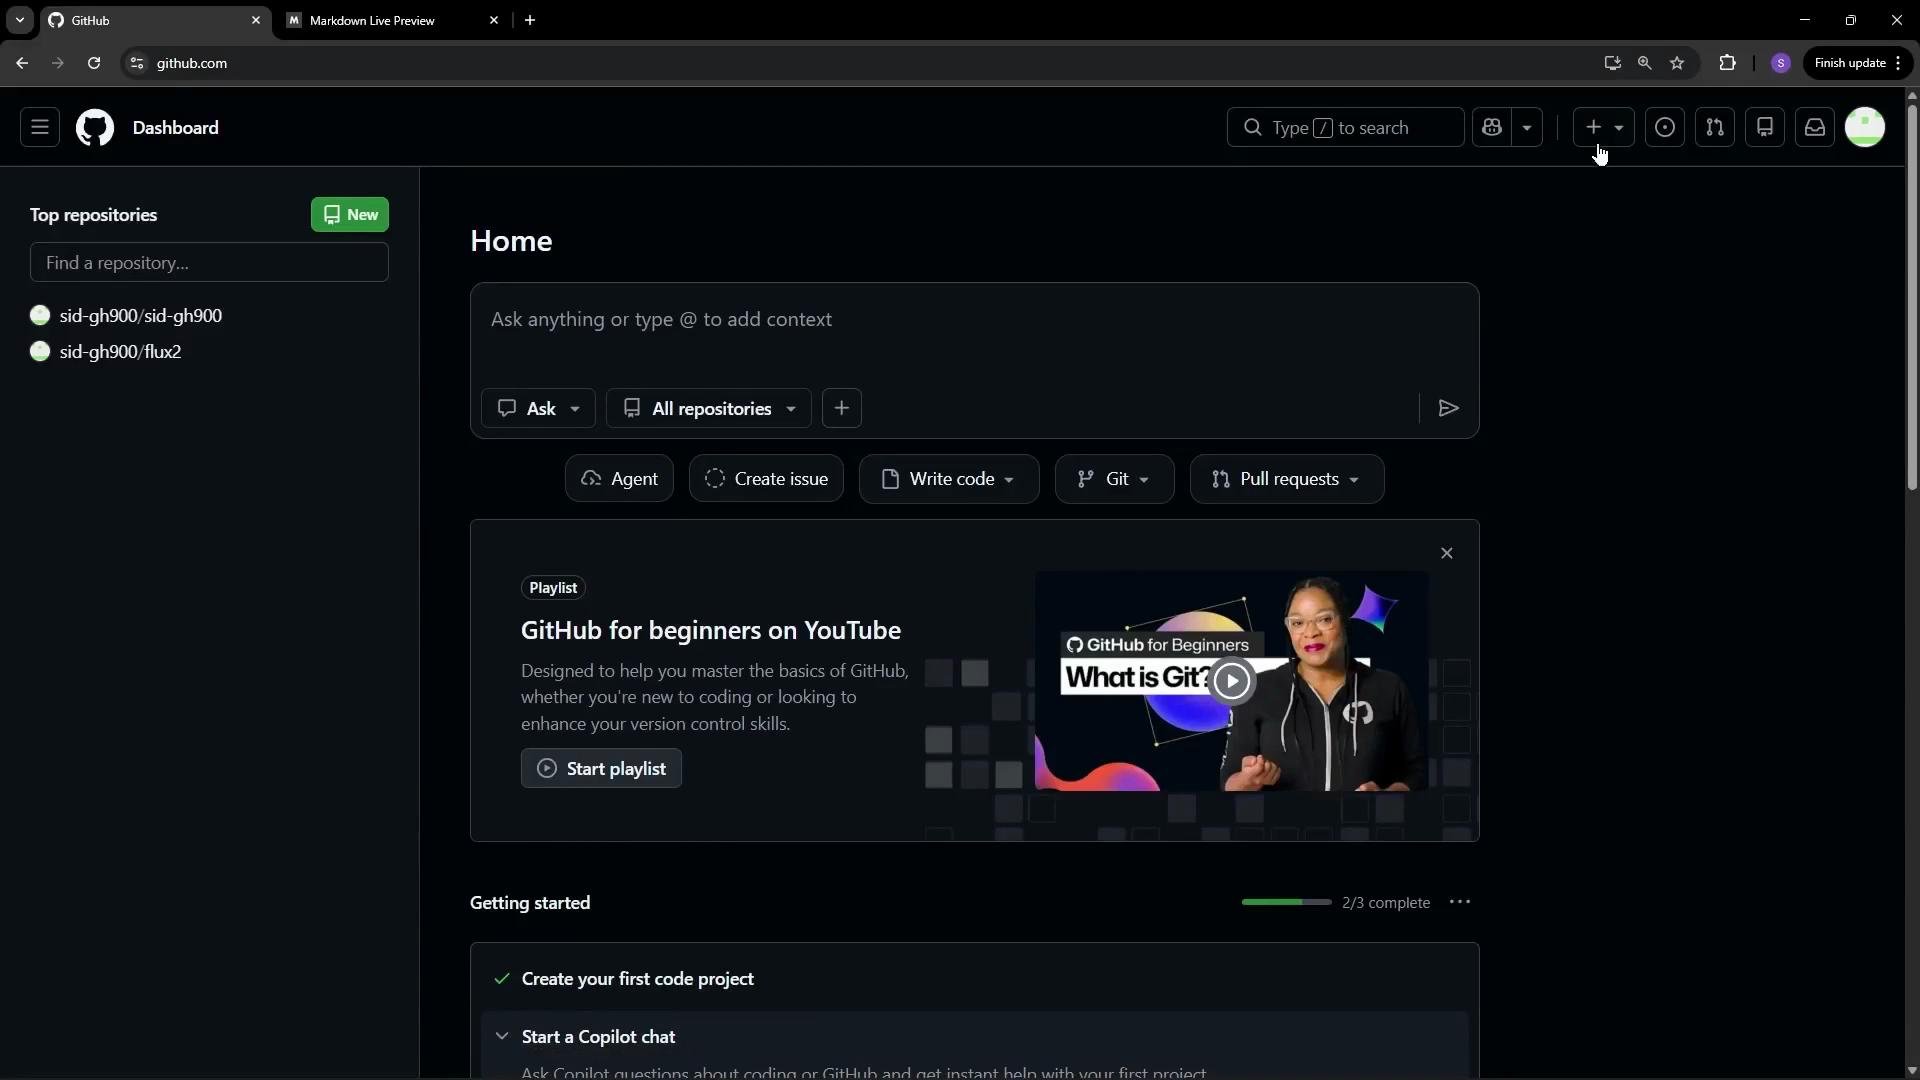
1. Create a new repository on GitHub
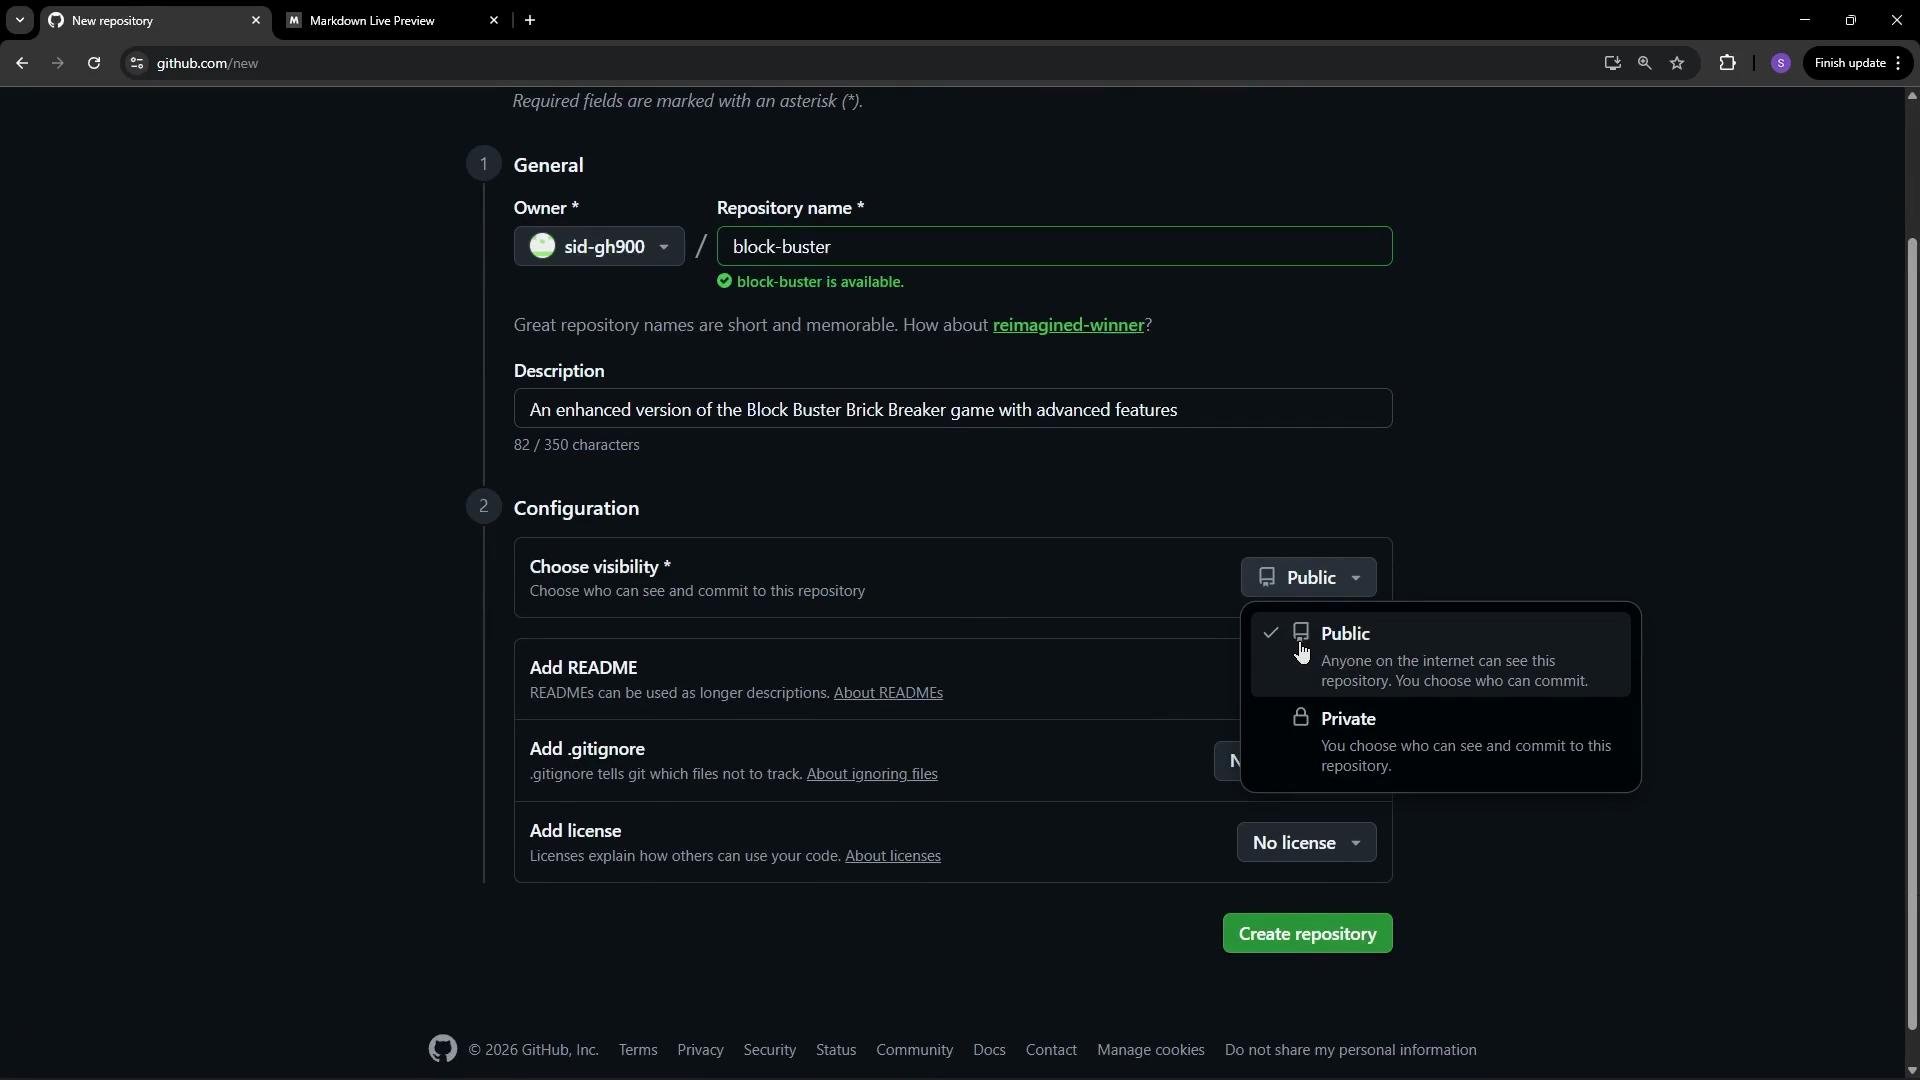
Open GitHub in your browser and create a new repository. Choose a clear repository name (for example,block-buster) and add an optional description describing what the project does. For discoverability choose Public if you want anyone to view the repository.
Initialize the repository with a README.md (so visitors immediately see project context), add a .gitignore (to exclude editor or OS-specific files, e.g., VS Code artifacts), and optionally choose a license.
2. Add project files via the web UI (optional)
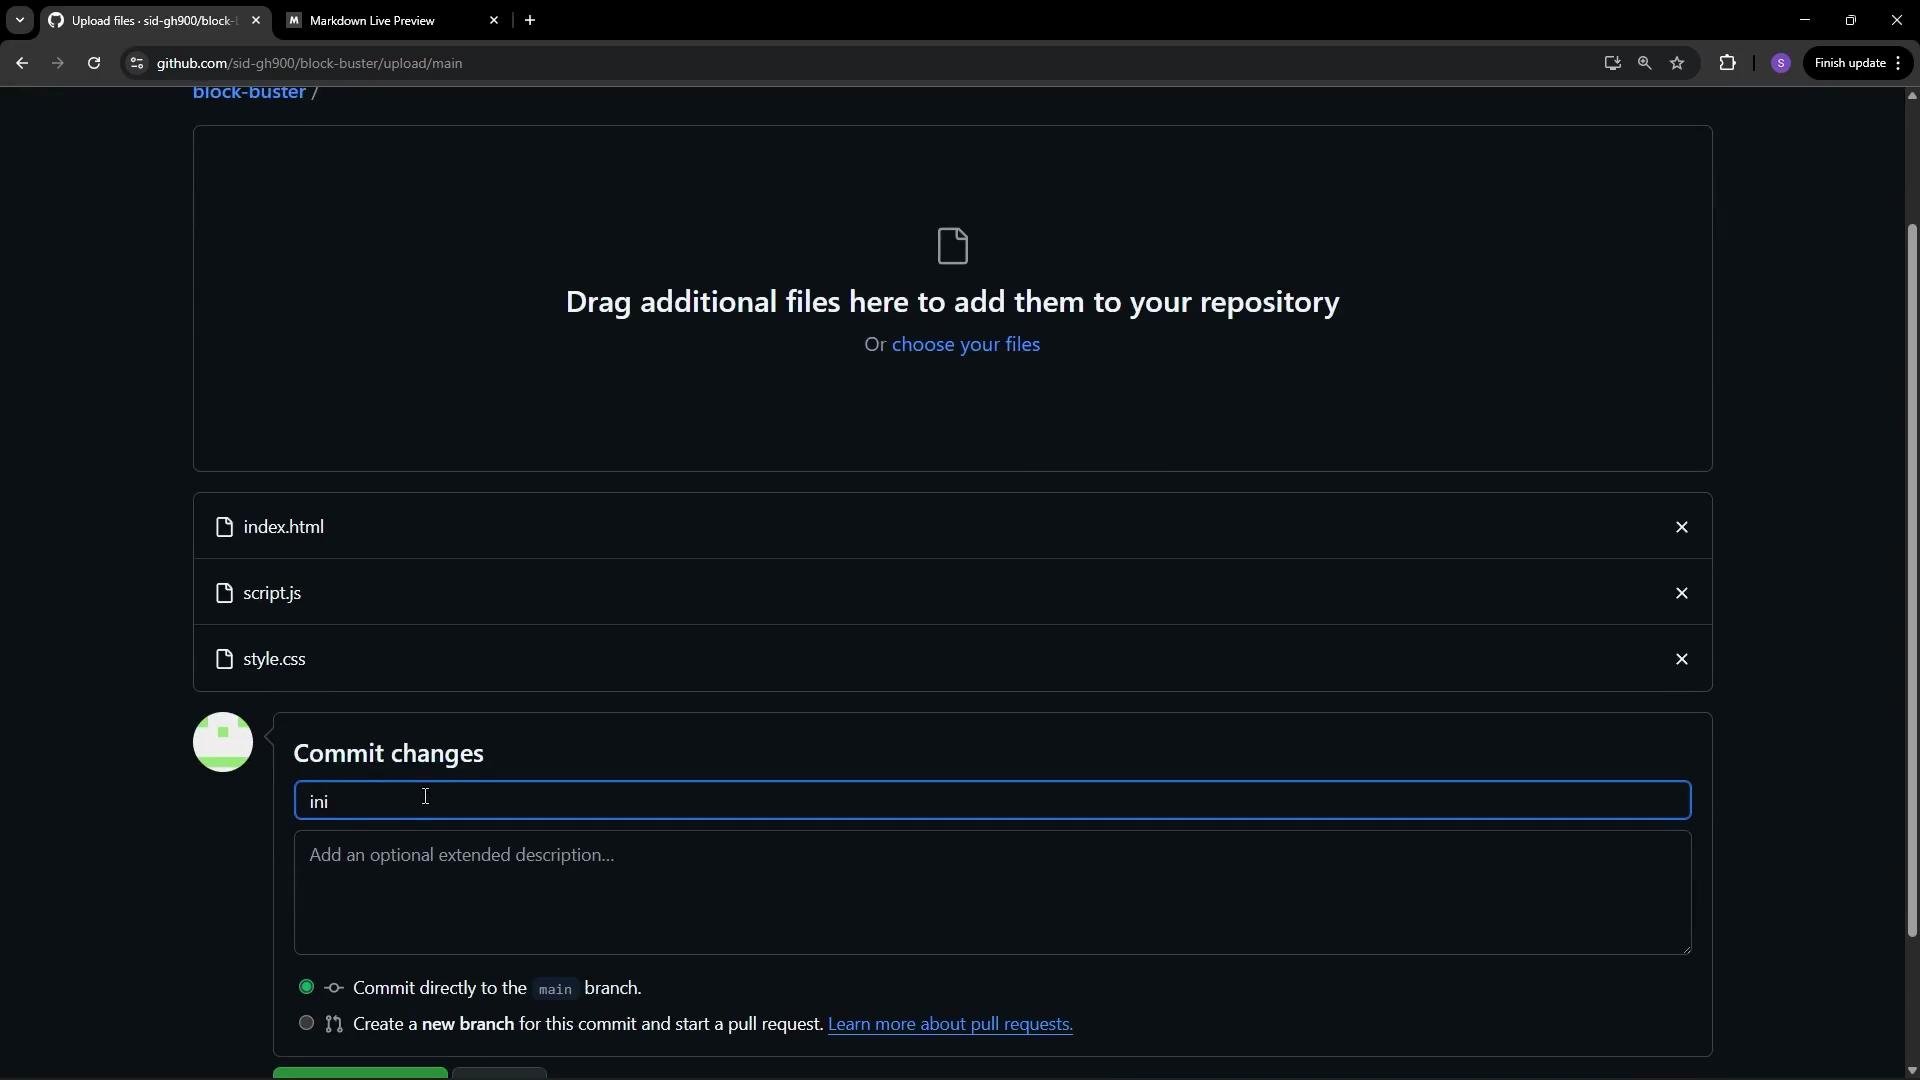
You can upload your initial project files directly from the GitHub UI: use Add files → Upload files. Common files for a simple web project includeindex.html, script.js, and style.css. Provide a short commit message (for example, init) and commit directly to main or create a new branch from the UI.
3. Create a feature branch in the GitHub UI
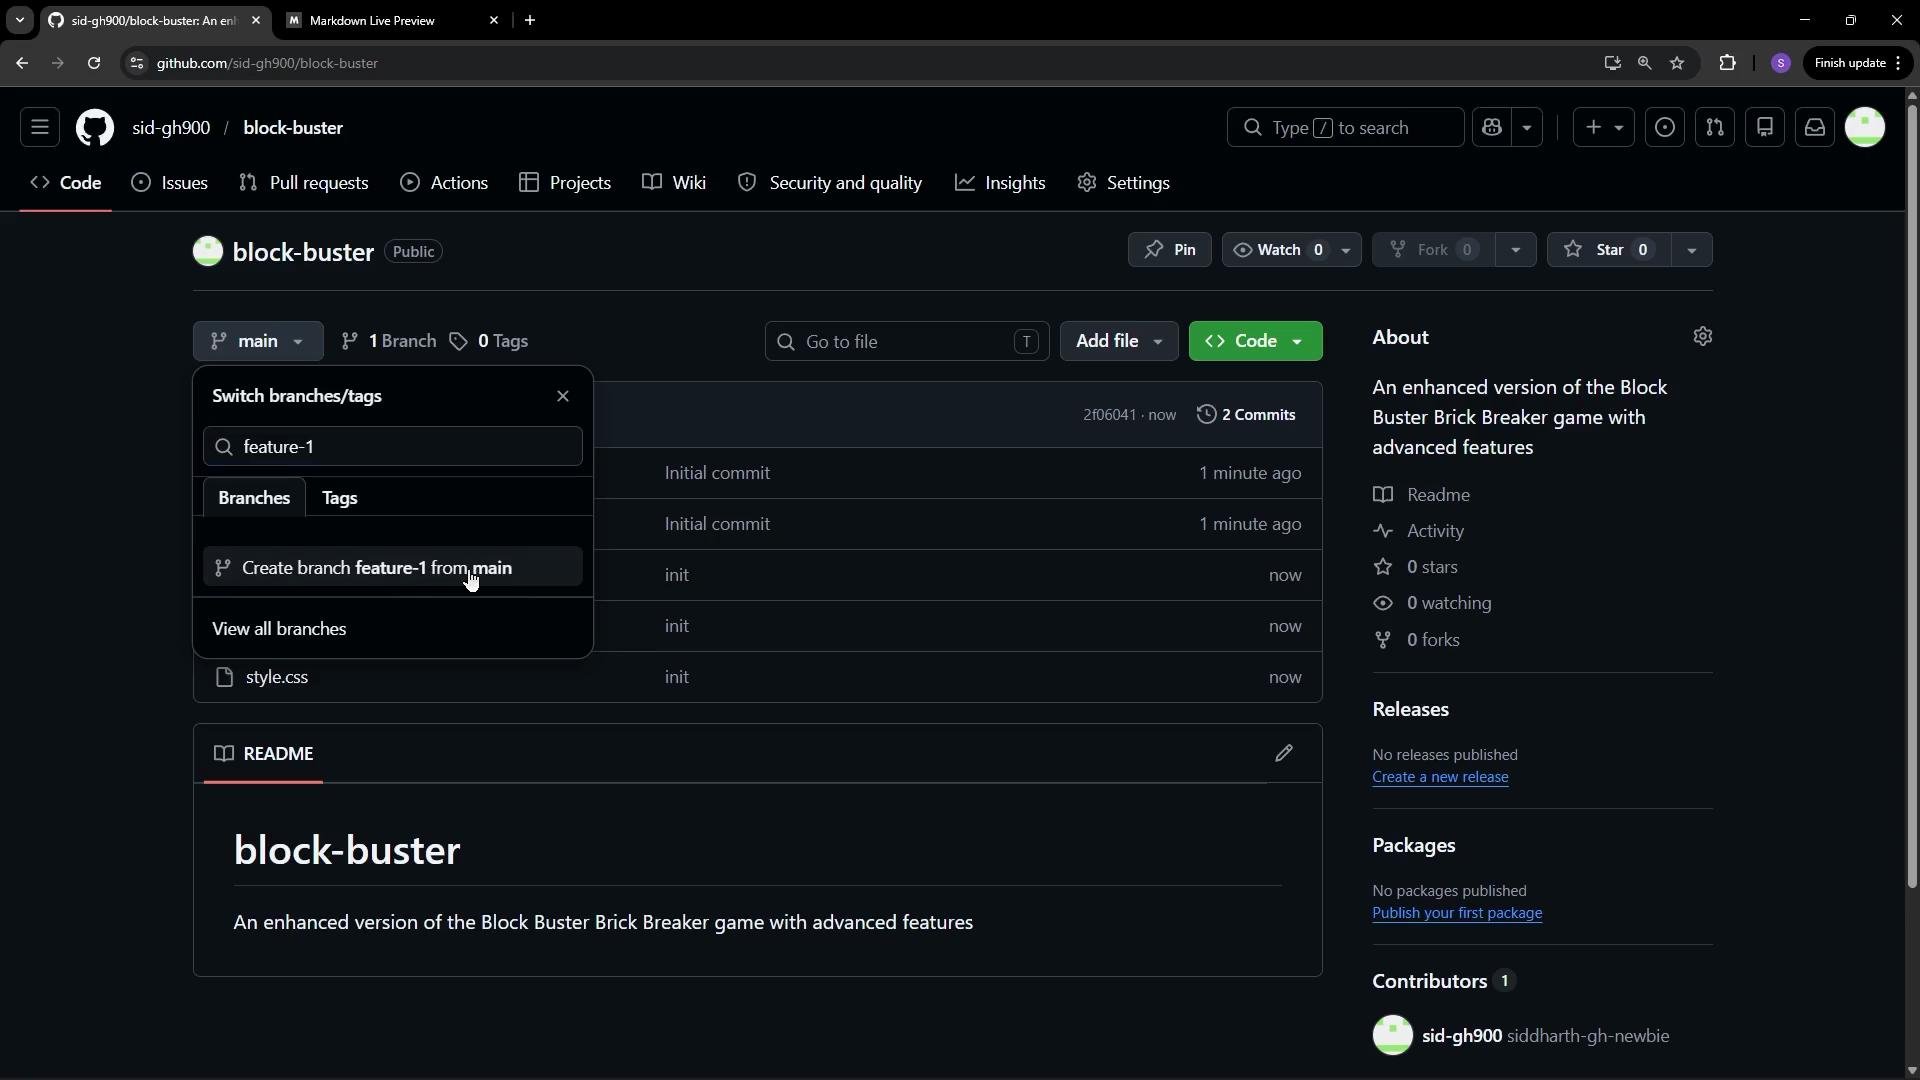
Working on a branch keepsmain stable. From the repository page you can create a feature branch (for example, feature-1) and continue development there.
4. Clone the repository locally
On your machine, clone the repository to work locally. Copy the HTTPS clone URL from the GitHub repository page and run the commands below. This example creates a~/github-repos directory and clones block-buster into it:
feature-1) exists and you want it locally, create a local tracking branch.
5. Make changes locally and push to the feature branch
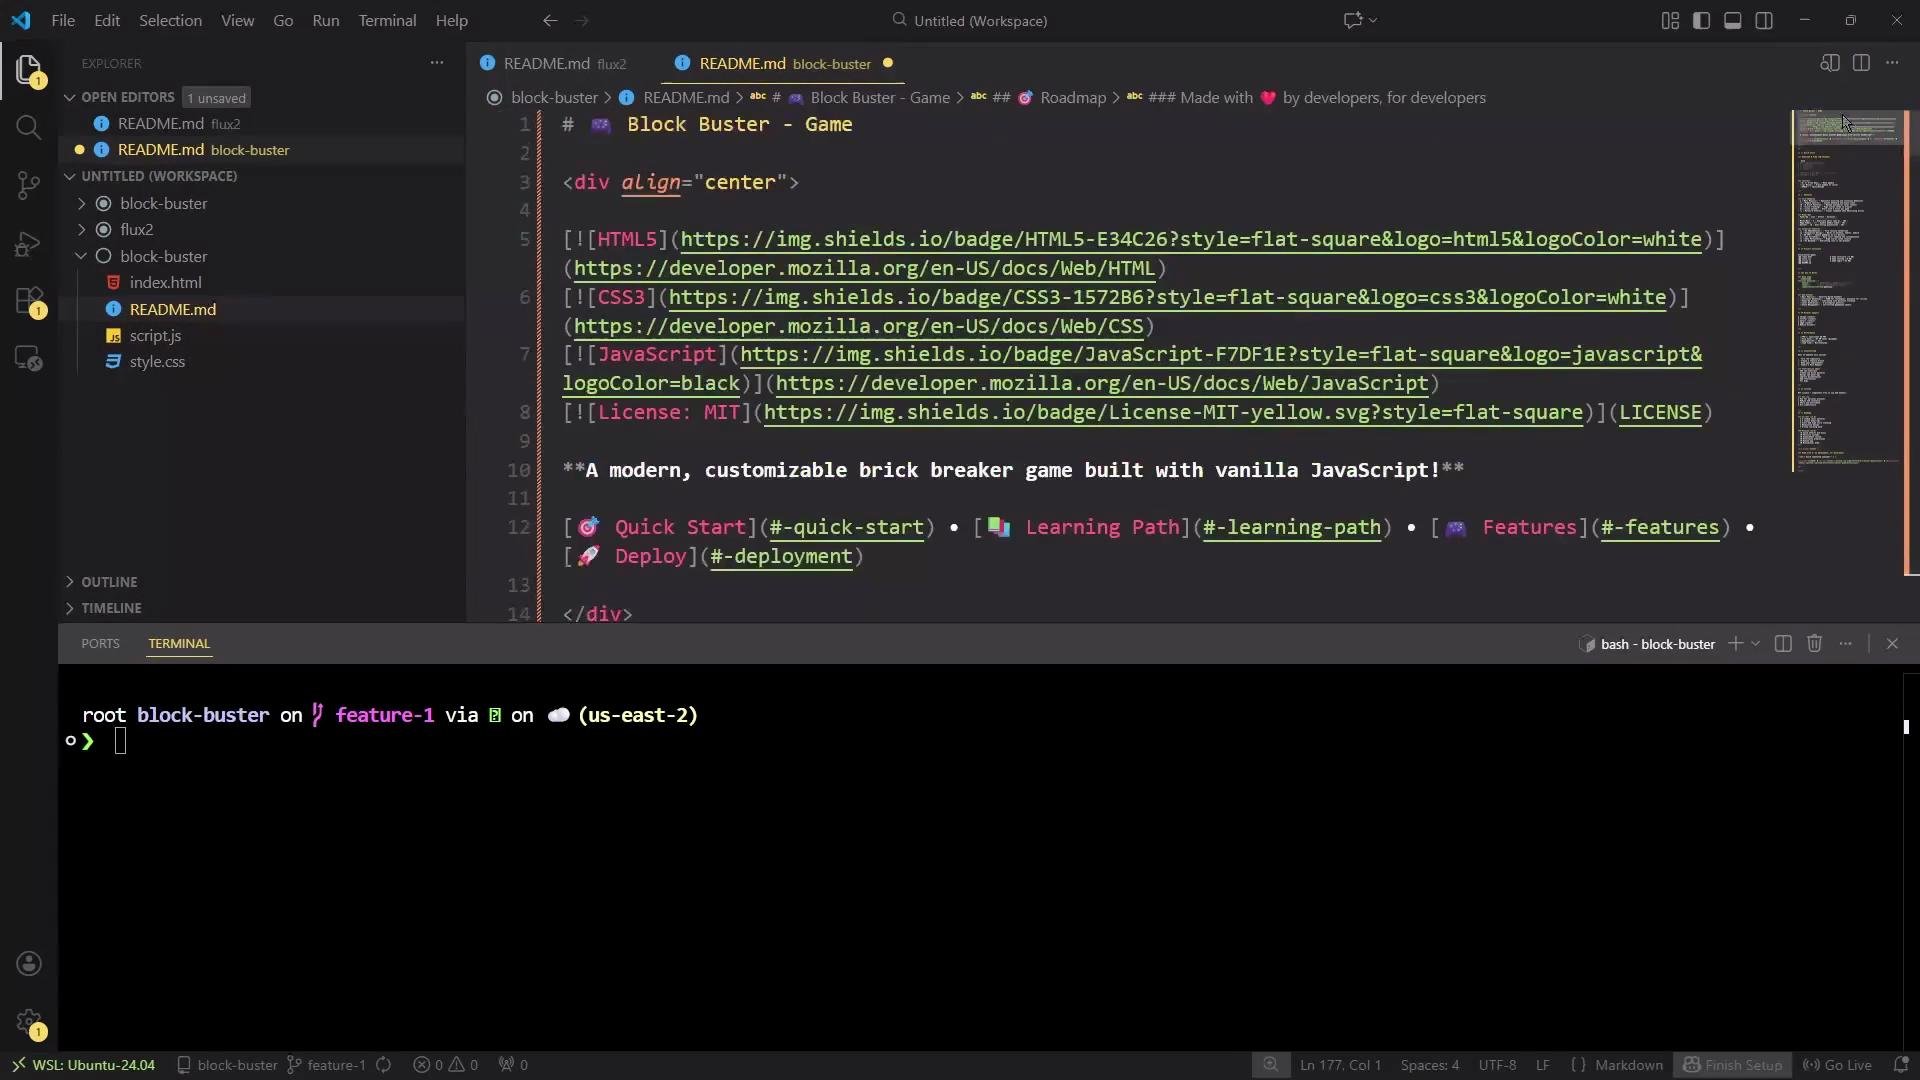
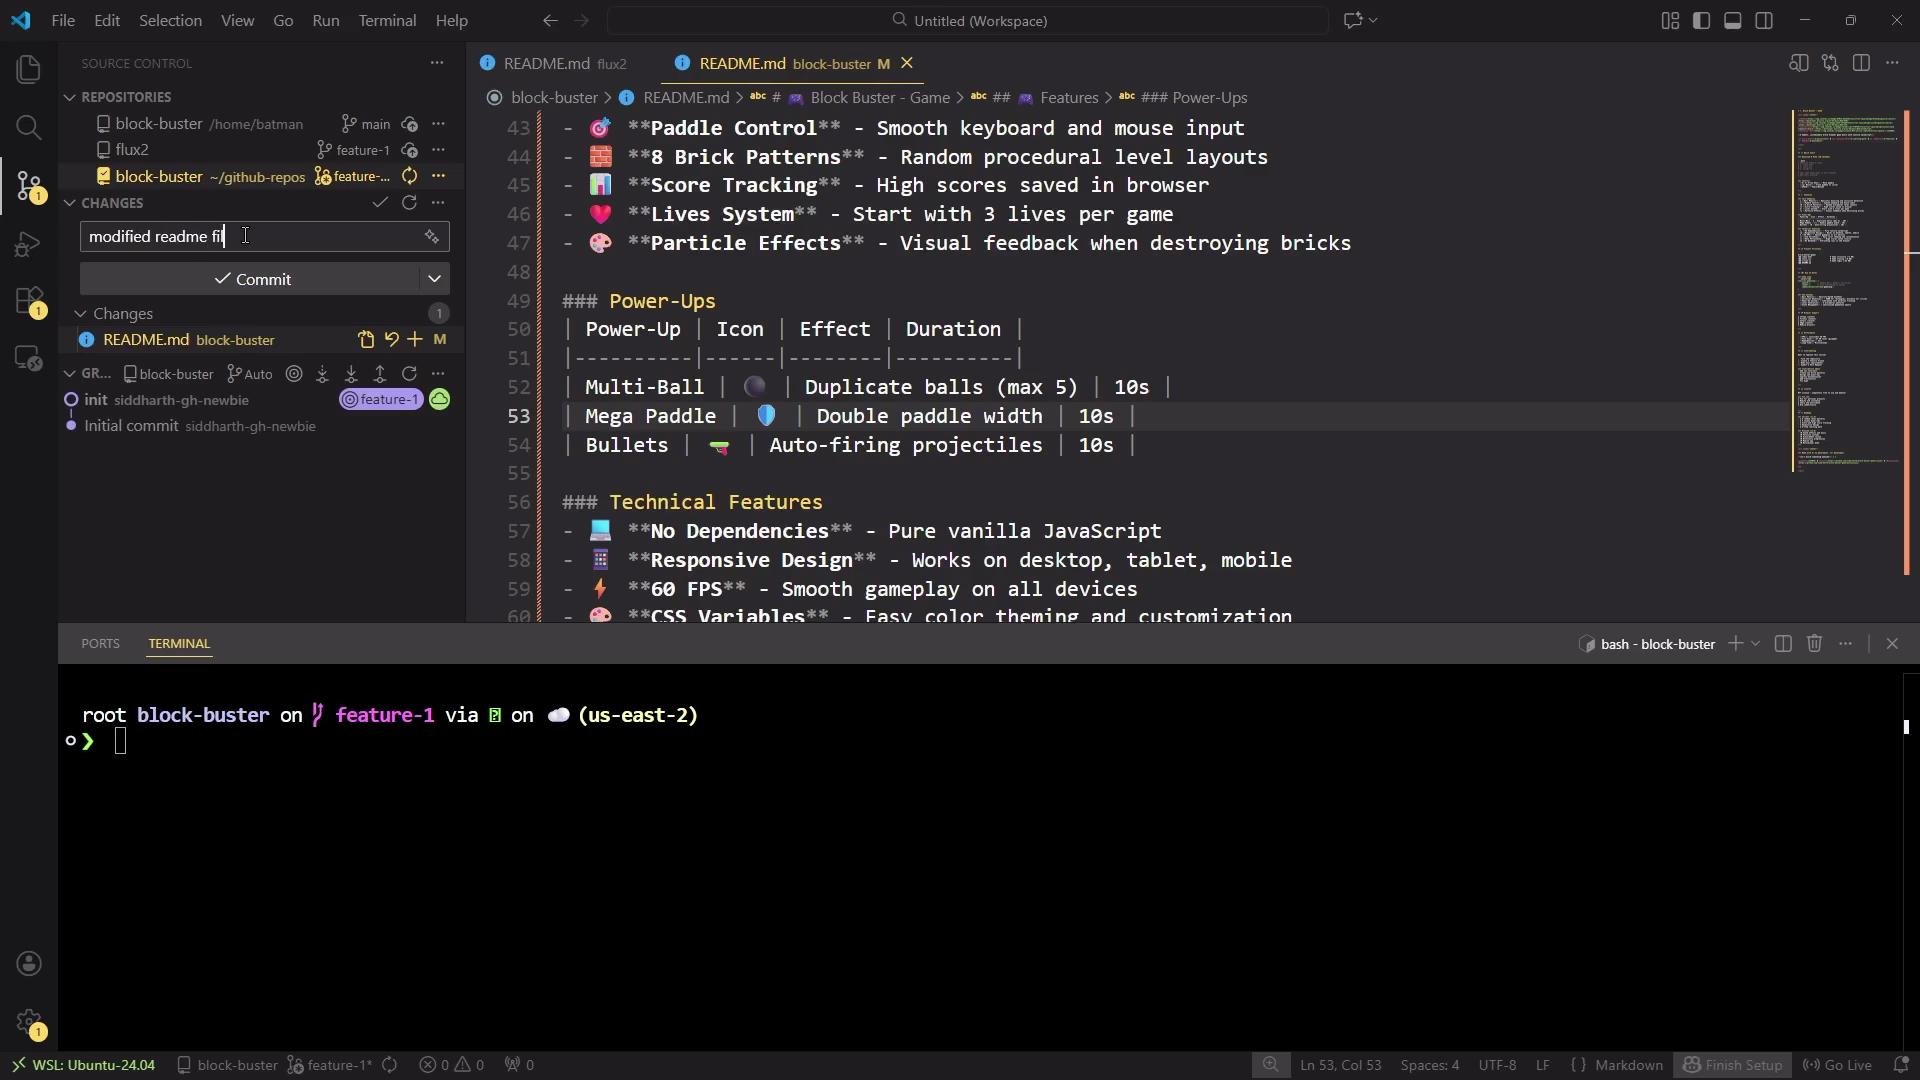
Open the project in your editor (for example, Visual Studio Code) and make changes toREADME.md or add new files/folders. The image below shows a README open while on a feature branch in VS Code.
Common Git troubleshooting (authentication / permissions)
If a push fails with a permission issue, you may see:-
Check the currently configured remotes:
-
If credentials are cached and causing issues, make Git prompt for credentials by unsetting the credential helper (this may vary by OS):
Note: macOS Keychain, Windows Credential Manager, or other external helpers may store credentials outside Git; remove them via your OS credential manager if needed.
-
Optionally embed your username in the remote URL so Git prompts for a password for that user:
When pushing over HTTPS, provide a personal access token (PAT) as the password. Alternatively, configure an SSH key and use the SSH clone URL to avoid HTTPS-based token prompts.
6. Create and use a Personal Access Token (PAT)
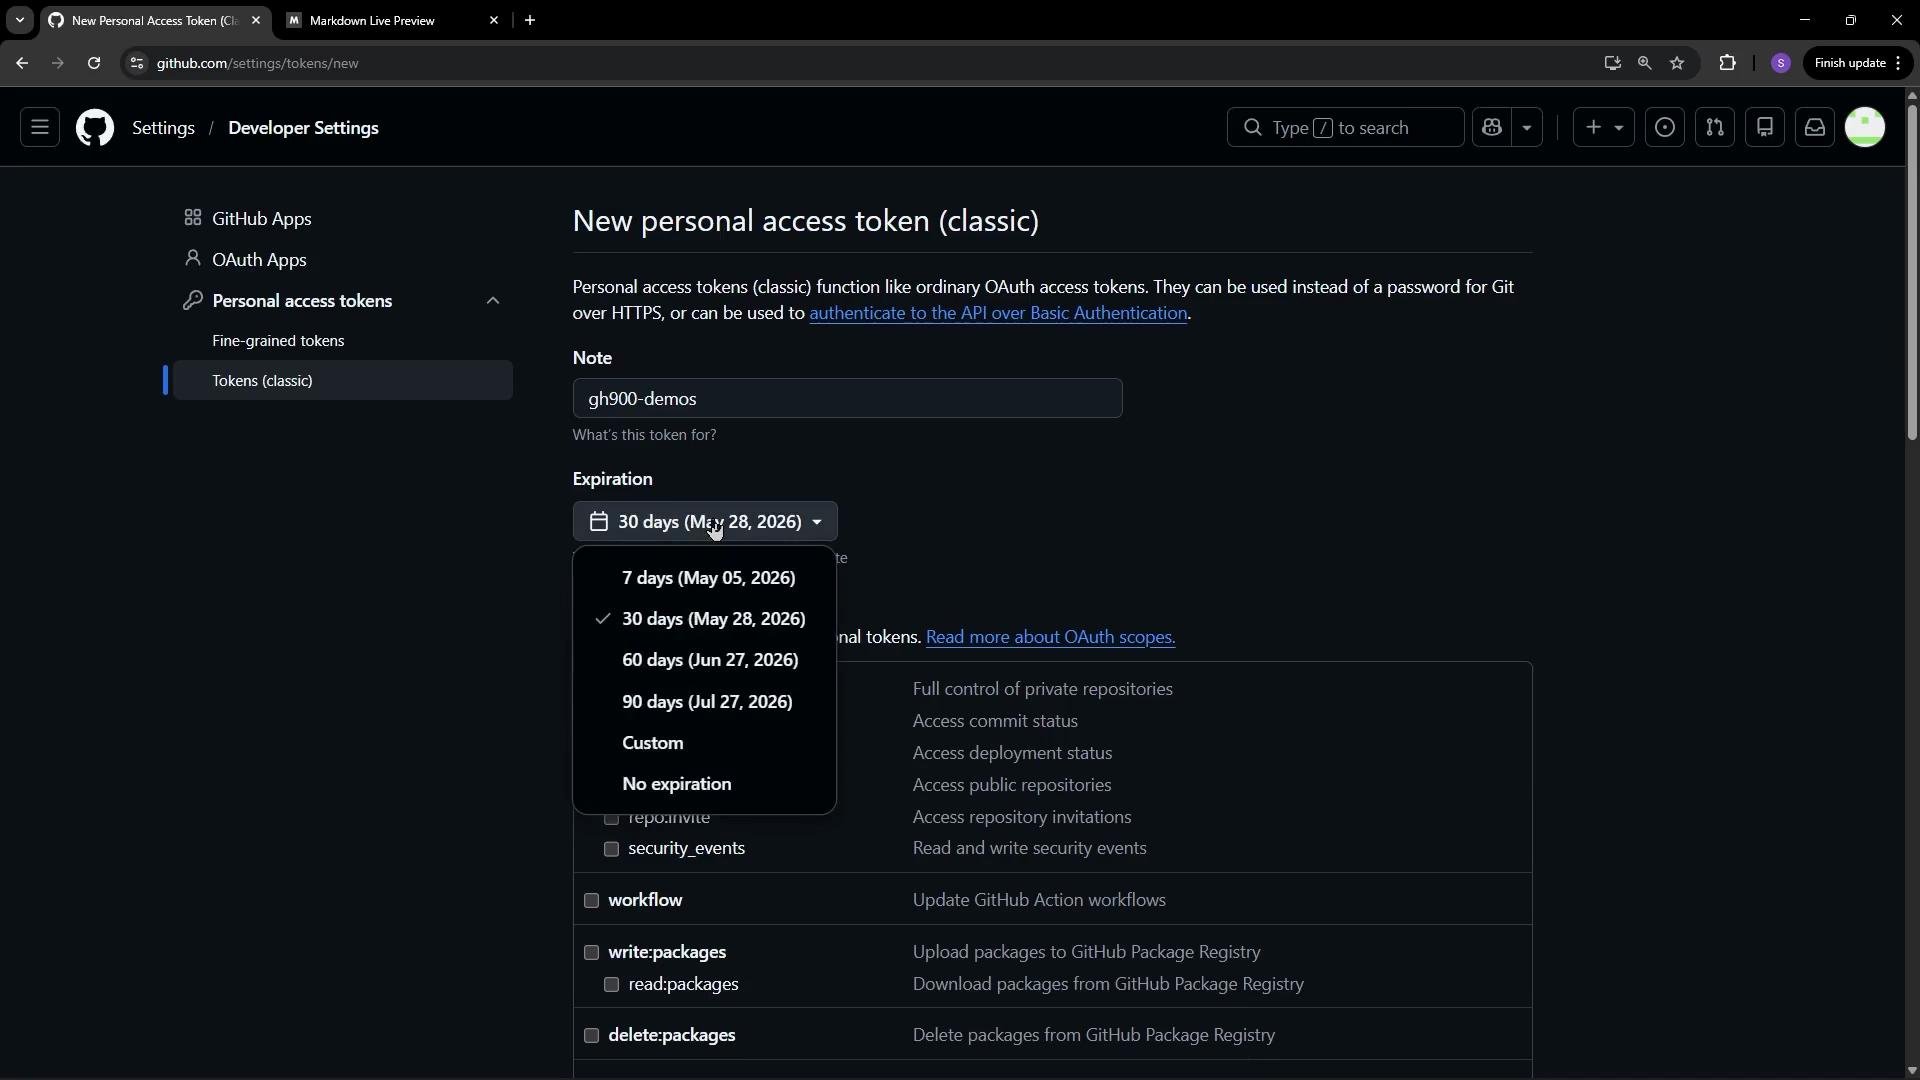
To create a PAT: go to GitHub Settings → Developer settings → Personal access tokens (classic) or choose the newer fine‑grained tokens depending on your needs. For pushes you typically needrepo scope (or repository-specific scopes for fine‑grained tokens). Set an expiration, generate the token, and copy it immediately — GitHub shows it only once.
git push:
- Enter your GitHub username.
- Paste the PAT when asked for the password.
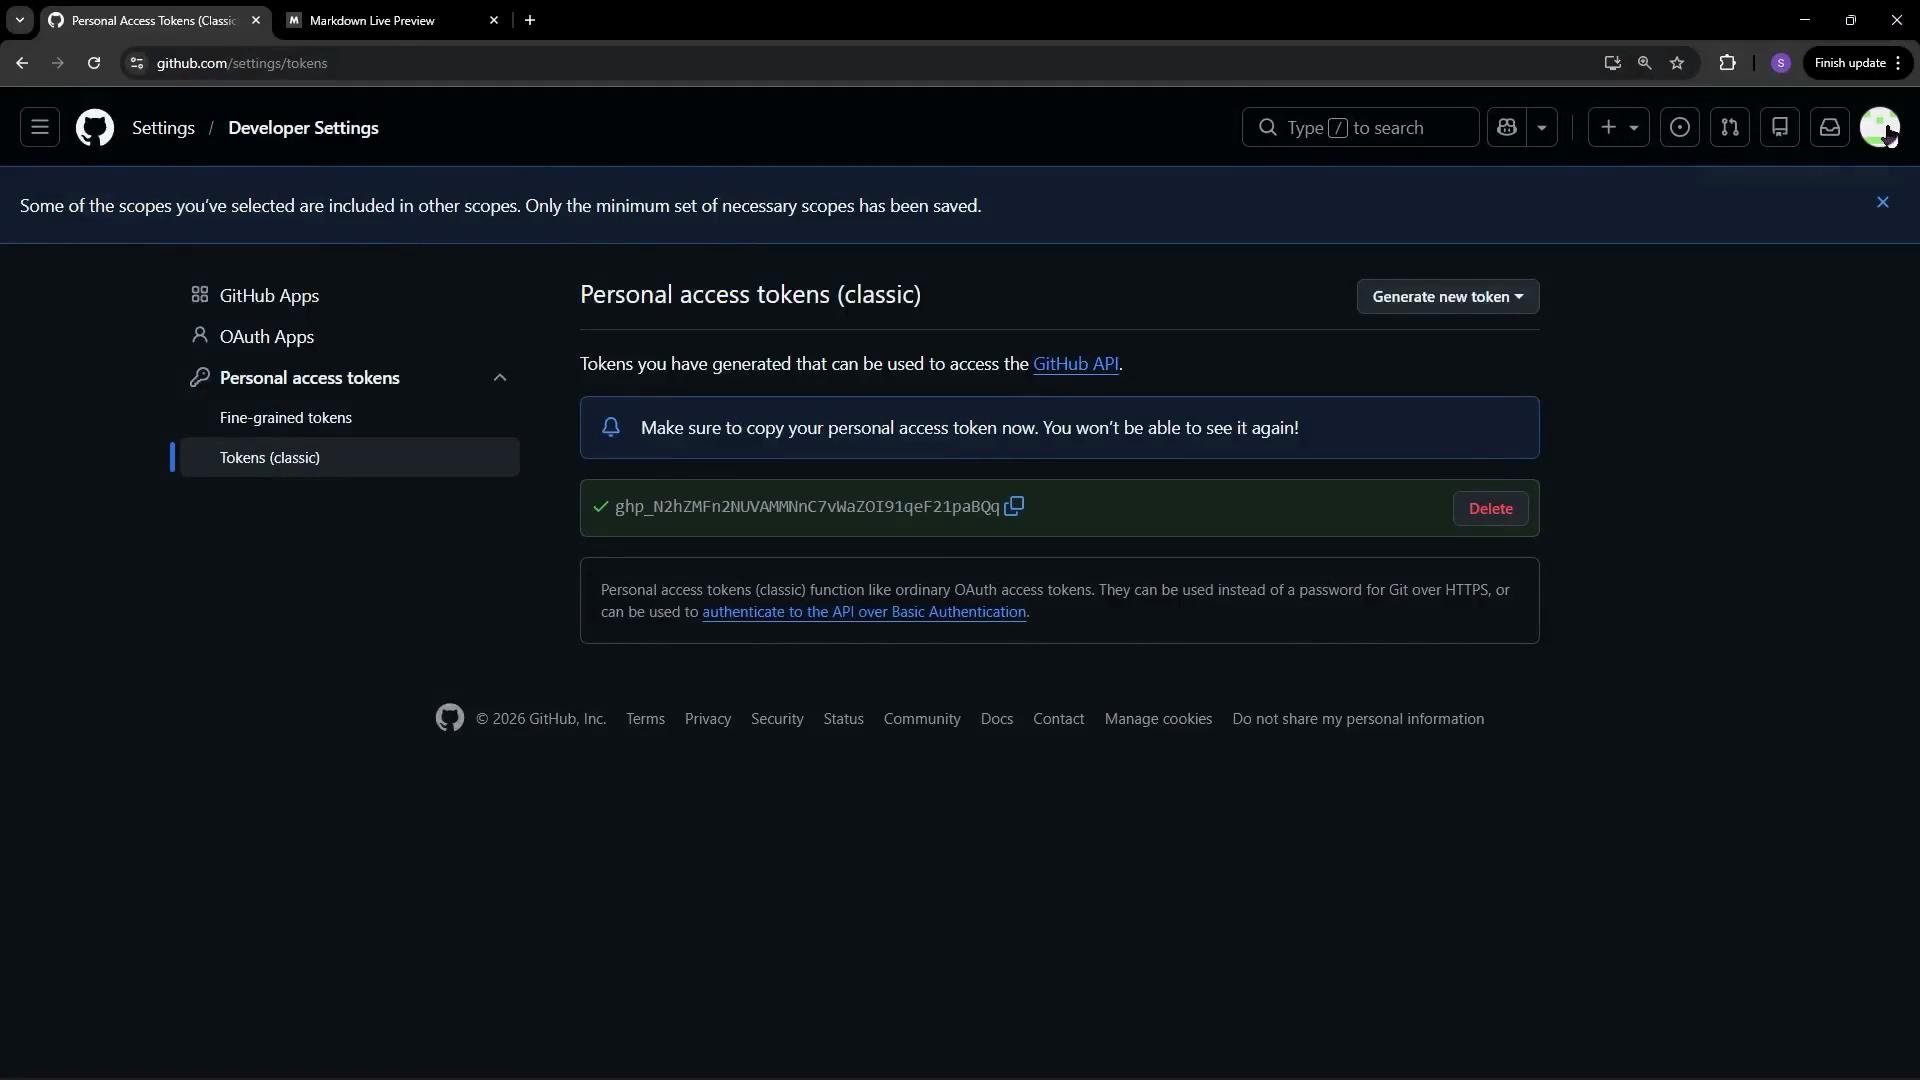
Never commit your personal access tokens, SSH private keys, or other secrets into a repository. Use environment variables, secret managers, or GitHub Secrets for CI workflows instead.
7. Confirm changes on GitHub
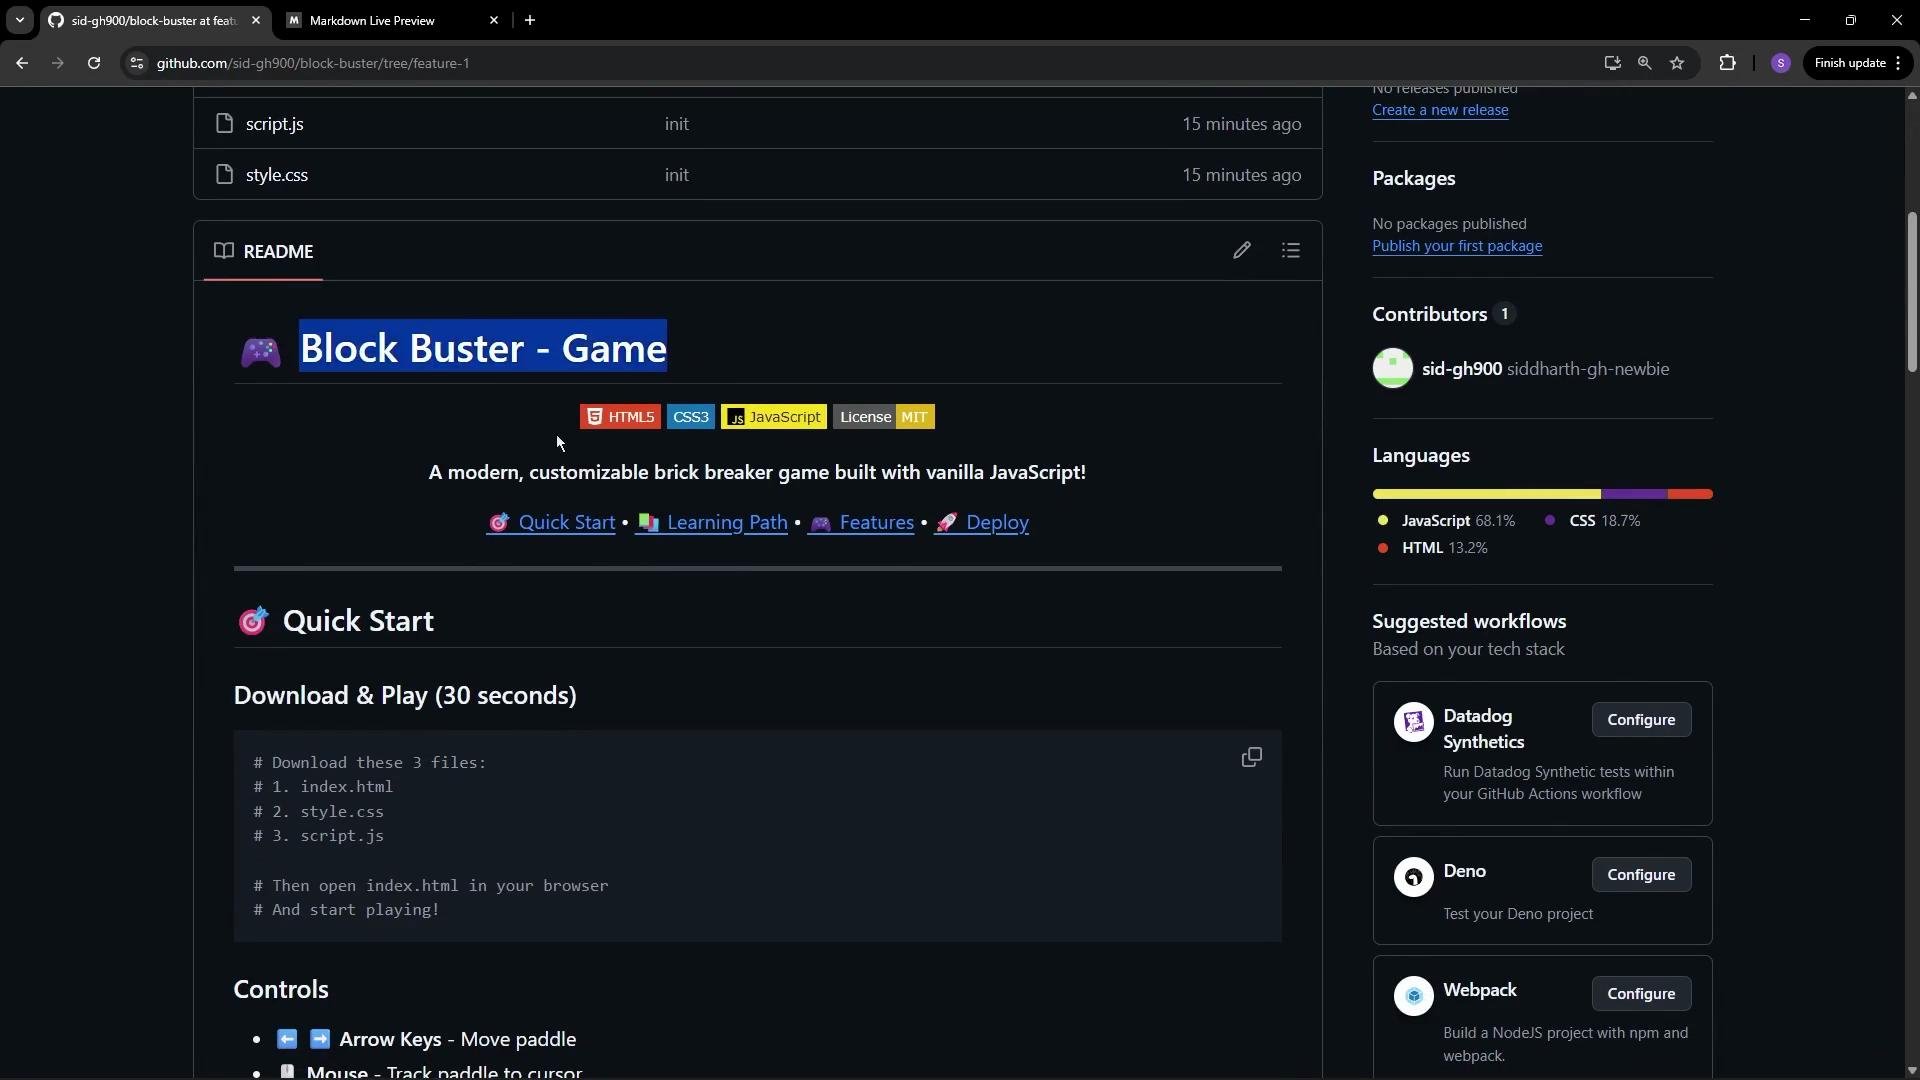
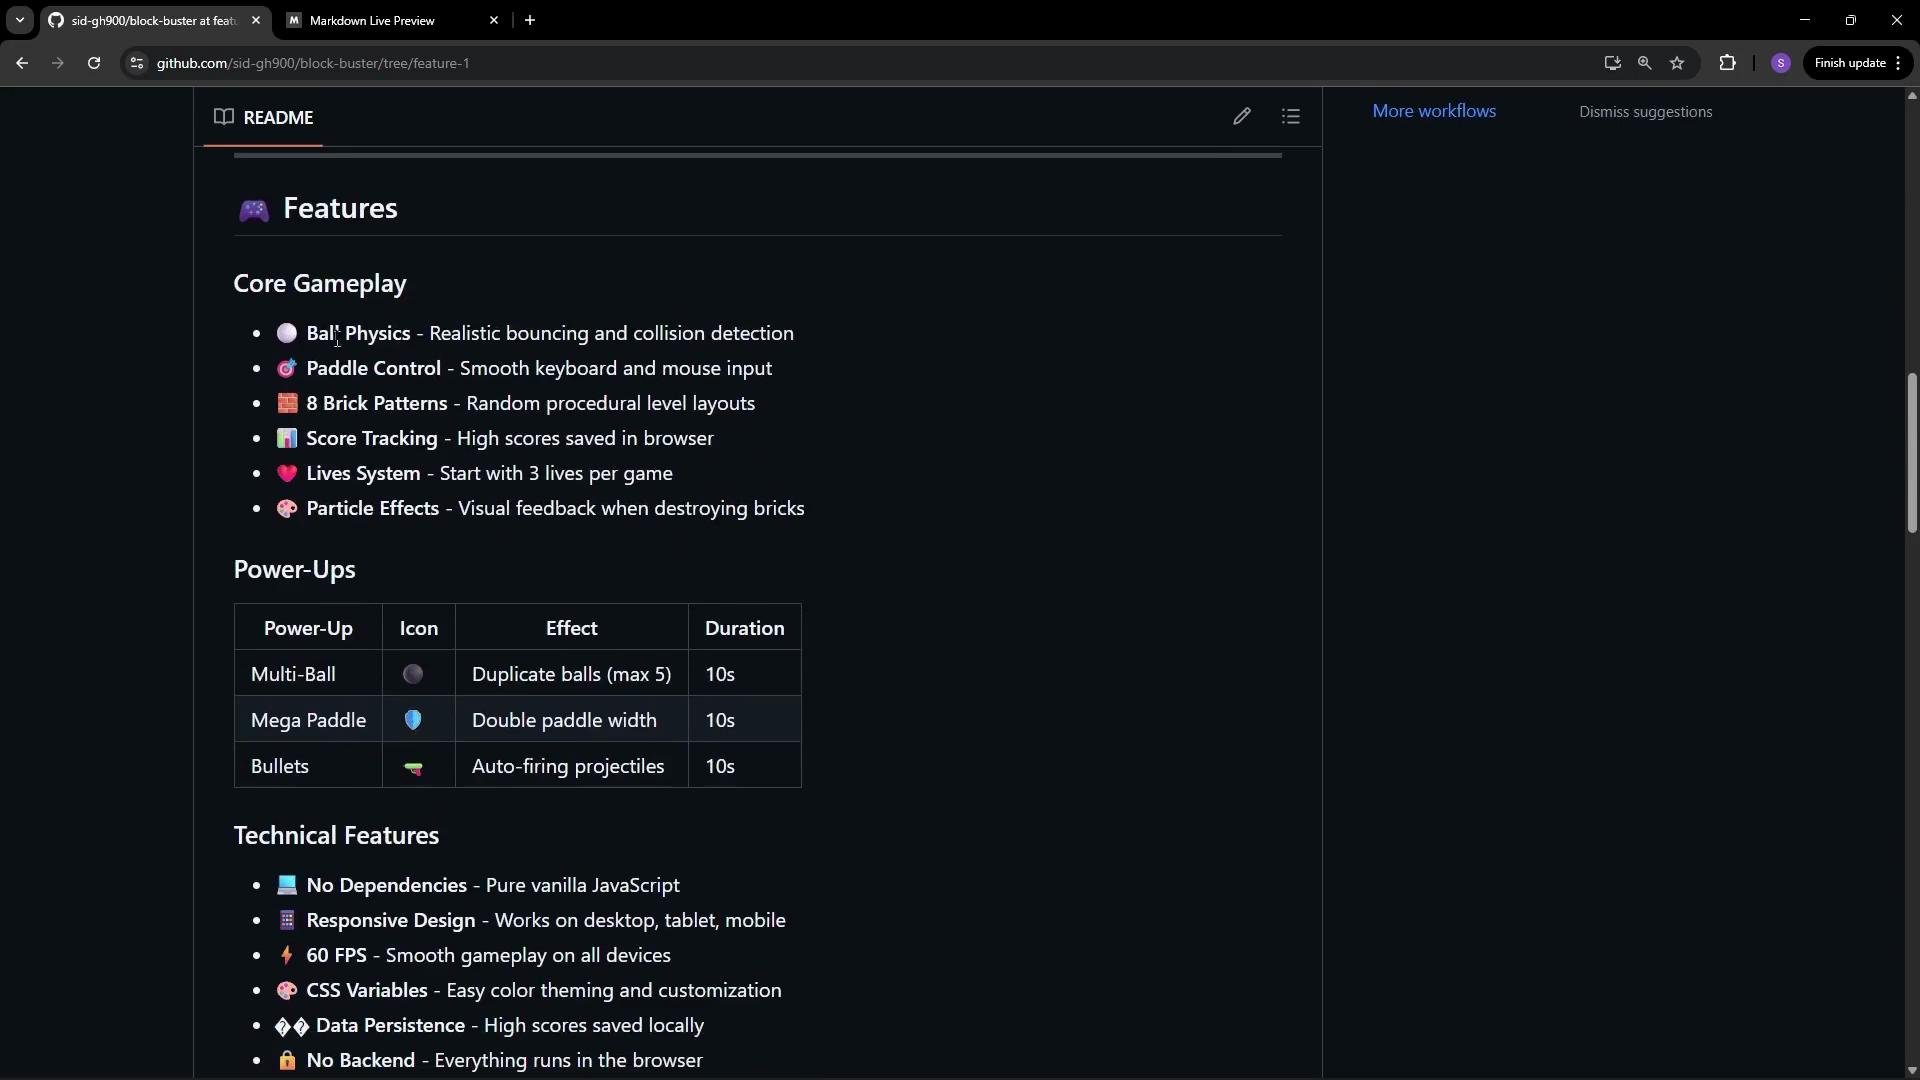
Back on GitHub you can browse thefeature-1 branch to confirm your pushed changes, including README updates, images, code blocks, and project structure.
Quick reference — common commands
Summary
This workflow demonstrates how to:- Create a repository on GitHub (including
README.mdand.gitignore). - Upload files via the web UI or work locally after cloning.
- Create and switch to feature branches.
- Clone repositories and manage branches locally.
- Resolve common authentication issues by using a Personal Access Token (PAT) for HTTPS pushes, or by using SSH keys.
feature-1 into main, or repository access controls in depth. To invite collaborators (for code review or contributions) go to the repository Settings → Manage access and add reviewers or contributors (for example, Siddharth and Alice McBury).
Further reading: