

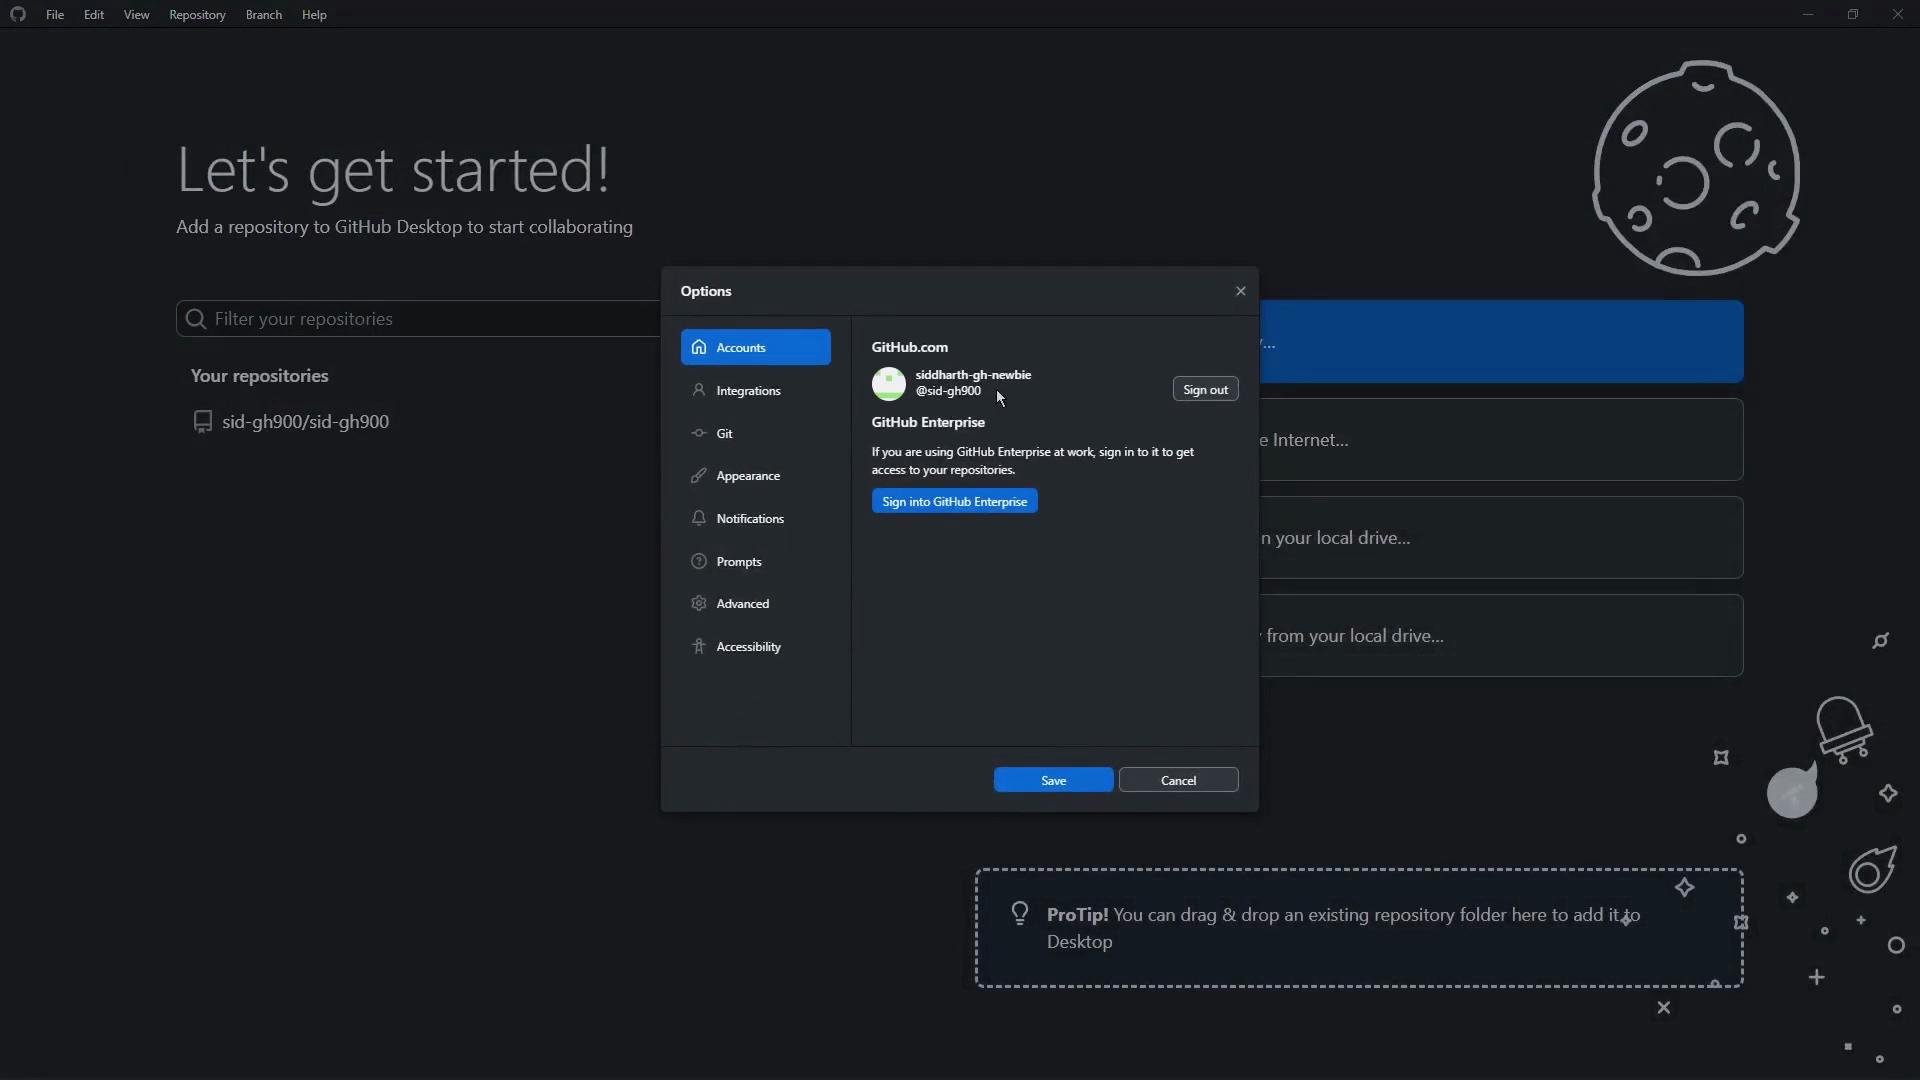
1. Sign in to your account
Open GitHub Desktop and sign in to your GitHub account:- Windows: File → Options → Accounts
- macOS: GitHub Desktop → Preferences → Accounts
2. Repositories and workspaces
After signing in, GitHub Desktop displays options for repositories and workspaces. You can:- Clone repositories from GitHub or by URL
- Create new local repositories
- Add existing local repositories to the app
3. View and review changes
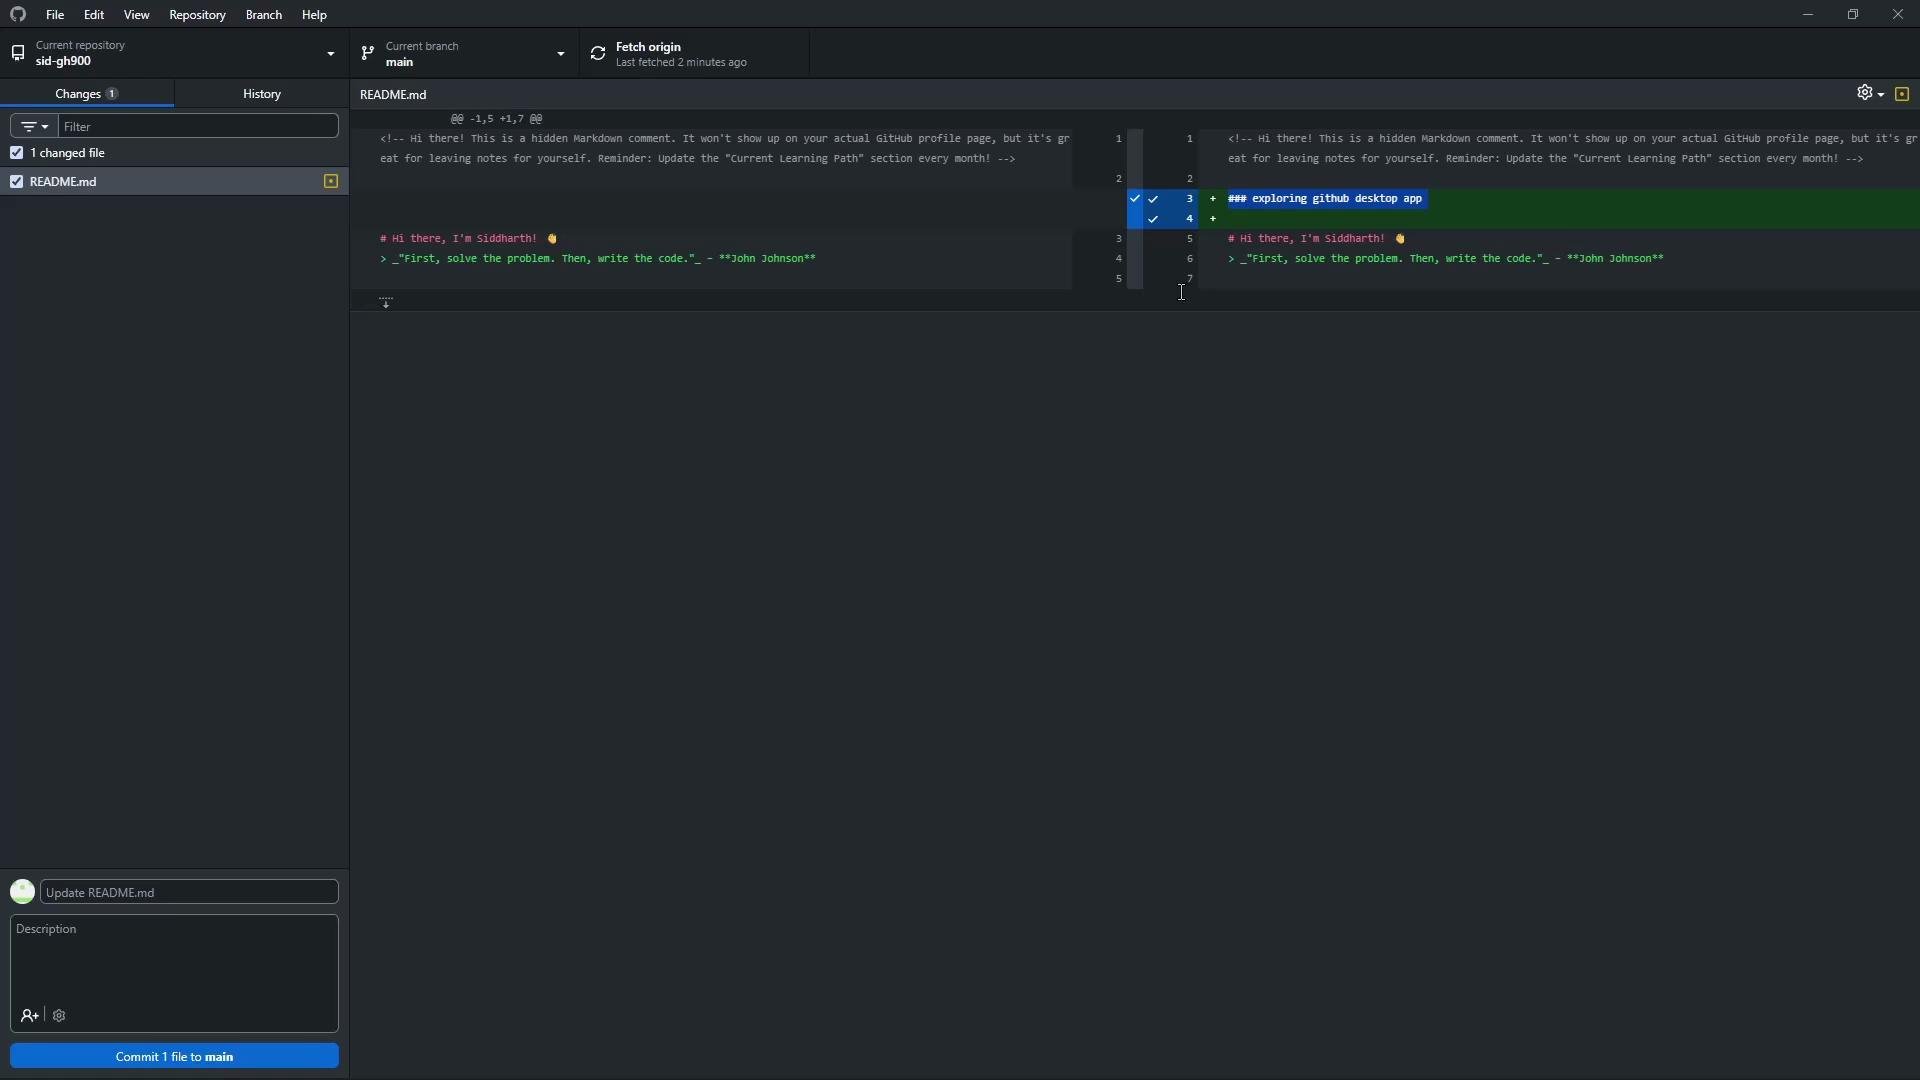
GitHub Desktop presents two primary panes that matter during development:- Changes view — shows unstaged or new local modifications with a diff preview.
- History view — lists past commits and allows inspecting commit details.
4. Configure editor and shell integrations
Set your preferred editor and shell so you can open files from the app:- Windows/Mac: Options → Integrations (macOS: Preferences → Integrations)
GitHub Desktop auto-detects installed editors. Common choices include Visual Studio Code and Git Bash (Windows).
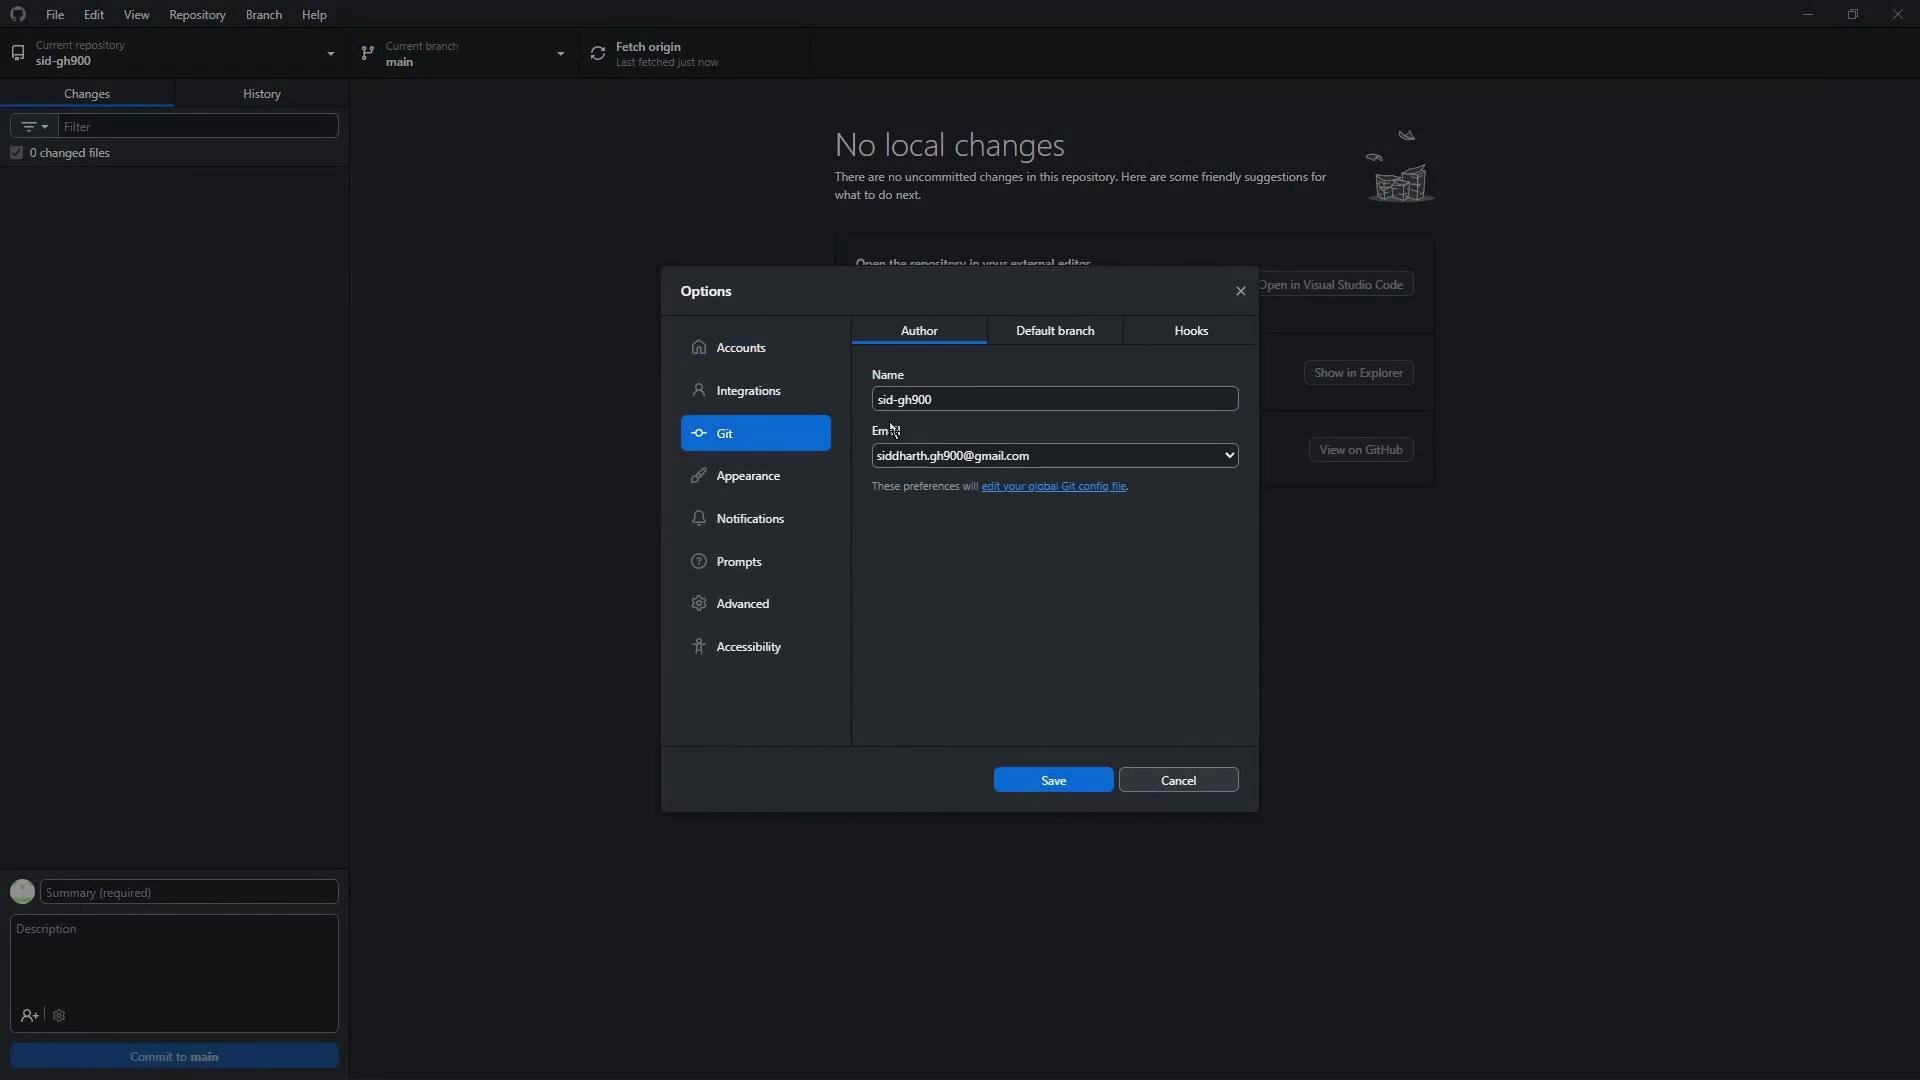
5. Set Git identity and default branch
Ensure commits are attributed properly:- Windows/Mac: Options → Git (macOS: Preferences → Git)
Set your author name and email used in commit metadata. New repositories created in GitHub Desktop default to themainbranch unless changed.
Set your Git name and email globally on your machine if you use multiple tools. This prevents mismatched commit attribution across GUIs and the command line.
6. Open and edit files
From the repository file list you can:- Show in Explorer / Finder
- Open in Visual Studio Code
- Open with default program
app.png) to the repository folder on disk, GitHub Desktop will list it as a new file ready to be committed.
Example PowerShell command to verify your working directory on Windows:
7. Manage binary file changes and image diffs
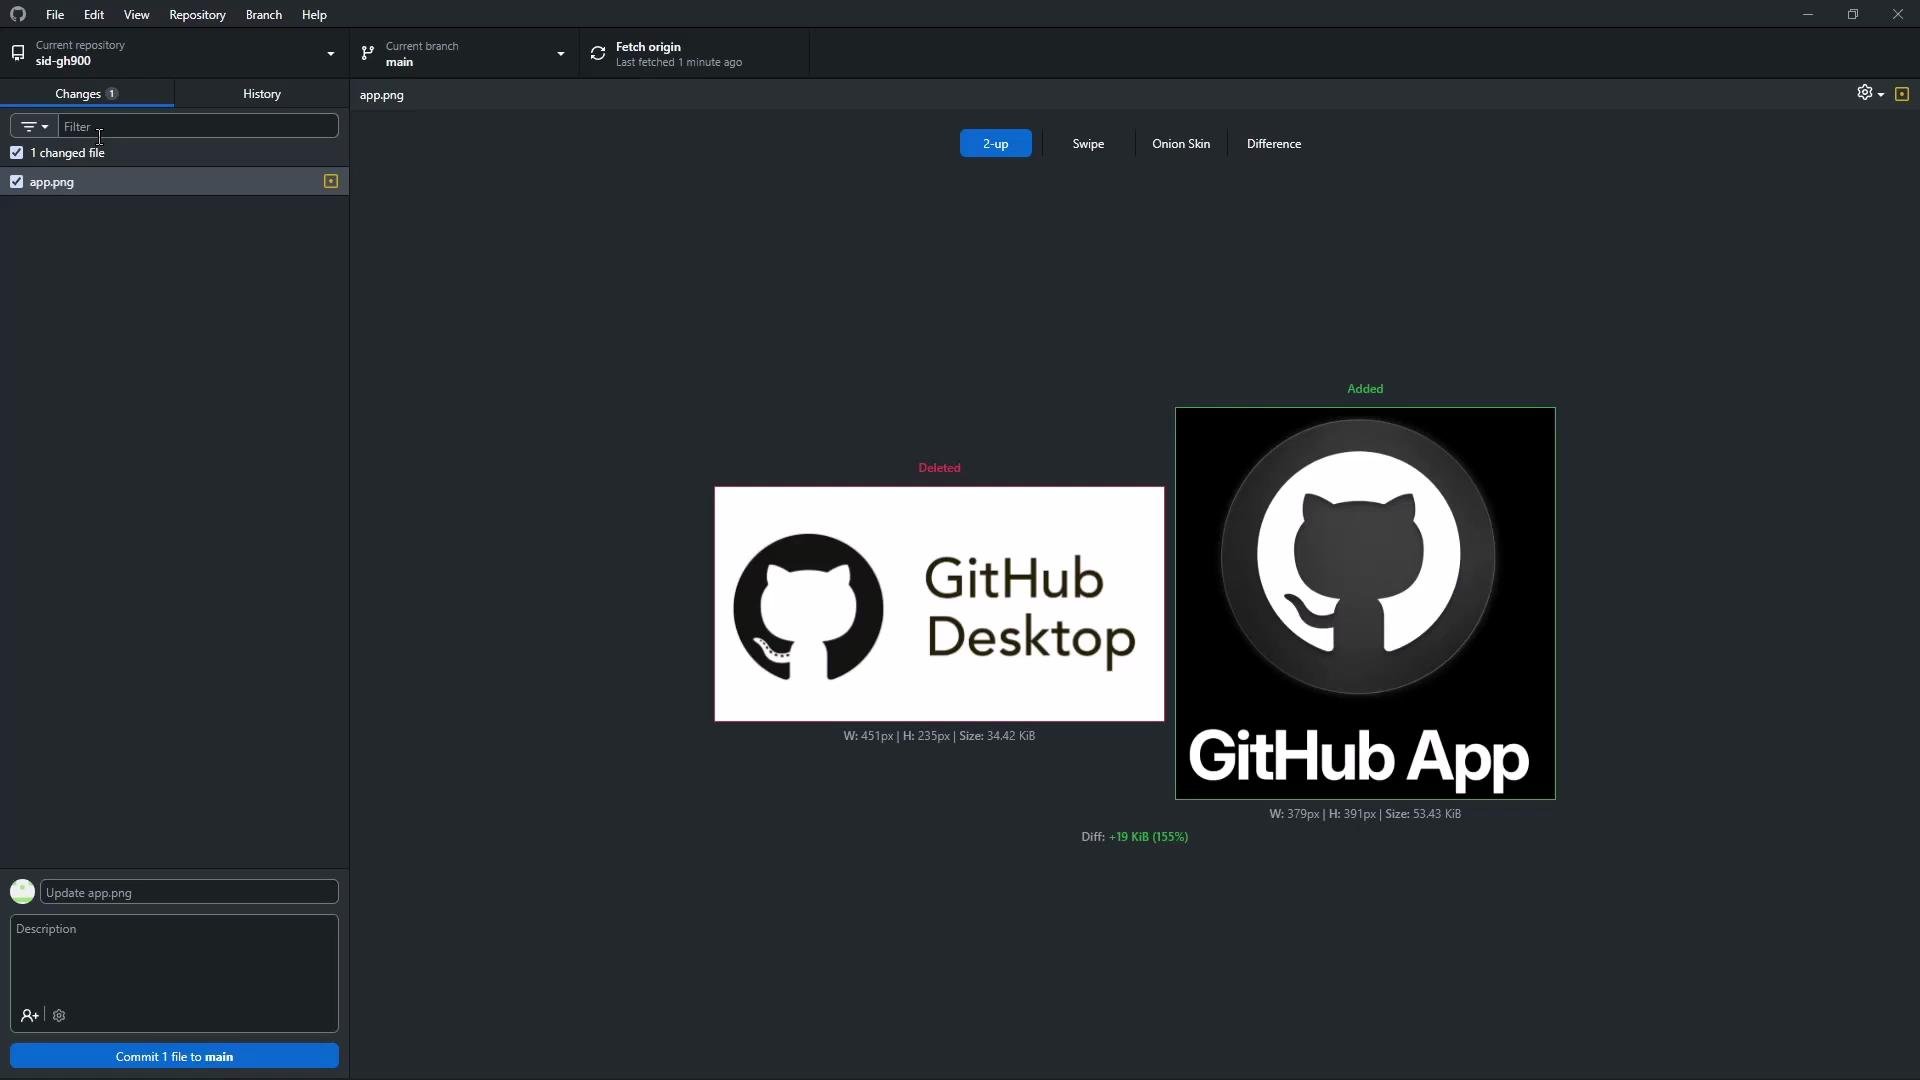
GitHub Desktop can display visual comparisons for image changes — for example, replacingapp.png with a different image. Visual diff styles include split (side-by-side) and overlay/onion-skin comparisons, which help you confirm visual changes before committing.
8. Add co-authors to commits
GitHub Desktop supports co-authored commits. Use the “Add co-authors” option in the commit area and type the co-author’s GitHub username. GitHub Desktop appends theCo-authored-by: trailer to the commit message so multiple contributors get credit.
Use co-author trailers to credit pair programming, mentorship, or collaborative edits. The co-author must have a GitHub account for linking from the commit view on the web.
9. Push, pull, and resolve conflicts
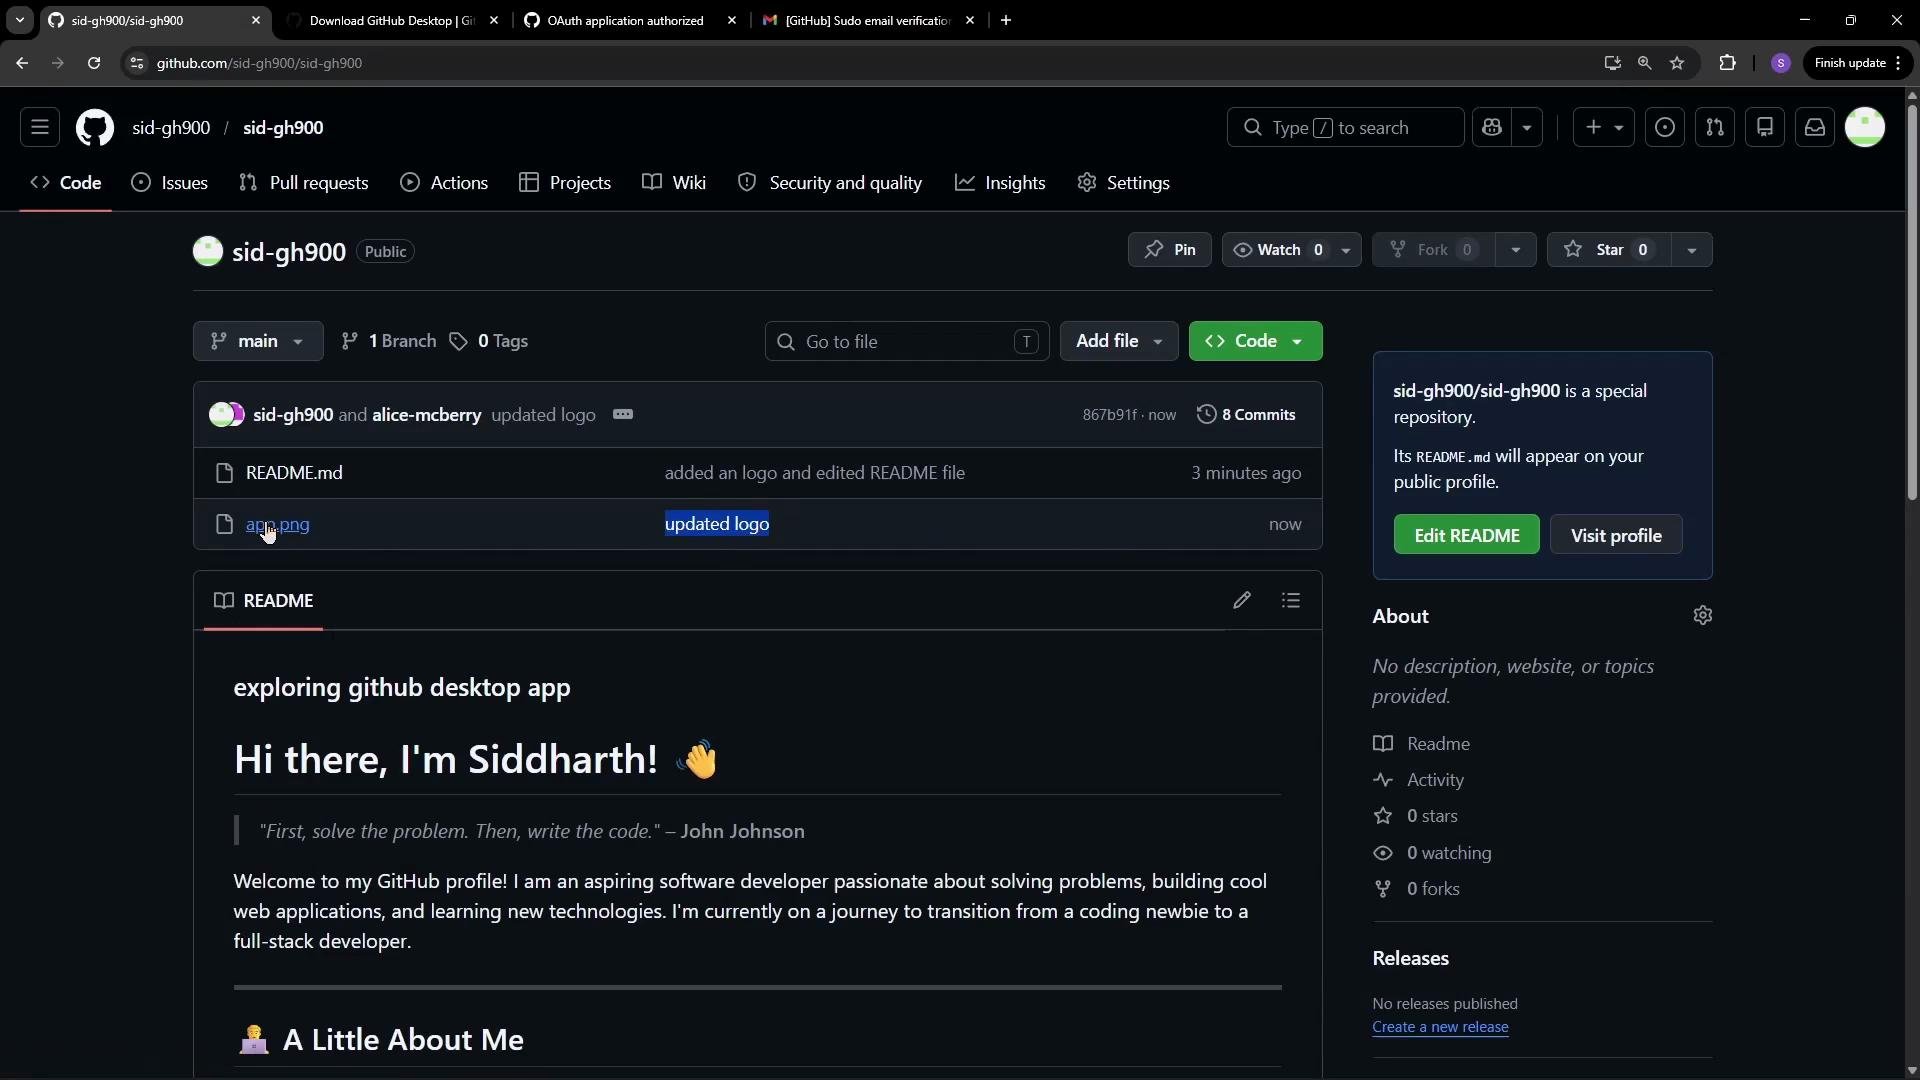
After committing locally, push the commit to the remote. If the remote contains changes you don’t yet have locally, fetch or pull first, resolve conflicts in the editor or through the app, then push. Once pushed, the commit history on GitHub shows the author and any co-authors. The web UI may take a few moments to update.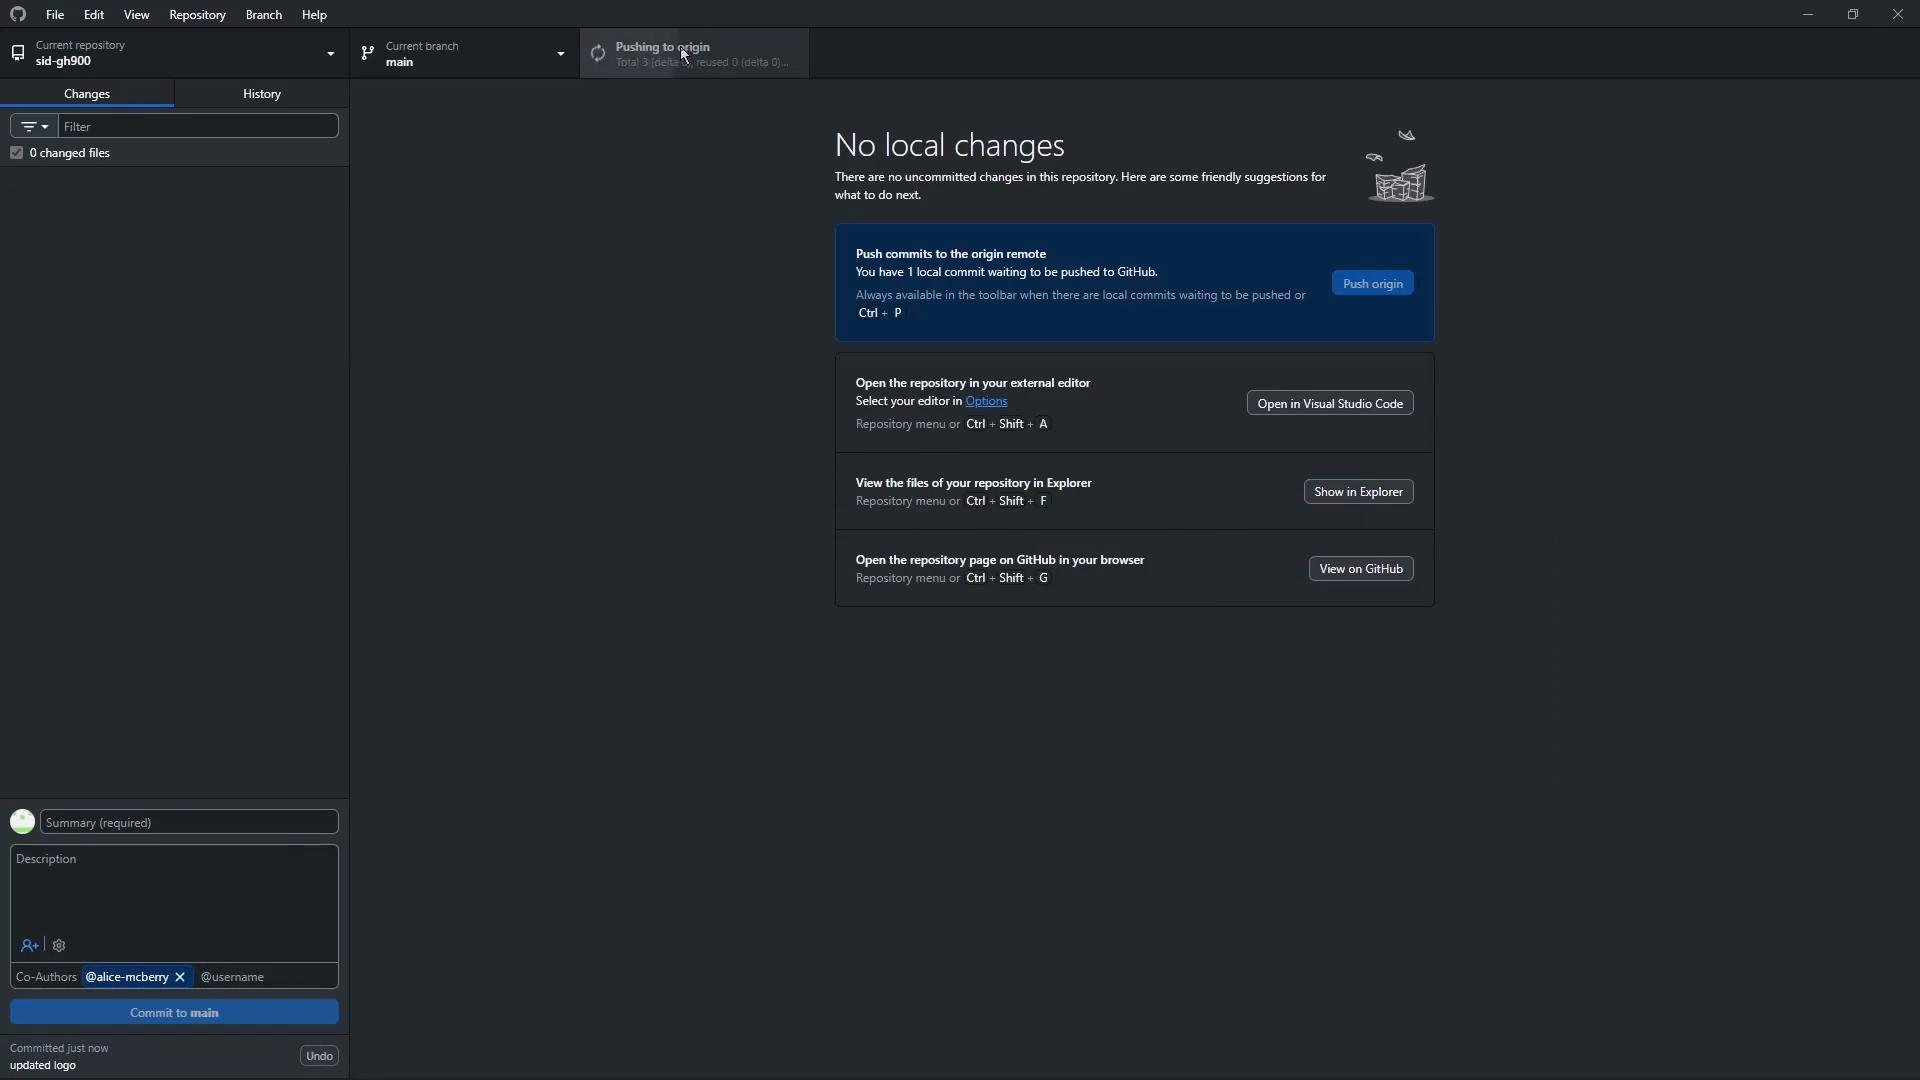
10. Summary of common workflows
GitHub Desktop provides a visual interface for the most common Git tasks but still allows opening a shell or editor when direct Git commands are required.11. Example repository view
Below is a snapshot of the example repositorysid-gh900 used in this walkthrough. It includes a README and an app.png file added during the demo.
Links and references
If multiple tools are used on the same machine, keep a consistent Git name and email to avoid mismatched commit attribution. Verify settings in both GitHub Desktop and your global Git config.