

fluxcd/flux2.
Branches
- A branch represents an independent line of development inside the same repository. Use feature branches for work in progress and reserve
mainfor stable, production-ready code.
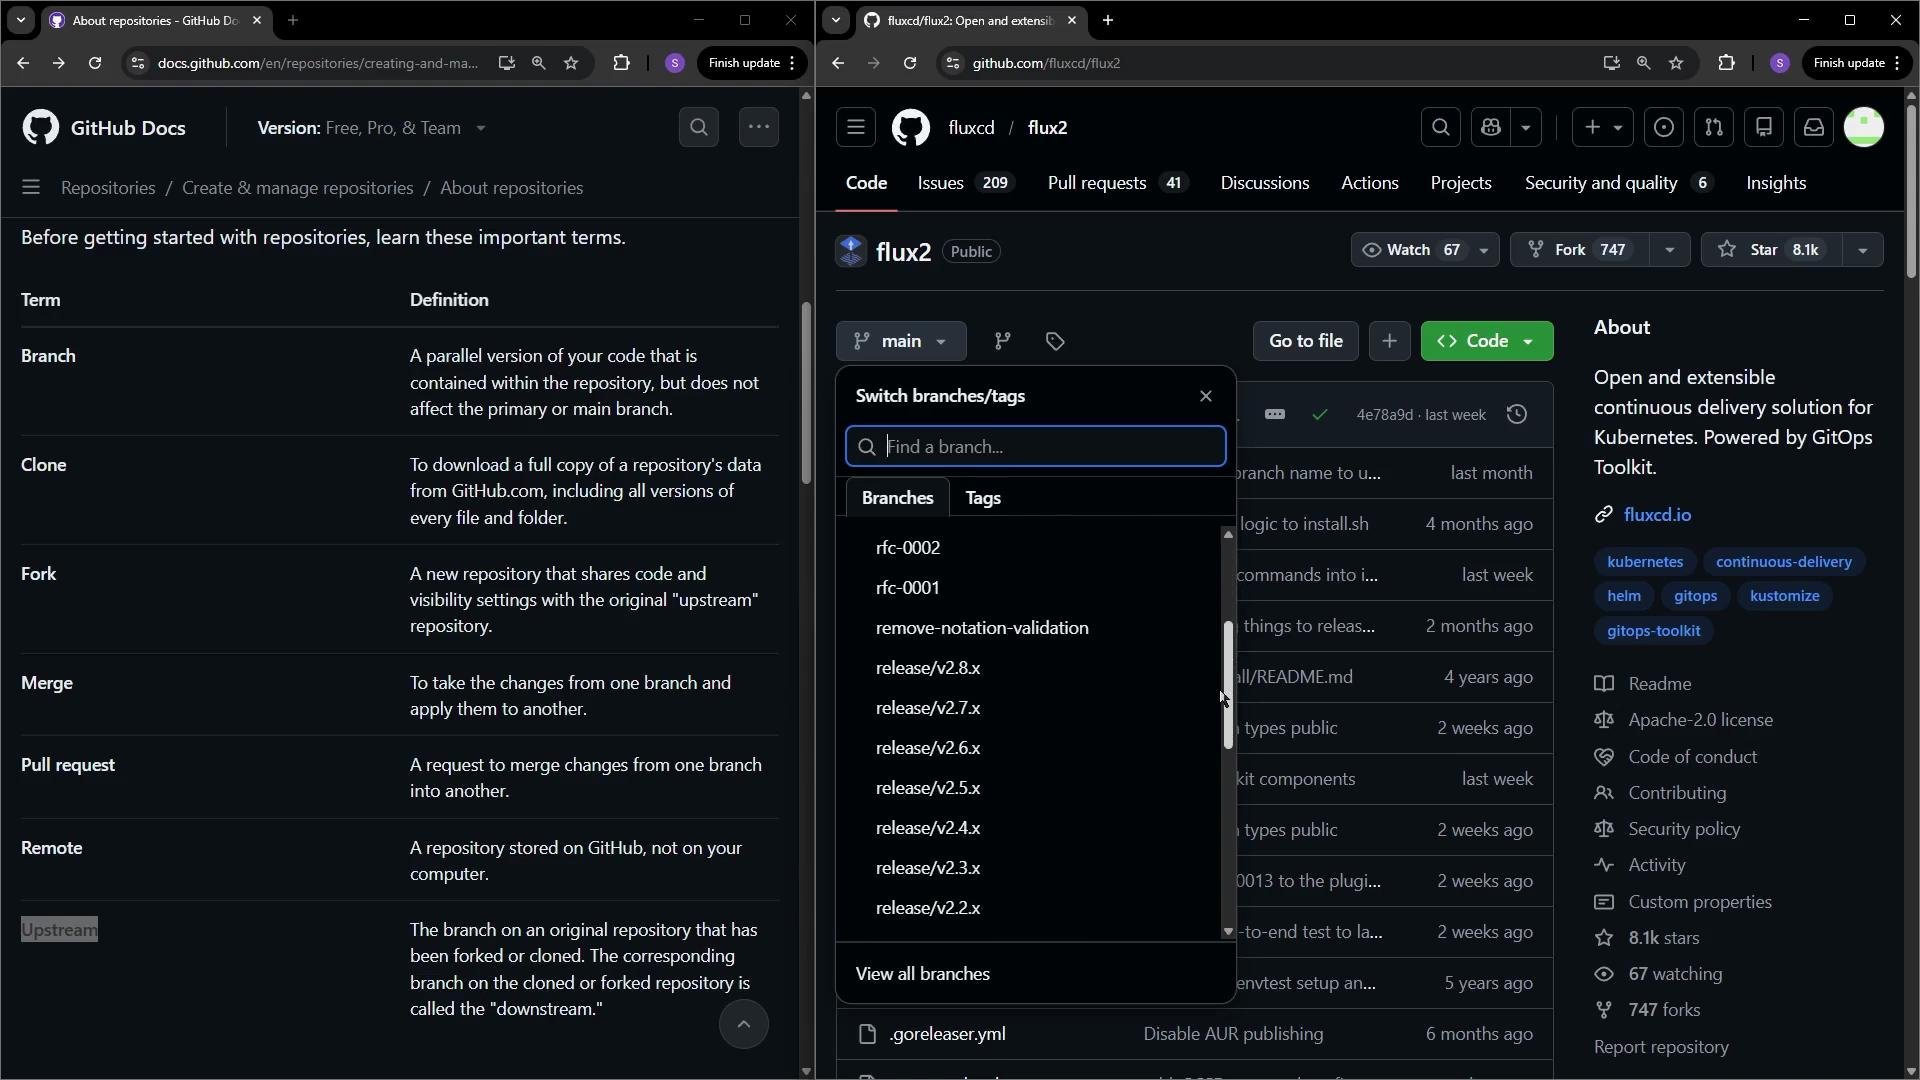
- Fork a repository when you want to propose changes but don’t have write access to the original. Forking creates a copy under your account where you can freely make changes and later open a pull request against the original repository.
-
When you click “Fork” on GitHub, you will be asked where to fork and whether to fork only the default branch or all branches. After forking you’ll have a repo like
your-username/flux2that shows it was forked fromfluxcd/flux2.
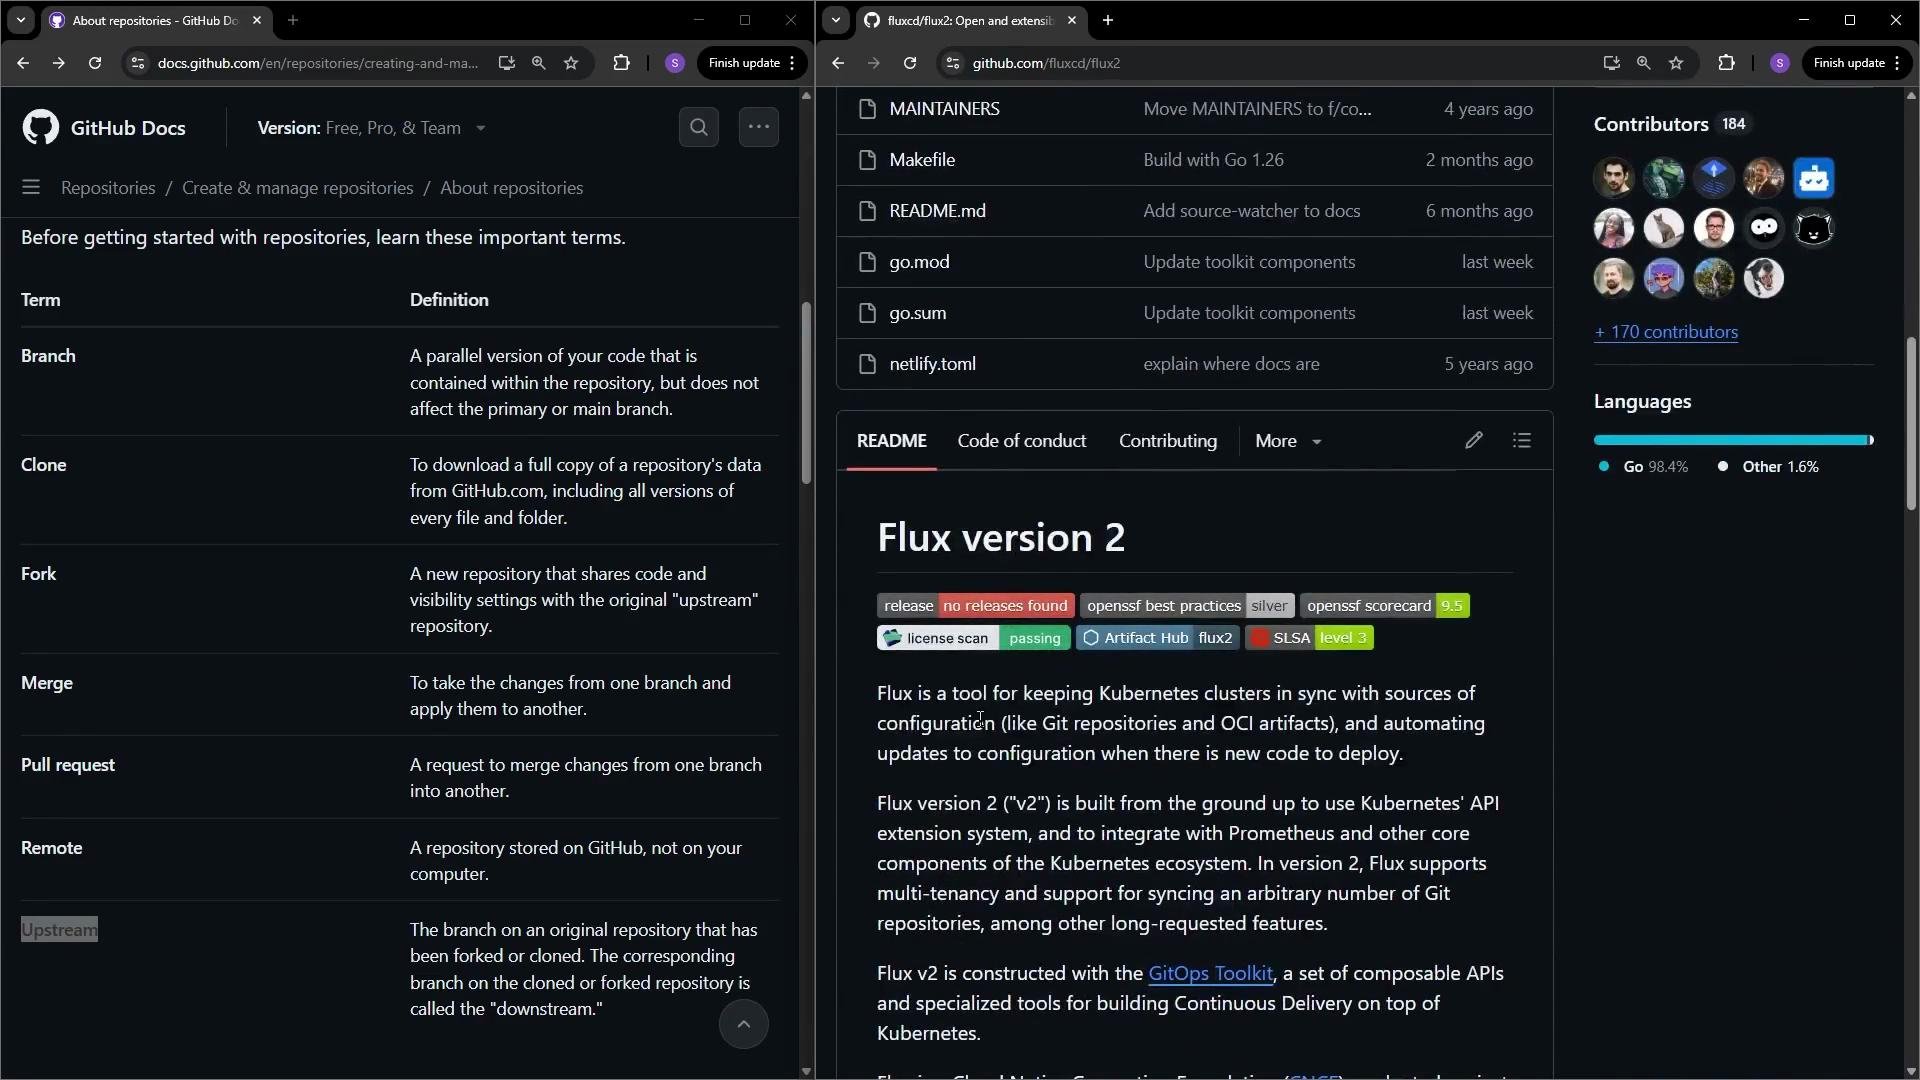
- Cloning copies the repository (including history) to your local machine. You can clone via the GitHub CLI or with native
gitusing HTTPS or SSH.
- Avoid making changes directly on
main. Create a feature branch to isolate your work, then push it to your fork and open a pull request when ready.
- After creating the branch, edit files locally or use the GitHub web UI to edit and commit.
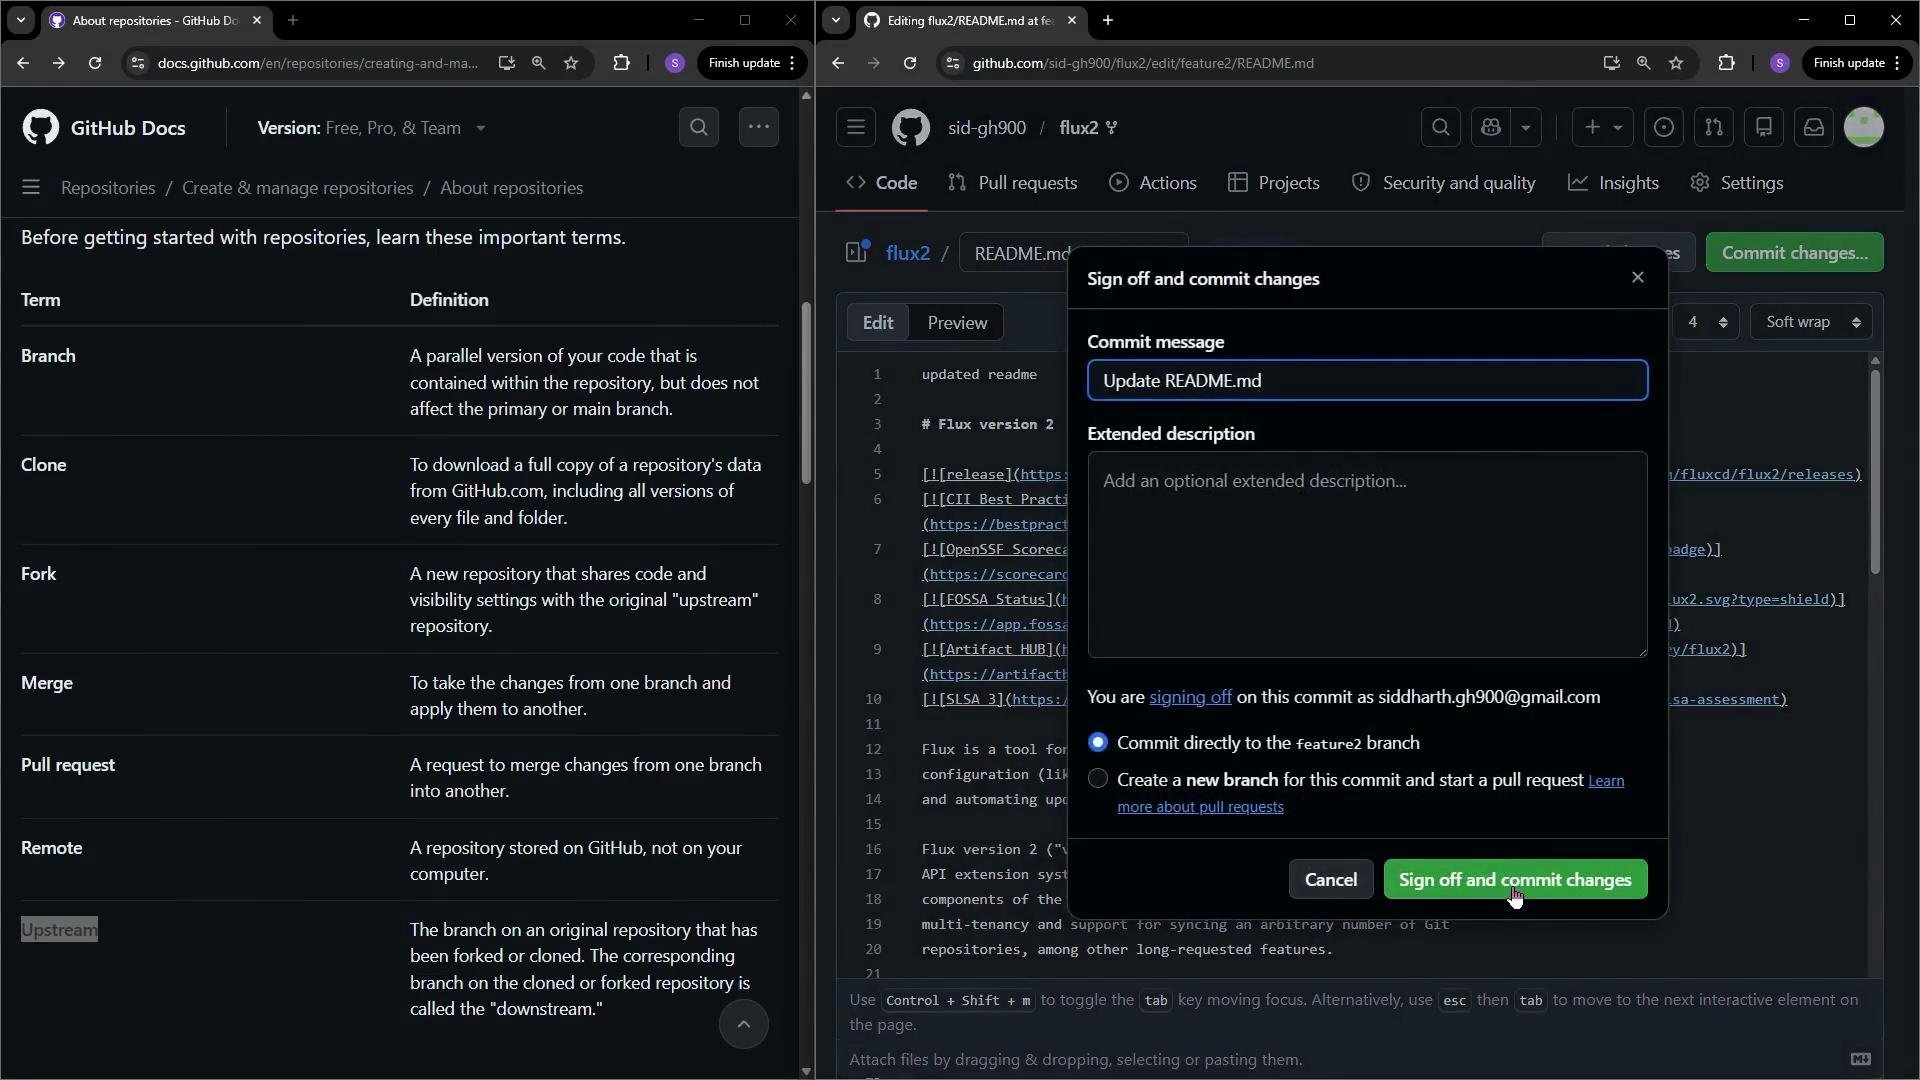
- GitHub allows editing files directly in your fork’s web UI. When you commit to a non-default branch, GitHub will typically show an option to compare and open a pull request to merge those changes back into the target branch.
- The
-u origin feature-oneflag sets the remote tracking relationship so futuregit pushandgit pullwork without specifying the branch. Once pushed, open a pull request fromyour-username/flux2:feature-onetofluxcd/flux2:main(or the appropriate target branch).
- Merging applies changes from one branch into another. A pull request (PR) is used to propose and review those changes before merging. GitHub often provides a “Compare & pull request” prompt immediately after you push a branch.
- A remote is a named reference to a hosted repository URL. After cloning your fork,
originusually points to your fork. Add anupstreamremote to track updates from the original repository you forked.
- Fetch updates from the original project:
- Update your local
mainwith upstream changes:
- Bring your feature branch up to date by rebasing or merging:
- Work on feature branches, not
main. - Keep your fork in sync with
upstream. - Push branches to your fork and open a pull request for review when ready.
Best practice: Work on feature branches (not
main), keep your fork in sync with upstream, and open a pull request for review when your changes are ready.- GitHub Docs: https://docs.github.com/
- Git documentation: https://git-scm.com/docs
- GitHub CLI: https://cli.github.com/