

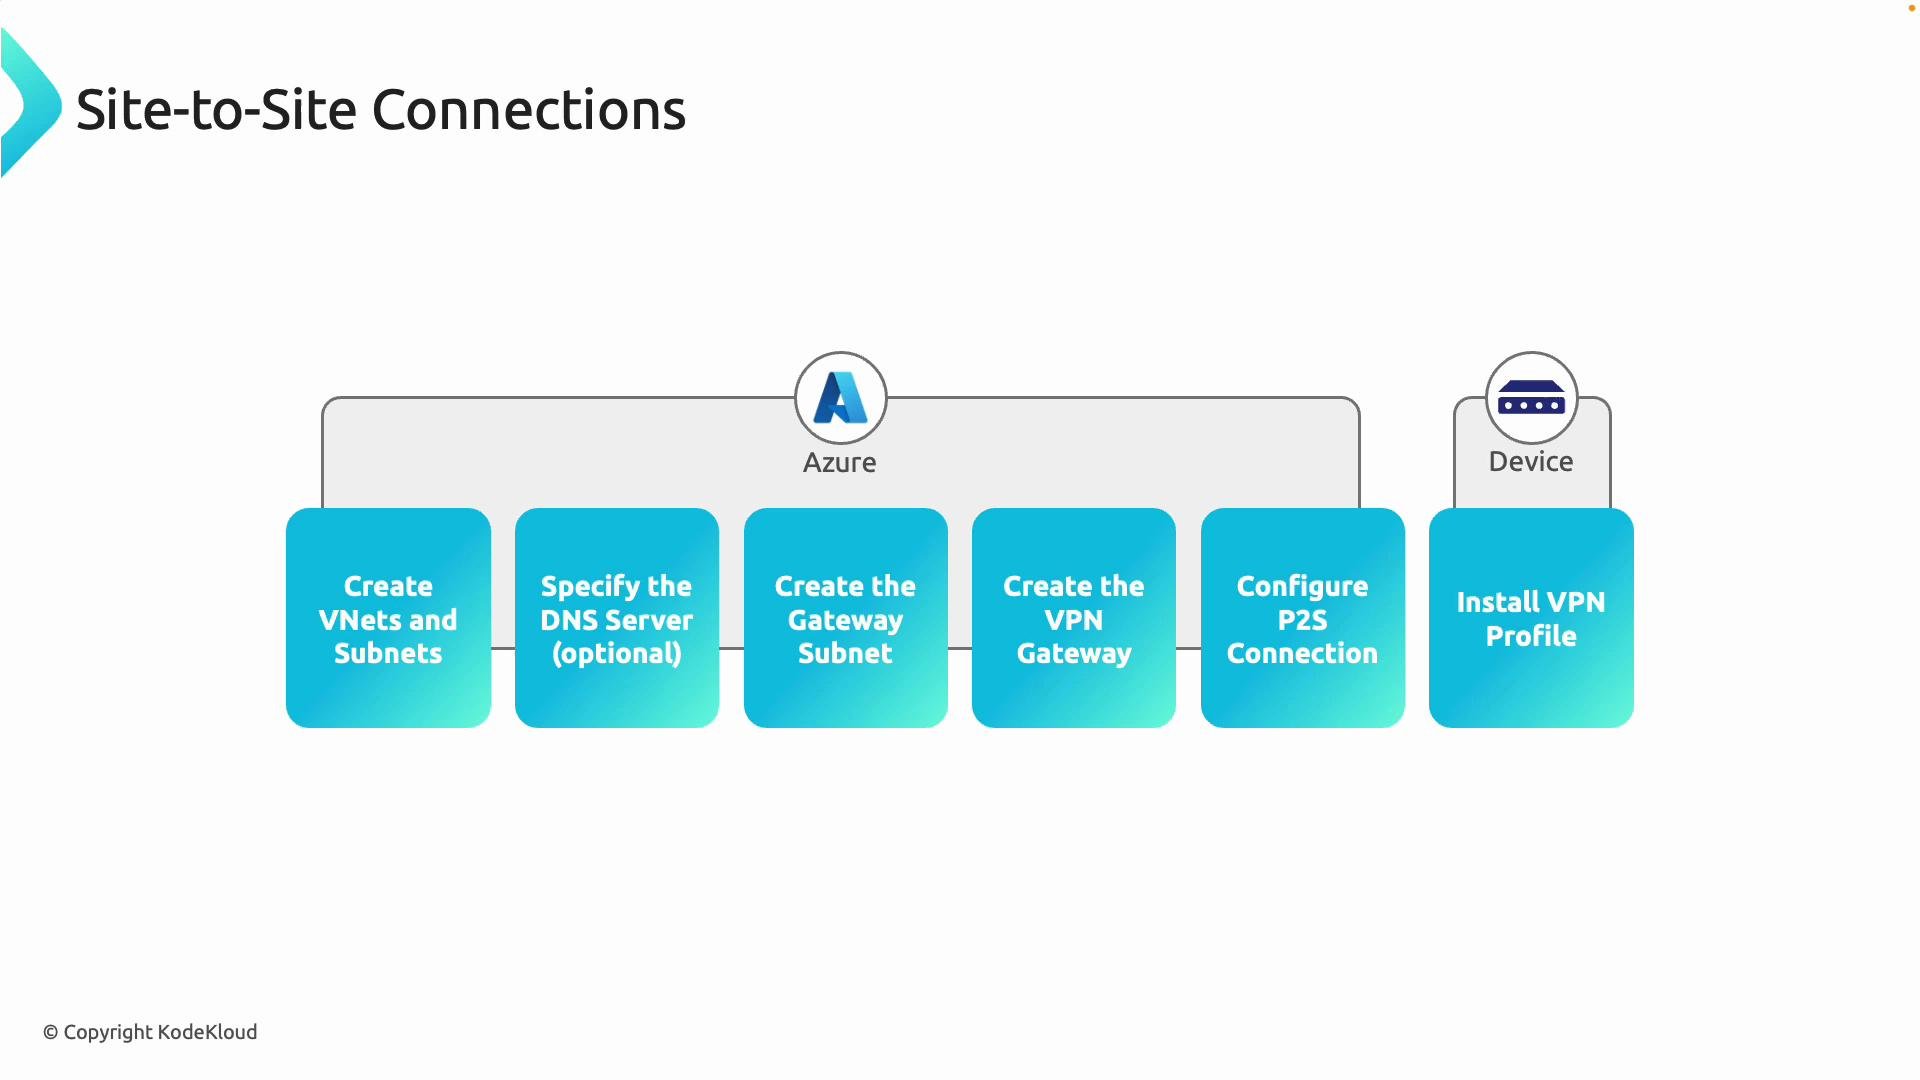
- Create or reuse a virtual network (VNet) and subnets.
- Ensure you have a
GatewaySubnet. - Create (or reuse) the VPN gateway.
- Configure the Point-to-site settings on the VPN gateway.
- Download and install the VPN client/profile on client devices.
- Client address pool: choose a subnet that does not overlap with on-prem or peered VNets.
- Authentication method: certificate-based, Azure Active Directory (Entra ID), or RADIUS.
- Tunnel protocols: OpenVPN, IKEv2, and/or SSTP depending on client support.
- Routing: whether to advertise custom routes or rely on default system routes.
You can use certificate-based authentication, Azure Active Directory (Entra ID), or RADIUS for P2S. Choose the method that fits your security requirements. Make sure the client address pool is large enough and does not overlap your on-prem or hub/spoke address spaces.
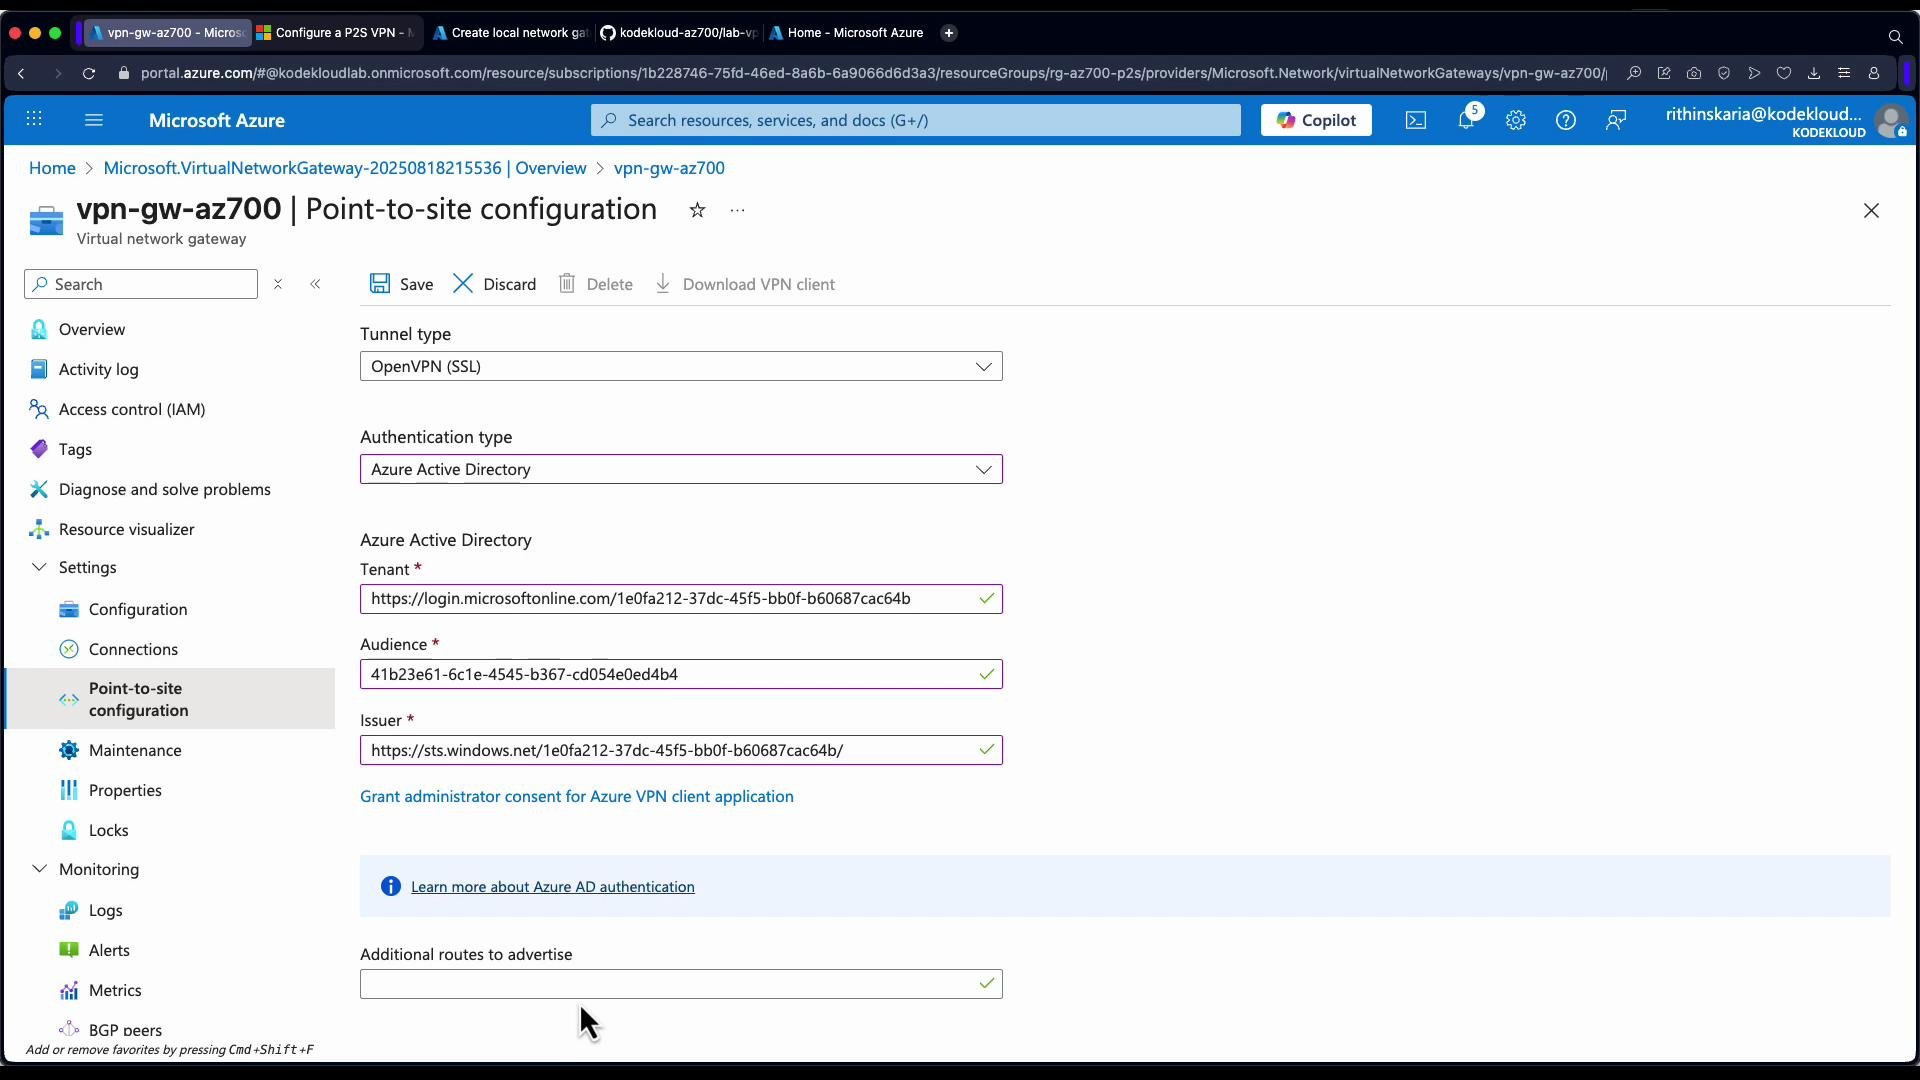
- Open the VPN gateway resource and select the “Point-to-site configuration” blade.
- Define the client address pool, select tunnel types, and choose an authentication method.
- (Optional) Add custom routes to advertise to clients.
- Save and wait for the configuration to apply (this can take a few minutes).
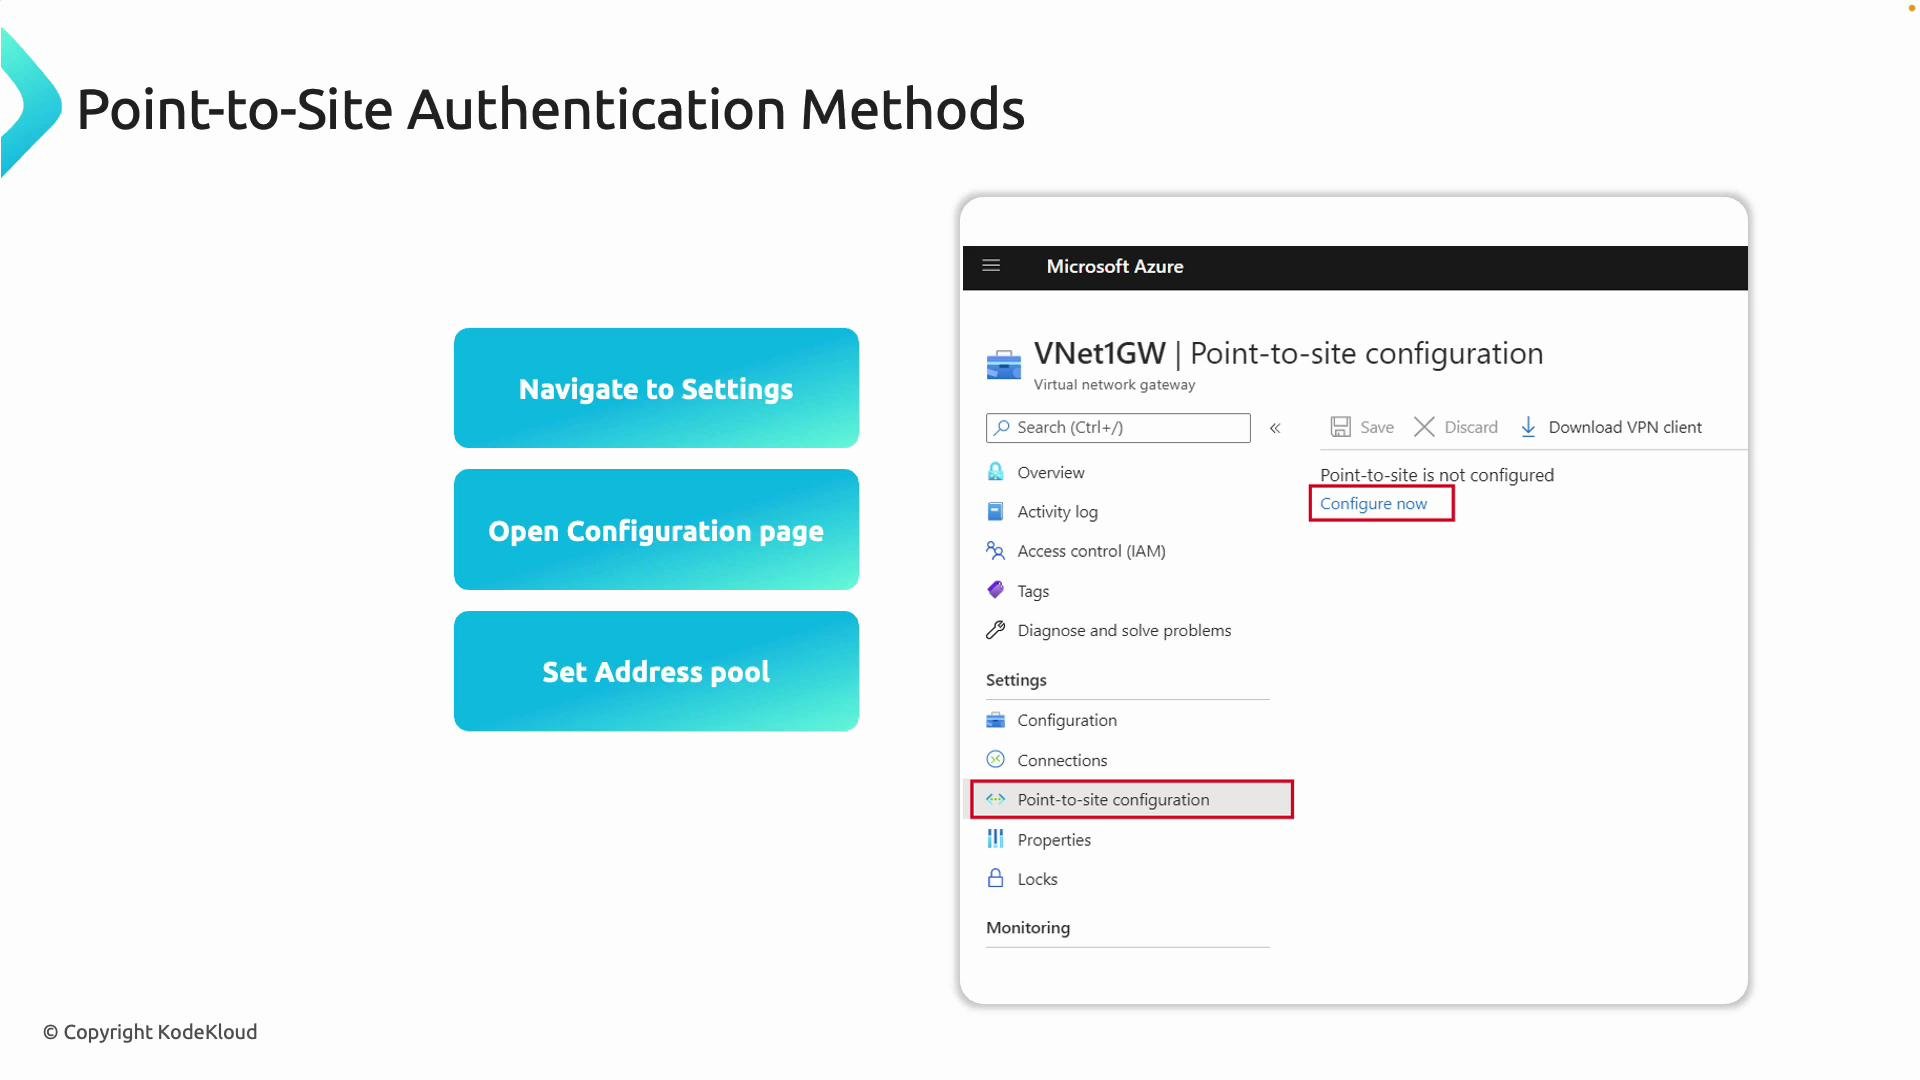
- Address pool example:
172.17.0.0/24— make sure this range has enough IPs for simultaneous clients and doesn’t overlap other networks. - Tunnel types:
OpenVPN,IKEv2,SSTP(enable one or more). - Authentication:
Certificate,Azure Active Directory (Entra ID),RADIUS.
Azure AD (Entra ID) authentication specifics
If you choose Azure AD as the authentication method for OpenVPN, you must provide tenant and application values in the portal:
- Tenant login URL: for example,
https://login.microsoftonline.com/your-tenant-id - Audience and issuer values: obtained from the Microsoft documentation and the Azure AD app registration
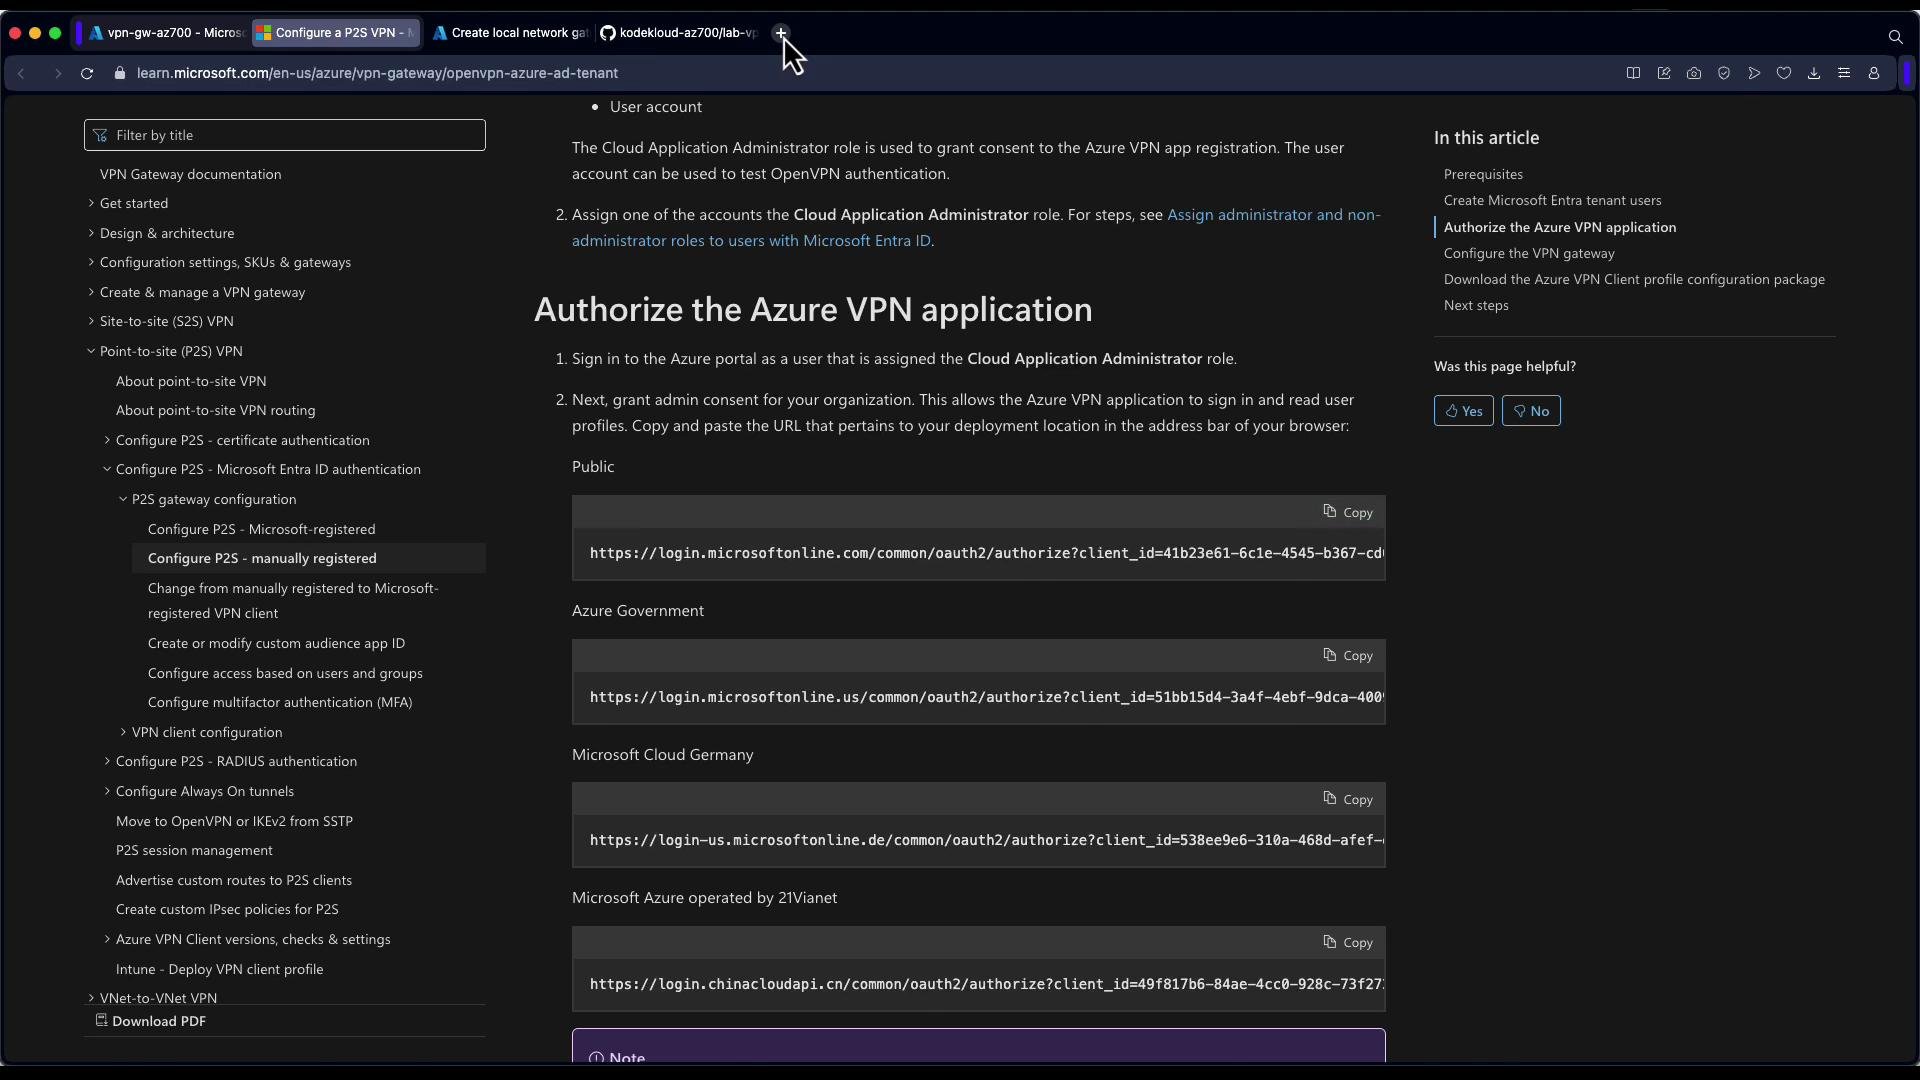
- Click the link in the documentation and sign in as an admin if required.
- Consent to the Azure VPN application.
- Copy the Tenant ID and the audience/issuer values into the portal’s P2S fields.
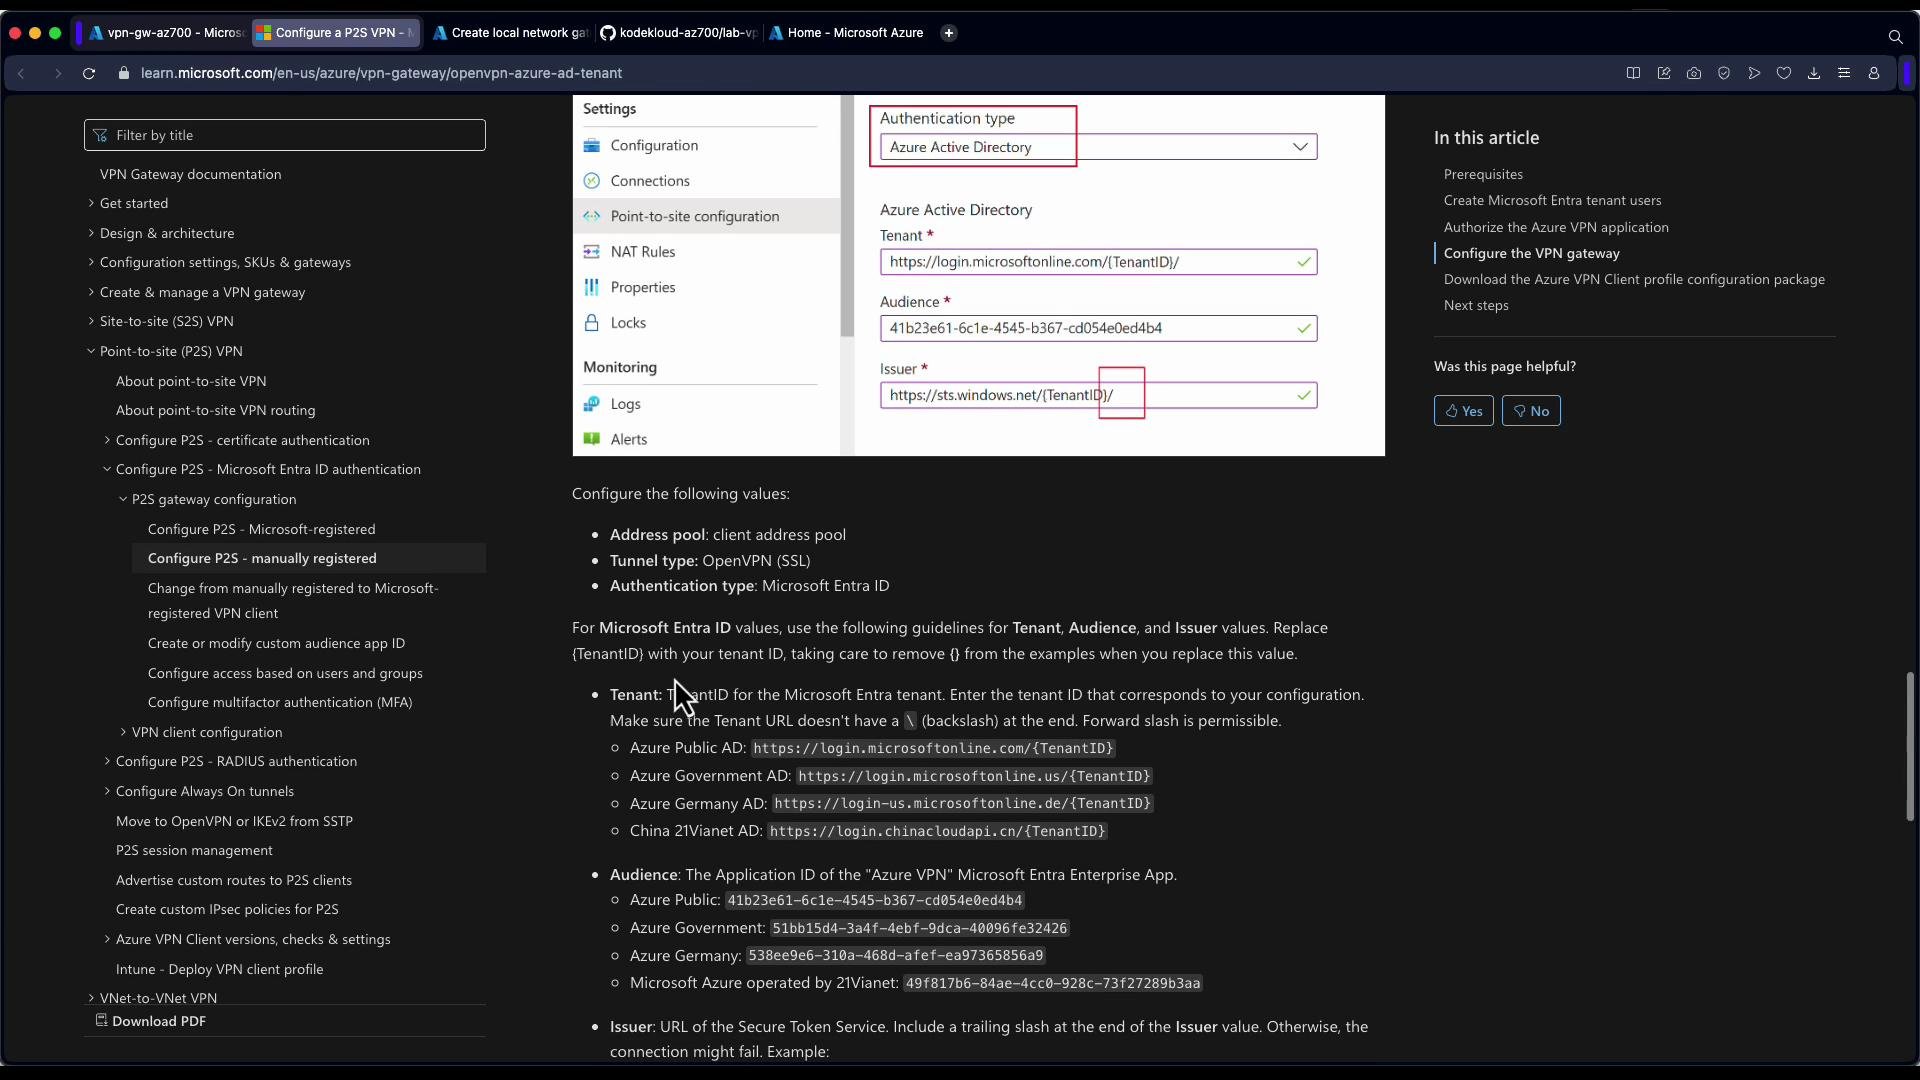
- Save the P2S configuration and wait for it to apply.
- After the setting is applied, download the client profile ZIP from the portal.
- Extract the profile (XML or configuration file) and import it into the Azure VPN Client or your supported VPN client.
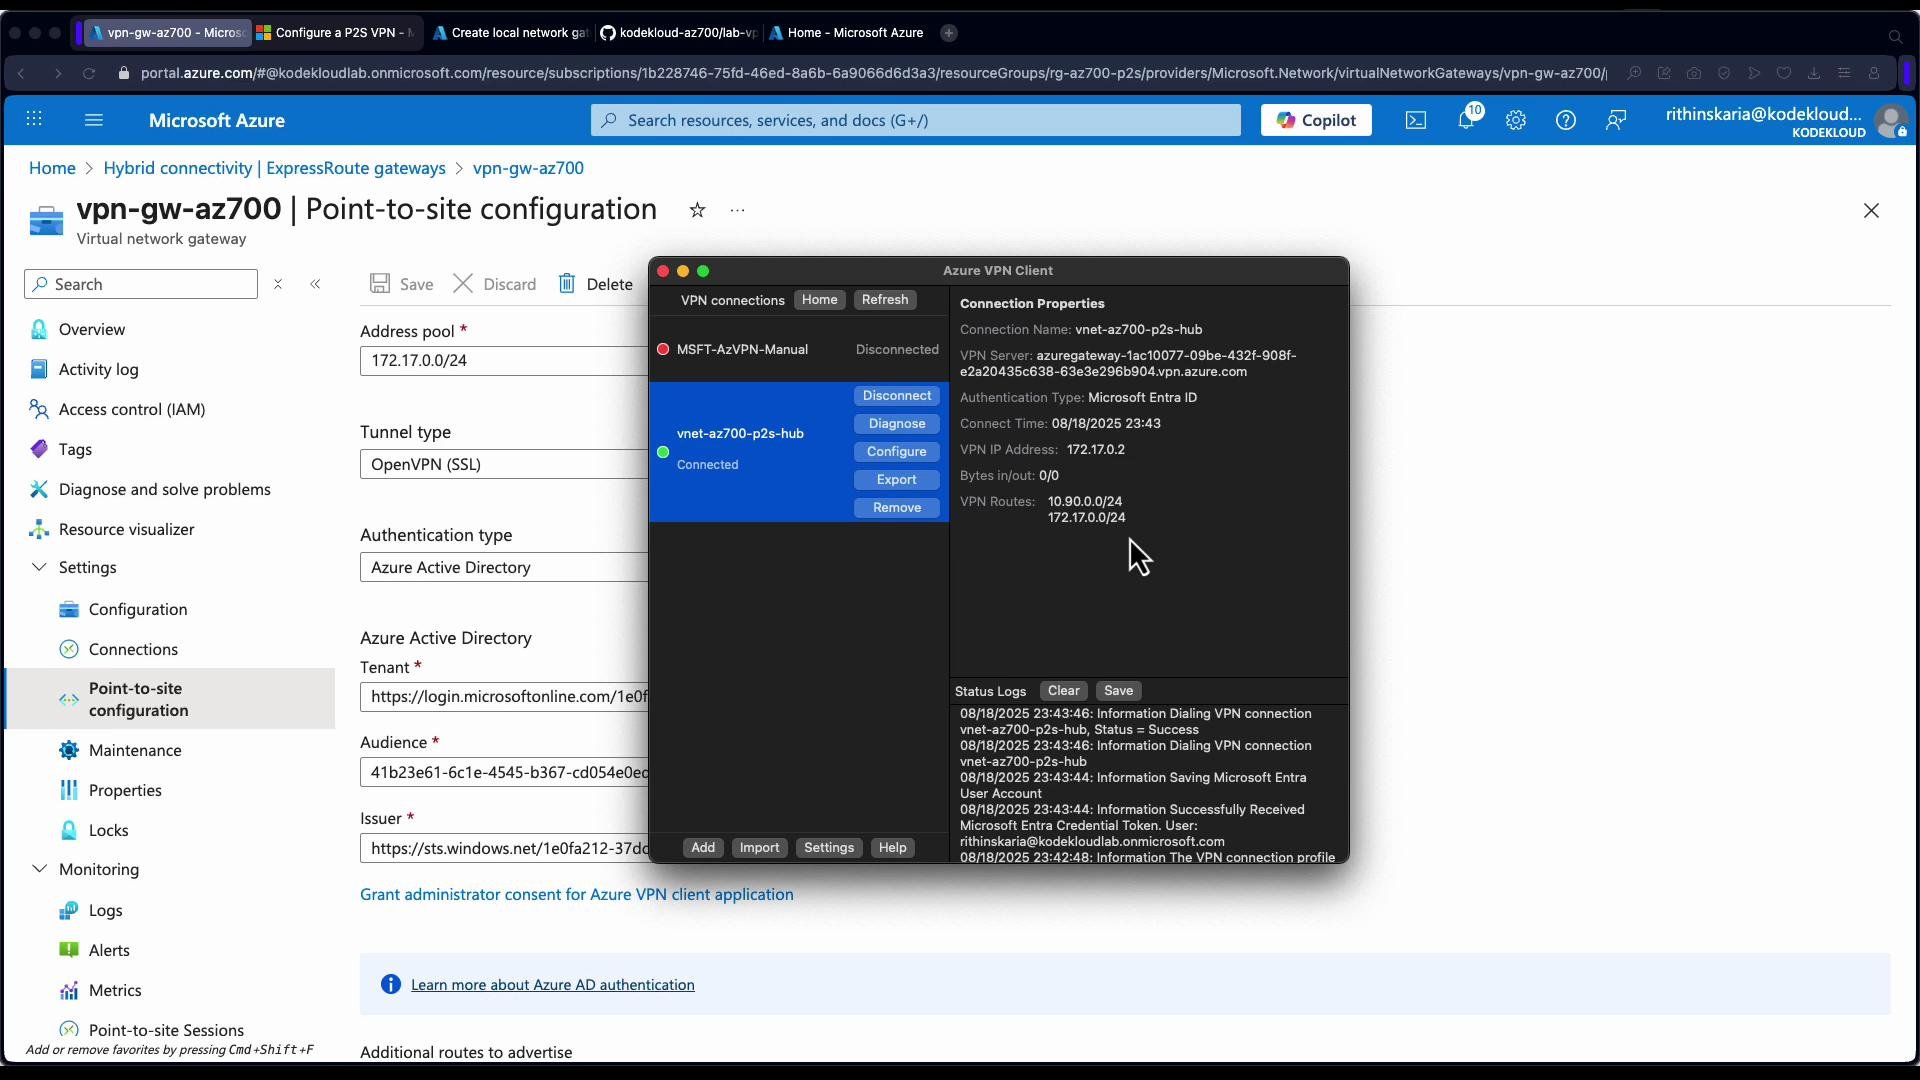
- Open the Azure VPN Client.
- Use Import to load the profile XML/configuration from the ZIP.
- The app auto-populates connection properties — click Connect.
- Authenticate using your chosen method (certificates, Azure AD prompt, or RADIUS credentials).
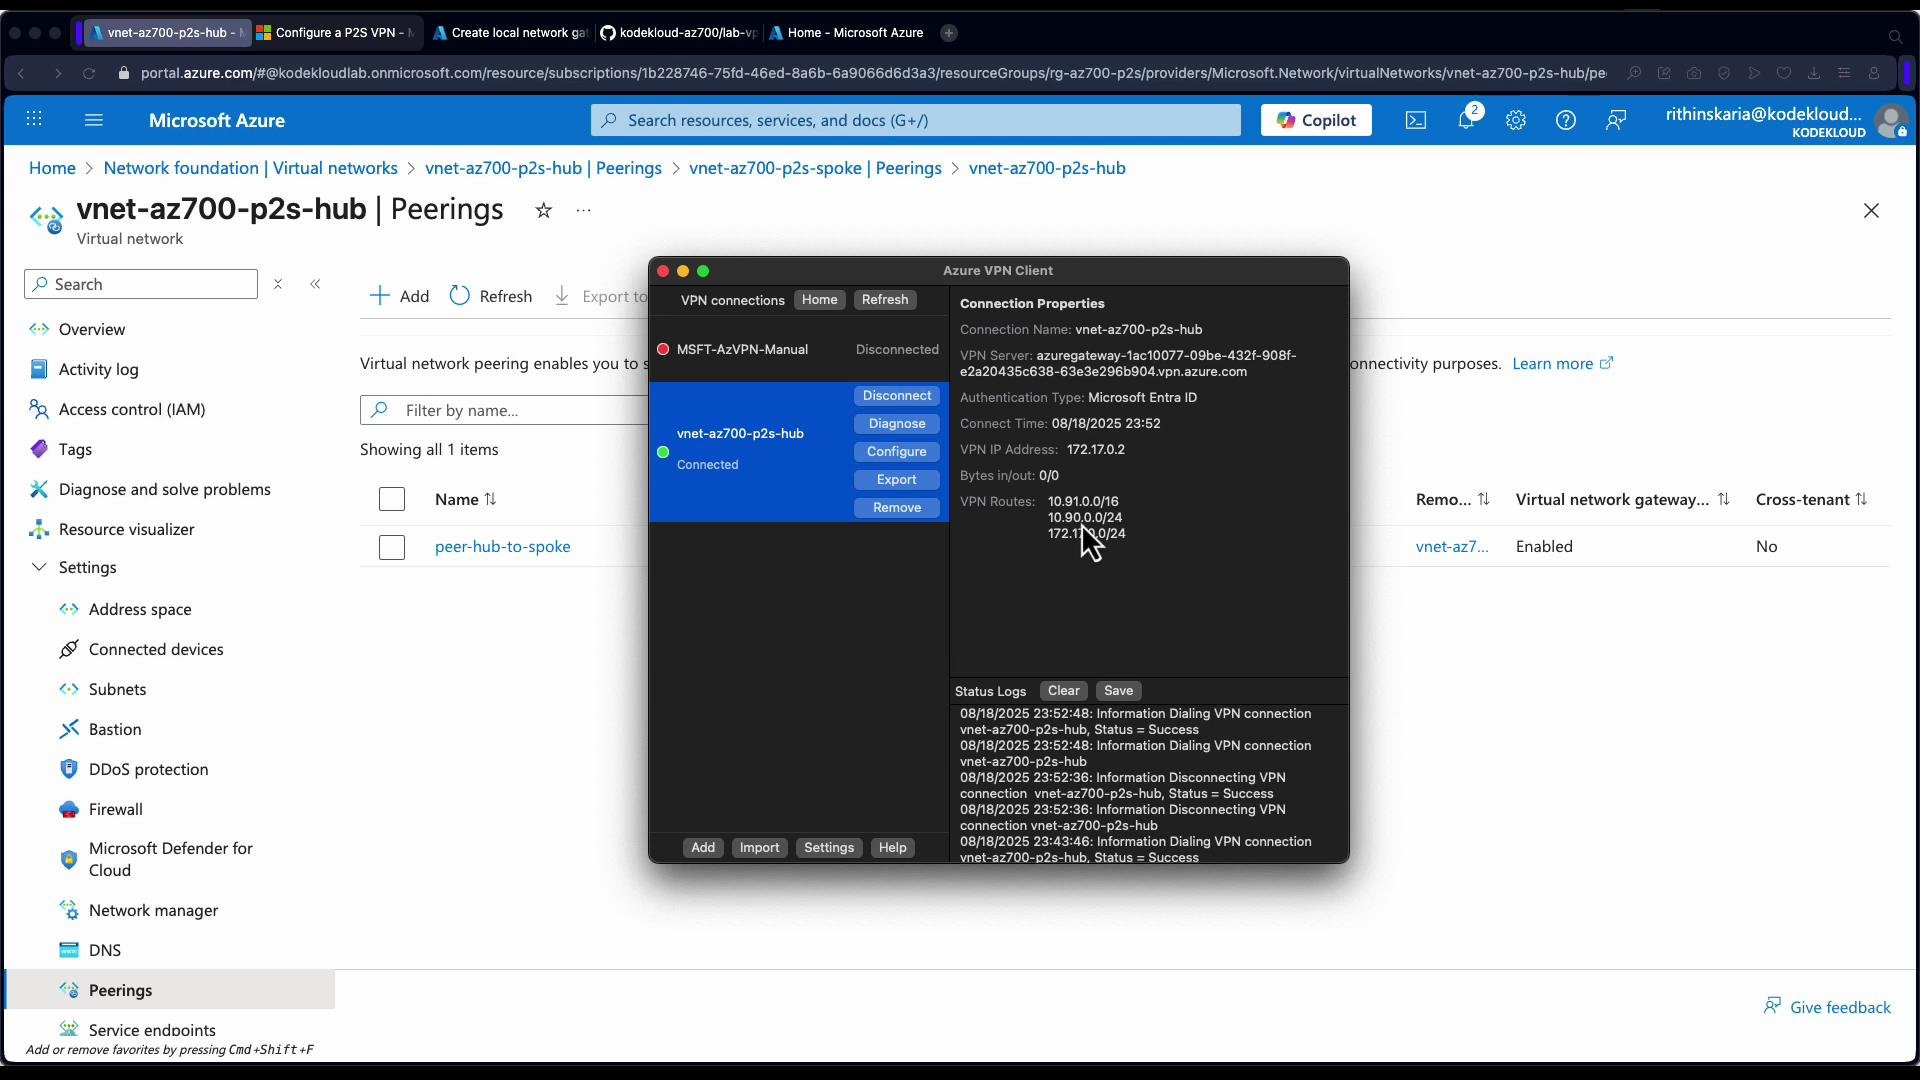
172.17.0.2) and learns the VPN routes advertised by Azure.
- On the hub —> spoke peering: enable “Allow gateway transit”.
- On the spoke —> hub peering: enable “Use remote gateways”.
10.91.0.0/16).
Ensure peered VNets’ address spaces do not overlap with the P2S client address pool. Overlapping address spaces will prevent proper routing for P2S clients.
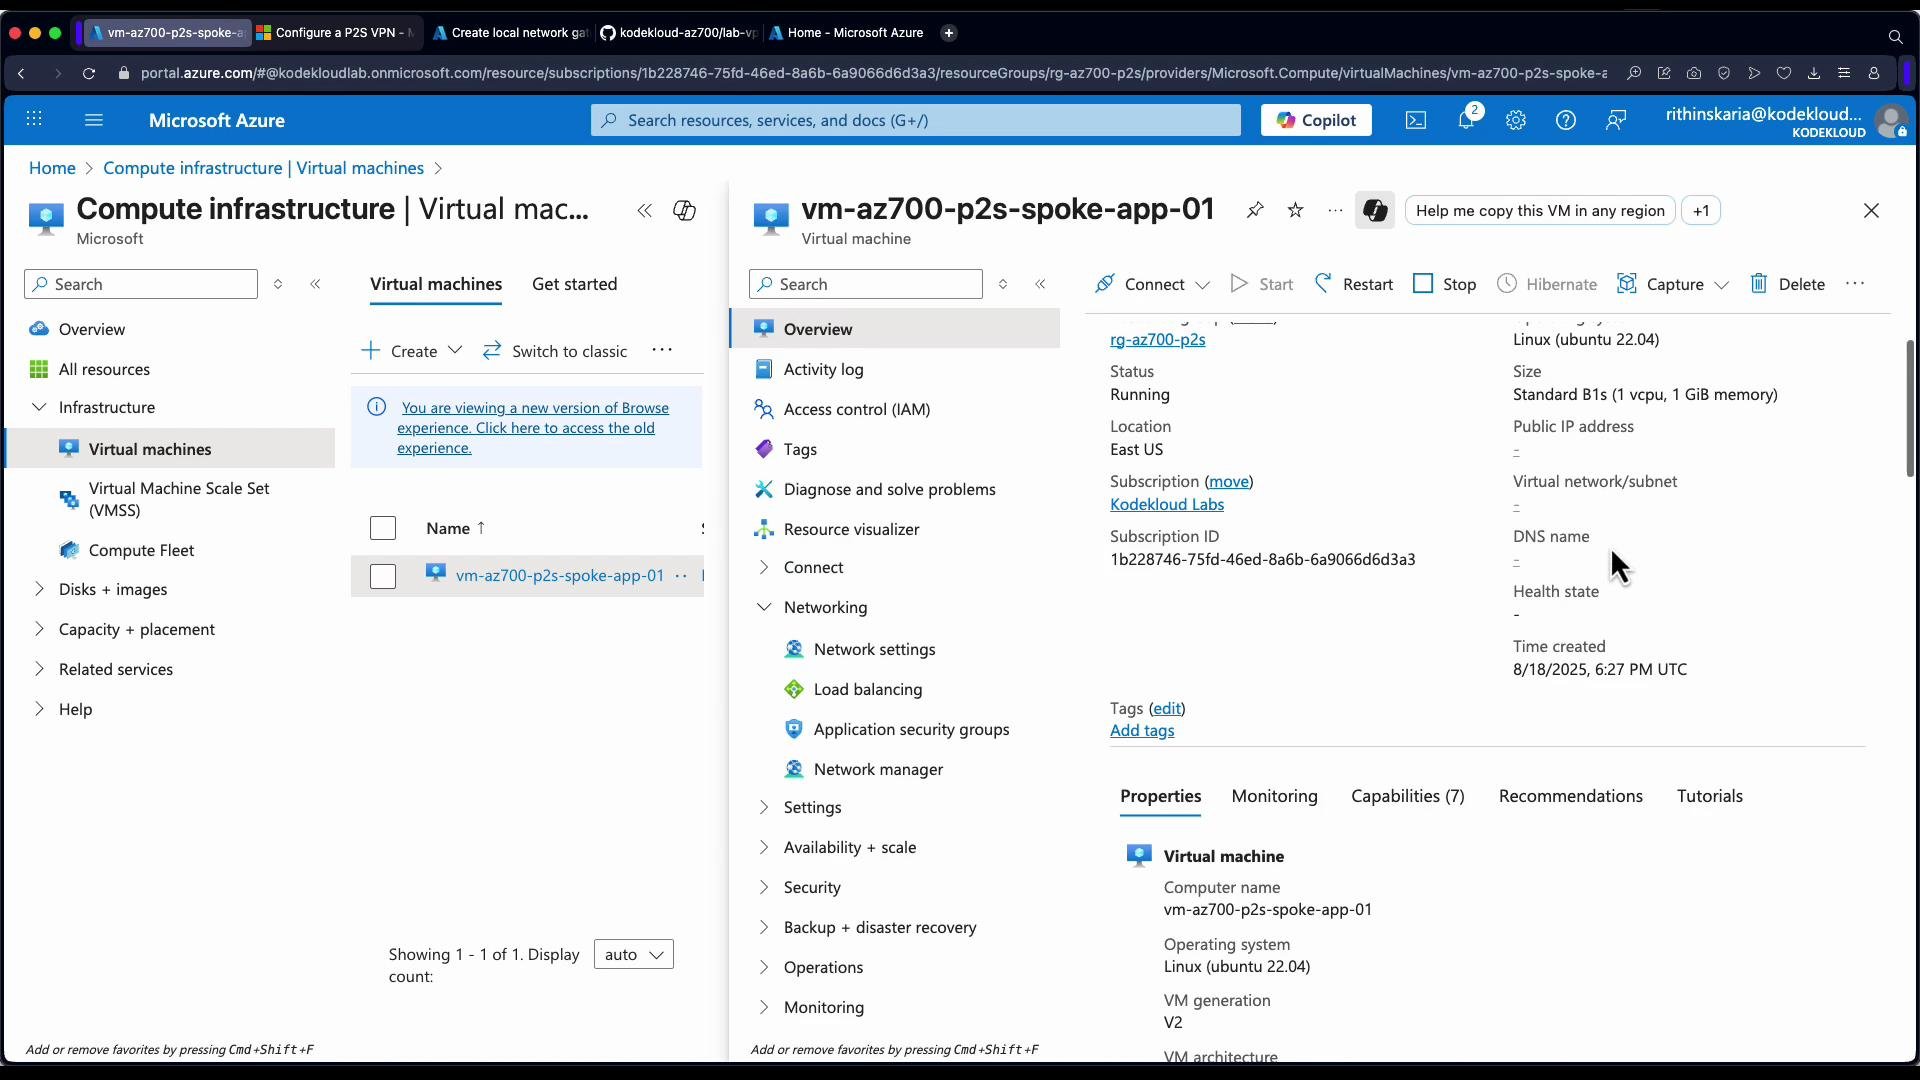
- Address pool chosen and non-overlapping (
e.g., 172.17.0.0/24). - Tunnel protocol(s) enabled for client compatibility.
- Authentication configured and validated (certs, Azure AD, or RADIUS).
- Client profile downloaded, imported, and tested.
- Gateway transit configured if hub-spoke access is required.
- Azure VPN Client: https://learn.microsoft.com/en-us/azure/vpn-gateway/vpn-client-v2-windows
- OpenVPN + Azure AD integration: https://learn.microsoft.com/en-us/azure/vpn-gateway/openvpn-azure-ad-authentication