echovisa.com, the DNS zone stores all records related to that domain — A records for web servers, MX for mail, TXT for verification, and so on. You can manage DNS zones across different Azure subscriptions, which helps when an organization splits environments or teams across subscriptions.
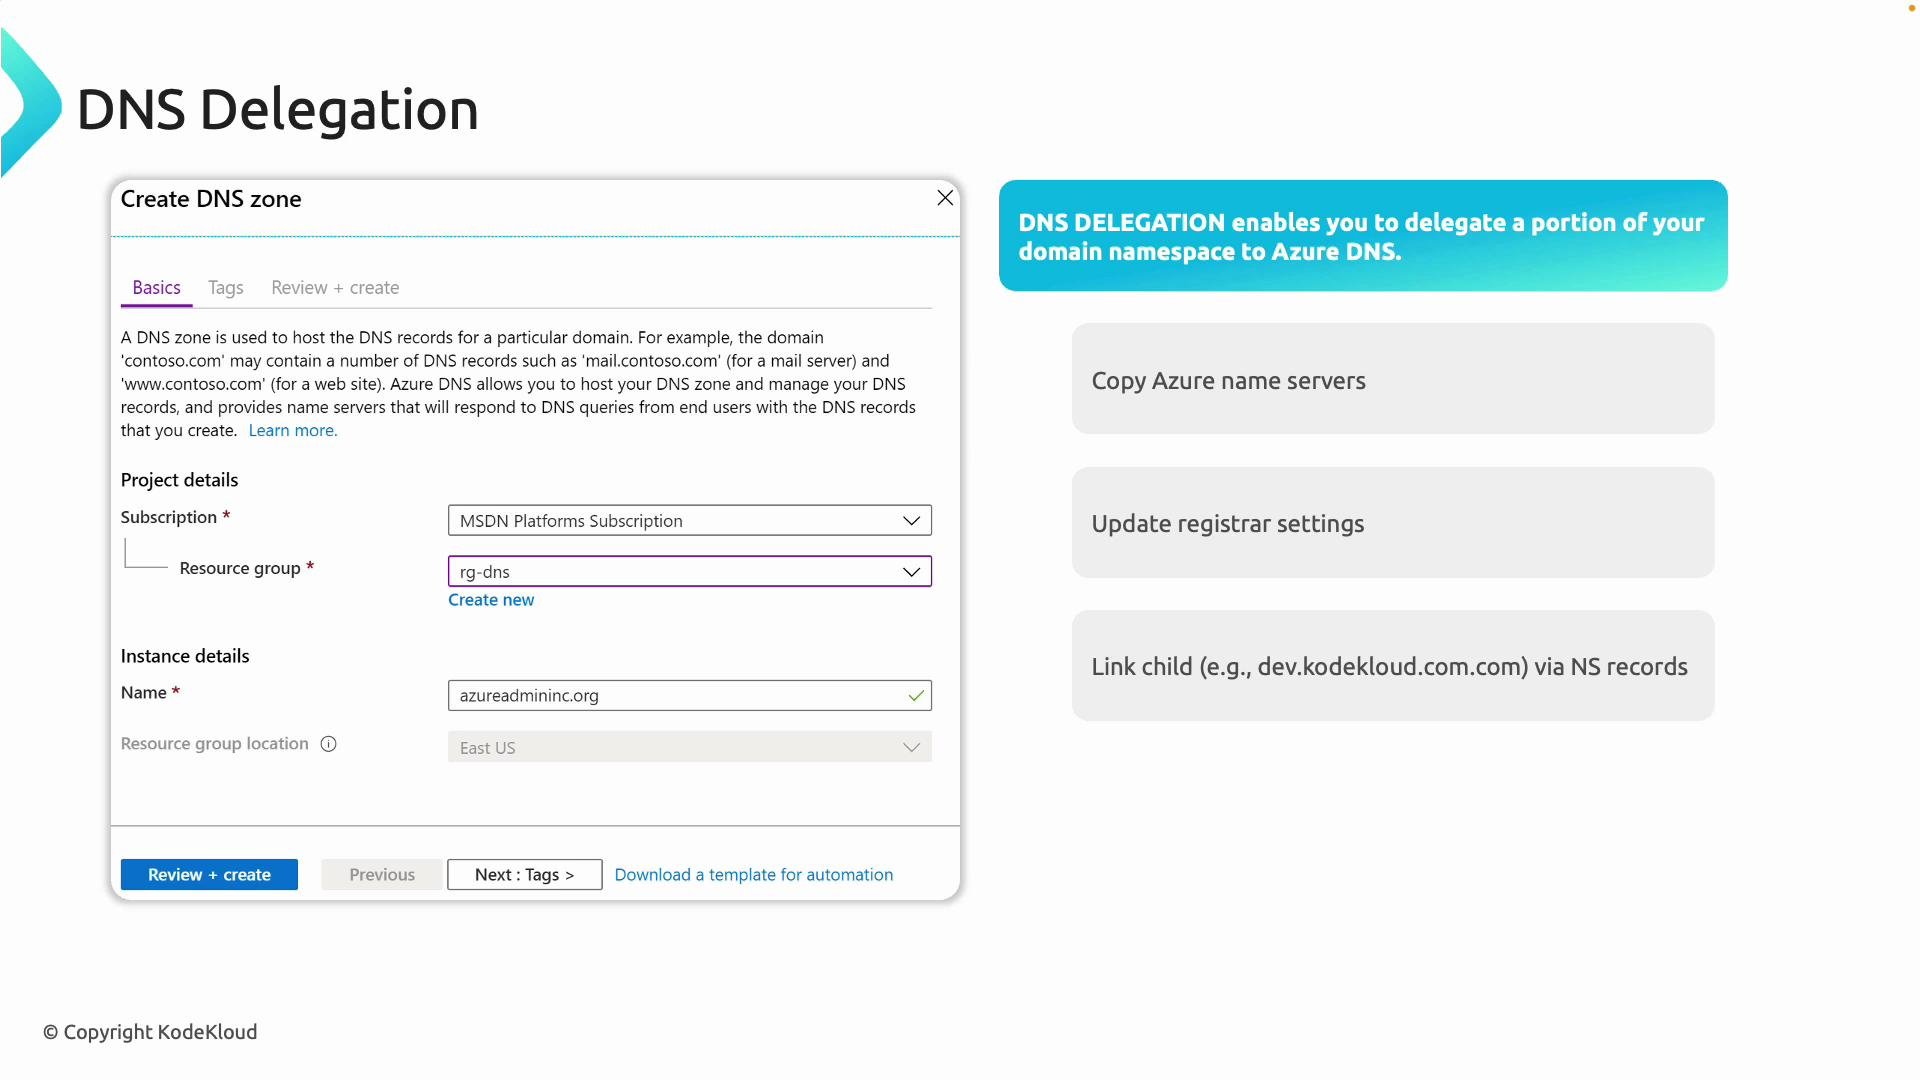
Each DNS zone you create in Azure is assigned a unique set of name servers. These name servers are how you delegate DNS responsibility for the domain to Azure, and they prevent conflicts when multiple DNS services exist for the same domain.
echovisa.com) to another DNS service (Azure DNS). The delegation process is:
- Create a zone in Azure. Azure provides a set of name servers for the zone.
- At your domain registrar, edit the domain’s name server records and replace them with the Azure-provided name servers.
- Wait for DNS propagation. After delegation propagates, queries for your domain resolve via Azure DNS.
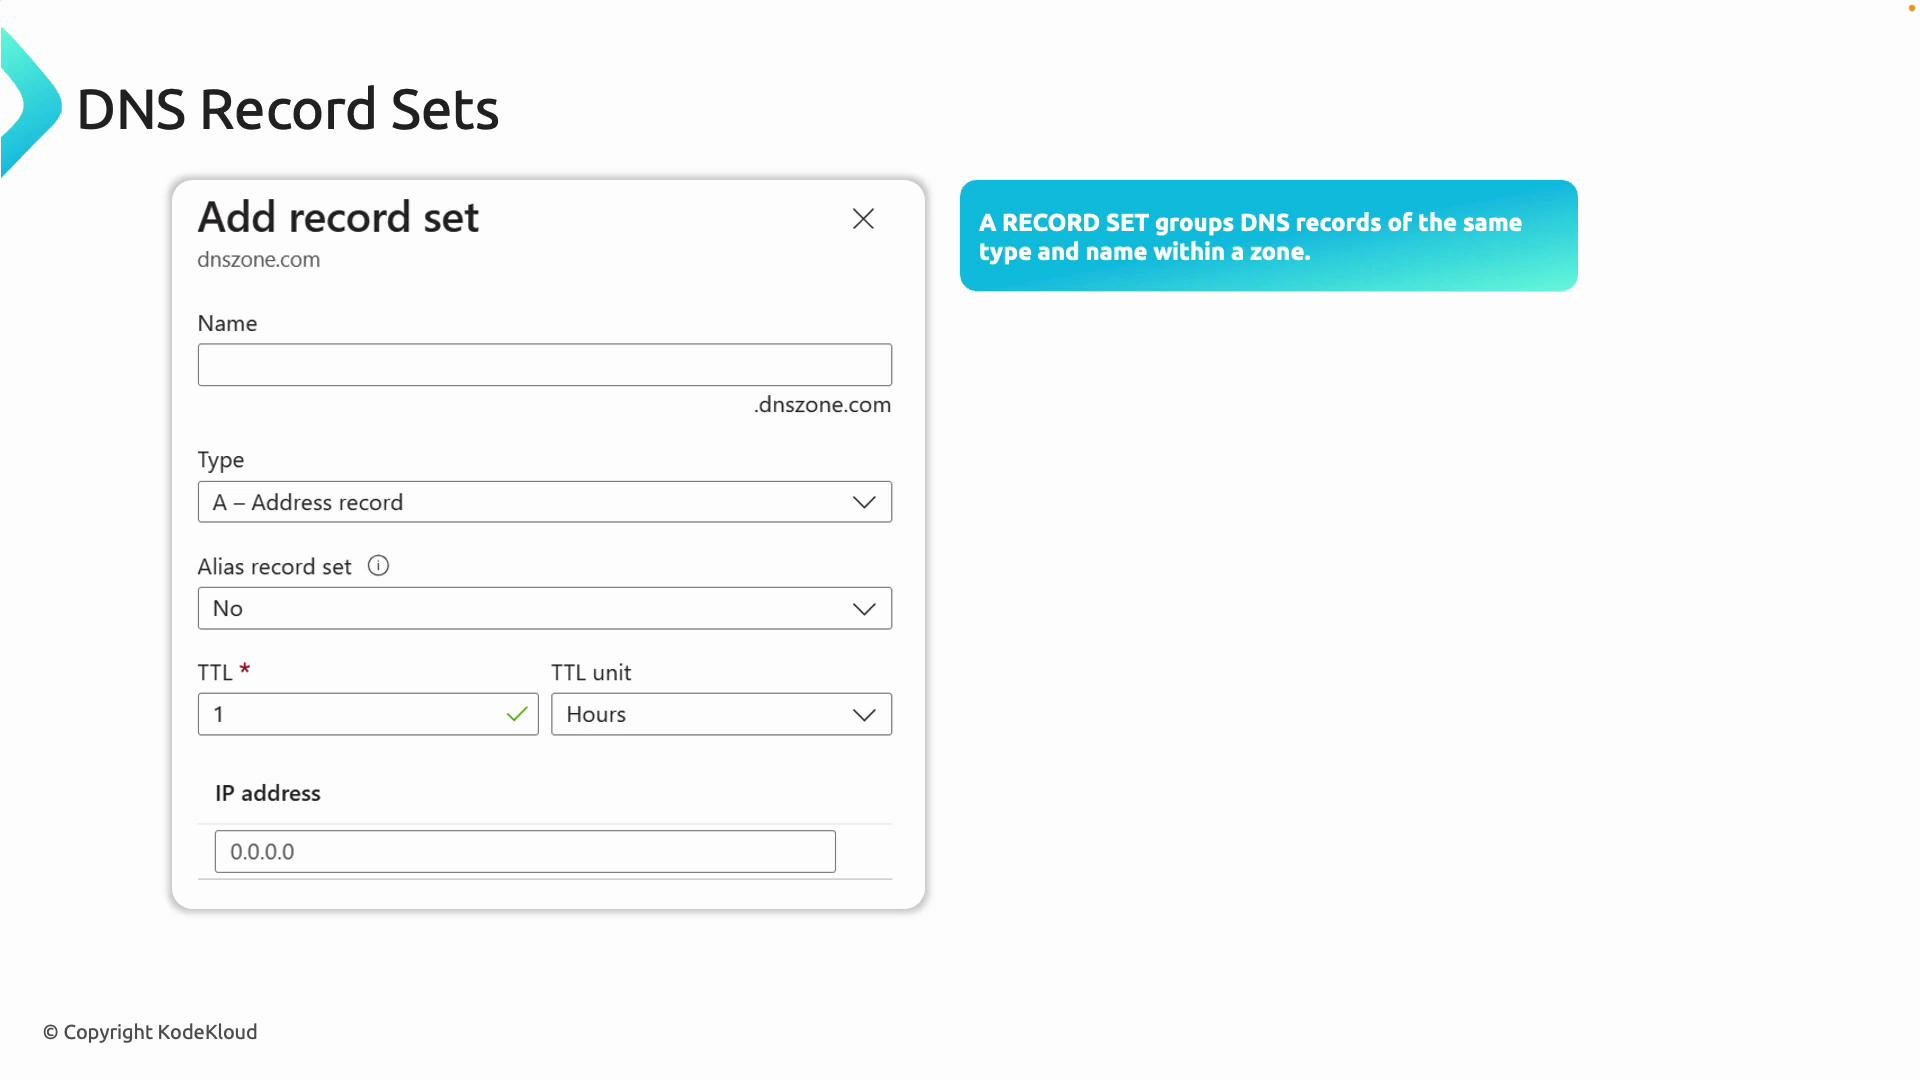
Record sets
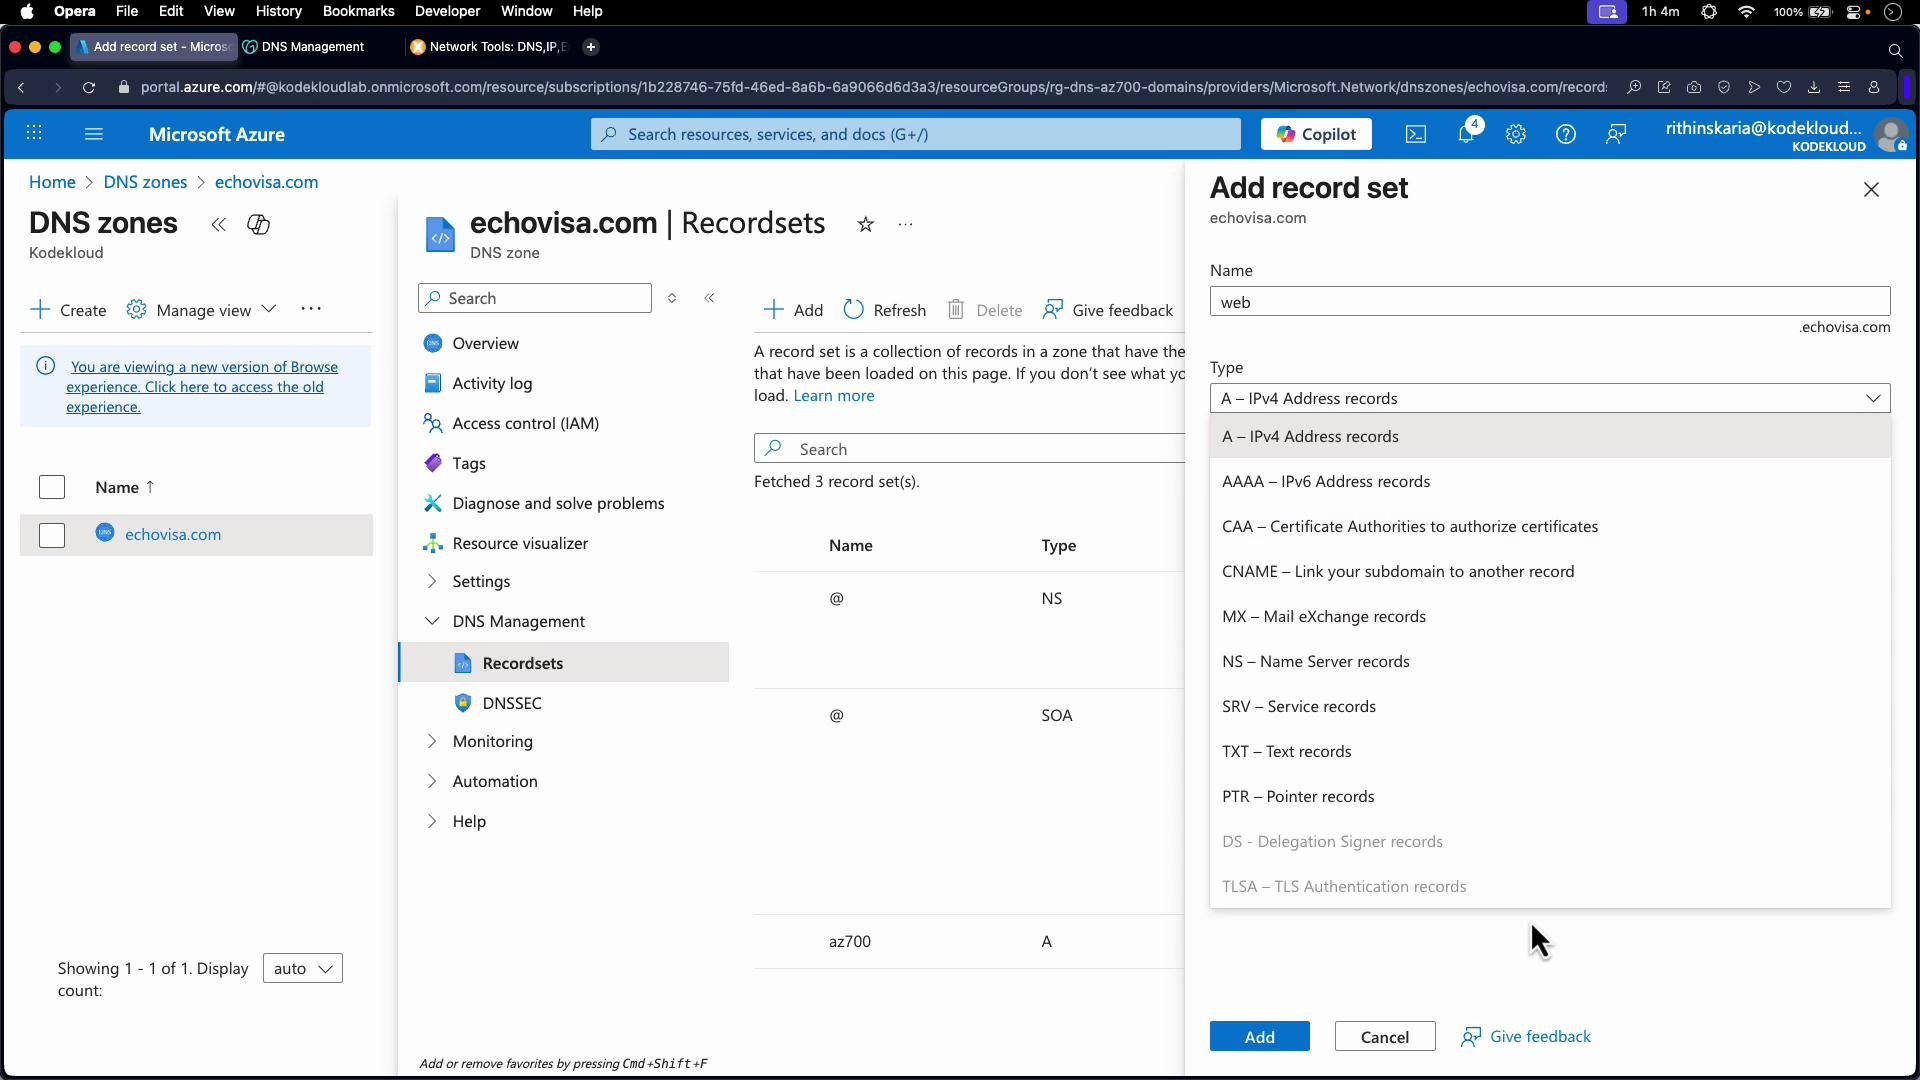
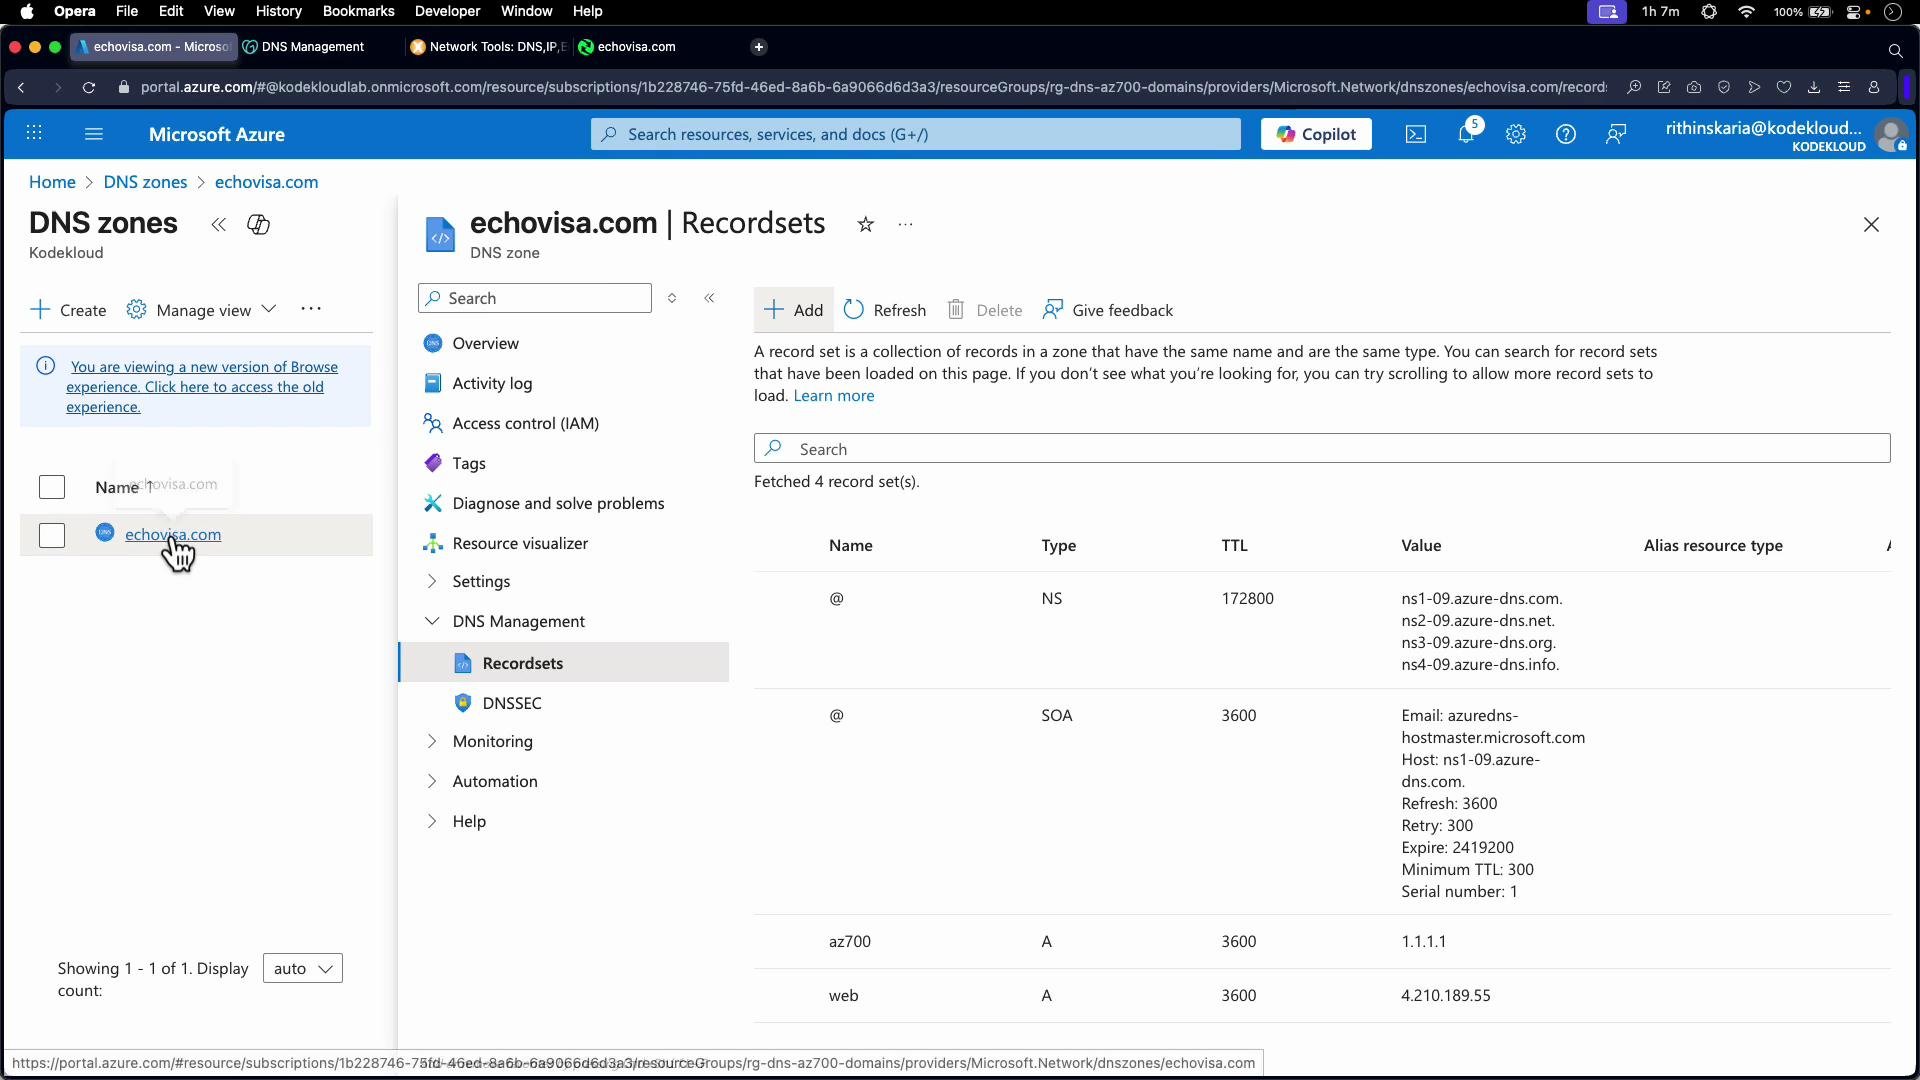
Within a DNS zone you add record sets. A record set groups DNS records of the same name and type. For example, a record set namedwww of type A can hold one or more A records (multiple A records are commonly used for basic load distribution).
Azure DNS supports standard record types: A, AAAA, CNAME, MX, NS, TXT, PTR, SRV, and more. Azure prevents duplicate records within the same record set to avoid conflicts. The input fields in the portal change depending on the record type you choose — for example, A records require IPv4 addresses; CNAME records require a canonical name target.
Demonstration: Create a zone in the portal
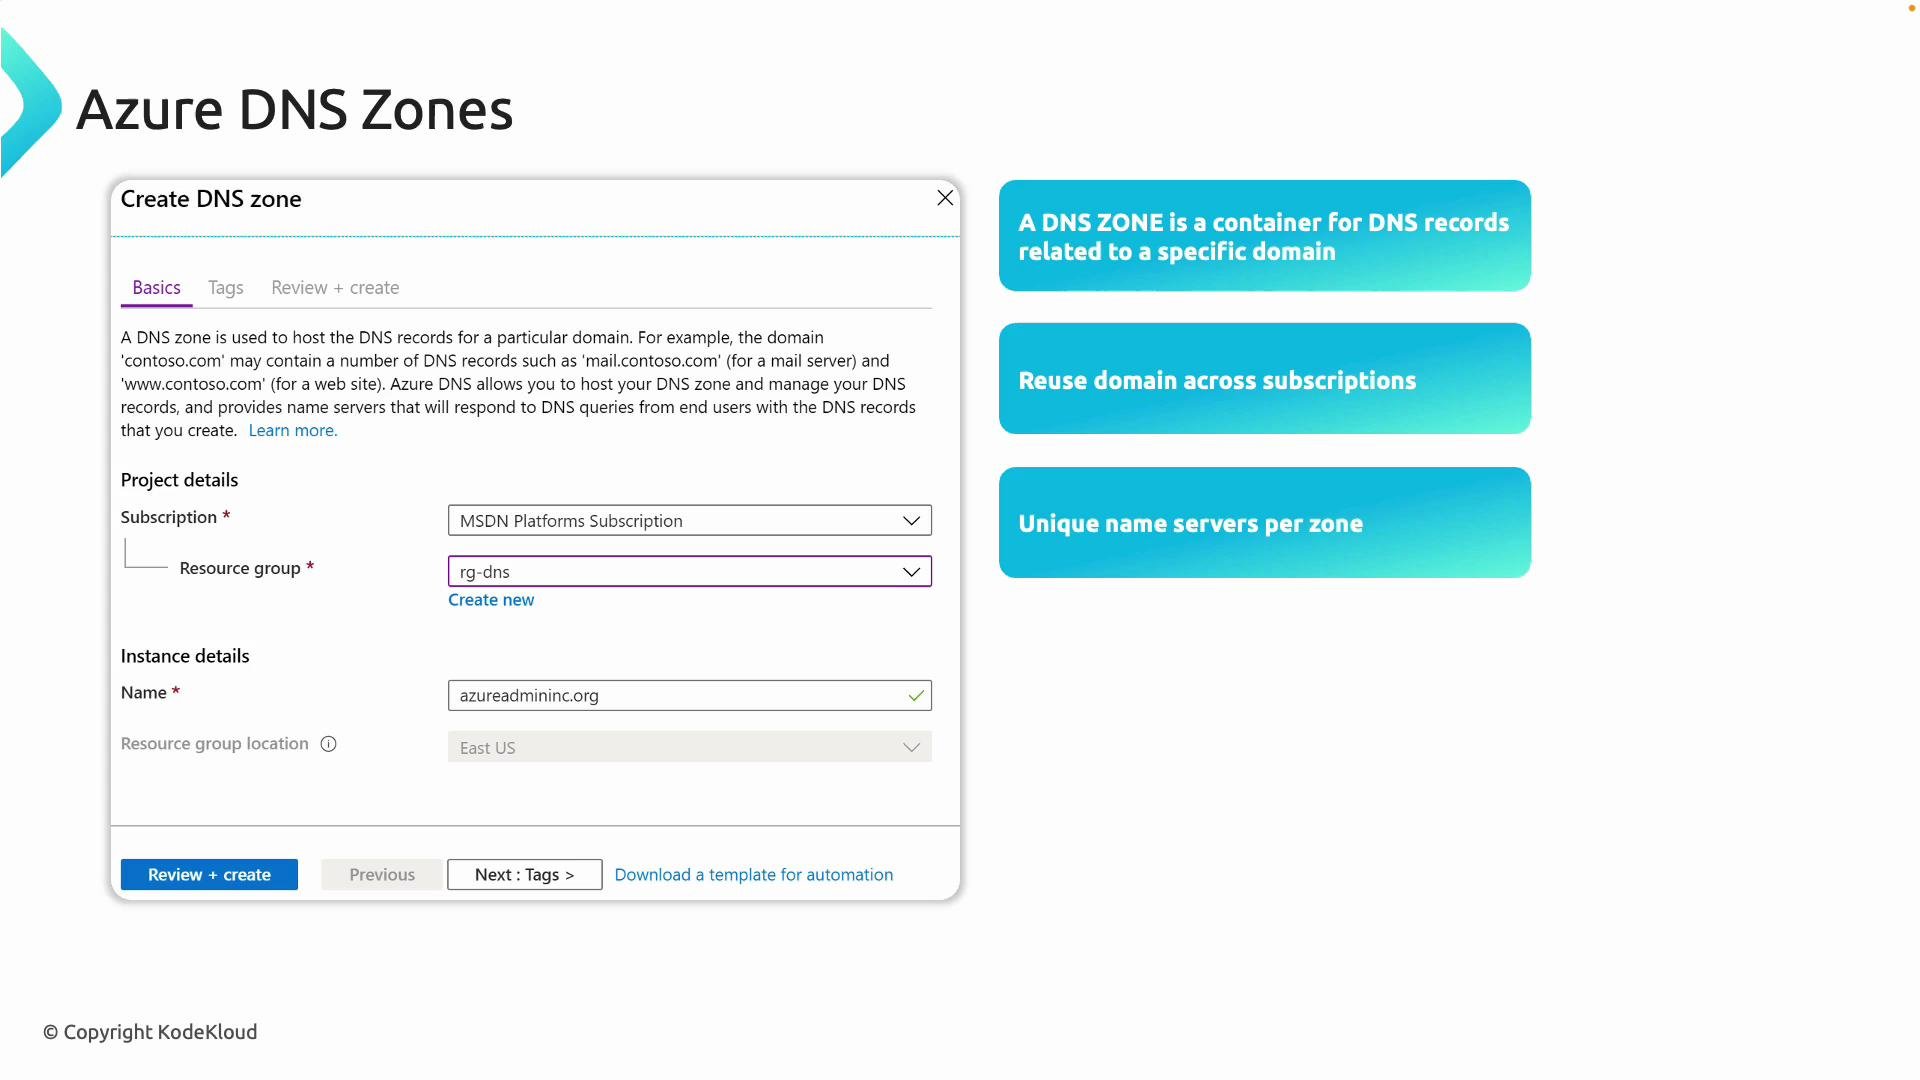
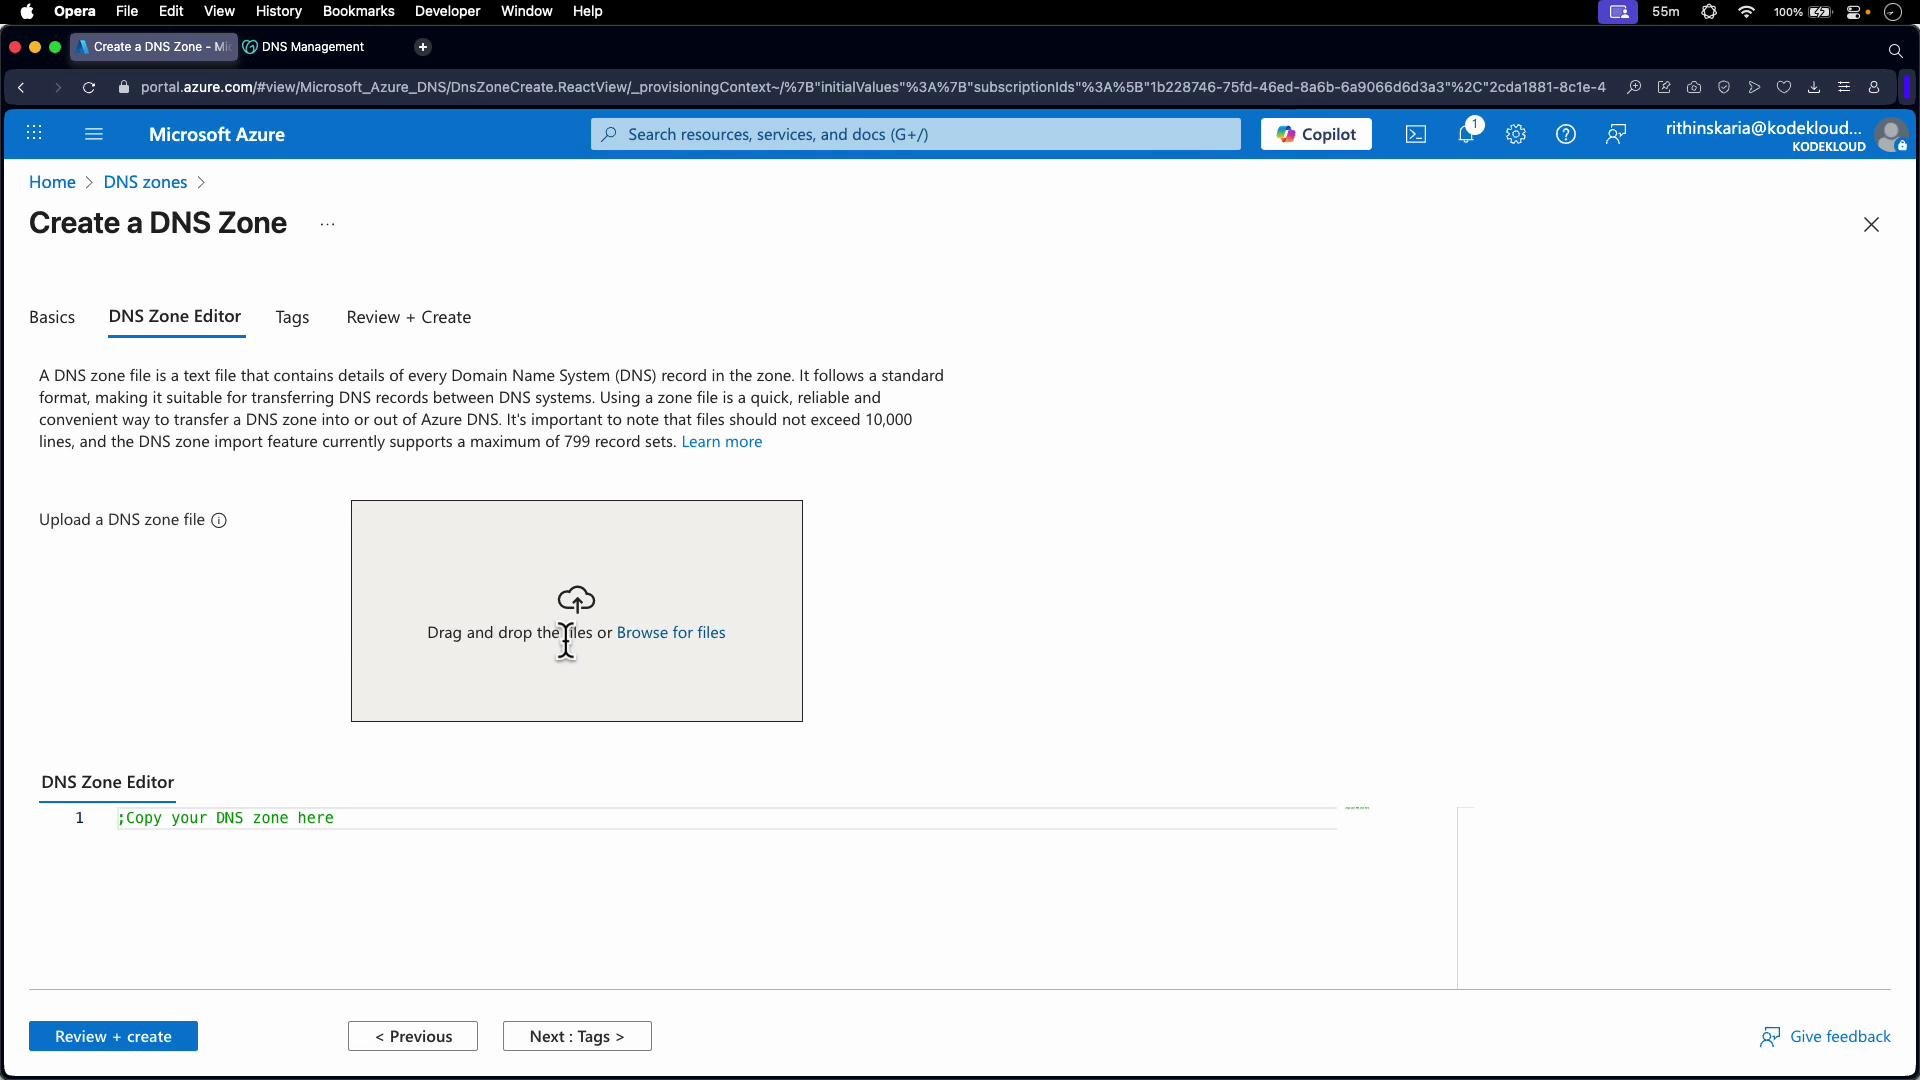
To create a public DNS zone in the Azure portal:- Search for “DNS zones” (do not select Private DNS zones if you want a public zone).
- Click Create.
- Choose a subscription and resource group, and enter the zone name (for example,
echovisa.com). - Optionally upload a zone file if you have many records to import.
- Review + create.
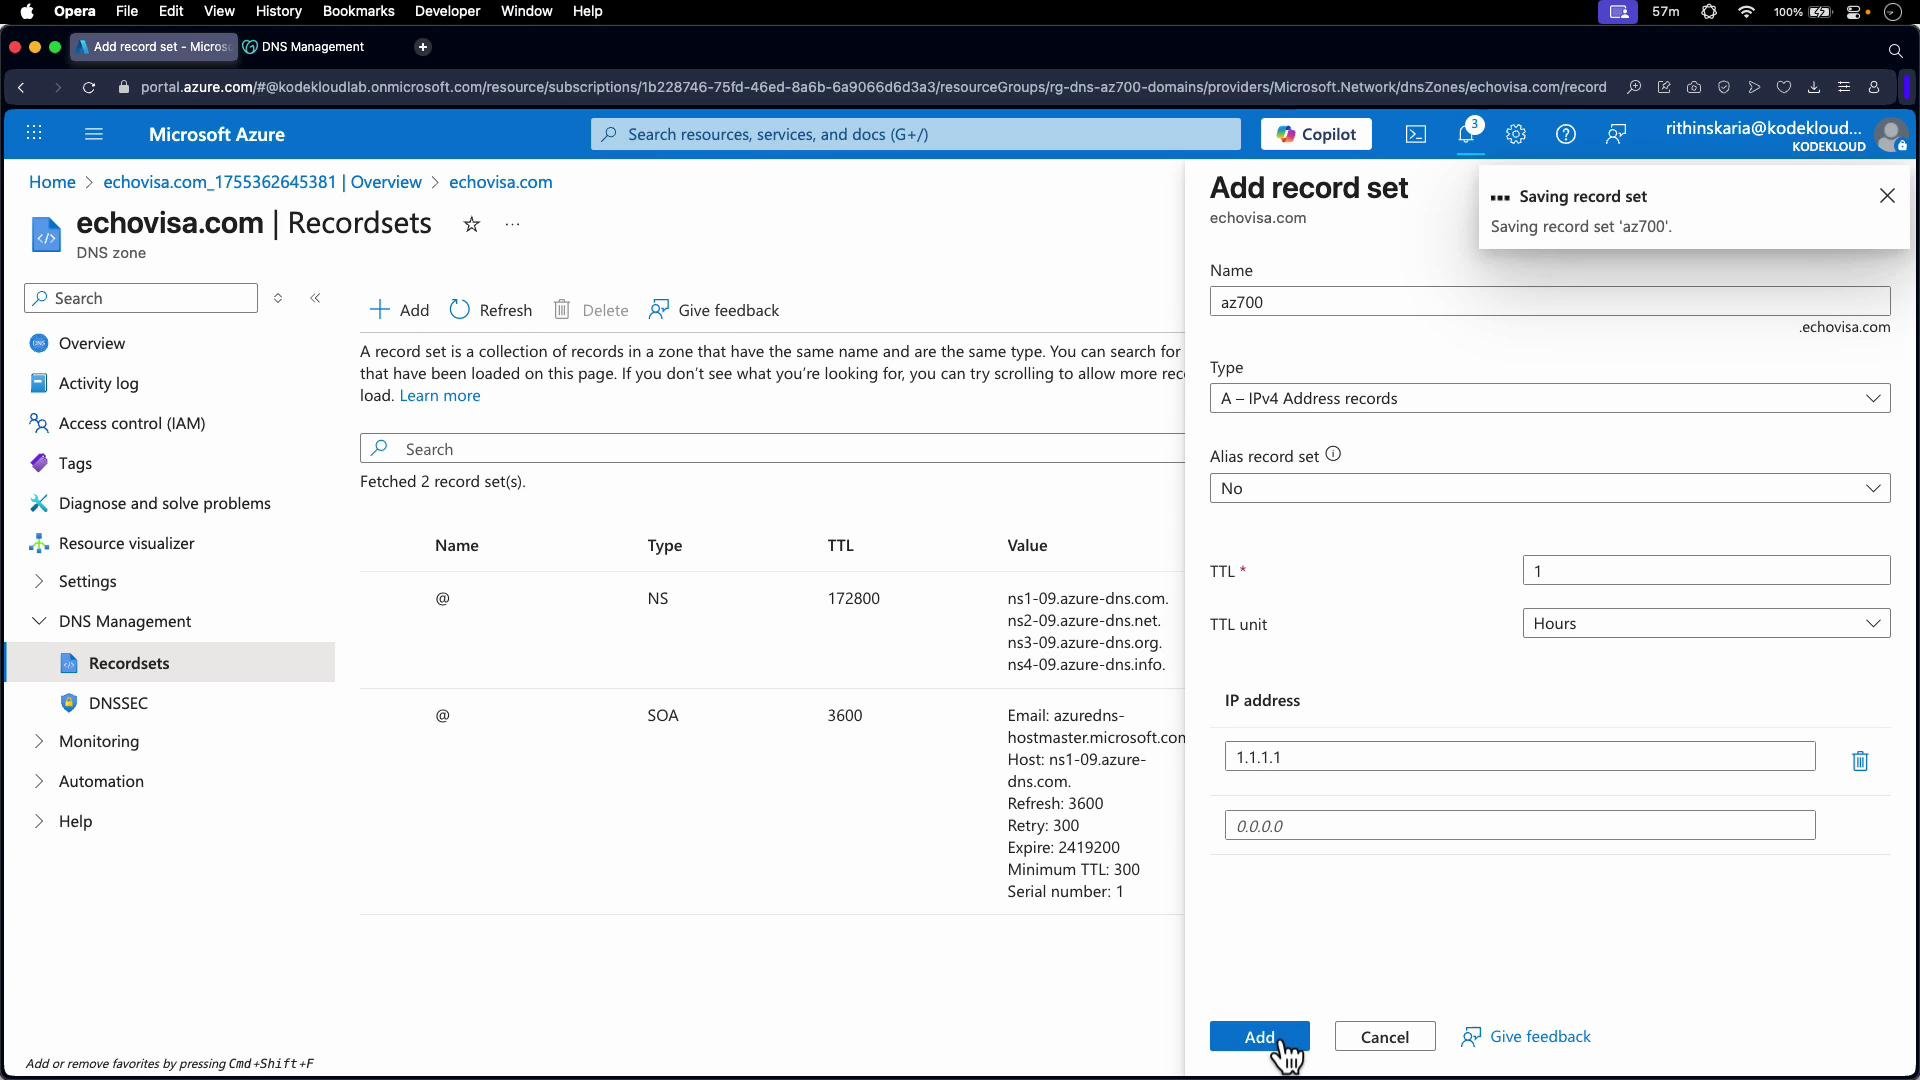
az700.echovisa.com as an A record with IP 1.1.1.1. Click Add and the record will exist in the Azure DNS zone.
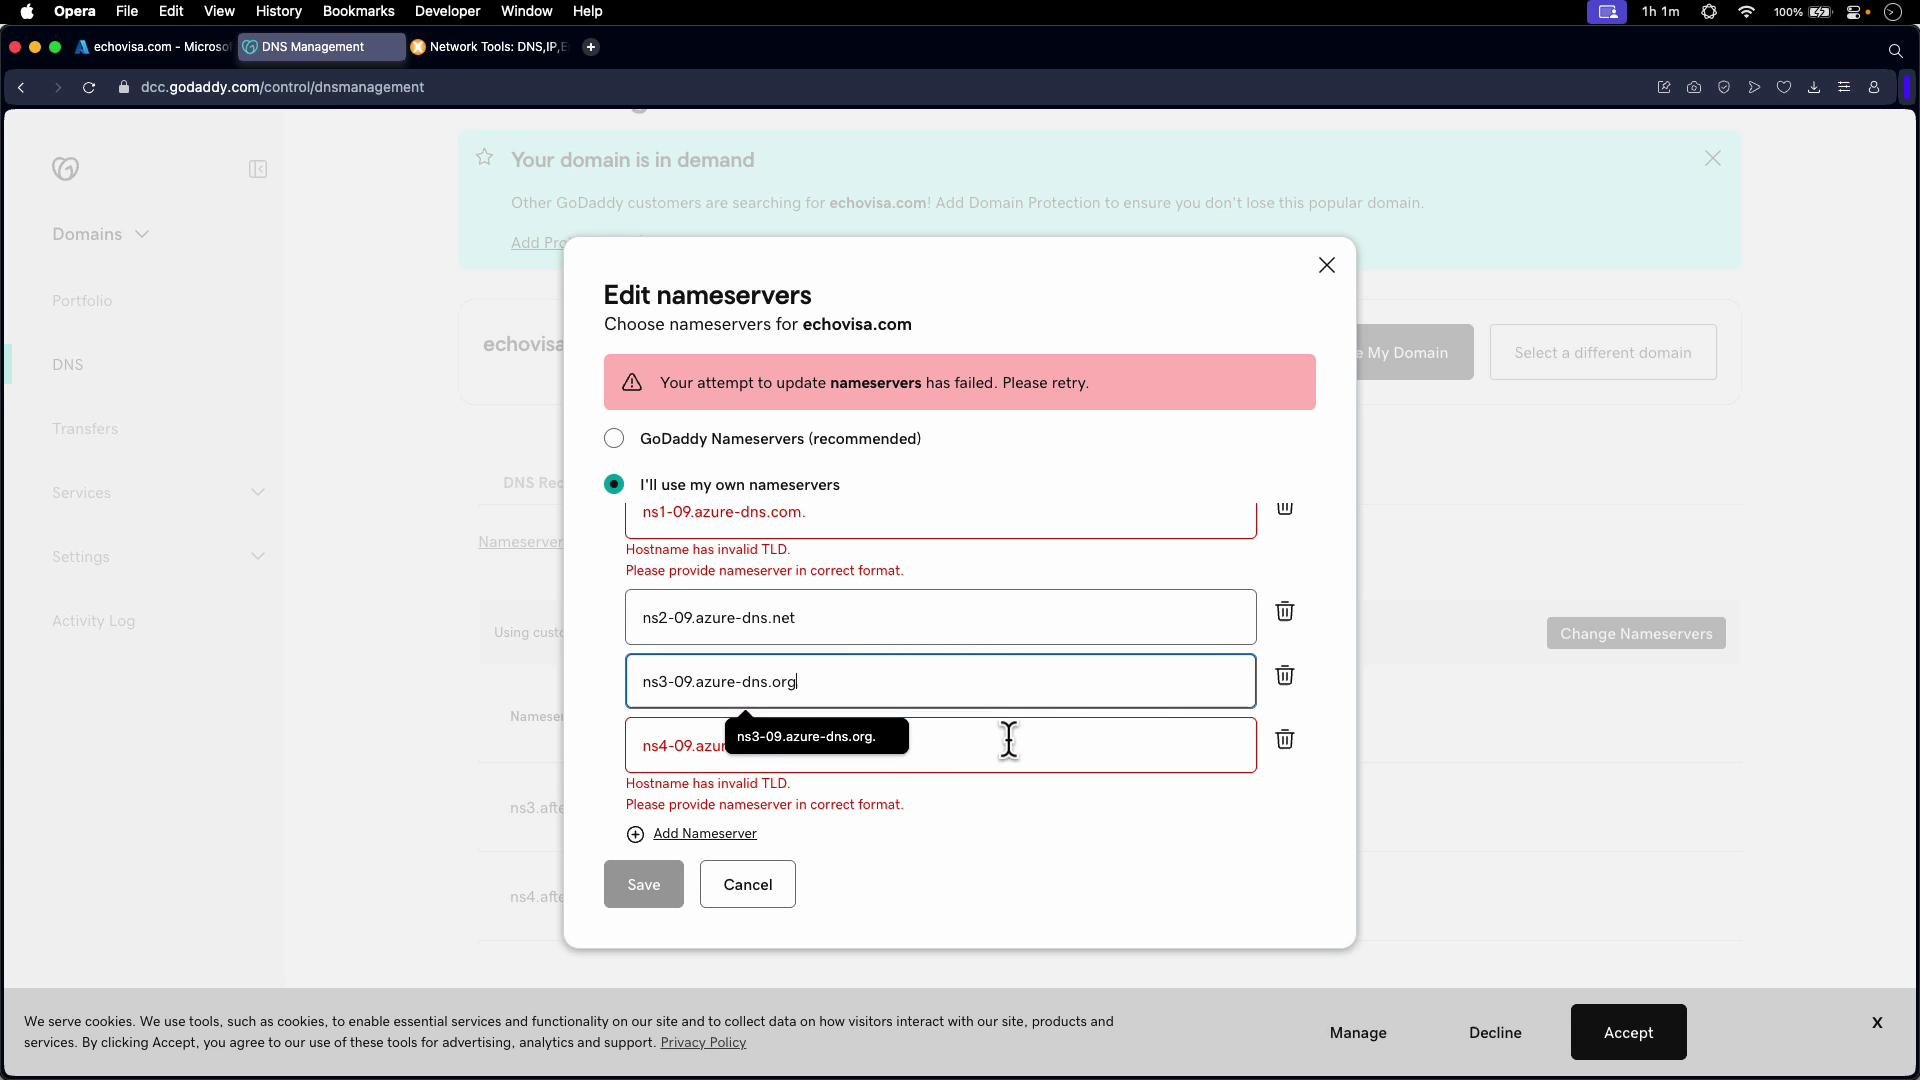
Performing delegation at the registrar (example: GoDaddy)
To make Azure authoritative forechovisa.com:
- Copy the four Azure name servers from the Azure DNS zone overview.
- Log in to your domain registrar (e.g., GoDaddy), open the domain’s DNS or name server settings, and replace the existing name servers with the Azure name servers.
- Note: Azure name servers are often shown with a trailing dot (e.g.,
ns1-09.azure-dns.com.). Some registrars reject the trailing dot — remove the trailing dot if required by the registrar.
- Note: Azure name servers are often shown with a trailing dot (e.g.,
- Save the changes and wait for propagation. This can take minutes to hours depending on registrar and DNS caches.
echovisa.com will be answered by Azure’s DNS servers and will return the records you configured in Azure.
Changing the name servers at your registrar is what enables public delegation to Azure. Creating a zone in Azure alone does not make Azure authoritative until you update the registrar settings and propagation completes.
Adding real records and TTL
To point a hostname to a public IP, create an A record with the IPv4 address. For example, addweb.echovisa.com with the public IP of a VM. TTL (Time To Live) controls how long resolvers cache the record. A TTL of 3600 is one hour — within that time, caches return the cached value and will not re-query authoritative servers until the TTL expires.
Internal-only (private) domains
If you need DNS records that are accessible only within an Azure virtual network or your private network, use private DNS zones in Azure. Private DNS zones provide name resolution for resources inside the networks you link to the zone and are not visible on the public internet. Do not confuse public DNS zones with private DNS zones; they serve different use cases. If you want to troubleshoot caching while testing changes, clear local DNS cache on your machine (e.g.,ipconfig /flushdns on Windows) or lower the TTL temporarily to accelerate propagation.
This covers creating Azure DNS zones, record sets, and how and why to delegate your registrar’s name servers to Azure so the world queries Azure for your domain.