

- What to specify when creating NSG rules
- Service tags and why to use them
- Portal walkthrough: create NSG, add inbound/outbound rules
- Subnet vs NIC NSGs and Effective security rules
- Practical outbound example using service tags
NSG rule components (at a glance)
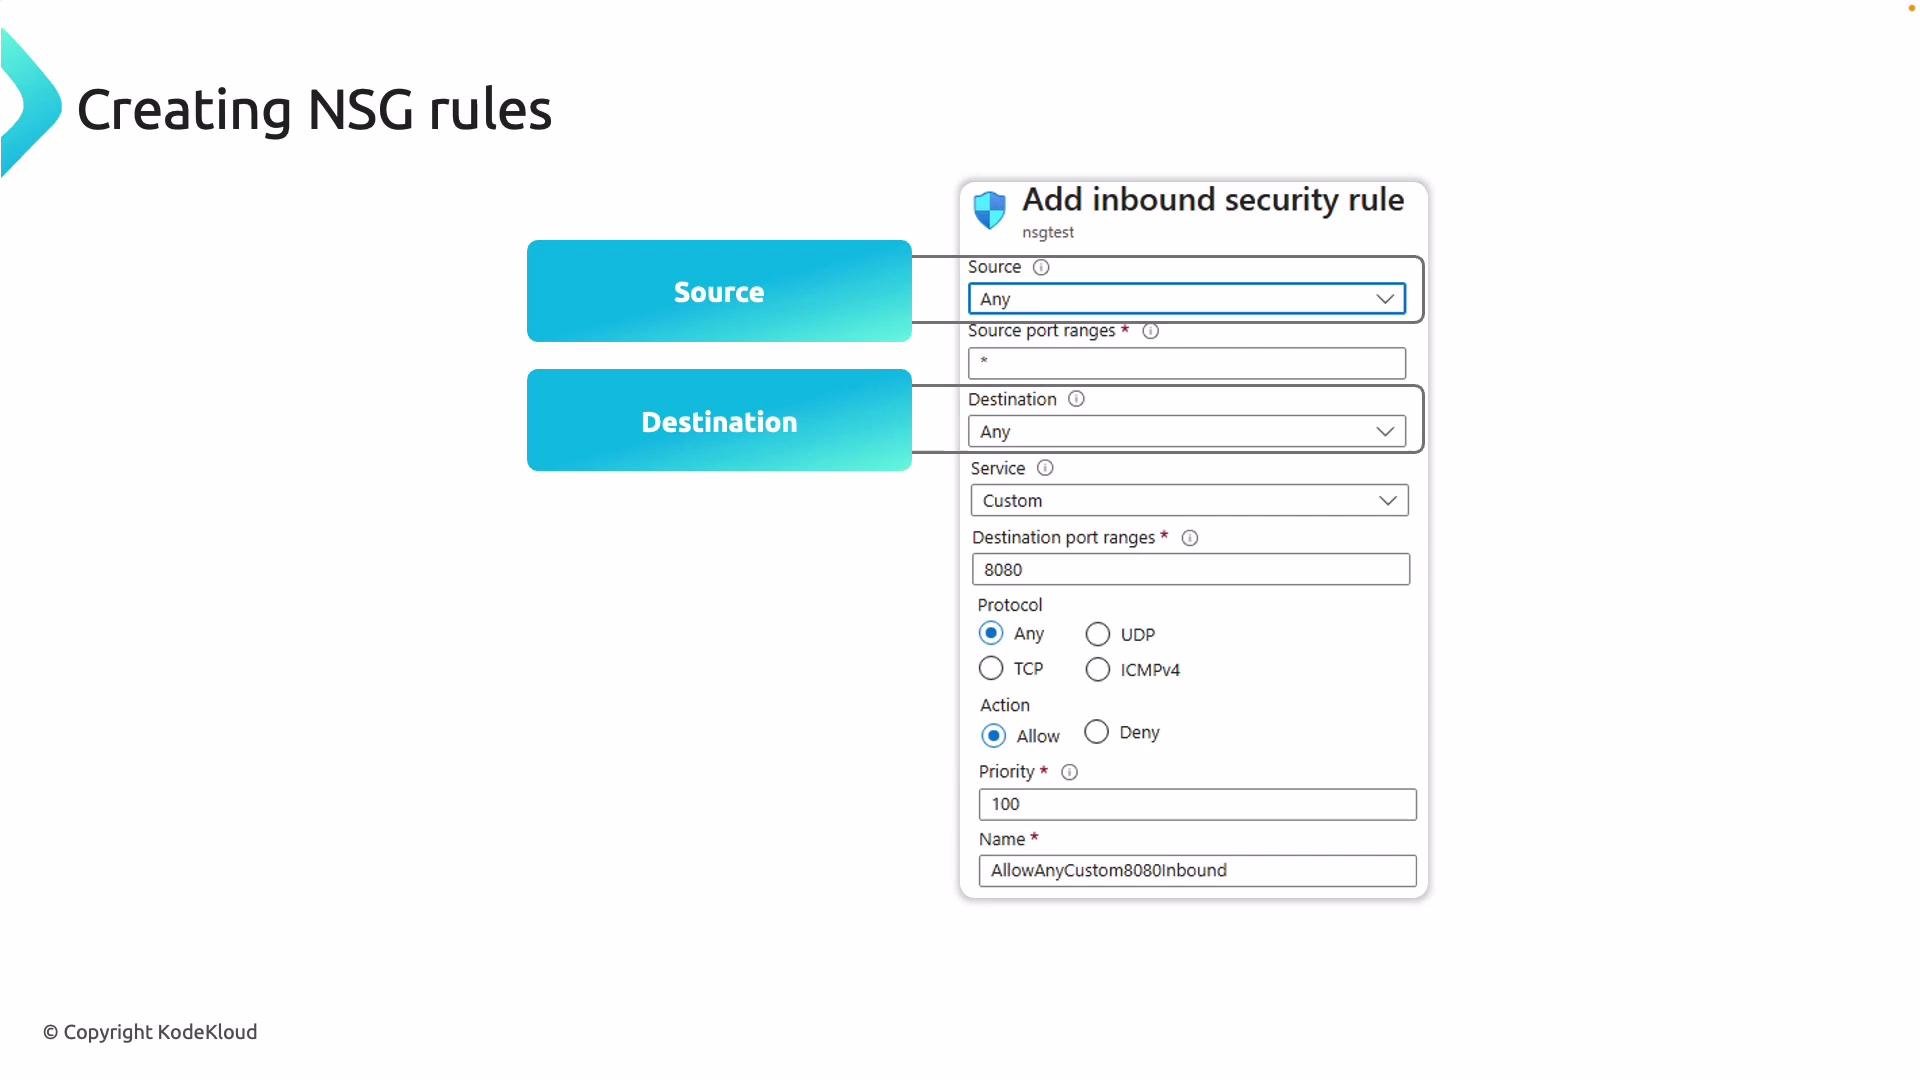
Lower numeric priority means higher precedence — the rule with the smallest numeric priority is evaluated first.
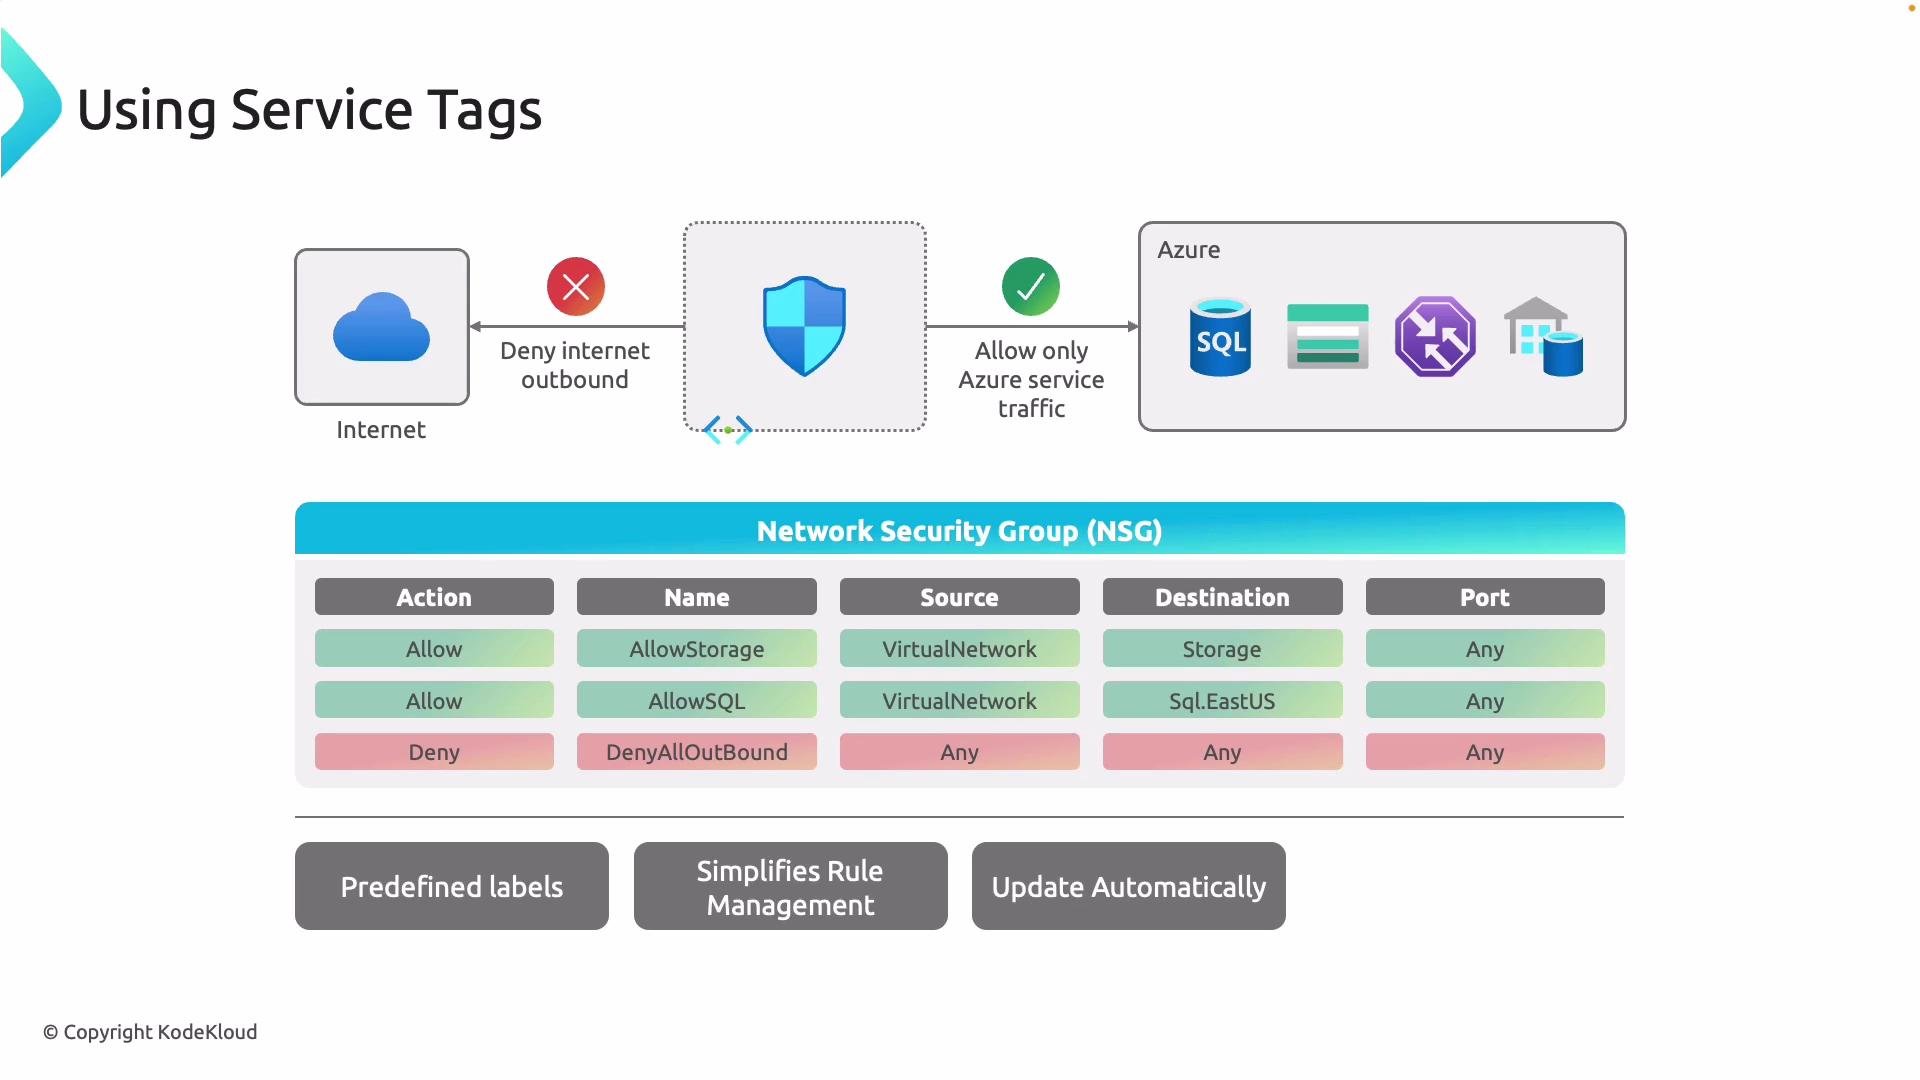
Service tags — simplify rule maintenance
Managing IP ranges for cloud services is error-prone. Azure service tags are predefined labels that represent groups of IP address ranges used by Azure services (for example:VirtualNetwork, Storage, Internet, LoadBalancer). Use service tags in your source/destination fields to avoid maintaining large IP lists — Azure updates these tags automatically.
Hands-on: Azure portal walkthrough
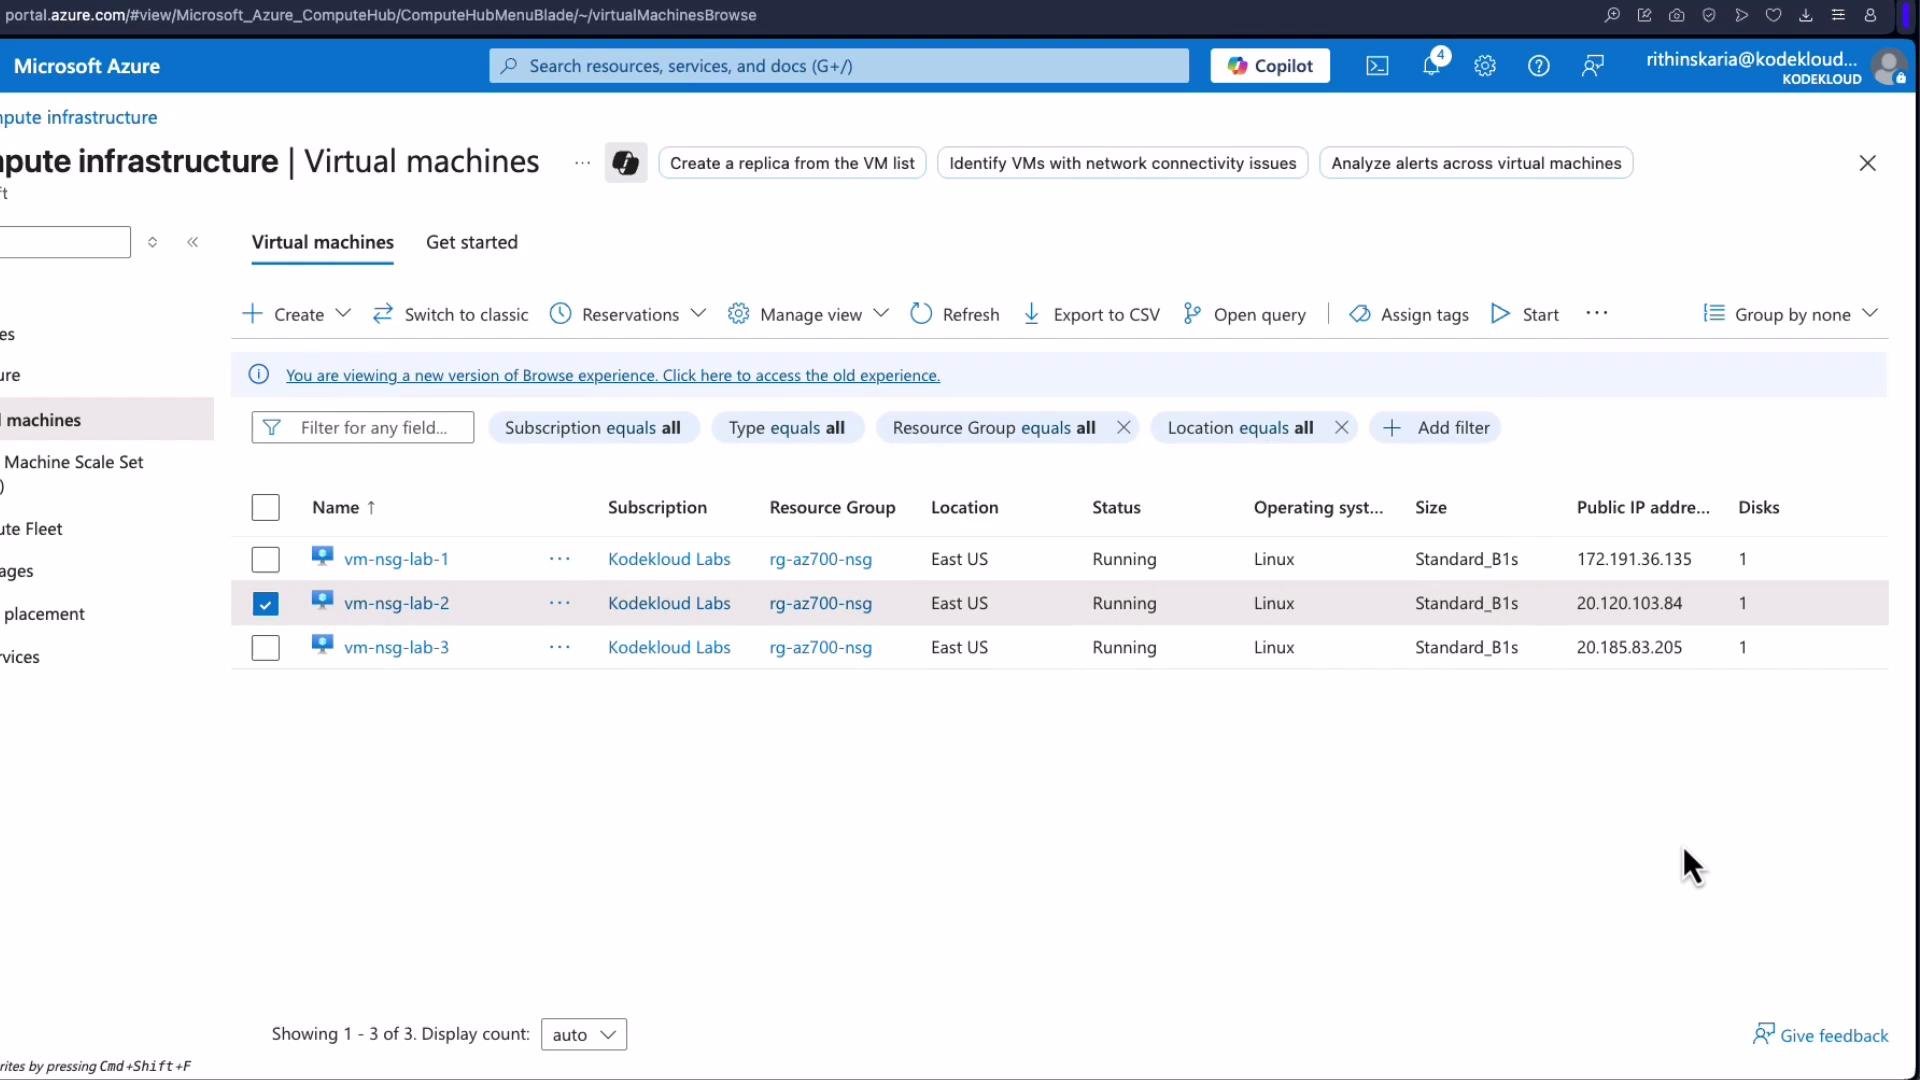
This example uses a set of VMs in a VNet where NSGs have not yet allowed inbound SSH. By default, inbound SSH from the Internet will be blocked until you create an appropriate NSG rule.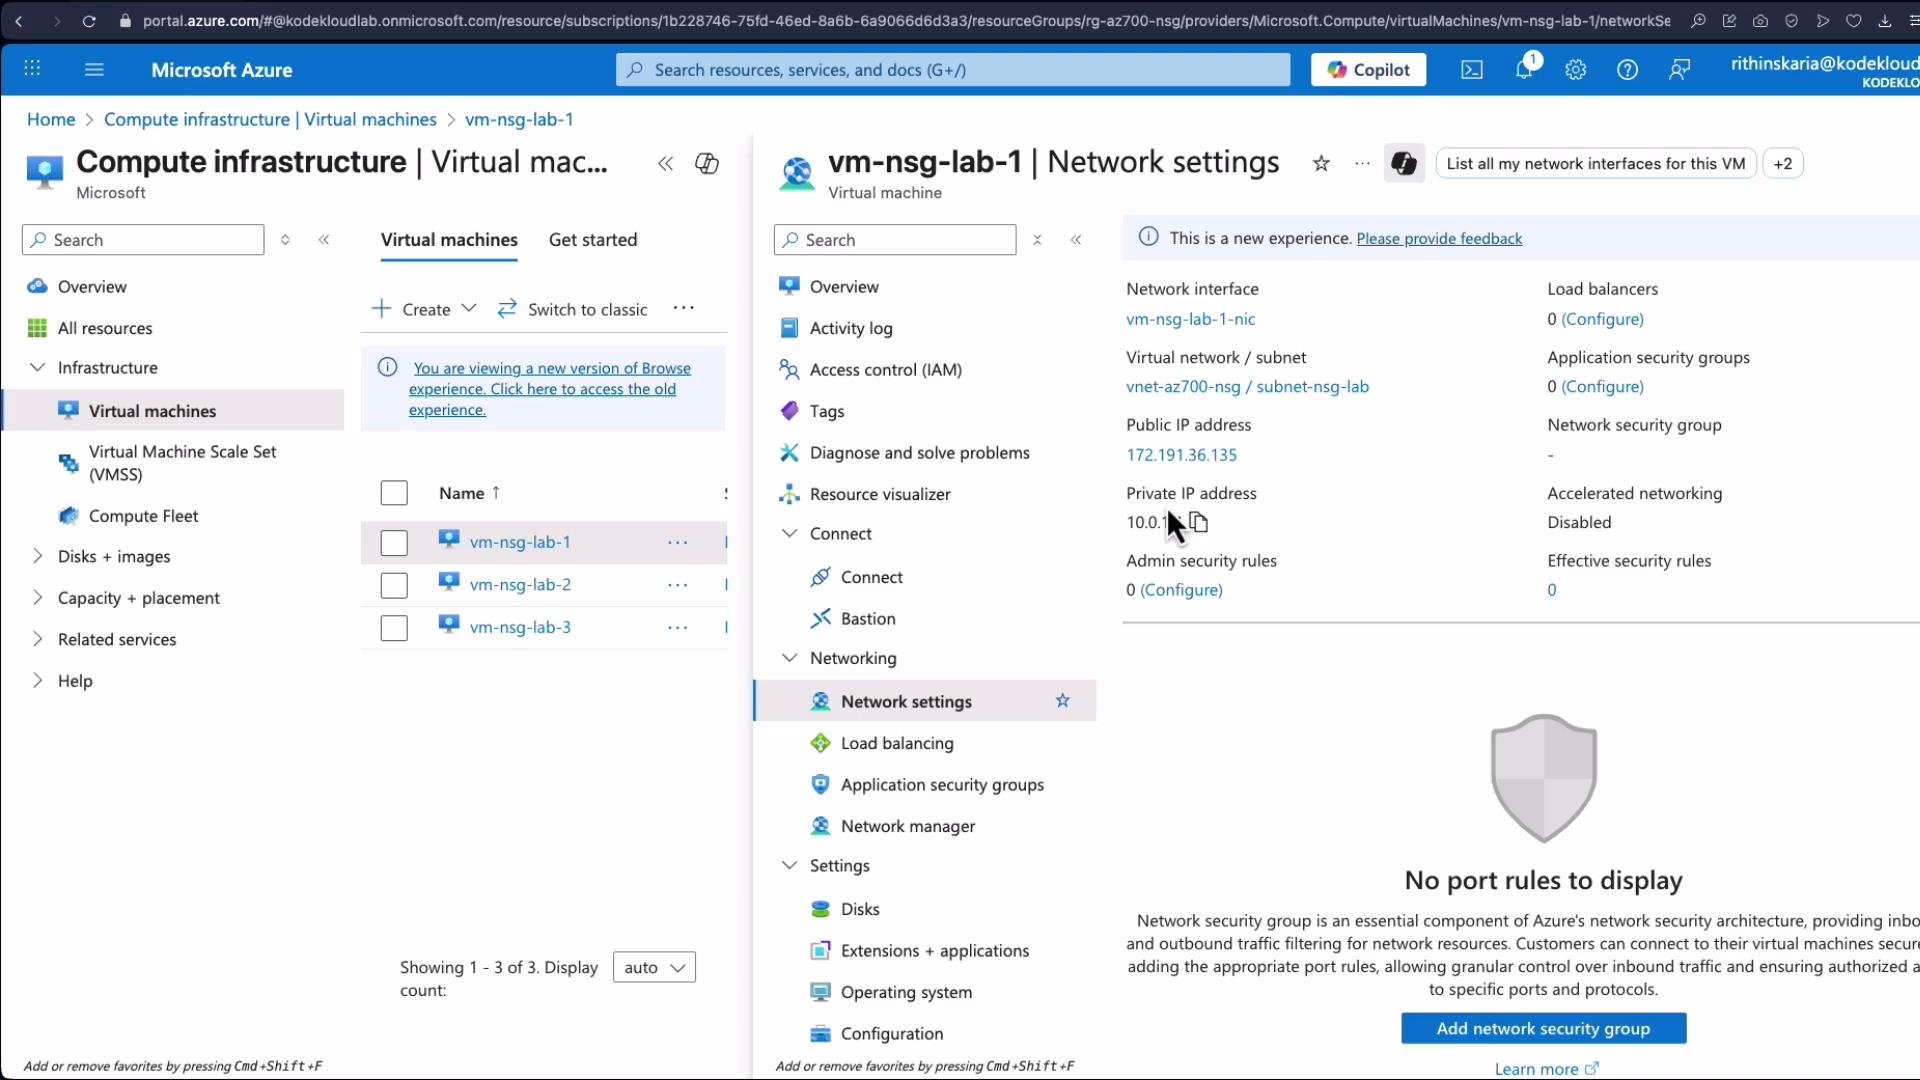
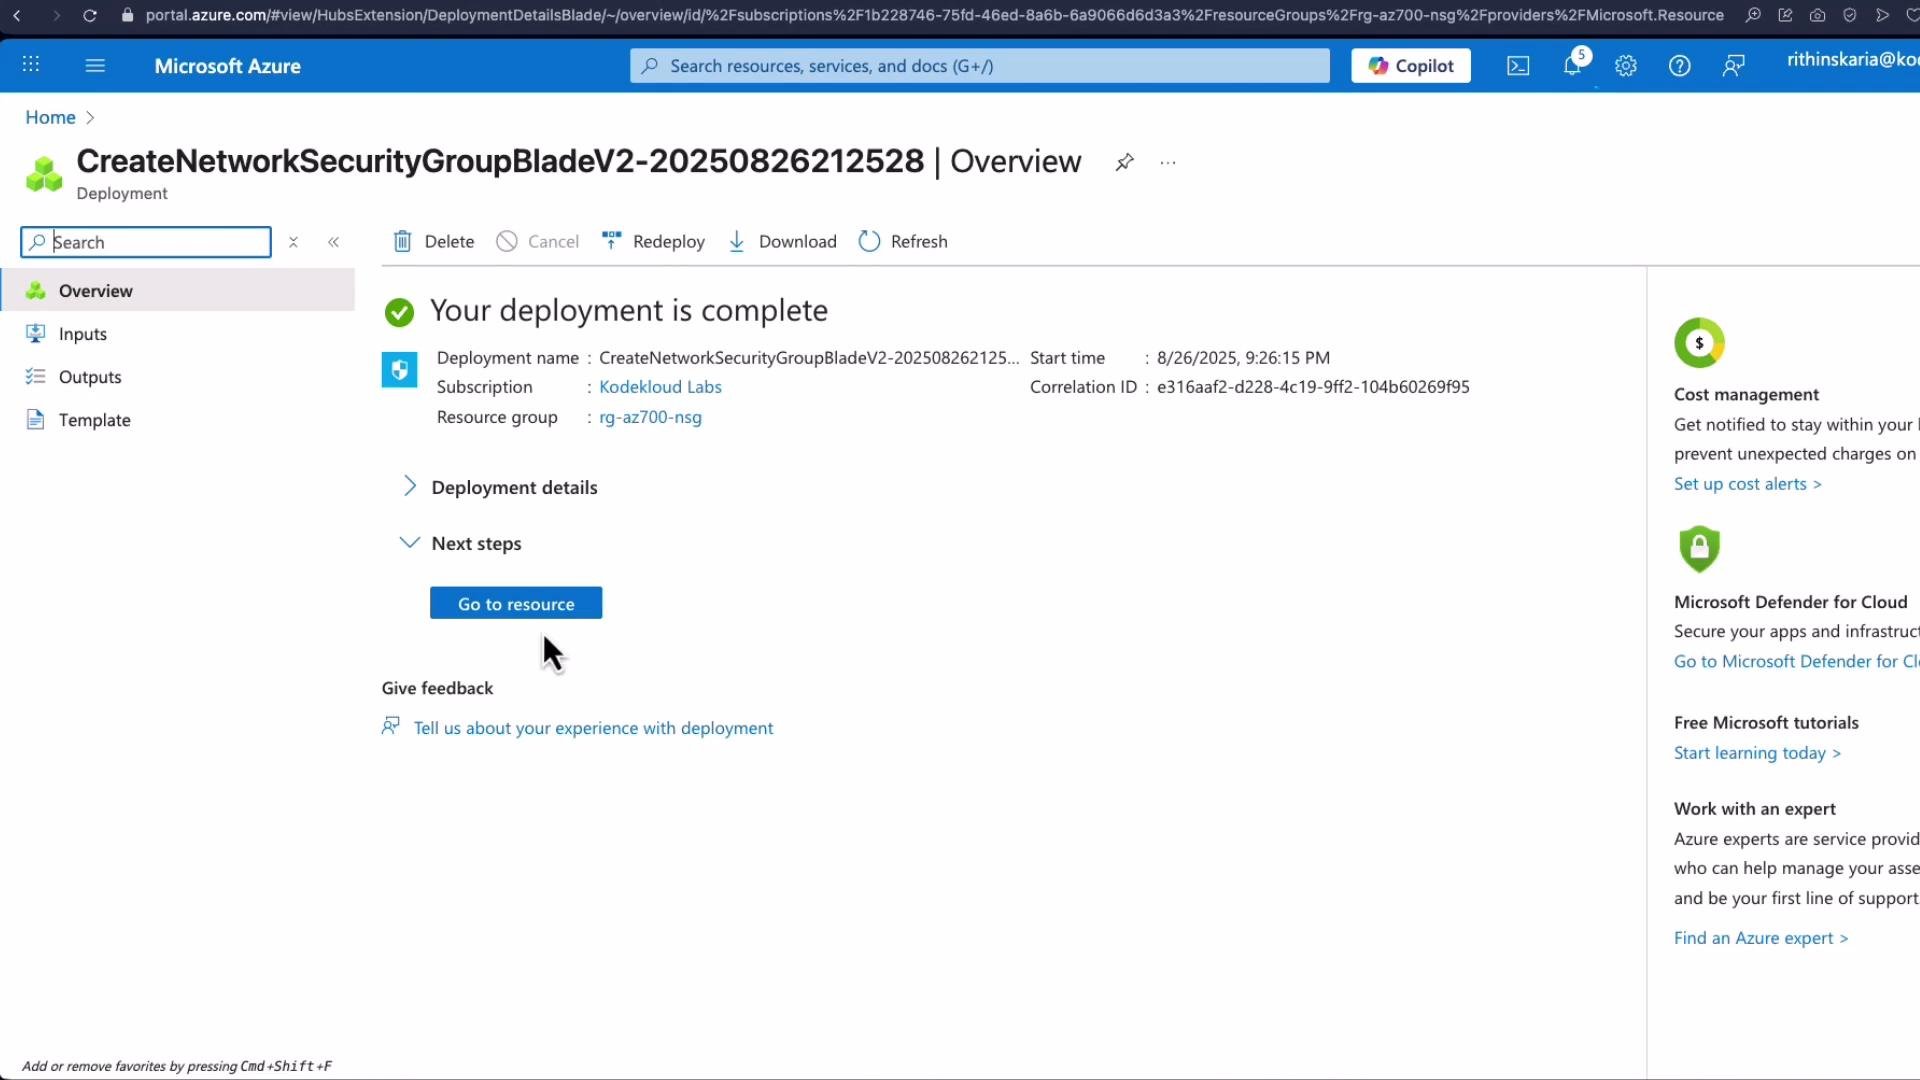
Create an NSG
- In the Azure portal, go to Network Security Groups → Create.
- Provide a name (for example,
NSGLab01) and the target region (e.g.,East US), then click Review + create and complete creation. - Open the NSG resource to inspect default rules.
Default outbound rules typically include:
AllowVNetOutboundAllowInternetOutboundDenyAllOutbound(catch-all)
Associate the NSG
- Associate your new NSG to the target subnet (or to a NIC for per-VM interface control). In this walkthrough, the NSG is associated with the subnet containing the VMs.
Add an inbound rule for SSH
- Go to the NSG → Inbound security rules → Add.
- Configure:
- Source:
Any(or restrict to a specific IP,My IP, a service tag, or an Application Security Group) - Source port ranges:
*(or specify if needed) - Destination:
Any - Service:
SSH(auto-populates TCP port22) - Action:
Allow - Priority:
100(lower number = higher precedence) - Name:
AllowAny_SSH_Inbound - Optional: add a description
- Source:
- Click Add.
Opening SSH (port 22) to
Any exposes the VM to the Internet. Restrict the Source to known IPs or use Just-in-Time VM access where possible.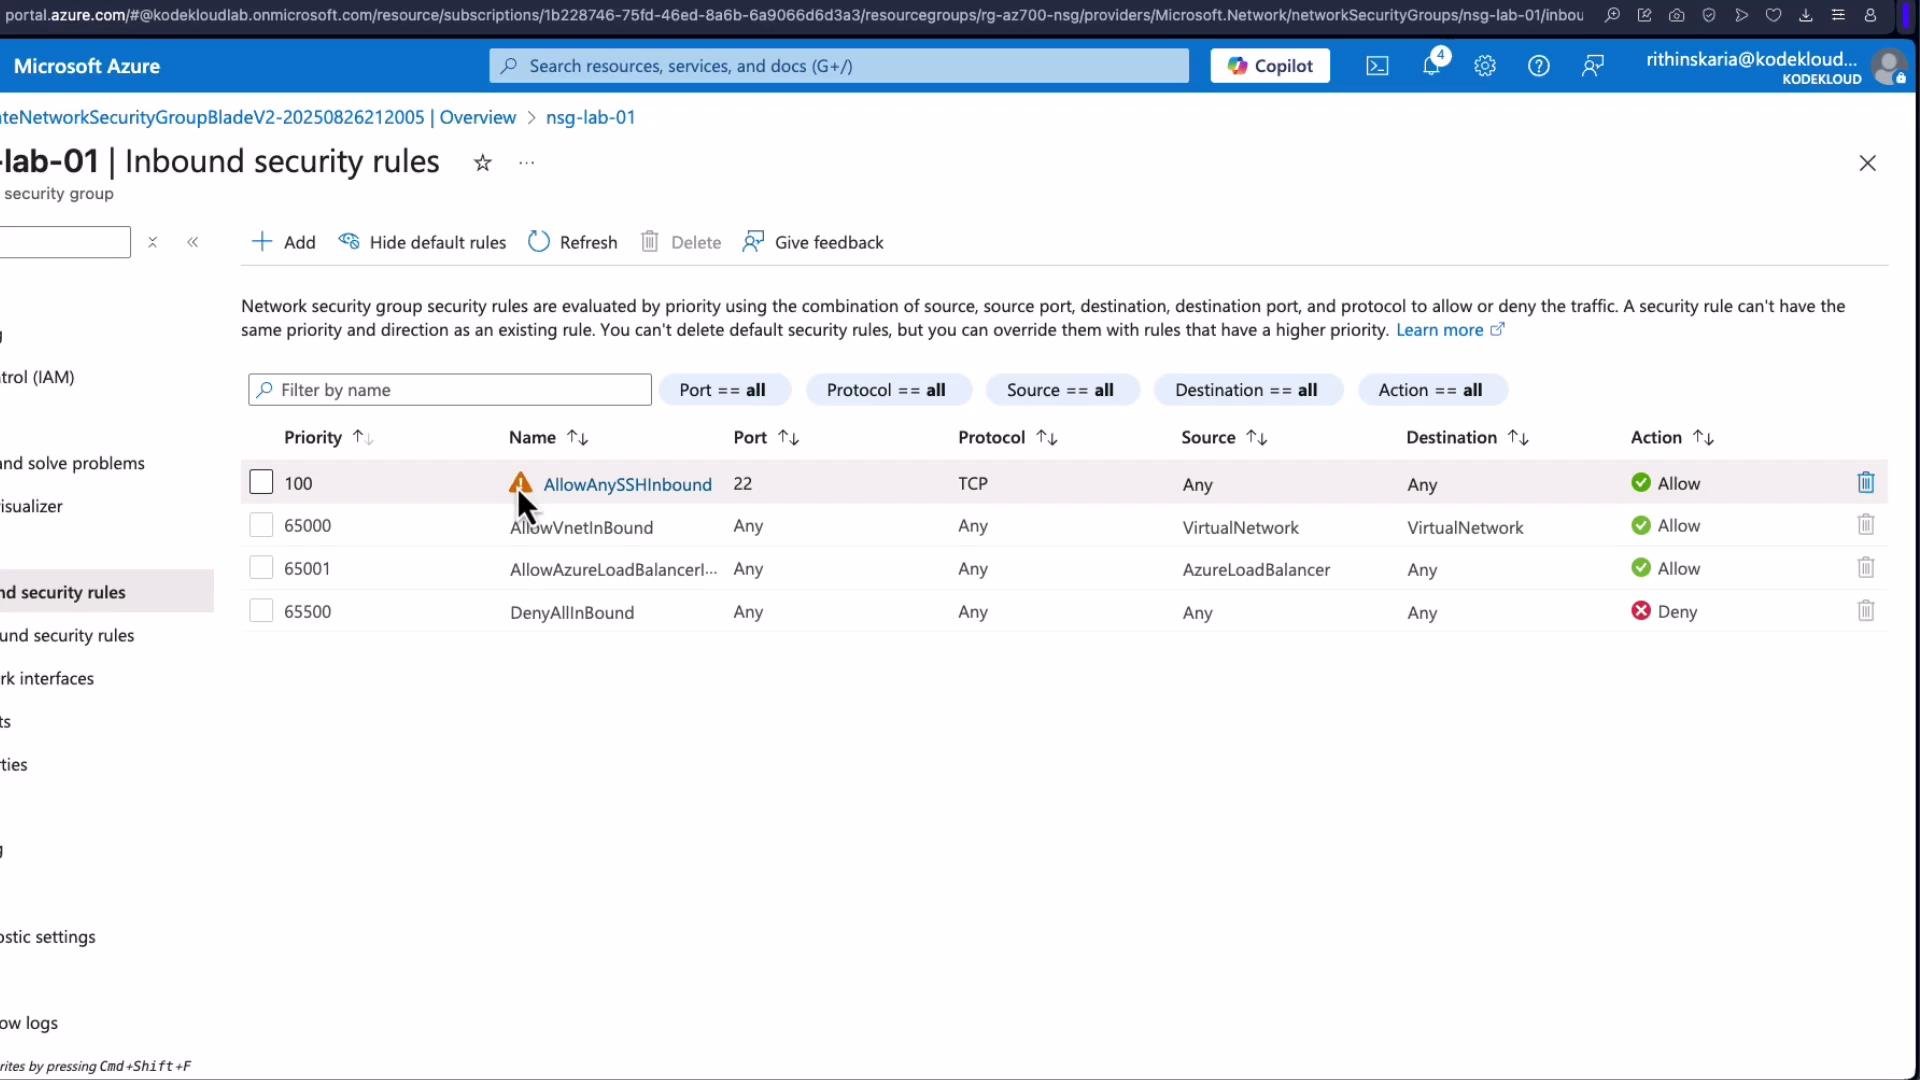
Effective security rules and NIC-level NSGs
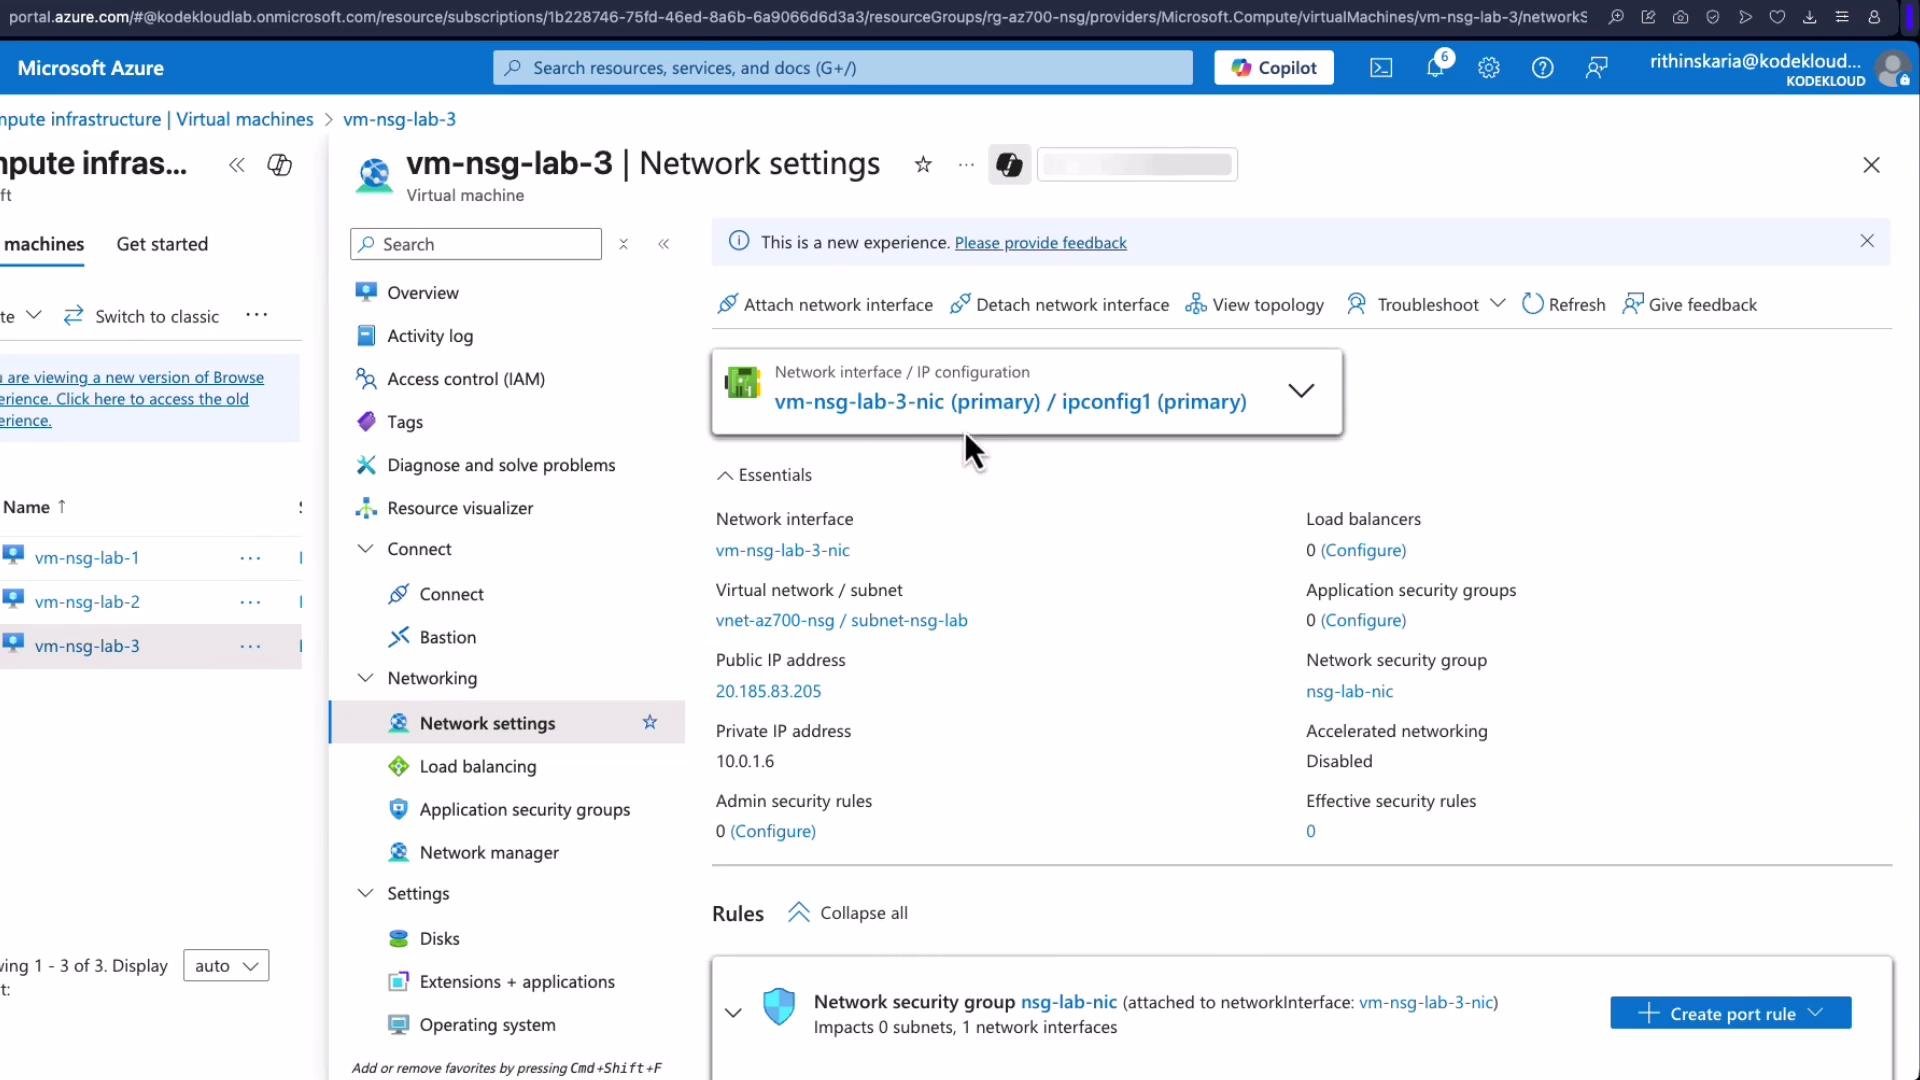
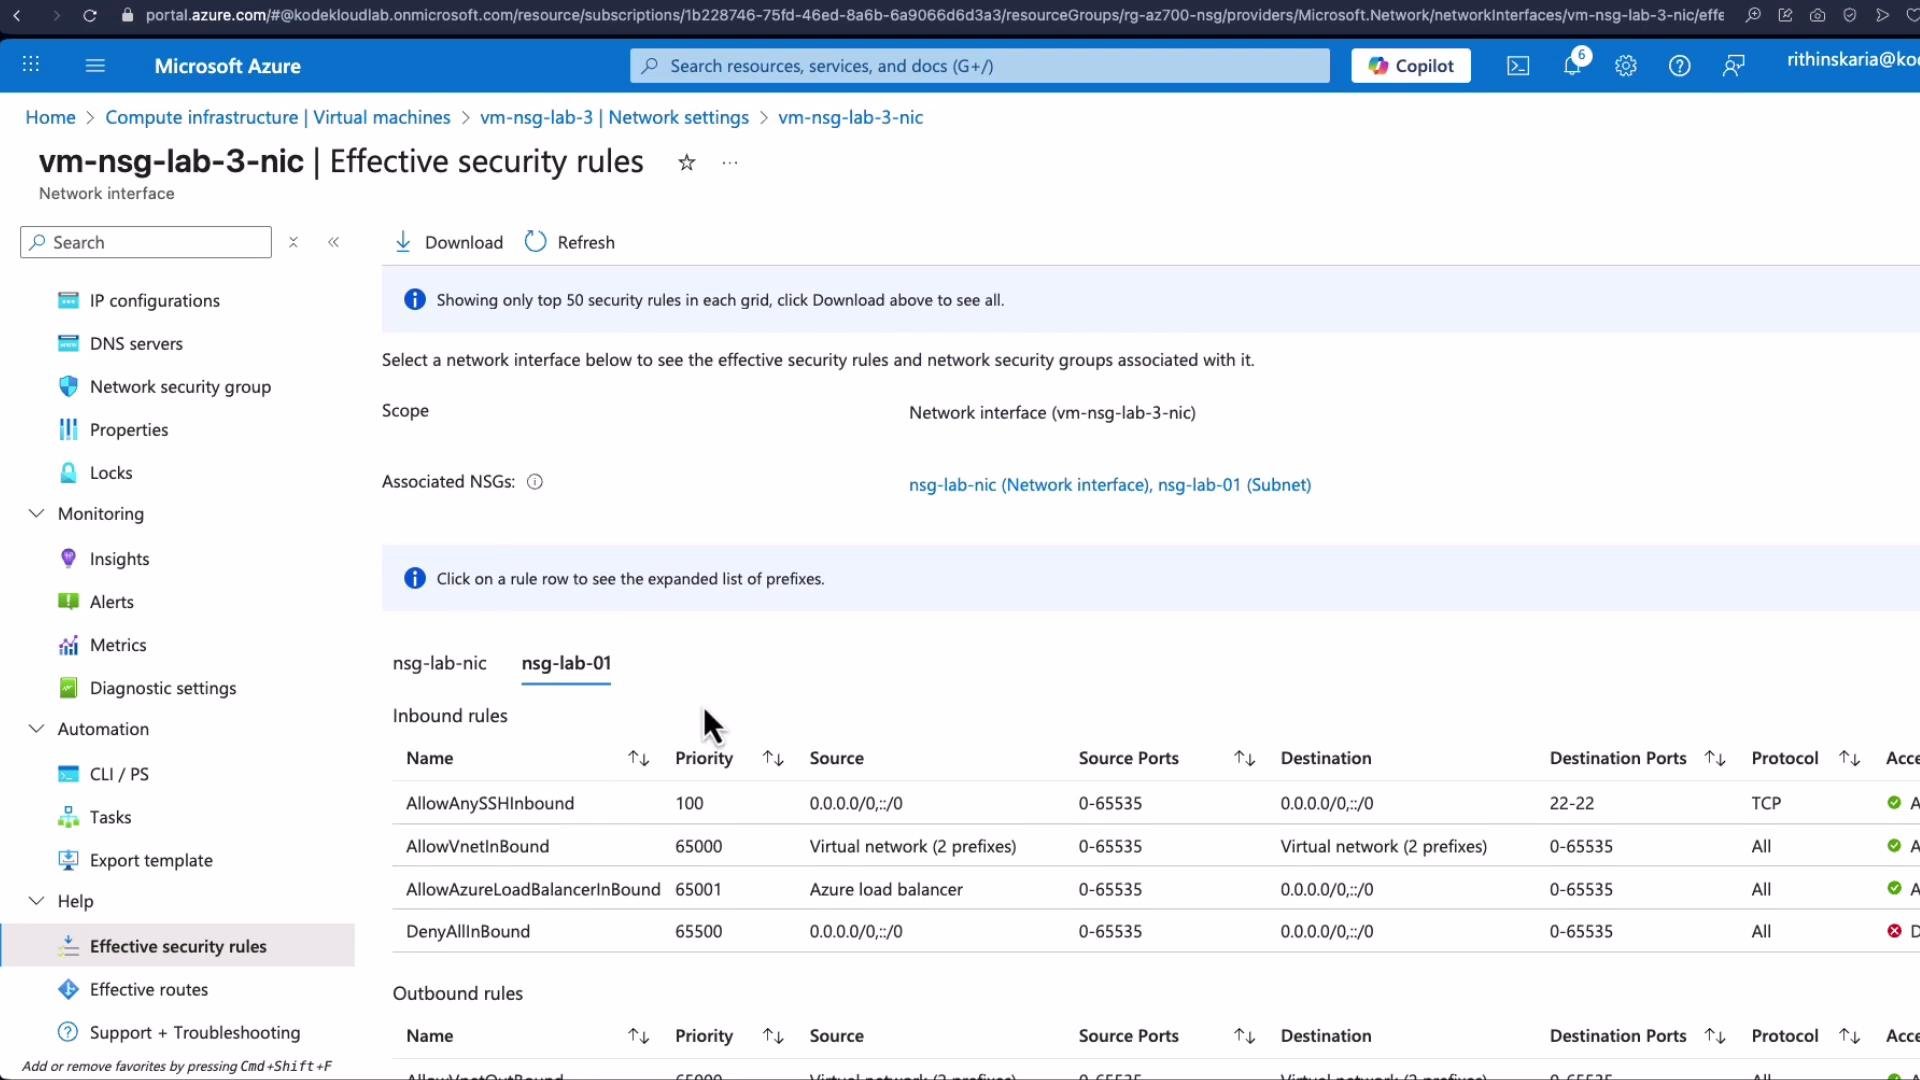
You can apply NSGs at both the subnet and network interface (NIC) levels. Traffic must be allowed by every applicable NSG for the flow to succeed; aDeny at either level blocks traffic.
- Example workflow:
- Create a second NSG and assign it to the NIC of
VM3. - If SSH is allowed at the subnet level but denied at the NIC NSG, SSH to that VM will fail.
- Create a second NSG and assign it to the NIC of
- Go to the VM → Networking → select the NIC → Effective security rules. This displays aggregated inbound/outbound rules and which rule ultimately allows or denies traffic.
Outbound example using service tags (deny Internet, allow Storage)
This example demonstrates how to block general Internet outbound access while allowing Azure Storage access by using service tags. From the VM, a curl to a blob returns binary content (use--output or -o to save instead of printing binary to terminal):
- In the NSG attached to the VM/subnet, add an outbound Deny rule:
- Source:
Any - Destination:
Service Tag→Internet - Destination port ranges:
* - Action:
Deny - Priority:
200 - Name:
Deny_Internet
- Source:
- This will override the default
AllowInternetOutbound(priority 65001) because200is a smaller number and thus has higher precedence.
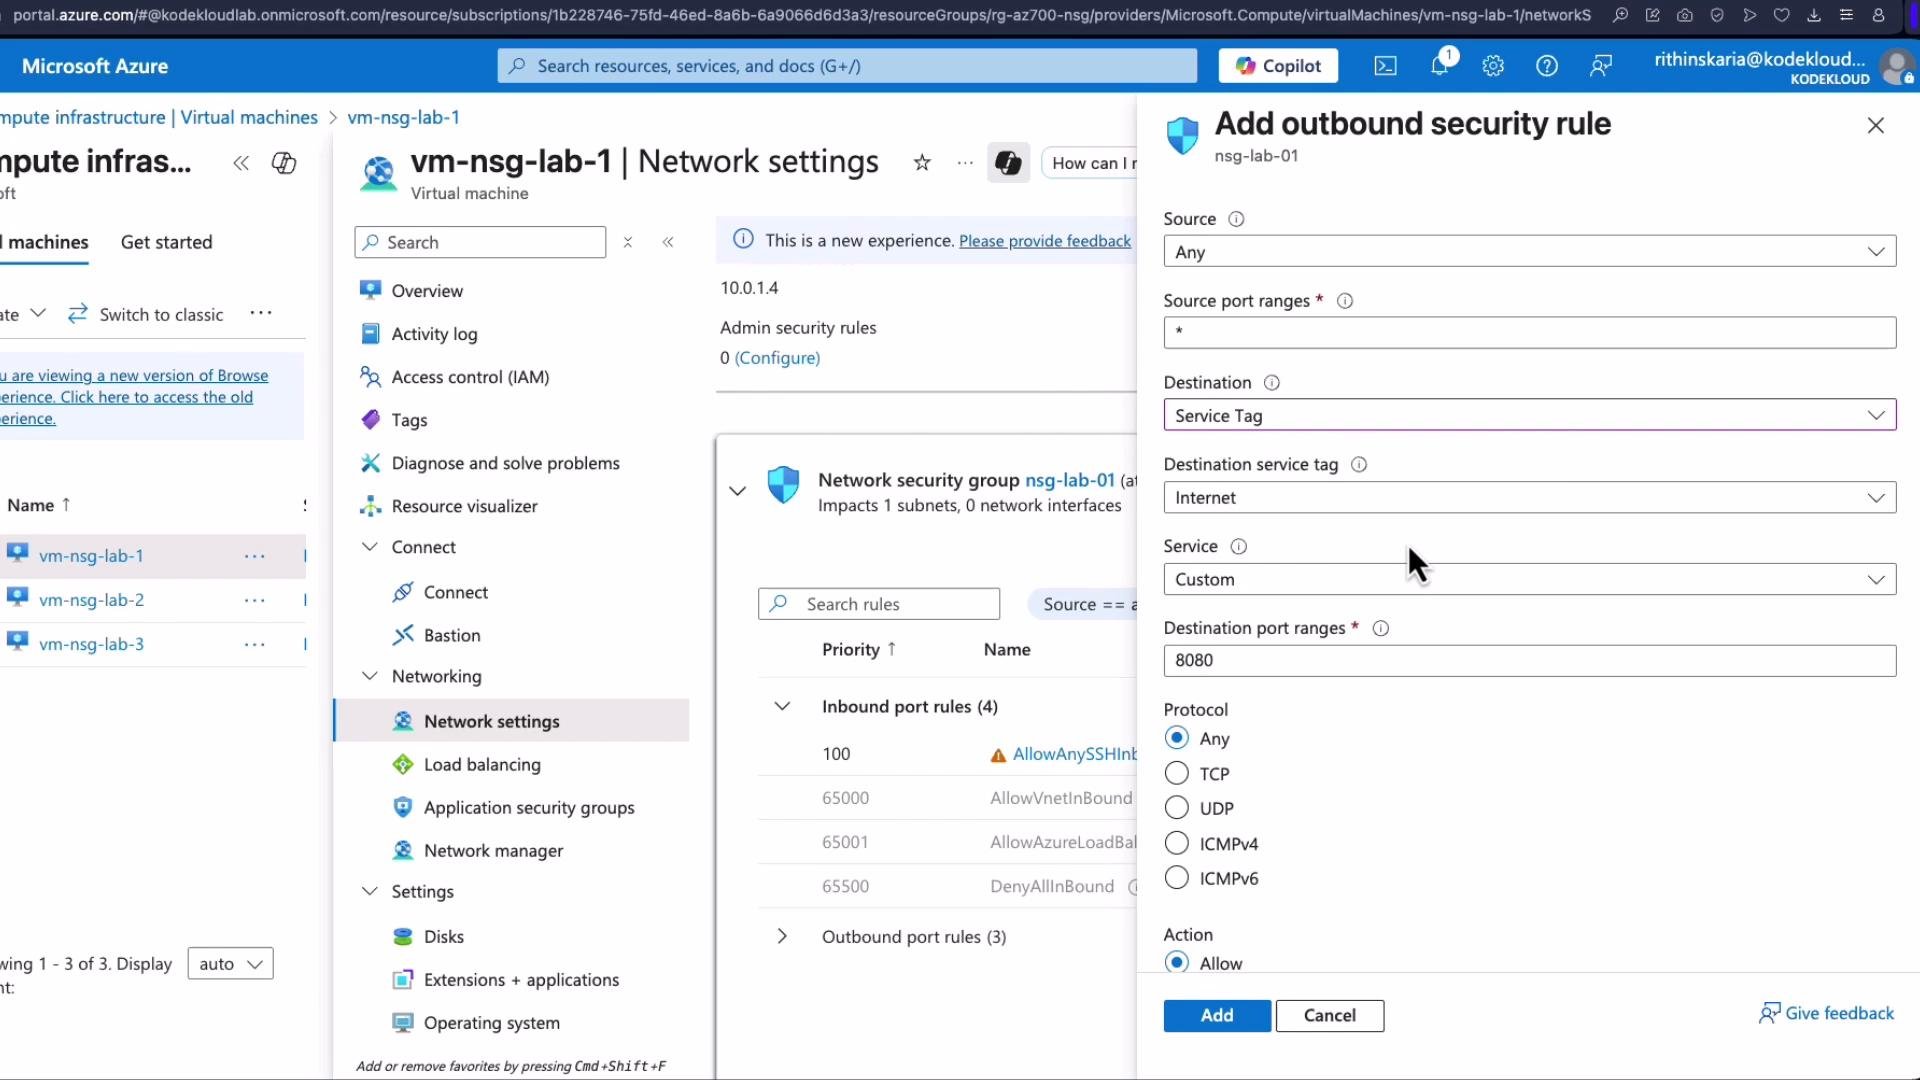
- Add an outbound Allow rule:
- Source:
Any - Destination:
Service Tag→Storage - Destination port ranges:
443,80(or the ports you need) - Action:
Allow - Priority:
100(higher precedence thanDeny_Internet) - Name:
Allow_Storage
- Source:
10.1.1.0/24,10.1.2.0/24) if you prefer IP-based rules.
After adding the Allow Storage rule:
Storage includes all necessary Azure storage IP ranges; you don’t need to keep a manual list of IPs.
Summary
- Use predefined Services for common ports or
Customfor custom ports. You can specify single ports, ranges, and comma-separated lists for complex needs. - Priority numbers are evaluated ascending; lower numeric values take precedence.
- NSGs may be applied at both Subnet and NIC levels. Traffic must be allowed by all applicable NSGs—any deny blocks the flow.
- Prefer Service Tags to reference Azure services (Storage, Internet, VirtualNetwork, etc.) to reduce administrative overhead and rely on Azure-managed IP updates.
- Always minimize exposure when allowing management ports (SSH/RDP). Restrict sources or use Just-in-Time access where possible.
Links and References
- Azure Network Security Groups documentation
- Azure service tags documentation
- Just-in-Time VM access (Azure Security Center)